The Customer.io MCP Server
BetaWhile we’re confident in our MCP server, we’re actively working on it and expanding its capabilities. Try it out and send us your feedback! UpdatedHow it works
Our Model Context Protocol (MCP) Server helps you interact with Customer.io through your favorite AI tools—Claude, Cursor, and so on.
Where you might be able to use our APIs to do some things, the MCP server is a layer of tools that includes features that aren’t possible with our APIs today. The MCP server is especially helpful if you want to integrate your mobile or web app with Customer.io, helping you add code and test your integration.
Make sure you trust your AI tools
Our MCP server works with your AI provider of choice and it includes tools that return information about people in your workspace. While our LLM subprocessors don’t store this data, the AI providers you use might. Make sure that you use AI tools that are approved by your organization to ensure the safety of your—and your customers’—data.
What can the MCP server help with?
The table below shows the tools that are currently available to our MCP server, and the actions that each tool can perform. For example, the create tool has a create_segment action that you can use to create a segment. It doesn’t have a create_campaign action—so you can’t prompt it to generate a campaign.
As we expand the capabilities of our MCP server, we won’t just add more tools, but more actions to the existing tools; this helps us limit the number of tools we provide, so we don’t overwhelm you or your LLM with a lengthy toolchain.
We’re actively working on our MCP server and related tools. If you have a specific MCP feature or use case in mind, let us know!
| Tool Name | Description |
|---|---|
create | Create new resources like segments. Note that this tool only creates things for which there are corresponding actions (today, that means segments). Action: create_segment |
get | Get detailed information about single resources like user profiles, segments, campaigns, newsletters, etc. Available actions:
get_profile,
get_newsletter,
get_campaign,
get_campaign_action,
get_segment,
get_template,
get_newsletter_recommended_send_time,
get_campaign_recommended_send_time |
integration | This tool helps you test and troubleshoot your integrations with Customer.io, including in-app messages and push notifications.* Available actions:
sources_list,
sources_search,
source_get,
source_add,
test_inapp,
test_push,
troubleshoot |
list | List workspace resources and metadata, like profile attributes, segments, events etc. Available actions:
list_attributes,
list_segments,
list_events,
list_campaigns,
list_newsletters |
list_workspaces | Lists the workspaces the user has access to. Always call this first to get a workspace_id for workspace-scoped actions. |
metrics | Metrics-related actions such as fetching deliverability and engagement metrics. Available actions:
fetch,
workspace |
search | Search across documentation and workspace data for specific content and patterns. Available actions:
search_docs,
search_workspace |
* Summary of tool's description. See the tool in your environment for the full description.
Enable MCP support for your account
You must be an account admin to enable MCP support for your account. This enables the feature for your account, but you and other users still need to set up your clients to use it.
Click to enable Customer.io AI.
Click to enable Customer.io MCP.
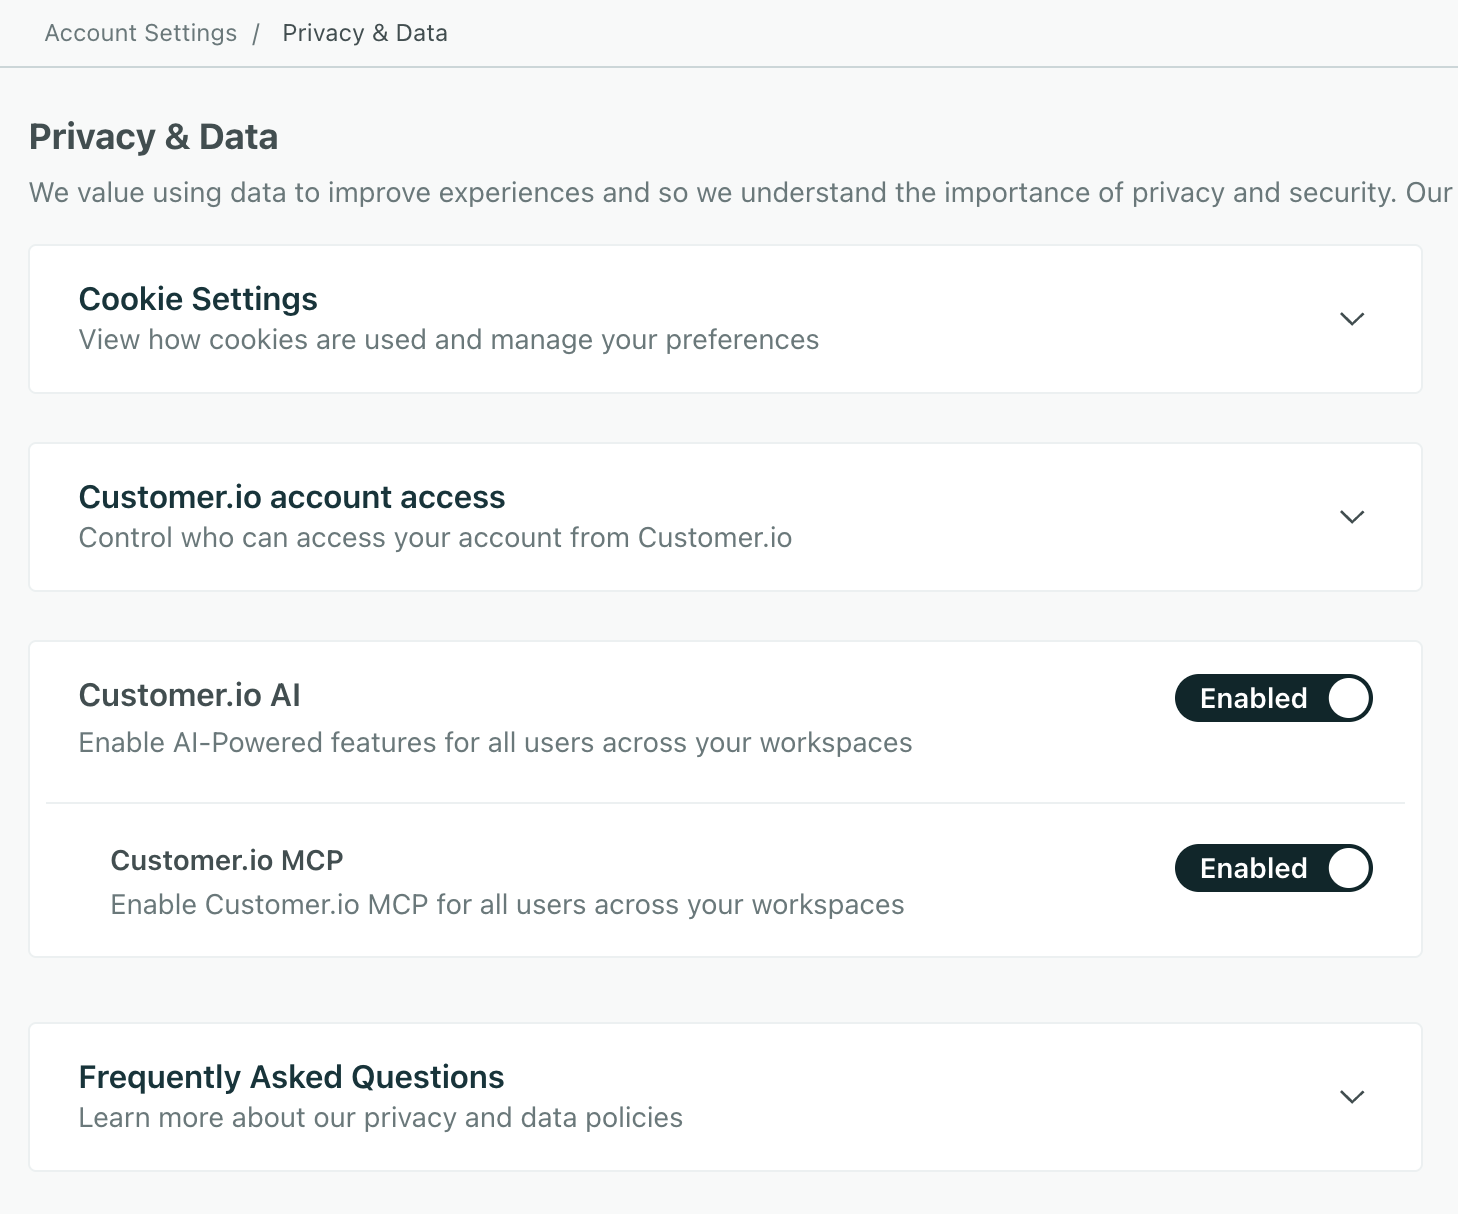
You must enable both Customer.io AI and Customer.io MCP for team members to integrate with LLMs.
Enabling Customer.io AI also enables a set of AI features in your account across all team members
Set up your MCP client
Before you can use the MCP server, you’ll need to Enable MCP support for your account. If you haven’t done that yet, you won’t see MCP support in your personal settings.
ChatGPT
You can integrate ChatGPT with Customer.io in your personal settings so you can engage your workspace through ChatGPT conversations.
Prerequisites to integrating
To integrate with ChatGPT, you must:
- Have a ChatGPT Pro, Plus, or Enterprise plan
- Enable “Developer Mode”
Enable developer mode
To enable Developer Mode, you must be an Admin:
- Go to ChatGPT Settings > Connectors.
- Click Advanced settings > Developer mode. You may have to scroll down to find Advanced settings.
- Toggle on Developer mode.
Connect Customer.io
To integrate with Customer.io, follow these instructions, which can also be found in Personal Settings > MCP > ChatGPT:
- Go to Connectors on the ChatGPT web app. You can’t complete this process on the mobile app.
- If your admin limited the connectors you can use, click the custom connector that represents Customer.io. Then click Manage followed by Connect.
- Otherwise, click Create then fill in the details:
- Name: Customer.io
- Description: Access Customer.io workspace data and tools
- MCP Server URL: https://mcp.customer.io/mcp for our US region or https://mcp-eu.customer.io/mcp if your Customer.io account is in the EU
- Authentication: OAuth
- Select each Customer.io workspace you want to give ChatGPT access to then click Allow access.
Then back in the connector’s settings, toggle Customer.io tools on/off as needed.
Use the Customer.io connector in conversations
To test it out, open a ChatGPT conversation:
- Click then choose Developer Mode.
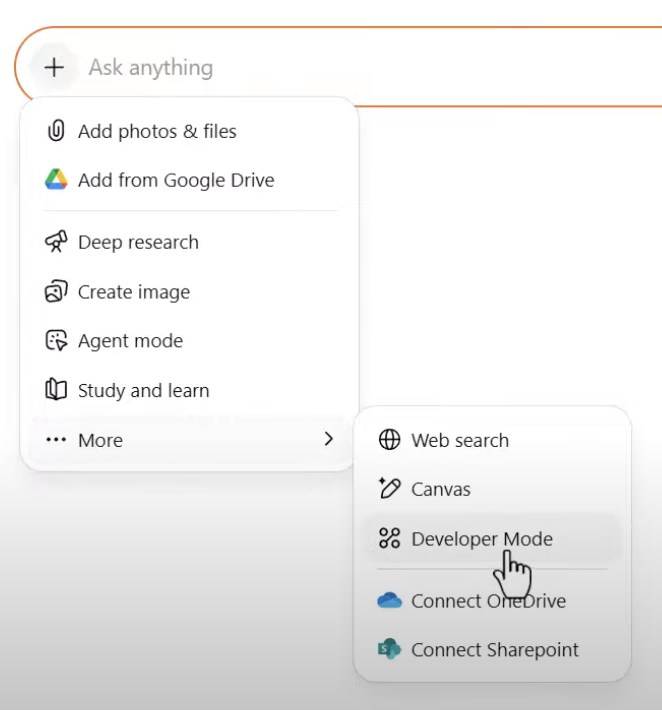
- Click the Customer.io connector to make it a source.
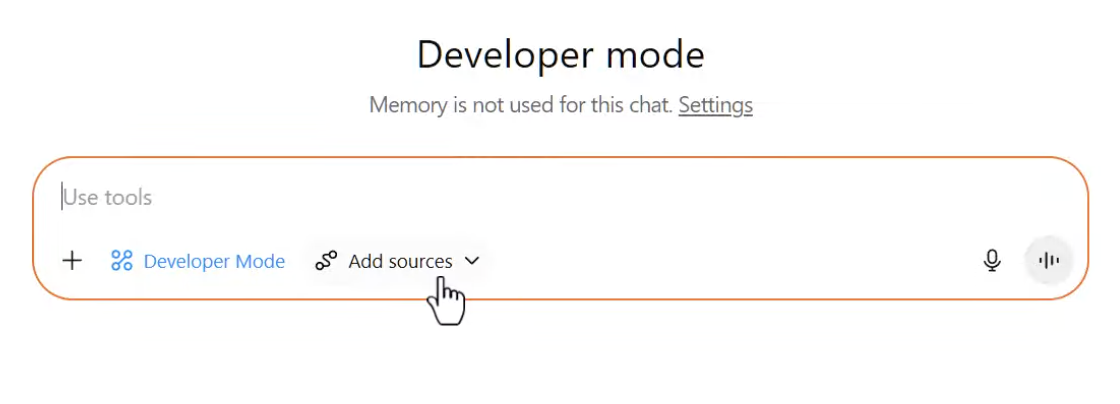
Direct ChatGPT to use the Customer.io connector
Troubleshooting
If you run into the error “This MCP server doesn’t implement our specification,” then the connector is missing a required tool or “Developer Mode” hasn’t been enabled on your ChatGPT account. Check with your ChatGPT administrator to update the connector.
For more on troubleshooting, check out OpenAI’s info on connectors.
Claude Desktop and similar tools
The instructions below focus on Claude Desktop, but the exact path to add Customer.io MCP support depends on the tool you use, but you’ll need to add the URL of our server to any tool you use: https://mcp.customer.io/mcp for our US region or https://mcp-eu.customer.io/mcp if your Customer.io account is in the EU.
Make sure you have the proper permissions to integrate
Go to Settings > Personal Settings.
Click the Claude Desktop tab and enable support for your tool.
- For Claude Desktop, go to Settings > Connectors and click Add custom connector.
- Add the MCP server URL:
https://mcp.customer.io/mcporhttps://mcp-eu.customer.io/mcpif your Customer.io account is in the EU. If your application requires you to set atypeor transport method, make sure you set it tohttp. We don’t support the server-sent events (sse) transport. - Click Connect.
Pick the workspaces you want to use with the MCP server.

Cursor and other IDEs (Windsurf, VS Code, etc)
Adding MCP support to your integrated development environment (IDE) depends on whether you use Cursor—for which we have a one-click setup—or another tool like Windsurf.
Go to Settings > Personal Settings.
Click the Cursor tab and enable support for your IDE:
- If you use Cursor, click Add to Cursor.
- If you use another tool like Windsurf, you’ll add some JSON to your MCP file. The example below is for Cursor; the exact JSON for your tool might change but, no matter which tool you use, you’ll need to add our MCP
url:https://mcp.customer.io/mcpfor our US region orhttps://mcp-eu.customer.io/mcpif your Customer.io account is in the EU. - If your application requires you to set the
type, make sure you set it tohttp. We don’t support the server-sent events (sse) transport.
 {
   "mcpServers": {
     "CustomerIO": {
       "type": "http",
       "url": "https://mcp.customer.io/mcp"
     }
   }
 }
When you’ve added MCP support, your IDE will show that you need to login or authenticate with Customer.io. In Cursor, you’ll click Needs Login to authenticate with Customer.io.
Pick the workspaces you want to use with the MCP server.
Find your workspace
When you use our MCP server, you’ll often need to tell it which workspace you want to work in. Otherwise, the MCP server may ask you to select a workspace. You can select your workspace by name or by ID. You can even use the MCP server to list your available workspaces.
You’ll find the name of your workspace in the upper-left corner of our interface. You’ll find the ID of your workspace in the URL when you’re on the Dashboard page.

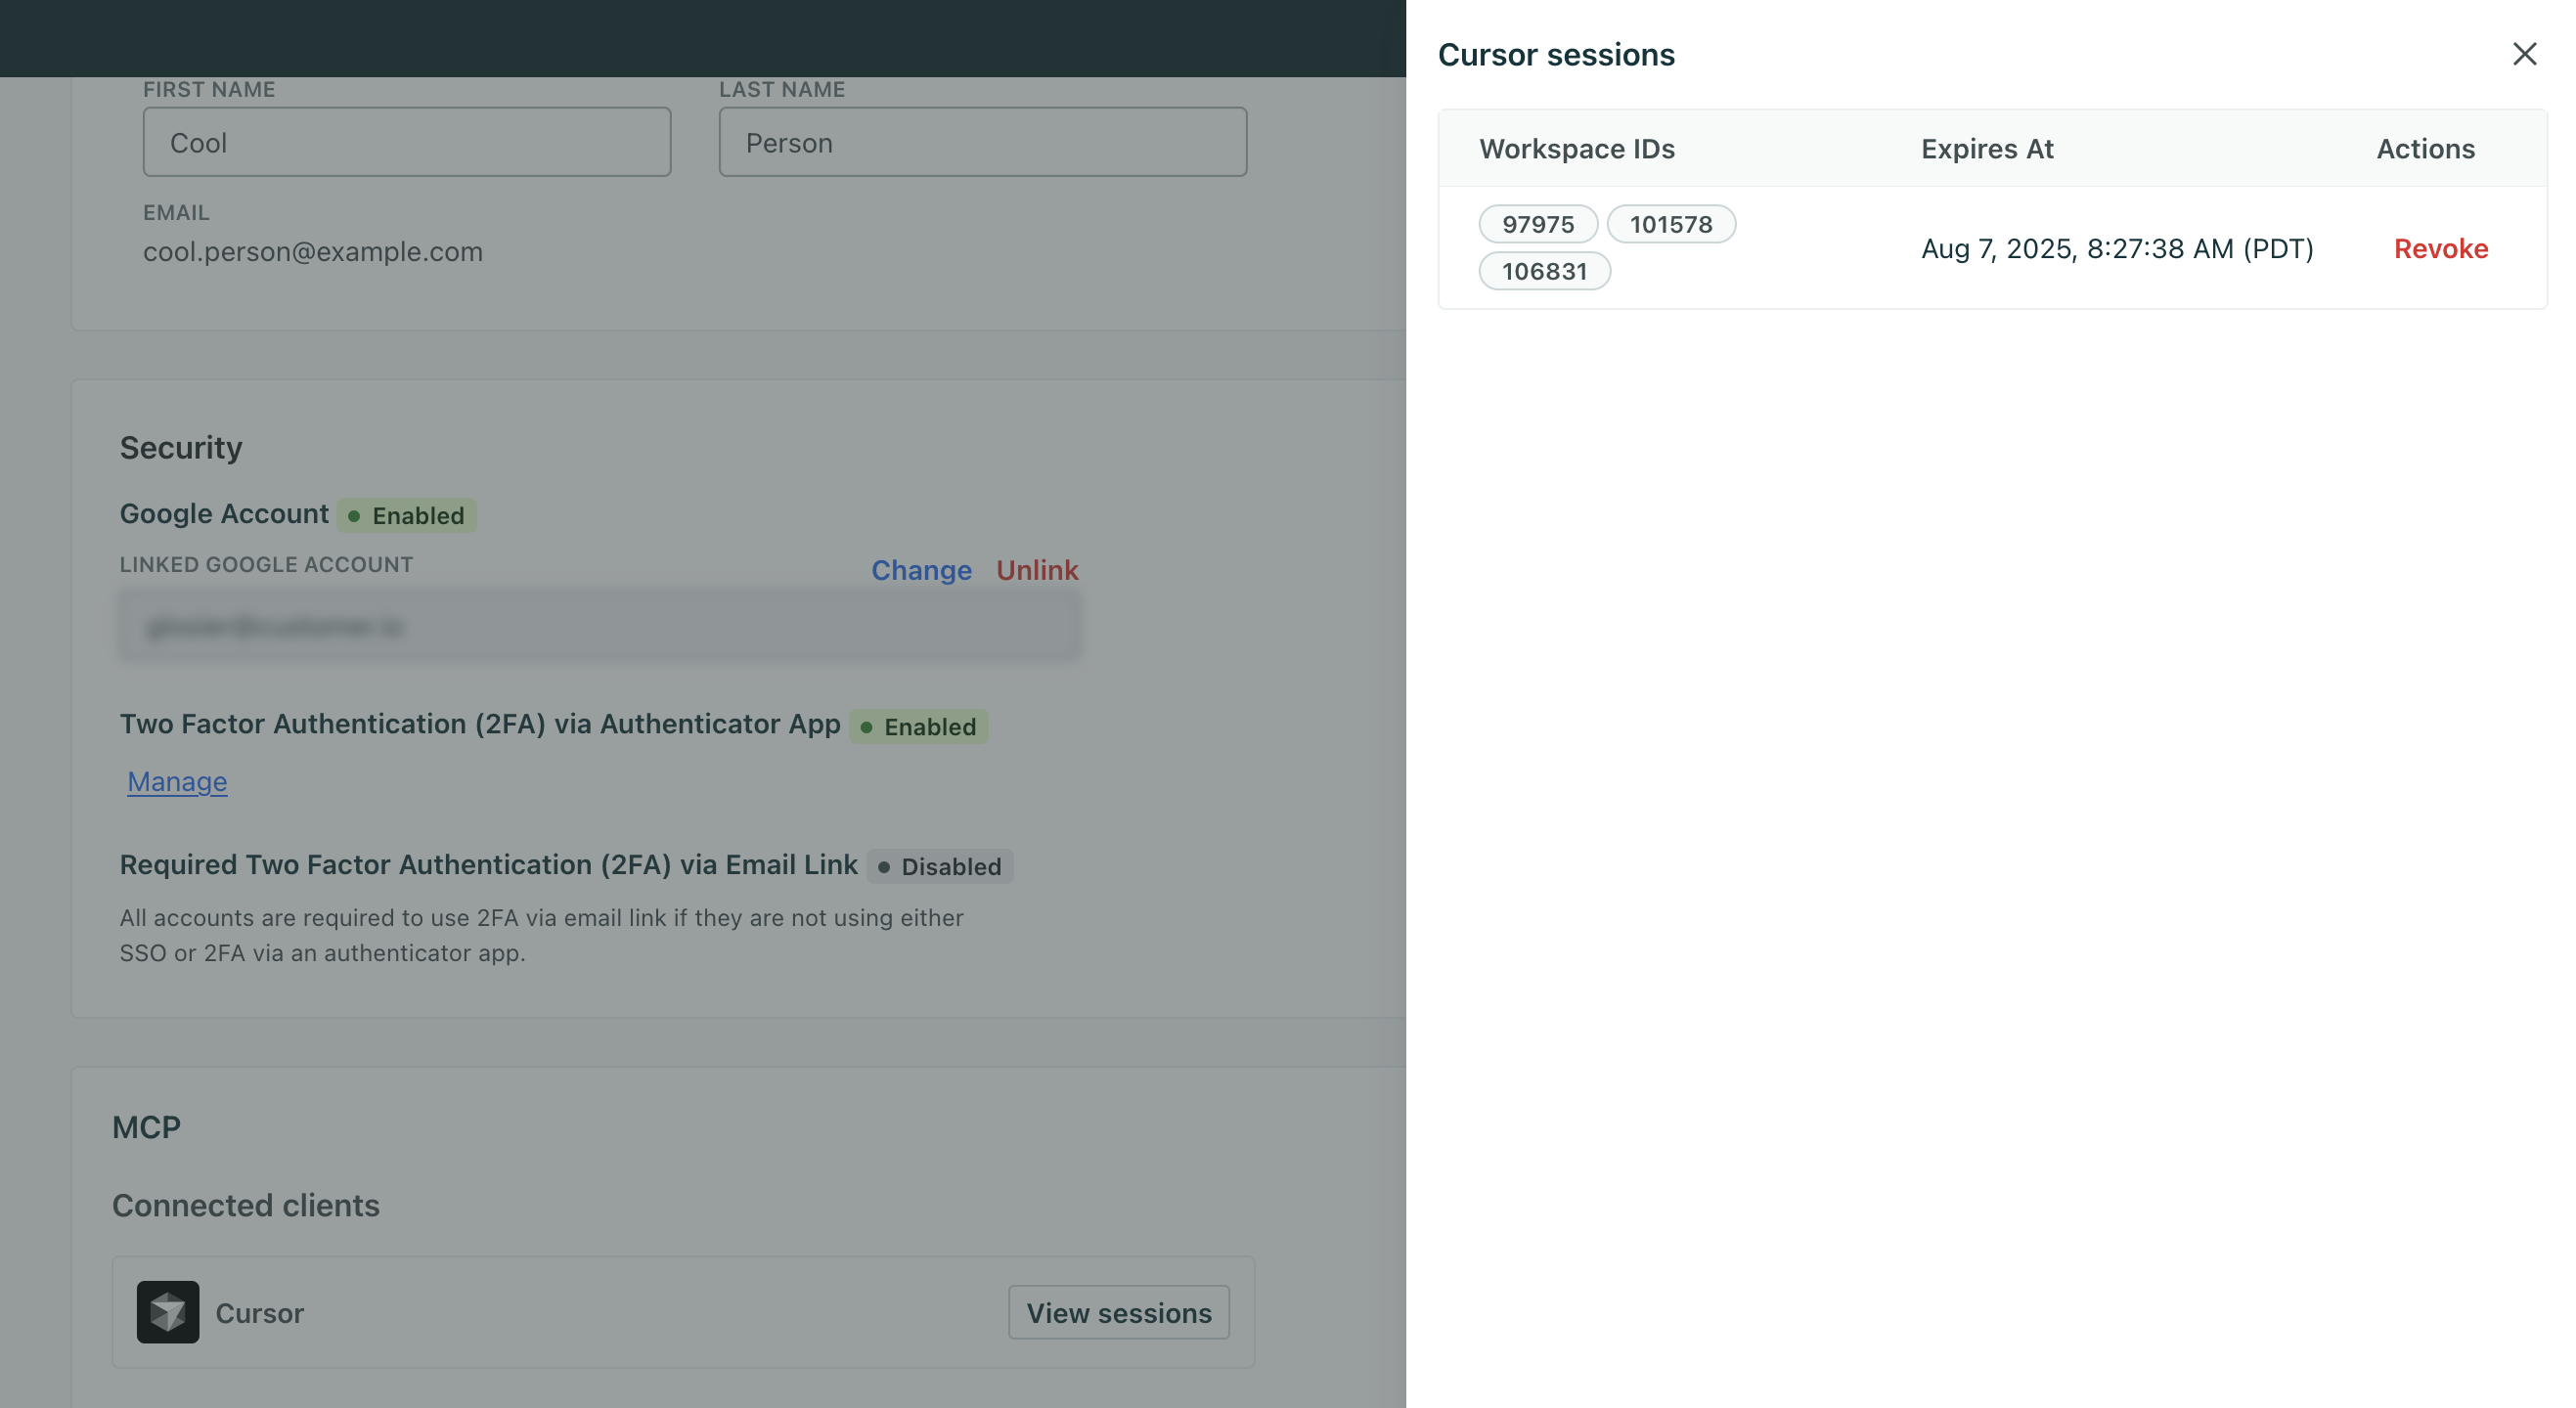
See MCP sessions
We log MCP sessions so you can control and revoke your own MCP sessions.
- Go to Settings > Personal Settings.
- Under Connected clients, click View sessions.
From here you can see active sessions for a client. Click Revoke to end a session and require the client to re-authenticate with Customer.io
Install and troubleshoot SDK integrations
The integration tool is one of the most powerful ways to use our MCP server. It can help you install and troubleshoot any of our SDK-based integrations, including mobile SDKs or any of our web-based integrations like Node.js.
You can ask questions like:
- Can you help me integrate with the Customer.io SDK for iOS?
- My users aren’t receiving push notifications on Android. Can you help me troubleshoot?
The tool will help you update your code and return detailed steps to help you find and troubleshoot issues.

