Hubspot Destination
PremiumThis feature is available on our Premium and Enterprise plans. UpdatedAbout this integration
HubSpot is an all-in-one CRM and Marketing tool. It helps you attract new leads, convert them into paying customers, and retain them with features like landing page creation and email automation.
There are two versions of this integration
You’ll see two entries for Hubspot in our integration catalog, with one labeled Web. We typically recommend that you use the standard integration, the one not labeled “Web” when possible. The web version of this integration only works with our JavaScript client and does not pass data through Customer.io’s servers, which can make it hard to debug your integration, capture a history of events sent to the integration, and so on. Learn more about Web integrations.
Getting started
Go to Data & Integrations > Integrations and select the Hubspot entry in the Directory tab.
(Optional) Select the data sources that you want to connect to your outbound integration. You can always connect data sources later. We’ll only show you data sources that work with your integration.
Configure your integration.
- Portal Id: The Hub ID of your HubSpot account.

Click Enable Destination.
Actions
When you’re done setting things up, you can go to the Actions tab to see how we map incoming data to your integration.
You may need to add actions for this integration
While we often have default triggers for actions, we don't always add those actions as defaults. You may need to add actions to make sure that you're sending all the data that you want to send to your integration. See our actions page for help setting up actions.
| Action | Default Trigger | Description |
|---|---|---|
| Send Custom Behavioral Event |
| Send a custom behavioral event to HubSpot. |
| Upsert Contact |
| Create or update a contact in HubSpot. |
| Upsert Company |
| Create or update a company in HubSpot. |
| Upsert Custom Object Record | Upsert records of Deals, Tickets or other Custom Objects in HubSpot. |
Getting started: web integration
Go to Data & Integrations > Integrations and select the Hubspot entry in the Directory tab.
(Optional) Select the data sources that you want to connect to your outbound integration. You can always connect data sources later. We’ll only show you data sources that work with your integration.
Configure your integration.
Portal Id: The Hub ID of your HubSpot account.
Enable European Data Center: Enable this option if you would like to load the HubSpot SDK for EU data residency.
Flush Identify Immediately: Enable this option to fire a
trackPageViewHubSpot event immediately after eachidentifycall to flush the data to HubSpot immediately.Format Custom Behavioral Event Names: Format the event names for custom behavioral event automatically to standard HubSpot format (
pe<HubID>_event_name).Load Forms SDK: Enable this option if you would like to automatically load the HubSpot Forms SDK onto your site.
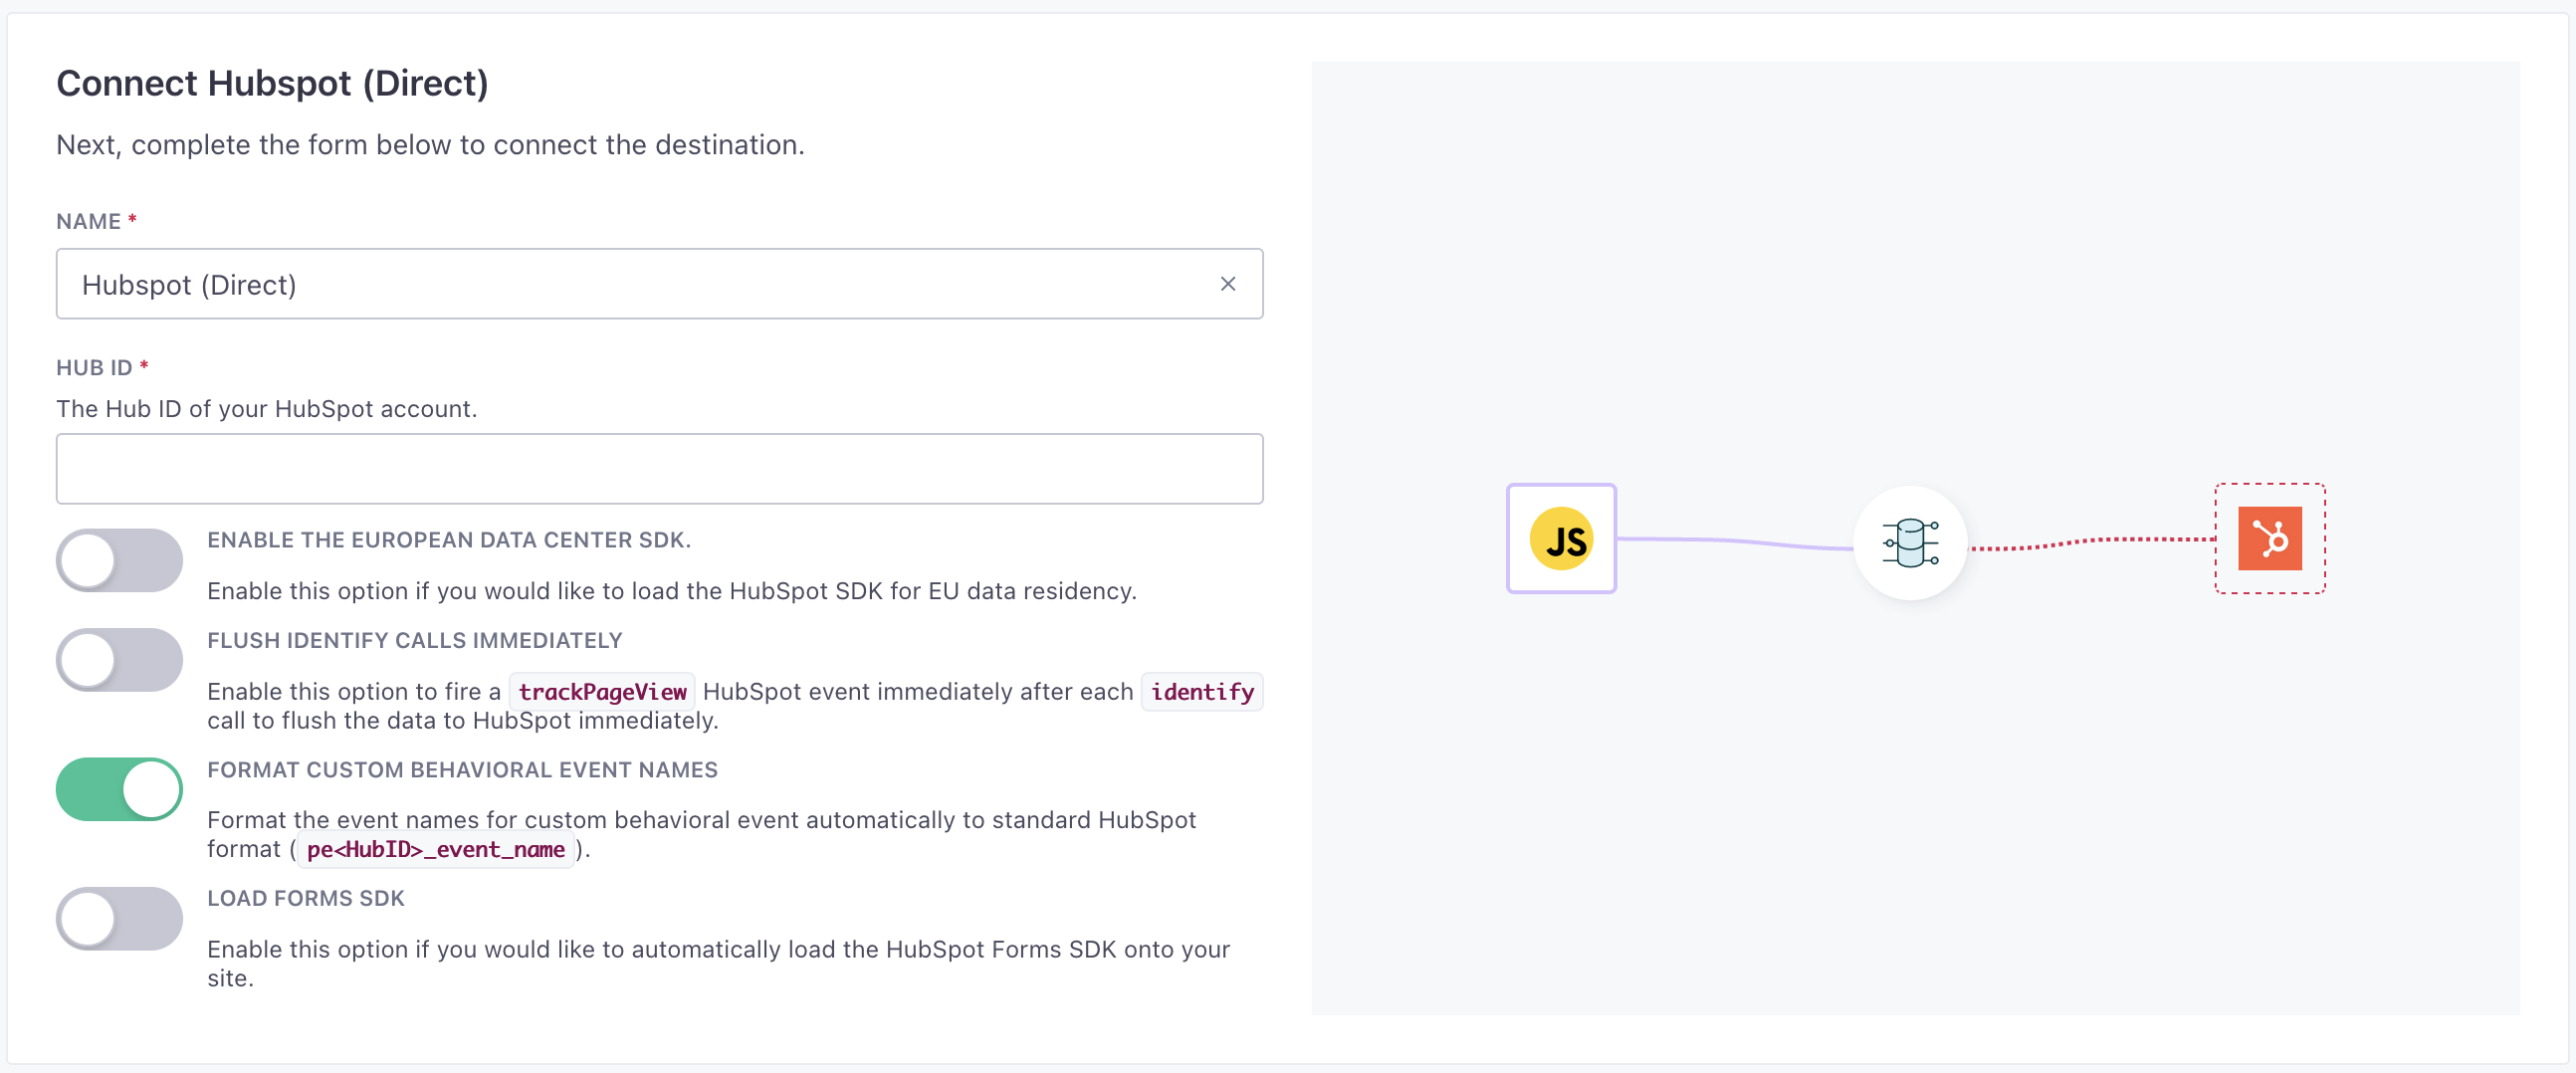
Click Enable Destination.
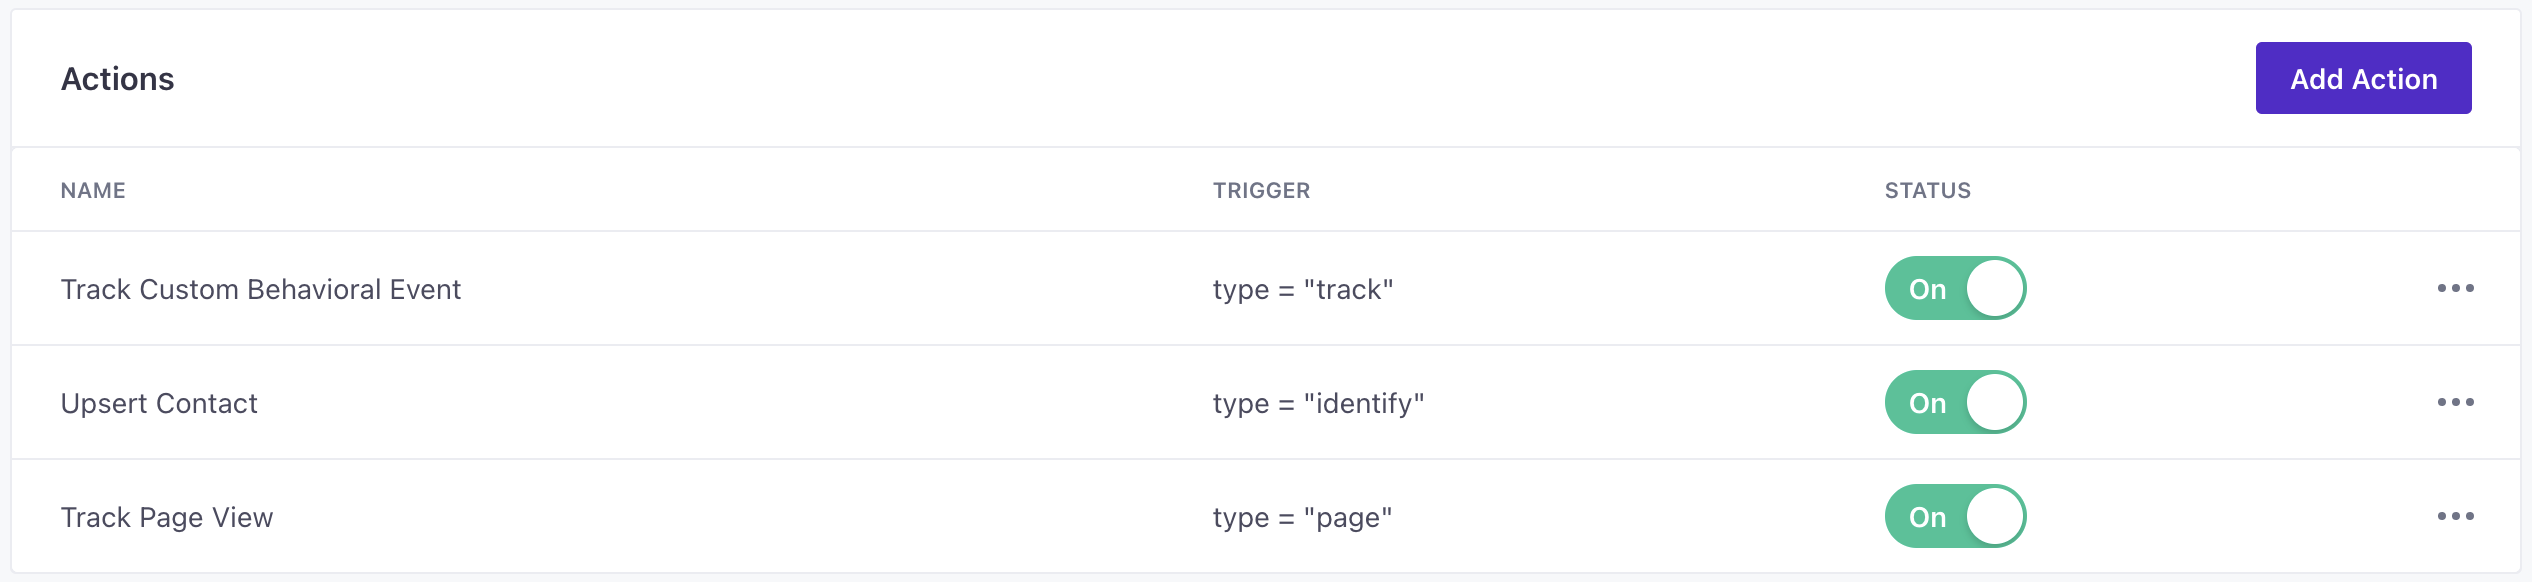
Web integration actions
When you’re done setting things up, you can go to the Actions tab to see how we map incoming data to your integration.
| Action | Default Trigger | Description |
|---|---|---|
| Track Custom Behavioral Event |
| Send a custom behavioral event to HubSpot. |
| Track Page View |
| Track the page view for the current page in HubSpot. |
| Upsert Contact |
| Create or update a contact in HubSpot. |
FAQ and Troubleshooting
Why don’t my custom events show up in Hubspot?
HubSpot has limits for custom behavioral events that don’t necessarily apply to source data, like a limit on the number of event properties per event. Each event can contain data up to 50 properties. If your source data goes over this limit, HubSpot truncates incoming events to the first 50 properties in each event. See HubSpot for other limits.
My objects aren’t companies. How do I send other objects to HubSpot?
Our default group action references companies. But if you want to create records for other types of objects in Hubspot, you can use the Create Custom Object Record action.
For example, to create a deal in HubSpot, you’d add a new Create Custom Object Record action, set up your Trigger criteria, and input a literal string of “deals” as the Object Type. You can use the Properties object to add fields that are in the deals object, like dealname and dealstage.
You can follow this same process for other types of objects (tickets, quotes, etc). Note that you can only send custom fields inside the Properties object, including associations. We do not support record updates for custom, non-company objects; you can only create new records this way.
How do I send Page events to HubSpot?
The Page View action is only available when you use this integration in web mode. If you use this integration in its normal mode, you can set up a Custom Behavioral Event to send page data to Hubspot. You’ll also need to follow Hubspot’s instructions to create a custom behavioral event for Page Viewed in HubSpot.

