Integrating with Customer.io
UpdatedWhile there are plenty of ways to get data into, and out of, Customer.io, our JavaScript integration is one of our most popular and easy-to-use integrations. On this page, we’ll walk you through setting it up so you can identify your website visitors and send them in-app messages.
1. Set up your JavaScript integration
Our JavaScript client feeds data from your website into Customer.io. You’ll add *data inAn integration that feeds data into Customer.io. integrations for every system or touchpoint you want to collect data from.
- Go to Integrations and click Add Integration.
- Select our JavaScript integration.
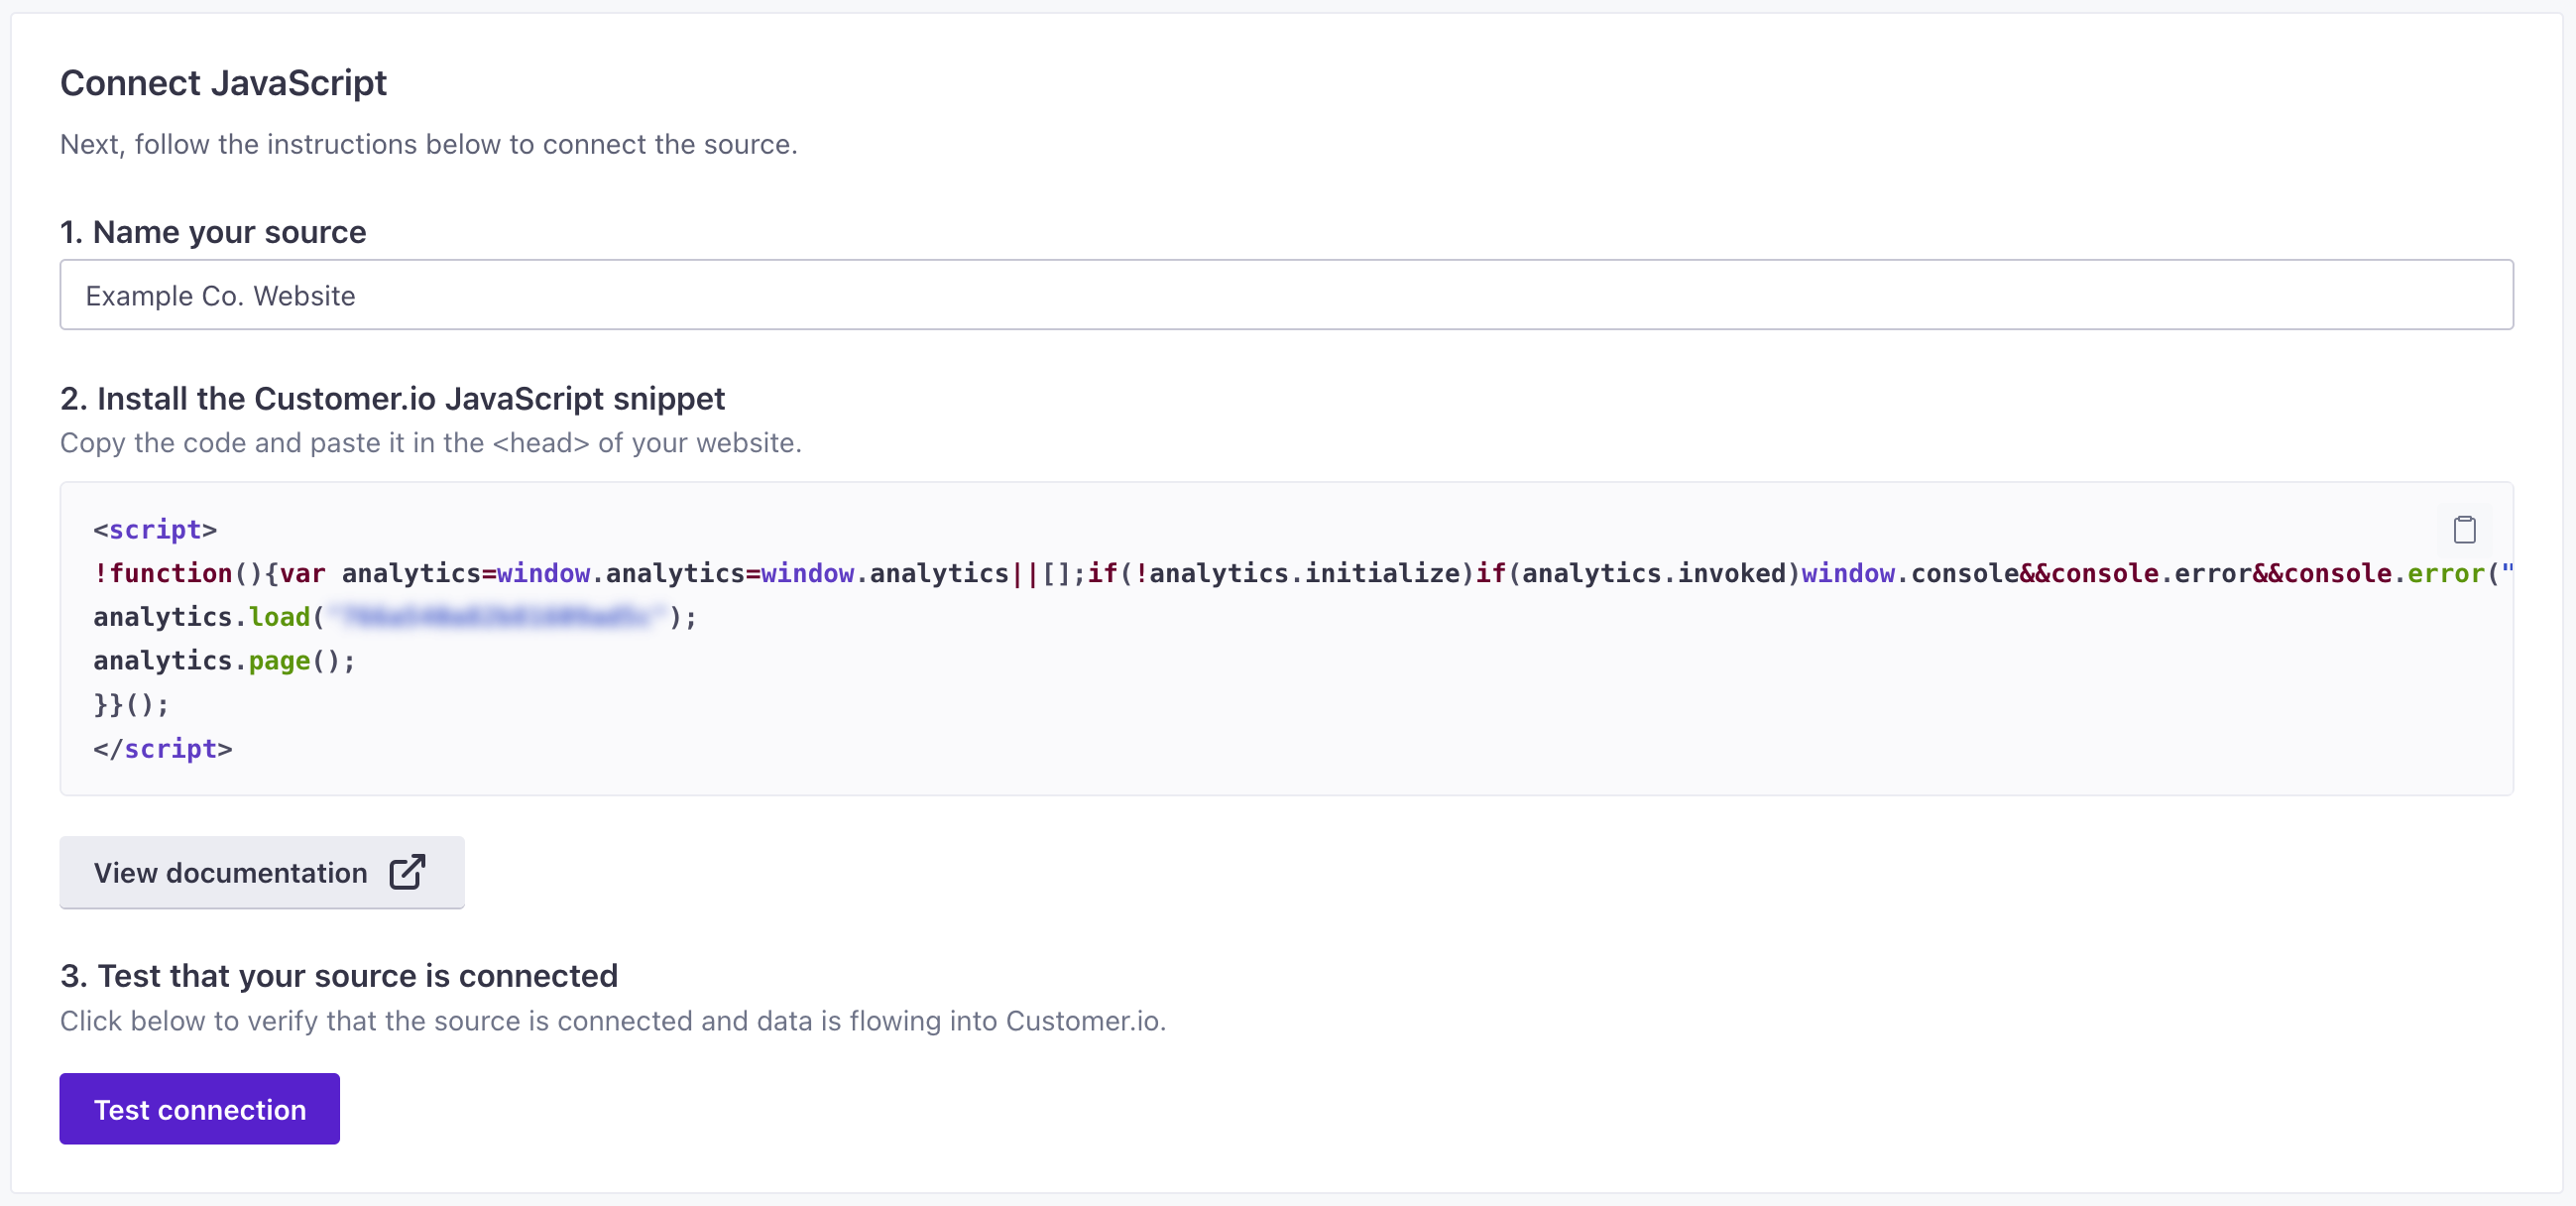
- Enter a Name for the integration and click Submit. You should give your integration a name that helps you and your teammates understand the resource you’re capturing data from—like “company website” or “community forums.”
- Under Installation Instructions, you’ll find the JavaScript snippet that you need to add to your website. Copy this code and paste it in your website’s
<head>tag. - Click Test connection to make sure that everything is setup correctly. If you want to skip this step, click Save & complete later. Otherwise, if your test is successful, click Complete Setup.
That’s it! Now you’re ready to capture data from your website.
2. Make a page call
Go to the website where you installed the JavaScript snippet in the steps above and visit a few pages. In Customer.io, go back to the Data In tab. You should see page events! These events represent the pages people visit on your website.
But these events are still anonymous. You’ll need to identify your audience to associate anonymous data with people you know. That’s what we’ll do next.
Do you have a single page app?
cioanalytics.page() when the snippet loads. If you have a single page app (SPA), it’s likely that each route isn’t necessarily a new page, so you’ll need to call cioanalytics.page() manually for each route in your app.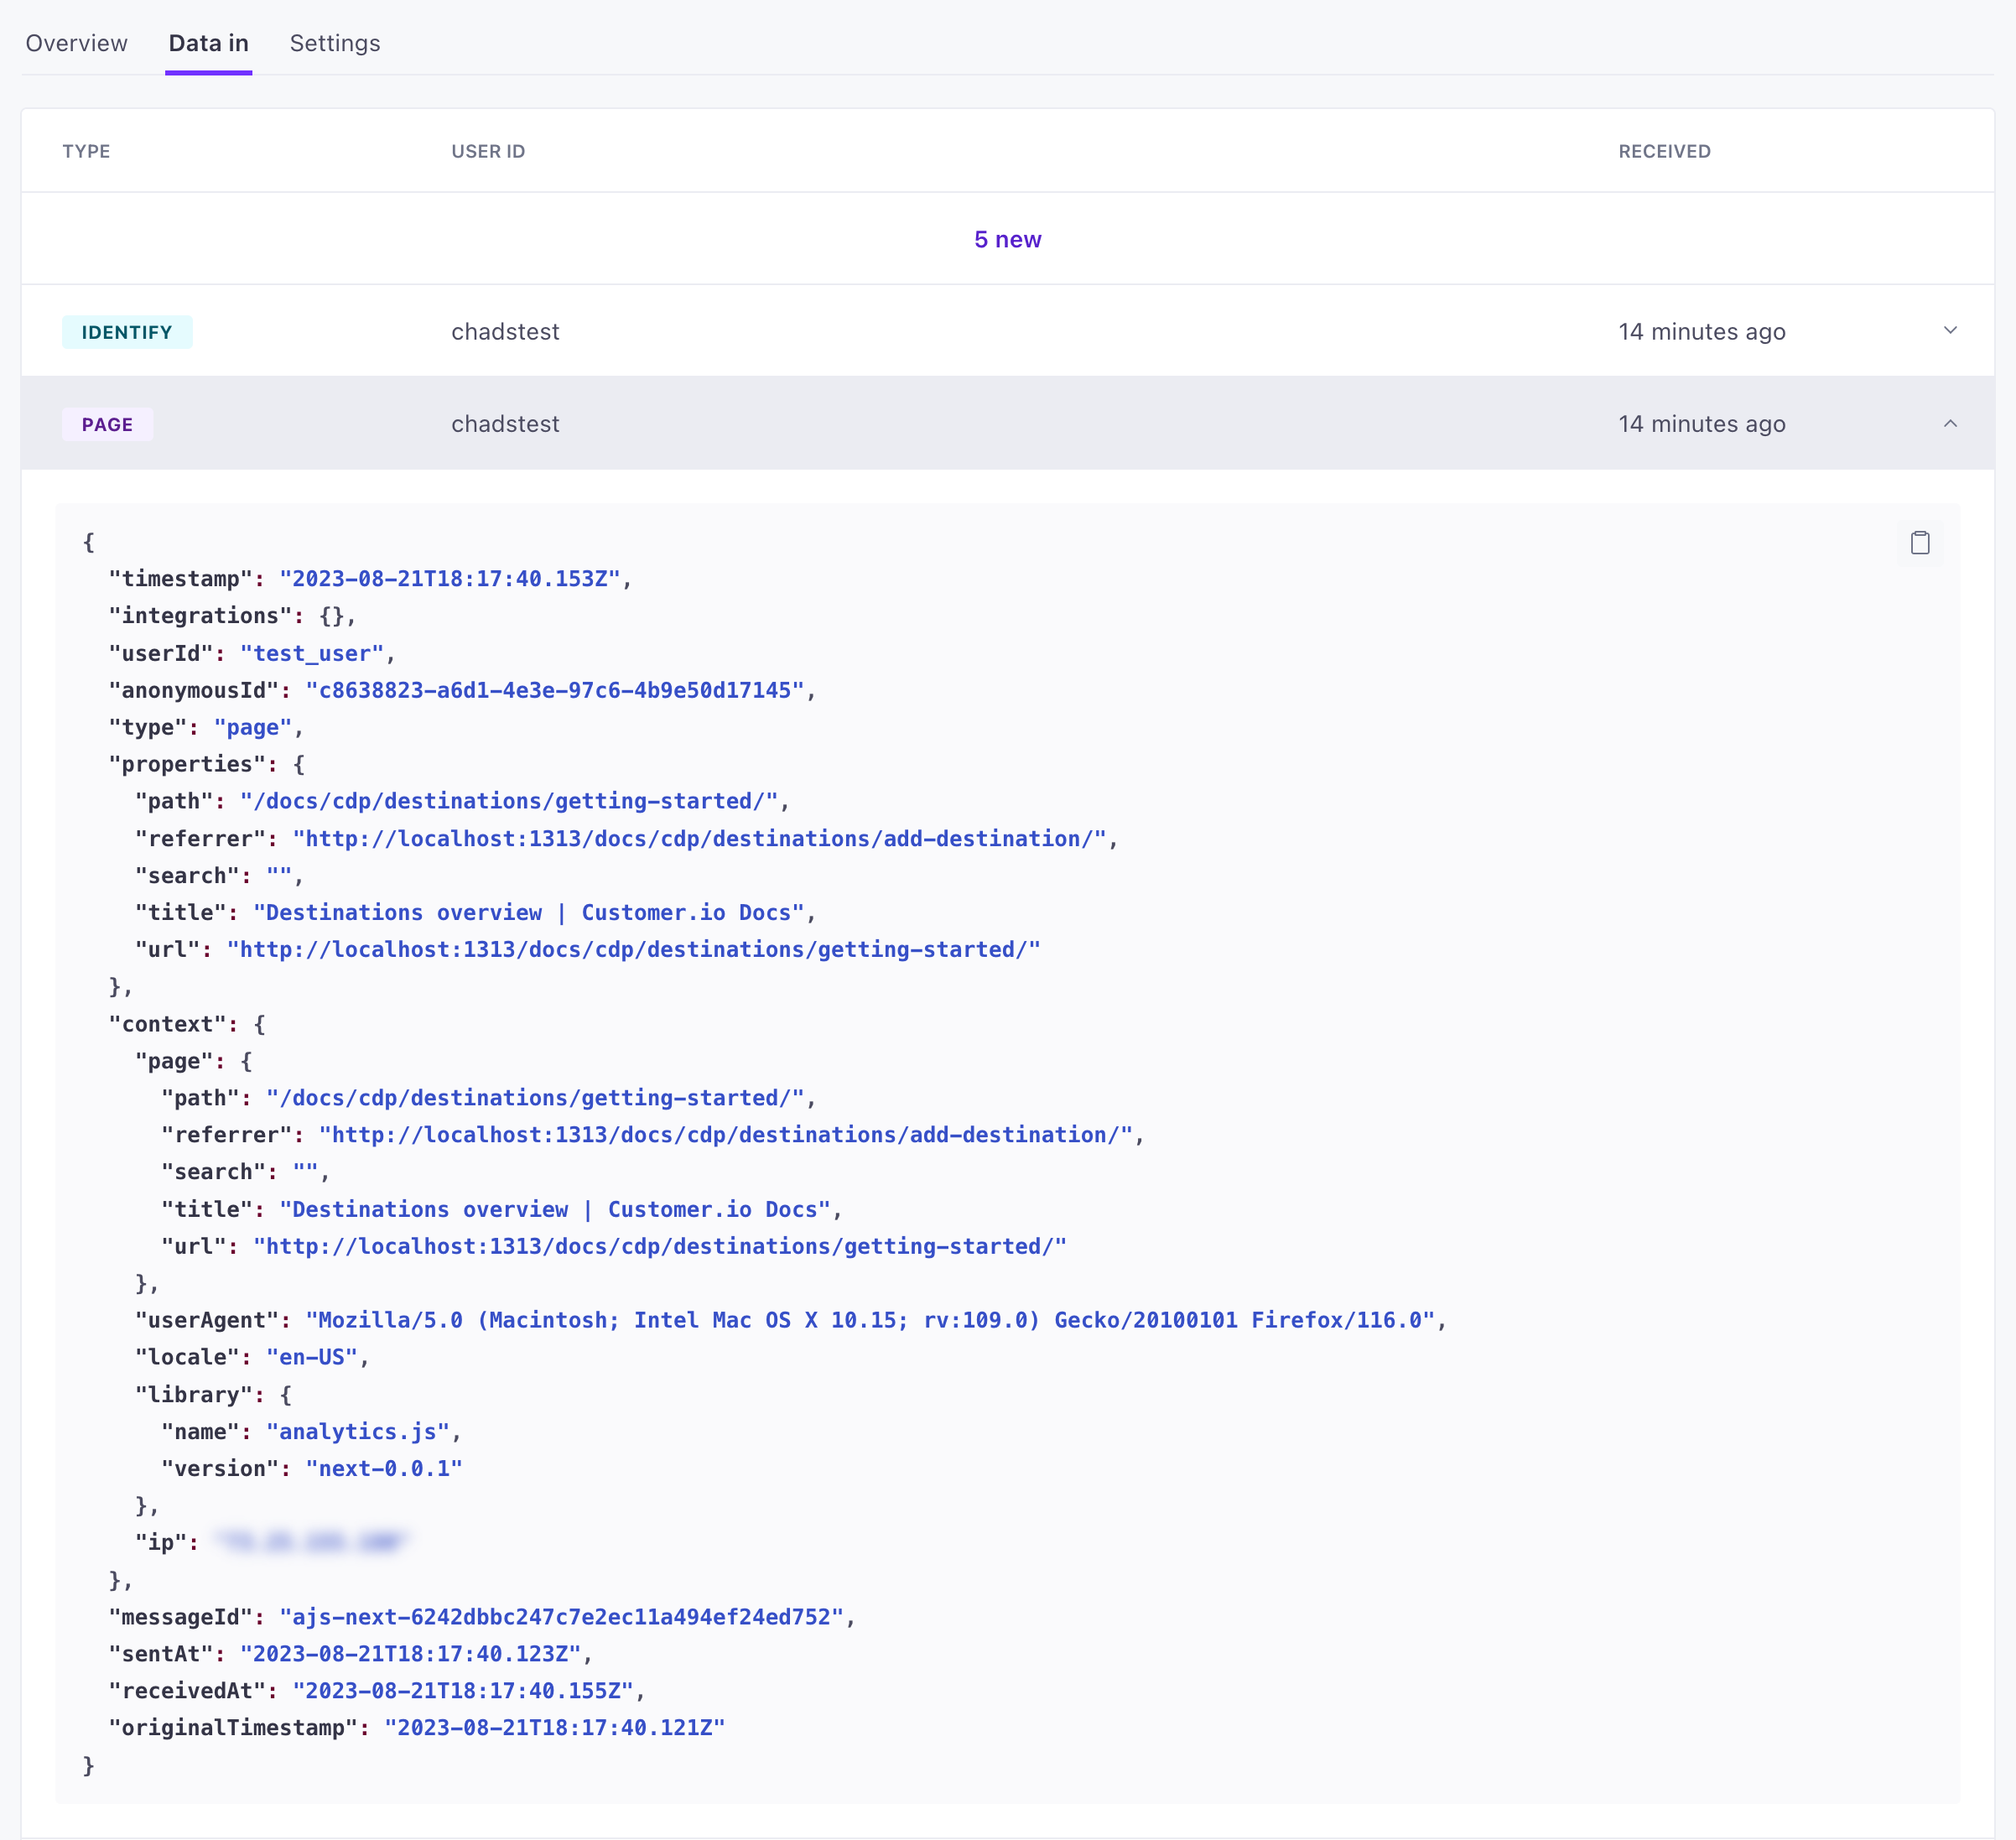
3. Identify website visitors
You can identify people when they provide their email address on a form, log in to your website, and so on.
In your console or in your code, you can call
cioanalytics.identify()to associate anonymous data with a person.// What a call typically looks like: // cioanalytics.identify('userId or email address', { // attribute1: 'value1', // attribute2: 'value2', // }); // Realistic example: cioanalytics.identify('cool.person@example.com', { first_name: 'cool', last_name: 'person', favorite_color: 'blue', });Now refresh your page and look at the API Calls tab in your source. You should see an
identifycall and that yourpagecalls are now associated with that person!
Beyond identifying people and seeing the pages they visit, you can also send custom events, associate people with custom objectsAn object is a non-person entity that you can associate with one or more people—like a company, account, or online course., and more. See our JavaScript source for help implementing the full array of events you can (and should) capture from your source.
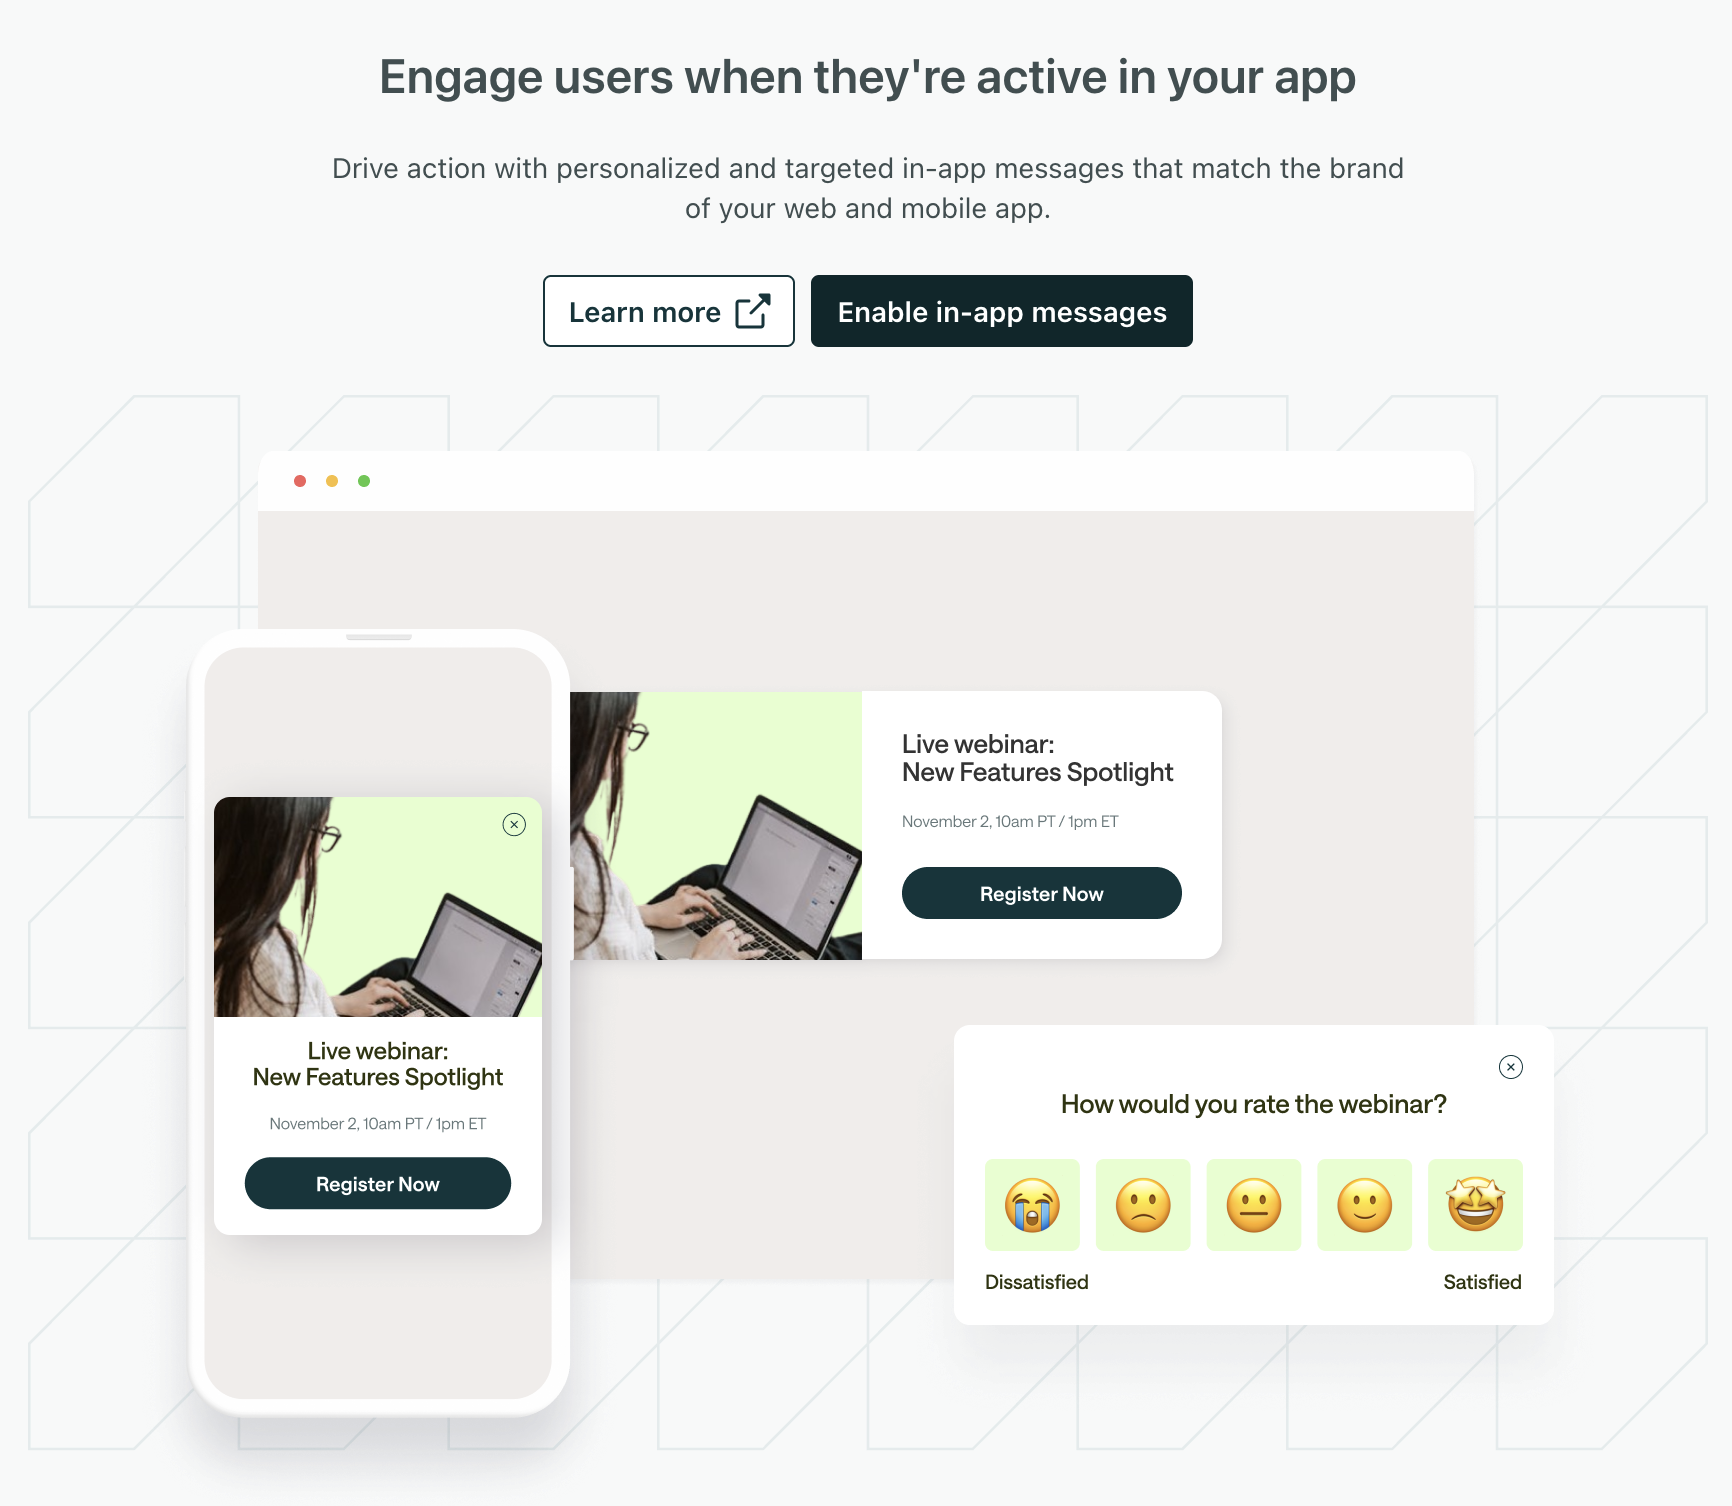
4. (Optional) Set up in-app message support
Now that you’ve identified people and captured page views, you can also set up and send your first in-app message!
Go to Settings > Workspace Settings > In-App, and Enable in-app messages.
Click Send a test message in the in-app message settings and enter the email address or ID of the person you identified earlier. It may take up to a minute to get your first test message because we poll on a longer interval until you receive your first message, but you should see it shortly.
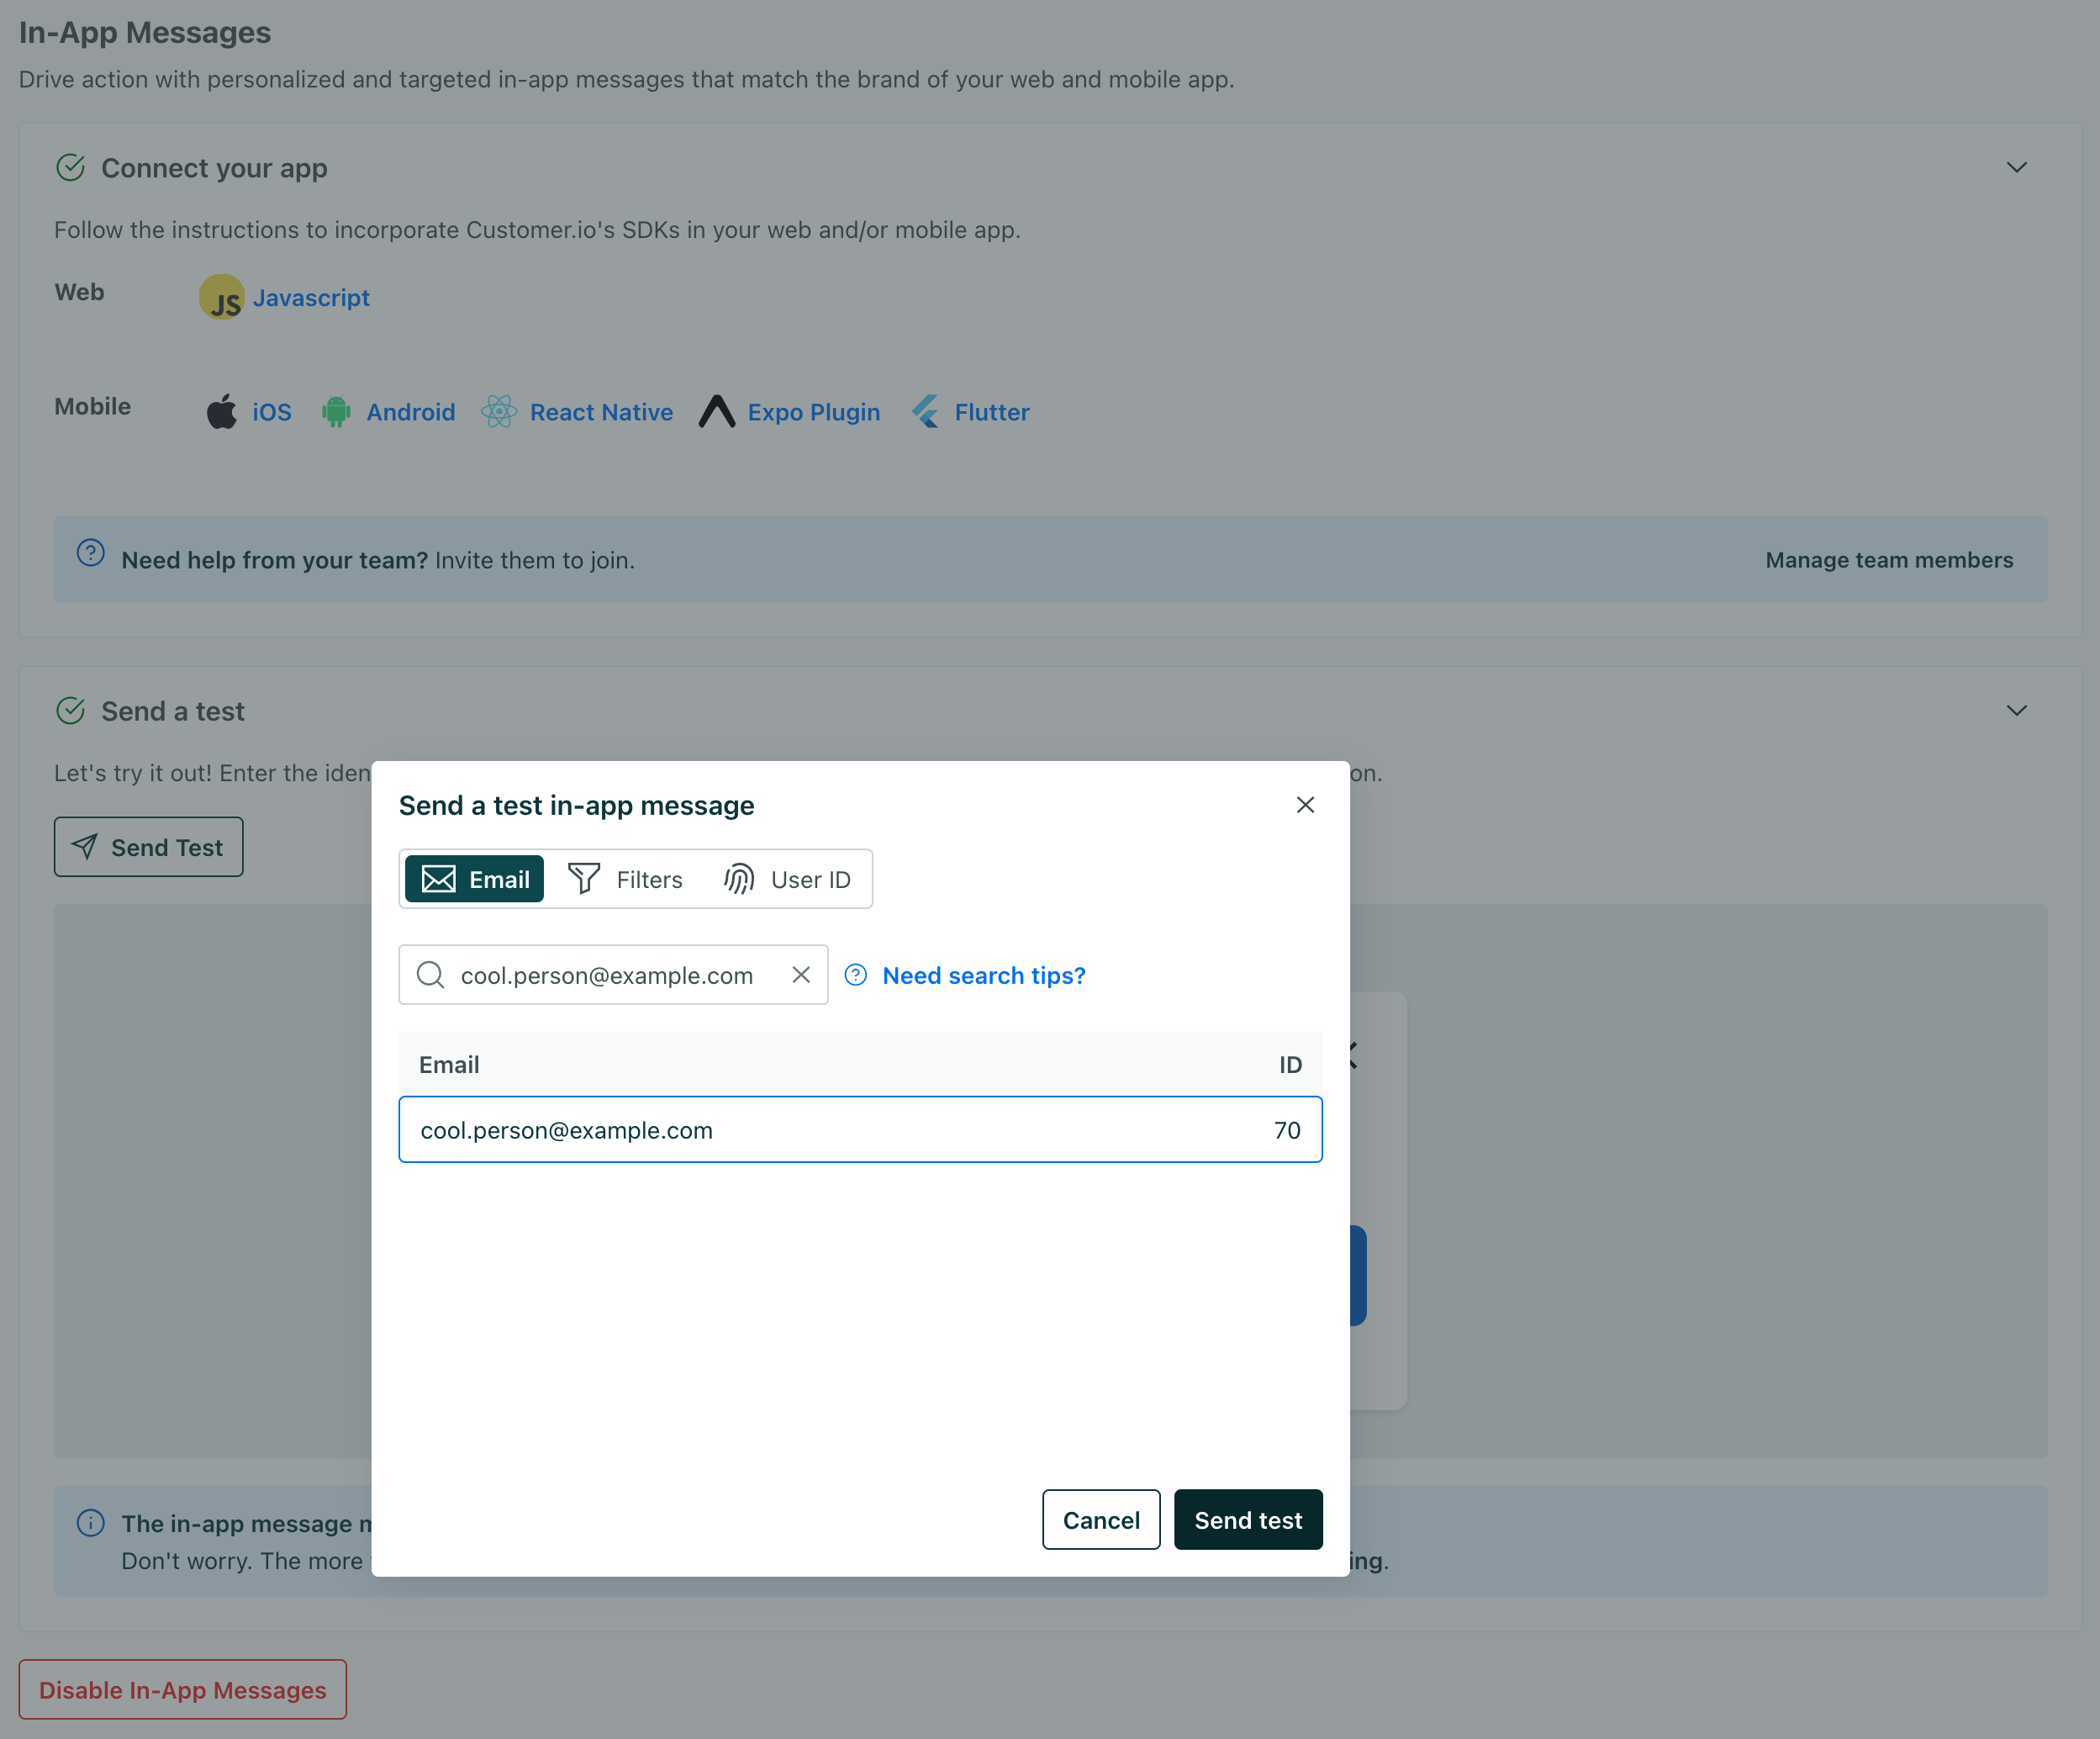
When you receive your first message, you’ll know that you’re properly set up to send in-app messages to the rest of your audience. Your JavaScript integration is complete, and working from end to end!
We support anonymous in-app messages too!

