Customer.io Pipelines API
UpdatedWith the Pipelines API (shown in the UI as the Customer.io API source), you can send data from anywhere directly to Customer.io and other downstream integrations without using an SDK. See our API documentation for more information about the Pipelines APIs.
Examples on this page use our US region
https://cdp-eu.customer.io/v1/ instead.Connect a Customer.io Pipelines API source
- Go to Integrations and click Add Integration.
- Find the Customer.io API integration.
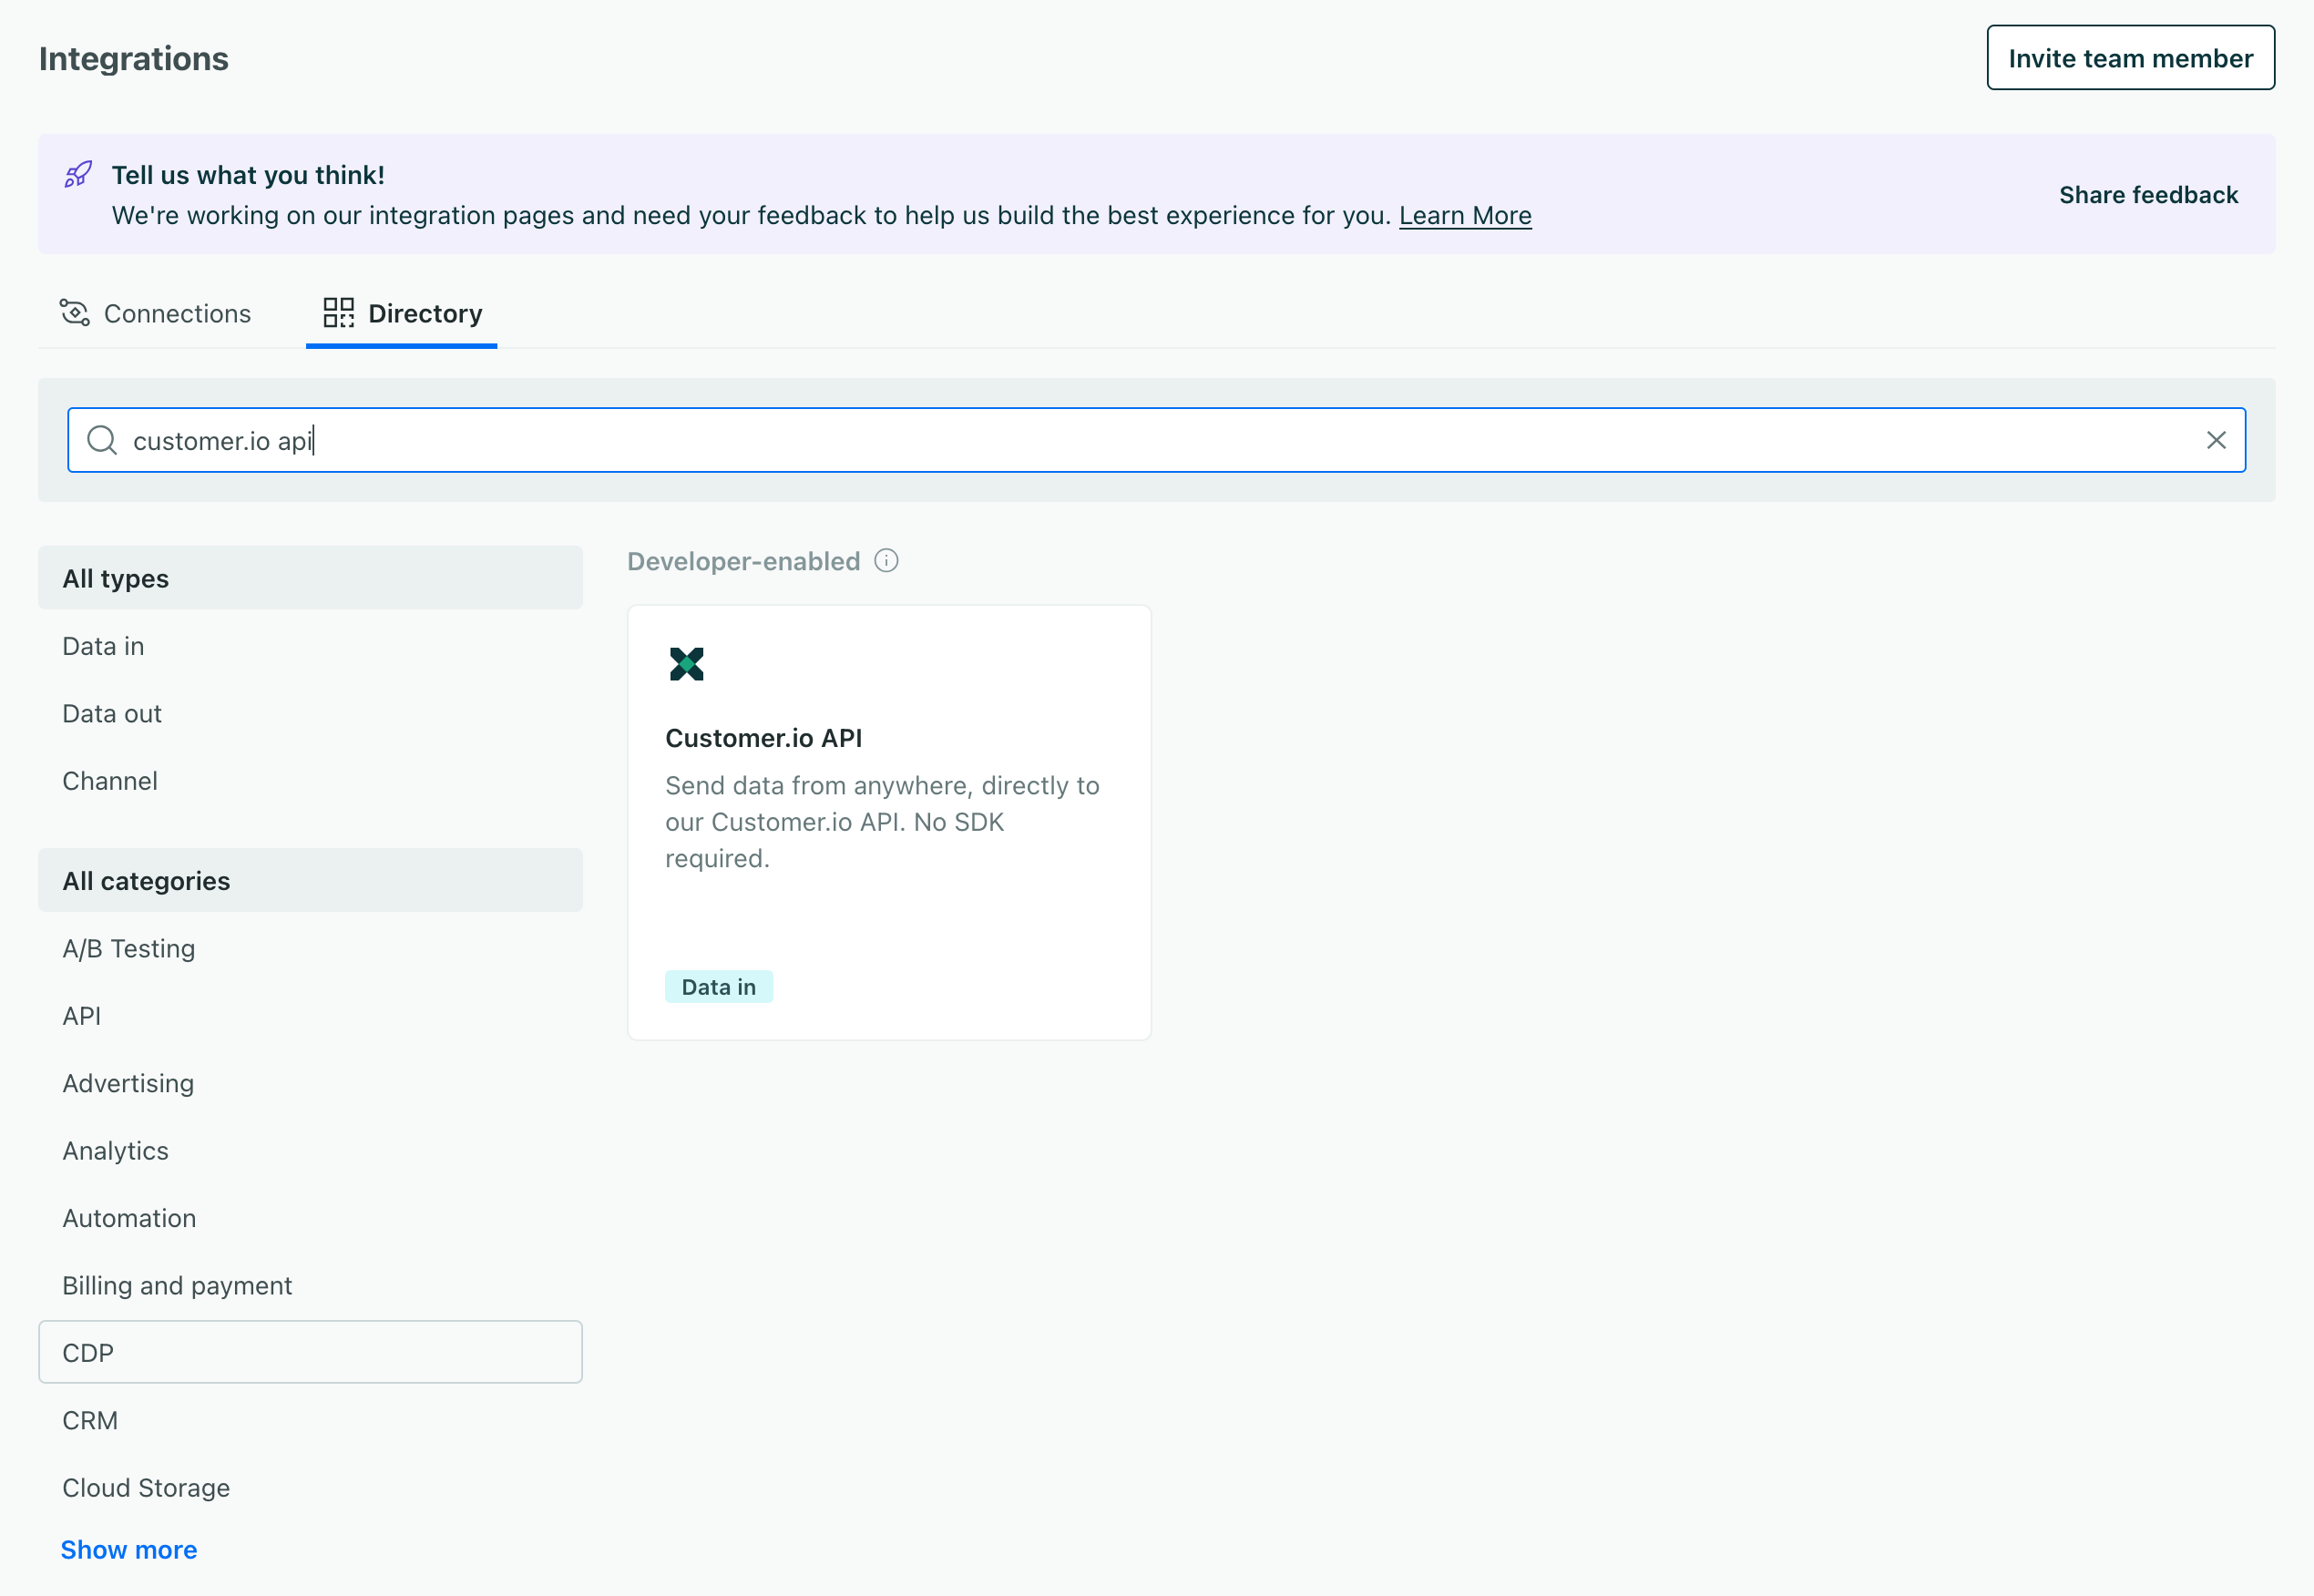
- Give the integration a name. The name helps you find and differentiate between different API credentials; you might name them for users, environments, or the services you use them for.
- Use the key to send a successful test call. You can’t save your credentials until you’ve sent a successful test:
curl --request POST \ --url https://cdp.customer.io/v1/identify \ --header 'Authorization: Basic <your key here>'\ --header 'content-type: application/json' \ -d ' { "userId": "97980cfea0067", "traits": { "name": "Cool Person", "email": "cool.person@example.com" } }' - Click Complete Setup.
After you’ve added your source, you can start making your own calls and add a destination to work with your new source.
Enable automatic geolocation support
You can automatically geolocate people when you identify them and pass their IP addresses in the context.ip field in your identify requests. This helps you gather information about your audience’s location and time zone so you can schedule messages at the right times or send messages relevant to their communities.
If you’ve already set up your integration to capture IP addresses, and you’ve enabled the workspace-level Automatic Geolocation Data Collection setting, you can enable geolocation for your integration.
After you enable the Customer.io API source, go to your integration’s Settings tab and turn on the Enable Geolocation setting.
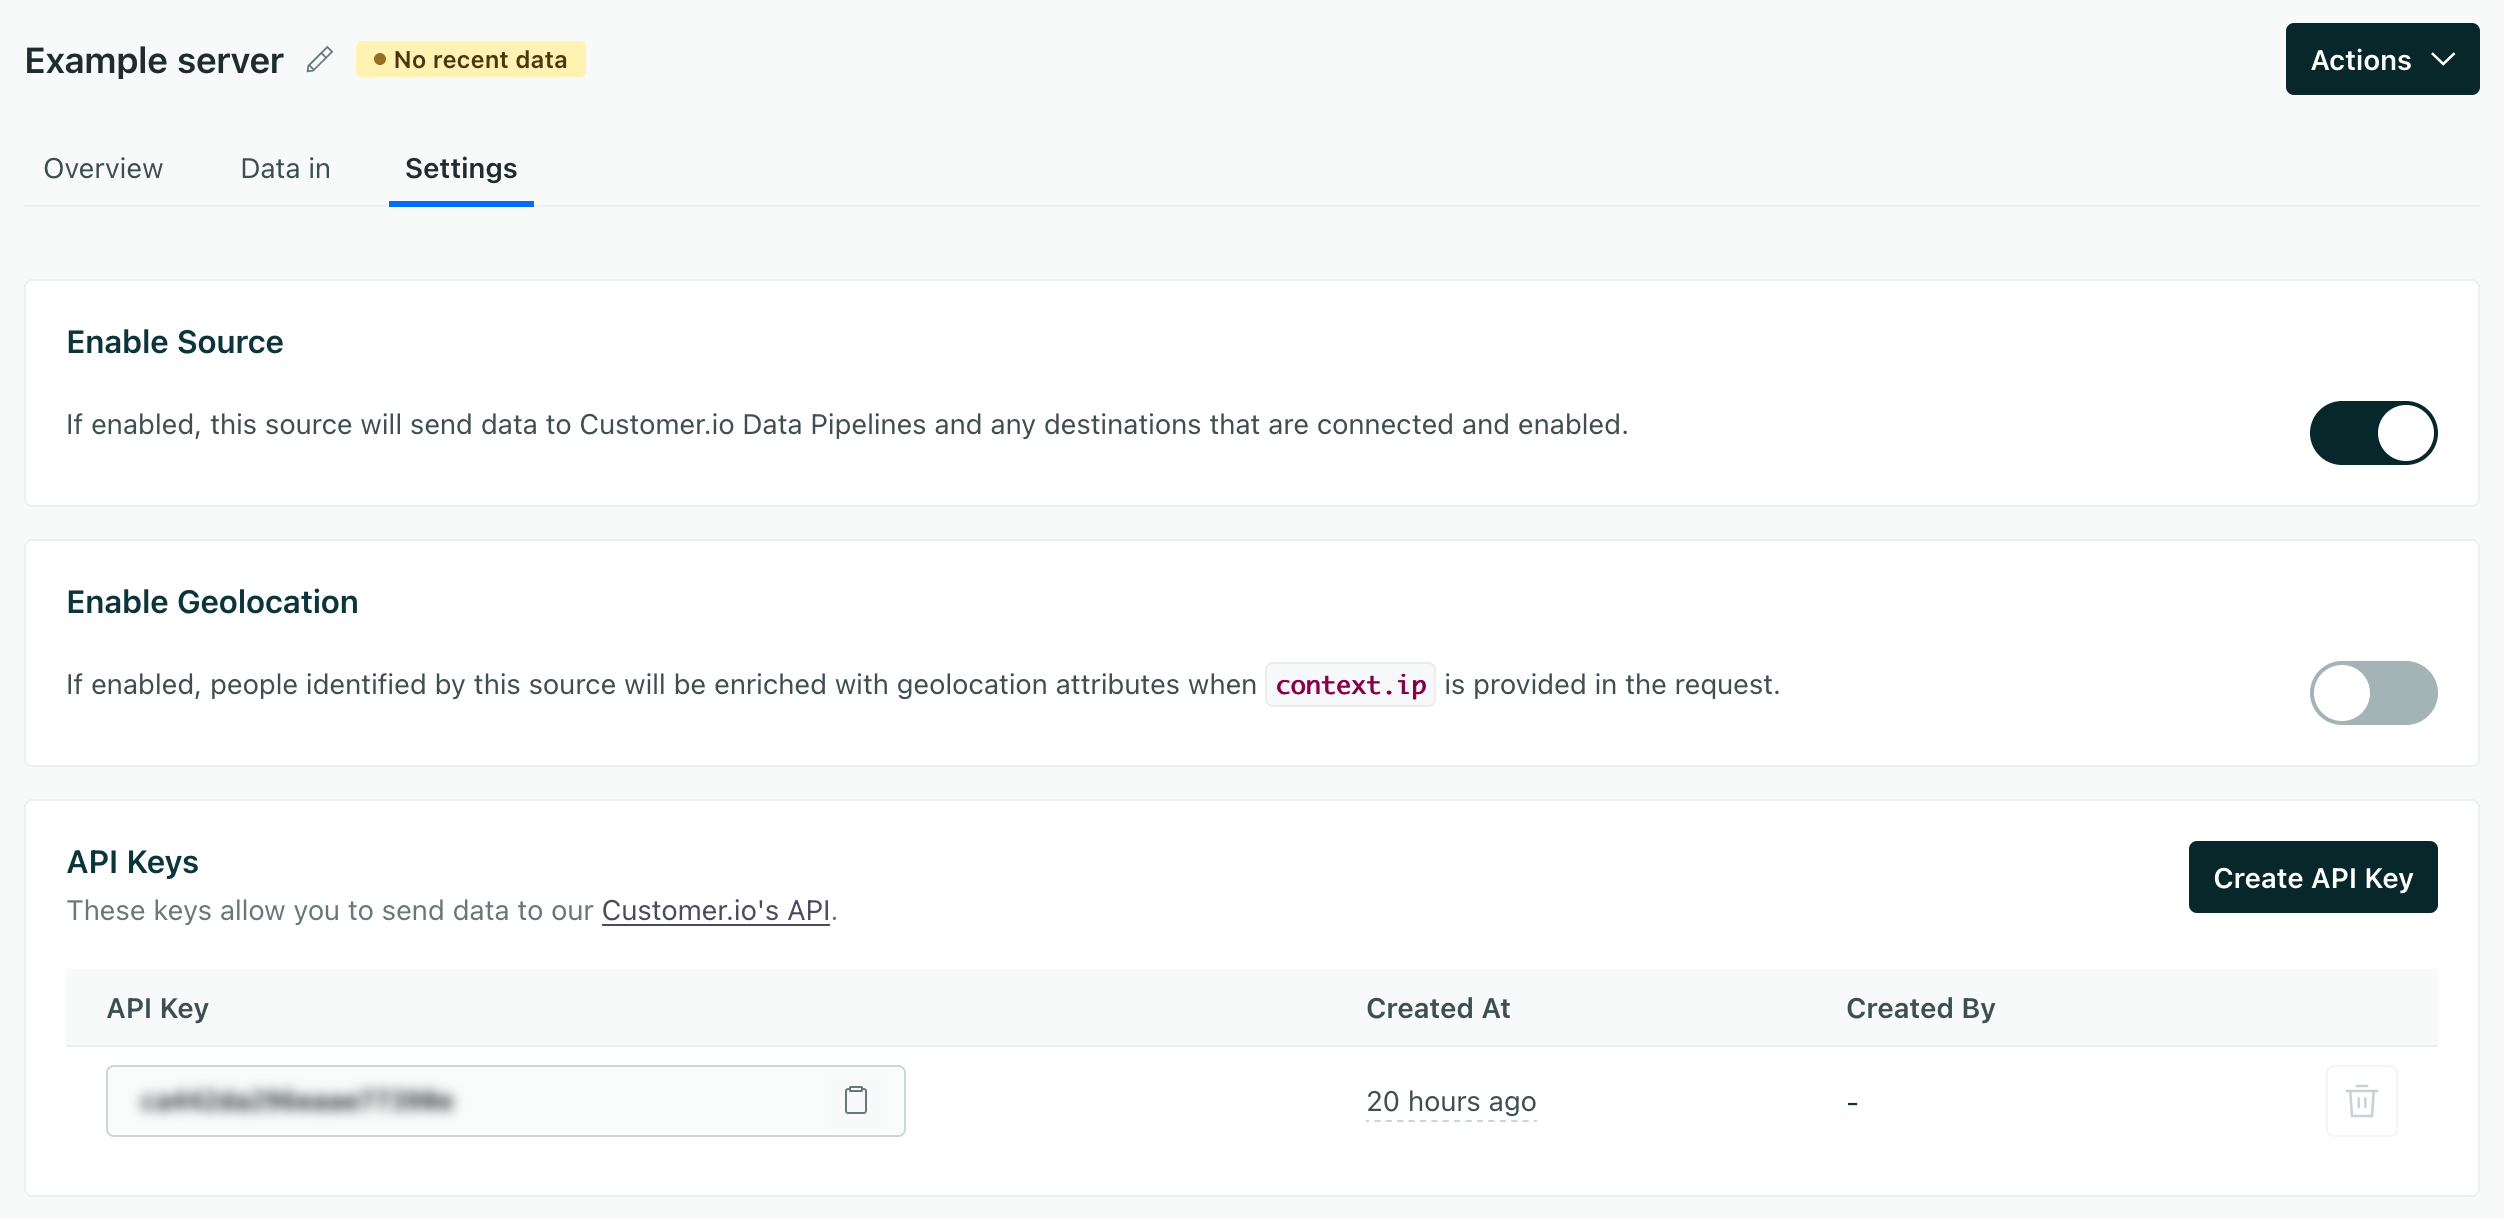
Make sure you capture your users’ IP addresses
context.ip in your requests, we won’t be able to capture geolocation data for your users.Identify
The identify method tells us who the current website visitor is, and lets you assign unique traitsA key-value pair that you associate with a person or an object—like a person’s name, the date they were created in your workspace, or a company’s billing date etc. Use attributes to target people and personalize messages. to a person.
You should call identify when a user creates an account, logs in, etc. You can also call it again whenever a person’s traits change. We’ve shown a typical call with a traits object, but we’ve listed all the fields available in an identify call below.
You can send an identify call with an anonymousId and/or userId.
anonymousIdonly: This assigns traits to a person before you know who they are.userIdonly: Identifies a user and sets traits.- both
userIdandanonymousId: Associates the data sent in previous anonymouspage,track, andidentifycalls with the person you identify byuserId.
-
- Enabled/Disabled integrations* boolean
- timestamp string (date-time)The ISO-8601 timestamp when the event originally took place. This is mostly useful when you backfill data past events. If you’re not backfilling data, you can leave this field empty and we’ll use the current time or server time.
-
- createdAt string (date-time)We recommend that you pass date-time values as ISO 8601 date-time strings. We convert this value to fit destinations where appropriate.
- email stringA person’s email address. In some cases, you can pass an empty
userIdand we’ll use this value to identify a person. - Additional Traits* any typeTraits that you want to set on a person. These can take any JSON shape.
Track
The track method tells us about actions people take—the events people perform—on your site. Every track call represents an event.
You should track your audience’s activities with events both as performance indicators and so you can respond to your audience’s activities with campaignsCampaigns are automated workflows you set up to send people messages and perform other actions when they meet your criteria. in Journeys. For example, if your audience performs a Video Viewed or Item Purchased event, you might respond with other videos or products the person might enjoy.
You can send events with an anonymousId or a userId. Calls that you make with an anonymousId are associated with a userId when you identify someone by their userId.
Track calls require an event name describing what a person did. And they generally include a series of properties, providing additional information about the event. Beyond that, we’ve provided a complete schema for writable event fields below, and you can find more information in our API documentation.
- event stringRequired The name of the event
-
- Enabled/Disabled integrations* boolean
-
- Event Properties* any typeAdditional properties that you want to capture in the event. These can take any JSON shape.
- timestamp string (date-time)The ISO-8601 timestamp when the event originally took place. This is mostly useful when you backfill data past events. If you’re not backfilling data, you can leave this field empty and we’ll use the current time or server time.
Page
The Page method records page views on your website, along with optional extra information about the page a person visited.
-
- Enabled/Disabled integrations* boolean
- name stringRequired The name of the page.
-
- category stringThe category of the page. This might be useful if you have a single page routes or have a flattened URL structure.
- Page Properties* any typeAdditional properties tha tyou want to send with the page event. By default, we capture `url`, `title`, and stuff.
- timestamp string (date-time)The ISO-8601 timestamp when the event originally took place. This is mostly useful when you backfill data past events. If you’re not backfilling data, you can leave this field empty and we’ll use the current time or server time.
Screen
The Screen method sends screen view events for mobile devices. These help you understand the screens that people use in your app.
- name stringRequired The name of the screen the person visited.
- timestamp string (date-time)The ISO-8601 timestamp when the event originally took place. This is mostly useful when you backfill data past events. If you’re not backfilling data, you can leave this field empty and we’ll use the current time or server time.
Group
The Group method associates an identified person with a group—like a company, organization, project, online class or any other collective noun you come up with for the same concept. In Customer.io Journeys, we call groups objectsAn object is a non-person entity that you can associate with one or more people—like a company, account, or online course..
Group calls are useful for integrations where you maintain relationships between people and larger organizations, like in Customer.io! In Customer.io Journeys, you can store groups as objectsAn object is a non-person entity that you can associate with one or more people—like a company, account, or online course., and trigger campaigns based on a person’s relationship to an object—like an account, online class, and so on.
Find more details about group, including the group payload, in our API spec.
Include objectTypeId when you send data to Customer.io
group calls to Customer.io, you should include the object type ID or we’ll assume that the object type is 1.- groupId stringRequired ID of the group
-
- Enabled/Disabled integrations* boolean
- timestamp string (date-time)The ISO-8601 timestamp when the event originally took place. This is mostly useful when you backfill data past events. If you’re not backfilling data, you can leave this field empty and we’ll use the current time or server time.
-
- Group Traits* any typeAdditional traits you want to associate with this group.
Alias
The Alias method combines two previously unassociated user identities. Some integrations automatically reconcile profiles with different identifiers based on whether you send anonymousId, userId, or another trait that the integration expects to be unique. But for integrations that don’t, you may need to send alias requests to do this.
In general, you won’t need to use the alias call; we try to handle user identification gracefully so you don’t need to merge profiles. But you may need to send alias calls to manage user identities in some data-out integrations.
For example, in Mixpanel it’s used to associate an anonymous user with an identified user once they sign up.
- previousId stringRequired The userId that you want to merge into the canonical profile.
- userId stringRequired The userId that you want to keep. This is required if you haven’t already identified someone with one of our web or server-side libraries.

