Mobile App Sources
UpdatedUnlike most other sources, our mobile sources aren’t just a way to pass data from one platform to another. They support push notifications and in-app messages from Customer.io Journeys!
How mobile SDKs work
When you integrate our mobile SDK into your app, you’ll gain support for push notifications, in-app messages, and the ability to send your app data to both Customer.io and downstream integrations like your analytics platform.
We currently have SDKs for iOS (Swift), Android, React Native, Expo, and Flutter.
Minimum versions
Our SDKs became “integration sources” in fairly recent releases. If you’re on a release older than the ones listed below, you’ll need to upgrade to take advantage of all our integration features—like support for anonymous activity.
| Platform | Minimum “source” version |
|---|---|
| iOS (Swift) | 3 |
| Android | 4 |
| React Native | 4 |
| Flutter | 2 |
| Expo | 2 |

Add a mobile integration
To support our mobile SDKs, you’ll first need to create your integration in Customer.io. This generates a set of API credentials you’ll use to initialize the SDK and communicate with Customer.io.
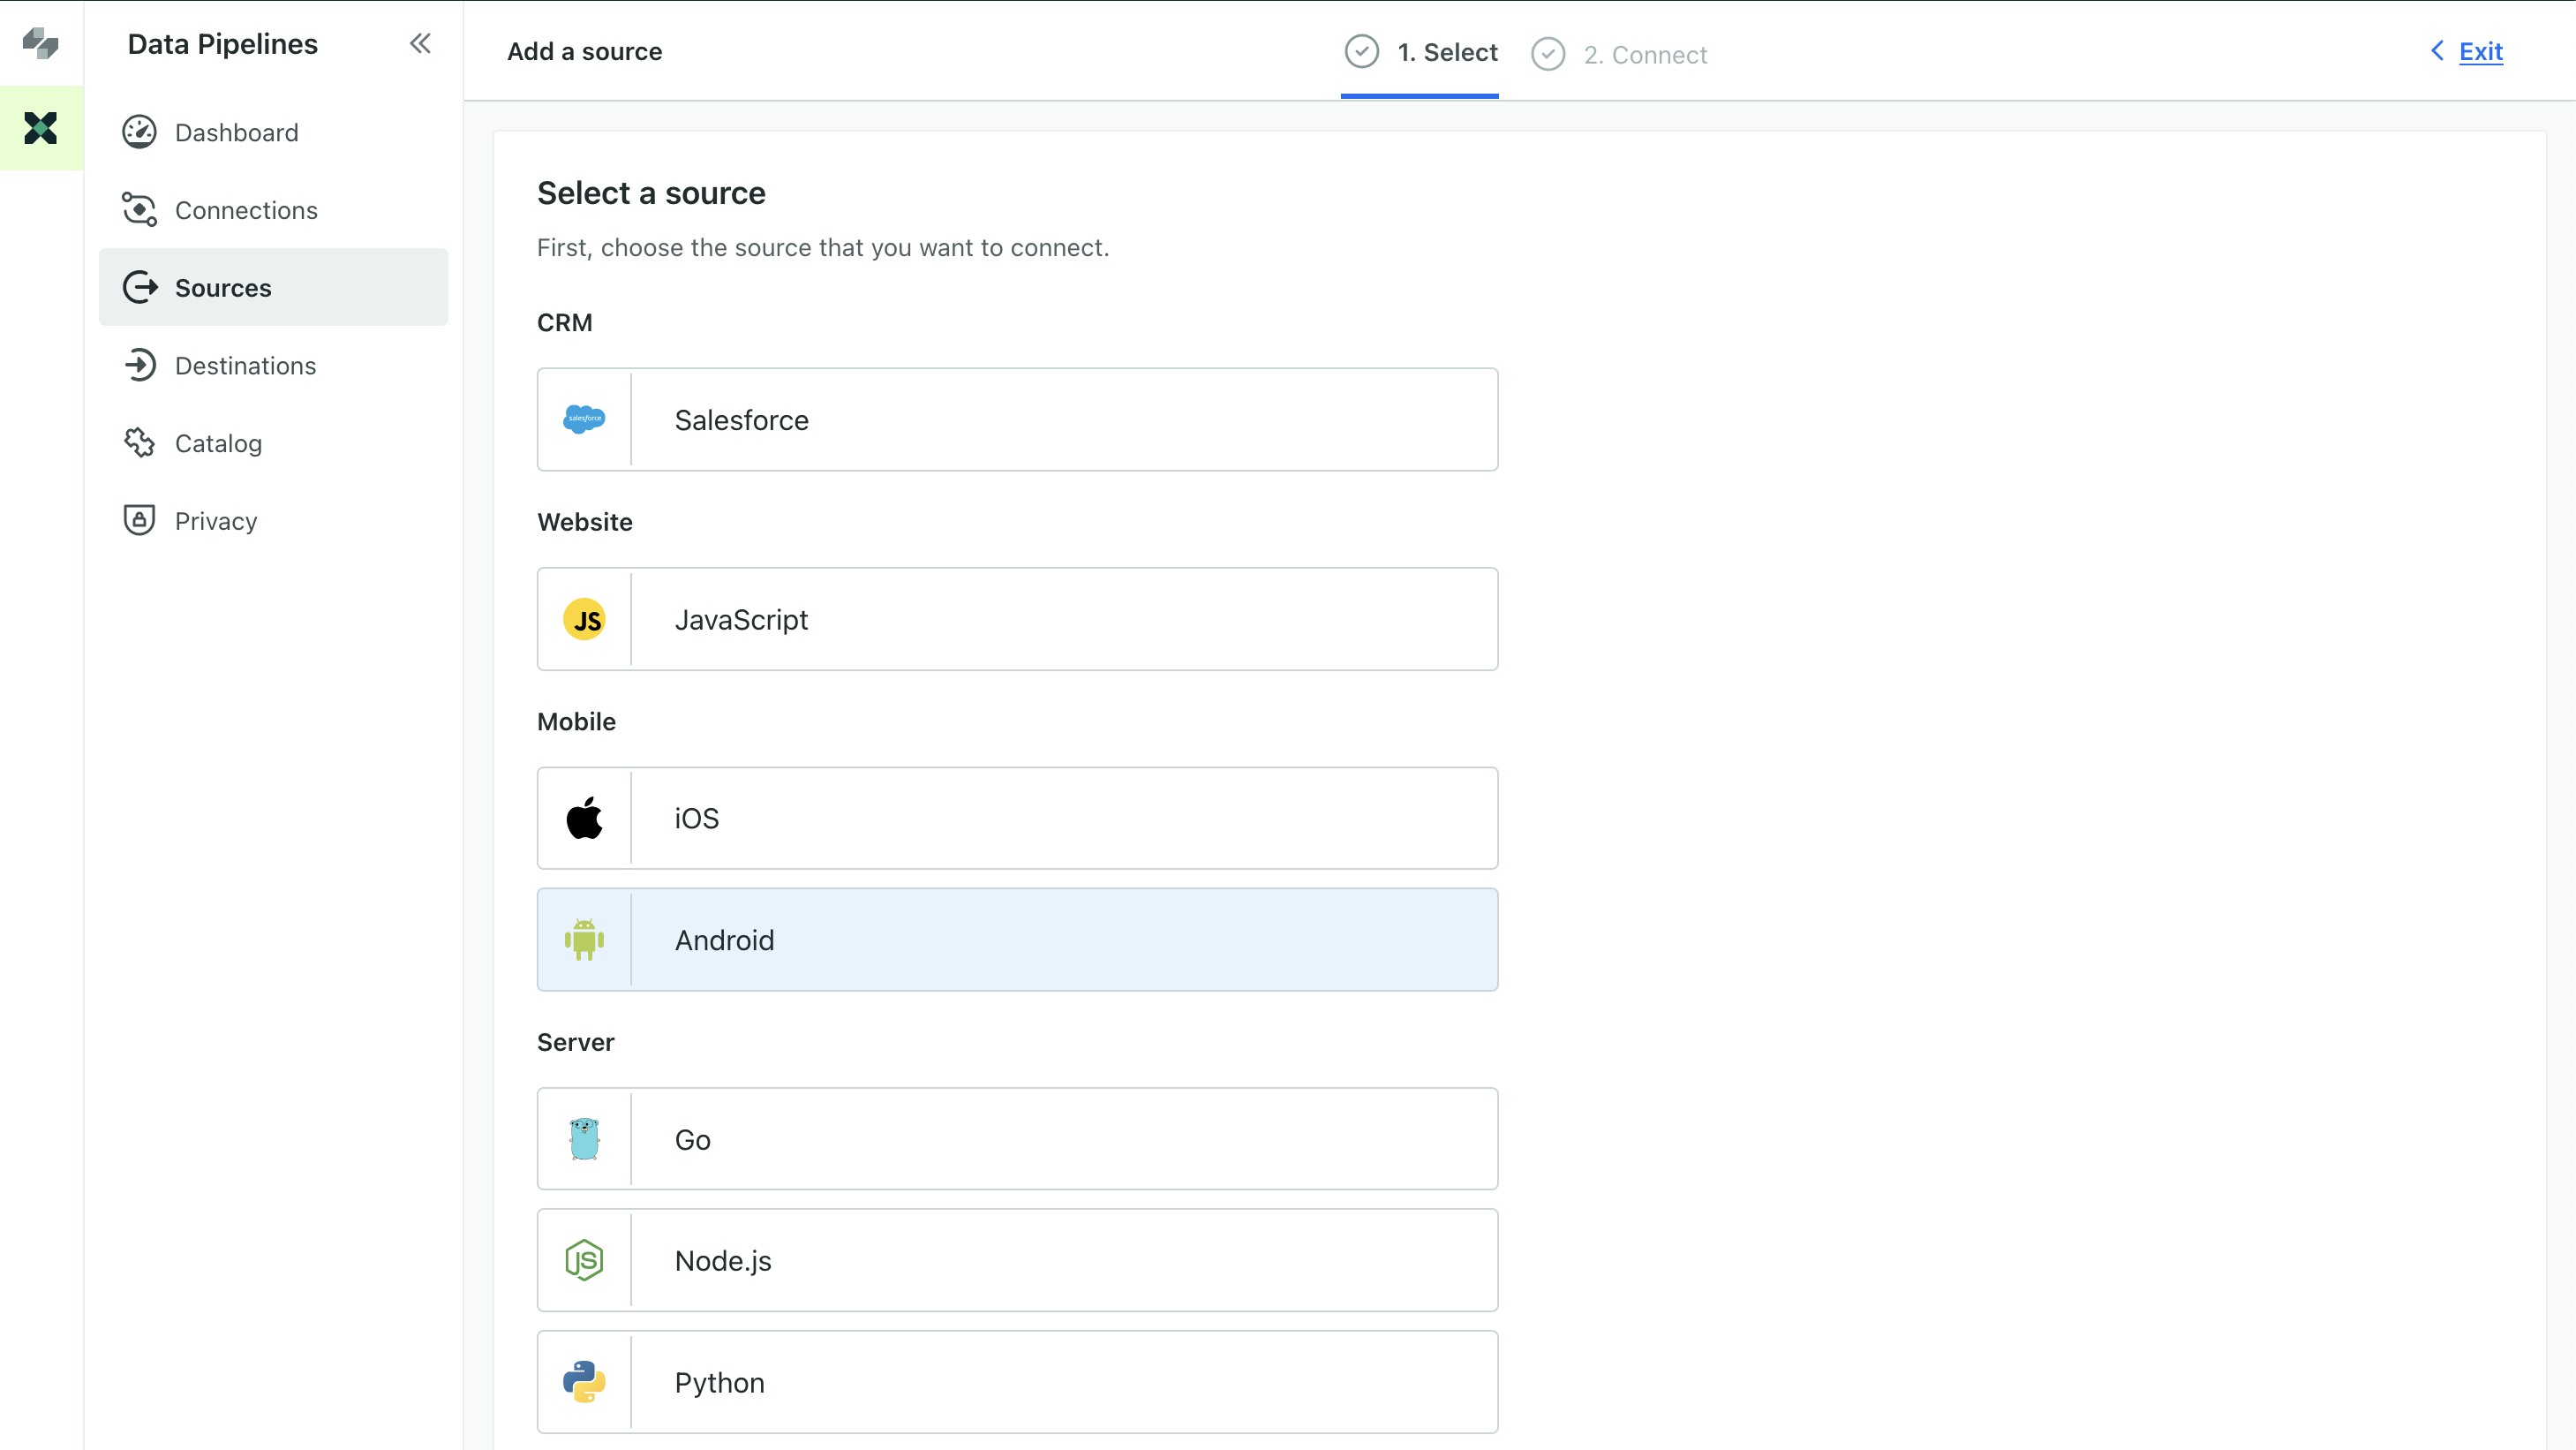
- Go to Data & Integrations > Integrations and click Add Integration.
- Select your mobile platform.


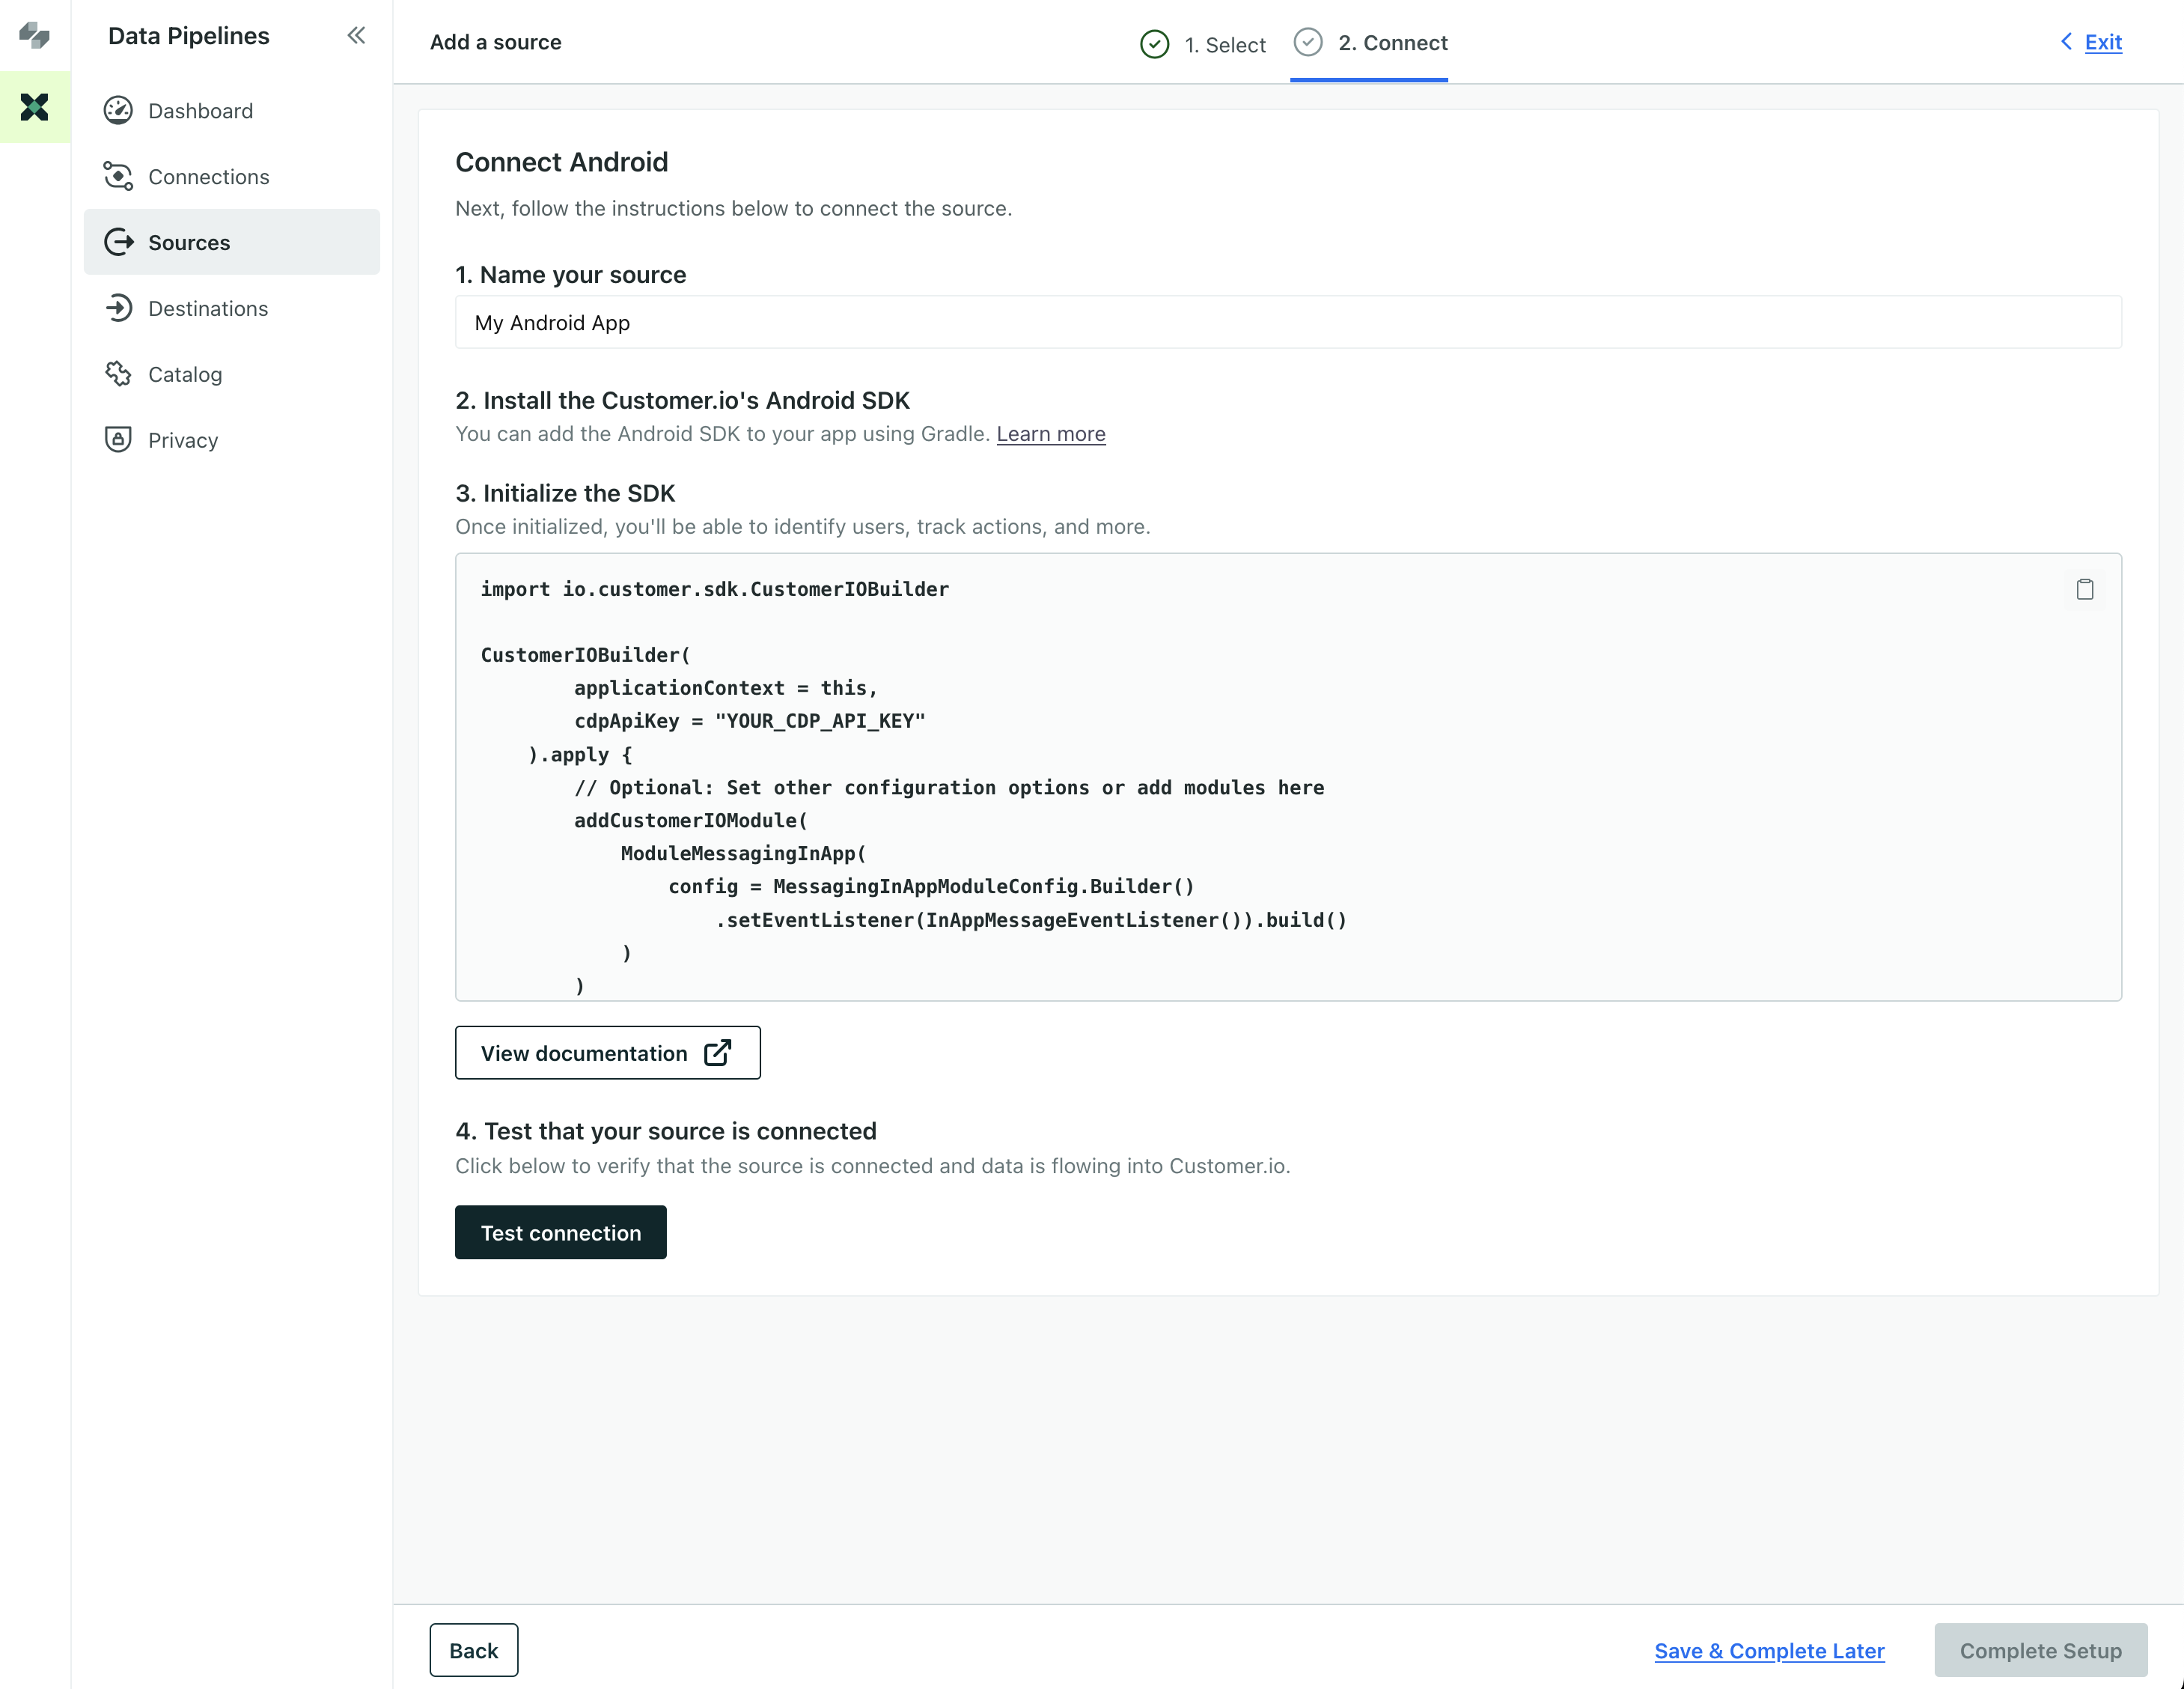
- Enter a Name for your integration, like “My Android App”.
- We’ll present you with a code sample containing a
cdpApiKeythat you’ll use to initialize the SDK. Copy this key and keep it handy. - Click Complete Setup to finish setting up your integration.


Now the Integrations page shows that your integration is connected to your workspace. You can also connect your integration to other services if you want to send your mobile data to other places outside of Customer.io—like your analytics provider, data warehouse, or CRM.
Now you’re ready to integrate the SDK into your app! See our SDK developer documentation for help with the integration process.


