Integrate with Customer.io
UpdatedHow it works
While you can add people manually or upload CSVs, you’ll get the most out of Customer.io when you integrate with us, adding people and tracking the events they perform programmatically.
You can integrate different data sources with Customer.io—your website, mobile apps, databases, and so on.
data come from?} d-->|Website|a d--->|Mobile App|f(Integrate with a mobile SDK) d--->|Database or Data Warehouse|g(Reverse ETL Integration) a{Will you send
in-app messages?} a-->|Yes|c(Integrate with the
JavaScript Library) a-->|No|e(Integrate with a
Server library) style c fill: #FFEDF0 style e fill: #FFFAE5 style f fill: #E6FAF3 style g fill: #E5FBFE
| Integrations (Data In) | Description |
|---|---|
| RecommendedJavaScript | Helps you identify people, send events, etc from your website, and lets you send in-app messages to your website visitors. |
| Server-side libraries | Support Customer.io in your Node.JS, GoLang, or Python server. If you’re running a web server and want to send in-app messages, you should use our JavaScript library instead. |
| Mobile SDKs | Support push notifications and in-app messages in your mobile app. We support iOS, Android, React Native (including Expo), and Flutter. |
| Reverse ETL | Add and update people, events, objects, and relationships from your backend database. |
| Incoming webhooks | Trigger campaigns from any external service that can send data to Customer.io. |
| Outgoing webhooks | Send data to a URL as a part of campaigns. Provides a low/no-code way to integrate Customer.io with external services. |
| Direct API Integration | If you want to integrate with a database or language we don’t yet support, you can integrate directly with our APIs. |
Data in and out
Customer.io integrations are separated into two categories: data inAn integration that feeds data into Customer.io. and data outAn integration that sends data out of Customer.io.. You send data into Customer.io, enrich it, and send it out to other services.
You should start by setting up data-in integrations to capture data from your website, mobile apps, and other data sources. Whatever services you want to capture data from, we strongly recommend that you use our SDKs to get data into Customer.io. With our SDKs, you’ll use functions like identify to add people, track to capture the events people perform, and so on.
If you want to send data to other services outside of Customer.io, you can set up data-out integrations. Within each data-out integration, you can set up actionsThe source event and data that triggers an API call to your destination. For example, an incoming identify event from your sources adds or updates a person in our Customer.io Journeys destination. that determine what kinds of data you send to your outbound service.
Database)] end subgraph b[Data Out] direction LR e((Customer.io
Journeys)) f(Your analytics
platform) j(Another
Destination) end c-->g-->|Standard/required
integration path|e g-.->f g-.->j h-->g i-->g g((Customer.io))
Your people are your data
In Customer.io—and in most marketing stacks—your “data” typically refers to people who use your services, the things you know about them (their attributes), and the events they perform. You’ll use this data to trigger and personalize messages, so you send the right messages to the right people at the right times.
When you identifyThe Customer.io operation that adds or updates a person. When you identify a person, Customer.io either adds a person if they don’t exist in your workspace, or updates them if they do. Before you identify someone (by their email address or an ID), you can track them anonymously. a person, you’ll capture their attributesA key-value pair that you associate with a person or an object—like a person’s name, the date they were created in your workspace, or a company’s billing date etc. Use attributes to target people and personalize messages.—things like their name, email address, and more.
You’ll also track the events people perform. Events make it easy to respond to people’s behaviors in your app or on your website. For example, you can thank people for filling out a form, remind them to complete a purchase, or suggest additional content when they watch a video.
People aren’t all of your data
Plan your integration
Different kinds of data use different functions across the system. Knowing what data you want to capture can help you understand what calls you’ll need to make and when. For example, when you want to record attributes, you’ll use an identify call.
As you integrate with Customer.io, think about the data that you want to store:
- The identifierThe attributes you use to add, modify, and target people. Each unique identifier value represents an individual person in your workspace. values you want to use for people and the attributesA key-value pair that you associate with a person or an object—like a person’s name, the date they were created in your workspace, or a company’s billing date etc. Use attributes to target people and personalize messages. you want to capture about them. you’ll add/update people with
identifycalls. - The events you want to record: you’ll record events with
trackcalls. - The groups and relationships you want to maintain: you’ll record objects and relationships with
groupcalls.
You can store all kinds of data in Customer.io. But be careful when handling certain kinds of data. In general, you should not send us sensitive personal information like bank account information, credit card numbers, personal health information and so on.
You don’t have to store everything in your workspace
Integrate with Customer.io
When you integrate with Customer.io, you’ll set up data in integrations, like your website, and then you can send data out to other services—like your analytics platform or your backend database. Most of the work you’ll do to get started is in setting up your data in integrations—your sources of data for Customer.io. Then you can set up and customize the data you forward to other services.
Data in: Add a JavaScript integration
In most cases, we suggest that you integrate your website with Customer.io using our client-side JavaScript library because it acts as both a data source and also lets you send in-app messages to your audience. We’ll reference this library in our examples. But we also offer server-side SDKs in other languages.
- Go to Data & Integrations > Integrations and click Add Integration.
- Find and click the JavaScript integration.
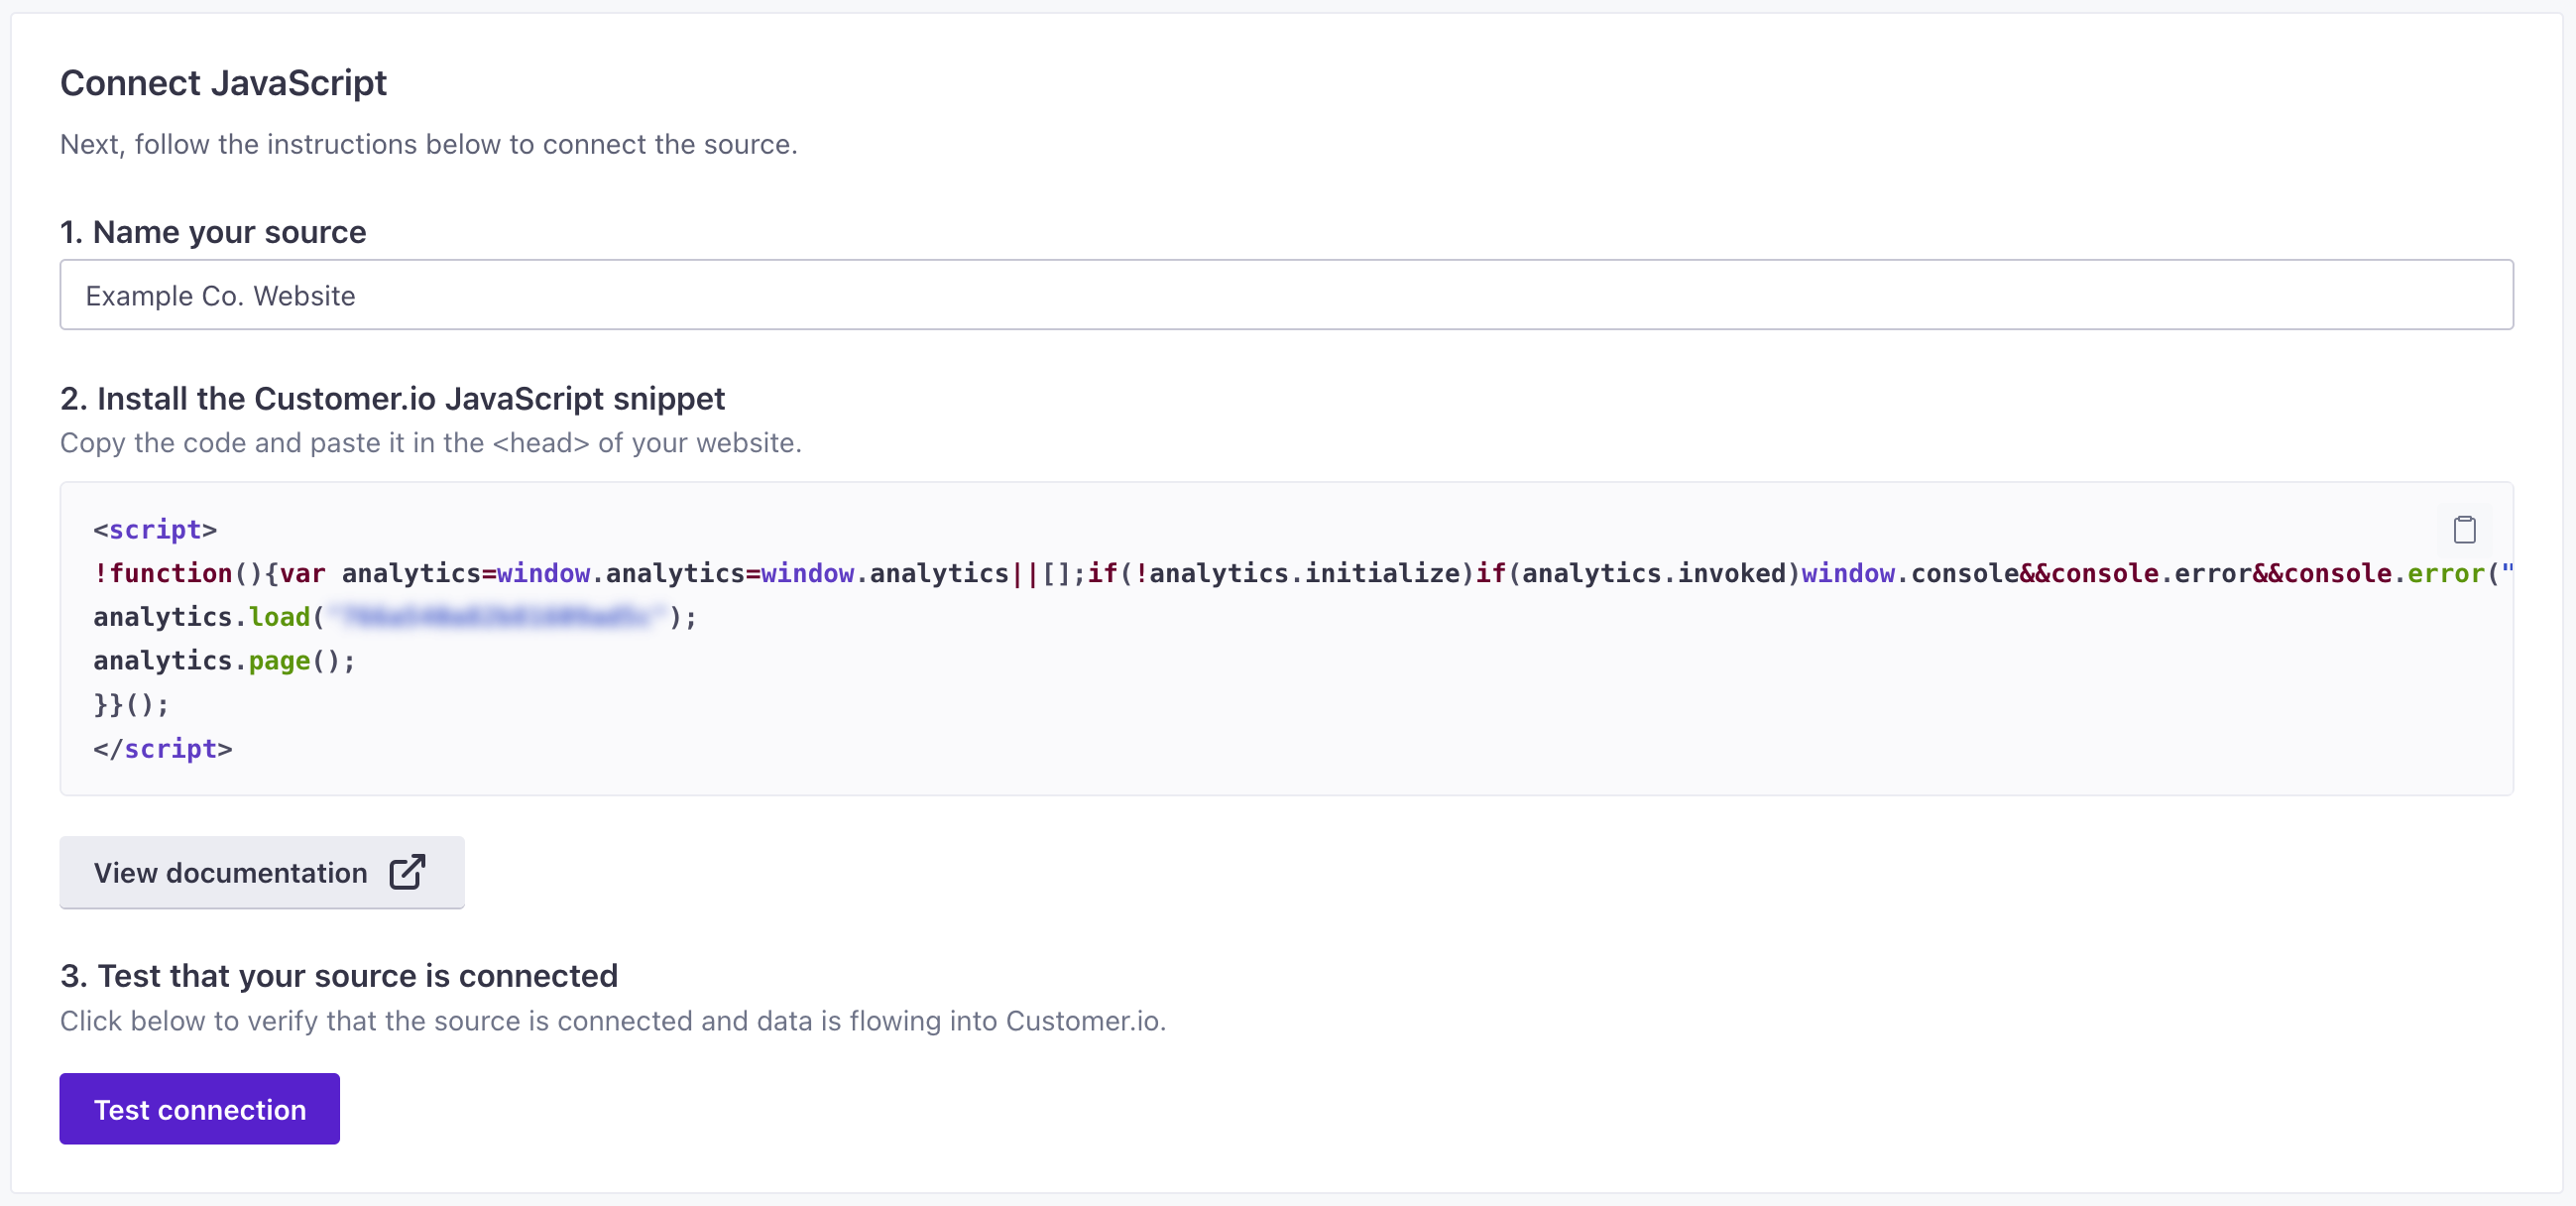
- Enter a Name for your integration, and click Submit. You should give your source a name that helps you identify not only the source medium (“JavaScript” in this case), but helps you identify the resource you’re capturing data from—like “company website” or “community forums.”
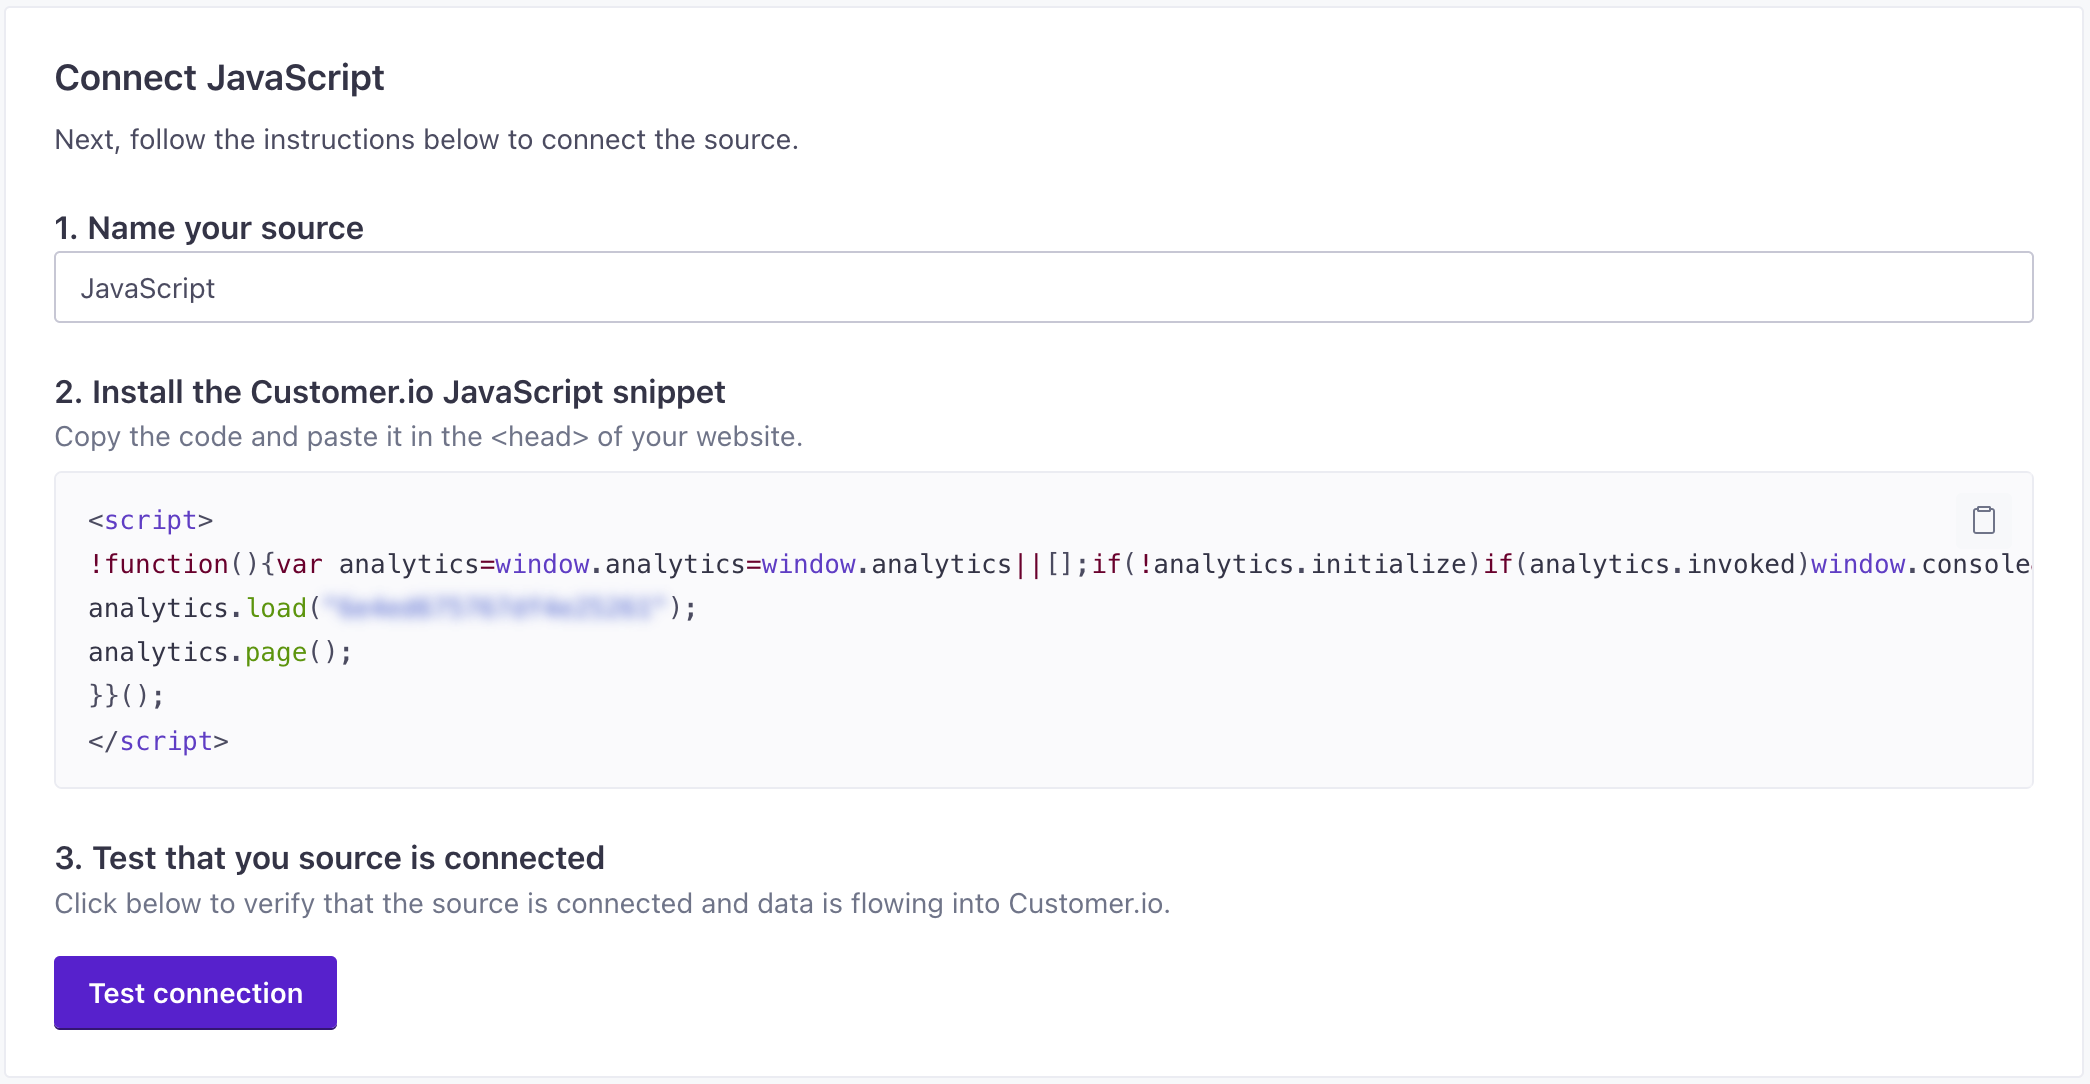
- Under Installation Instructions, you’ll find relevant code that you need to add to your website. Using our JavaScript client as an example, you’ll paste the code snippet in your website’s
<head>tag.
You’re now ready to start sending calls to Customer.io. If you enable in-app messaging, you’re also ready to send in-app messages to your website visitors.
Data out: Set up third-party integrations
Data out integrations are the places you want to send, and act on, data. Sending your Customer.io data to all the places where it’s useful to you eliminates “data gaps” in your stack.
Check out our integrations catalog to see all the integrations we support natively. If you don’t find one you need, let us know!
This video shows an overview of a third-party data out integration as well as reporting webhooks—how you can send metrics and message activity out of Customer.io.
Integrate your mobile app(s)
While you can write your own integration with our APIs, we strongly suggest that you integrate your mobile apps using our SDKs.
At a basic level, you must use our SDKs if you intend to send in-app messages. Beyond that, they’re already set up to help you identify people, track events, and receive push notifications, making it easy to get set up with Customer.io without writing all your own code from scratch.
When you integrate mobile apps, you’ll need to enable push and in-app messaging in your workspace. You’ll also need to set up push notifications with your push provider. See our Push Notifications documentation for more information.
Database and Reverse ETL integrations
We offer a number of reverse ETL integrations that help you send data from your database into Customer.io. If you already aggregate your data in a database or data warehouse, you can use a reverse ETL integration to keep your Customer.io workspace up to date with your latest data.

