Upgrade from version 1 to 2
UpdatedThis page helps you upgrade from the 1.0 version of our plugin to 2.0 so can take advantage of the latest features.
What changed?
While this represents a significant change “under the hood,” we’ve tried to make it as seamless as possible for you; much of your implementation remains the same.
This move also adds two additional features:
- Support for anonymous tracking: you can send events and other activity for anonymous users, and we’ll reconcile that activity with a person when you identify them.
- Built-in lifecycle events: the SDK now automatically captures events like “Application Installed” and “Application Updated” for you.
- New device-level data: the SDK captures the device
nameand other device-level context for you.
This change makes it easier to connect your app to both Customer.io and other destinations—like your analytics platform, data warehouse, or CRM. It provides customer data platform-like (CDP) features for your mobile app.
Upgrade process
You’ll update initialization calls for the SDK itself and the push and/or in-app messaging modules.
As a part of this process, your credentials change. You’ll need to set up a new data integration in Customer.io and get a new CDP API Key. But you’ll also need to keep your previous siteId as a migrationSiteId when you initialize the SDK. The migrationSiteId is a key helps the SDK send remaining traffic when people update your app.
When you’re done, you’ll also need to change a few base properties to fit the new APIs. In general, identifier becomes userId, body becomes traits, and data becomes properties.
1. Get your new CDP API Key
The new version of the SDK requires you to set up a new data “integration” in Customer.io. As a part of this process, you’ll get your CDP API Key.
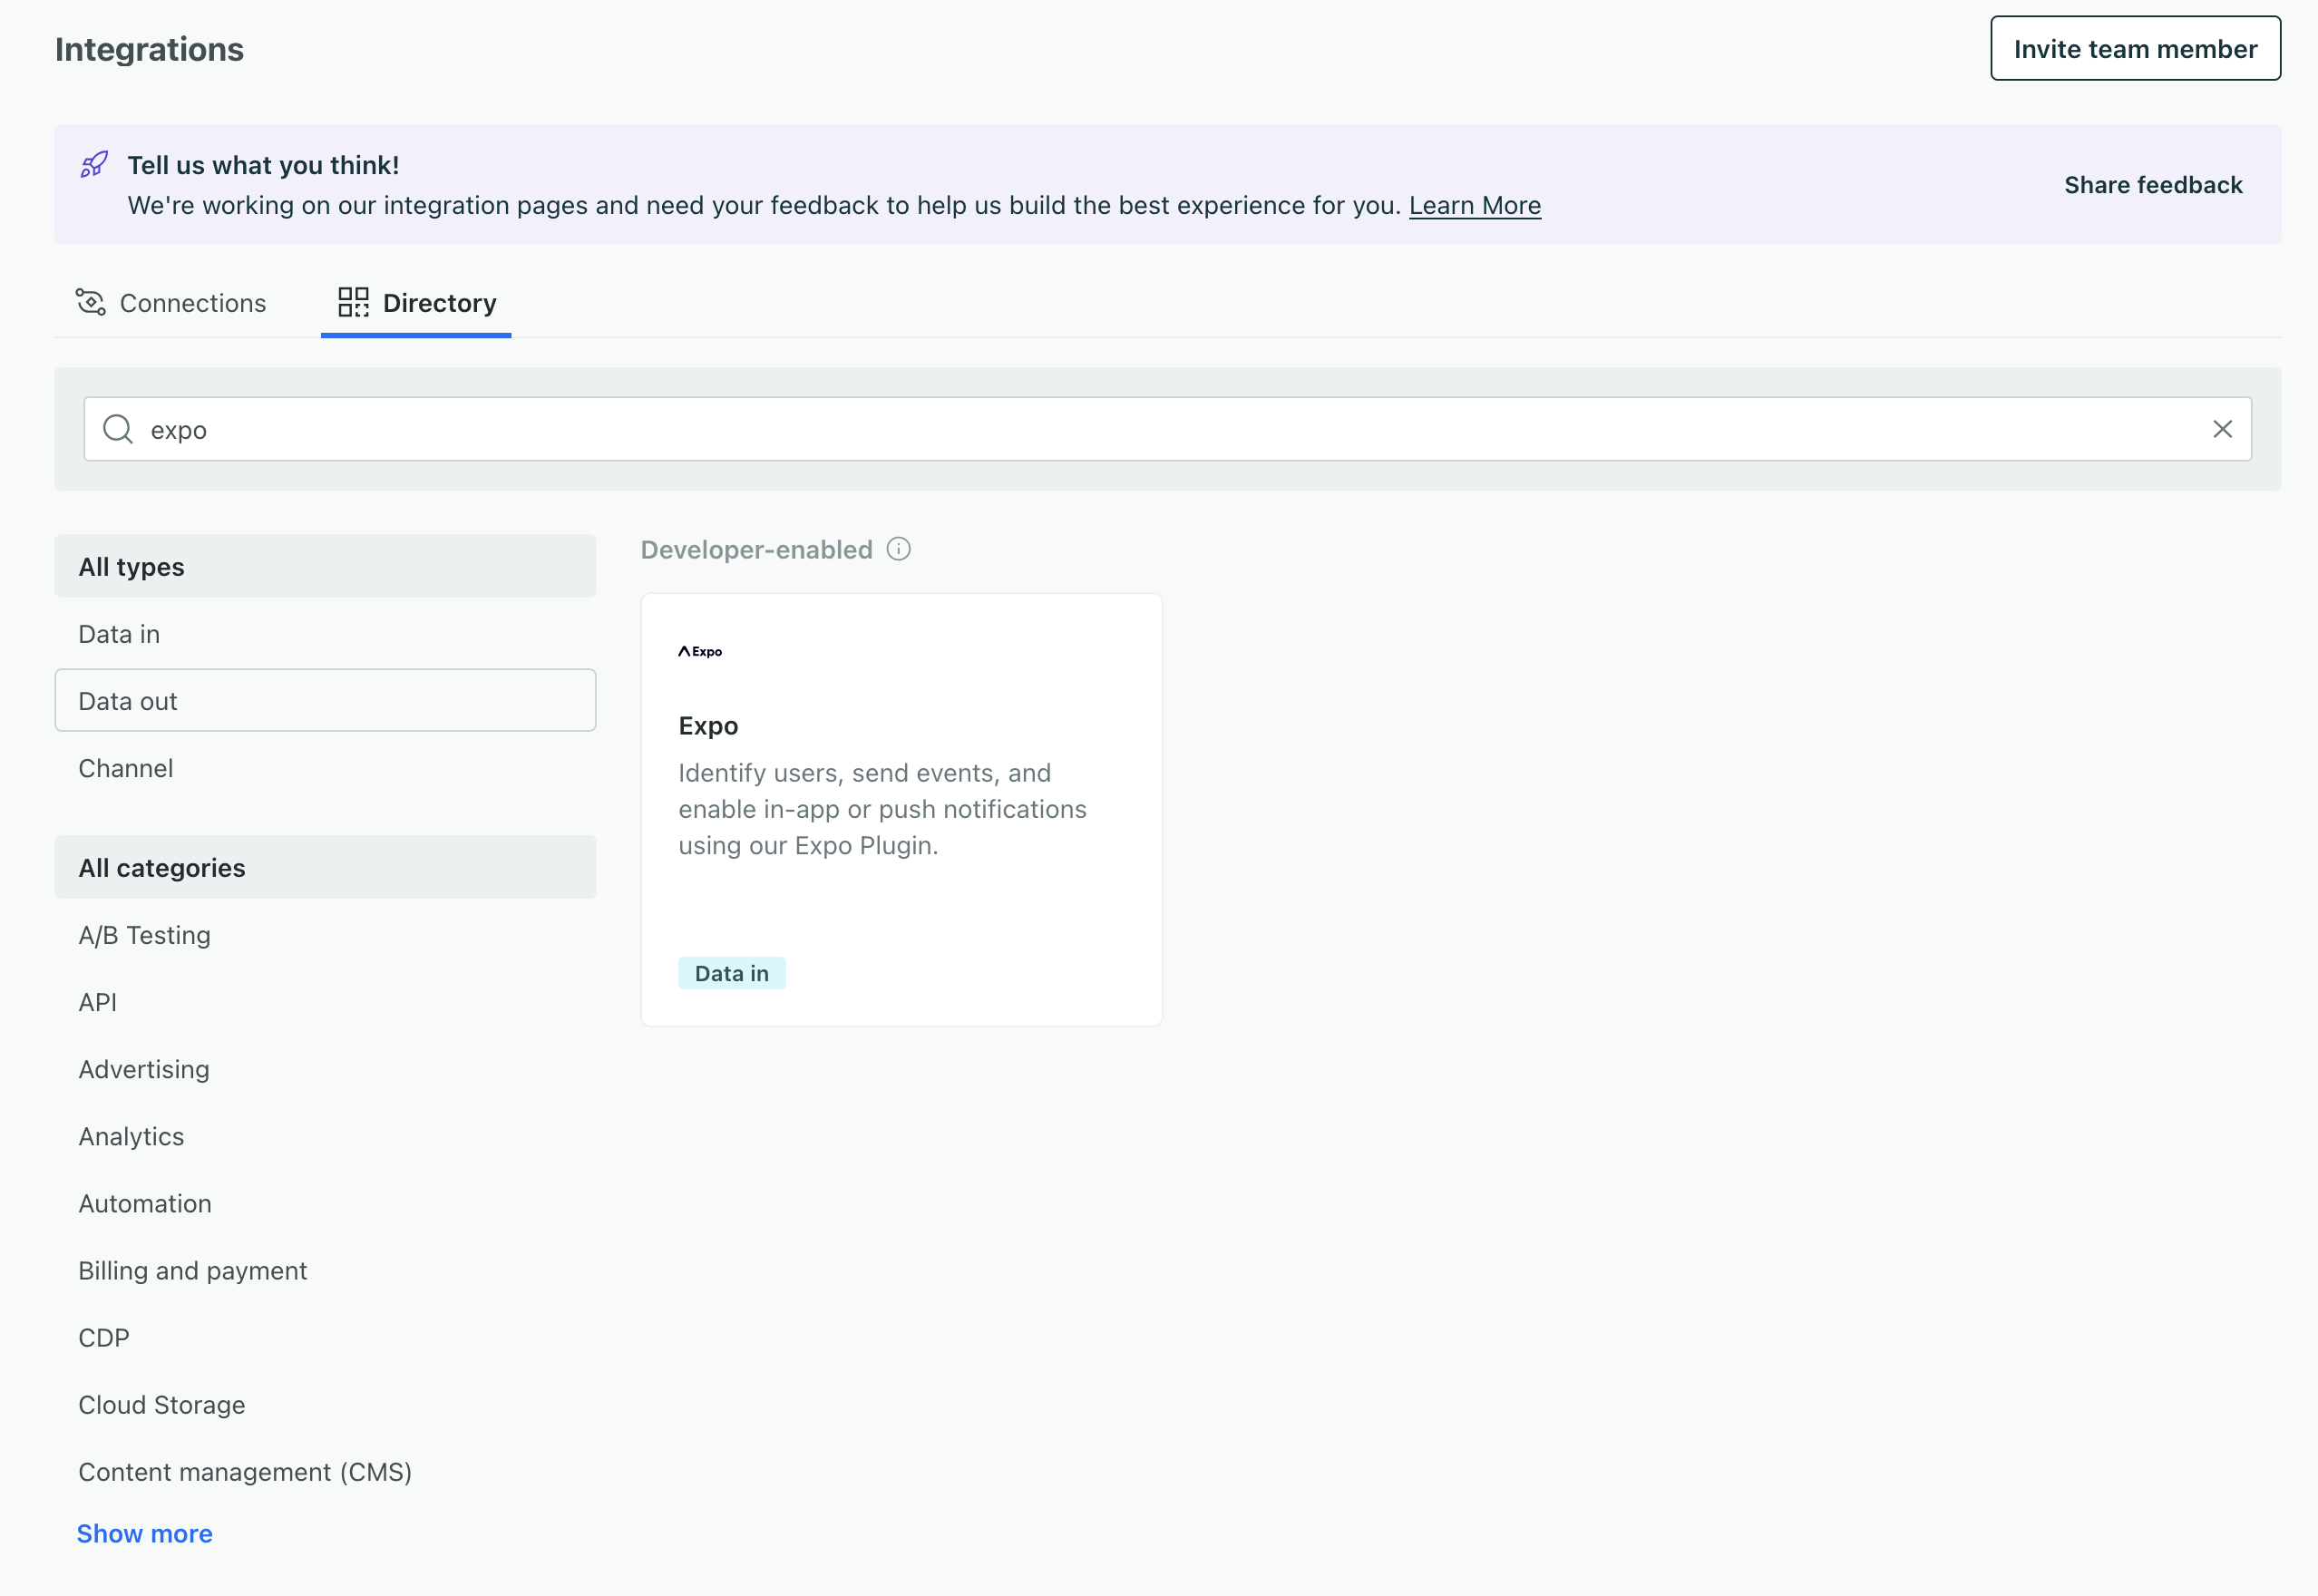
- Go to Data & Integrations > Integrations and click the Directory tab.
- Find and select the Expo integration.
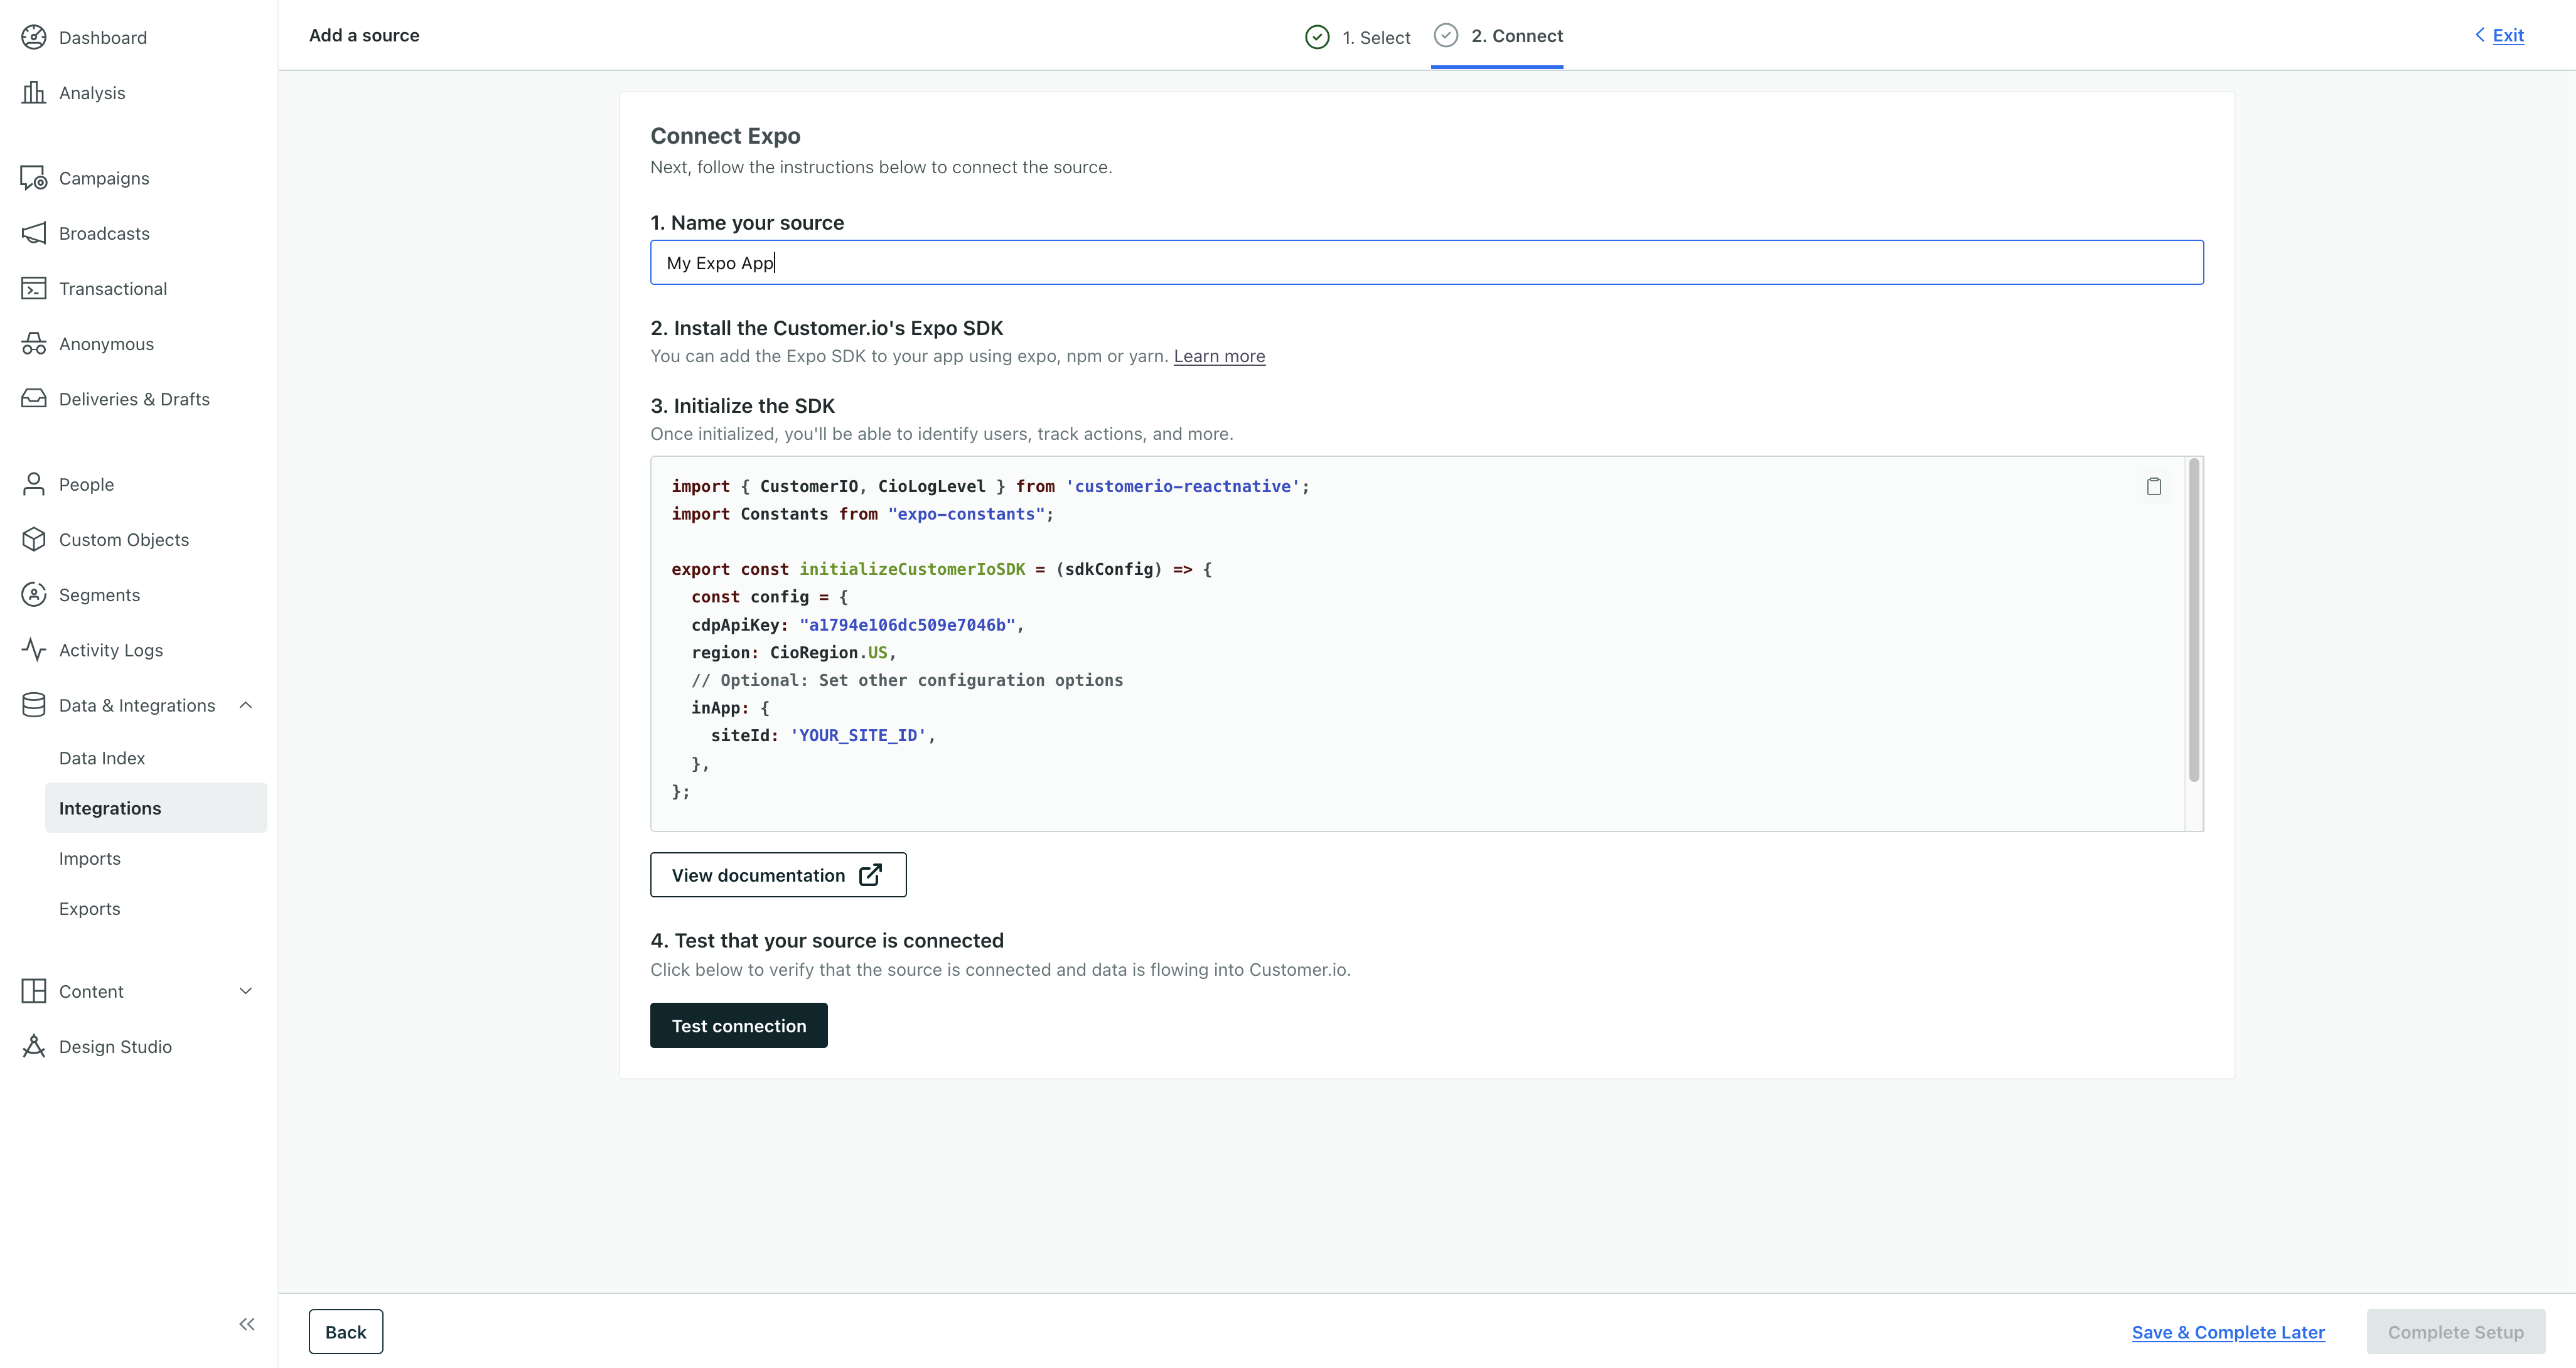
- Enter a Name for the integration, like “My Expo App”.
- We’ll present you with a code sample containing a
cdpApiKeythat you’ll use to initialize the SDK. Copy this key and keep it handy. You’ll use it to initialize the SDK in your Expo app. - (Optional) Set up your Expo app and click Test Connection.
- If you tested your connection first, click Complete Setup. Otherwise, click Save & Complete Later.
2. Update your app.json or app.config.js
We’ve changed some of the options for our plugin, so you’ll need to update your app.json or app.config.js file to use our new configuration settings. The major change is that you’ll need a new cdpApiKey (that you get in the previous step); it replaces the siteId and apiKey parameters.
{
   "plugins": [
      [
         "customerio-expo-plugin",
         {
            "android": {
               "googleServicesFile": "./files/google-services.json"
            },
            "ios": {
               "pushNotification": {
                  "useRichPush": true,
                  "env": {
                     "cdpApiKey": "<cdpApiKey>",
                     "region": "<region>"
                  },
               }
            }
         }
      ]
   ]
}
3. Update your initialization
You’ll initialize the new version of the SDK and its packages with CioConfig objects instead of CustomerioConfig. While we have a list of all the new configuration options, you’ll want to pay close attention to the following changes:
CustomerIOEnvis no longer necessary.RegionbecomesCioRegion.siteIdbecomesmigrationSiteId. This allows us to finish sending traffic to Customer.io as your audience upgrades to the new version of your app.- You’ll initialize the SDK with
initialize(config)instead ofinitialize(env, config).
import {
  CioLogLevel, CioRegion, CustomerIO, CioConfig
} from 'customerio-reactnative';

const config: CioConfig = {
  cdpApiKey: 'cdp_api_key', // Mandatory
  migrationSiteId: 'site_id', // For migration
  region: CioRegion.US,
  logLevel: CioLogLevel.Debug,
  trackApplicationLifecycleEvents: true,
  inApp: {
    siteId: 'site_id', // this removes the use of enableInApp and simplifies in-app configuration
  }
};
CustomerIO.initialize(config)
4. Update your identify call
Our APIs changed slightly in this release. We’ve done our best to make the new APIs as similar as possible to the old ones. The names of a few properties that you’ll pass in your calls have changed, but their functionality has not.
identify:identifierbecomesuserIdandbodybecomestraitstrackandscreencalls are structured the same as previous versions, but thedataobject is now calledproperties.
We’ve highlighted changes in the sample below.
//identify: identifier becomes userId, body becomes traits
CustomerIO.identify({
  userId: "user_id",
  traits: {
    first_name: "user_name",
    email: "email_identifier",
  },
});

//track: no significant change to method
//in Customer.io data object renamed properties
CustomerIO.track("track_event_name", {
  propertyName: propertyValue
});

//screen: no significant change to method.
//name becomes title, data object renamed properties
CustomerIO.screen("screen_event_name", {
  propertyName: propertyValue
});
Initialization configuration changes
As a part of this release, we’ve changed a few configuration options when you initialize the SDK. You’ll use CioConfig to set your configuration options. The table below shows the changes to the configuration options. But you’ll find a complete list of configuration options—both for your app.json file and where you initialize the SDK—on the Packages and configuration options page
| Field | Type | Default | Description |
|---|---|---|---|
cdpApiKey | string | Replaces apiKey; required to initialize the SDK. |
| trackApplicationLifeCycleEvents | boolean | true | When true, the SDK automatically tracks application lifecycle events (like Application Installed). |
| inApp | object | | Replaces the former enableInApp option, providing a place to set in-app configuration options. For now, it takes a single property called siteId. |

