Introduction to Email Layouts
UpdatedWhat are layouts?
Layouts are only available in our rich text or code editors.
When using our Rich Text and Code editors to design your email templates, there are two parts to emails: the content and the layout. The layout is everything except the body of your email. Your content, or message, fits into the layout.
Here’s an example of a layout on its own in the Email Layouts area of Customer.io:
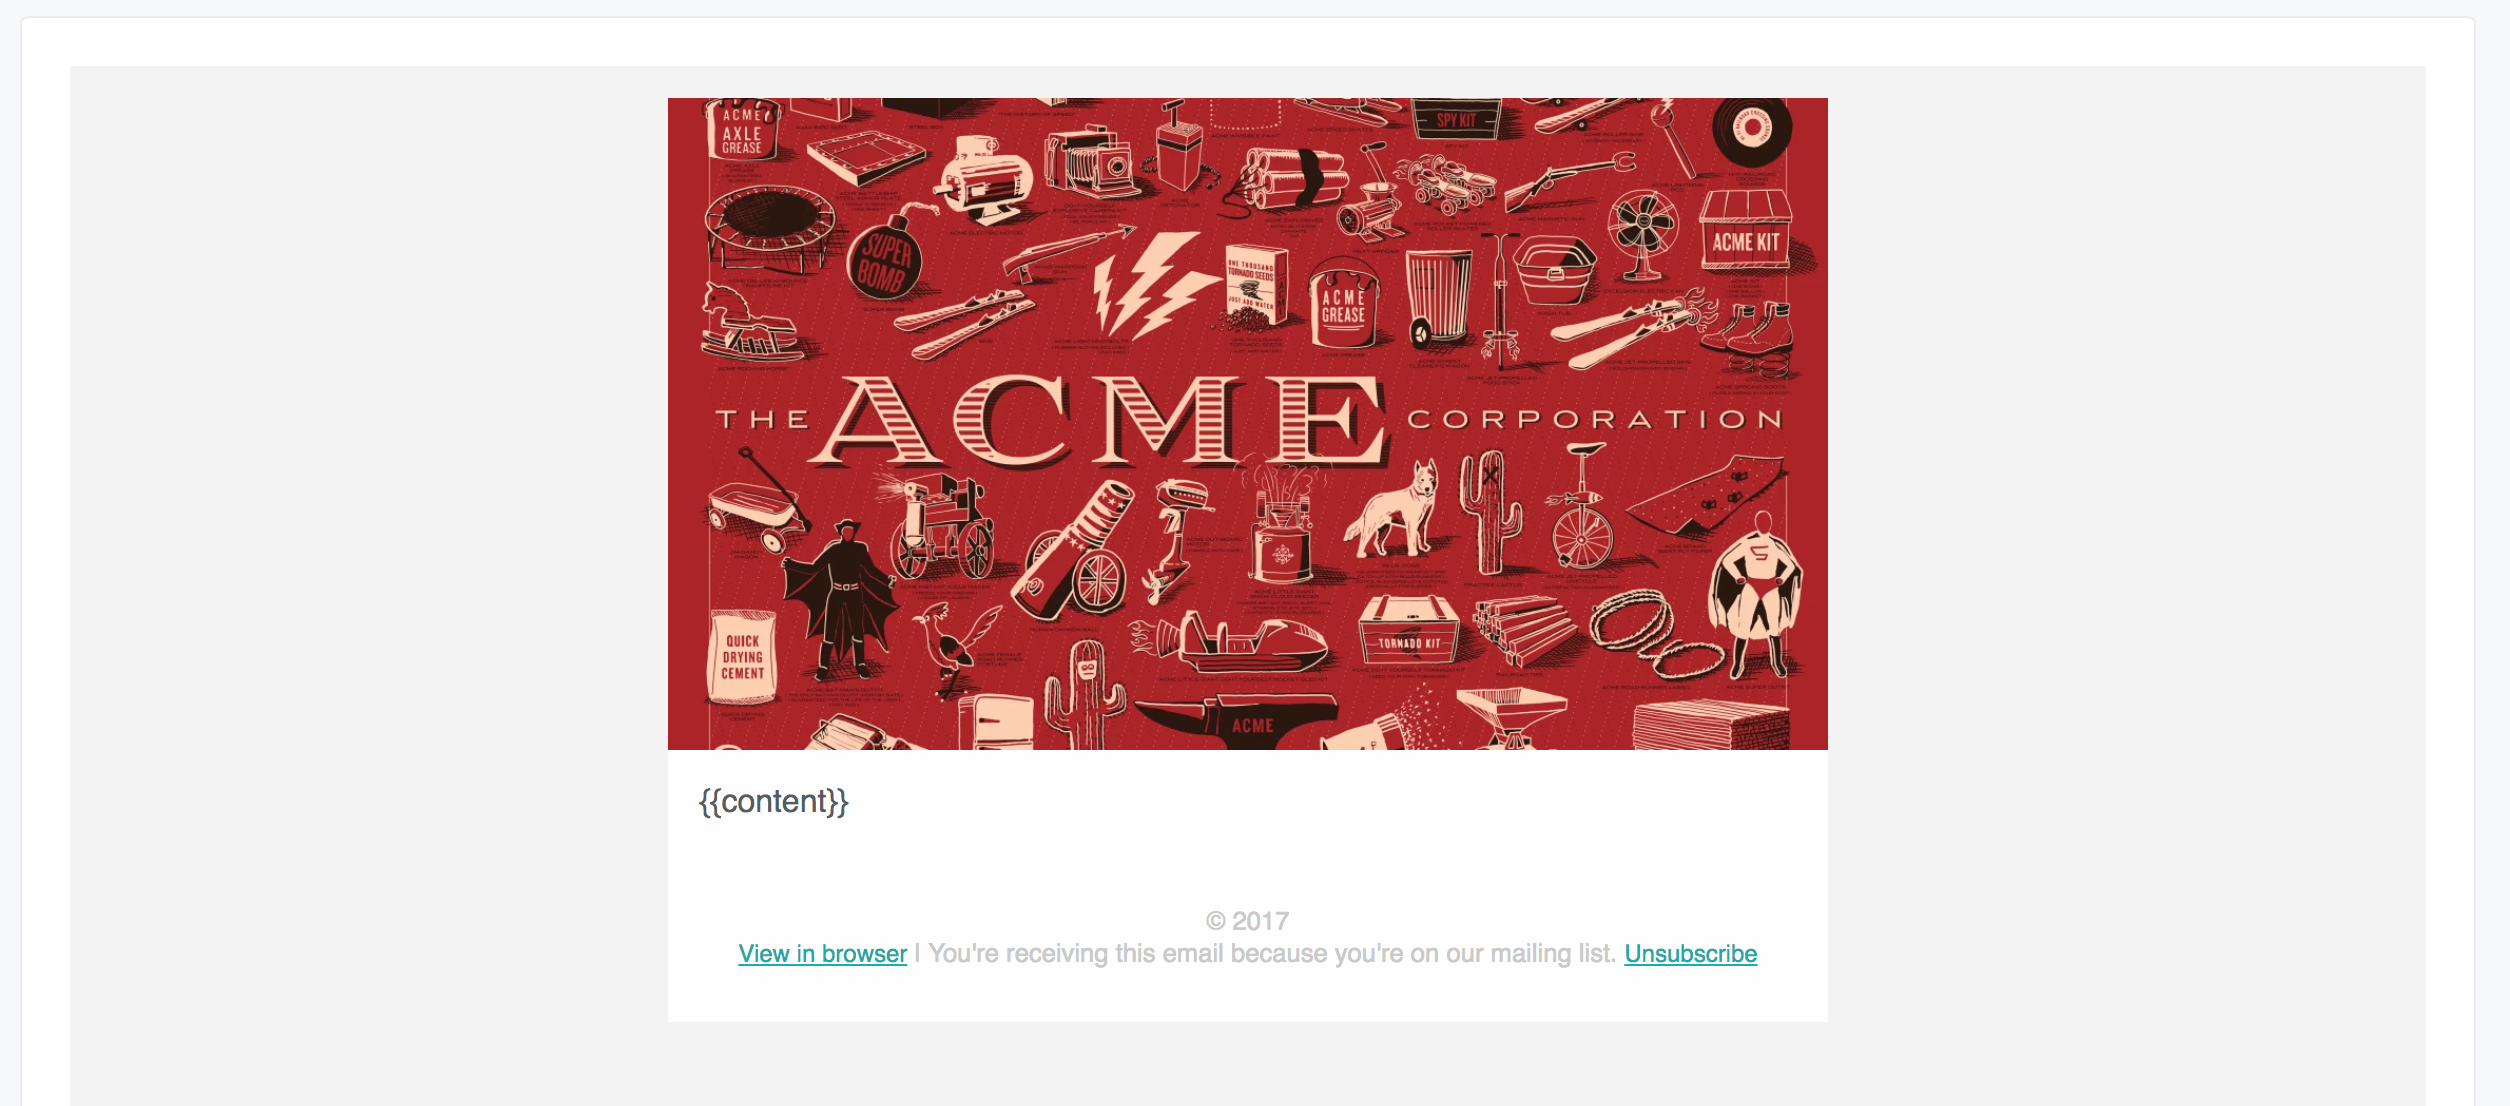
In this case, the image header, the white wrapper, and the text at the bottom is the layout. The {{content}} tag in the middle indicates where future content will go. That content might change, but the layout will always stay the same.
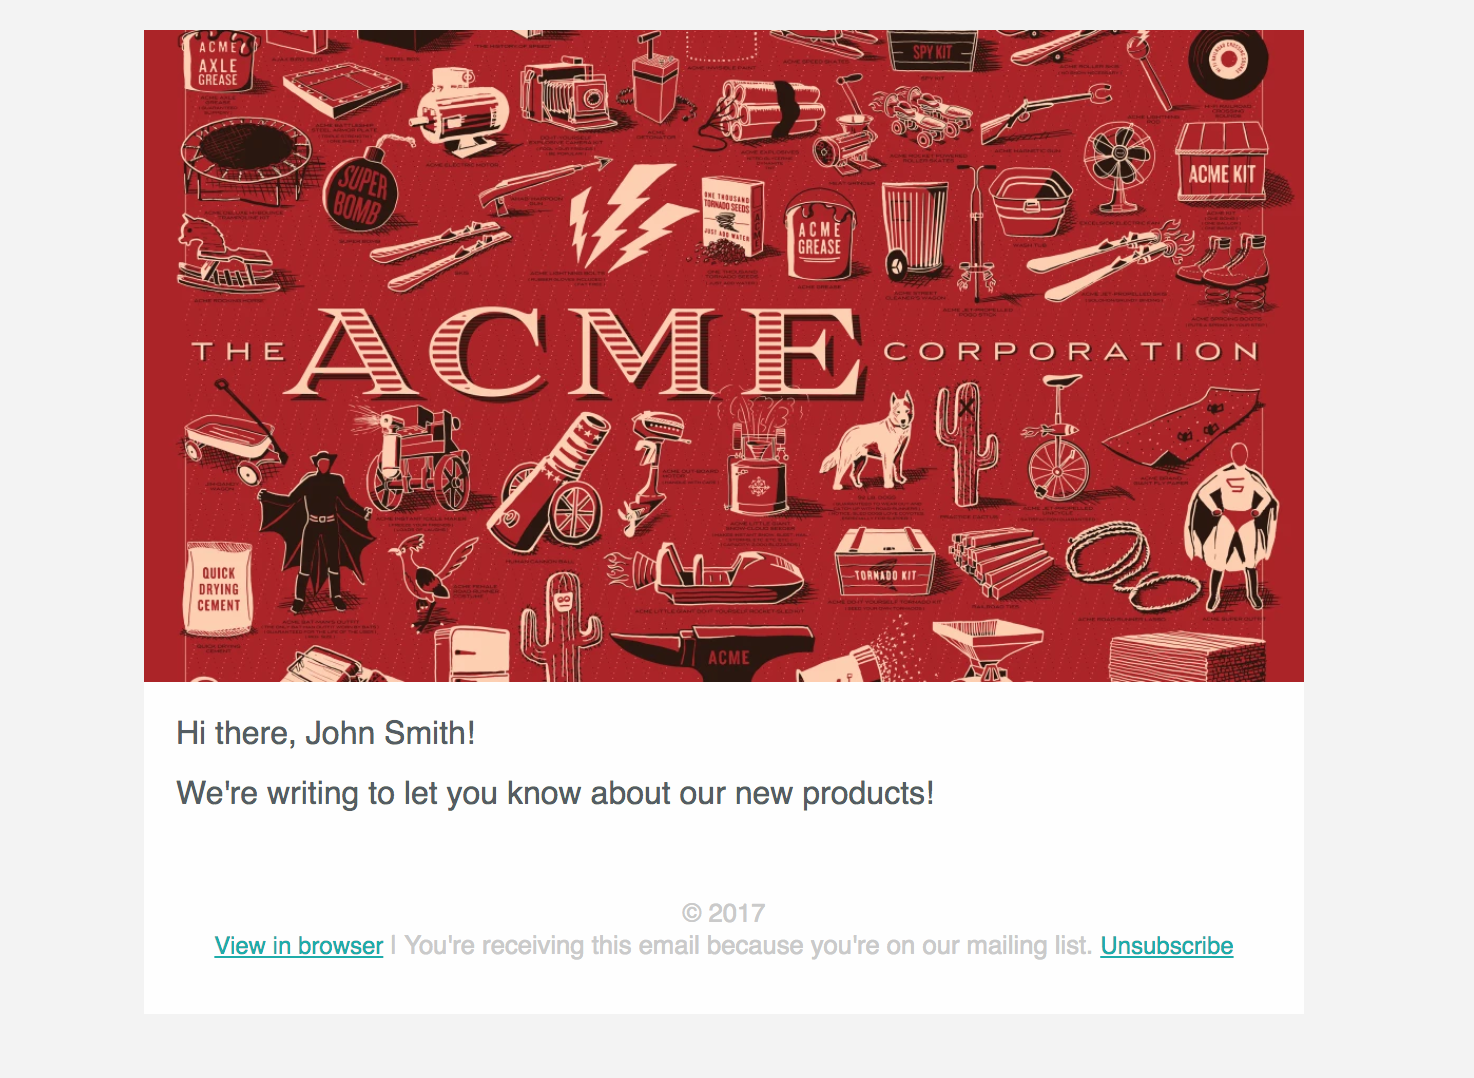
If you use this layout in an email, the content in the editor replaces the {{content}} tag. Here’s the above example with content:
Add a layout
Layouts are only available in our rich text or code editors.
Using a layout
Rich text editor
When you’re composing an email in the rich text editor, click Layout & Preview:
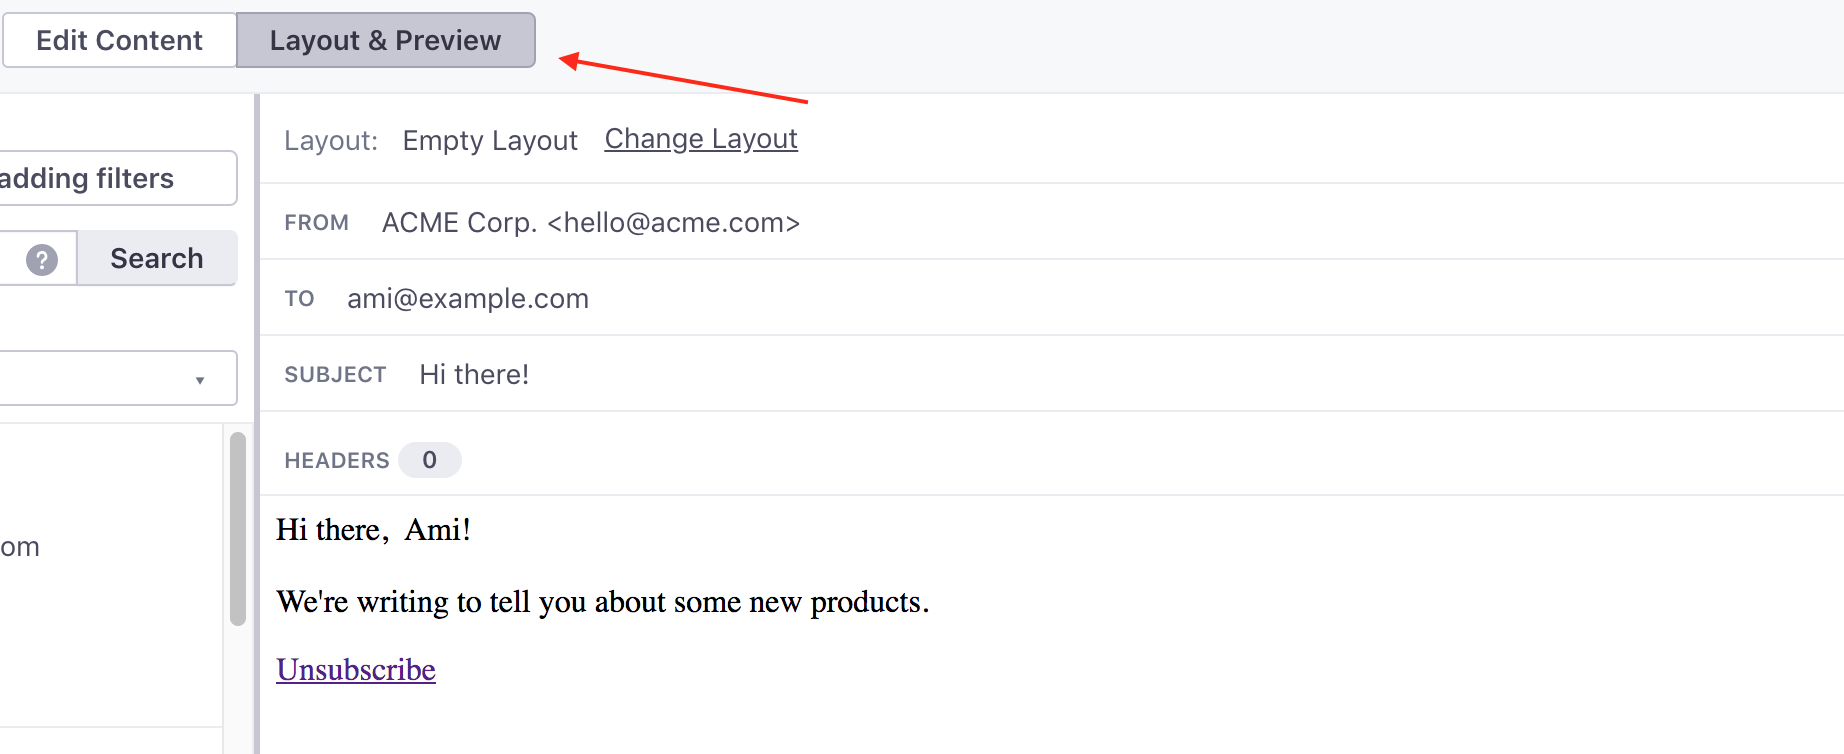
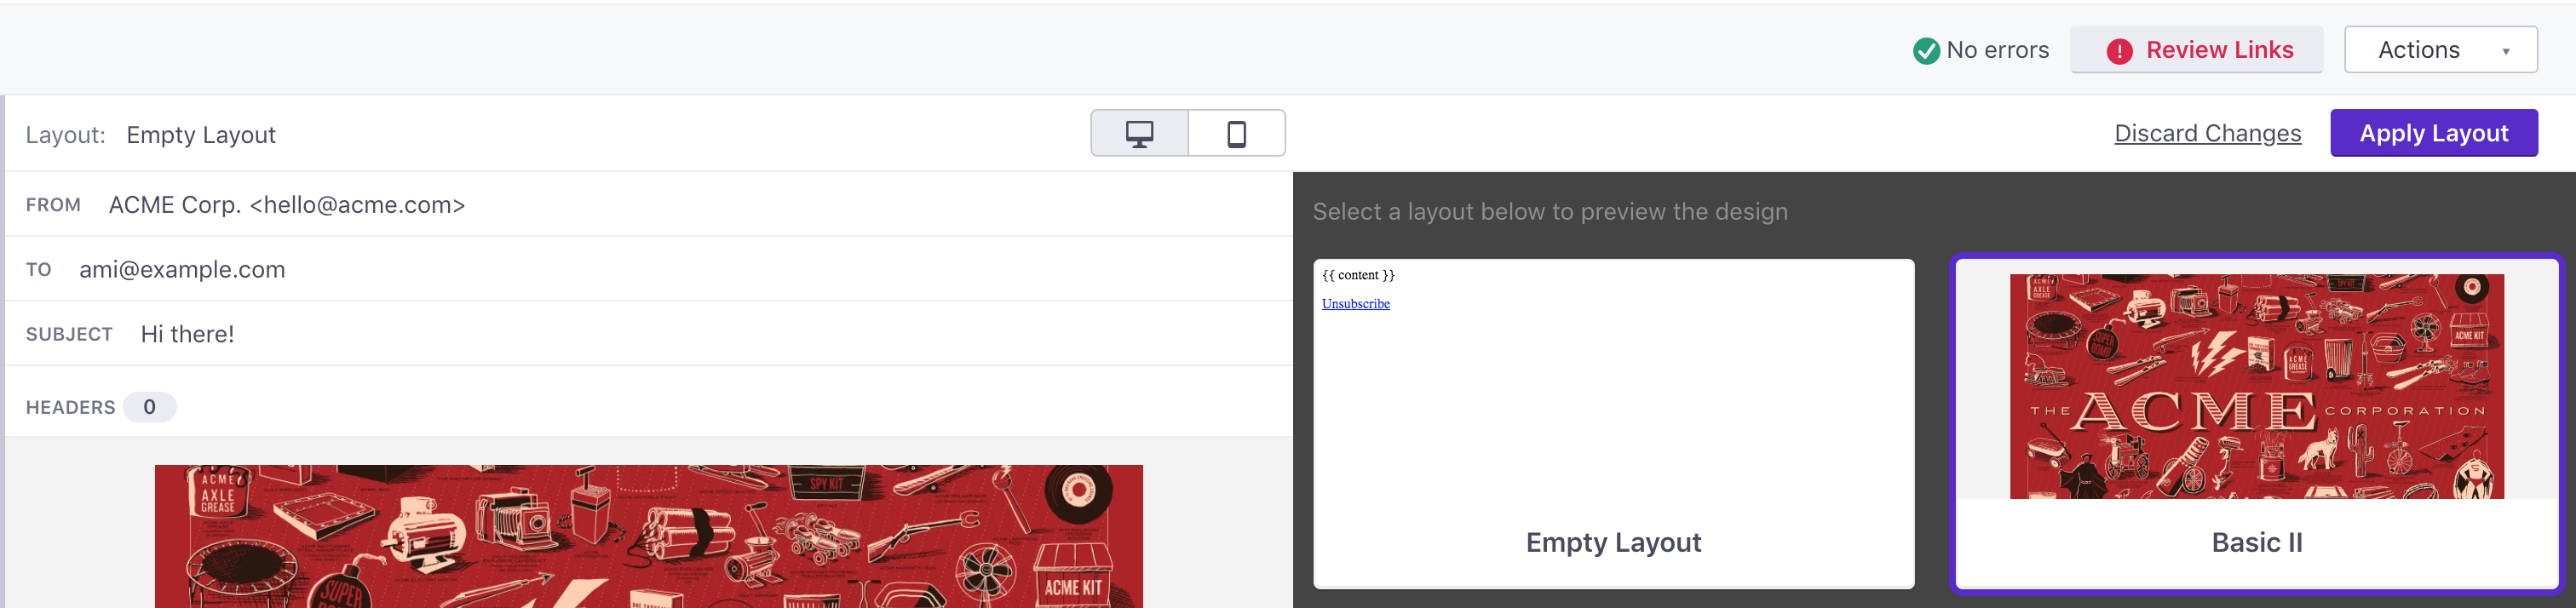
From Preview mode, click Change Layout:
Choose an layout to preview it in your message. Then click Apply Layout.
Code editor
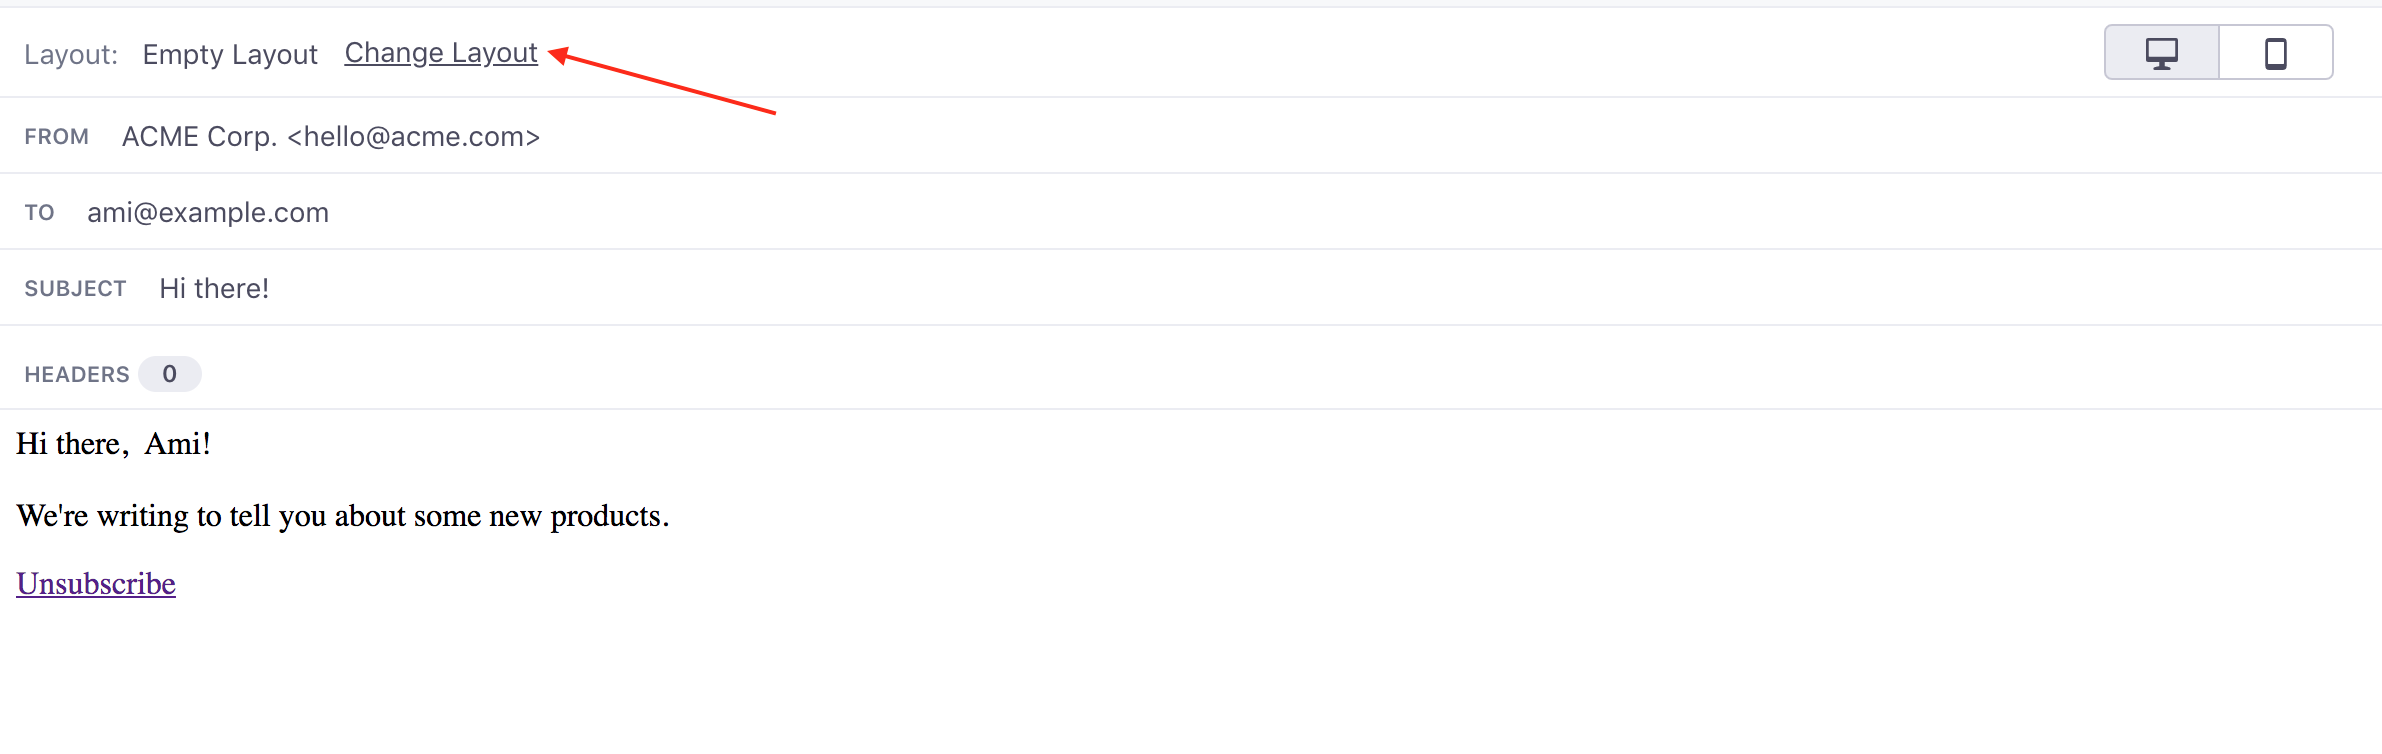
When you’re composing an email in the code editor, click to open the email envelope:
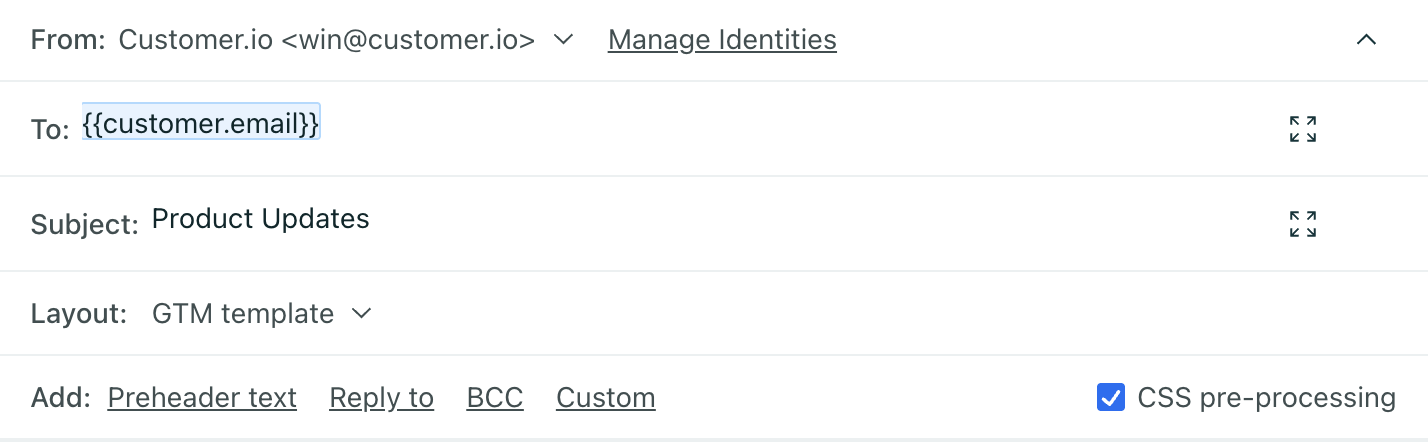
Then click next to Layout to choose one.
The selection renders in the preview on the right.
Create a layout
If you need a new layout, go to Content > Email Layouts. Until you start creating your own layouts, we use a default “plaintext” layout with no formatting. Click Create Layout to get going. You’ll see this:
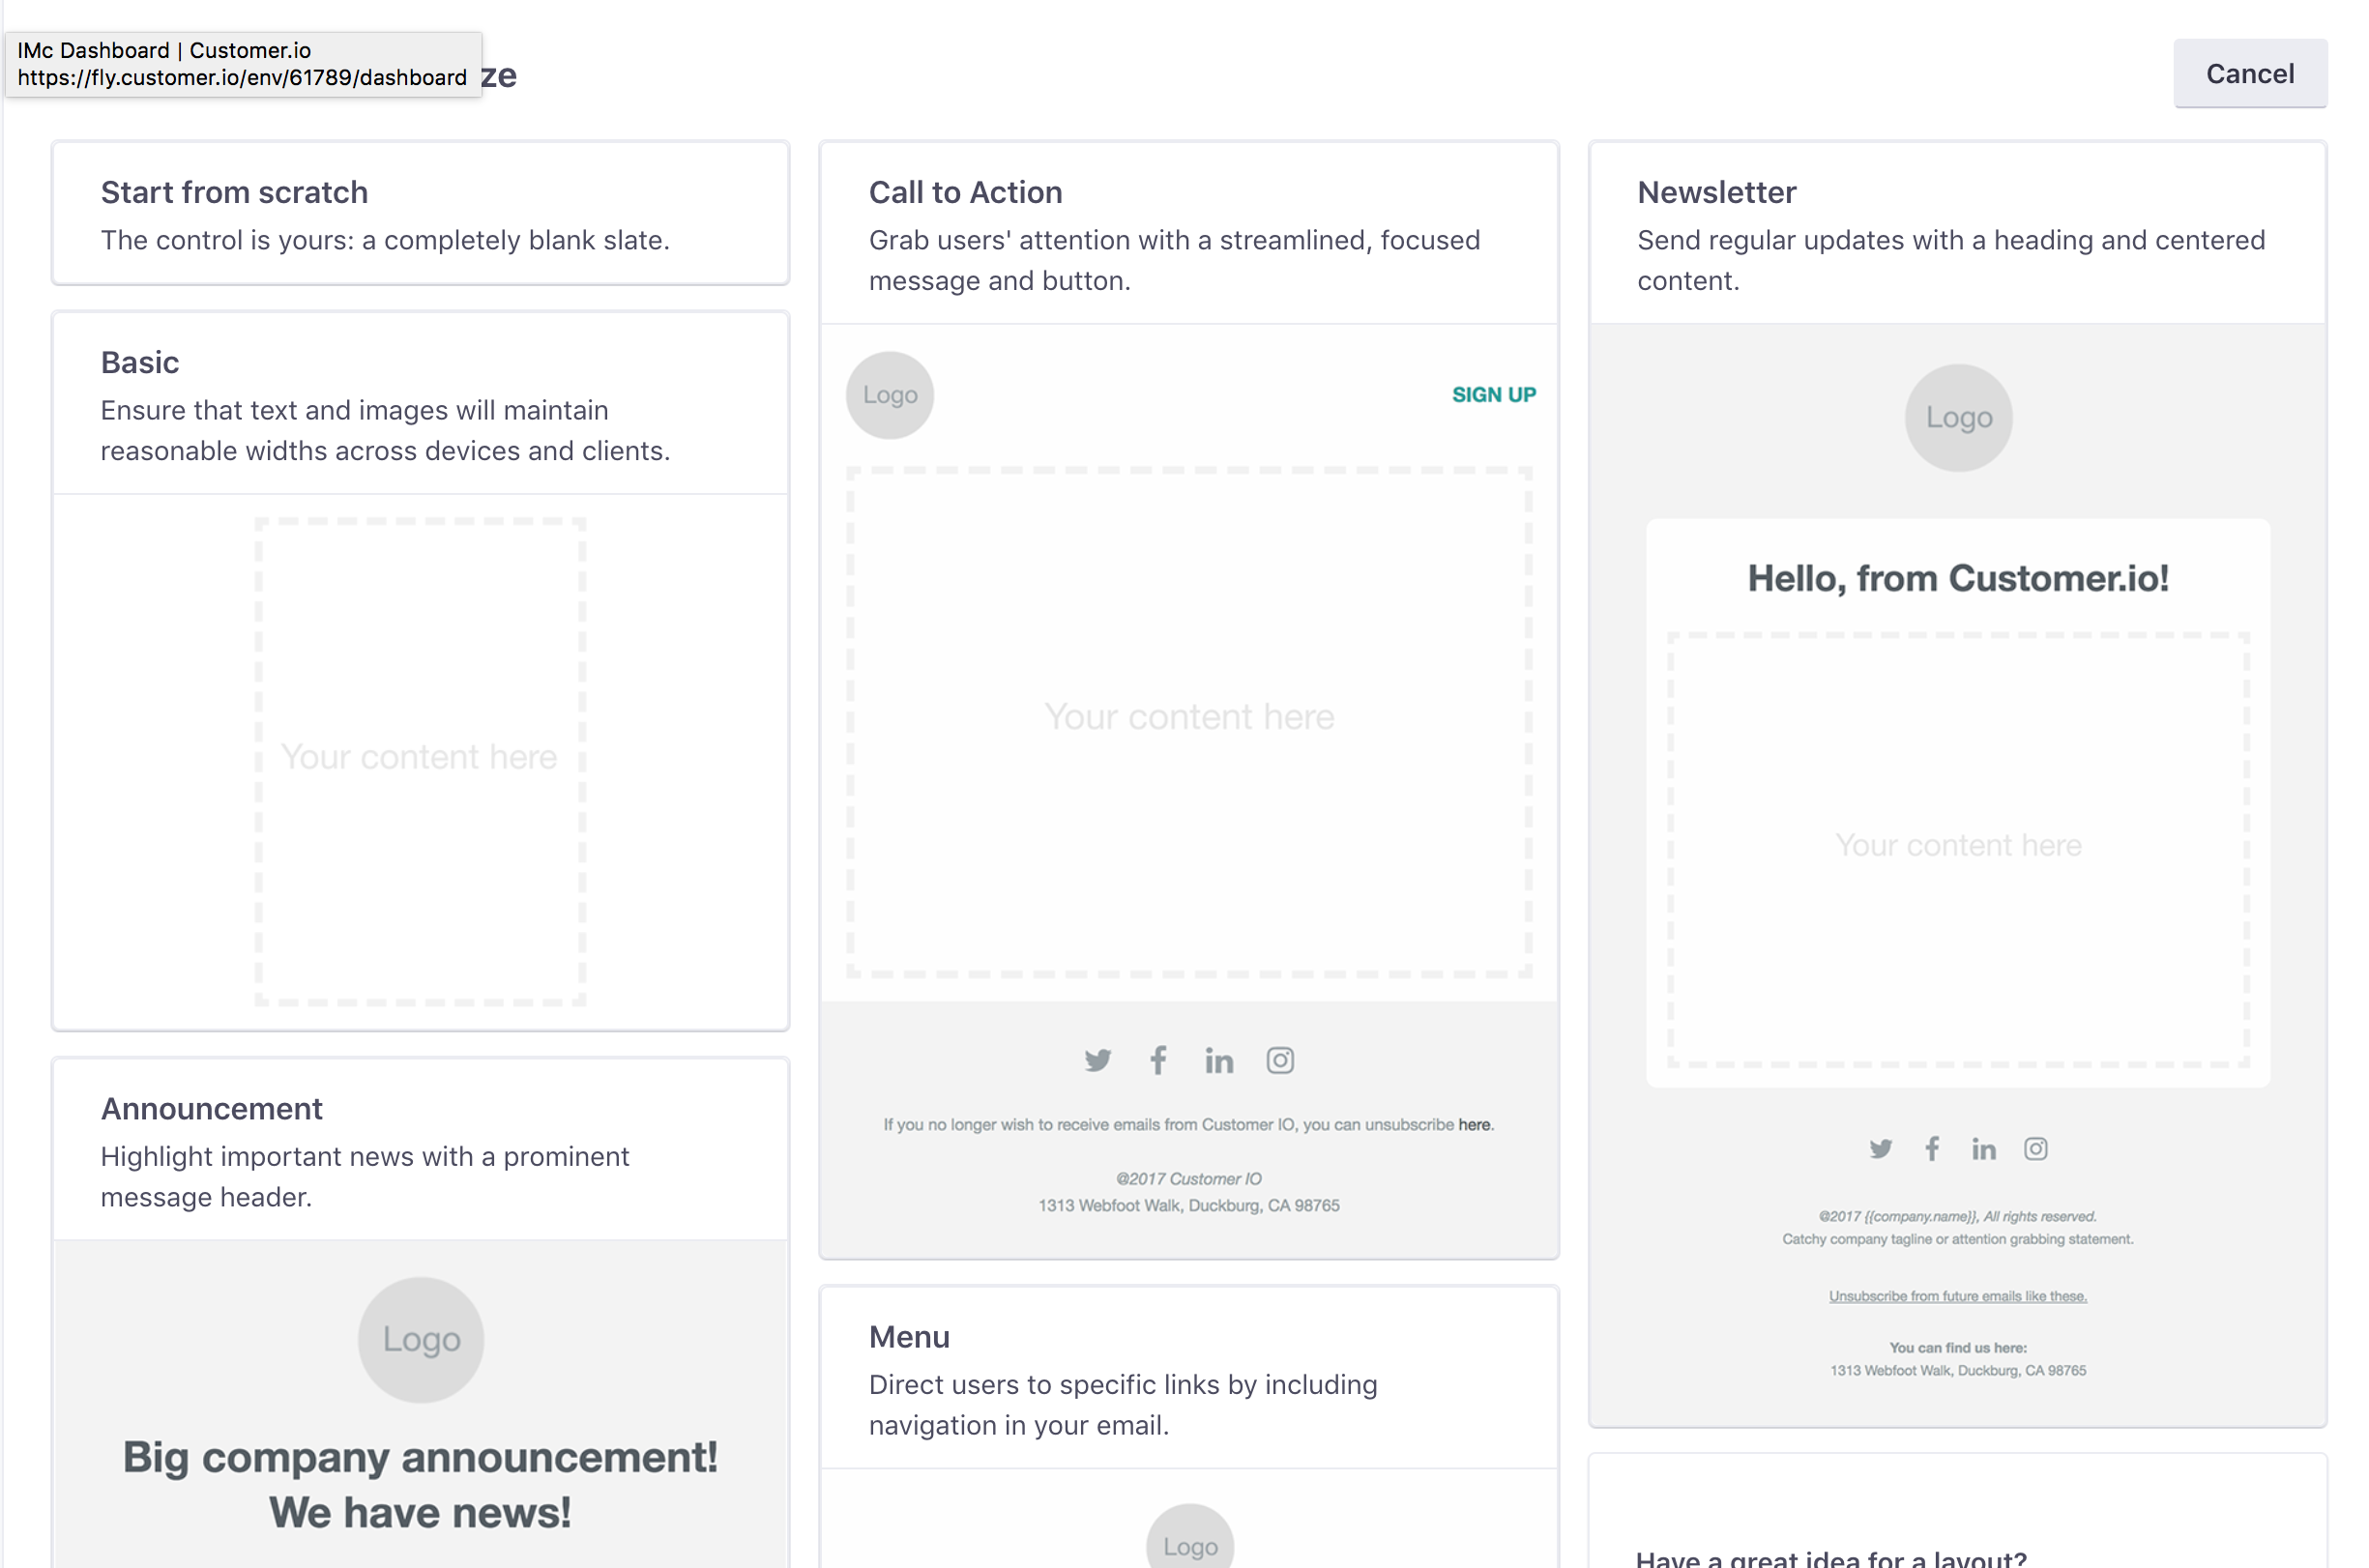
We offer a set of responsive starters for you to get started with, or you can start from scratch and paste in your own HTML if you’ve got it. Just remember that HTML and CSS work a little differently for emails than they do on the web.
If you need help customizing the starters, we have a guide for that! Whatever option you choose, the one thing you must have in your layout is this:
{{content}}
That’s where Customer.io will insert your email’s content— the words you write— in the future when you use that layout.
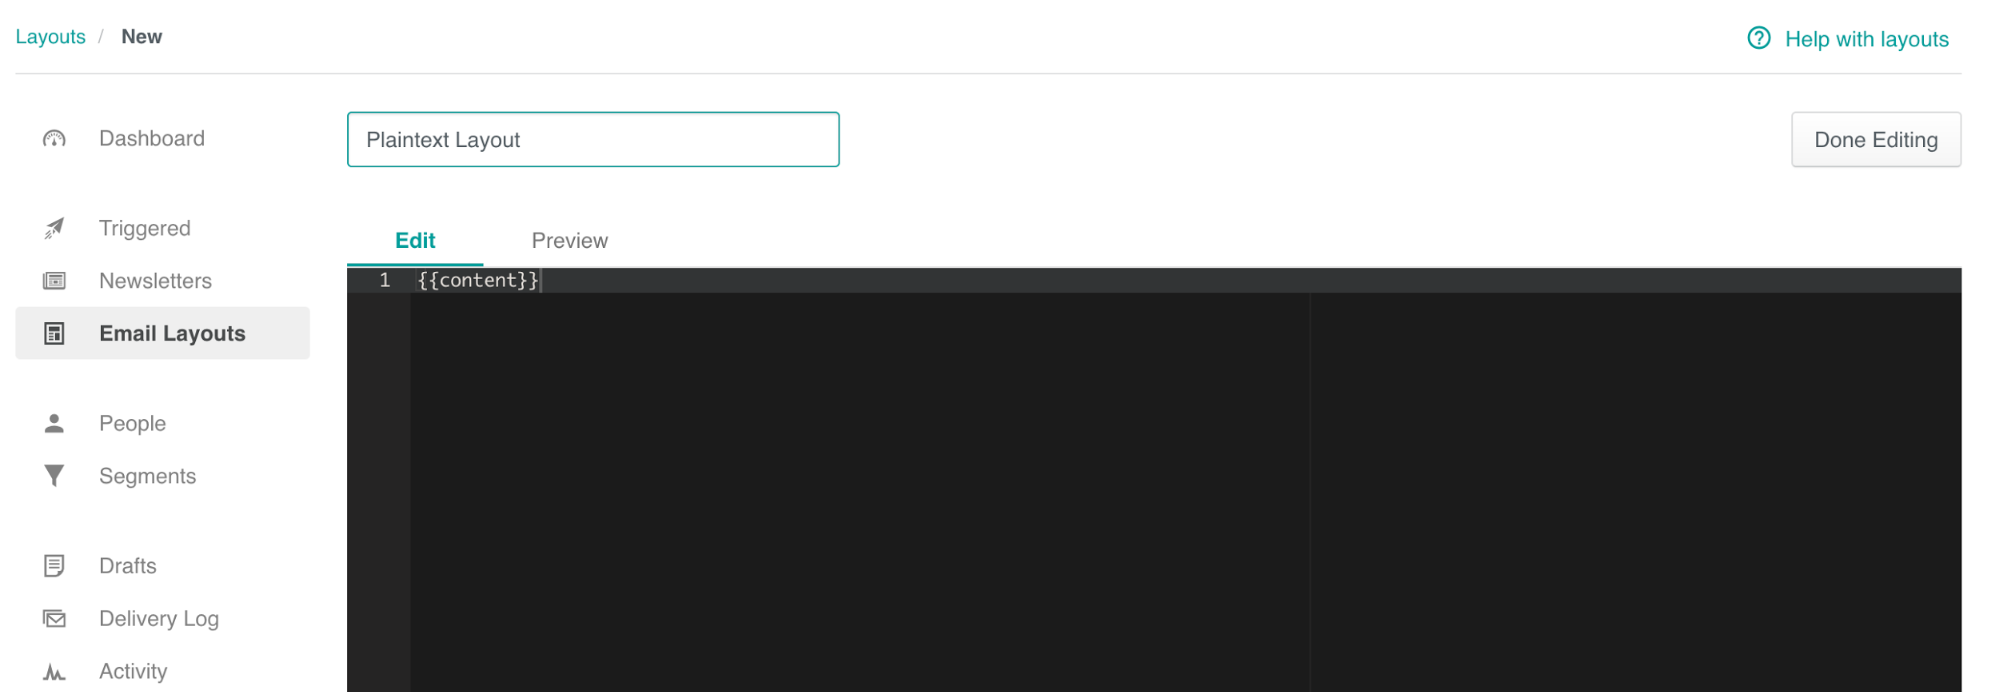
Plaintext layouts
If you’d like a plaintext layout, all you need in the editor is {{content}} and nothing else:
Best practices
Here are some best practices and tips for how to create and manage layouts in Customer.io:
Layouts are for design, not content: Generally, we recommend that your content go in an email’s body, rather than in the layout. This gives you much more control over what you send to your customers, and prevents anyone getting incorrect content.
Try not to use Liquid in layouts: we can’t validate it the way we do when we send emails, so you might end up sending missing attributes to your customers.
Build re-usable layouts, ones that you can re-use across campaigns, rather than building them on a per-campaign basis.
You need an unsubscribe link; you can handle this yourself, or Customer.io can do it for you. If you want us to handle unsubscribes, just use this piece of code in your layout:
<a href="{% unsubscribe_url %}" class="untracked">Unsubscribe Text</a>

