Set up your notification inbox
UpdatedHow it works
A notification inbox is a container that displays messages to your audience that they can access at their leisure. Customer.io has a helpful, visual inbox that you can style and publish to your website. You’ll determine what the inbox element looks like, where it appears on your website, and style messages that appear in it.
We offer two options for inbox messages:
- Recommended: use the visual inbox and style messages in the visual editor, described on this page. You’ll set up your inbox in Customer.io, and, as long as you’ve set up the JavaScript SDK on your website, the inbox will appear and automatically fetch/display messages.
- Advanced: build your own inbox and style messages in your own client, described in Build your own inbox. You’ll want to follow this path if you need to display the inbox in a mobile app or you want more control over the inbox and messages.
| Approach | Supports | What you control | Messages |
|---|---|---|---|
| Visual, standard inbox | Web only | Icon, placement in your app (floating top, bottom, left, or right), colors, and unread indicator | Sent using visual templates |
| Build your own inbox | Web and mobile | You render the inbox and messages yourself | Sent and delivered as JSON payloads; listen for messages with the SDK’s inbox() method |
Prerequisites
Whether you use the simple visual inbox or build your own inbox, you need to set up in-app messaging before you can send inbox messages. See getting started with in-app messages for more information.
Where the inbox works
The visual notification inbox renders on the web. If you use our JavaScript snippet, you don’t need to worry about versions—we automatically use the latest version of the SDK. If you import cdp-analytics-browser, use version 0.4.16 or later.
The visual inbox isn’t available in mobile apps. To show inbox messages on iOS, Android, React Native, Flutter, or Expo, build your own inbox.
Setup process
To set up and send inbox messages, you’ll:
- Create an inbox in your workspace settings and give it a name.
- Style the inbox in Design Studio—the icon, colors, position, and unread indicator—so it matches your brand.
- Publish the inbox to make it available to live messages and signal your app’s SDK to render it.
- Compose and send messages to the inbox from a campaign, broadcast, or transactional message.
You can have one notification inbox per workspace.
You can build your own inbox
Create your inbox
When you create an inbox, it starts in draft mode, which means it doesn’t display on your website and you can’t send messages to it. That makes creating your inbox a safe process—you won’t expose it to your audience until you’re ready.
You can only have one inbox per environment. If you already have an inbox, you can’t create another one.
- Go to Settings > In-App and select the Notification Inbox tab.
- Click Create an inbox.
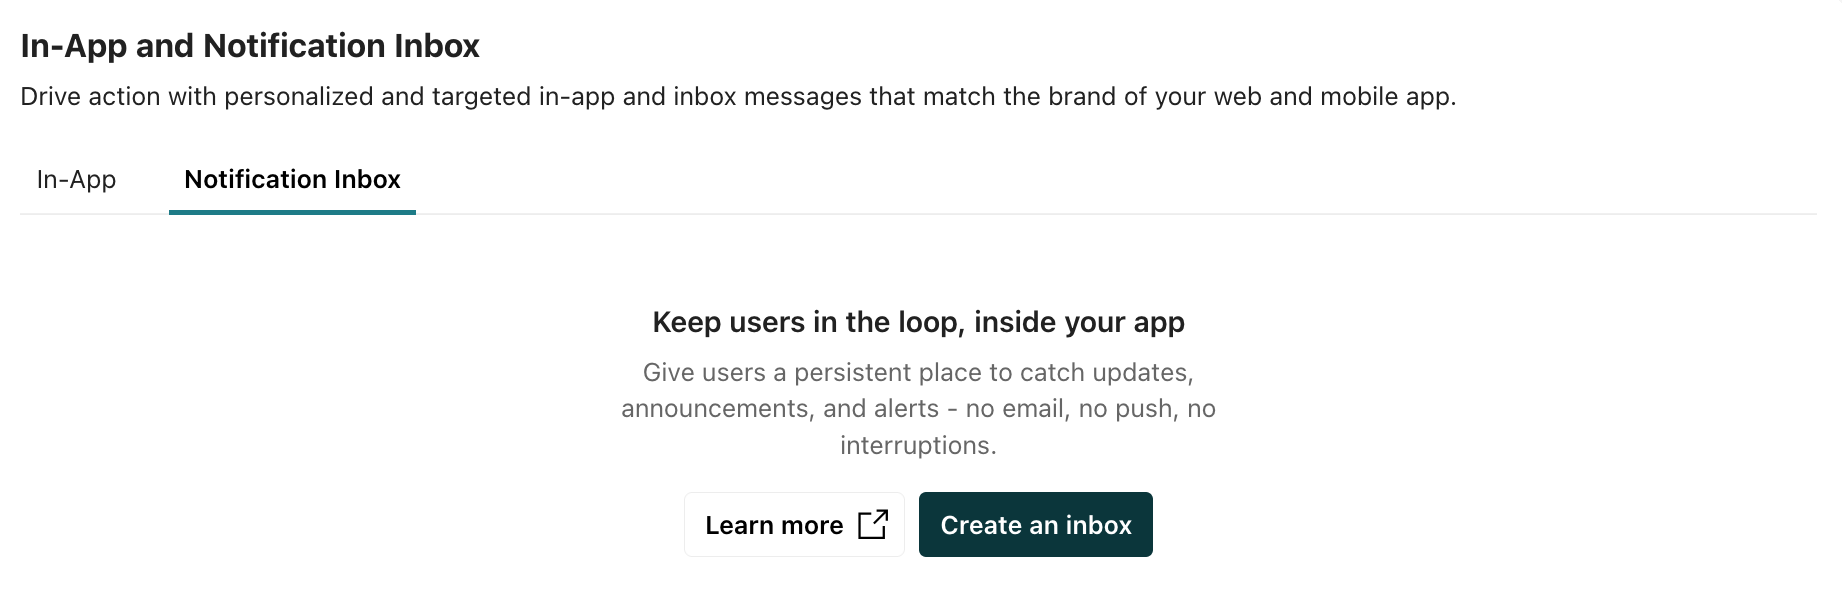
- Enter a name for your inbox—for example, Product updates—and click Create.
Now you’re ready to style and publish your inbox.
Style and publish your inbox
Before you publish your inbox, you’ll need to style it. When you’re done, you’ll publish it, which makes it appear on your website and lets you display messages.
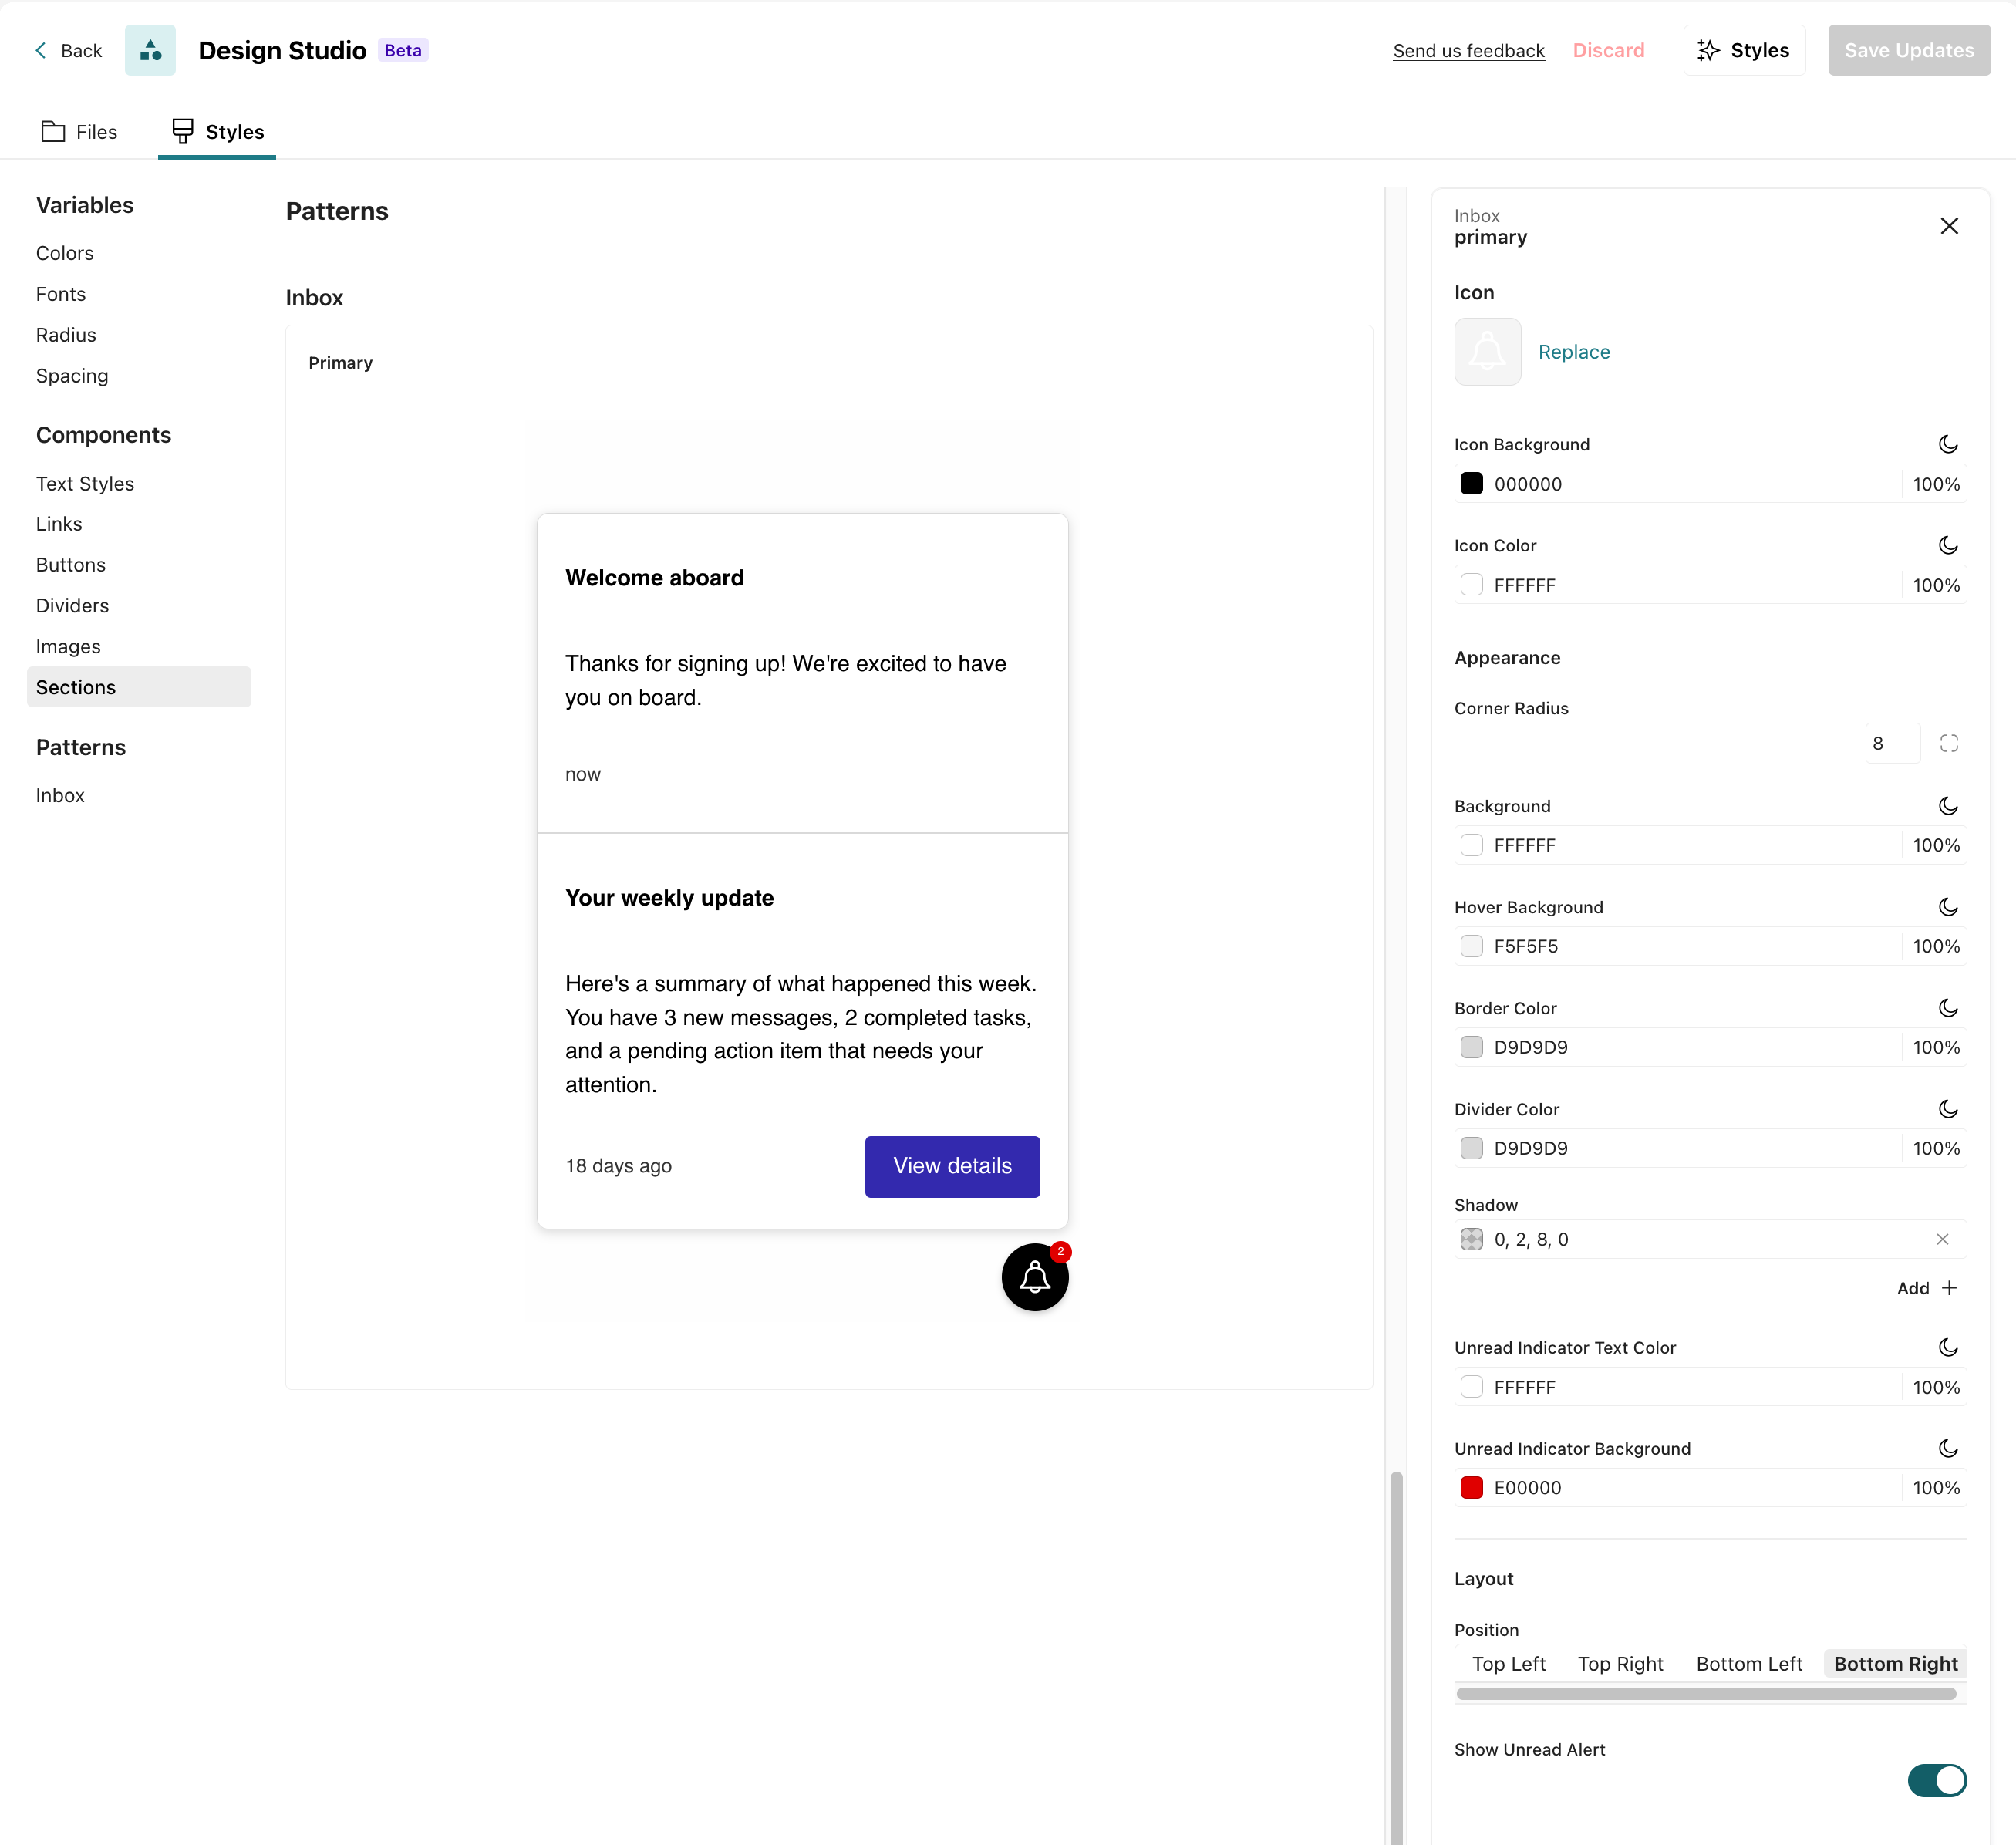
From the inbox in your workspace settings, click Edit in Design Studio.
Go to the Inbox section (under Patterns).
Set your styles:
- Icon: the floating icon’s background color, icon color, and icon (SVG).
- Appearance: background, hover, border, and divider colors; box shadow; and corner radius.
- Unread indicator: the background and text color of the unread badge, and whether to show an unread alert.
- Position: where the icon appears—top-left, top-right, bottom-left, or bottom-right.
Remember to set dark mode styles
For any of the color-based styles, you can click to set the colors for dark mode. This ensures that your inbox looks good no matter what color scheme your audience prefers.When you’re done styling your inbox, click Save Updates.
Return to your inbox settings and click Publish.
Unpublishing your inbox
If you don’t want to use the inbox anymore, you can disable it. Go to your inbox settings and click Set to draft. This removes the inbox from your website and stops it from displaying messages.
Compose inbox messages
Now that you’ve set up your inbox, you’re ready to start sending messages. When you add a message to a campaign, broadcast, or transactional message, you’ll choose an editor—Visual or Advanced—and build your message.
If you followed the process on this page, you’ll use the visual editor. See send inbox messages to learn more about sending messages.
If you built (or want to build) your own inbox, you’ll use the advanced editor. See compose JSON messages for more information.

