Trigger inbox messages from your backend
UpdatedYou can send inbox messages in response to user activity directly from your backend. While we call this a transactional message, it’s not a transactional message in the traditional, legal sense—it’s a message that you send to your audience that they can access at their leisure.
How it works
You can leverage our transactional messaging feature to send inbox messages immediately from your backend without triggering an automation or broadcast. This gives you a way to send one-to-one messages using Customer.io without having your message-sending logic inside Customer.io.
- Set up a message template: This represents the “template” for the message you want to send. You’ll also use liquidA syntax that supports variables, letting you personalize messages for your audience. For example, if you want to reference a person’s first name, you might use the variable
{{customer.first_name}}. to personalize the message for the recipient. - Set up your backend to trigger your inbox message: This is where you’ll send the message payload to Customer.io. You’ll reference the template to make sure that you send the correct message.
that triggers an inbox message?} a-->|yes|b(Trigger
inbox_message)
a-.....->|no|c(Message not sent)
b-->d{Is the recipienton your website or app?} d-->|no, wait for user to return
to your website or app|d h{Does the inbox send
markOpened when themessage is displayed?} d-.->|yes|e{Does the user
open the inbox?} e-.->|no, wait for the user
to open the inbox|e e-->|yes|h h-->|yes|i(Message is
marked as
opened)
h-.->|no|j(Message is sent butnot opened/delivered)
1. Set up a message
A transactional inbox message is a reusable template that you trigger from your backend. You author the content once and reference the message by its trigger name or ID when you send it.
- Go to the Transactional page and click Create Message.
- Give your message a Name and a Description, then click Next: Add Content. The name and description help your team members understand what kind of message this is (like “Order Update”).
- Select Inbox as the message type, pick your editor, and then click Next: Configure Settings. In most cases, we recommend using the Visual editor.
- Visual: See build a message in the visual editor for more about creating your message. You’ll choose a layout, add content, and set the expiration period for your message.
- Advanced: provide a free-form JSON payload if you build your own inbox.
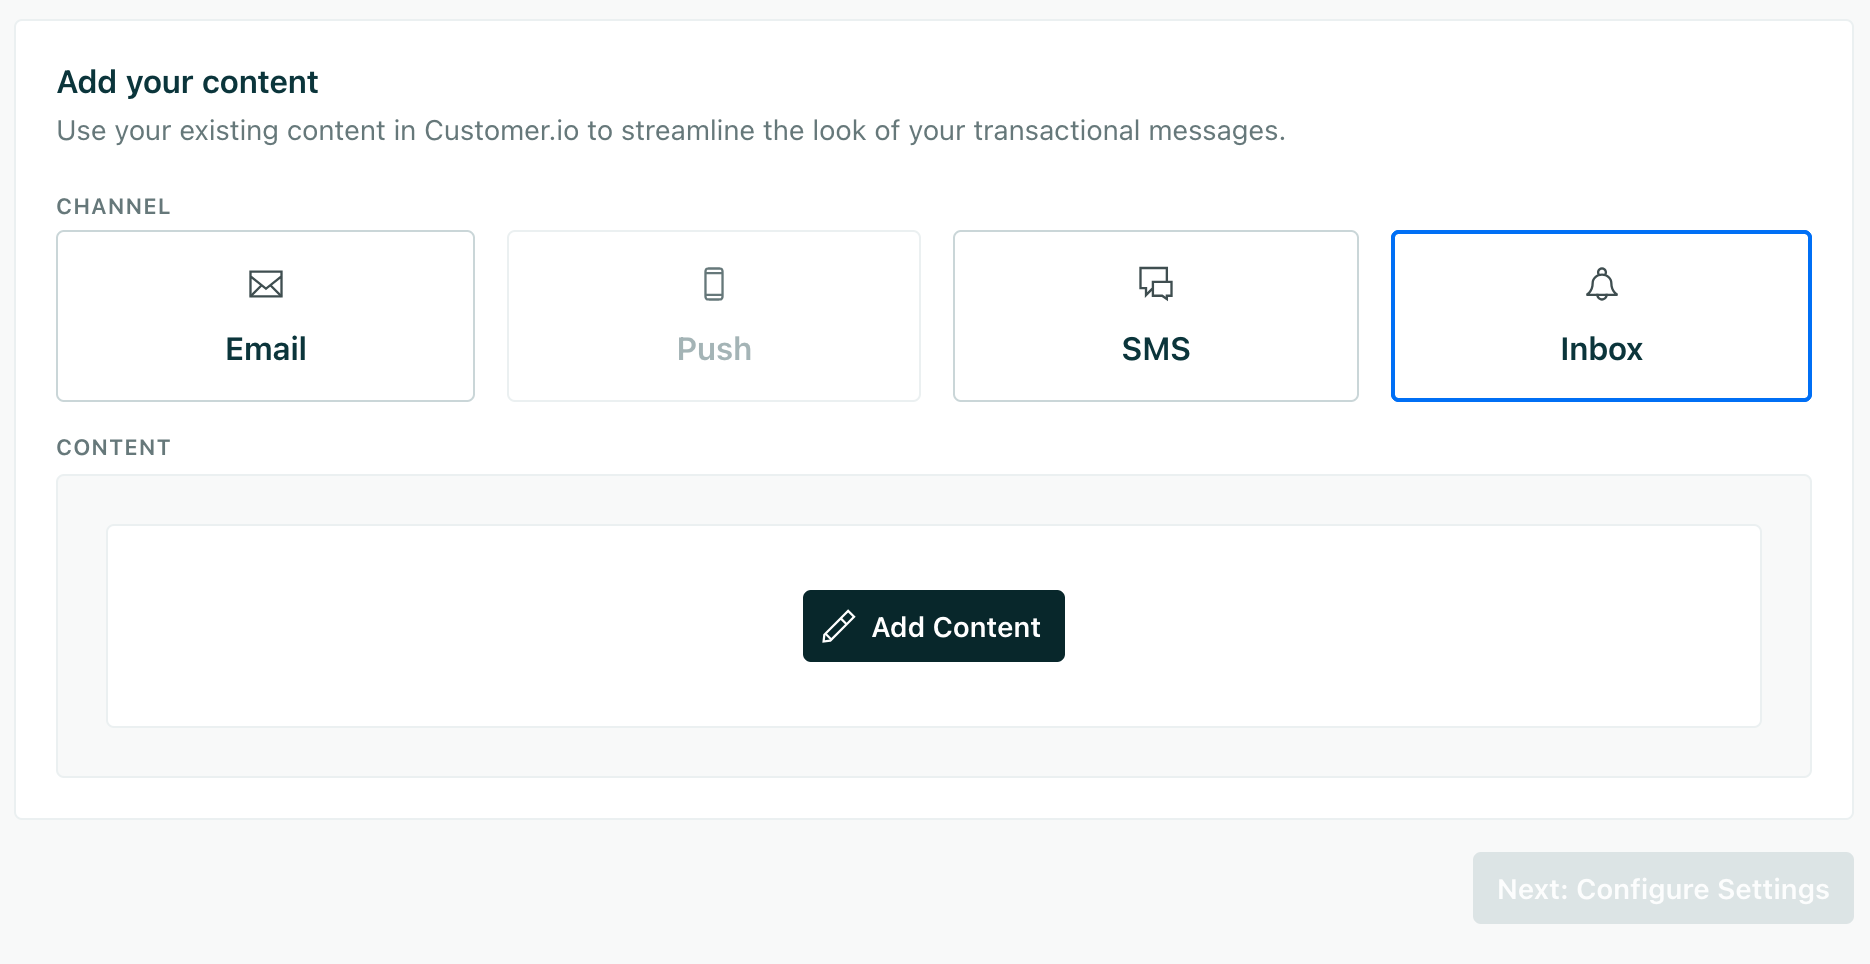
- Save your message and click Next: Configure Settings.
- Update your message settings. You should Set a trigger name so that it’s easy to reference your message later. By default, you’ll trigger a message using the
transactional_message_id, which is the last number in the URL of your message; the trigger name makes this more human readable. Otherwise, we recommend that you use the default settings.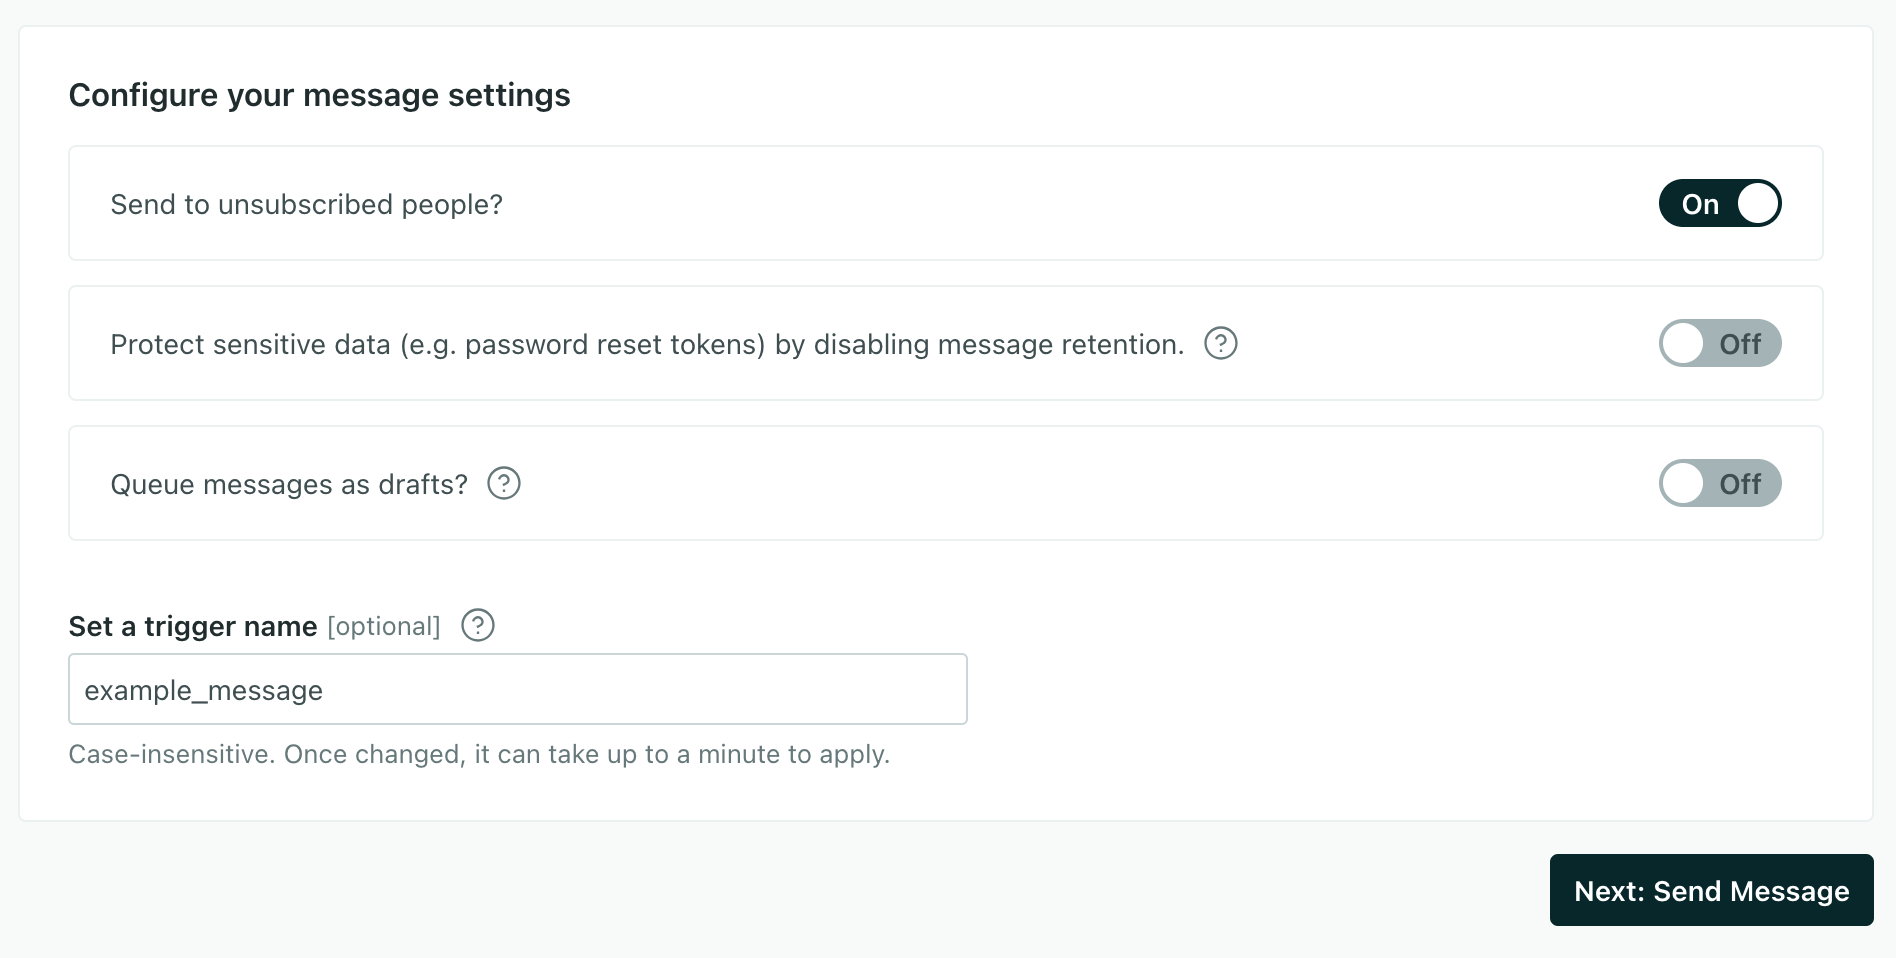
- Click Next: Send Message.
Now you’re ready to trigger your message from your backend.
Personalize your message with liquid
Whichever editor you use, you can personalize your message content with liquidA syntax that supports variables, letting you personalize messages for your audience. For example, if you want to reference a person’s first name, you might use the variable {{customer.first_name}}.. This is especially useful for transactional messages, where you pass data in the message_data object when you trigger the message.
- Customer attributesA key-value pair that you associate with a person or an object—like a person’s name, the date they were created in your workspace, or a company’s billing date etc. Use attributes to target people and personalize messages.: attributes already set on your audience. For example,
{{customer.first_name}}corresponds to thefirst_nameattribute on the recipient’s profile. - Trigger data: data sent in the
message_dataobject when you trigger the message. For example,{{trigger.order_number}}corresponds tomessage_data.order_numberin your payload.
2. Set up your backend to trigger inbox messages
You trigger inbox messages by sending a POST request to https://api.customer.io/v1/send/inbox_message. Authenticate with an App API key in the Authorization header.
The analytics JavaScript library you use for in-app messaging doesn’t send transactional messages, so you call this endpoint directly from your backend with your own HTTP client. See our API documentation for the full reference.
Your request body includes:
transactional_message_id: The ID of your transactional message. You can find this in the URL of your transactional message or in the code sample in the Overview tab for your transactional message.identifiers: The identifiers for the recipient. You can use theid,email, orcio_ididentifier.message_data: The data you want to include in your message. You can reference this data in your message with liquidA syntax that supports variables, letting you personalize messages for your audience. For example, if you want to reference a person’s first name, you might use the variable{{customer.first_name}}..
The examples below send the same request with cURL and a few common languages. Adapt them to your stack.
cURL
curl --request POST \
  --url https://api.customer.io/v1/send/inbox_message \
  --header 'Authorization: Bearer YOUR_APP_API_KEY' \
  --header 'Content-Type: application/json' \
  --data '{
    "transactional_message_id": "order_shipped",
    "identifiers": {
      "id": "user_123"
    },
    "message_data": {
      "order_id": "ORD-5678",
      "tracking_url": "https://track.example.com/5678",
      "product_name": "Blue Widget"
    }
  }'
Node.js
const response = await fetch("https://api.customer.io/v1/send/inbox_message", {
  method: "POST",
  headers: {
    Authorization: "Bearer YOUR_APP_API_KEY",
    "Content-Type": "application/json",
  },
  body: JSON.stringify({
    transactional_message_id: "order_shipped",
    identifiers: { id: "user_123" },
    message_data: {
      order_id: "ORD-5678",
      tracking_url: "https://track.example.com/5678",
      product_name: "Blue Widget",
    },
  }),
});

console.log(response.status, await response.json());
Python
import requests

response = requests.post(
    "https://api.customer.io/v1/send/inbox_message",
    headers={"Authorization": "Bearer YOUR_APP_API_KEY"},
    json={
        "transactional_message_id": "order_shipped",
        "identifiers": {"id": "user_123"},
        "message_data": {
            "order_id": "ORD-5678",
            "tracking_url": "https://track.example.com/5678",
            "product_name": "Blue Widget",
        },
    },
)

print(response.status_code, response.json())
Ruby
require "net/http"
require "json"
require "uri"

uri = URI("https://api.customer.io/v1/send/inbox_message")

request = Net::HTTP::Post.new(uri)
request["Authorization"] = "Bearer YOUR_APP_API_KEY"
request["Content-Type"] = "application/json"
request.body = {
  transactional_message_id: "order_shipped",
  identifiers: { id: "user_123" },
  message_data: {
    order_id: "ORD-5678",
    tracking_url: "https://track.example.com/5678",
    product_name: "Blue Widget"
  }
}.to_json

response = Net::HTTP.start(uri.hostname, uri.port, use_ssl: true) do |http|
  http.request(request)
end

puts response.code
puts response.body
Go
package main

import (
	"bytes"
	"fmt"
	"net/http"
)

func main() {
	body := []byte(`{
		"transactional_message_id": "order_shipped",
		"identifiers": {"id": "user_123"},
		"message_data": {
			"order_id": "ORD-5678",
			"tracking_url": "https://track.example.com/5678",
			"product_name": "Blue Widget"
		}
	}`)

	req, _ := http.NewRequest("POST", "https://api.customer.io/v1/send/inbox_message", bytes.NewBuffer(body))
	req.Header.Set("Authorization", "Bearer YOUR_APP_API_KEY")
	req.Header.Set("Content-Type", "application/json")

	resp, err := http.DefaultClient.Do(req)
	if err != nil {
		fmt.Println(err)
		return
	}
	defer resp.Body.Close()

	fmt.Println(resp.Status)
}

