

Double opt-in
Introduction
This document will guide you through the basics of setting up double opt-in functionality for your users. A double opt-in is a good practice to follow in order to improve your deliverability and/or comply with local laws like CASL in Canada.
Ingredients
- A
double_optinattribute to track each person’s status - A data-driven segment, either for people without the
double_optinattribute or for new users depending on your strategy - A segment-triggered automation where we’ll send an email with a link people can click to opt in
- Another data-driven segment for people who have clicked the opt-in link
Method
Create a segment to trigger the automation
First and foremost, we’ll need an attribute for each person that tracks whether or not they’ve been through the double-opt in process, and what they’ve chosen. Let’s call this attribute double_optin.
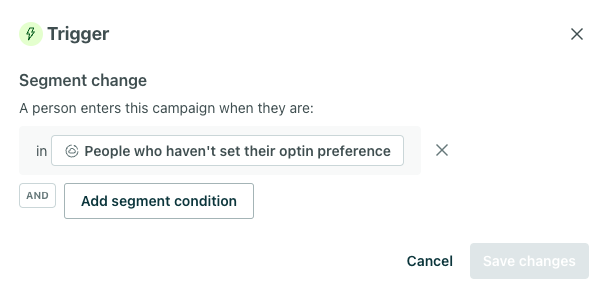
Then, we’ll need a segment A group of people who match a series of conditions. People enter and exit the segment automatically when they match or stop matching conditions.double_optin does not exist”. You can use a different segment if you want—like a data-driven segment for new users.

Start creating your double opt-in automation
Create a segment-triggered automation:
- Go to Automations.
- Click Create Automation.
- Click Choose trigger.
- Select Segment change.
- Use the segment you created in the previous step.
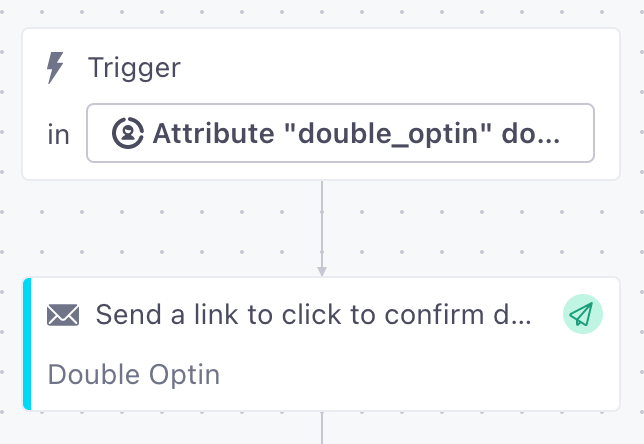
- Drag an email into your workflow. Add your content including a link that your audience can click to confirm that they want to opt-in.
Create a segment for users who click the link in your email
Now that we have the email created, we’ll need a second data-driven segment for people who clicked the opt-in link. Create your new segment before you finish setting up your automation.
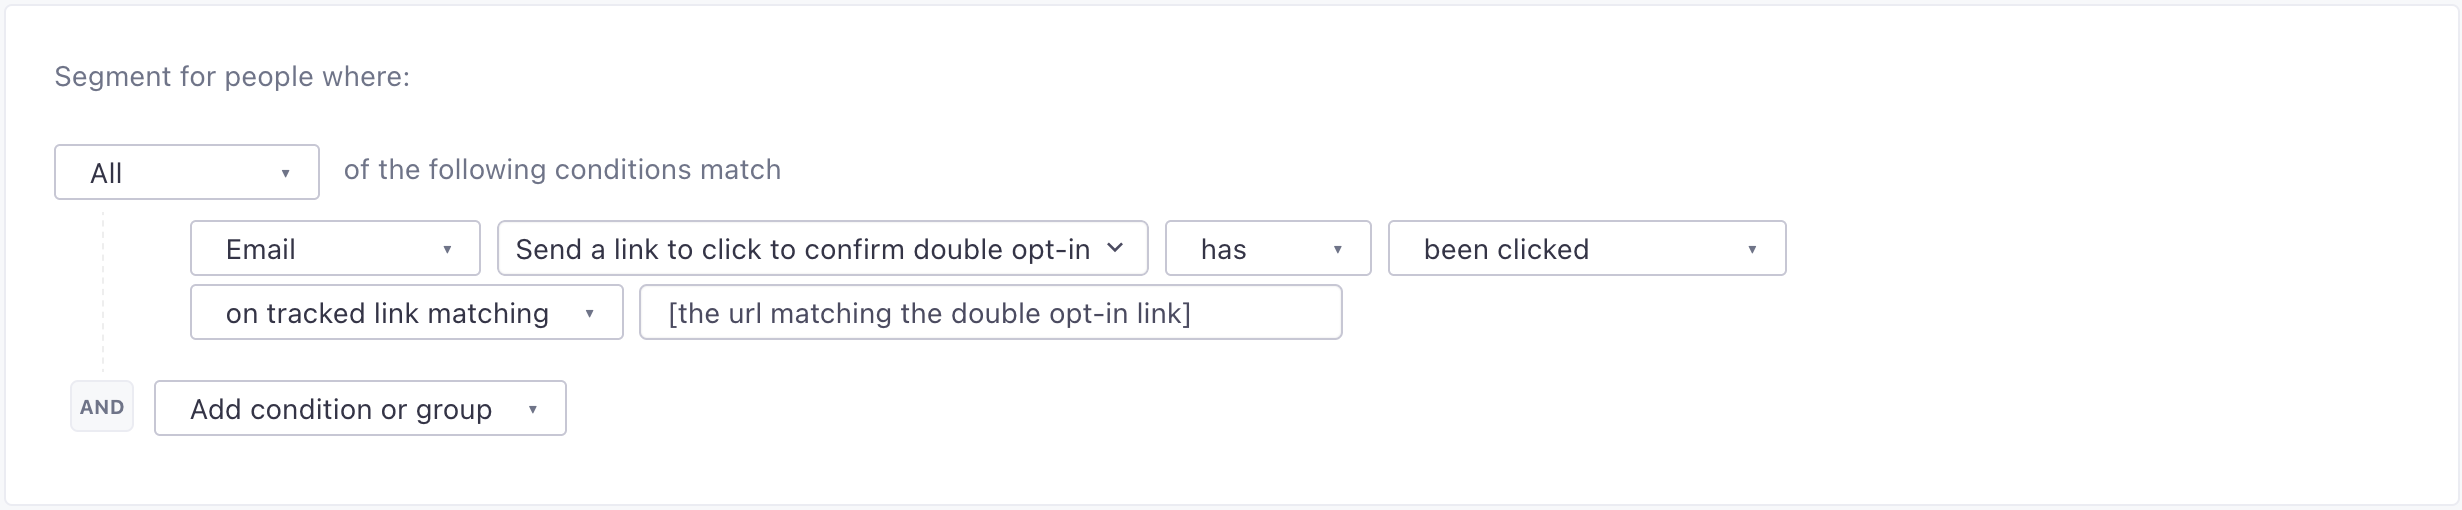
Finish creating your double opt-in automation
Now that we have that second segment, we can complete the setup of our automation.
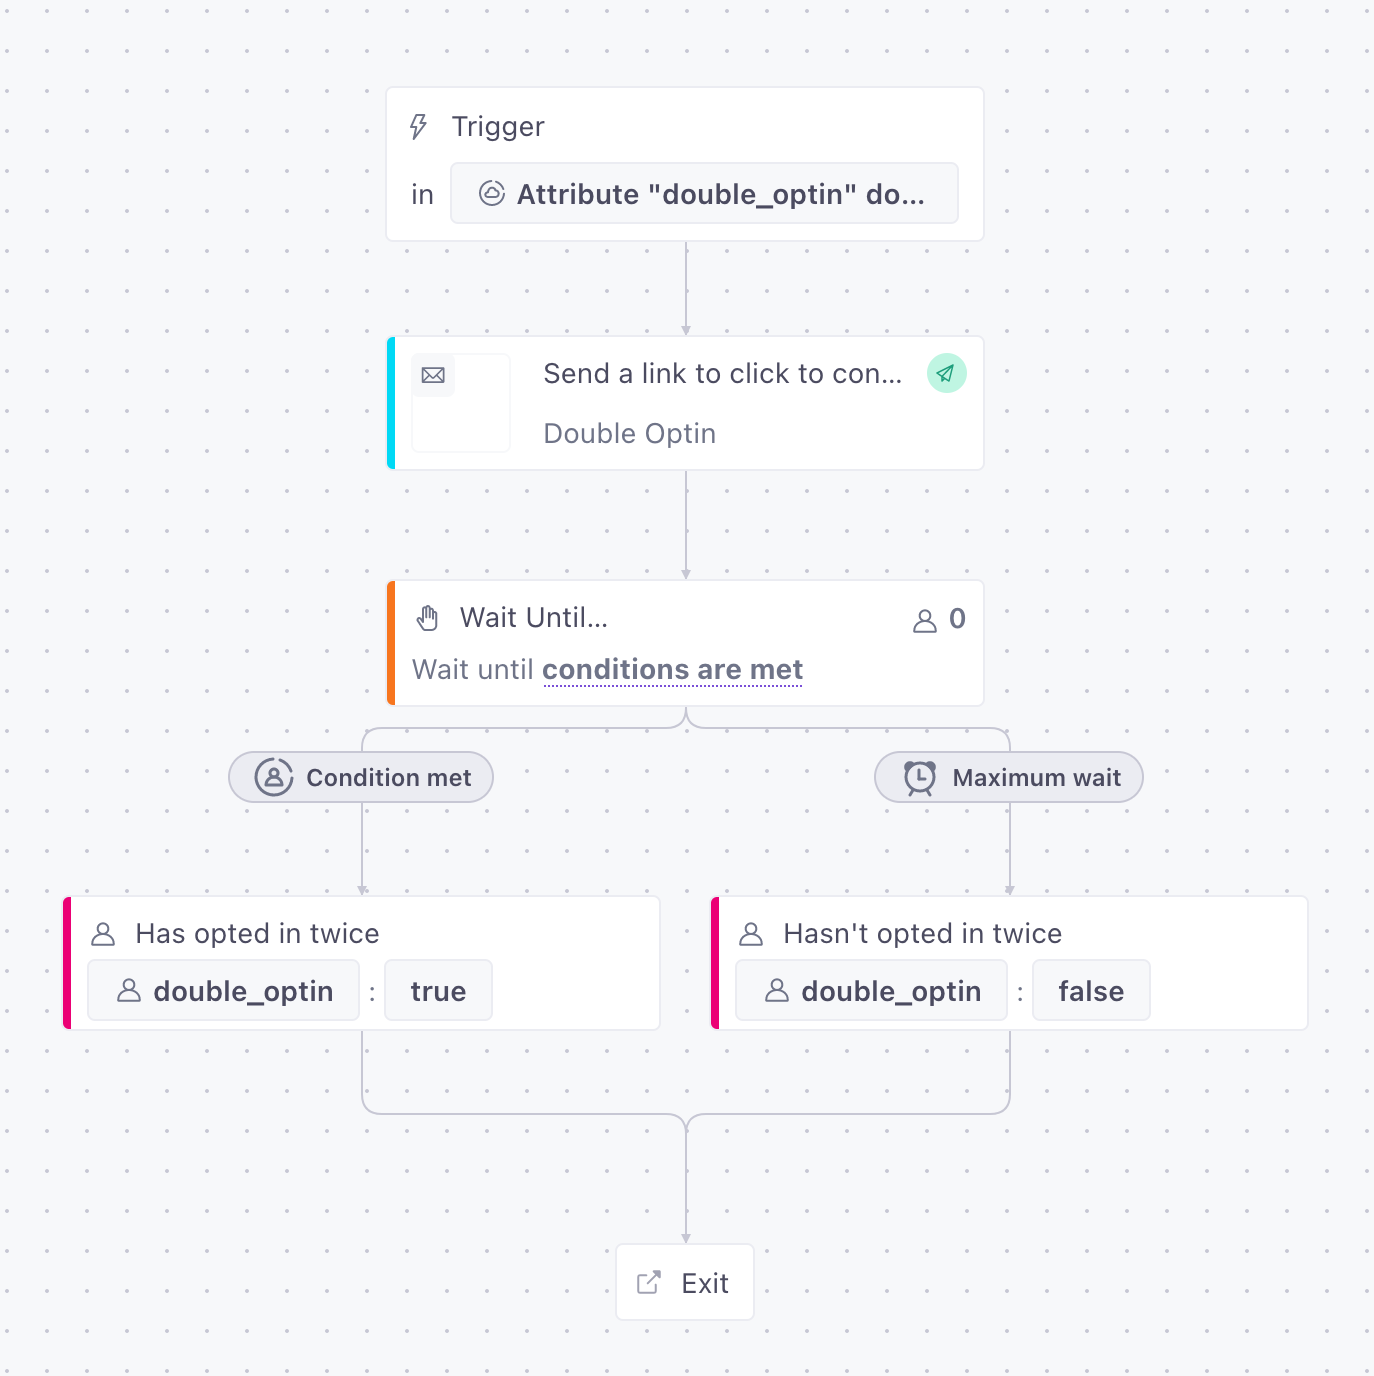
We’ll add a Wait Until workflow action and use the segment we just created as the condition that we want to wait for. We’ll also add a maximum wait time of 1 week before moving to the next action. This lets us consider people who haven’t clicked within 7 days of receiving the email as not opted-in.
Thanks to Wait Until conditions we can define different flows based on which condition is matched first. If the user enters the segment we created (and therefore has clicked the email), we’ll set the attribute to true. If they haven’t entered the segment after 1 week, we’ll assume they haven’t perform double opt-in and set the attribute to false.
To do that, we’ll add a Create or Update Person action in each branch to update the double_optin attribute.
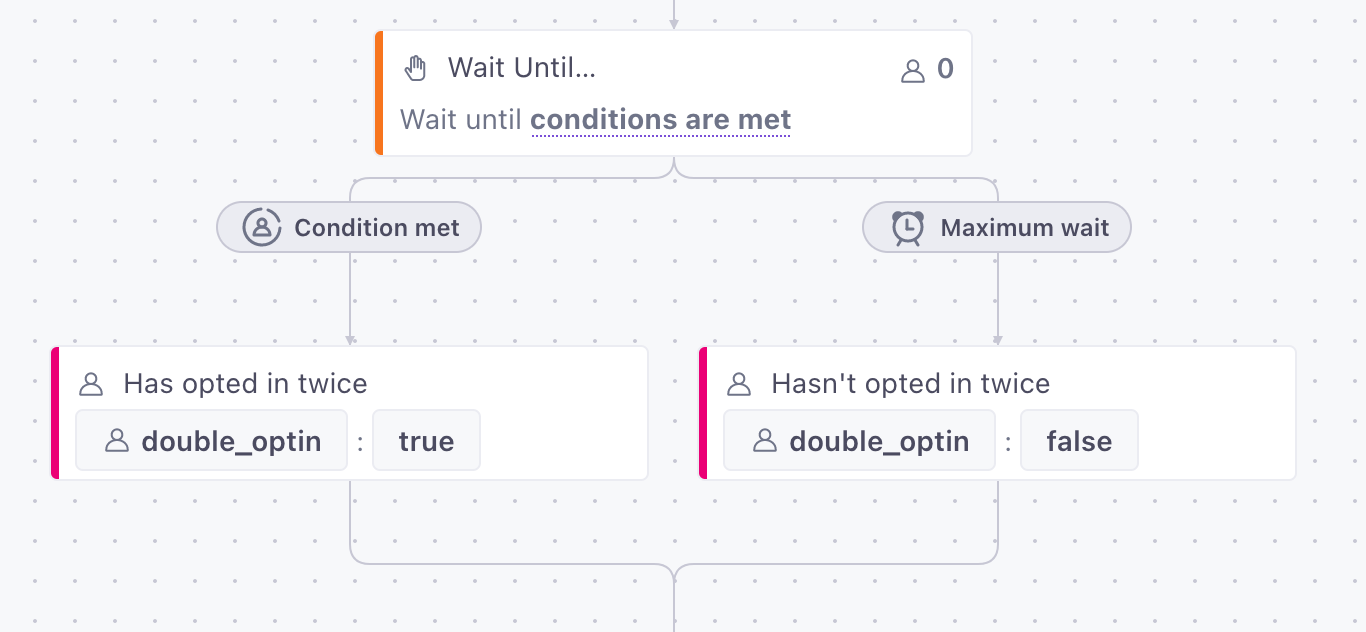
Overview of the final result
Your automation should look like this! When you’re done, activate your automation to begin processing double opt-ins.
Use the double opt-in attribute to filter messages
The double_optin attribute is a custom attribute on a person. Customer.io doesn’t automatically check this attribute before sending messages—setting the attribute alone doesn’t prevent messages from going to people who haven’t opted in.
To enforce double opt-in across your messaging, create a data-driven segment for people where double_optin equals true. Then use this segment to control who receives messages from your automations and one-time sends:
- Automations: Add the segment as a filter in your automation’s entry criteria so that only people who completed double opt-in can enter the automation.
- One-time sends: Set the segment as the recipient of your one-time send to make sure you only send to people who opted in.