Choose the right email editor
UpdatedWe offer several editors for email creation. Check out our newest editor, Design Studio! If that doesn’t suit your needs, check out our older editors below.
Check out Design Studio!
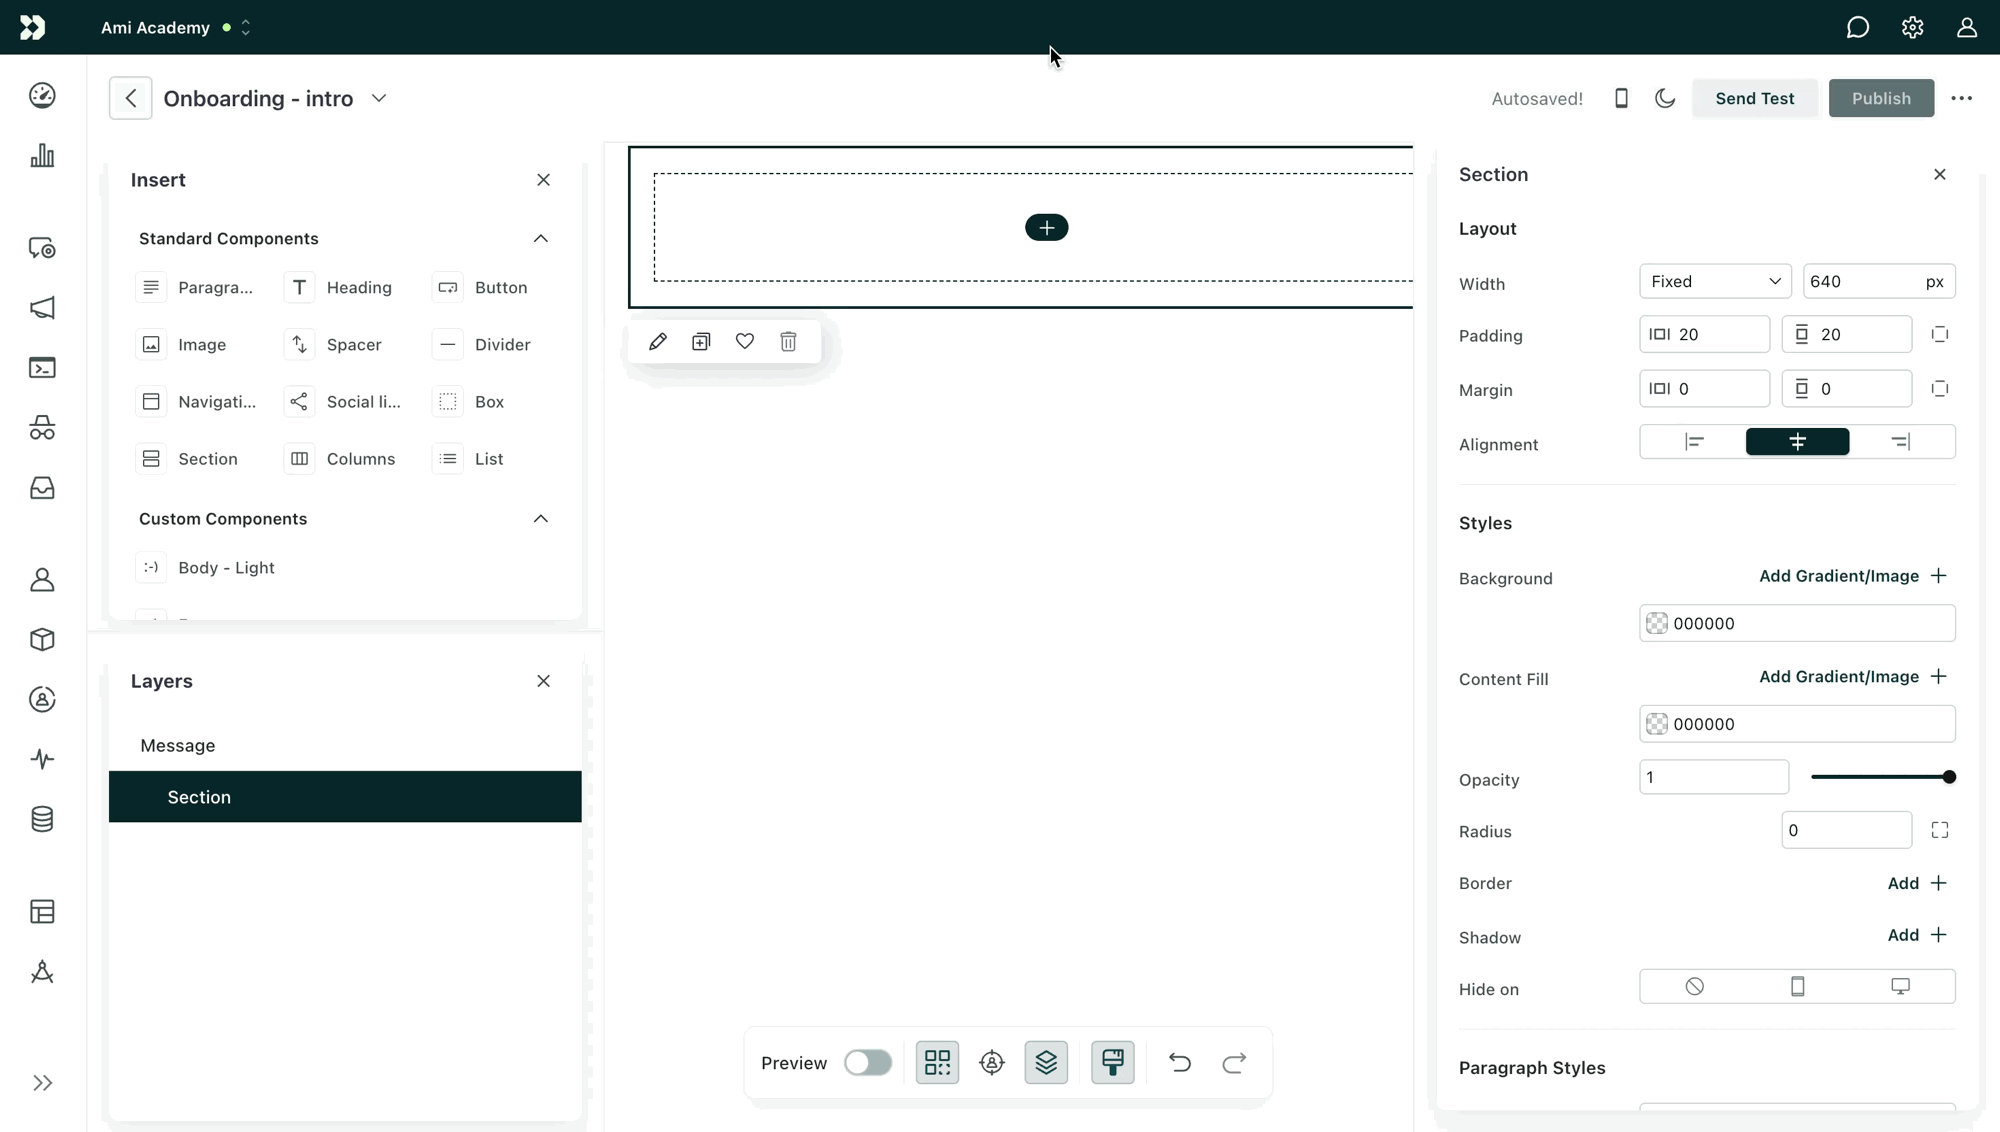
Design Studio is our newest, most flexible email editor. Use components to create a block-based email from scratch, and set global styles to create a consistent brand across your messages made in Design Studio. No longer do you have to decide between a visual or code-based editor; you can use both!
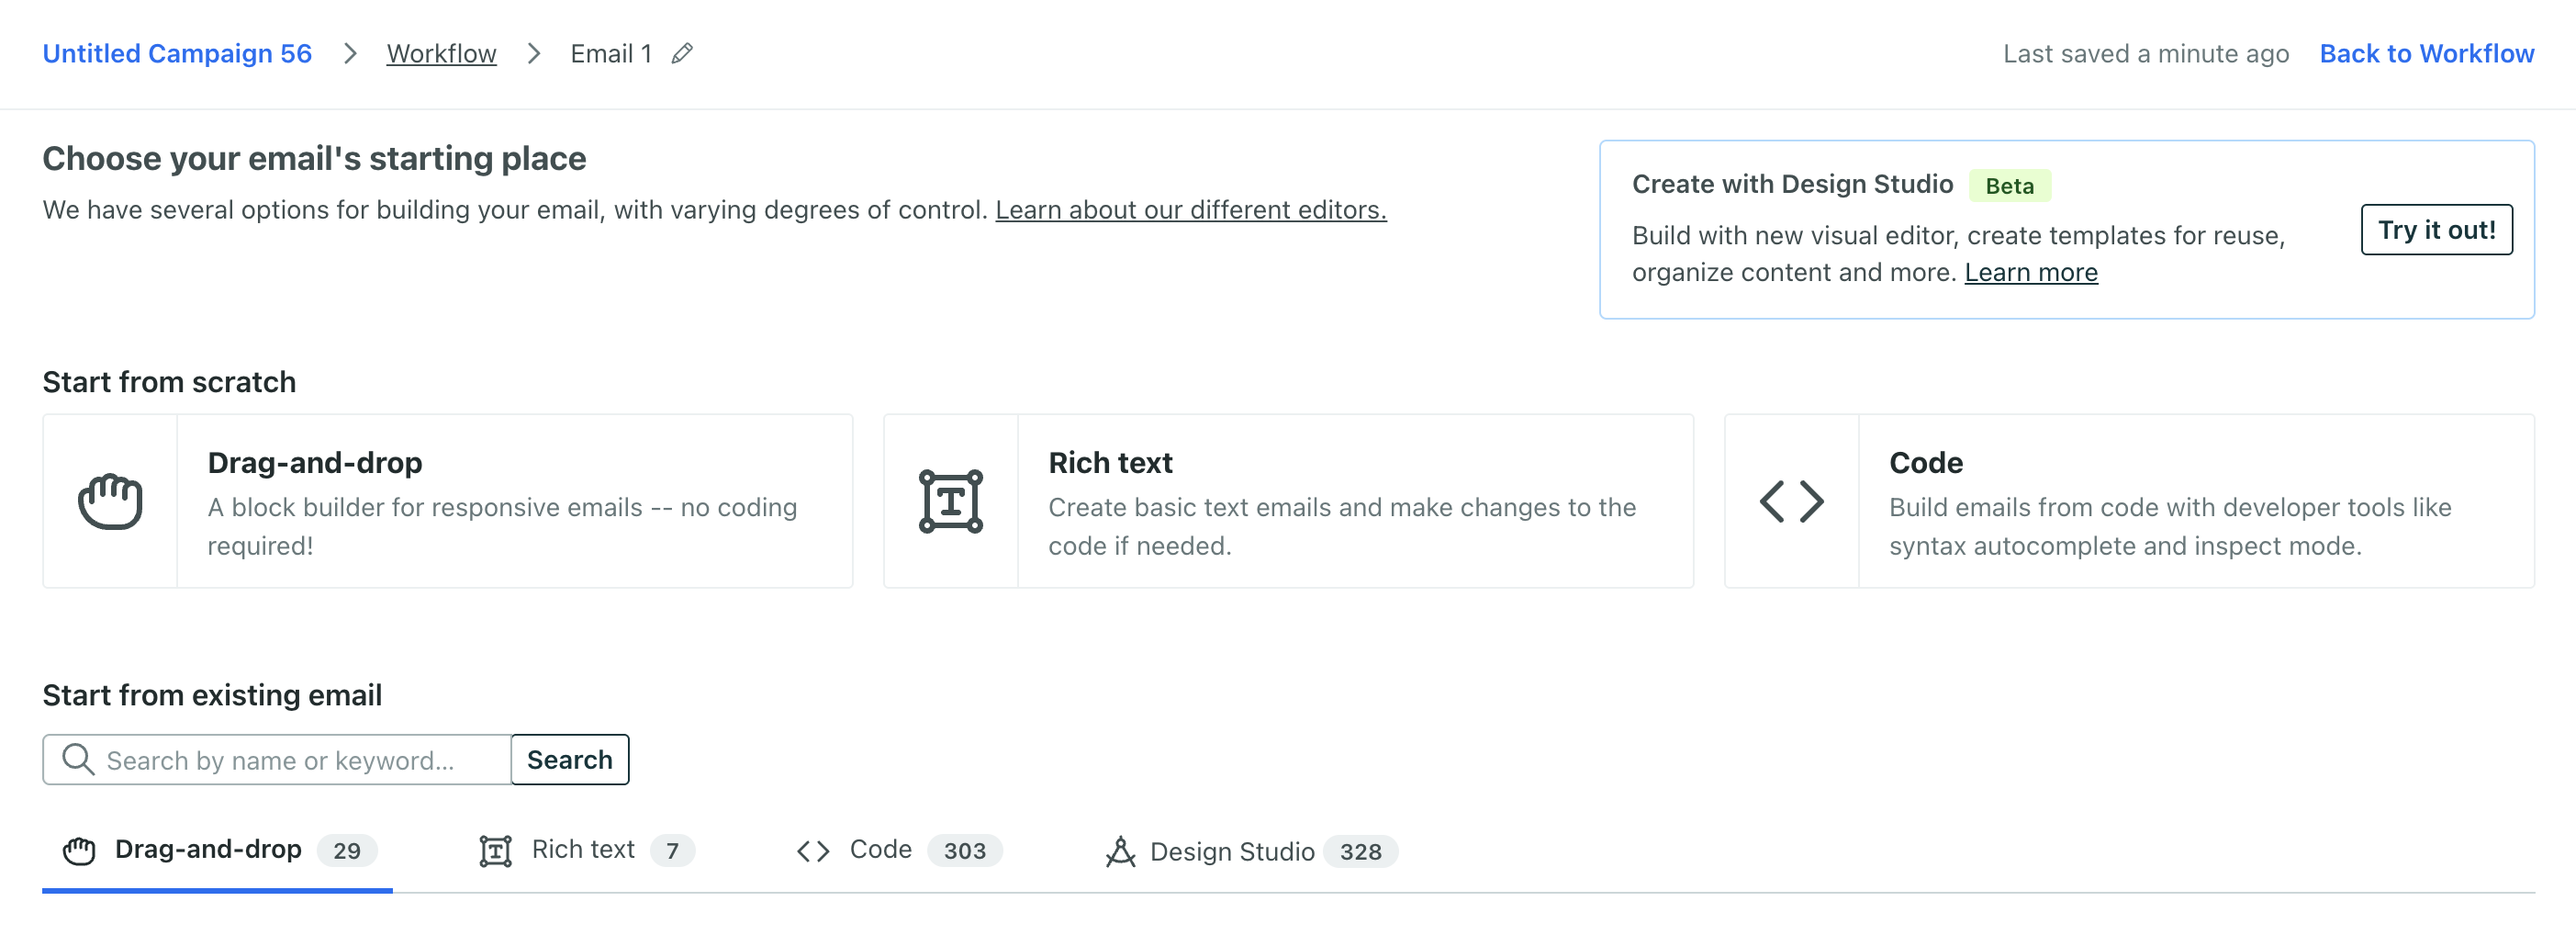
Choose your editor
While editing a campaign, broadcast, or transactional message, you can create and edit your emails. When you first click into an email block, you’ll choose to either start from scratch or start from an existing email.
Our newest editor: Design Studio
In Design Studio, you can:
- Build emails with our visual, block-based editor. You can also modify the HTML/CSS as you see fit by switching to the code editor!
- Build emails using reusable blocks. We offer out-of-the-box blocks called standard componentsA pre-built block that helps you build beautiful, engaging messages as quickly as possible in Design Studio.. You can also create your own reusable blocks called custom componentsA custom block of code with content and properties you can reuse across messages made in Design Studio..
- Assign global styles that span your emails and in-app messages.
- Collaborate with teammates by sending test messages, requesting feedback, and more.
Check out Welcome to Design Studio to get started!
Our classic editors
Drag-and-drop
Our drag-and-drop editor allows you to quickly build responsive emails without coding. It looks like this:
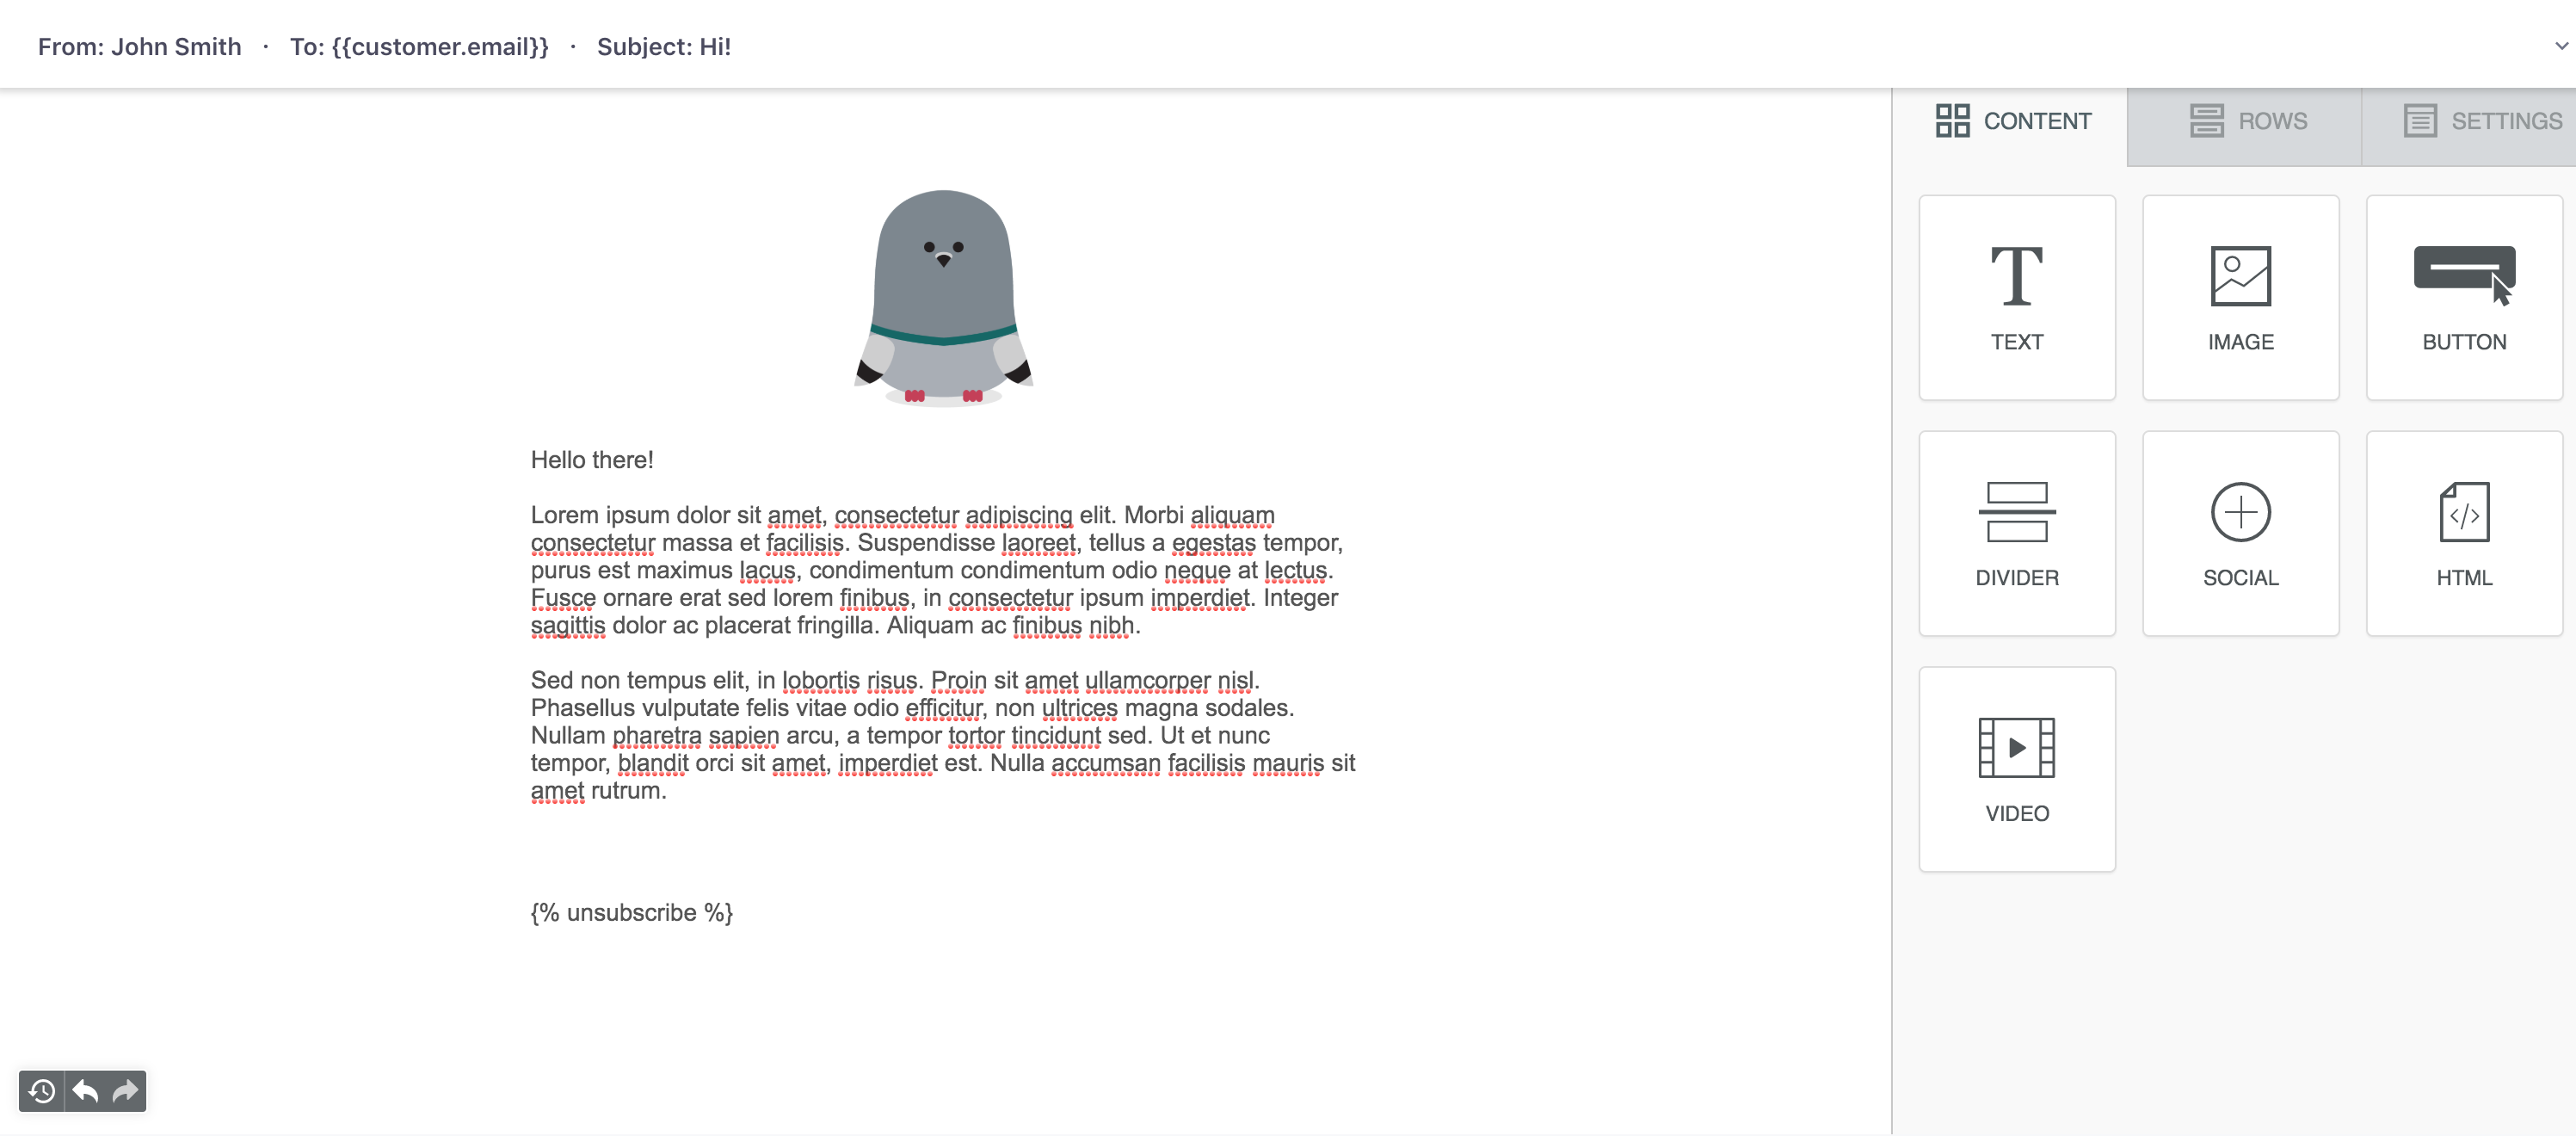
You can quickly add blocks of content, columns, and easily drop in items like images, buttons, social links, and set global styles. When clicking your email to edit it, you can see that it was built using the drag-and-drop editor:
To learn more about the drag-and-drop editor, check out these resources:
- Getting started with drag-and-drop: the basics of how to use columns, images, customize your headers and navigation, and so on.
- Drag-and-drop editor FAQ: some of the most common questions we’ve received about this editor and upcoming features.
- Troubleshooting your drag-and-drop emails
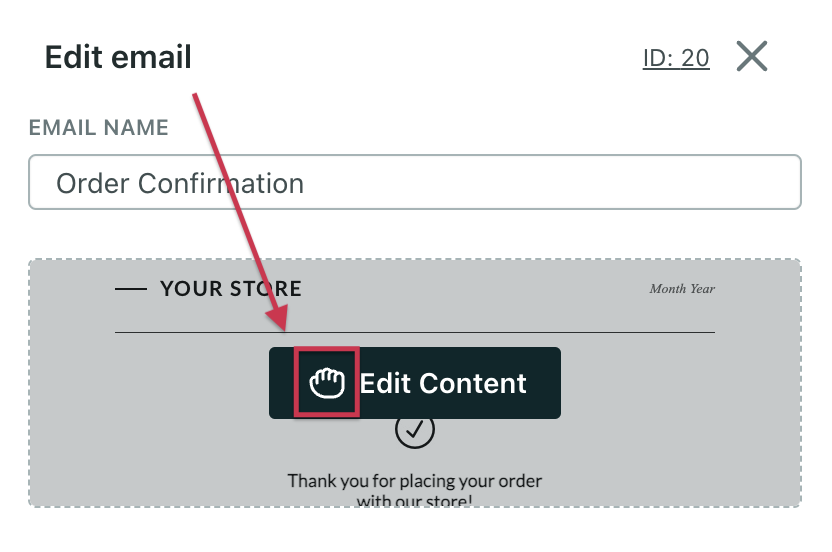
Rich text
This editor is great if you need a little more control over the code compared to the drag-and-drop editor, but don’t need a highly stylized message. You land on the WYSIWYG editor, but you can click HTML to edit code. You can use layouts to structure your emails and create a re-usable header and footer.
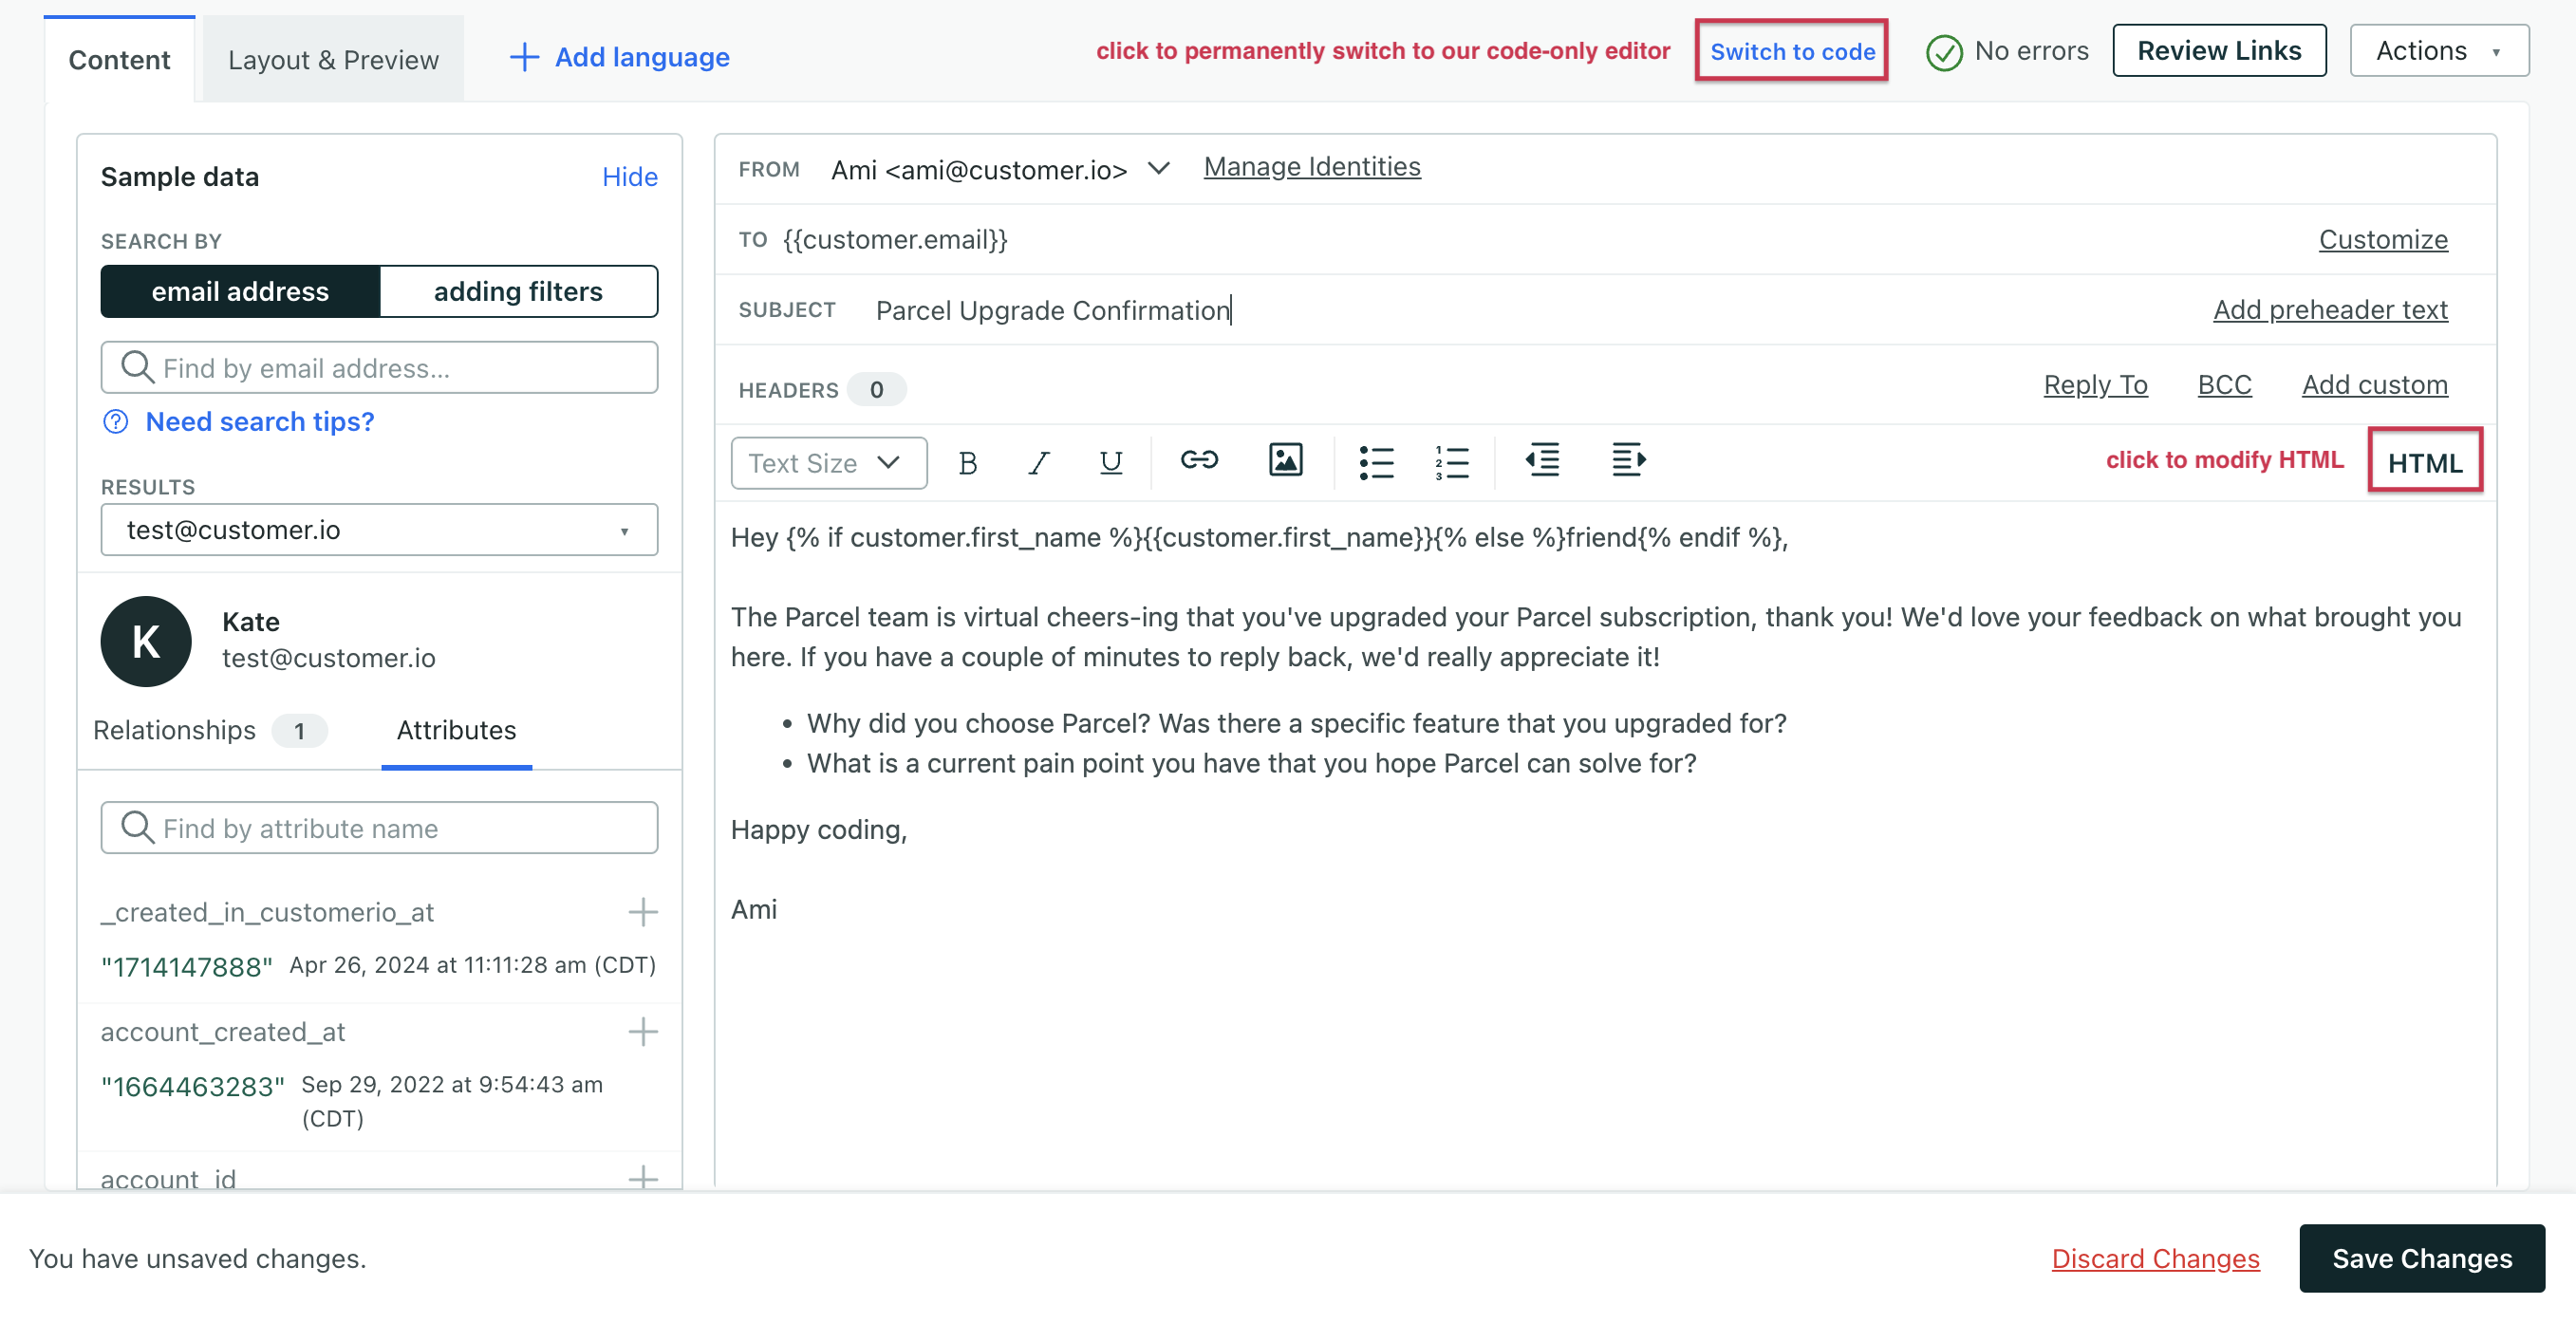
You can switch to our code-only editor, but once you confirm this action and save the email, you cannot revert the message back to the rich text editor.
You can identify emails using the rich text editor in the workflow by this icon:
To learn more about the rich text editor, check out these resources:
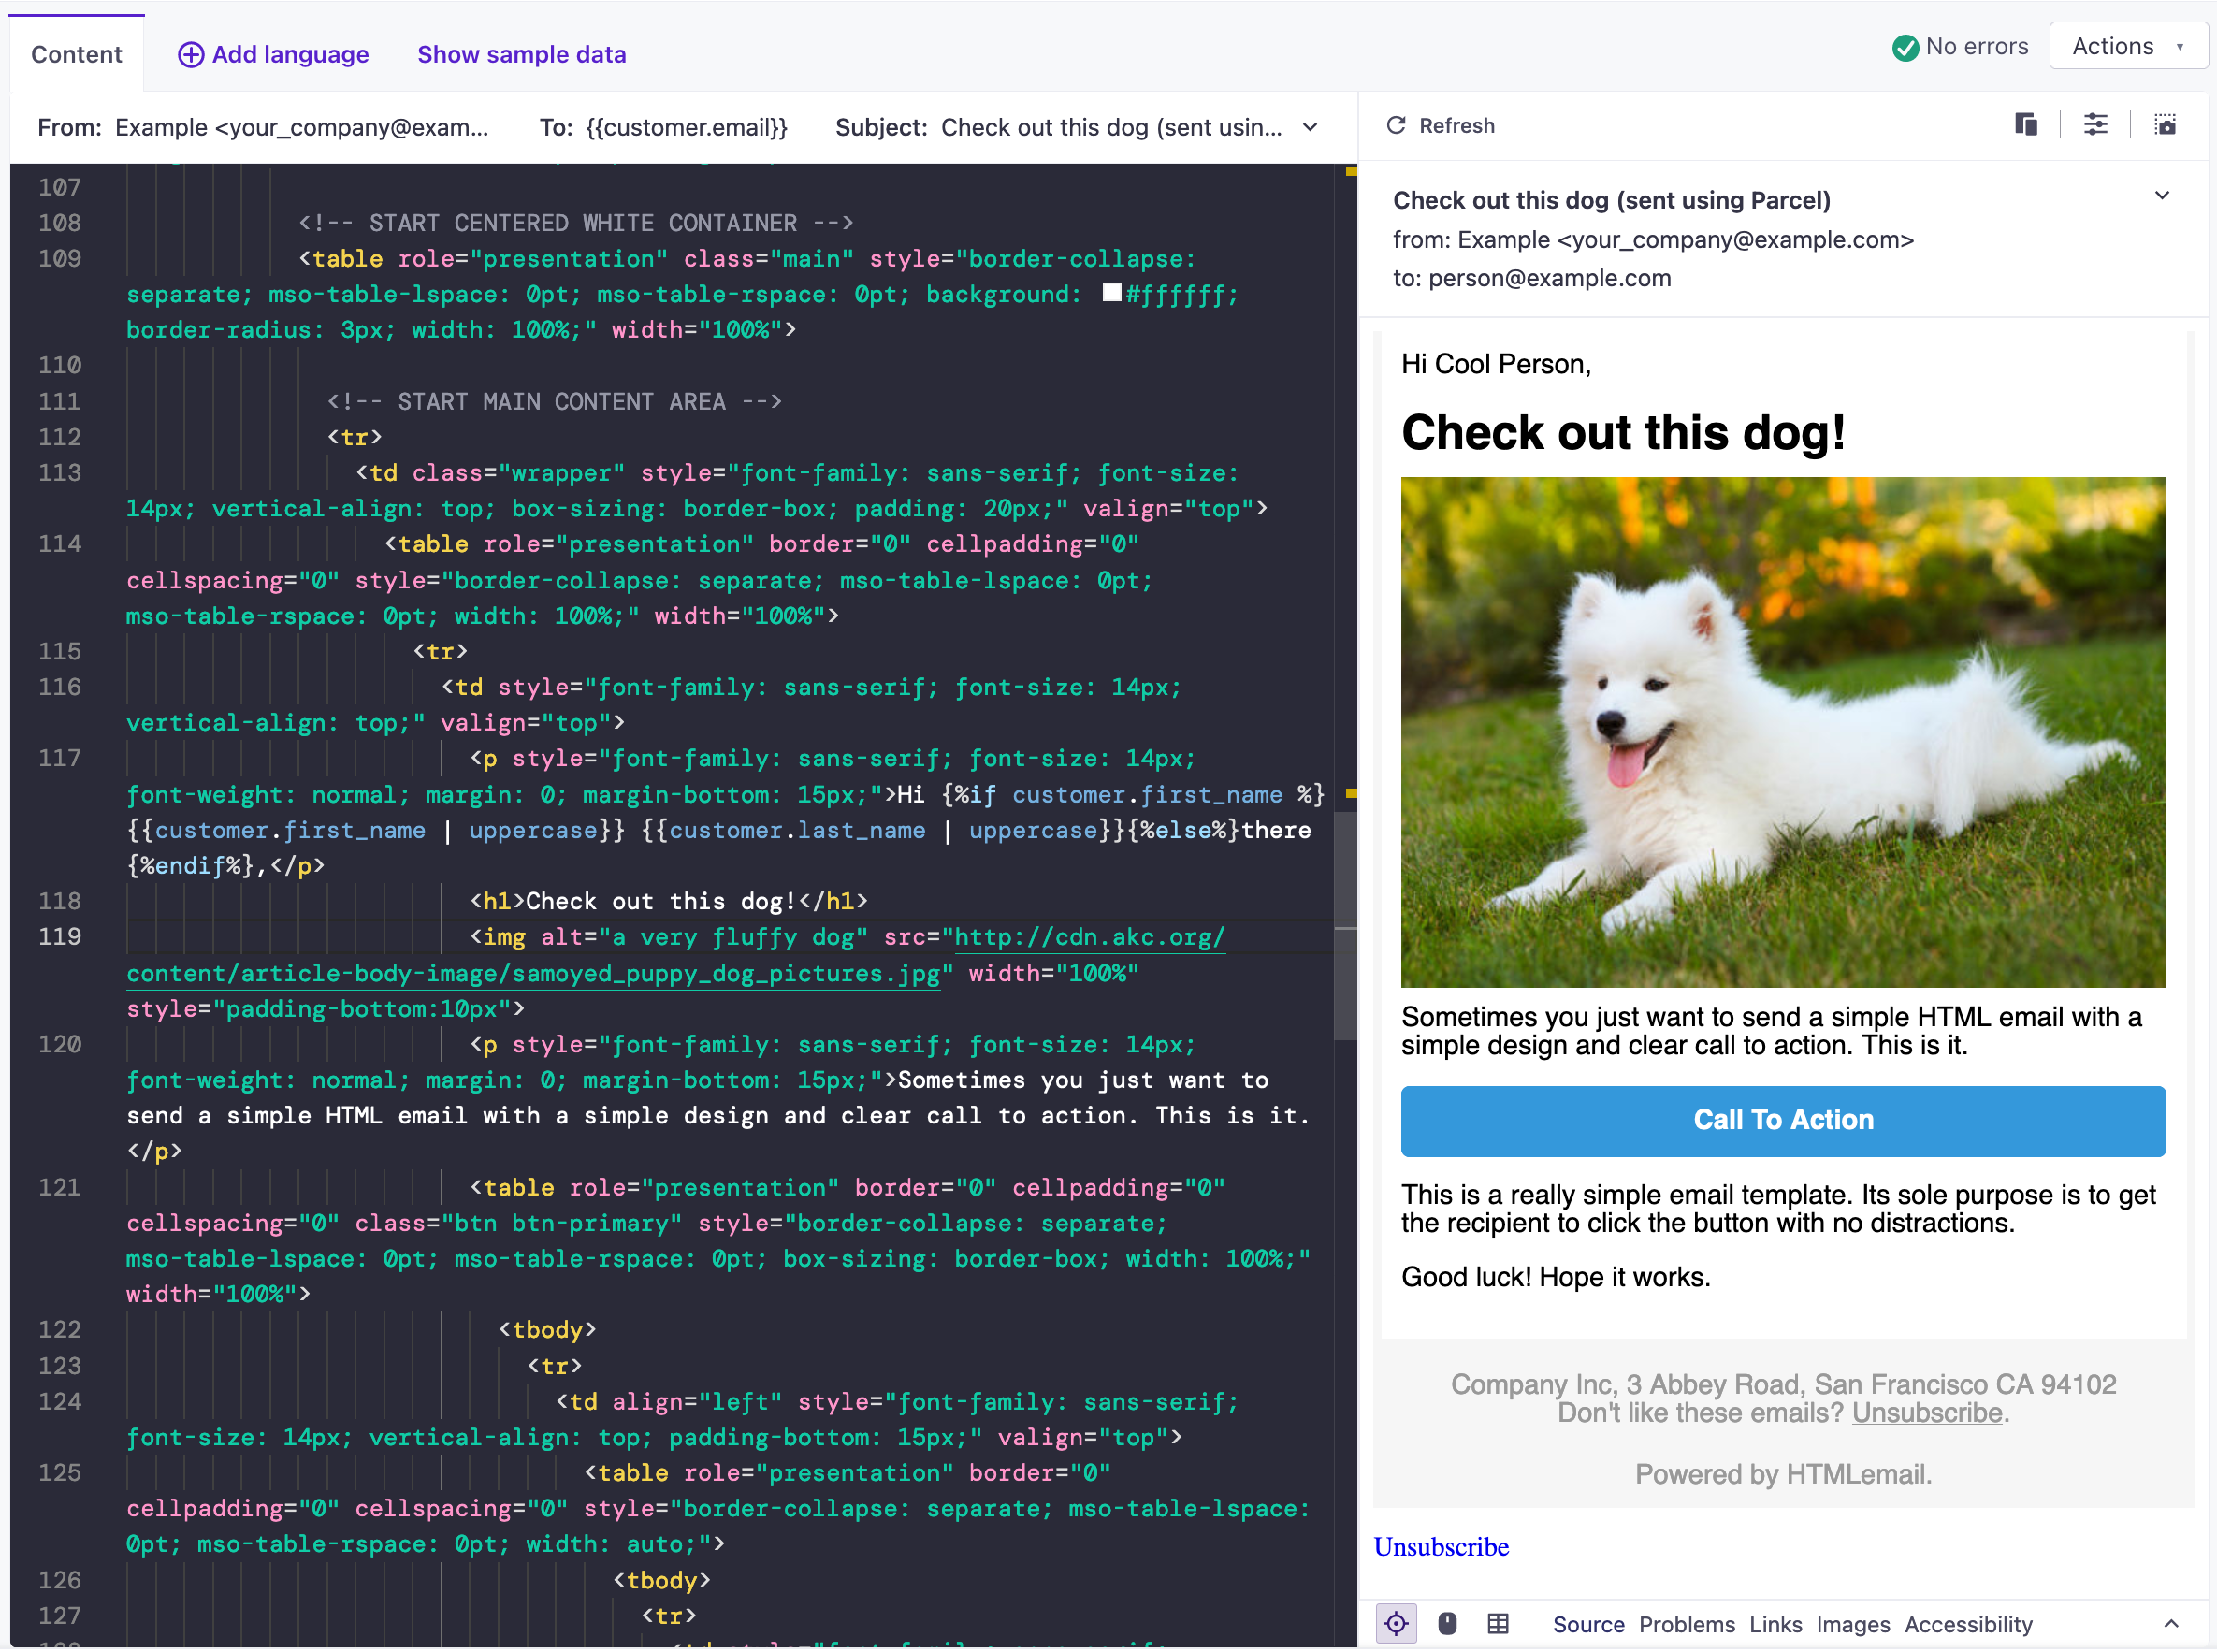
Code
The code editor is a great option if you want complete, granular control over your email. Like the rich text editor, you can use layouts to create a global, reusable header and footer.
We’ve partnered with Parcel to help you code better emails. Our code editor comes complete with syntax autocomplete, responsive previews, and an Inspect Element mode that helps you find code when you click elements in your preview.
You can switch between tabs for writing HTML exclusively and AMP.
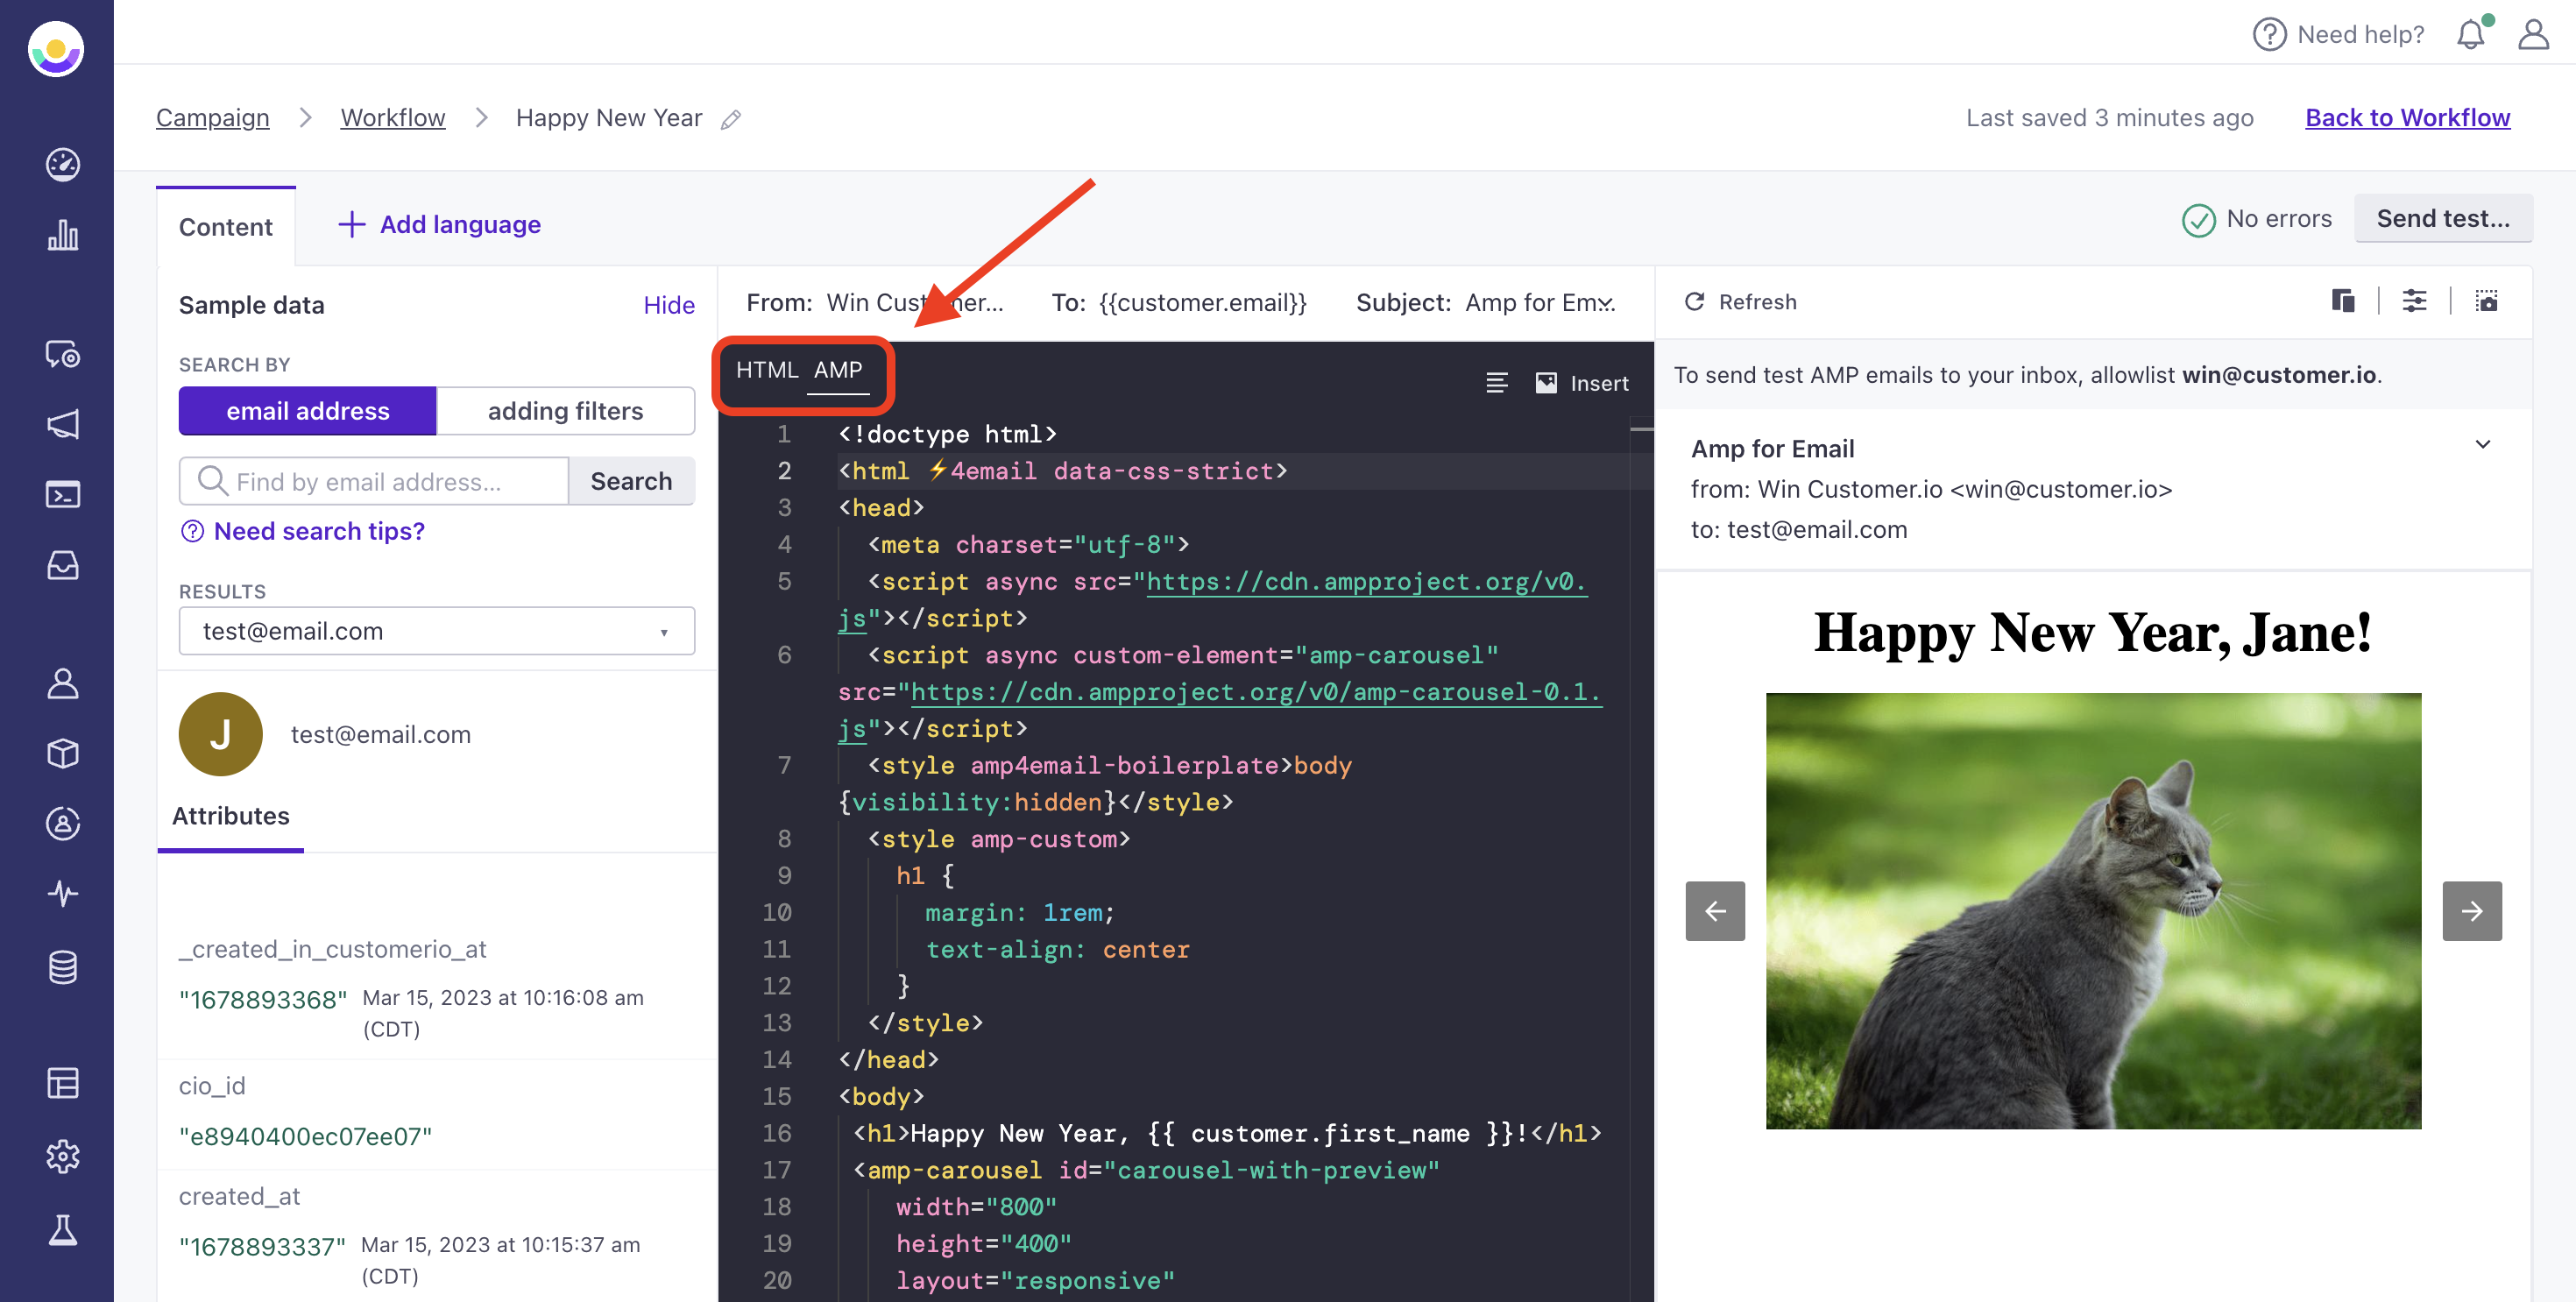
You can identify emails created using the code editor in the workflow with the icon.
To learn more about the code editor, check out these resources:
- Our email code editor, powered by Parcel
- How our Layouts work with this editor
- Customizing your Layouts
- Disabling CSS pre-processing
Create an email from Design Studio
For Design Studio, our newest editor, you can create email or copy one from:
Create an email from our classic editors
From a campaign or API-triggered broadcast:
- Drag an Email block into your workflow and click Add Content.
- If the first option you see is Use a Design Studio Email, then click Go back to classic in the top right to access the older editors. Otherwise, learn more about creating emails with Design Studio!
- Decide how you want to create your email: from scratch or from an existing email.
- If you want to create from scratch, choose your editor.
- If you want to create from an existing email, template or layout, then choose the tab that reflects the editor it was made in.
- In the drag-and-drop tab, choose an existing email from the top or a template at the bottom.
- In the rich text or code tabs, choose an existing email from the top or a layout at the bottom.
- Edit the message as you see fit.

