Manage your files
BetaThis feature is new and we're actively working on it. UpdatedIn Design Studio, manage your emails, templates, components, and styles in one place from your dashboard.
Overview
To access your dashboard, click Design Studio from the left navigation.
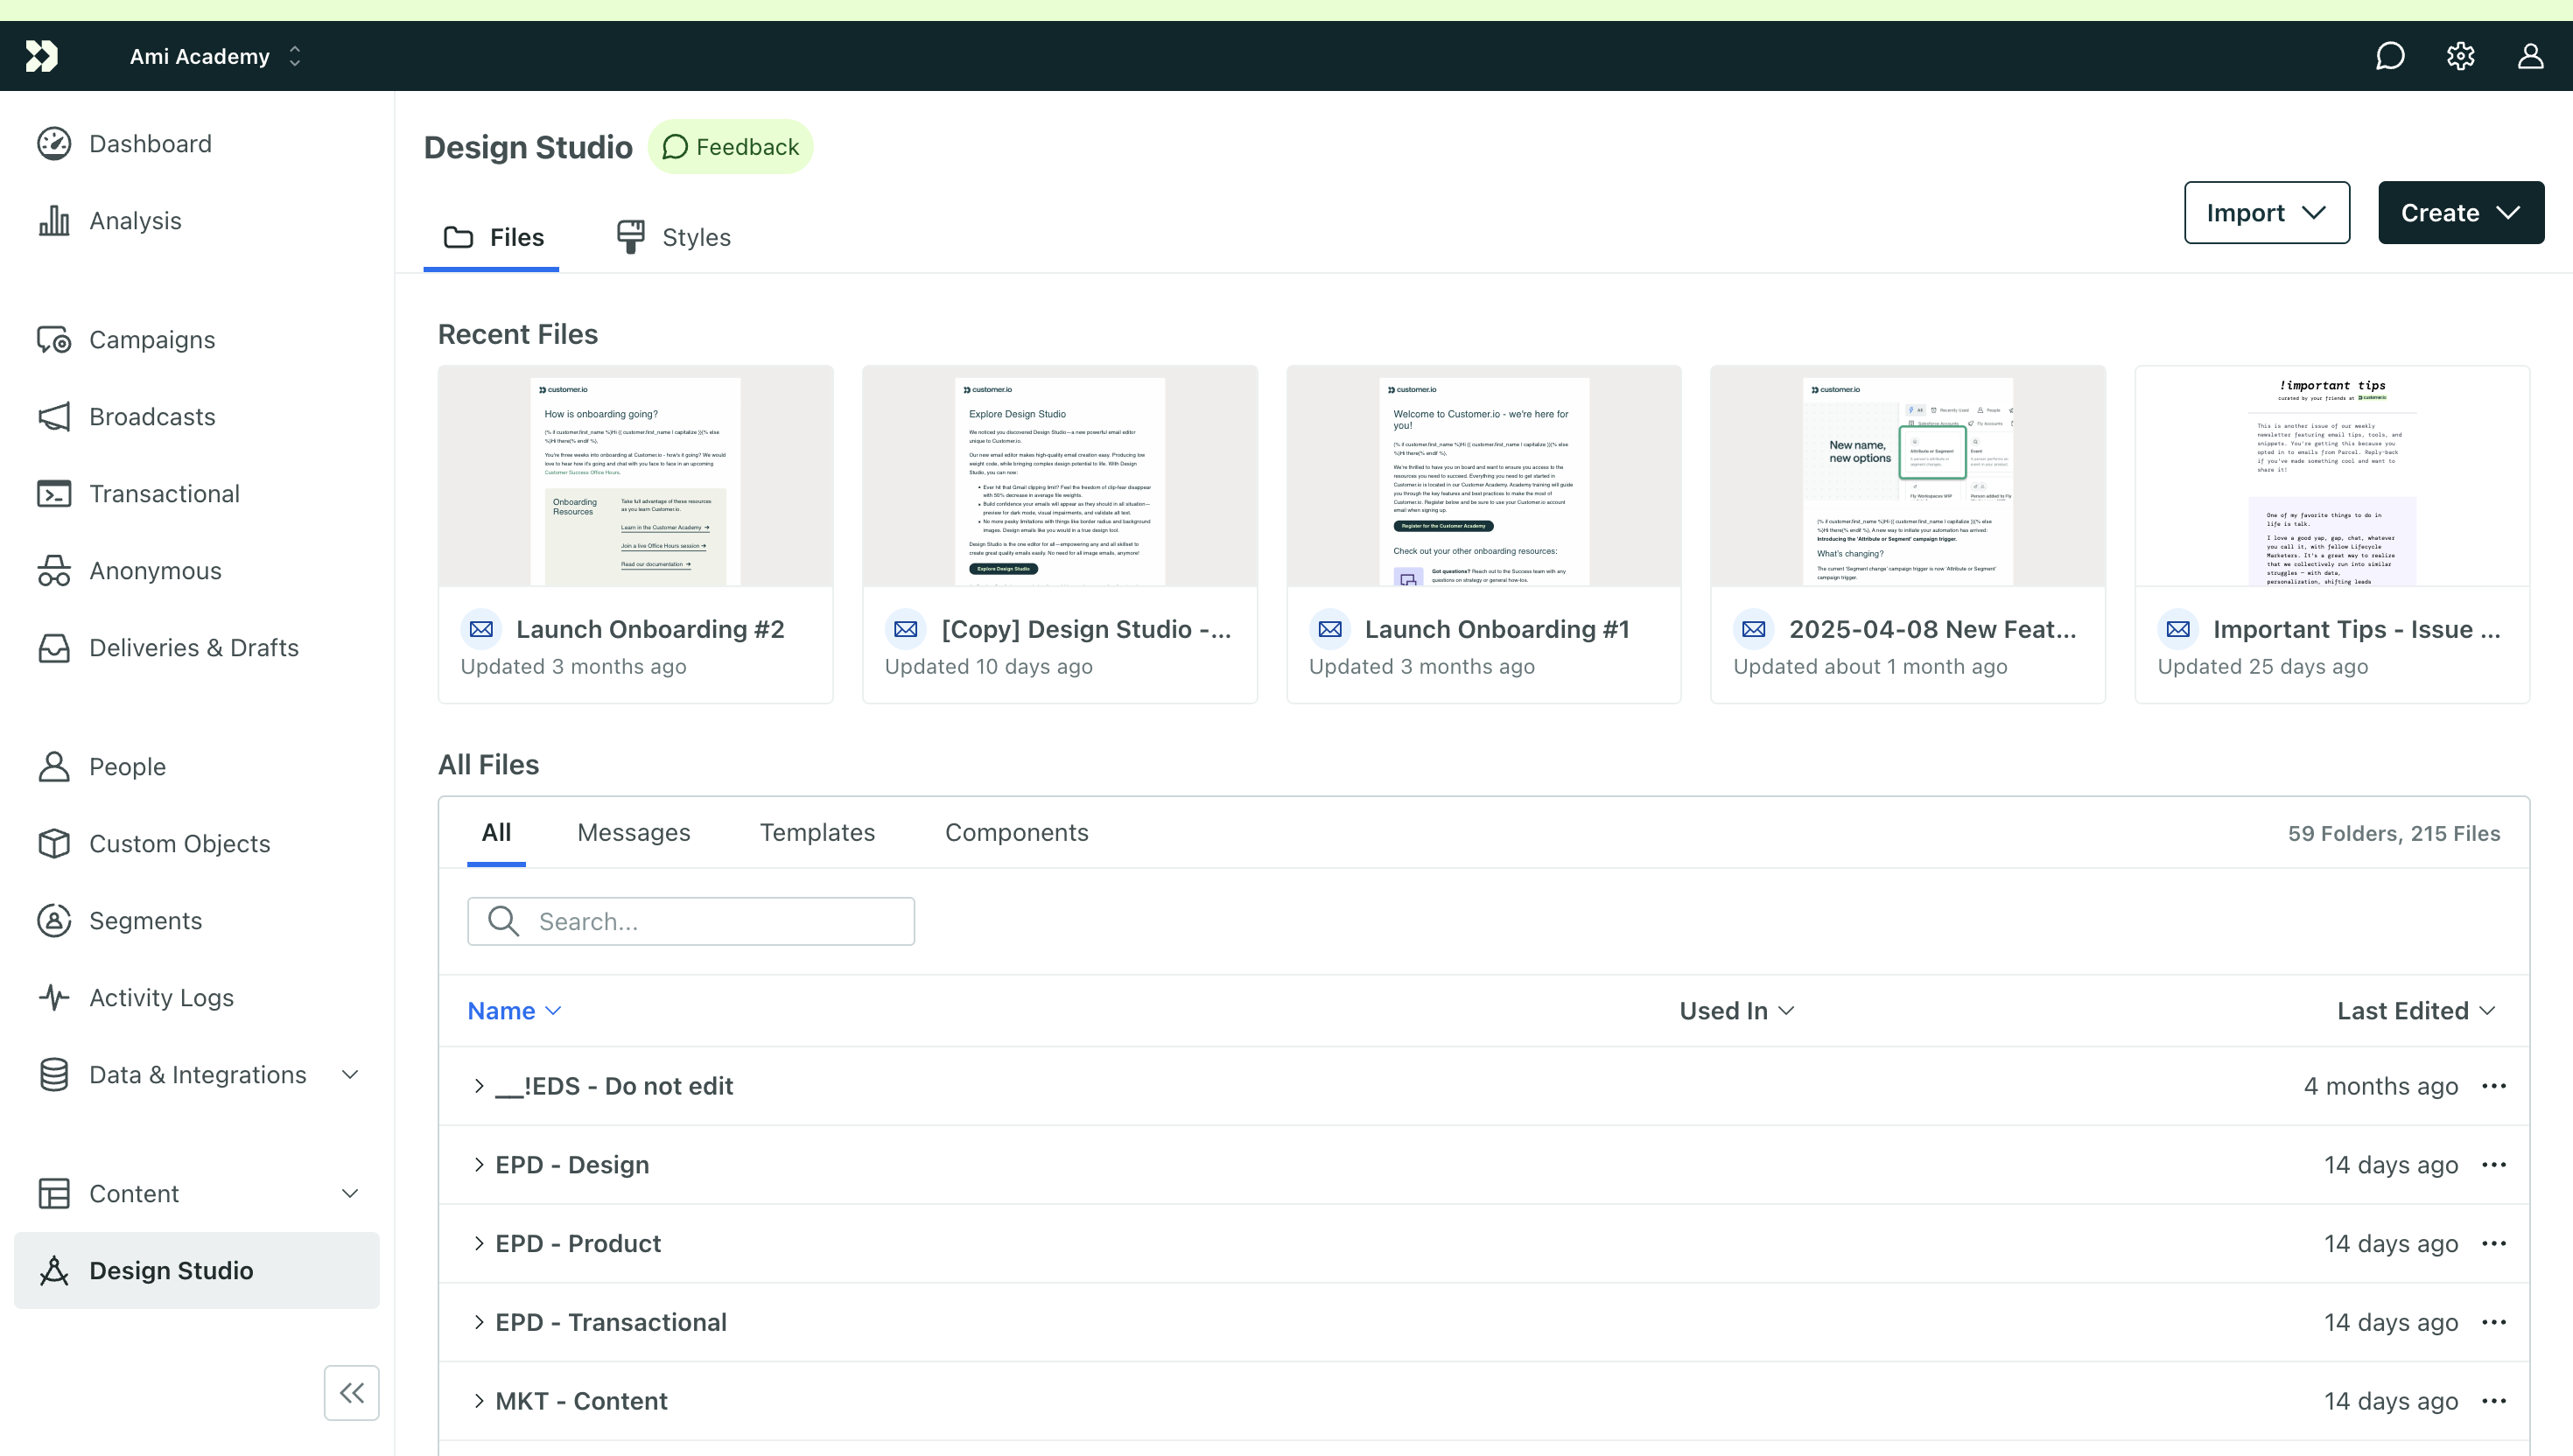
From there, you can:
- Switch between your message files and global styles at the top.
- Create, edit, or delete your emails, templates, and components.
- Search and filter for existing files.
To manage assets, like logos and images, go to Content > Assets. Learn more about managing your assets and what file types and sizes we support. You can also upload and optimize images from a Design Studio email.
Create files
You can create emails, templates, and custom components in Design Studio.
There are some key differences between these file types:
| File type | Use case | Can connect to automation? |
|---|---|---|
| The messages you send to customers. Can be created from scratch, from a template, or from an imported email file. | yes | |
| Template | An outline or layout for a message. Can create an email from a template. | no |
| Component | Reusable, customizable blocks of content to build your messages and templates with. | no |
Components are reusable blocks of content. Check out our out-of-the-box standard components to see if those suit your needs! You can also create custom components from the visual editor or code a custom component from scratch for things like headers and footers.
To create a file in Design Studio:
- Click Create, then choose Email, Template, or Component from the dropdown.
- Give the file a clear name so your teammates can find it later.
For emails and templates, choose to create from scratch or from an existing template.
Import files
In addition to creating emails from scratch or templates, you can also import existing emails in two ways:
- Upload a file from your computer
- Import from email by forwarding it to a unique email address in Design Studio
When forwarding, you can either:
- Send to your workspace’s main import address
- Send directly to a specific folder or file
Click Import in Design Studio to get started.
Learn more about migrating emails to Design Studio.
Upload a file
To upload a file, click Upload and choose a file from your computer. You can upload your existing emails with the following extensions:
| File type | Extensions | MIME type |
|---|---|---|
| HTML | .htm .html | text/html |
| Email Message | .eml | text/eml |
Forward an email to Design Studio
- Click Import, then choose Copy Import Email Address. This copies your workspace’s unique import address to your clipboard.
- Forward any email from your inbox to that address.
Your file will appear in a folder called Imported from Inbound Email and have a name that uses the subject line and timestamp of the email.
Forward an email to a specific file
To import directly into a file or folder:
- Find the file or folder in your dashboard.
- Click and select Copy Import Email Address.
- Forward your email to that unique address.
- Open your file or folder and you’ll find the imported content.
Emails made outside Customer.io may not work with the visual editor
The visual editor works best with our standard components and most HTML elements. To make all of your HTML editable in the visual editor, switch to the code editor and add <x-edit-text>.
Duplicate files
You can duplicate individual files or entire folders.
From your dashboard:
- Click next to the name of the file or folder.
- Click Duplicate from the dropdown.
The file or folder will appear in your dashboard as “[Copy] name.”
Create from an automation
You can also create a Design Studio message from a campaign, broadcast, or transactional message.
- In campaigns, drag an Email block into your workflow and click Add Content.
- In broadcasts, choose Email as your channel type and click the No content box.
- In transactional messages, select Email and then Add Content.
At the top right is a banner with a header “Create with Design Studio.” Click Try it out to switch to this editor.
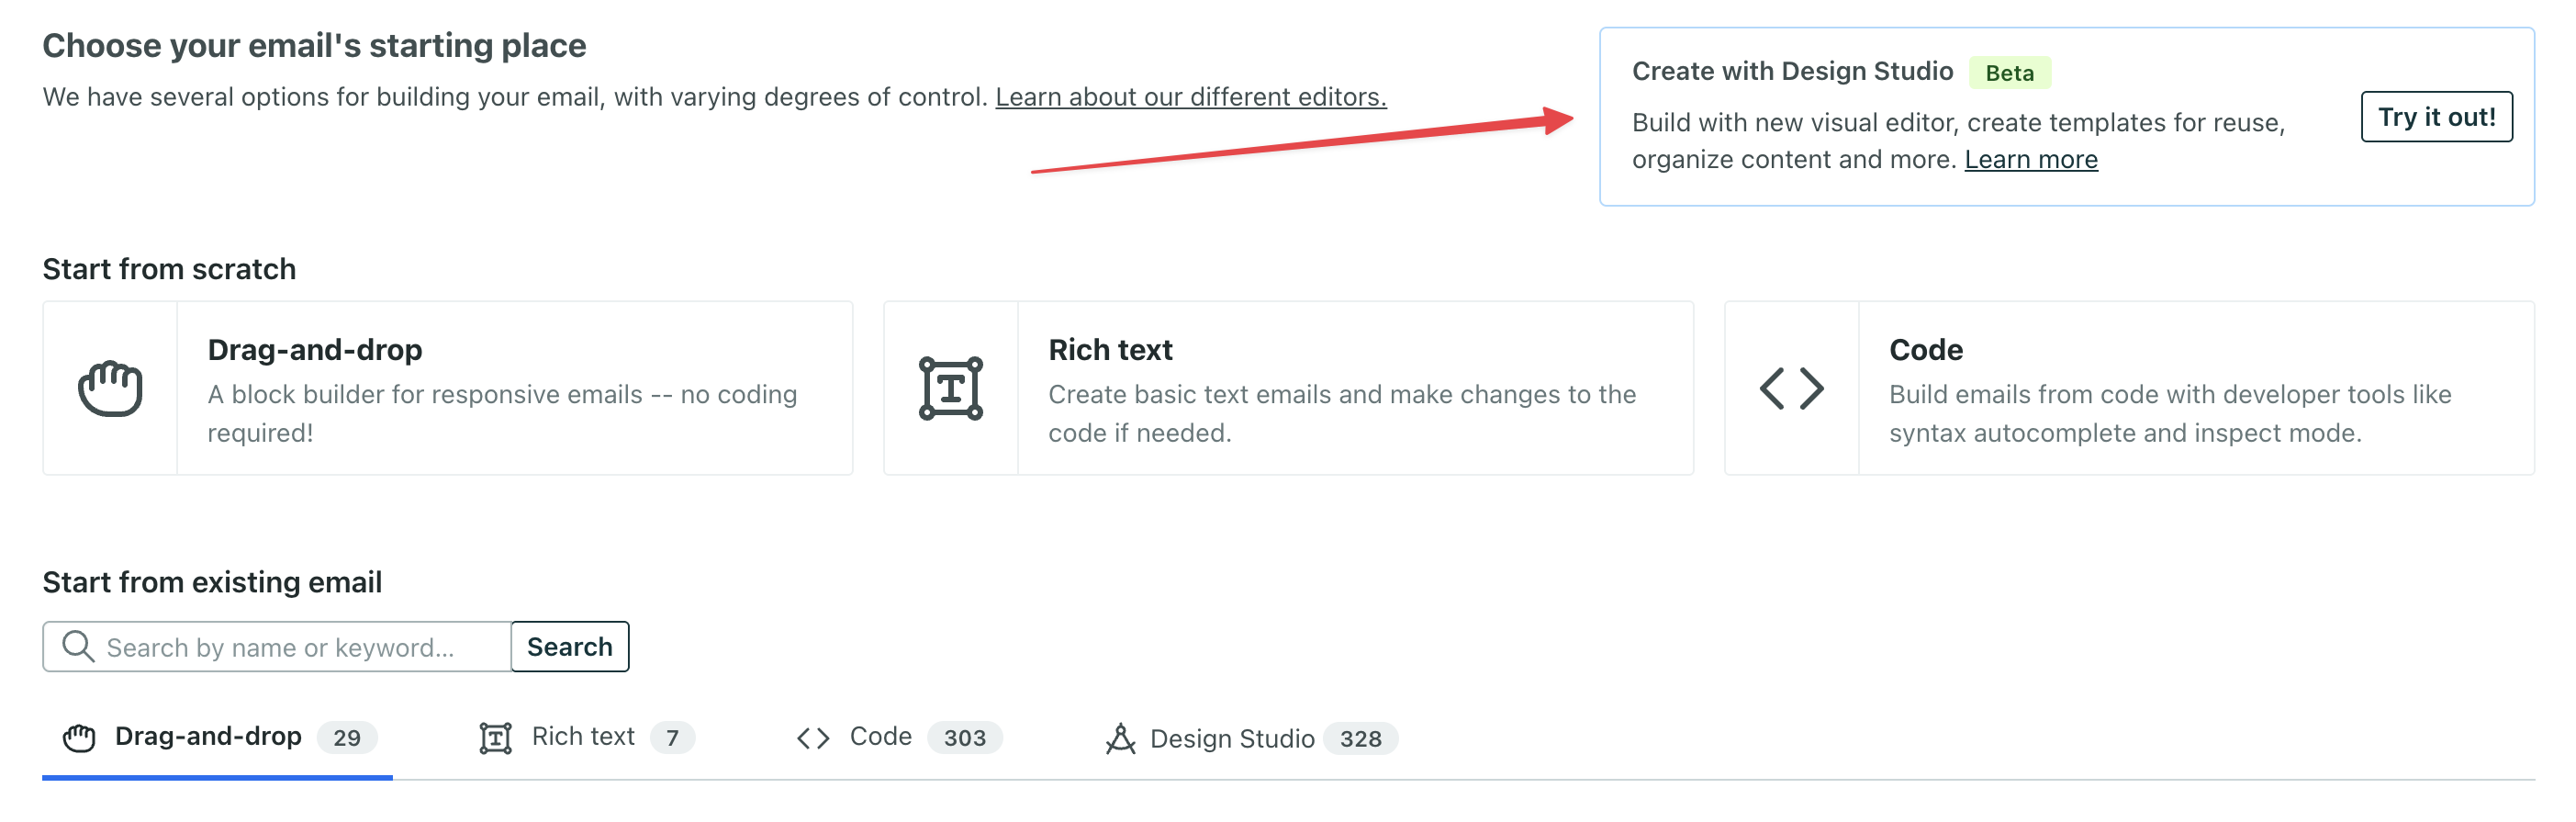
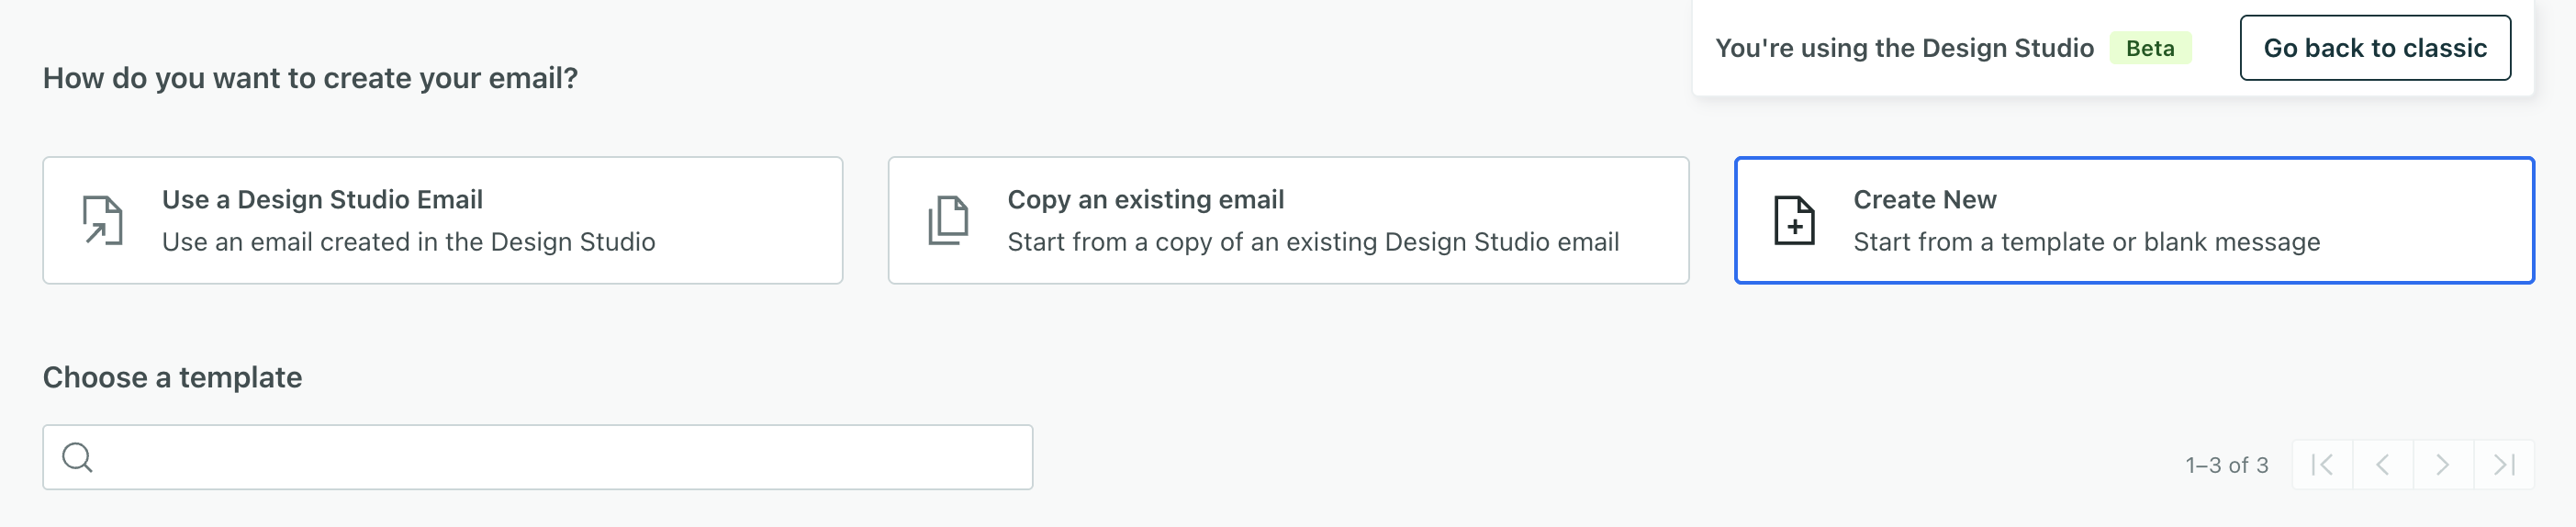
From there, you can select a Design Studio message, copy an existing message, or create a new one from scratch. Click Create New if you want to create from a template.
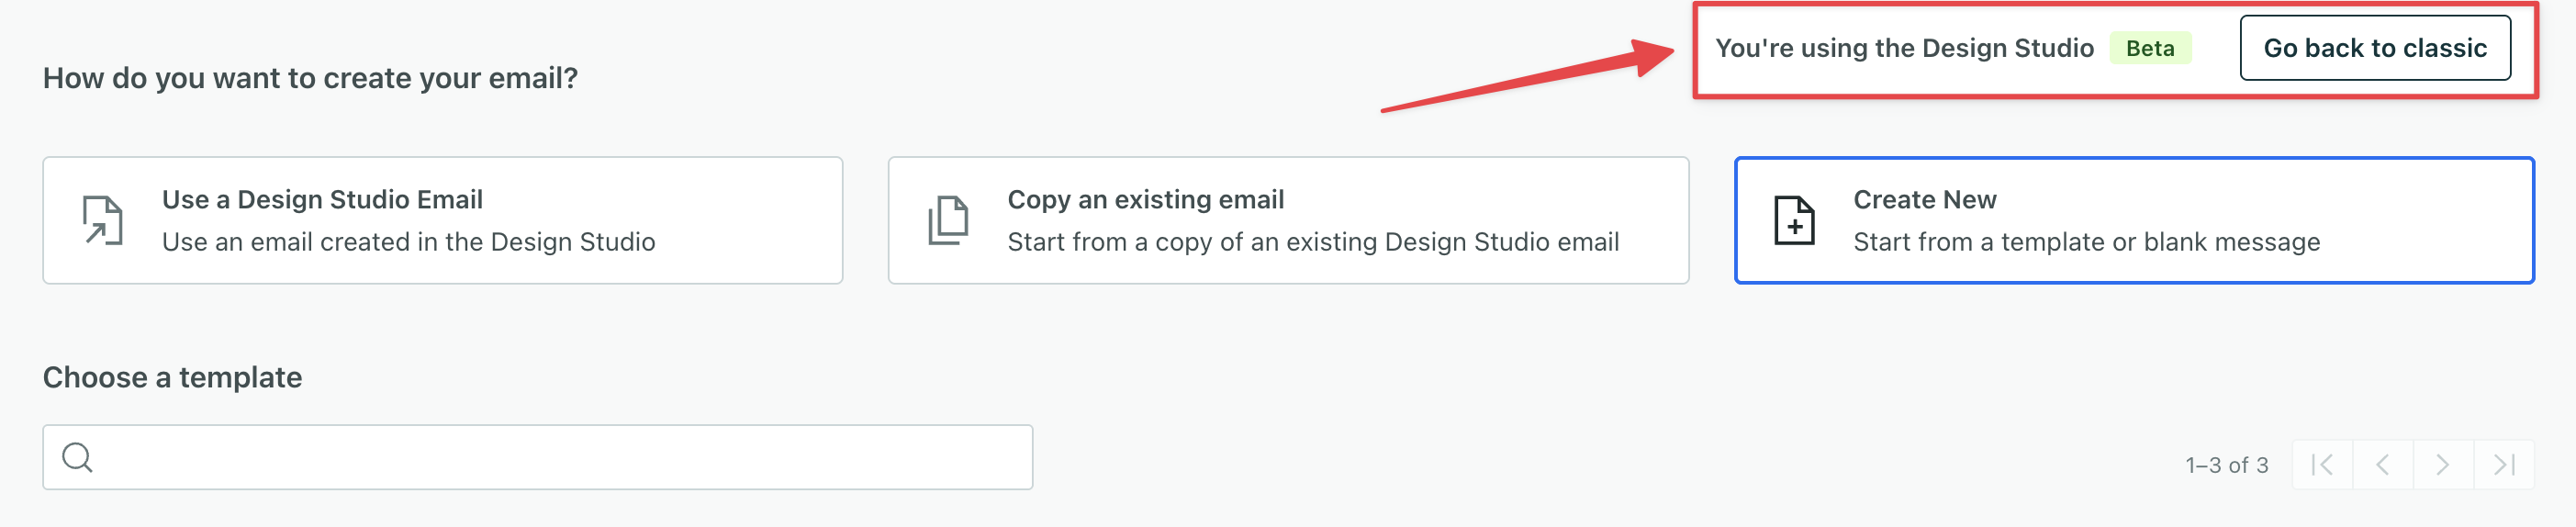
Switch back to the classic email editors
Click Go back to classic to go back to the older email editors at anytime.
Find files
You can find your files in Design Studio in a few different ways:
Search by name or content: To quickly locate a file, use the Search bar. This looks for keywords across your filenames and file content. At the top of the results, you’ll see how many files match your search. The matching text is highlighted with an excerpt of the line around it.
Reopen recent files: Under Recent Files at the top of the dashboard, you’ll see up to five files presented as thumbnails in order of how recently you opened them.
Filter by file type: At the top of the table, you can choose the type of file to view. By default, All is selected and includes all file types. Click Messages, Templates, or Components to narrow your view further.
Sort your files and folders: Towards the bottom of your dashboards is a list of your folders and files. By default, files are in alphabetical order by Name, with folders listed first. You can also sort them by whether or not they are Used In an automation, or when they were Last Edited. Click a column header to sort in descending or ascending order.
Organize files
Keep your files organized by creating folders.
- Click Create.
- Click New Folder.
- Name your folder.
- Click and drag your files into the folder.
You can create a subfolder the same way you create a folder. Then drag it into the folder you’d like it filed under.
You can also click on the icon next to an existing folder, and click New Folder in the dropdown. It will automatically be nested in the larger folder you selected.
Delete files
You can delete files from your dashboard by clicking next to the filename, and selecting Delete from the dropdown. You can delete individual files, or entire folders.
Deleting a folder deletes all subfolders and files.
When you’re ready, click OK in the pop-up modal, and your files will be permanently removed.
You can’t delete a file that’s connected to an automation in Journeys
You must first disconnect it from the automation, then you can delete it.
Publish messages
With Design Studio, you create emails and connect them to campaigns, broadcasts, or transactional messages. Then when you make an update to a connected message, you decide when to push those changes to their automations. This is called publishing in Design Studio.
To publish messages with drafted changes, go to the Design Studio dashboard:
- Select one or more messages.
- Click Publish above the table.
When you publish a message, we compile all changes to the email: updates you made to the email file, changes to the code of referenced components, and any changes to global styles.
Learn more about publishing emails in Design Studio.
Migrate emails to Design Studio
If you want to migrate emails to Design Studio, we recommend you build them from scratch using global styles and components in the visual editor. This way, you can continue to use all functionality in the visual and code editors and ensure brand consistency across your emails.
However, if you choose to import emails or paste HTML into the code editor, here are some things to keep in mind:
Pasting or importing your source code
If you paste your full email template into the code editor, make sure you remove the standard componentA pre-built block that helps you build beautiful, engaging messages as quickly as possible in Design Studio. <x-base></x-base>. We add that by default to all Design Studio emails, but it will conflict with your source code.
You’ll be able to edit the content of semantic HTML elements (like <p> or <img>) in the visual editor and add CSS styles or classes through the Properties menu. Semantic means the name clearly defines the purpose of the element.
However, for non-semantic tags (<div> and <span>), you can’t edit them, but you can edit the text if you add some code. To edit the content of non-semantic tags in the visual editor, wrap the text of these elements in <x-edit-text> in the code editor. You’ll also need to do this to edit text within <table>. Unlike semantic tags, you won’t be able to add CSS styles or classes through the visual editor’s Properties menu.
Migrating emails made in Customer.io’s legacy email editors
Layouts are not supported in Design Studio. If you’re migrating any emails that were made in the code or rich text editor and they use layouts, you’ll have to recreate the layout.
Snippets currently work in Design Studio, but we are moving away from supporting them. The equivalent in Design Studio is custom componentsA custom block of code with content and properties you can reuse across messages made in Design Studio..

