Promote an event
UpdatedAdd a banner or modal message to your website that highlights upcoming events, like webinars, to increase registrations and engagement wih your product.


How it works
This recipe expands on our recipe Create an email campaign to announce registration for events! It uses a feature of ours called objectsAn object is a non-person entity that you can associate with one or more people—like a company, account, or online course., which are non-people entities you can relate to people. In this case, objects are events that people want to register for.
Below you’ll learn how to set up an in-app message to promote an upcoming event on your website.
Before you begin
This recipe assumes you’ve already set up your website to identify people and receive in-app messages. If you haven’t done that, you’ll need to:
- Set up your website with our JavaScript source integration. We have a helpful video to get you started!
- IdentifyThe Customer.io operation that adds or updates a person. When you identify a person, Customer.io either adds a person if they don’t exist in your workspace, or updates them if they do. Before you identify someone (by their email address or an ID), you can track them anonymously. your web visitors. People can’t see your message until you know who they are!
If you’ve already set up our JavaScript integration, identification is often automatic—based on a cookie. But people might not see your message immediately if they’ve recently cleared their cookies and cache or visit your website in a private browsing window.
1. Create your in-app message


- Go to your campaign.
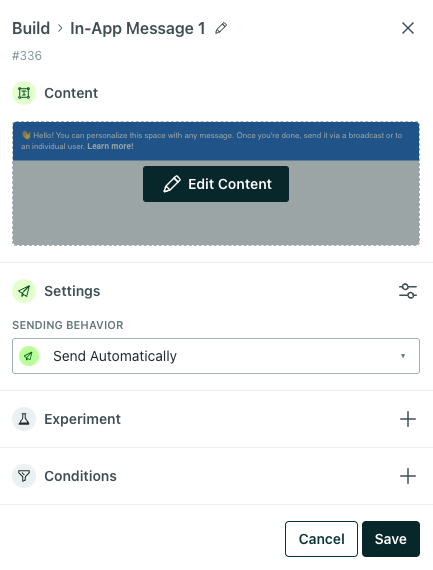
- Drag an In-App Message into your workflow. Click the message then Add Content.
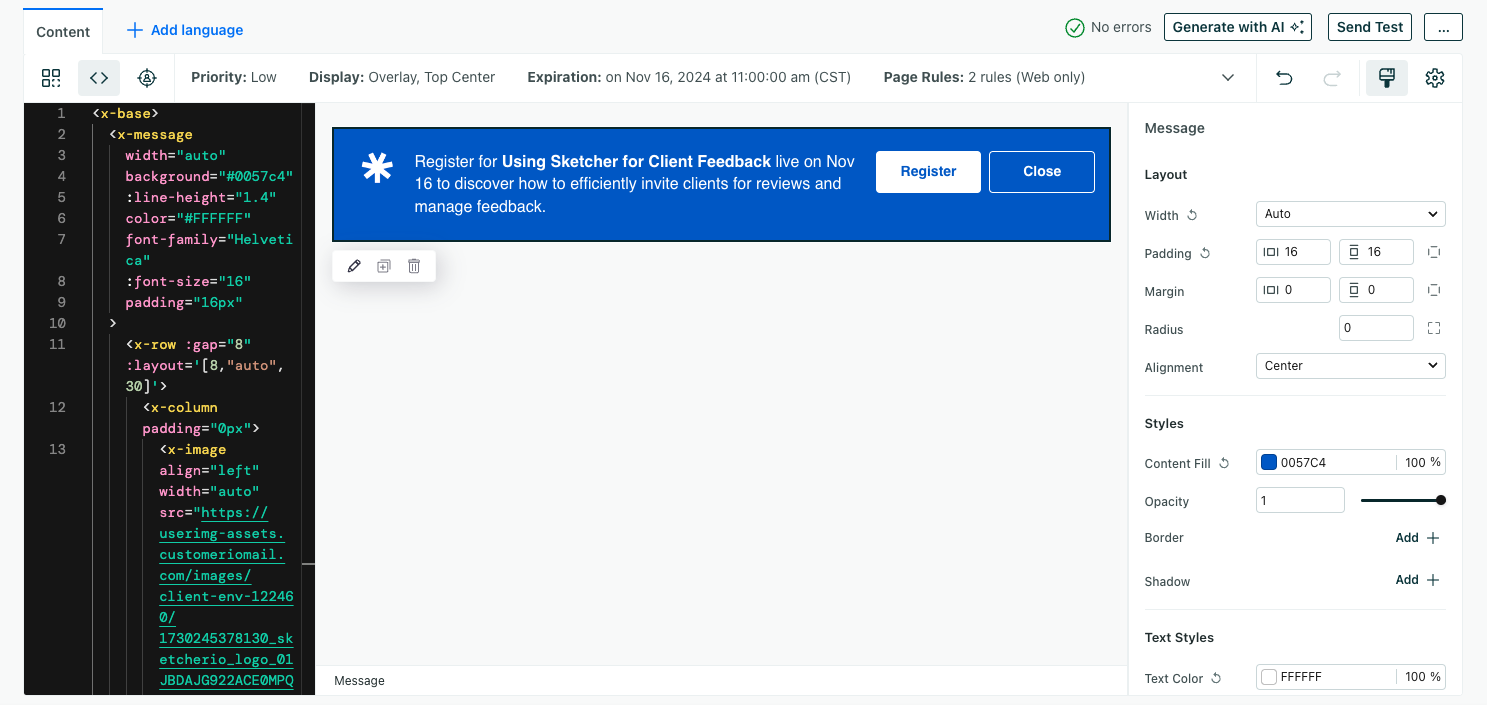
- Choose a template to start from. You can start from our Banner template, a previous message, or you can start from scratch. In this example, we’ll click Drag-and-drop editor then Templates > Start from scratch. We’re using this code, which you can copy/paste into your own message!
<x-base>
<x-message
width="auto"
background="#0057c4"
:line-height="1.4"
color="#FFFFFF"
font-family="Helvetica"
:font-size="16"
padding="16px"
>
<x-row :gap="8" :layout='[8,"auto",30]'>
<x-column padding="0px">
<x-image align="left" width="auto" src="https://userimg-assets.customeriomail.com/images/client-env-122460/1730245378130_sketcherio_logo_01JBDAJG922ACE0MPQG37Q8WVJ.png" /></x-column>
<x-column vertical-align="middle" padding="0px">
<x-paragraph margin="8px 0px" :font-size="16">Register for <strong>Using Sketcher for Client Feedback</strong> live on Nov 16 to discover how to efficiently invite clients for reviews and manage feedback. </x-paragraph>
</x-column>
<x-column>
<x-row :gap="8" :layout='[50, 50]'>
<x-column>
<x-cta width="100%" border-color="#ffffff" border-style="solid" :new-tab="true" tracked-response-name="register" behavior="openUrl" font-weight="700" :font-size="14" color="#0057c4" background="#ffffff">Register</x-cta>
</x-column>
<x-column>
<x-cta width="100%" padding="10px 16px" behavior="dismiss" border-style="solid" border-color="#ffffff" font-weight="700" :font-size="14" color="#ffffff" background="">Close</x-cta>
</x-column>
</x-row>
</x-column>
</x-row>
</x-message>
</x-base>
2. Configure settings
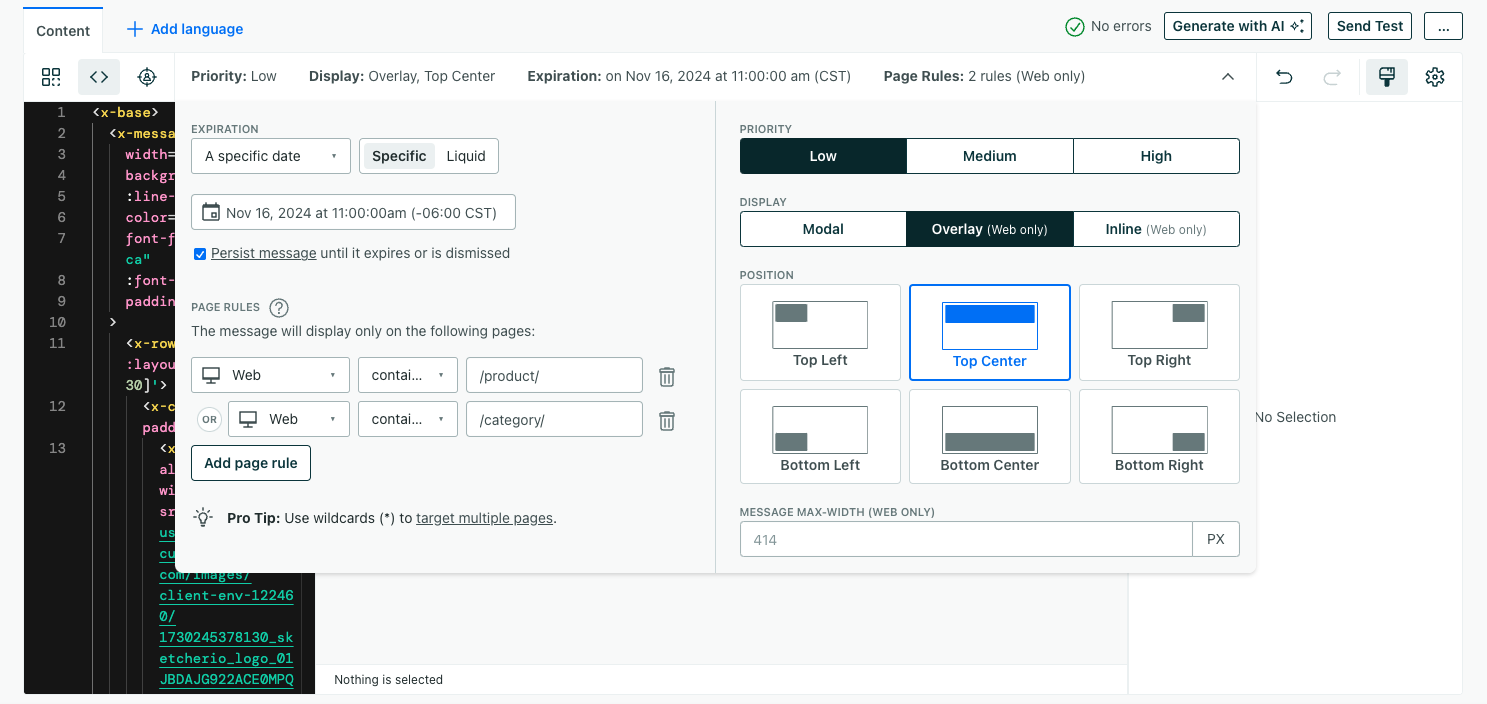
- Click the bar above the message that shows Priority, Display, and Expiration.


- Under Expiration, select Persist message until it expires or is dismissed. This will keep your message on the page until someone dismisses it or the promotion ends.
- Set the expiration period for the message. Our event occurs on November 16, so we set our message to expire on Nov 16 when the event starts.
- Set Page rules to determine where your message will appear. We want our promotion to appear on our home page and our product pages, but not our
/checkoutpages, so we set page rules where the page equals/, contains/product/, or/category/. - Set Display settings. Because our message is persistent, we probably don’t want to interrupt the user flow or cover up important information on the page! So, we’re changing our message to an Overlay that appears in the top center of the page.
3. Modify your content
The following instructions help you modify the template above to match your brand. If you’re building an in-app message from scratch, check out these instructions.


- Click the Message breadcrumb below the preview and change the background content fill to match your brand color.
- Click the Image on the preview and replace it with a file you uploaded to your workspace or provide an external link.
- Click the Paragraph on the preview and modify the text to fit your event details.
- Click the Register button and add your registration Link and modify the styles as you see fit.
- Click the Close button and modify the styles as you see fit. Always include a button that lets people dismiss your message.
4. Test and start your campaign
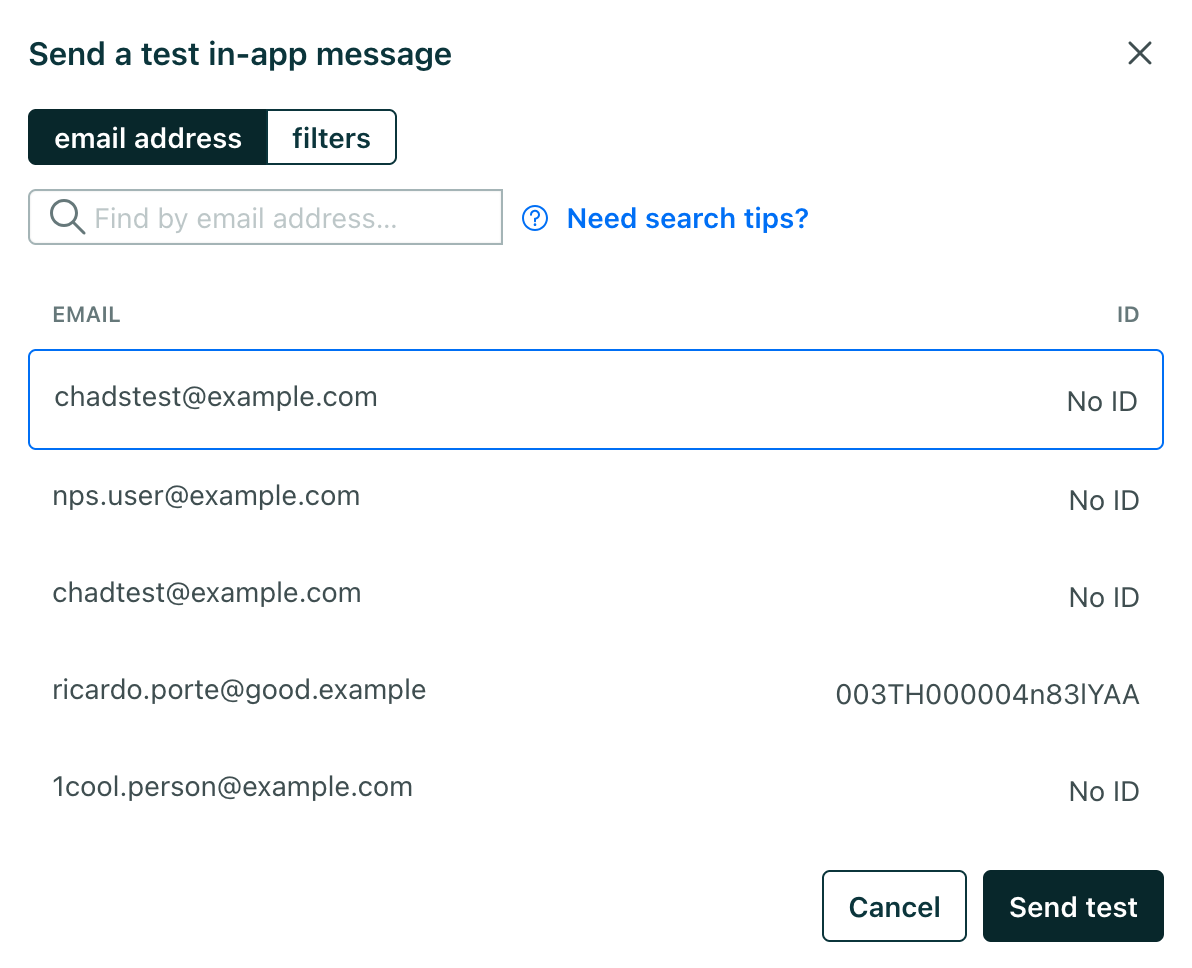
- In your in-app message editor, click Send Test to check it out! Open your website and make sure your message looks good and that your buttons and links work as expected.


- Click Save Changes then Done.
- Click the message again and change the in-app from Queue Draft to Send automatically.


- When you’re ready, review your campaign then click Start Campaign to go live!
If you have multiple events to promote, you can add time delays between multiple in-app messages, too!

