In-app forms
UpdatedYou can use in-app messages as forms to collect feedback from your audience.
We’re adding to this feature!
How it works
In-app messages—sent to your mobile app or website—can include form components to collect text-based feedback from recipients.
When you add a Form or form-styled components to your message like Long Text or Short Text, we add a Form element to your message. Whenever someone submits the form, we’ll:
- Capture the submissions for your campaign, broadcast, or newsletter.
- Add people to a segment based on the name of the form they submitted.
- (Optional) Let you trigger campaigns based on the form submission so you can respond to users and thank them for their feedback.
Create a form
In a campaign or broadcast workflow, you can drag an In-App Message into your workflow. In a newsletter, you’ll just select the In-App Message option.
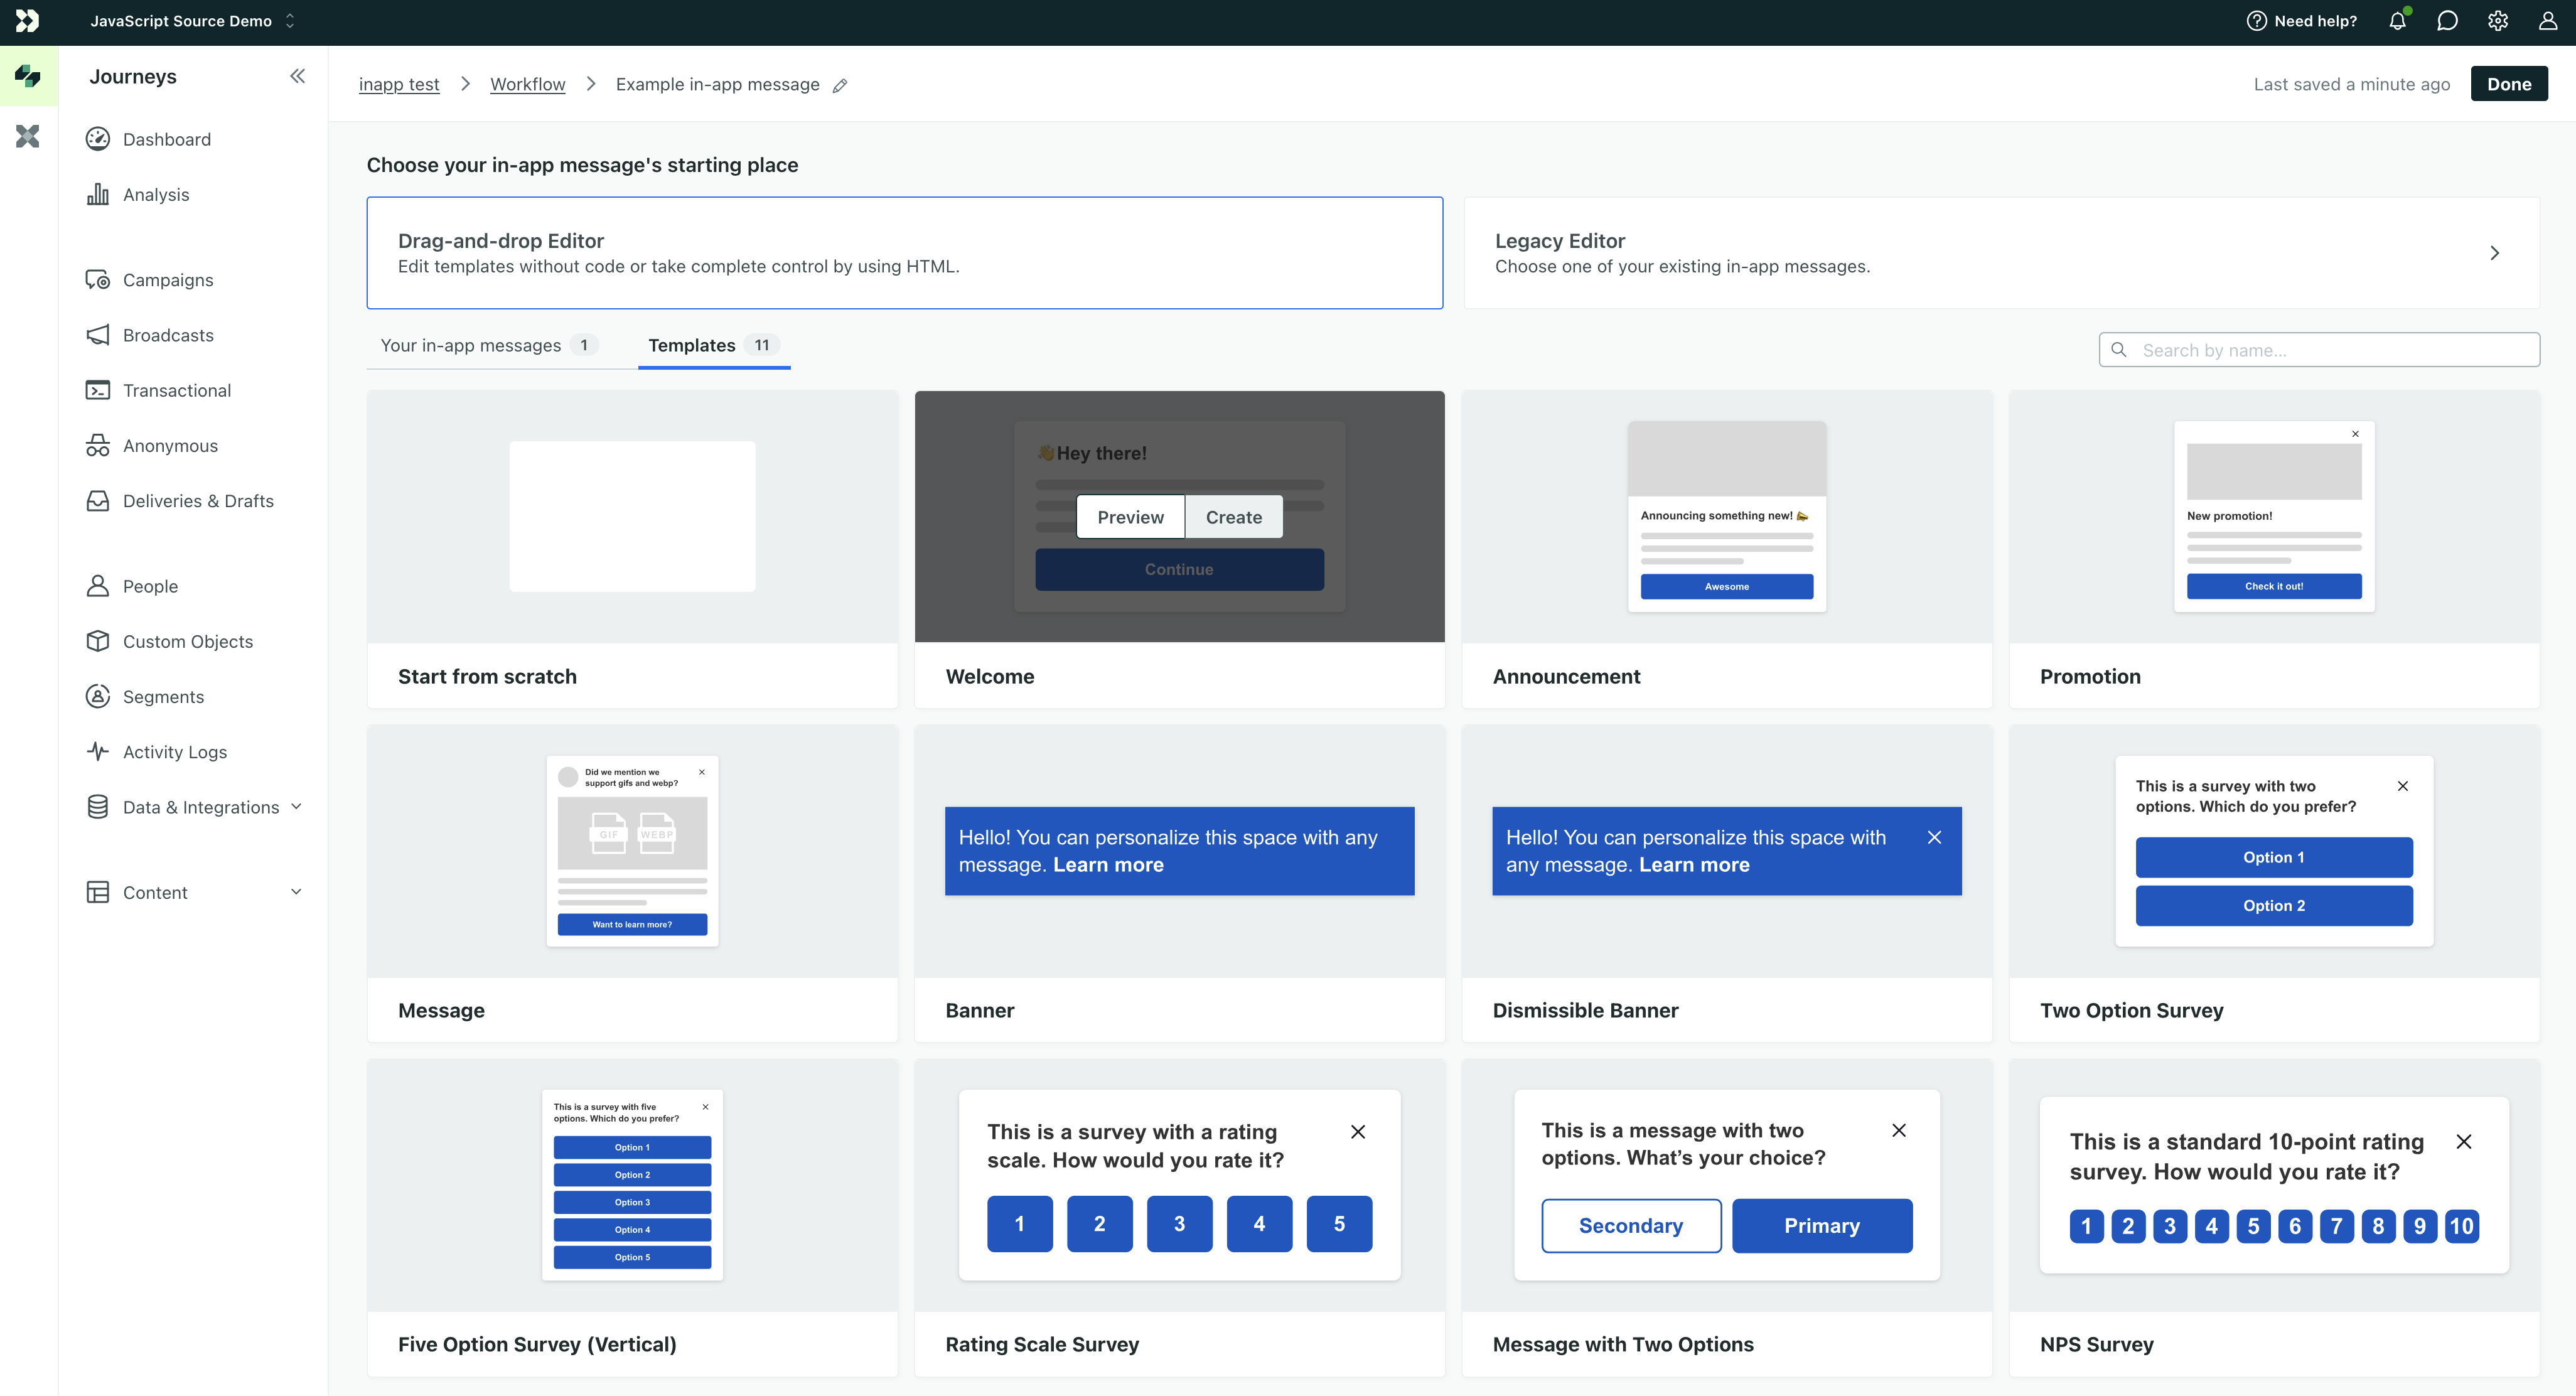
Select a starting template, a previous message, or start from scratch.
Set your message settings:
- Priority: negotiates between multiple messages with the same Page Rules and Display settings.
- Page Rules: determine the pages where a person can see your message.
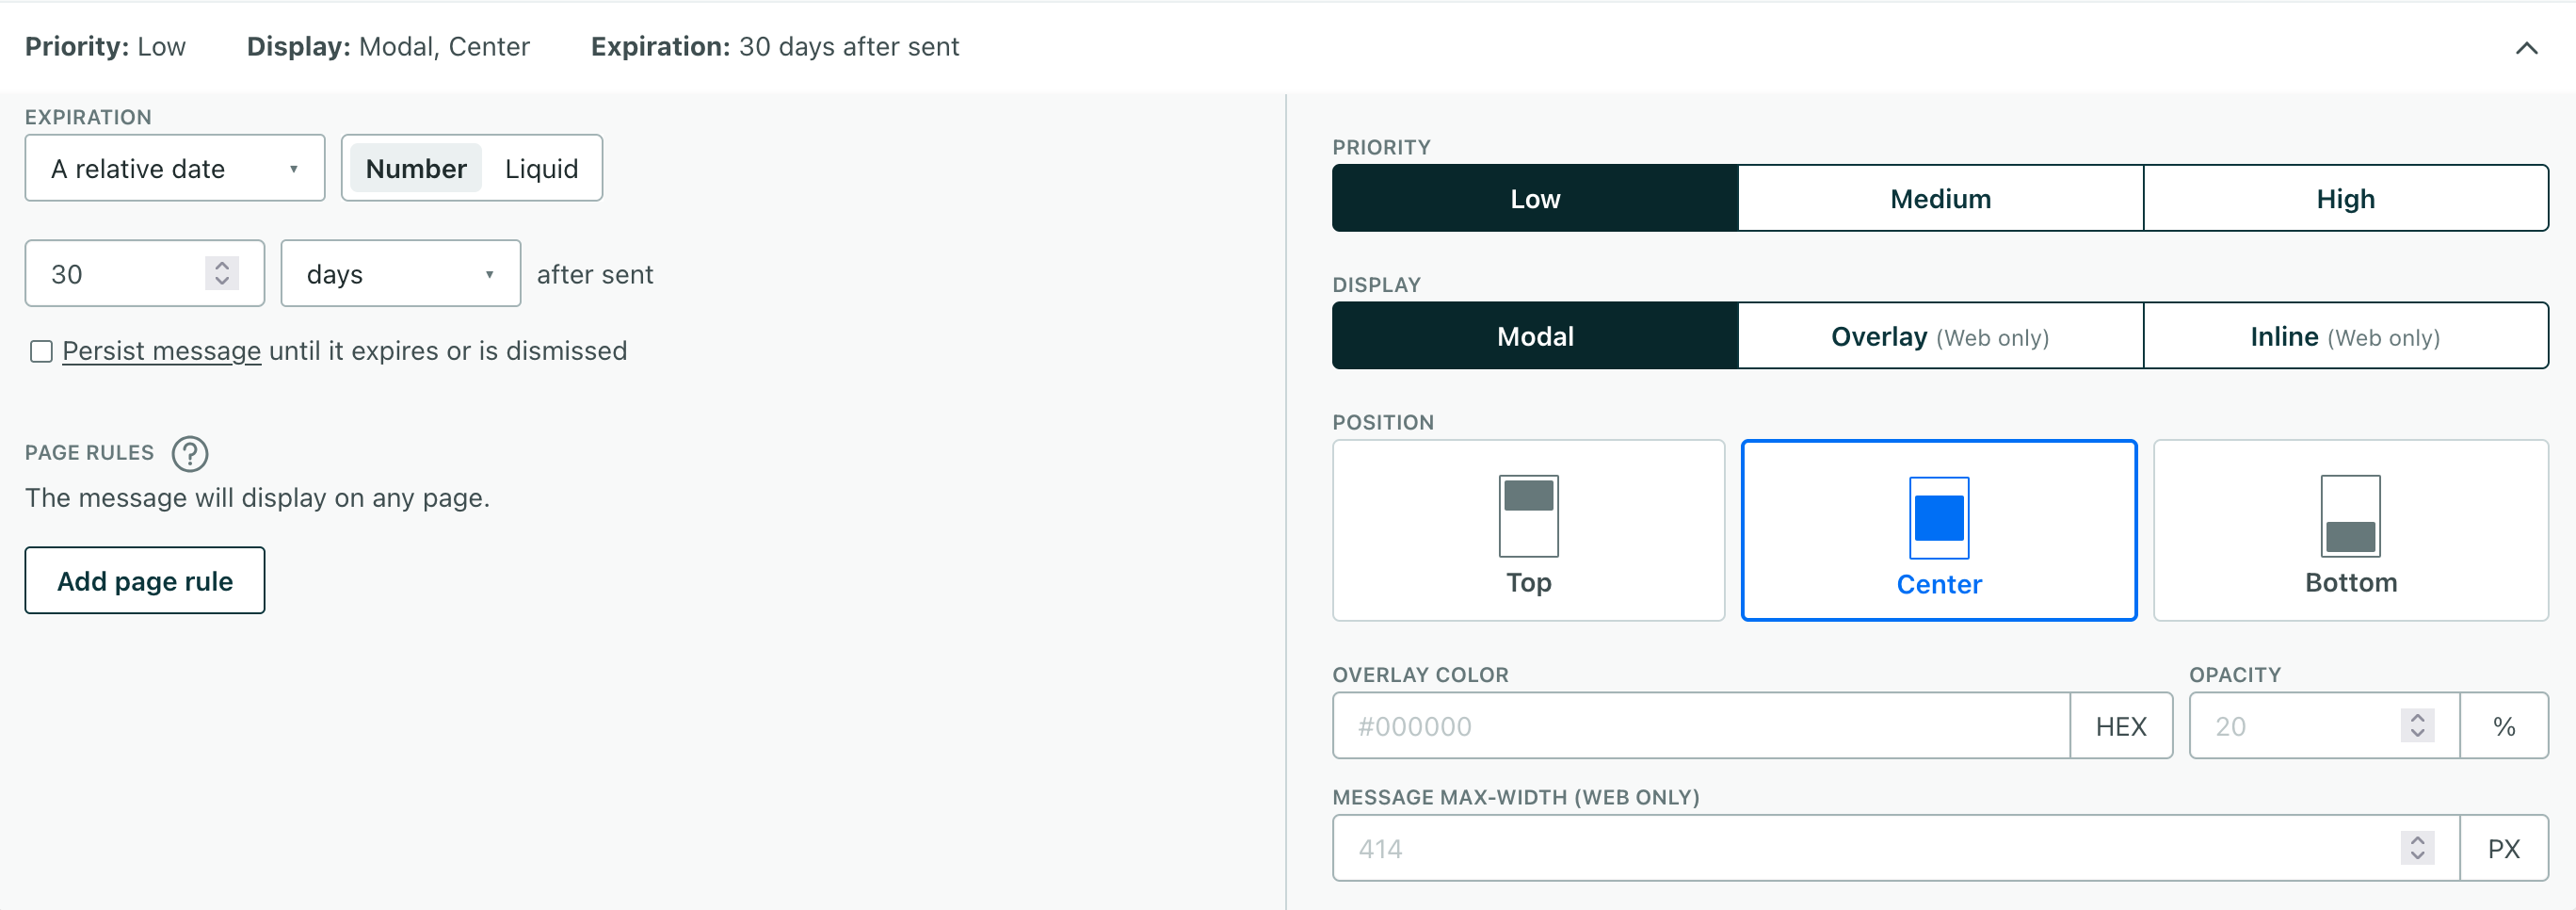
Set your message’s Display and Position. This determines where your message appears on a page. You can find these settings by selecting the message background. See Display and Position for more information.
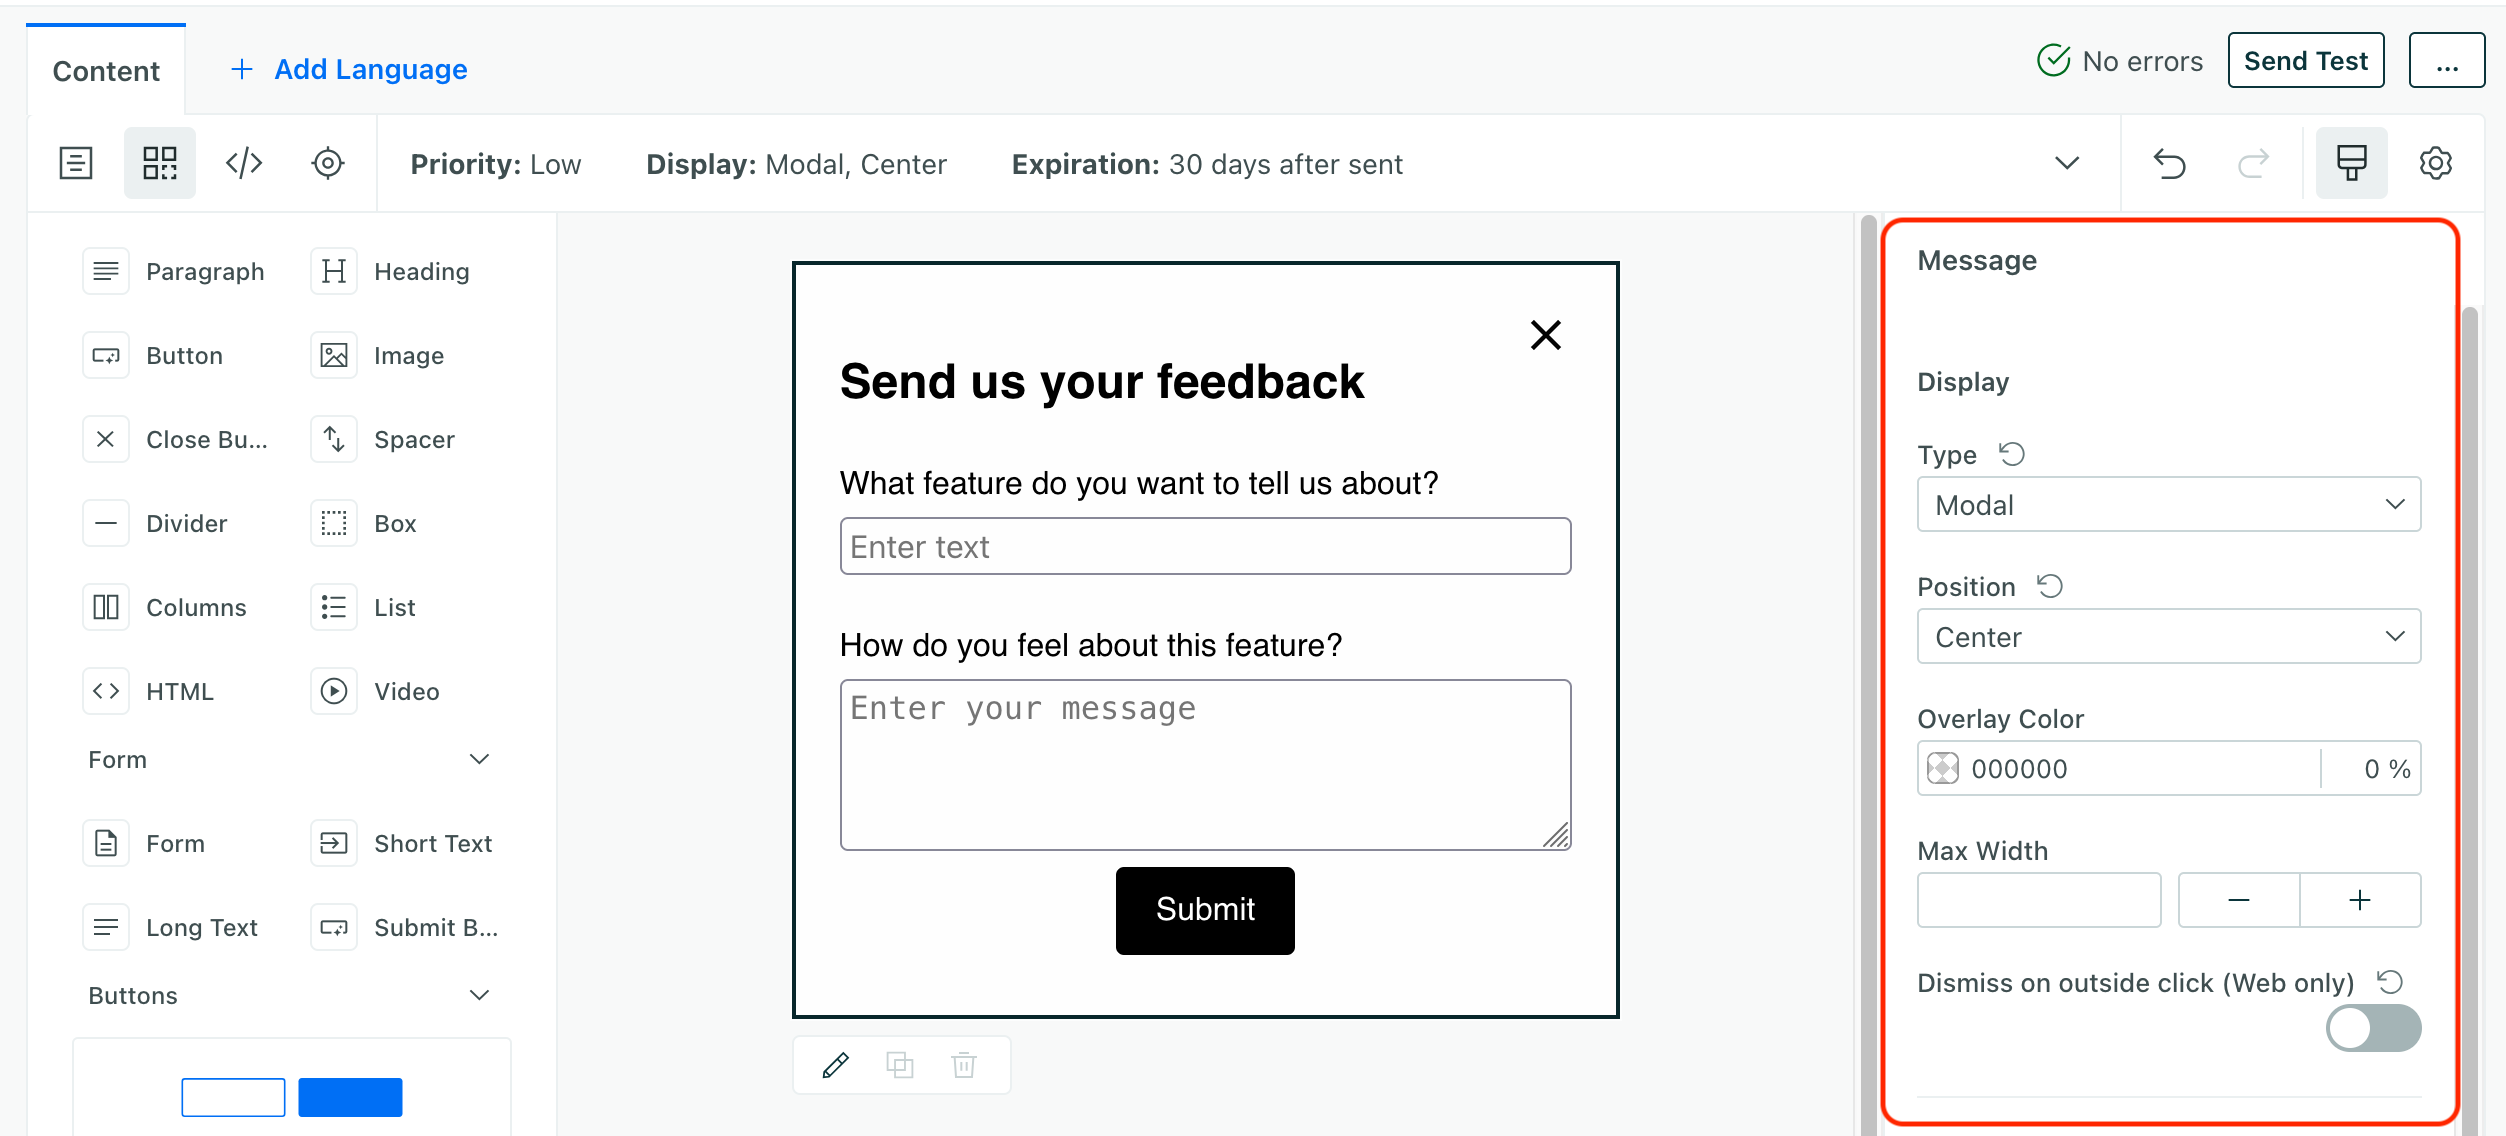
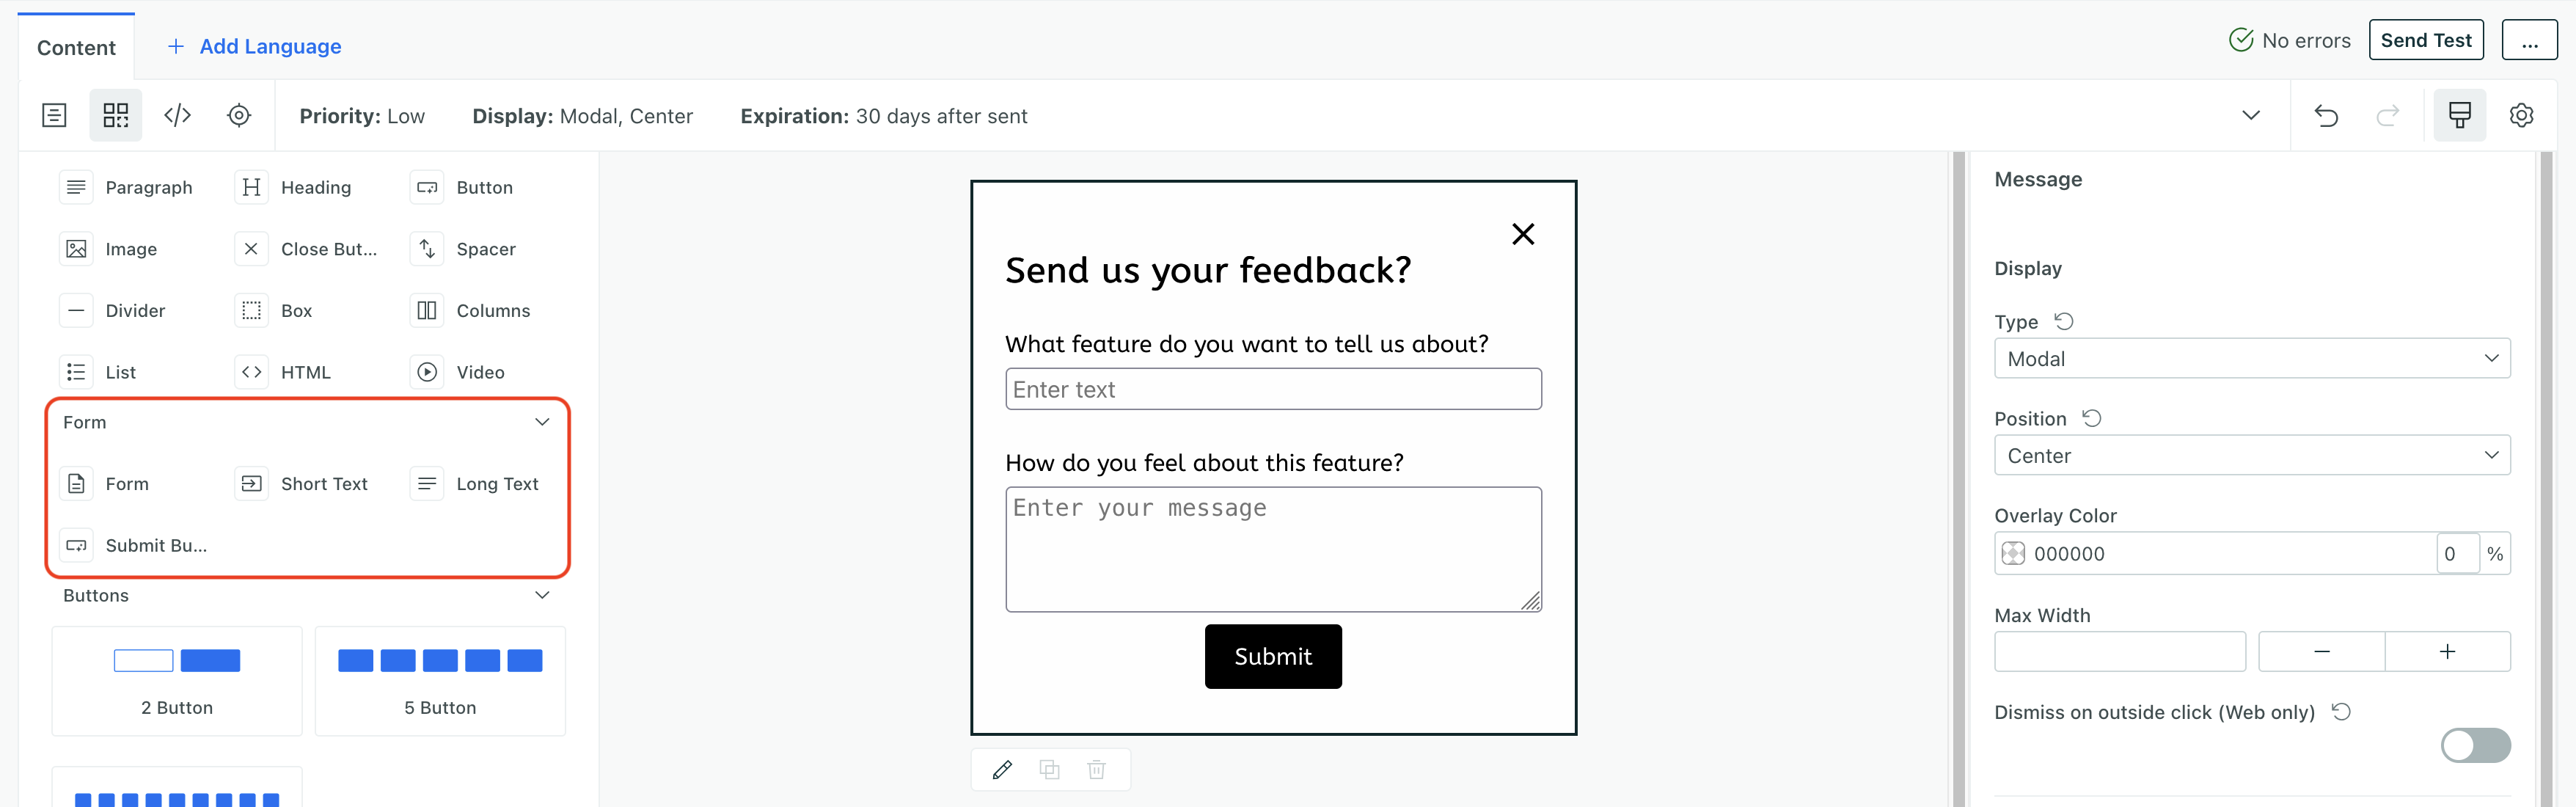
Drag a Form component into your message. Within the form, you can add additional form components like Short Text or Long Text fields. When you add additional components, you’ll have to drop them within the boundaries of the form element.
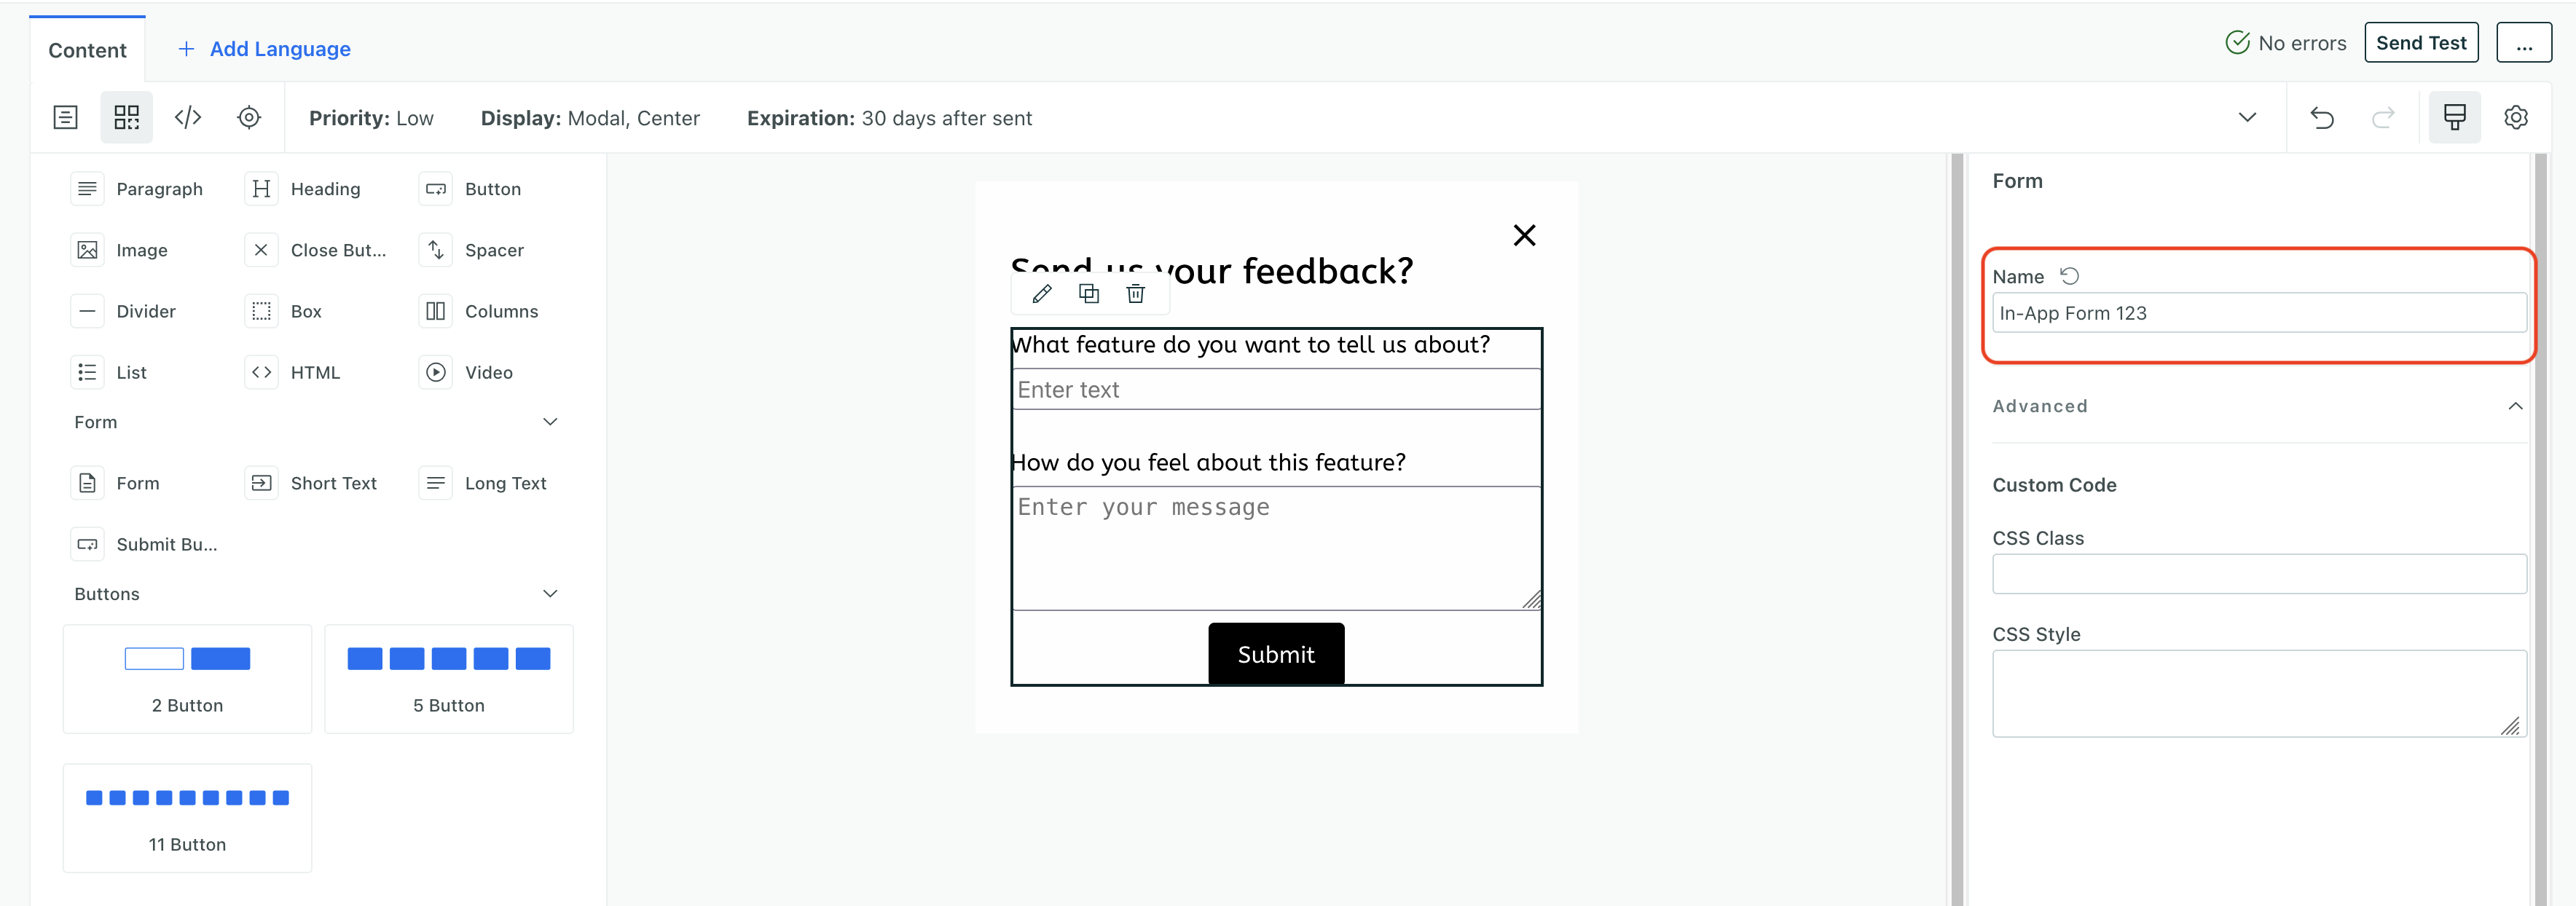
Set a Name for the form. We use the name of the form to determine which forms people submitted. To select the form, you may want to use the breadcrumbs at the bottom of the message to select the Form element.
If you started your in-app message from a another message, you might want to set a new name for the form so that you can differentiate between your in-app form submissions.
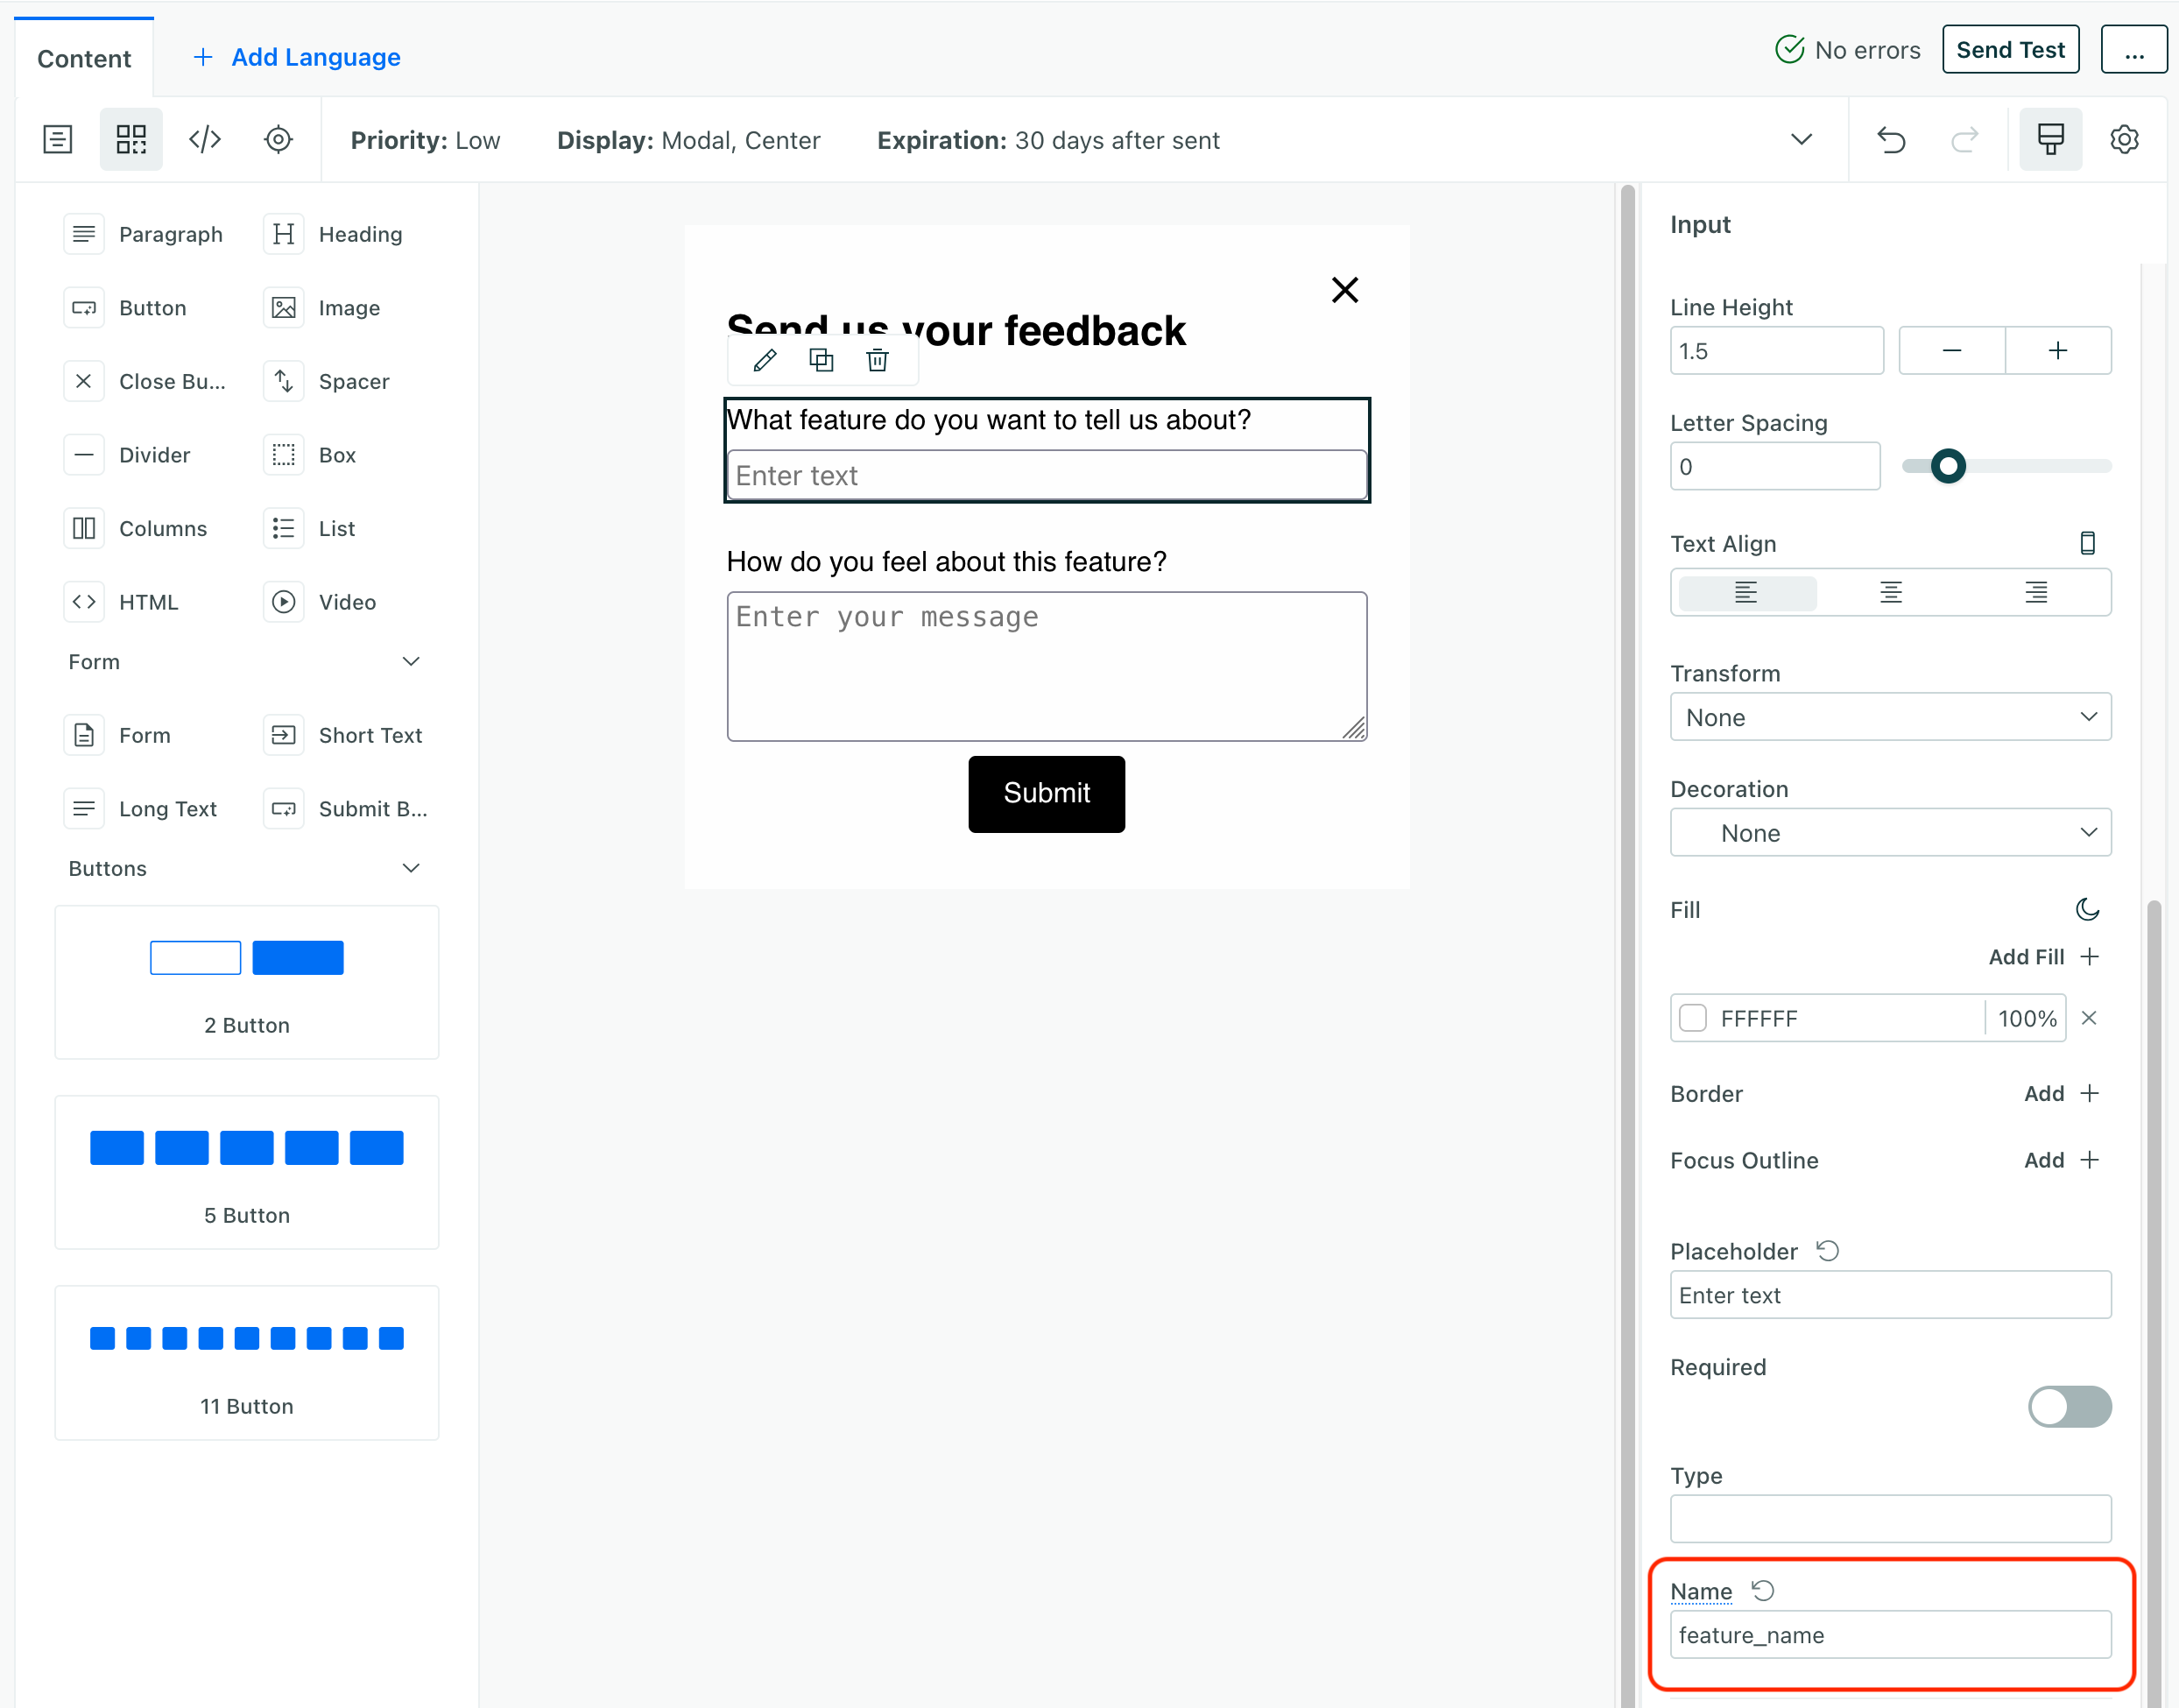
Select the form inputs (short text, long text, etc) and set names for each field. Form field names will help you see which fields people submitted. See Field names for more information.
Form components
You can drag a Form into your message to add a free-form Long Text input and a submit button to your message.
You can also drag other form components in your message, like additional Short Text or Long Text fields, but you must drop them inside the form element.
If you add individual form components outside of the Form element, they won’t be captured when people submit the form! You can use the breadcrumbs at the bottom of the message to see the boundaries of your form—so you know where to add form components—or check the code preview to see which elements are inside your x-form element.
Short text vs long text
Short text and long text inputs are different in how they’re rendered. Both include labels, but you can expand a long text input to show a larger text area. You can’t do this with a short text input.
| Short text | Long text | |
|---|---|---|
| Multi-line | No | Yes |
| Expandable | No | Yes |
| Max length | 255 characters | 500 characters |
The form name
We automatically group people into segments based on the form they submitted, and you can use the form submissions directly to trigger campaigns. These features are based on the Name of the form component—not the Name of the message!
When you add a form element to your message, you can set a Name for the form. You can also select the form component to set the name. If you need to change the name later, you might want to use the breadcrumbs at the bottom of the message to select the Form element; that can make it easier to find without trying to click through other form elements.
Field names
Each input you add to your form has its own name. Form field names are how we’ll identify the fields people submit. You’ll see these fields when you view or export form submissions. If you don’t set a name, we number the fields as “form field 1”, “form field 2”, and so on.
We strongly suggest that you write your field names without spaces, like snake case (favorite_color), camel case (favoriteColor), or kebab case (favorite-color). This affects the way you reference field names in liquid as you personalize messages or rely on event properties in actions.
Form submissions
When someone submits your form, we’ll capture the feedback under your campaign, broadcast, or newsletter’s Form Submissions tab.

Click Export all on the form submissions tab to download a CSV of all form submissions.
Form submissions are also captured as events in Customer.io, so you can use them to trigger campaigns, create segments, personalize messages, and other things you can do with eventsSomething that a person in your workspace did. Events can trigger campaigns, add people to segments, etc, and you can use properties from events to personalize messages. in Customer.io.
Set unique form names
Trigger campaigns from form submissions
When someone submits your form, you might want to follow-up with them—to thank them for providing feedback, request a meeting, and so on. You can either use form submission events to trigger campaigns, or add people to segments based on form submissions and use that as future criteria for campaigns.
When you start a new campaign, set the trigger to Form submission and select the Name of your in-app form component. You can also reference form submission fields in liquid as you personalize messages or rely on event properties in actions. See Using form submissions in messages or actions for more information.
Segments based on form submissions
We automatically create a segment for each in-app form using the Name of the form. You can use this segment to target people who have submitted your form.
Using form submissions in messages or actions
You’ll reference field names in liquidA syntax that supports variables, letting you personalize messages for your audience. For example, if you want to reference a person’s first name, you might use the variable {{customer.first_name}}. using the field name, like {{event.submissions.<field_name>}}. For example, if your form field name is favorite_color, you’ll access it in Liquid using {{event.submissions.favorite_color}}.
While you can use spaces in field names, like Favorite Color, spaces make it harder for you to referene fields in Liquid and other areas where you might rely on event properties. For example, if you have a field named Favorite Color, you’ll access it in Liquid using {{event.submissions["Favorite Color"]}}.

