Set up web in-app messaging
UpdatedWhile we call some messages in-app messages, they’re not limited to mobile apps! You can send in-app messages to your website visitors too.
How it works
While we call some messages “in-app” messages, they’re not limited to mobile apps! You can use “in-app” messages to send things like banners and modal messages that appear on your website. These are great ways to alert your users about new features, send promotions, ask for feedback using surveys, and so on.
To get set up with in-app messages, you’ll copy our JavaScript source snippet to your website.
You’ll send in-app messages using our JavaScript snippet. If you already use our JavaScript library to identify people and track events, you’re most of the way there!
If you aren’t using our JavaScript library yet, don’t worry! It’s a simple block of code you can copy and paste to your website. You’ll need to identify people before you can send them messages, but we’ll walk you through that process too.
website?} b-->|yes|c{Are they on the
right page?} c-->|yes|d{Are they identified?} d-->|yes|e(User sees message) b-.->|no, wait for the user
to visit your site|g(User does not
see message) c-.->|no, user must be on a page matching
your rules to see the message|g d-.->|no, user must be
identified to see message|g
Enable in-app messaging
If you use our JavaScript integration, you only need to enable in-app messaging to start sending in-app messages to the people you identify on your website.
Go to Settings > Workspace Settings, click In-App, and Enable in-app messages.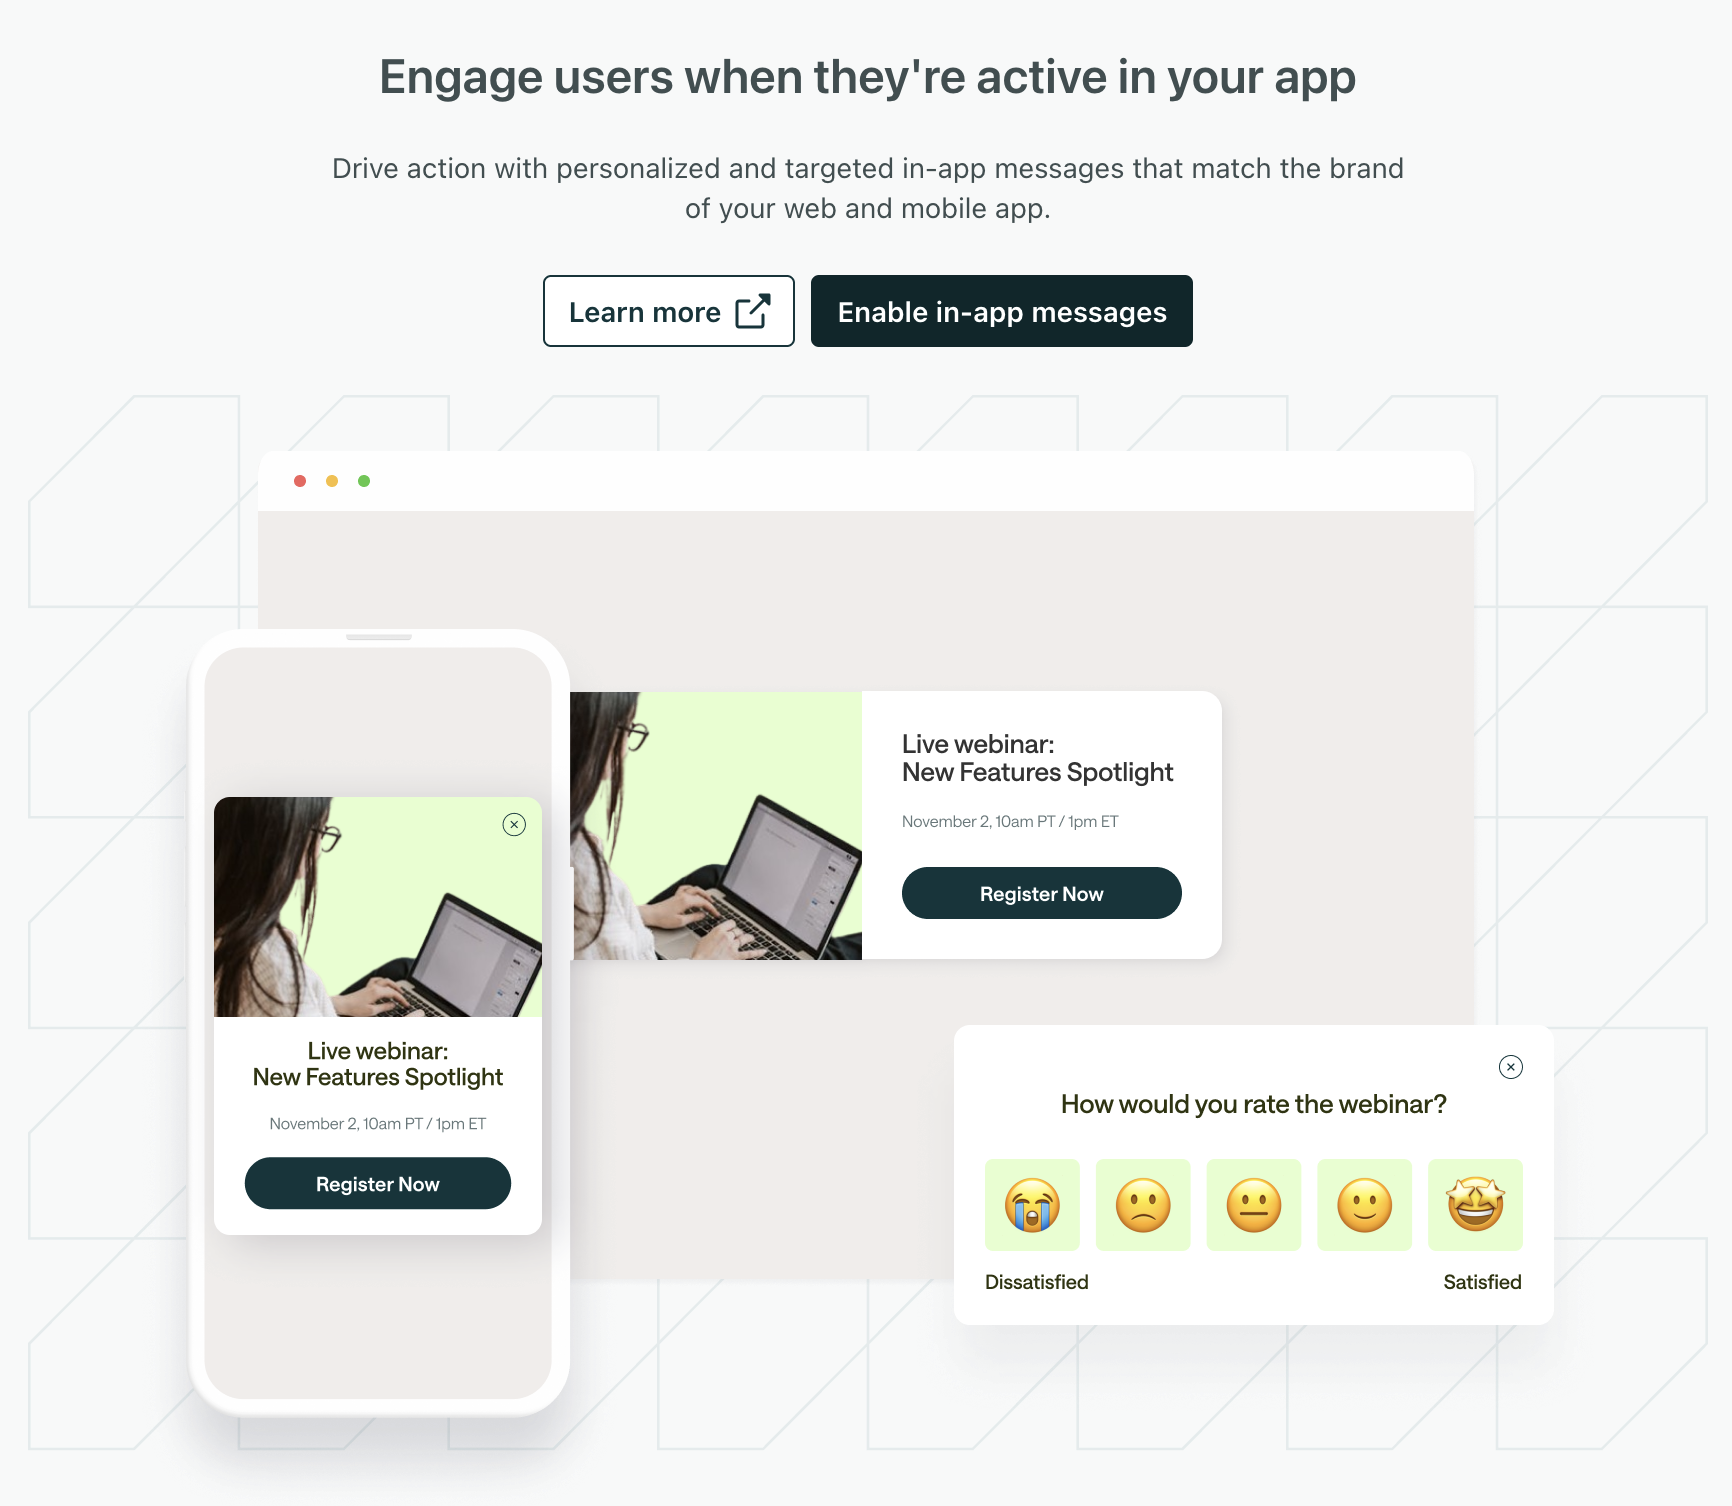
If you don’t already have a JavaScript integration: See our JavaScript SDK documentation to get started with our JavaScript integration and in-app messaging. If you’re not a developer, don’t worry! You’ll just need to copy and paste a block of code into your website.
Want to send anonymous messages?
If you use our classic JavaScript snippet
If you use our classic JavaScript snippet, you’ll need to add a bit of code to your snippet to support in-app messaging. See our classic JavaScript library instructions.
// Enables in-app messaging
t.setAttribute('data-use-in-app', 'true');
Identify your website visitors
Unless you’re sending anonymous messages, you must identify people before you can send them messages. You can do this with the identify method.
You’ll send an identify call whenever someone logs into your website, provides their email address, or otherwise agrees to use your service. Learn more about identifying people.
//cioanalytics.identify(id, attributes)
cioanalytics.identify('f4ca124298', {
  email: 'person@example.com',
  first_name: 'Cool',
  last_name: 'Person',
  plan_name: 'premium'
  // Strongly recommended when you first identify someone
  created_at: 1339438758,   // This is the timestamp when the user
                            // first appears, in Unix format.
});
Listening for in-app message events
You can also listen for events when people see or interact with your messages. For example, imagine that you send an in-app message with a button. When people click the button, you want to enable a setting. In this case, you’d listen for the click-event (called in-app:message-action) to enable the setting for your users.
See our JavaScript SDK documentation for more information.

