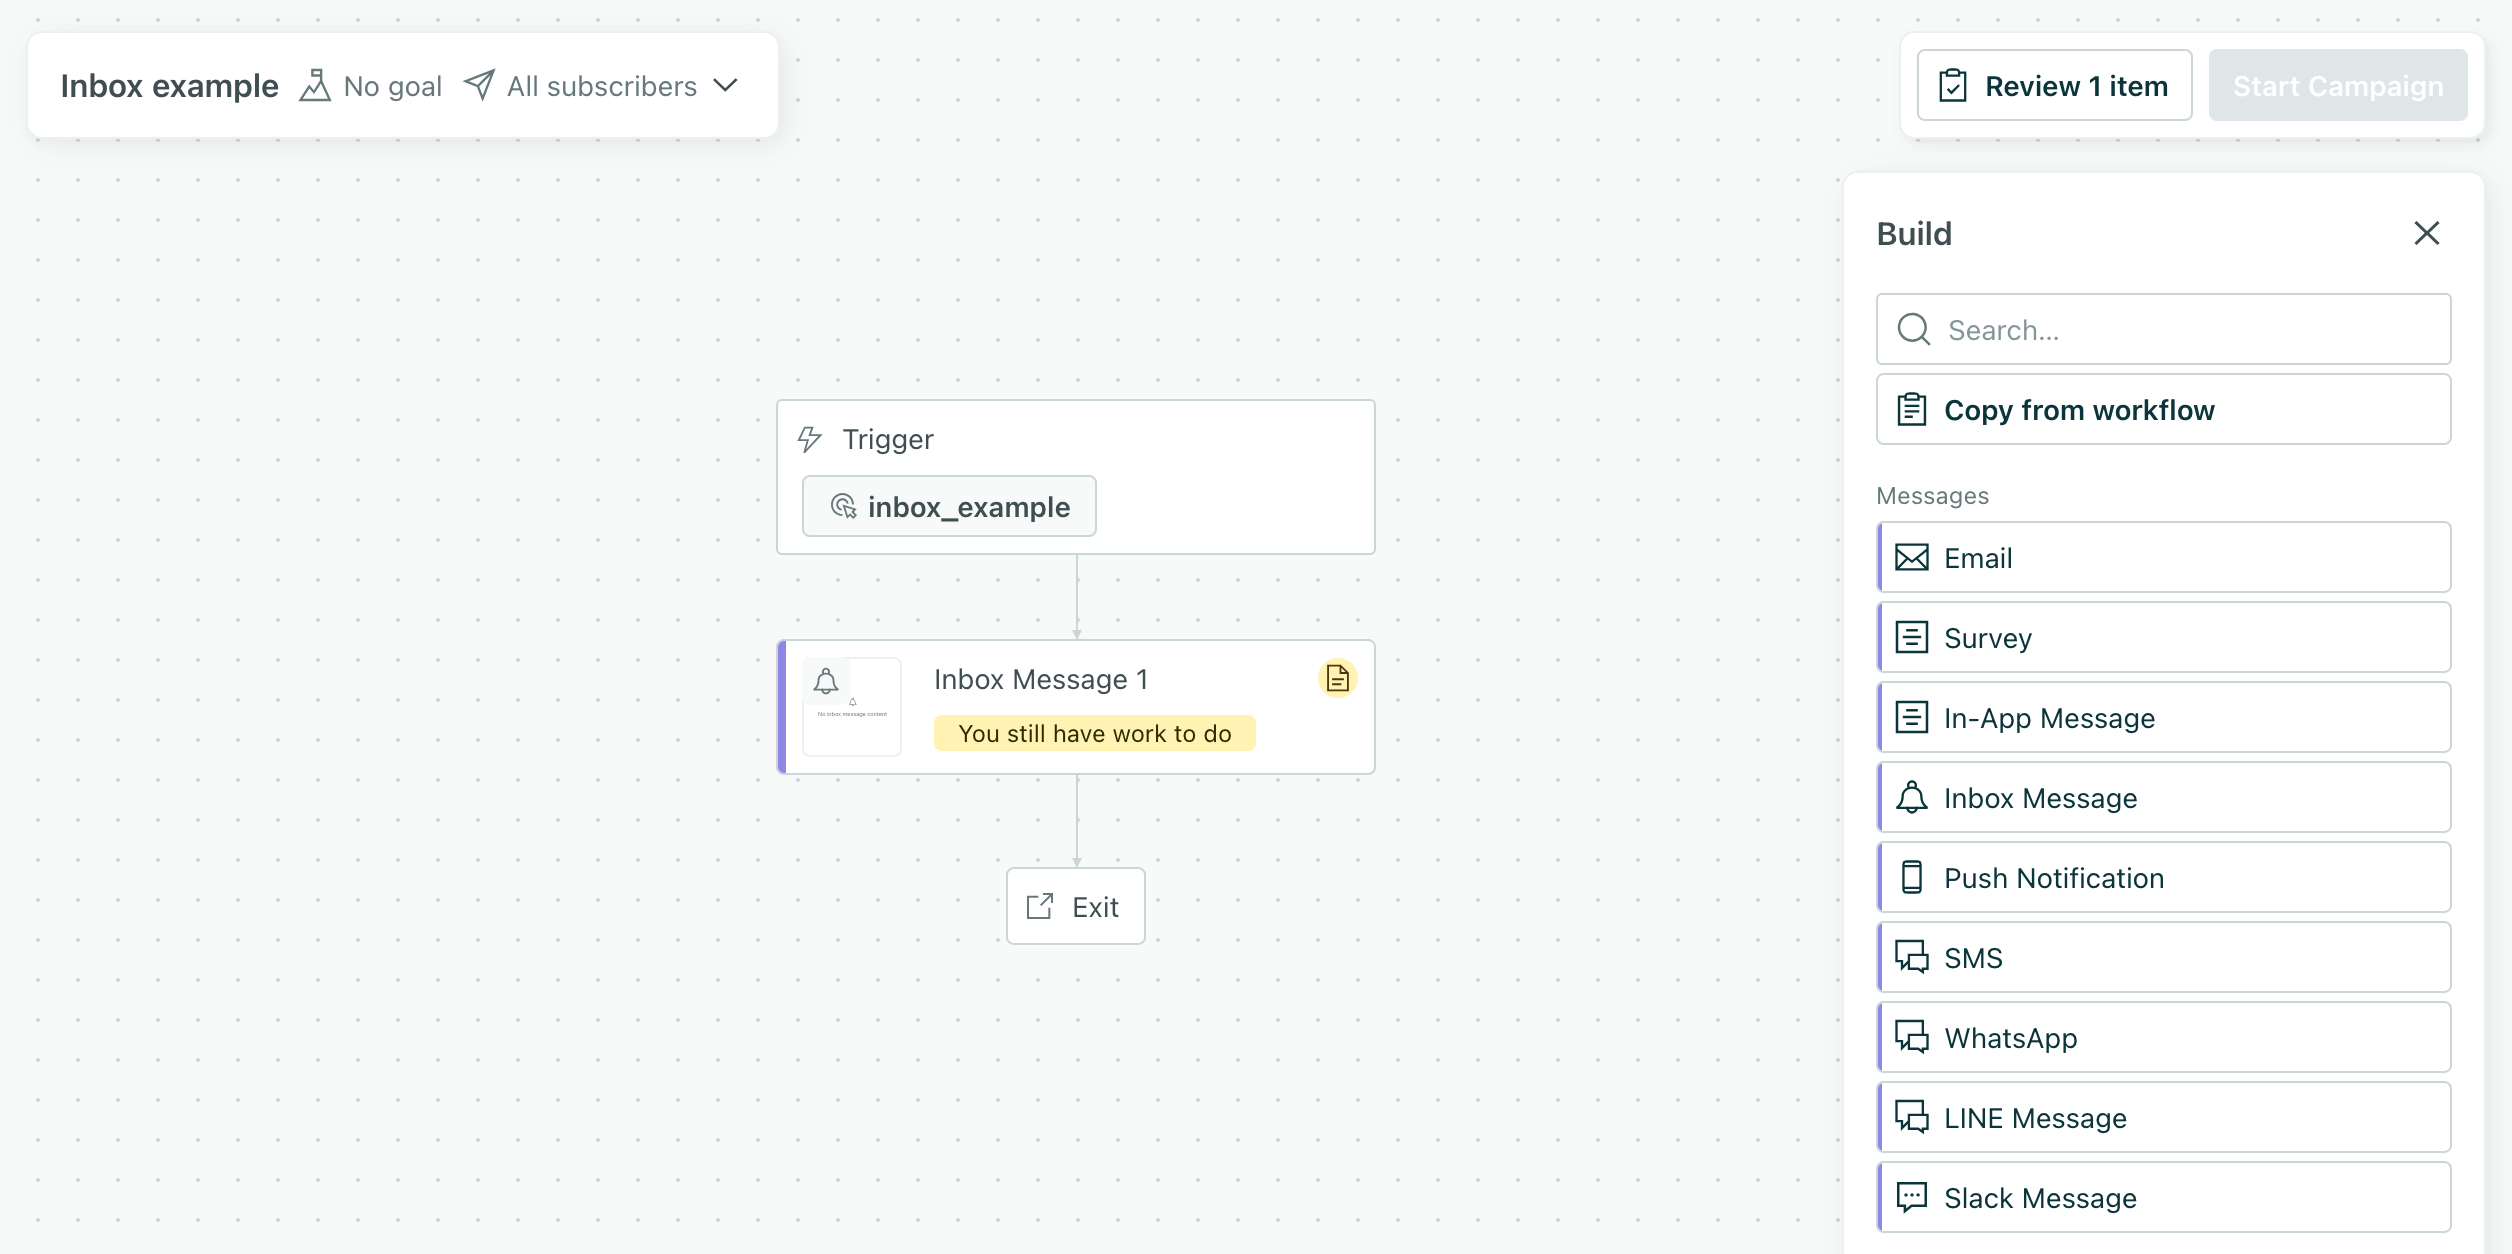
Send inbox messages
UpdatedYou can send inbox messages as a part of a campaign or broadcast workflow.
Set up a message
Before you try to send an inbox message, make sure you’ve set up your inbox.
When you set up a message, you’re essentially determining the id or name of the message you want to send. You’ll use one of these values to send and populate your message when you’re ready to send it.
In your campaign or broadcast workflow, drag an Inbox message block into your workflow.
Click Add Content to set up your message.
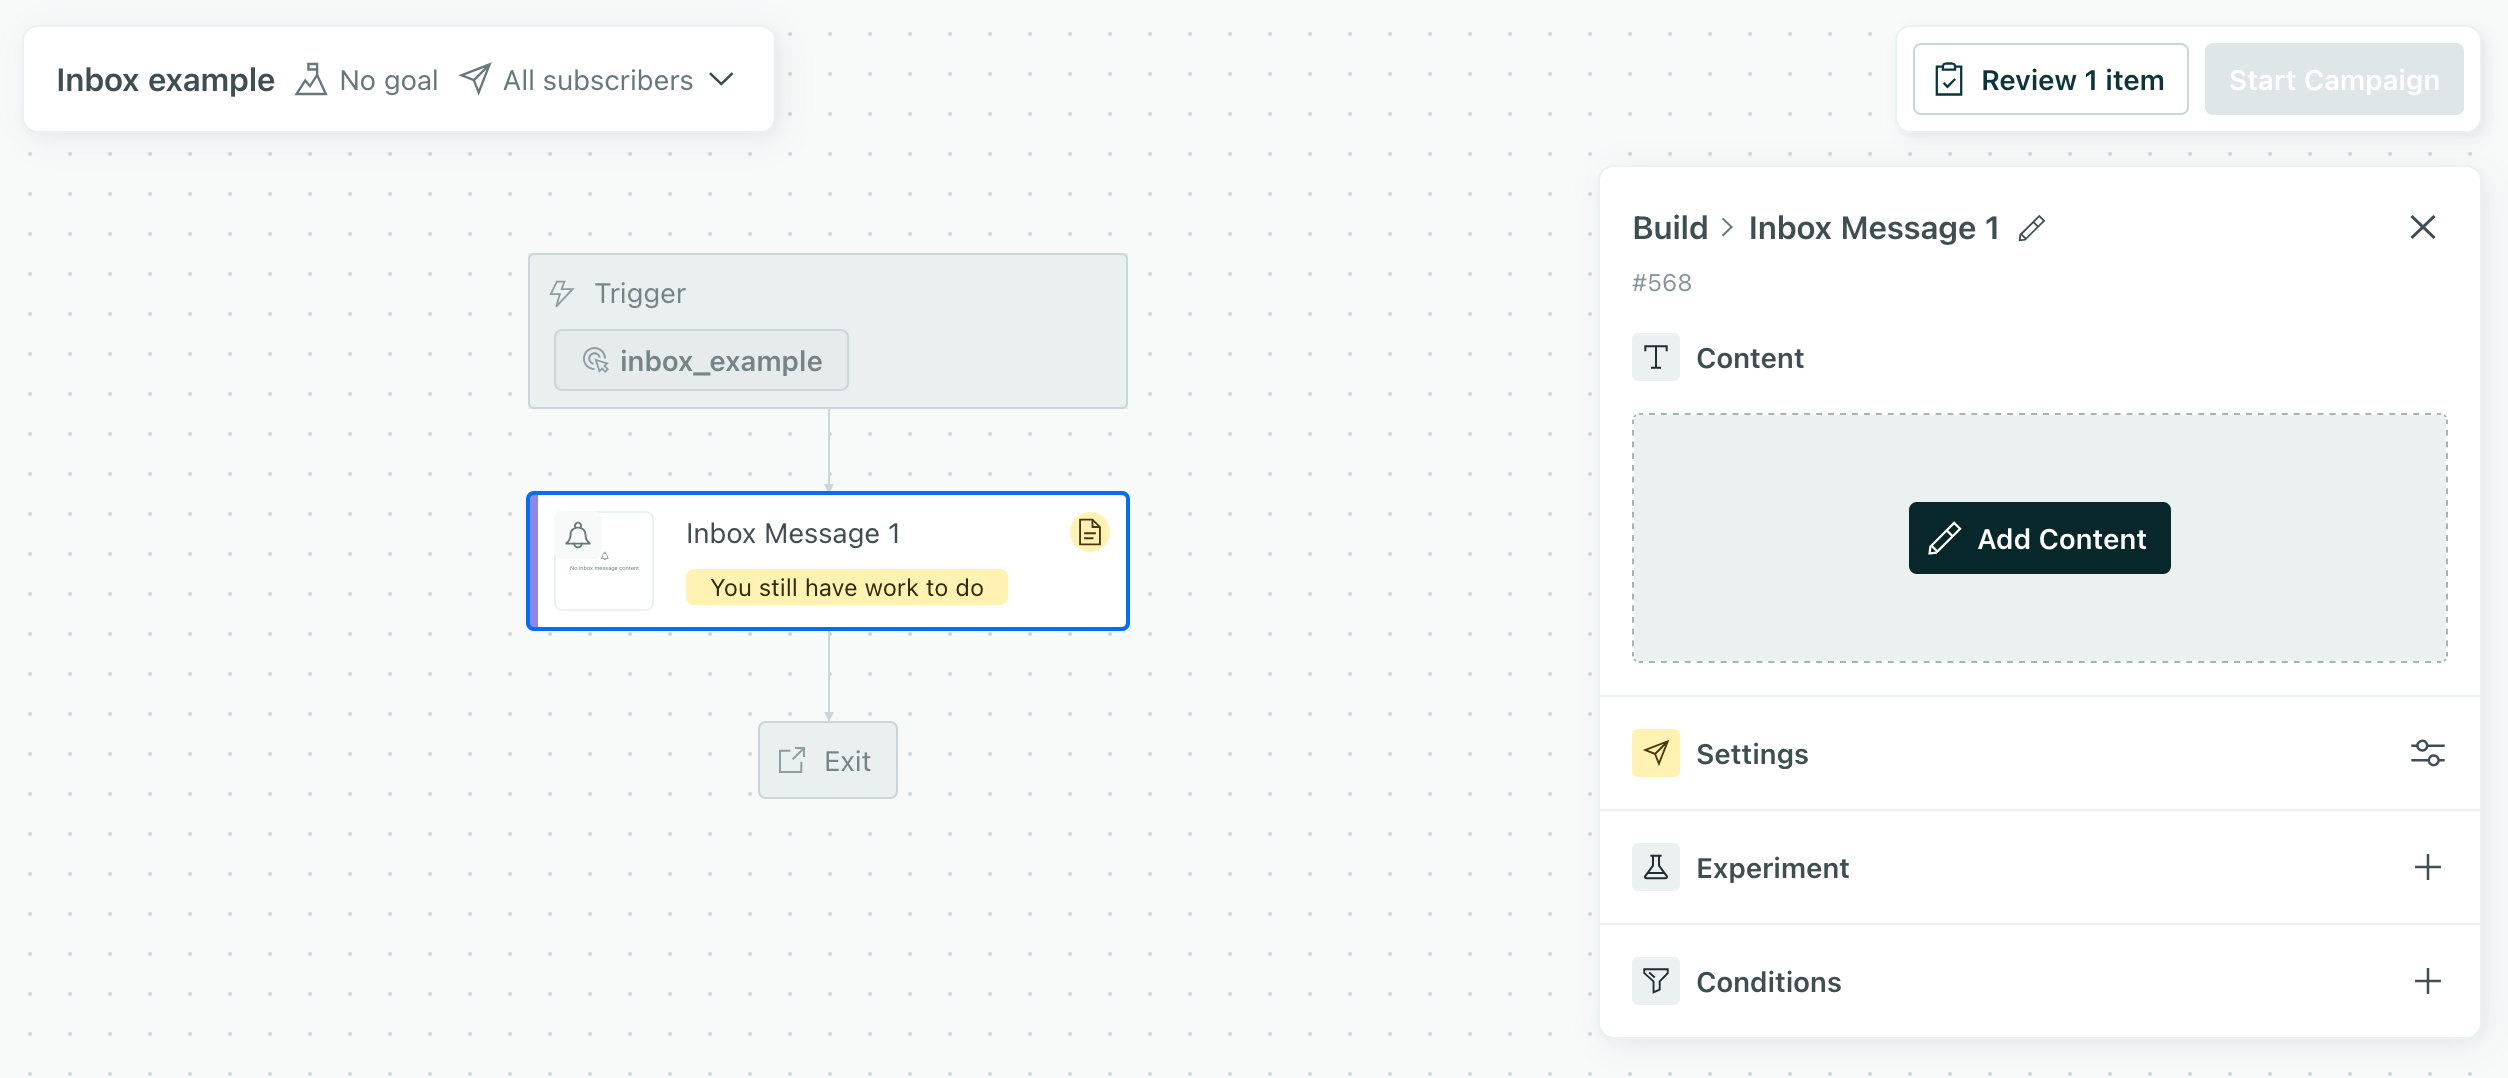
Define your message settings:
- Type: Provides a way to differentiate messages in your inbox. For example, if a message type is
rich, that might tell your inbox client to display a rich message with support for images, etc. - Expiration: The time between when the message is sent and when it should expire. Messages only expire if they’re sent but not delivered. By default, messages expire after 60 days.
- Topics: These are the topics that the message belongs to, used to filter the inbox (when you call
analytics.inbox('topic1', 'topic2')). You can let your audience filter on topics when they open the inbox.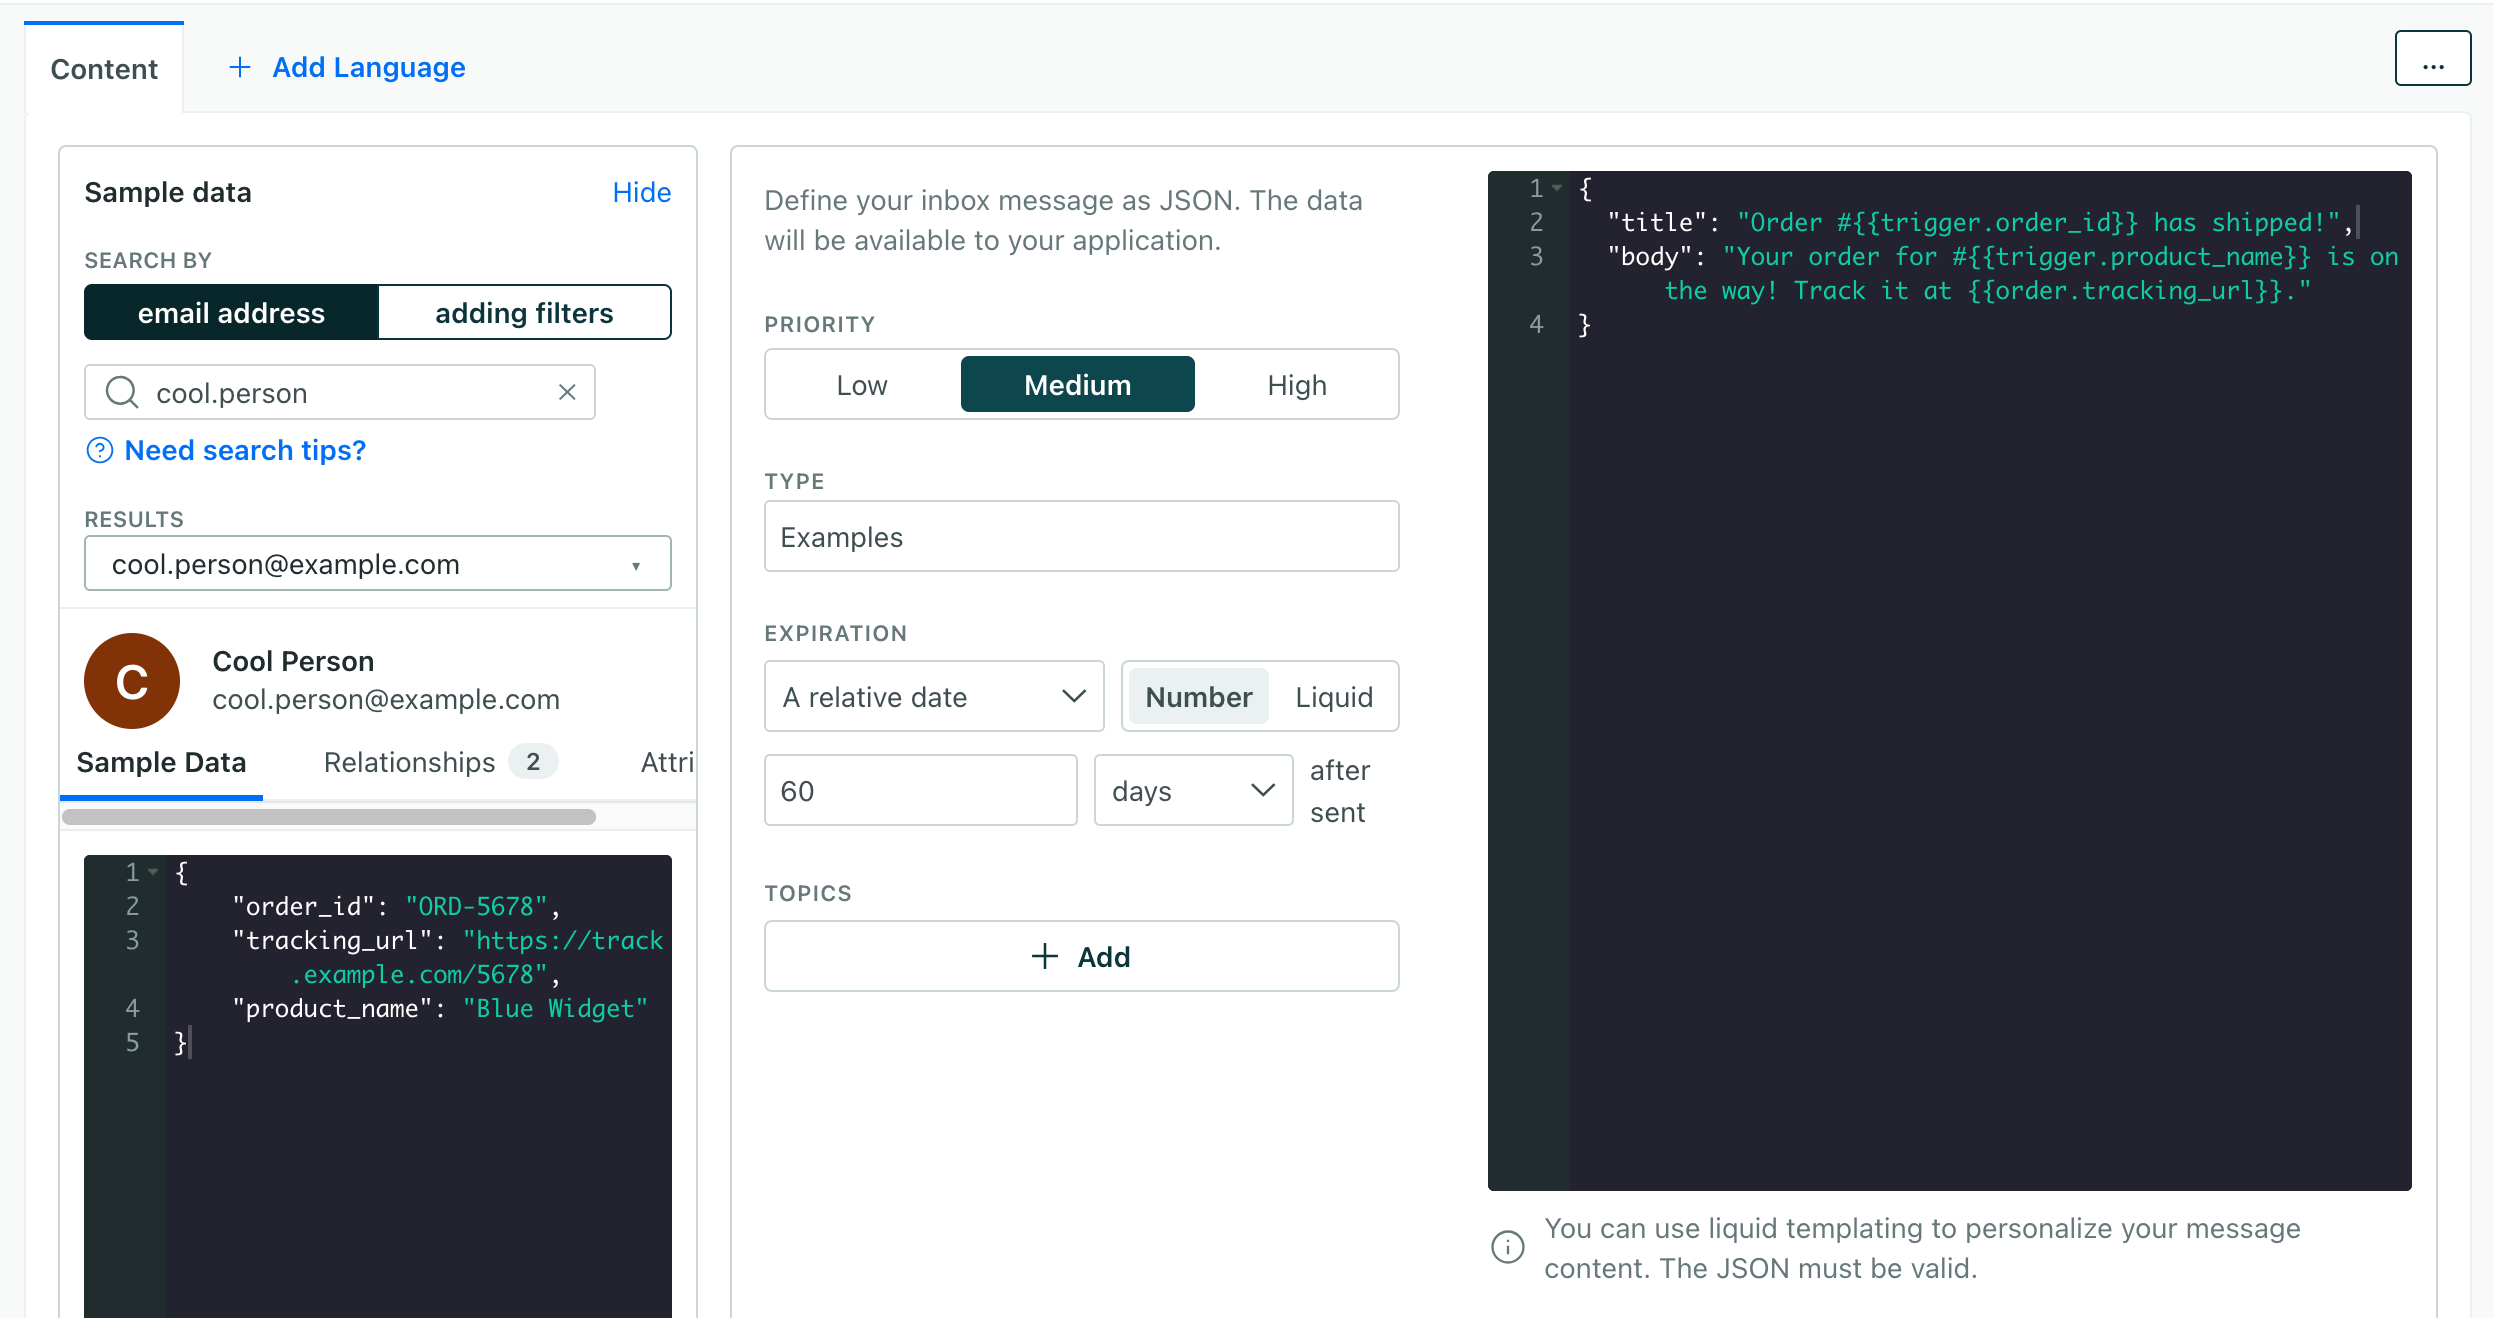
- Type: Provides a way to differentiate messages in your inbox. For example, if a message type is
In the JSON area, provide the JSON payload that represents your message. By default we provide a
titleandbodyfield, but you can add other fields like animageor alink.You can use liquidA syntax that supports variables, letting you personalize messages for your audience. For example, if you want to reference a person’s first name, you might use the variable
{{customer.first_name}}. to include dynamic content from your trigger data, like{{customer.<attribute_name>}}to include customer attributes. If you reference event data, you’ll use{{event.<attribute_name>}}.For example, your message might look like this:
{
 "title": "Hey, {{customer.first_name}}, your order shipped!",
 "body": "You can track your order #{{event.order_number}} here:",
 "link": "https://example.com/orders/{{event.order_number}}"
}
When you’re done, save your message.
Personalize your message
You can use liquidA syntax that supports variables, letting you personalize messages for your audience. For example, if you want to reference a person’s first name, you might use the variable {{customer.first_name}}. to include dynamic content in your message. You can use profile attributesA key-value pair that you associate with a person or an object—like a person’s name, the date they were created in your workspace, or a company’s billing date etc. Use attributes to target people and personalize messages. in any message in the format {{customer.<attribute_name>}}. You can use event data in messages triggered by an event or an API call.
| Source | Example | Campaign | Broadcast | Newsletter | Description |
|---|---|---|---|---|---|
| Profile attributes | {{customer.first_name}} | Yes | Yes | Yes | Attributes belonging the message recipient. |
| Event data | {{event.order_number}} | When triggered by an event | N/A | N/A | Data from an event that triggered the message. |
| Trigger data | {{trigger.order_number}} | N/A | Yes | N/A | Data sent in the message_data object when you trigger a broadcast or a transactional message. |
Message topics and types
The message Topic provides a way to filter messages in the inbox, and the Type provides extra context to help you render the message. Neither field is required to send (or display) messages.
These are values that you’ll implement when you set up your inbox. So if you’re not sure what values to use here, talk to team members who developed your inbox!
If you don’t want to filter messages by topic, and you don’t want to assign “types” to your messages, you can leave these fields empty.
Troubleshooting
Inbox messages follow the same delivery patterns as regular in-app messages. Check our in-app messaging FAQ for additional troubleshooting.
My message doesn’t appear
- Verify that you’ve enabled in-app and inbox messaging in workspace settings.
- Ensure the In-App Plugin loads (
analytics.inboxshould be defined). - Check that the message isn’t filtered out by
analytics.inbox(). If you callanalytics.inbox('topic1')and the message’s topic istopic2, it won’t appear in the inbox. - Check that the user is identified.
- Confirm that the message you intend for people to see hasn’t expired. You may need to investigate a specific deliveryThe instance of a message sent to a person. When you set up a message, you determine an audience for your message. Each individual “send”—the version of a message sent to a single member of your audience—is a delivery. to see the expiration date.
Topics don’t filter correctly
Remember that topics are set in the message template, not the API call. Messages with empty topics arrays match all topic filters. Calling inbox('topic1') only returns messages that include 'topic1' in their topics array.

