Tag your automations, segments, and data
UpdatedTags are another way to organize and compare your campaigns, broadcasts, and transactional messages. You can also assign them to segments and data through your data index. While you can filter by features like campaign name and trigger type, you can also use tags to group automations based on other information, like themes or goals. Create, assign, edit, and delete as many tags as you need in your workspace.
Manage tags
You can create, edit, and delete tags from Campaigns, Broadcasts, Transactional messages, Segments, and your Data Index. No matter where you create them, you can assign that tag to any other automation, segment, or attribute moving forward. However, you can only assign tags on individual campaigns, segments, etc.
From landing pages
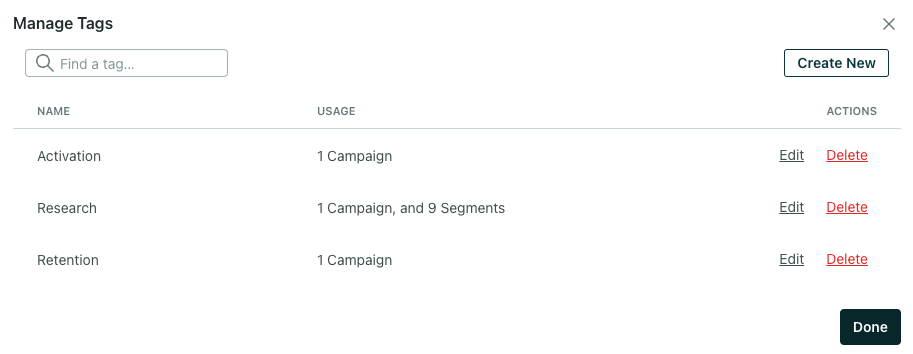
Select the tags filter at the top of pages like Campaigns, Segments, etc. Click Manage.


Here you can create, edit or delete tags and check their usage.

From a draft campaign
- Click your campaign.
- Click the name.
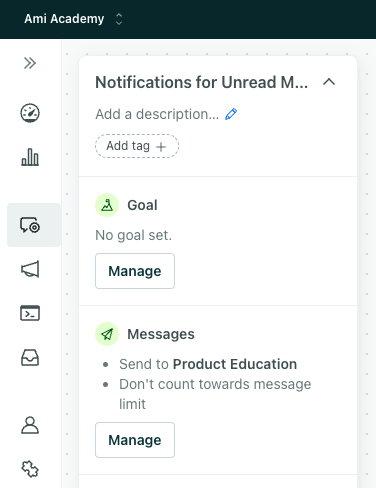

- Click Add tag.
- Either click Manage to make changes to tags or enter the name of a new tag to create one.
From a running or stopped campaign
- Click your campaign.
- Click Add tag in the Overview tab.
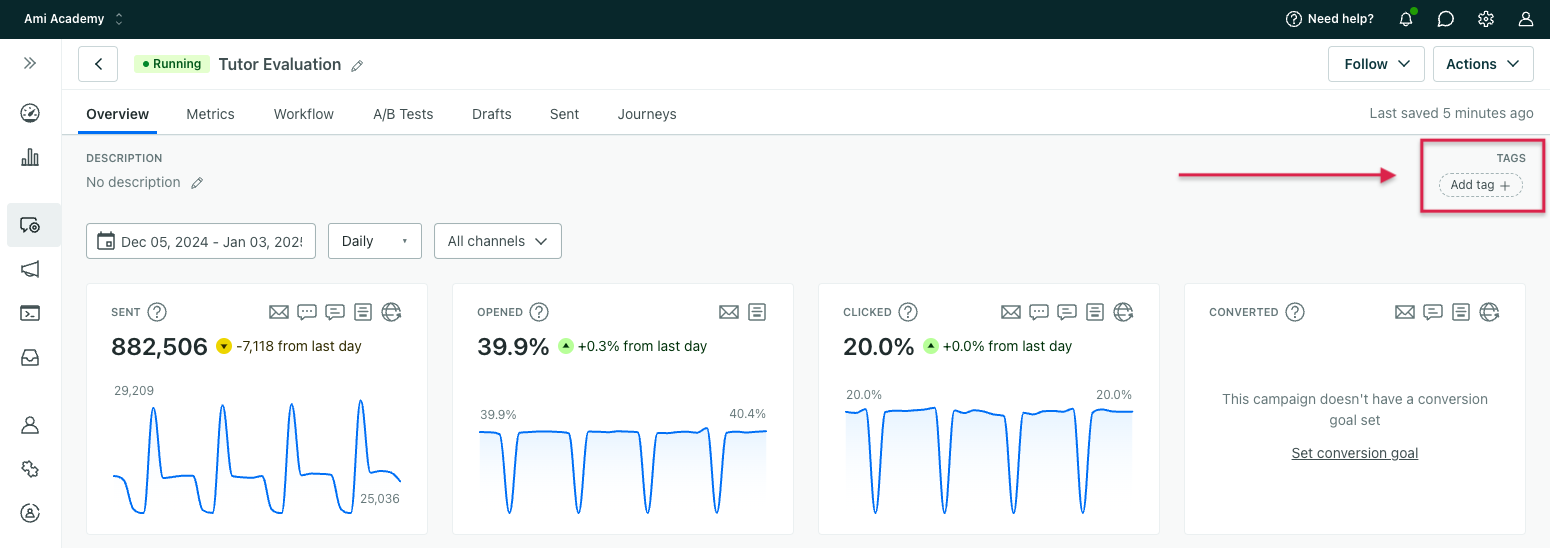

- Either click Manage to make changes to tags or enter the name of a new tag to create one.
From your data index
You can manage tags for your data, like people’s attributes and event properties, through the data index. You can manage them from the landing page like you can with campaigns, broadcasts, etc.
To assign tags, click Add tag from the landing page or click the data, then click the pencil icon besides the attribute name, and choose a tag.
Filter by tag
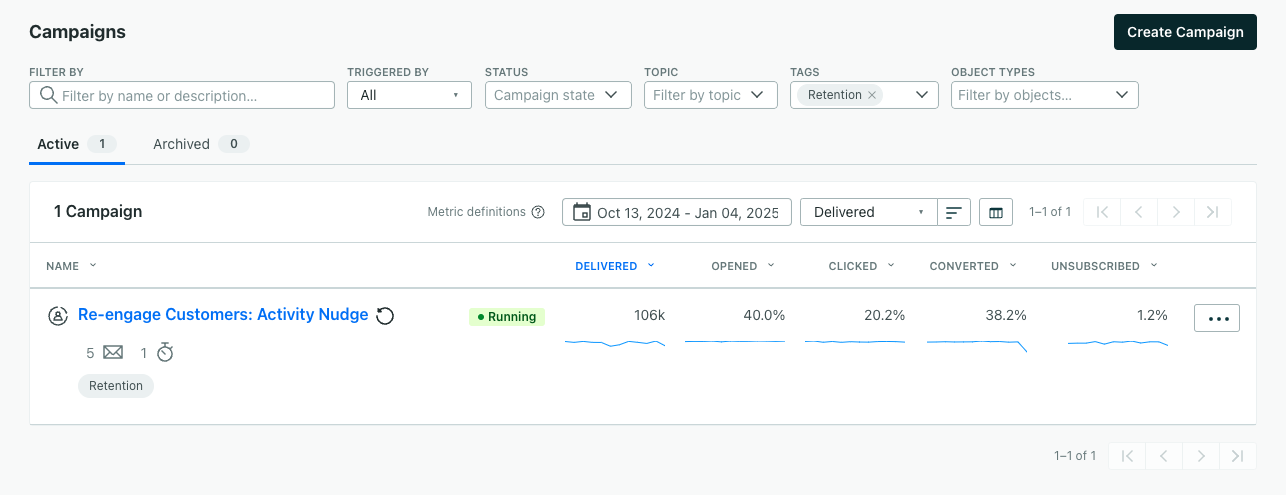
To filter campaigns, segments, etc by tag, you can either select the tag from the dropdown at the top or click the tag under the item’s name.

Generate reports by tag
Tagging your campaigns and/or broadcasts based on messaging category is a great way to analyze your different messaging strategies. For example, if you’d like to understand how your marketing messages alone are performing, you can run a report on all campaigns and broadcasts with the ‘marketing’ tag.
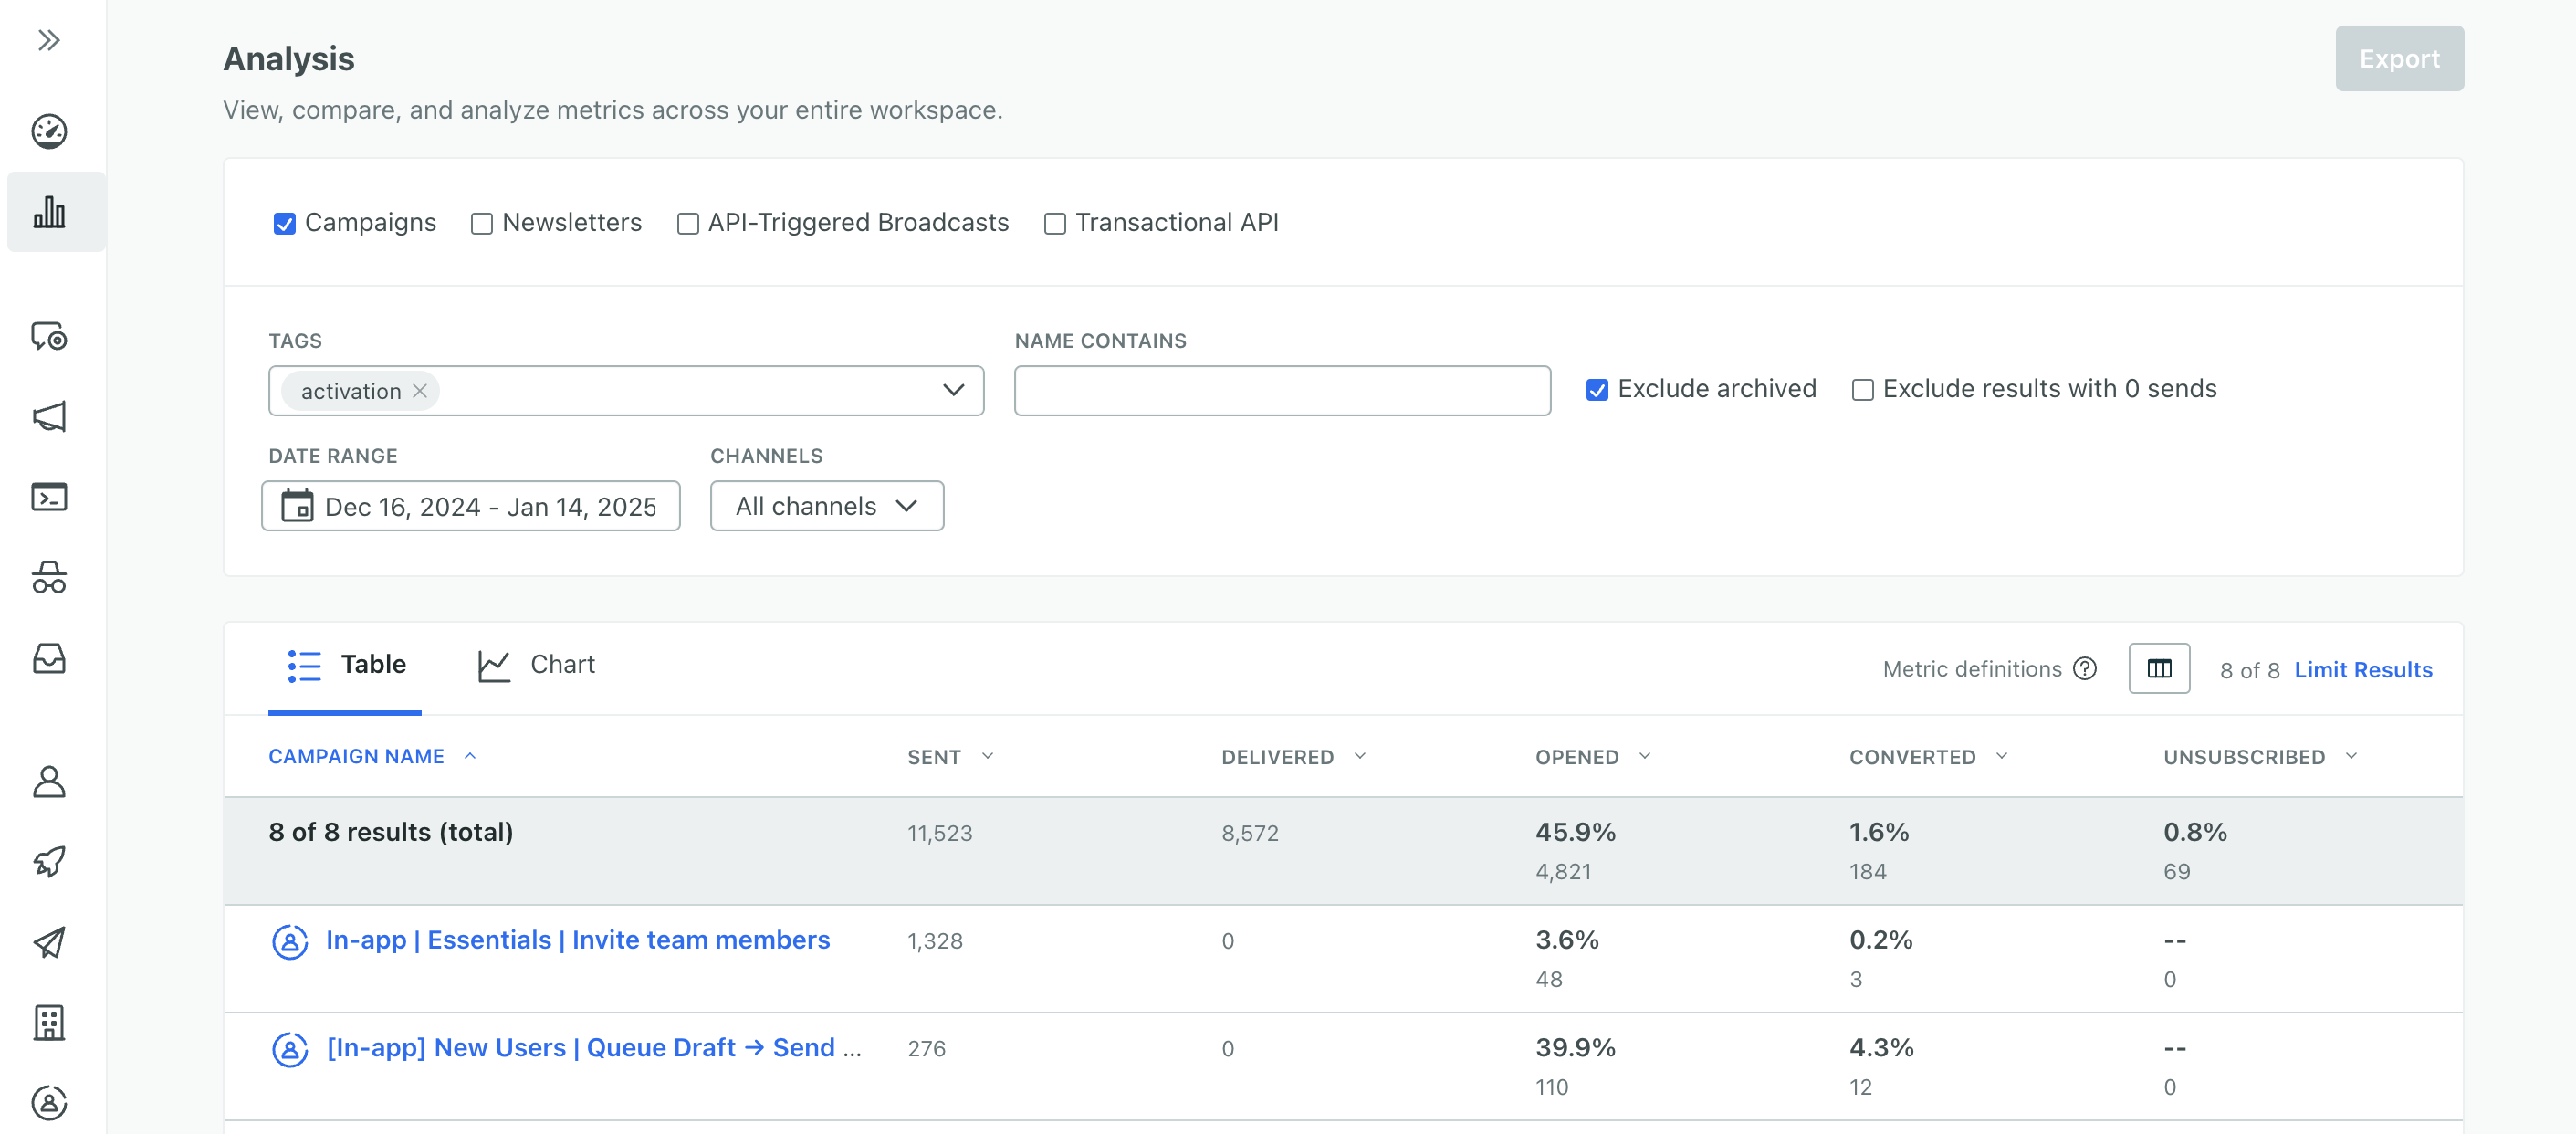
- Go to the Analysis page.
- Add the tag(s) you’d like to view as part of the filter criteria. This will return metrics for all automations checked at the top.
