

Change the state of an automation
Automation states determine whether your customers can enter your automations.
Automations can have one of four statuses:
running- activedraft- inactive; all automations start in a draft state.stopped- inactivearchived- inactive
Running is the only active status. This means customers can enter your automation and move through your workflow, which could include messages, update actions, and more. You can edit these automations while they’re live, but make sure you understand how live edits impact your customers.
Draft, stopped, and archived are inactive statuses. Customers cannot enter your automation. You can make changes to draft and stopped automations, but not archived ones. You can unarchive an automation to change the state to stopped and continue editing. You can restart any automation in a stopped state.
Scheduled automations
Scheduled automationsdisplay a scheduled label alongside the automation status. The scheduled label shows that a start and/or stop time is set, while the status (like running, draft, or stopped) shows the automation’s current state. For instance, an automation with the status running and the label scheduled means the automation has started and people may be moving through your workflow.
Stop an automation
To stop an automation, click the automation and select Stop now or Schedule stop from the Actions dropdown. You can also access this from inline with the automation name on the list page.
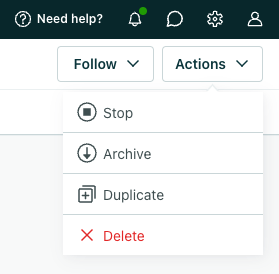
Stopping an automation prevents people from entering the automation. While the automation’s stopped, you can edit it. And messages that were already sent from the automation will continue to generate metrics normally.
What happens if people are in the automation?
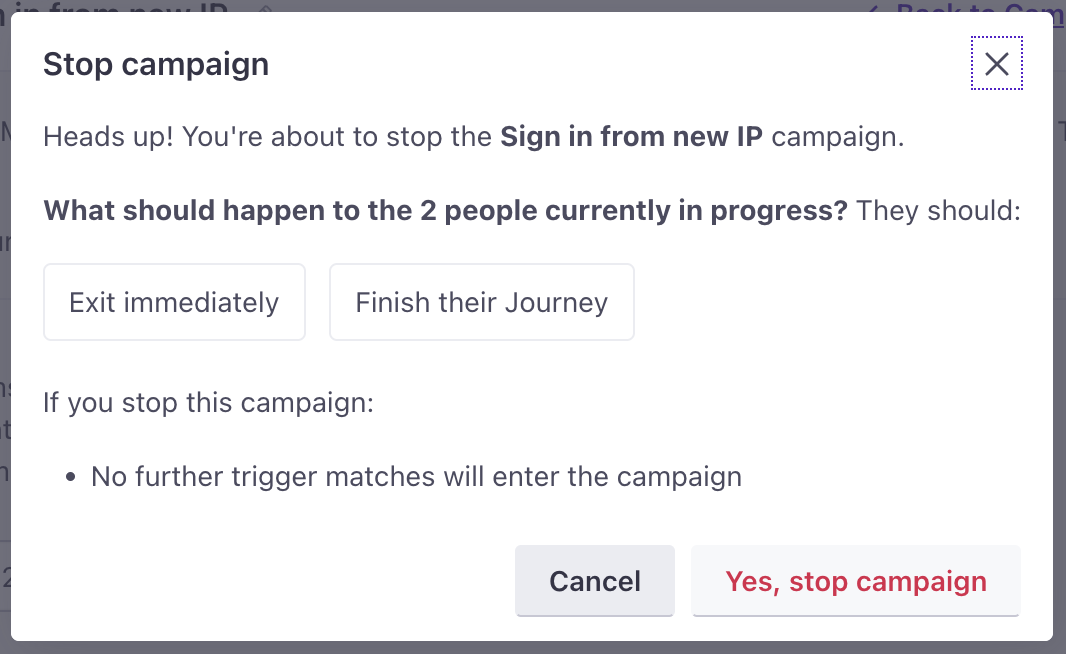
If the automation has active journeys in progress, you can either:
- Force people to exit immediately. In this case, we stop sending messages to anybody who has an active journey and recall in-app messages that haven’t been seen (opened) yet. See What happens to messages when people exit immediately? for more information.
- Allow people to finish their journey and exit the automation naturally. Your automation will sit in a Stopping state until all people have exited the automation, and then it’ll switch to Stopped.
What happens to messages when people exit immediately?
When you stop an automation using the Exit immediately option, we’ll stop sending messages immediately. But all emails, SMS messages, push notifications, webhooks, and Slack messages that are already Sent are likely to be delivered to your audience. We don’t control the delivery providers for these message types, so we can’t recall these messages after they’re sent.
In-app messages native to Customer.io are an exception to this rule: any in-app message that has been “Sent” but not “Opened” is recalled. We control the delivery mechanism for these messages, so we can stop them before they make it to your audience.
Restart an automation
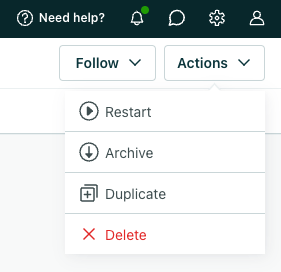
To restart an automation, click the automation and select Restart or Schedule from the Actions dropdown. You can also access this from inline with the automation name on the list page.
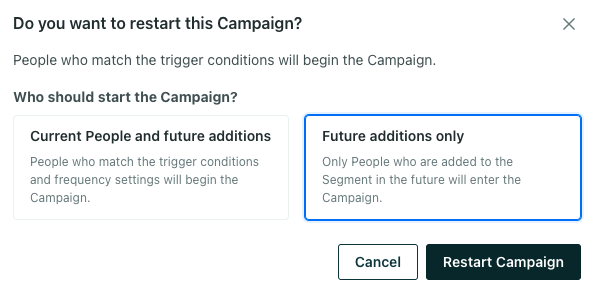
When restarting an automation triggered by an attribute, segment, object, or relationship, you must also decide who will enter the automation:
- Current people and future additions: choose this option if everybody who currently matches your trigger conditions should enter your automation. This includes anyone currently in any trigger segments but will also take your automation frequency settings into account.
- Future additions only: choose this option if only people who match your automation trigger conditions after the automation is restarted should enter.
Archive an automation
You can archive an automation to preserve historical data and copy the structure or content of the automation for future use. Archiving moves automations from your list of Active automations to Archived on the automations page.
To archive an automation, click the automation and select Archive from the Actions dropdown. You can archive stopped and running automations, not draft.
After you archive an automation:
- People can no longer enter the automation.
- We end active journeys.
- We delete unsent drafts.
- We pause A/B tests.
- You can no longer edit the automation’s workflow, trigger, goal, and exit criteria.
You can still search for and copy workflow items from an archived automation as well as start new emails from those in archived automations (under “Start from existing email”).
To remove archived content and prevent archived workflows from being reused in the future, delete the automation instead.
Unarchive an automation
To unarchive an automation, click the automation and select Unarchive from the Actions dropdown.
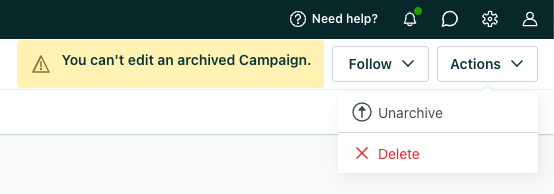
After you unarchive an automation:
- The automation moves back to the Active tab, and its status updates to
stopped. - Any archived segment used in the automation’s trigger, filters, goal, or exit criteria becomes active. (You can filter for active vs archived segments on the segments page.)
Duplicate an automation
Duplicate an automation to create your next automation faster or to run automations in parallel for experimentation. You can duplicate entire automations to preserve settings like trigger conditions, goals, and exit criteria in addition to their workflows. However, if you duplicate a webhook-triggered automation, we will generate a new webhook URL for the copied automation.
You can duplicate an automation that is in a state of running, draft or stopped. To duplicate an archived automation, you must first unarchive it. No matter the state of the automation you’re copying, you must activate the duplicate automation before anyone can enter it.
You can duplicate an automation from the automations page or an individual automation’s overview.
From the automations page:
- Click automation settings inline with the automation you want to copy.
- Click Duplicate.
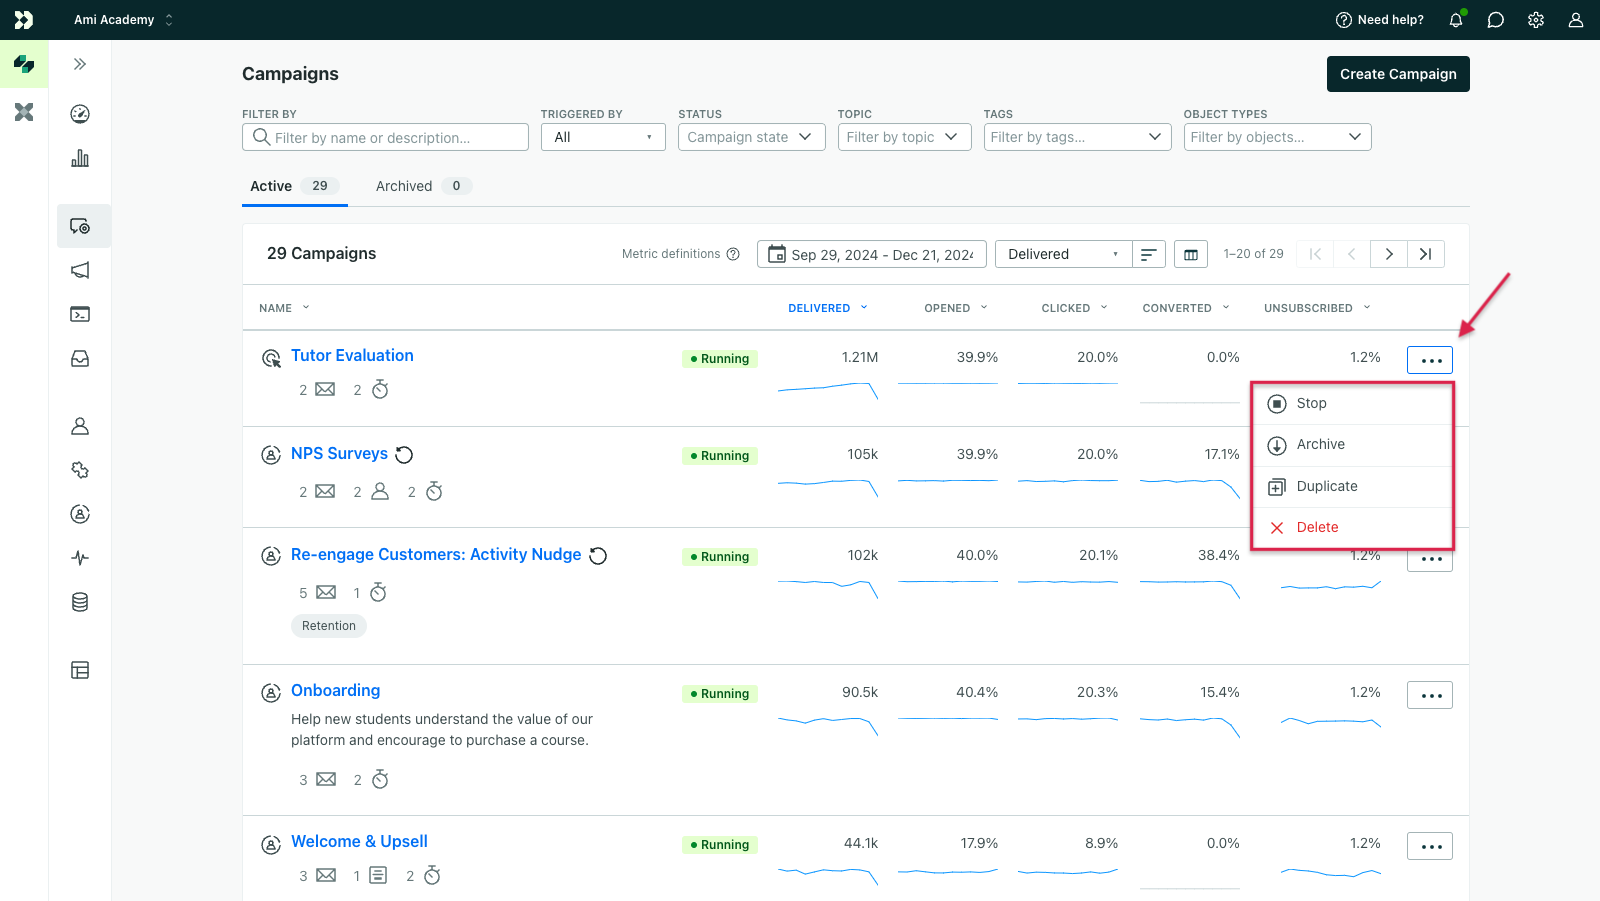
From an individual automation’s overview, click the Actions dropdown and select Duplicate.
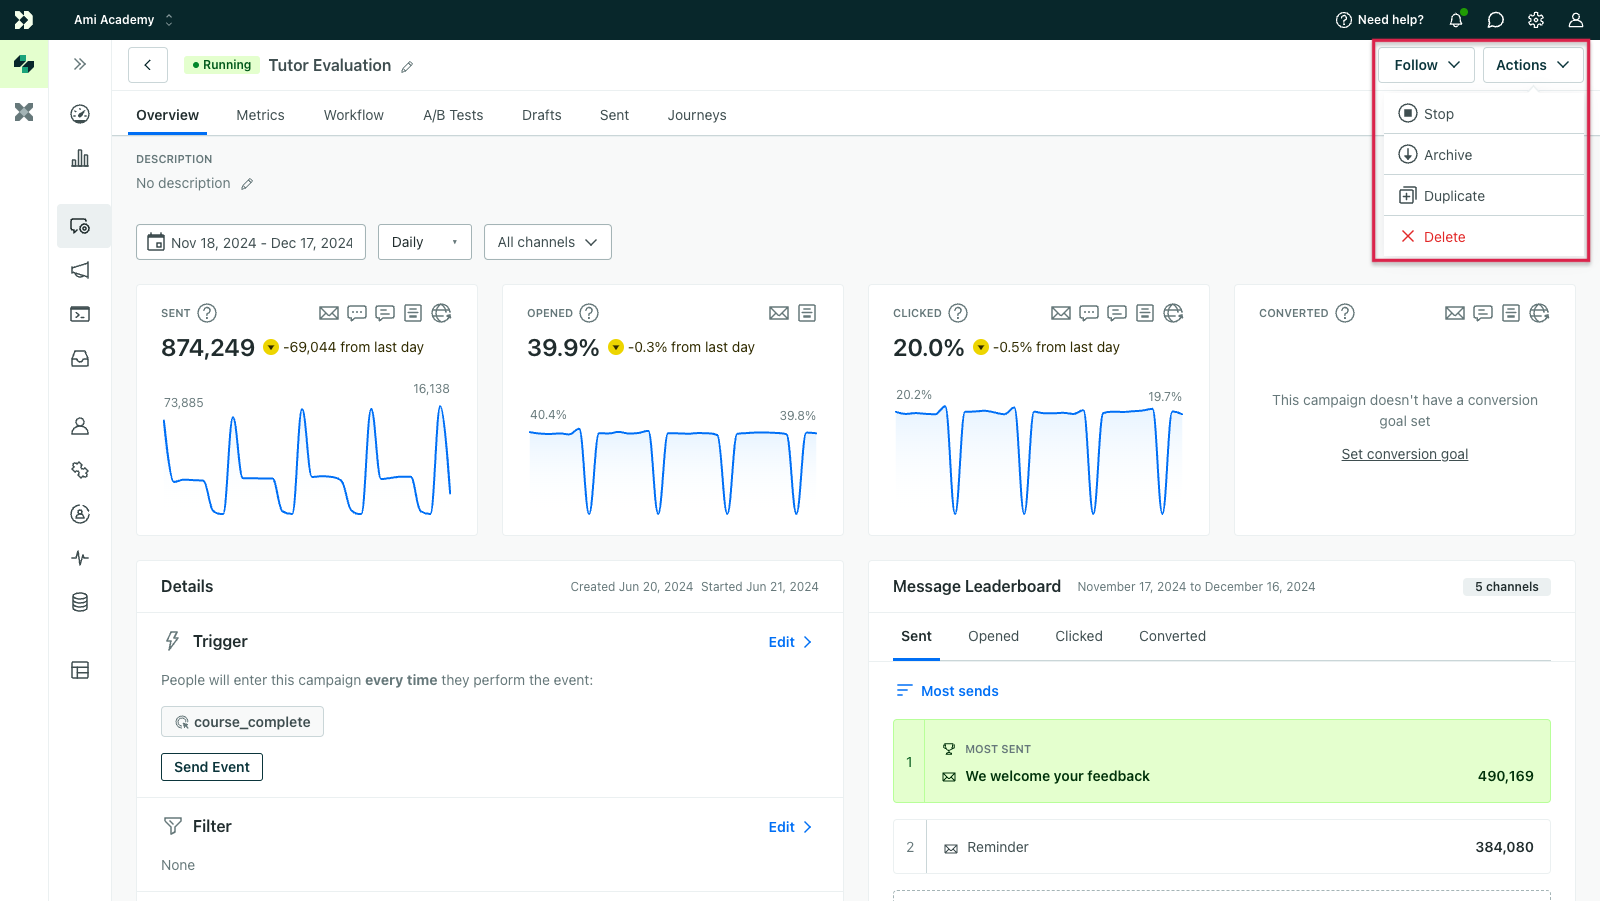
The duplicate automation uses the original automation’s name prefixed with [COPY] and appears at the bottom of the automation list in a draft state. You need to activate it before people can enter the duplicated automation.

Duplicate legacy segment-triggered automations
In April 2025, we introduced the attribute or segment trigger as a more flexible version of our legacy segment trigger. If you duplicate an automation that uses the legacy segment trigger, the copy continues to use the legacy trigger, which is processed differently than the latest trigger type. Learn more about the differences to determine if you want to keep the old behavior or switch to the new one.
You can change a legacy segment trigger to the latest trigger by selecting the trigger on the canvas, clicking Change trigger type, and selecting Attribute or segment.
If you keep the legacy segment trigger, here are the options for editing it.
Segments are based on audience criteria—attributes A key-value pair that you associate with a person or an object—like a person's name, the date they were created in your workspace, or a company's billing date etc. Use attributes to target people and personalize messages.
You can choose one or more segments that your audience is in or not in. If you haven’t created a segment yet, you can click Create a new data-driven segment to set conditions for a new segment.
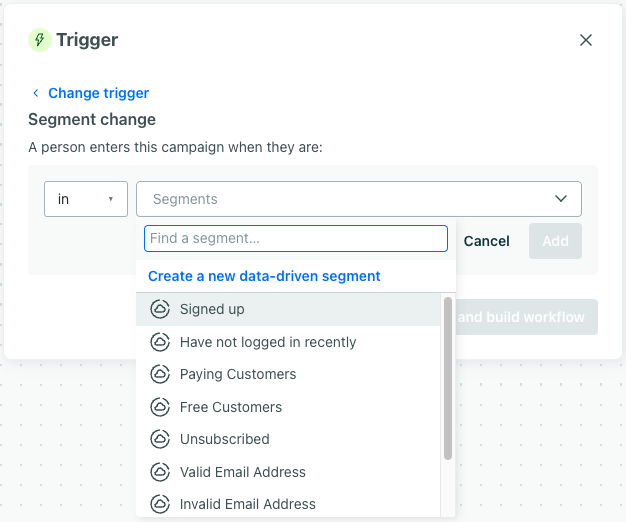
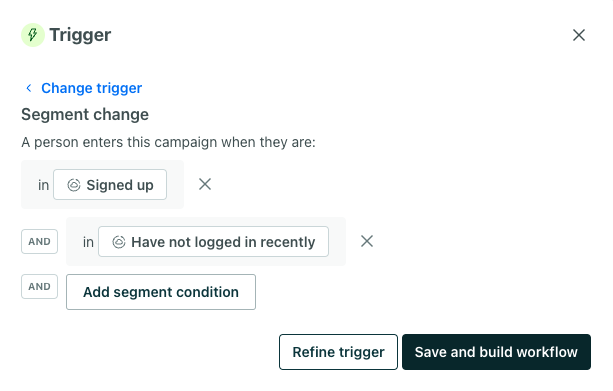
You can set multiple segments using and or or conditions. Use and to trigger automations only when people meet all of your conditions. Click + Add segment condition to create an and condition.
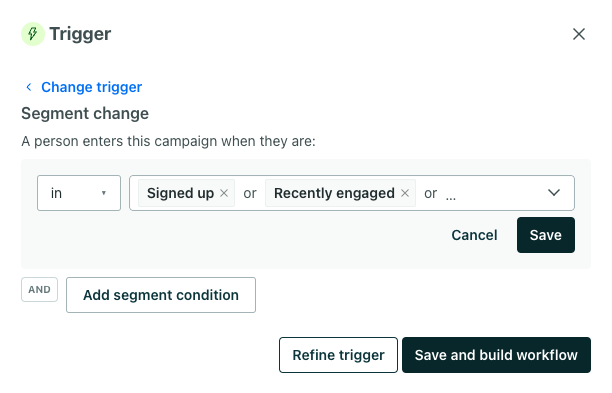
Use an or condition to trigger an automation based on a person belonging to any of the segments. Add segments to the same field to create an or condition:
Filter
With segment-triggered automations, you can also add a segment filter. You should weave your segment filter criteria into your segment trigger conditions as much as possible, but if you find you cannot accomplish what you need without a segment trigger AND segment filter, please let us know! We want to account for this use case as we develop the next generation of automations.
Delete an automation
To delete an automation, click the automation and select Delete from the Actions dropdown menu.