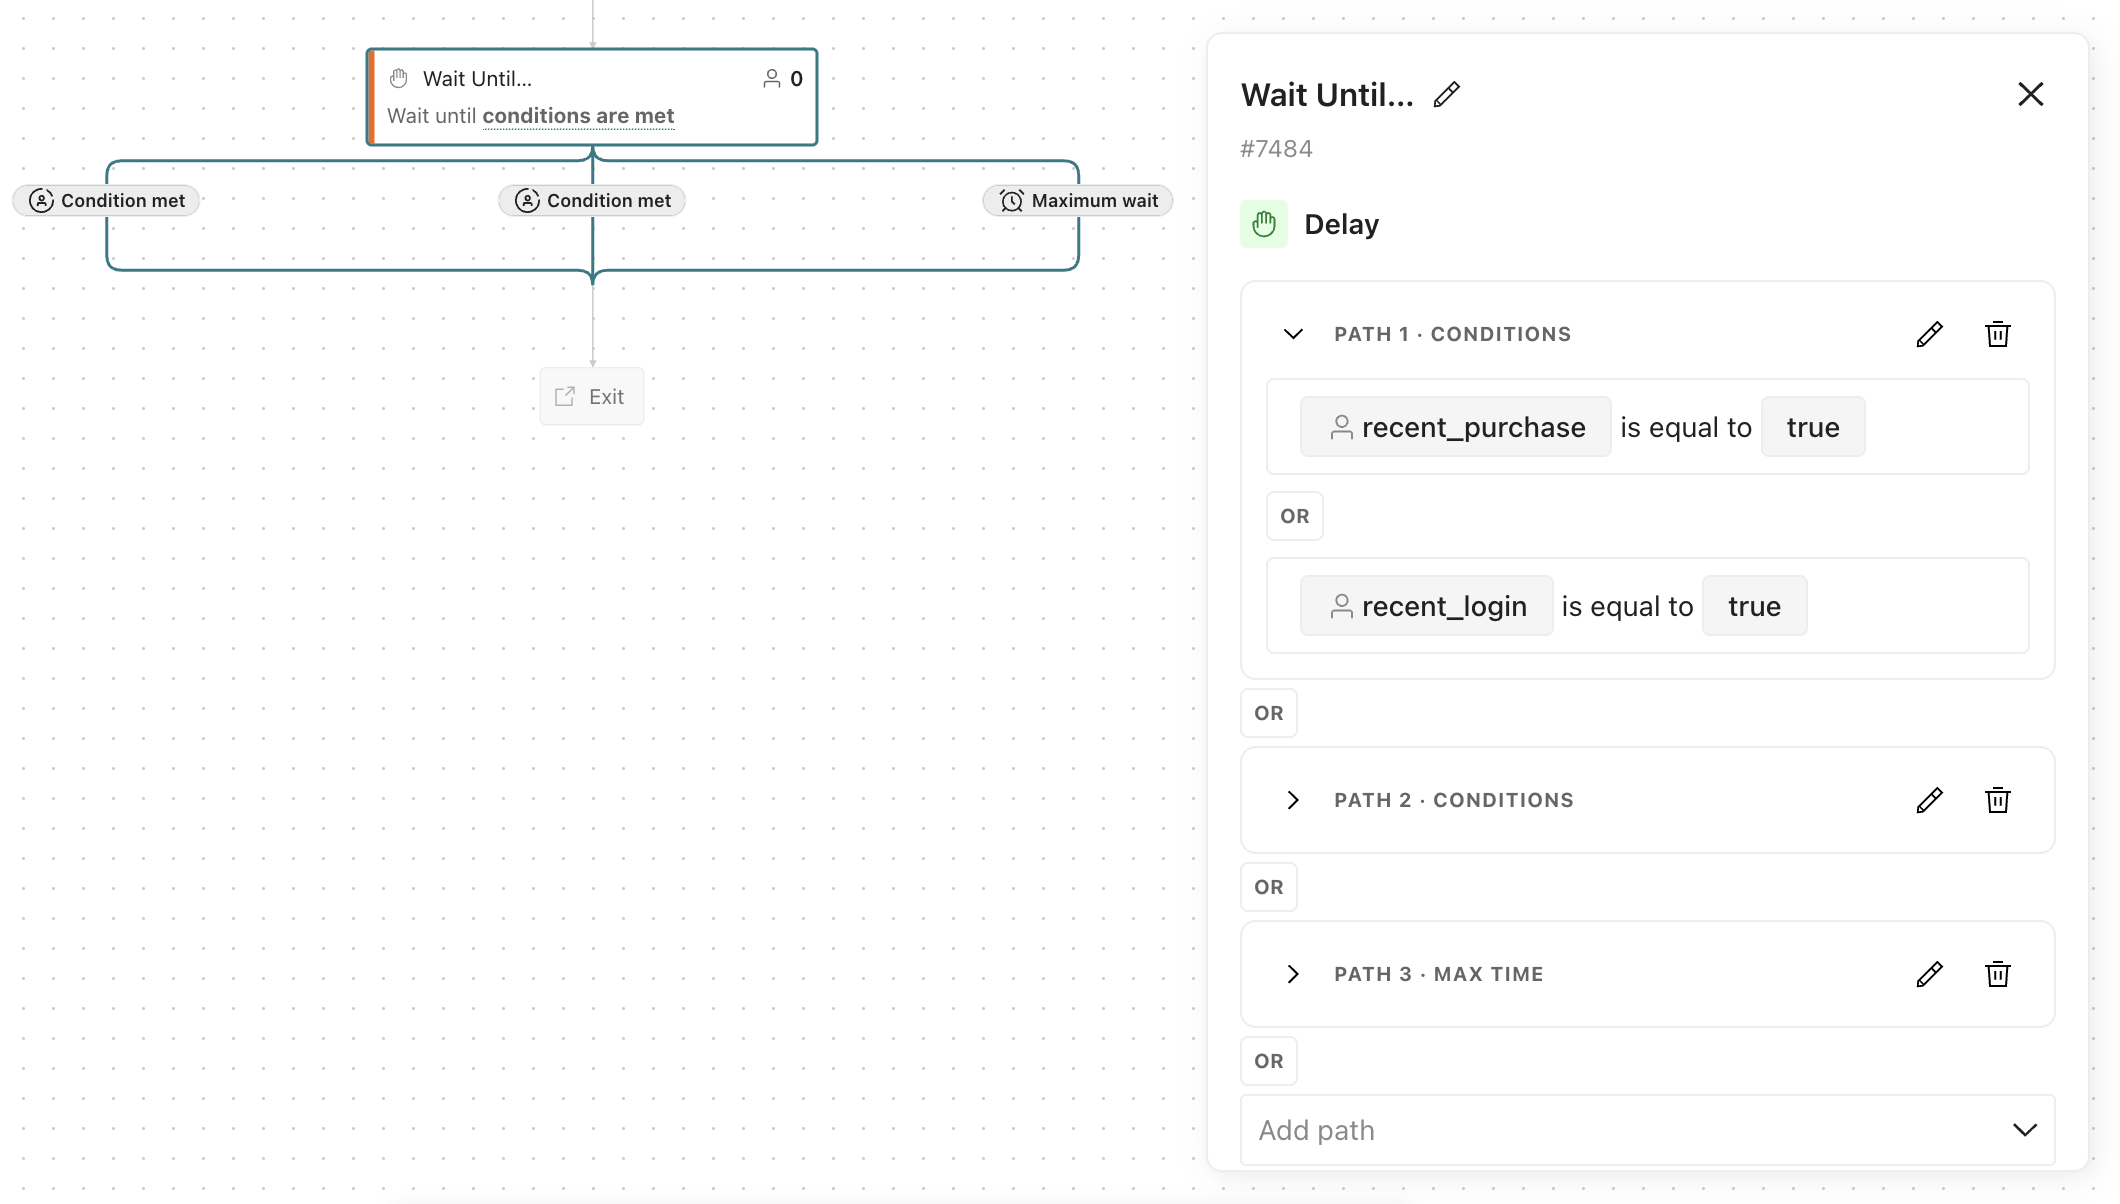
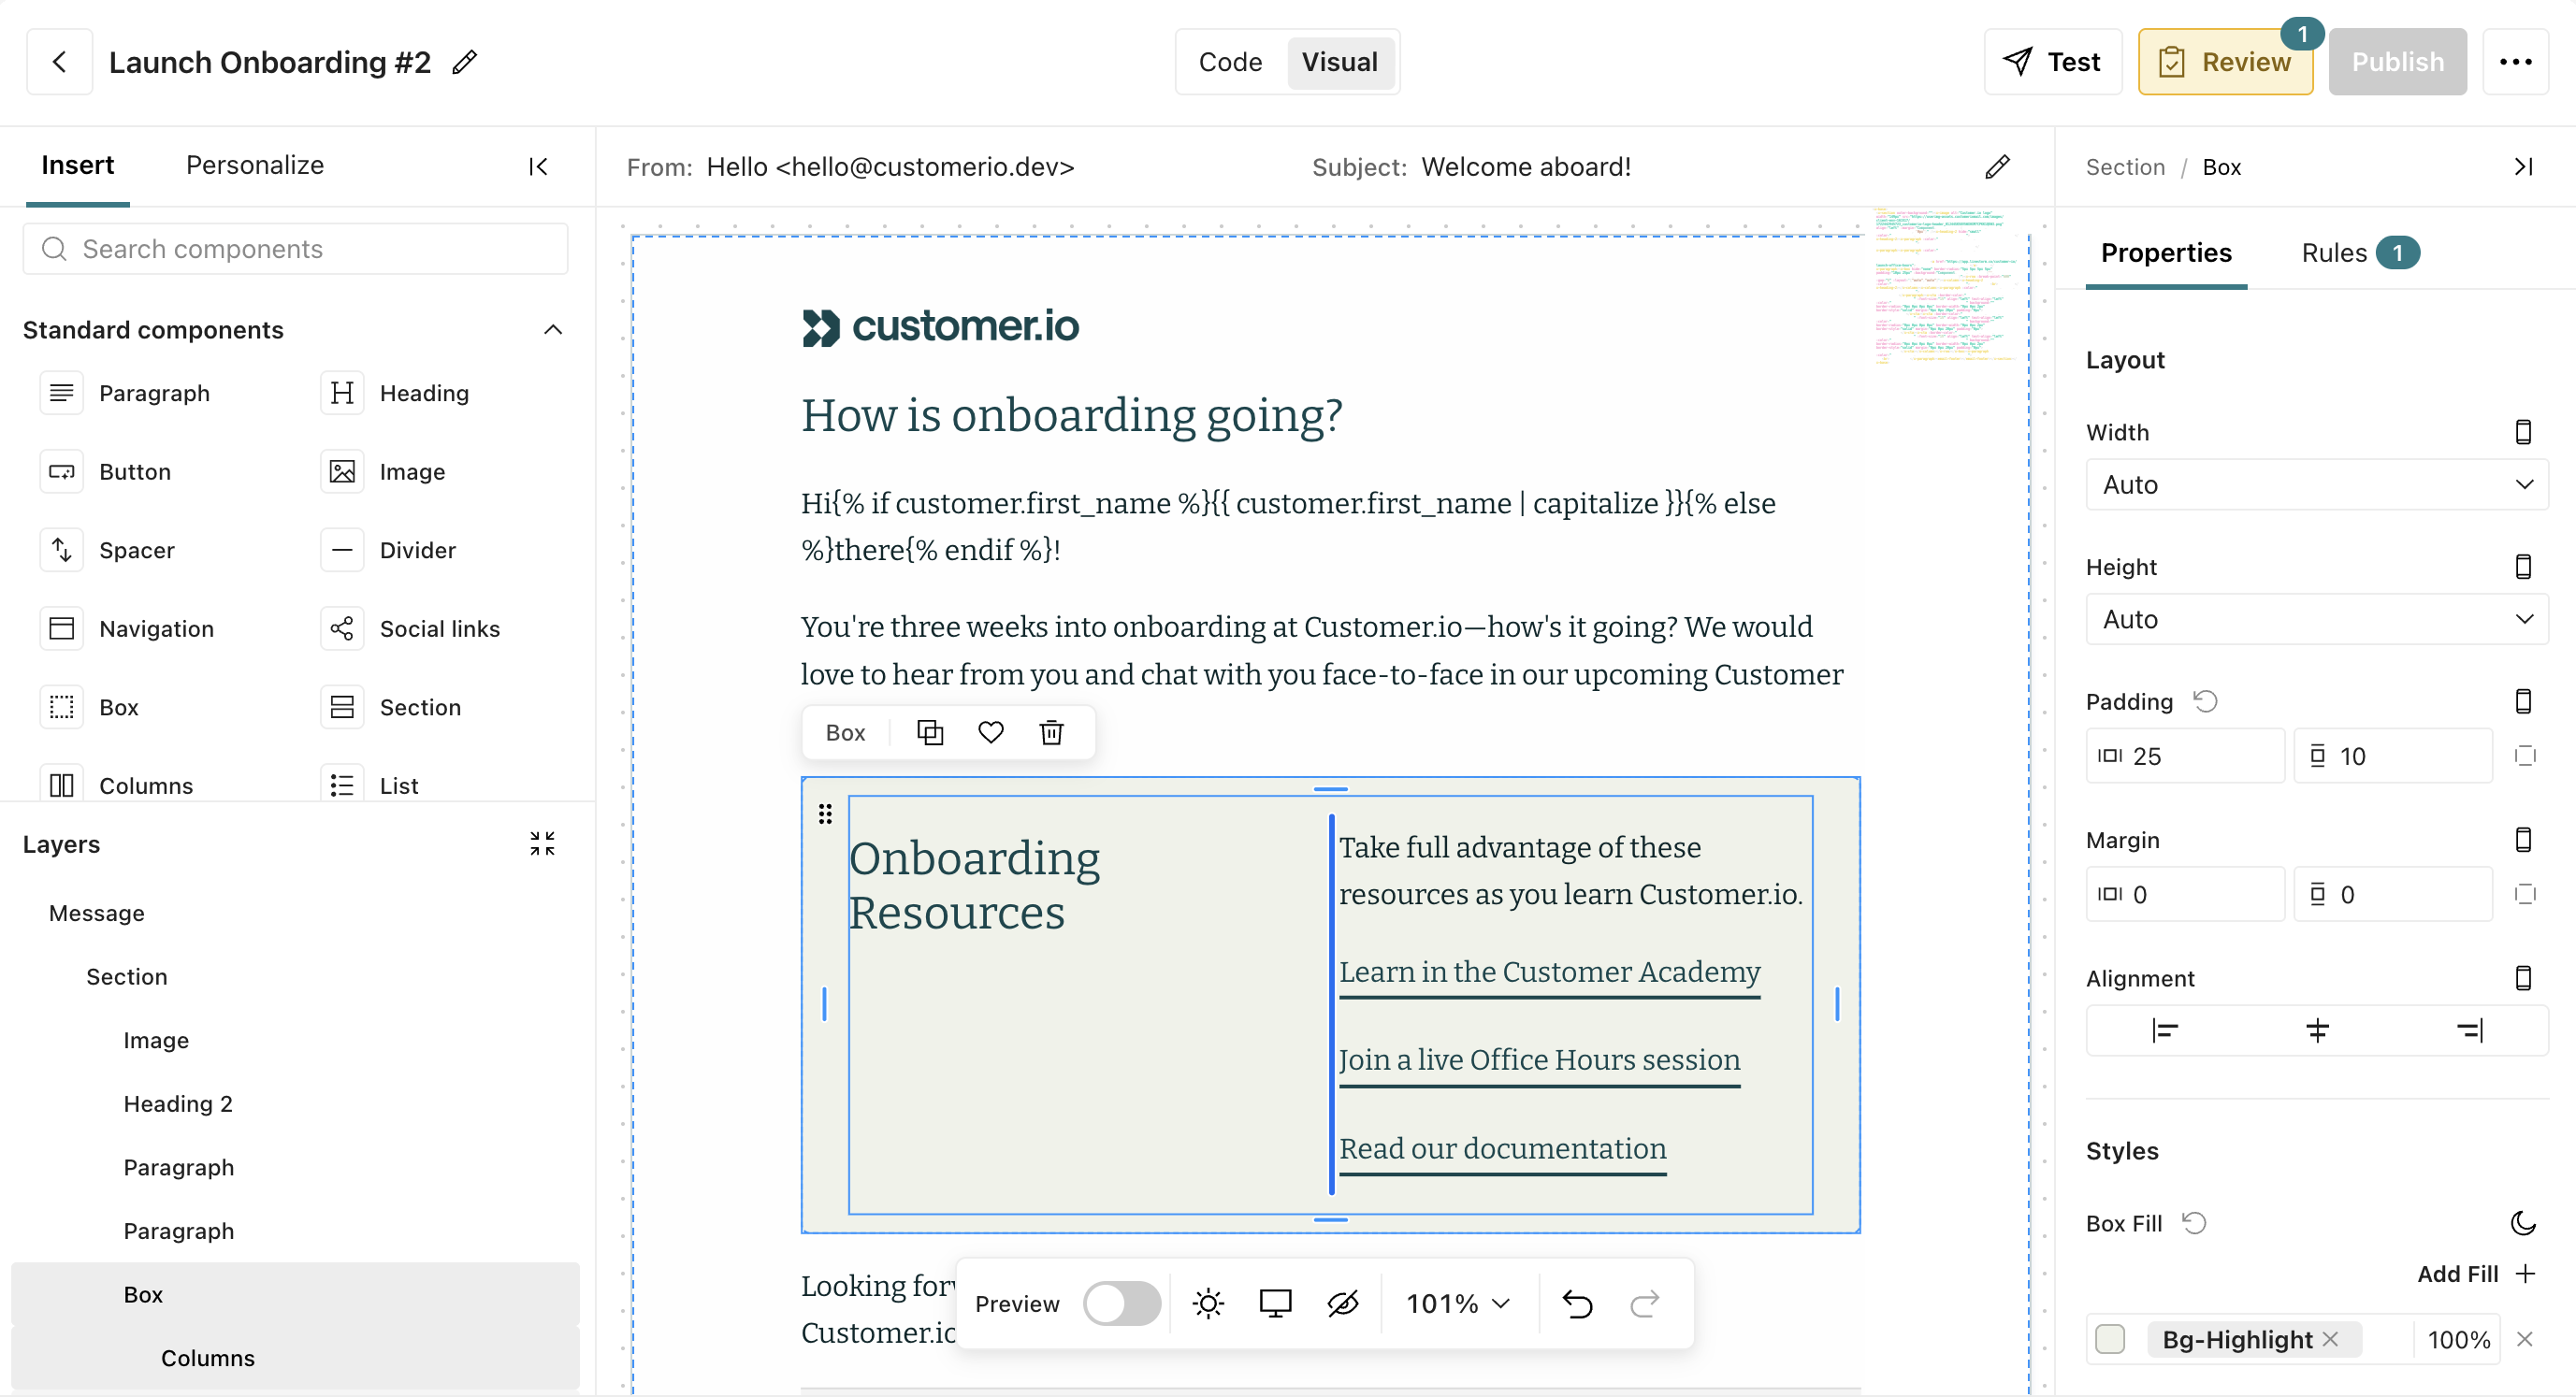
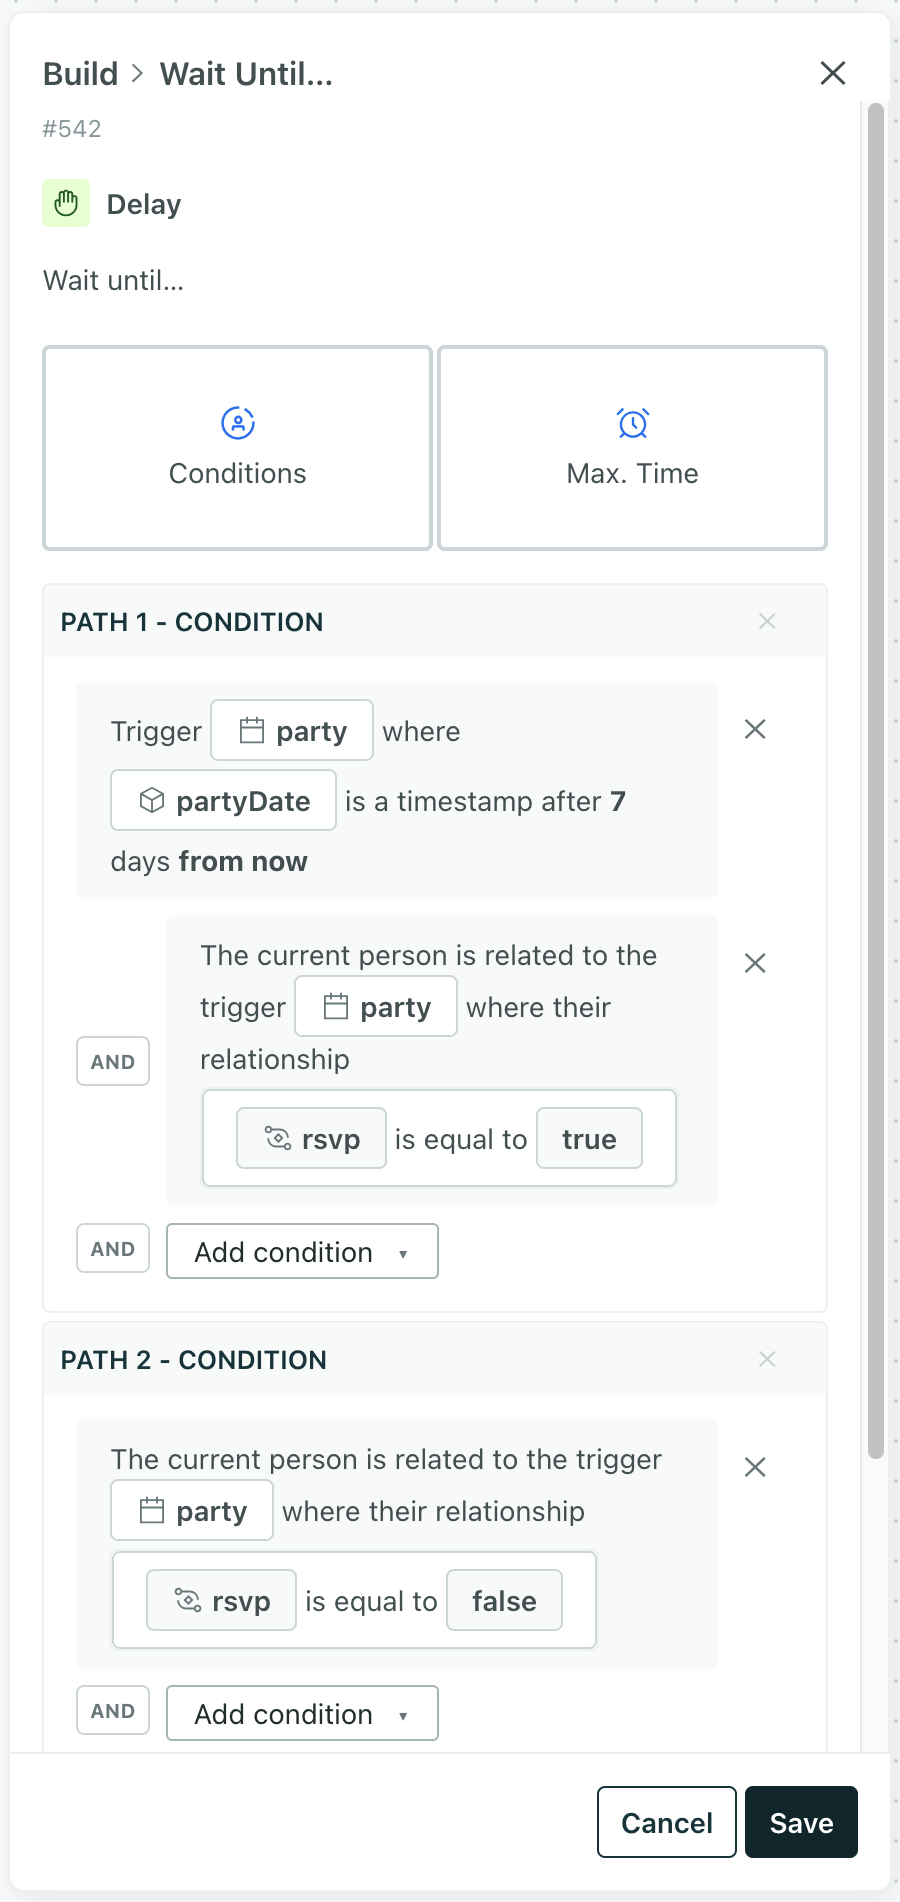
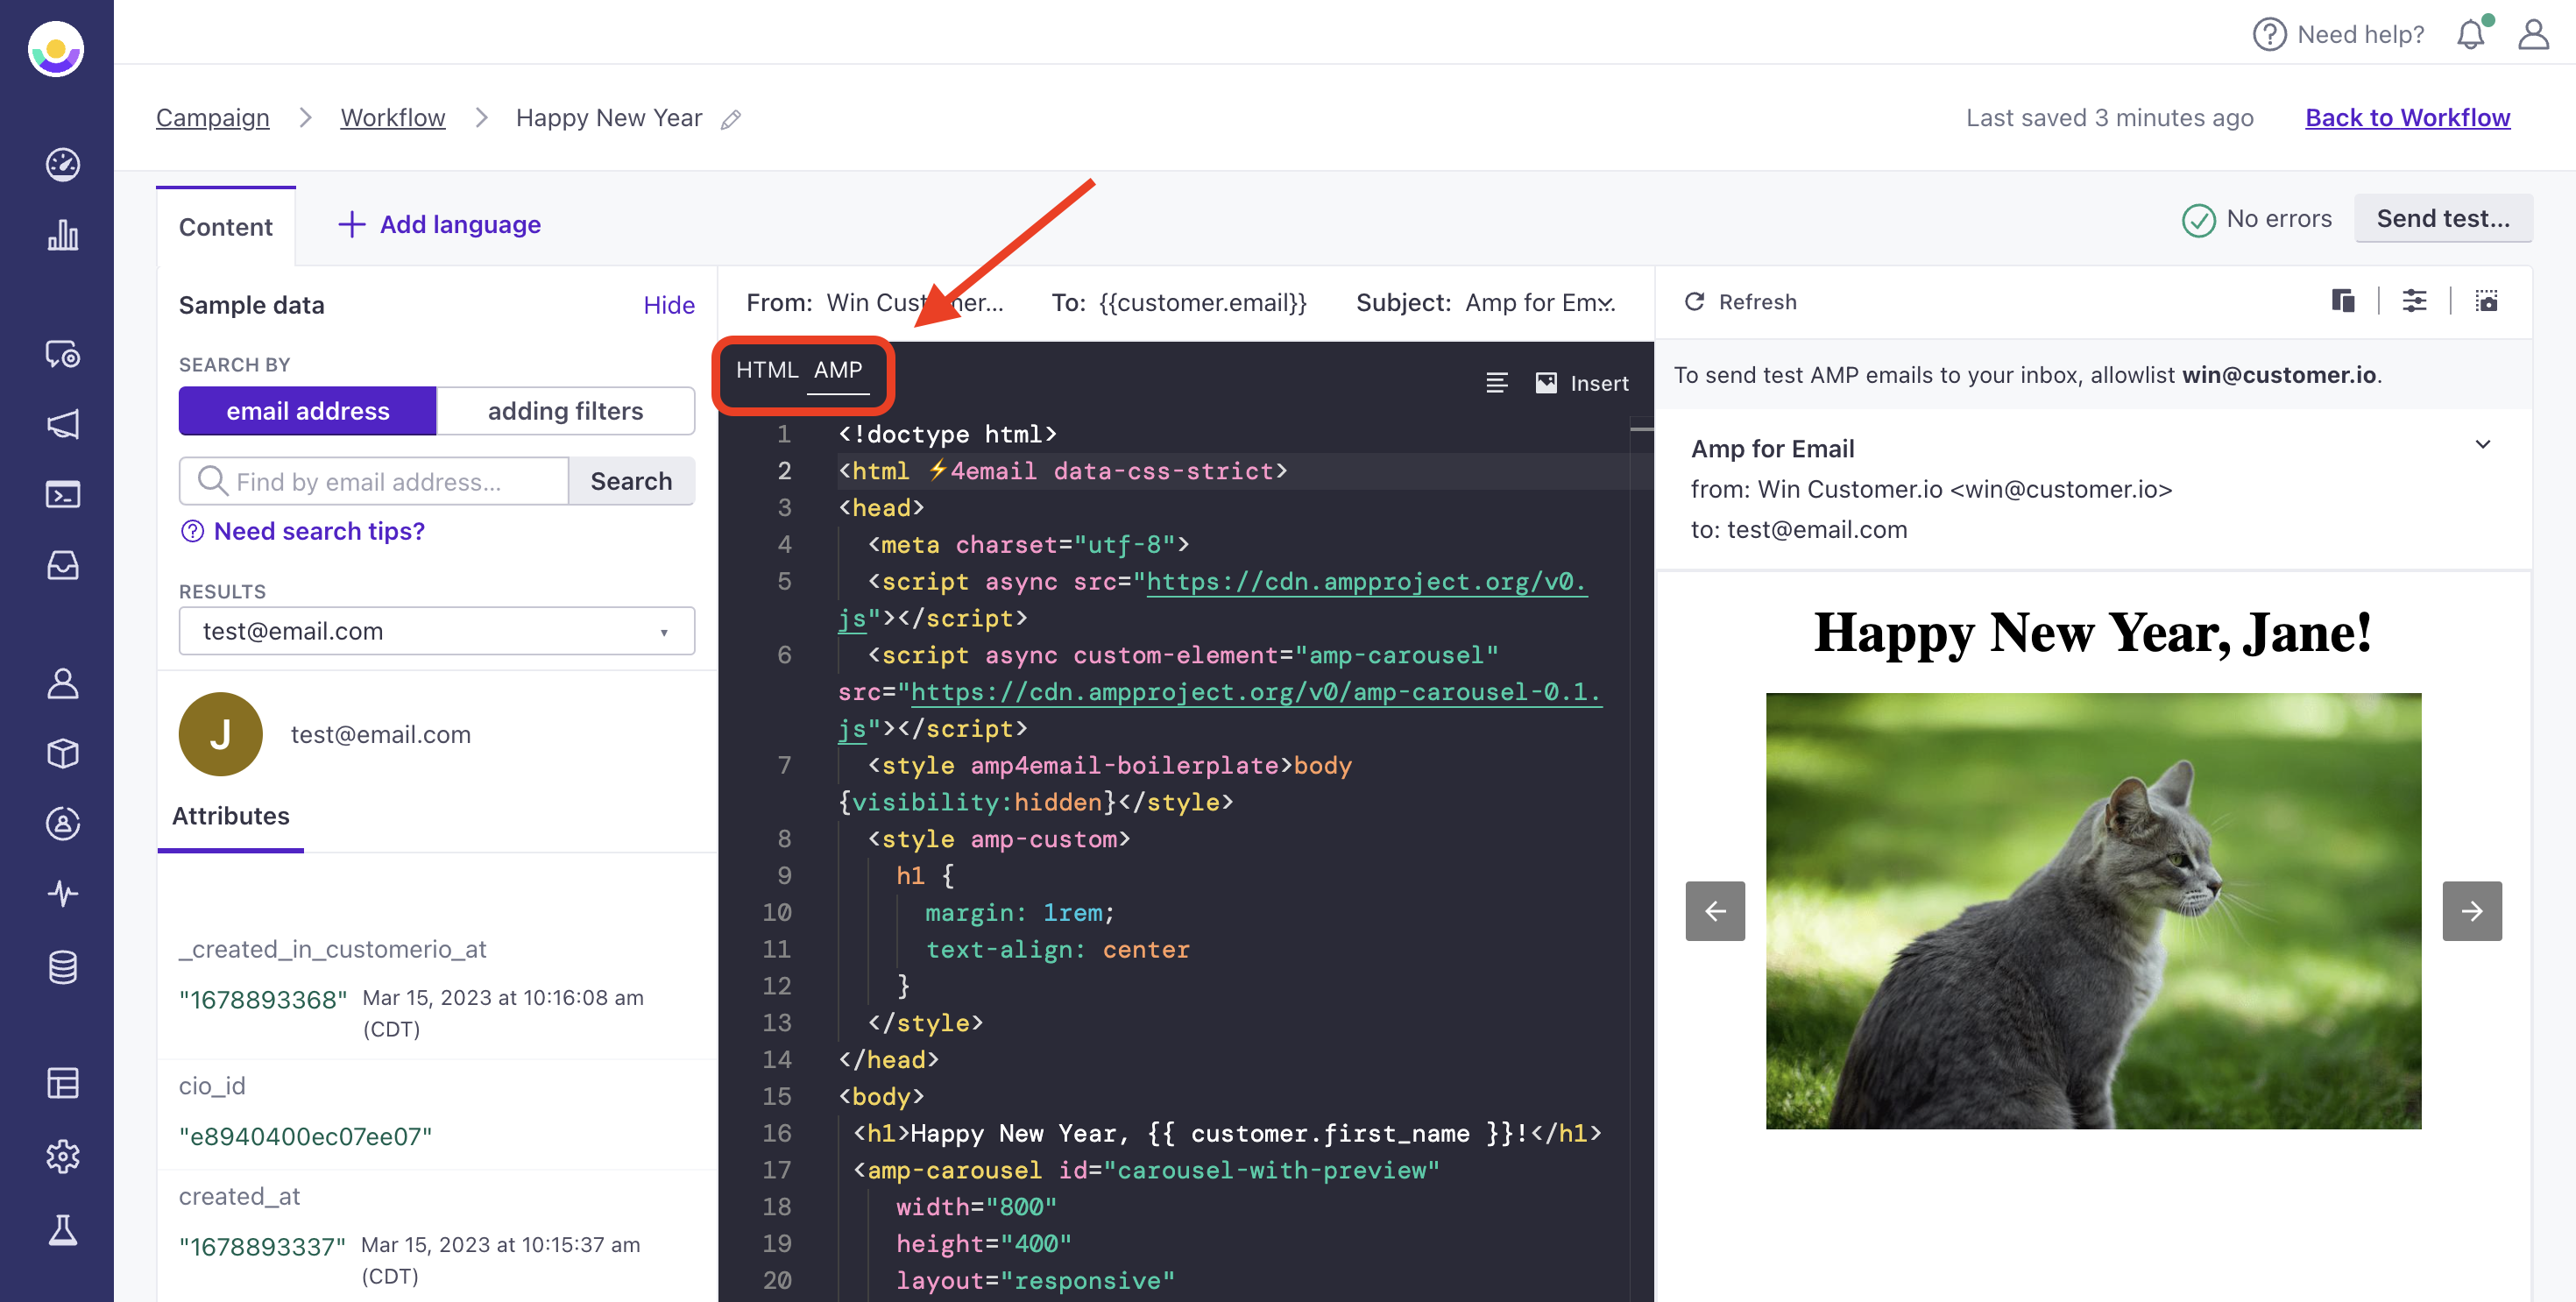
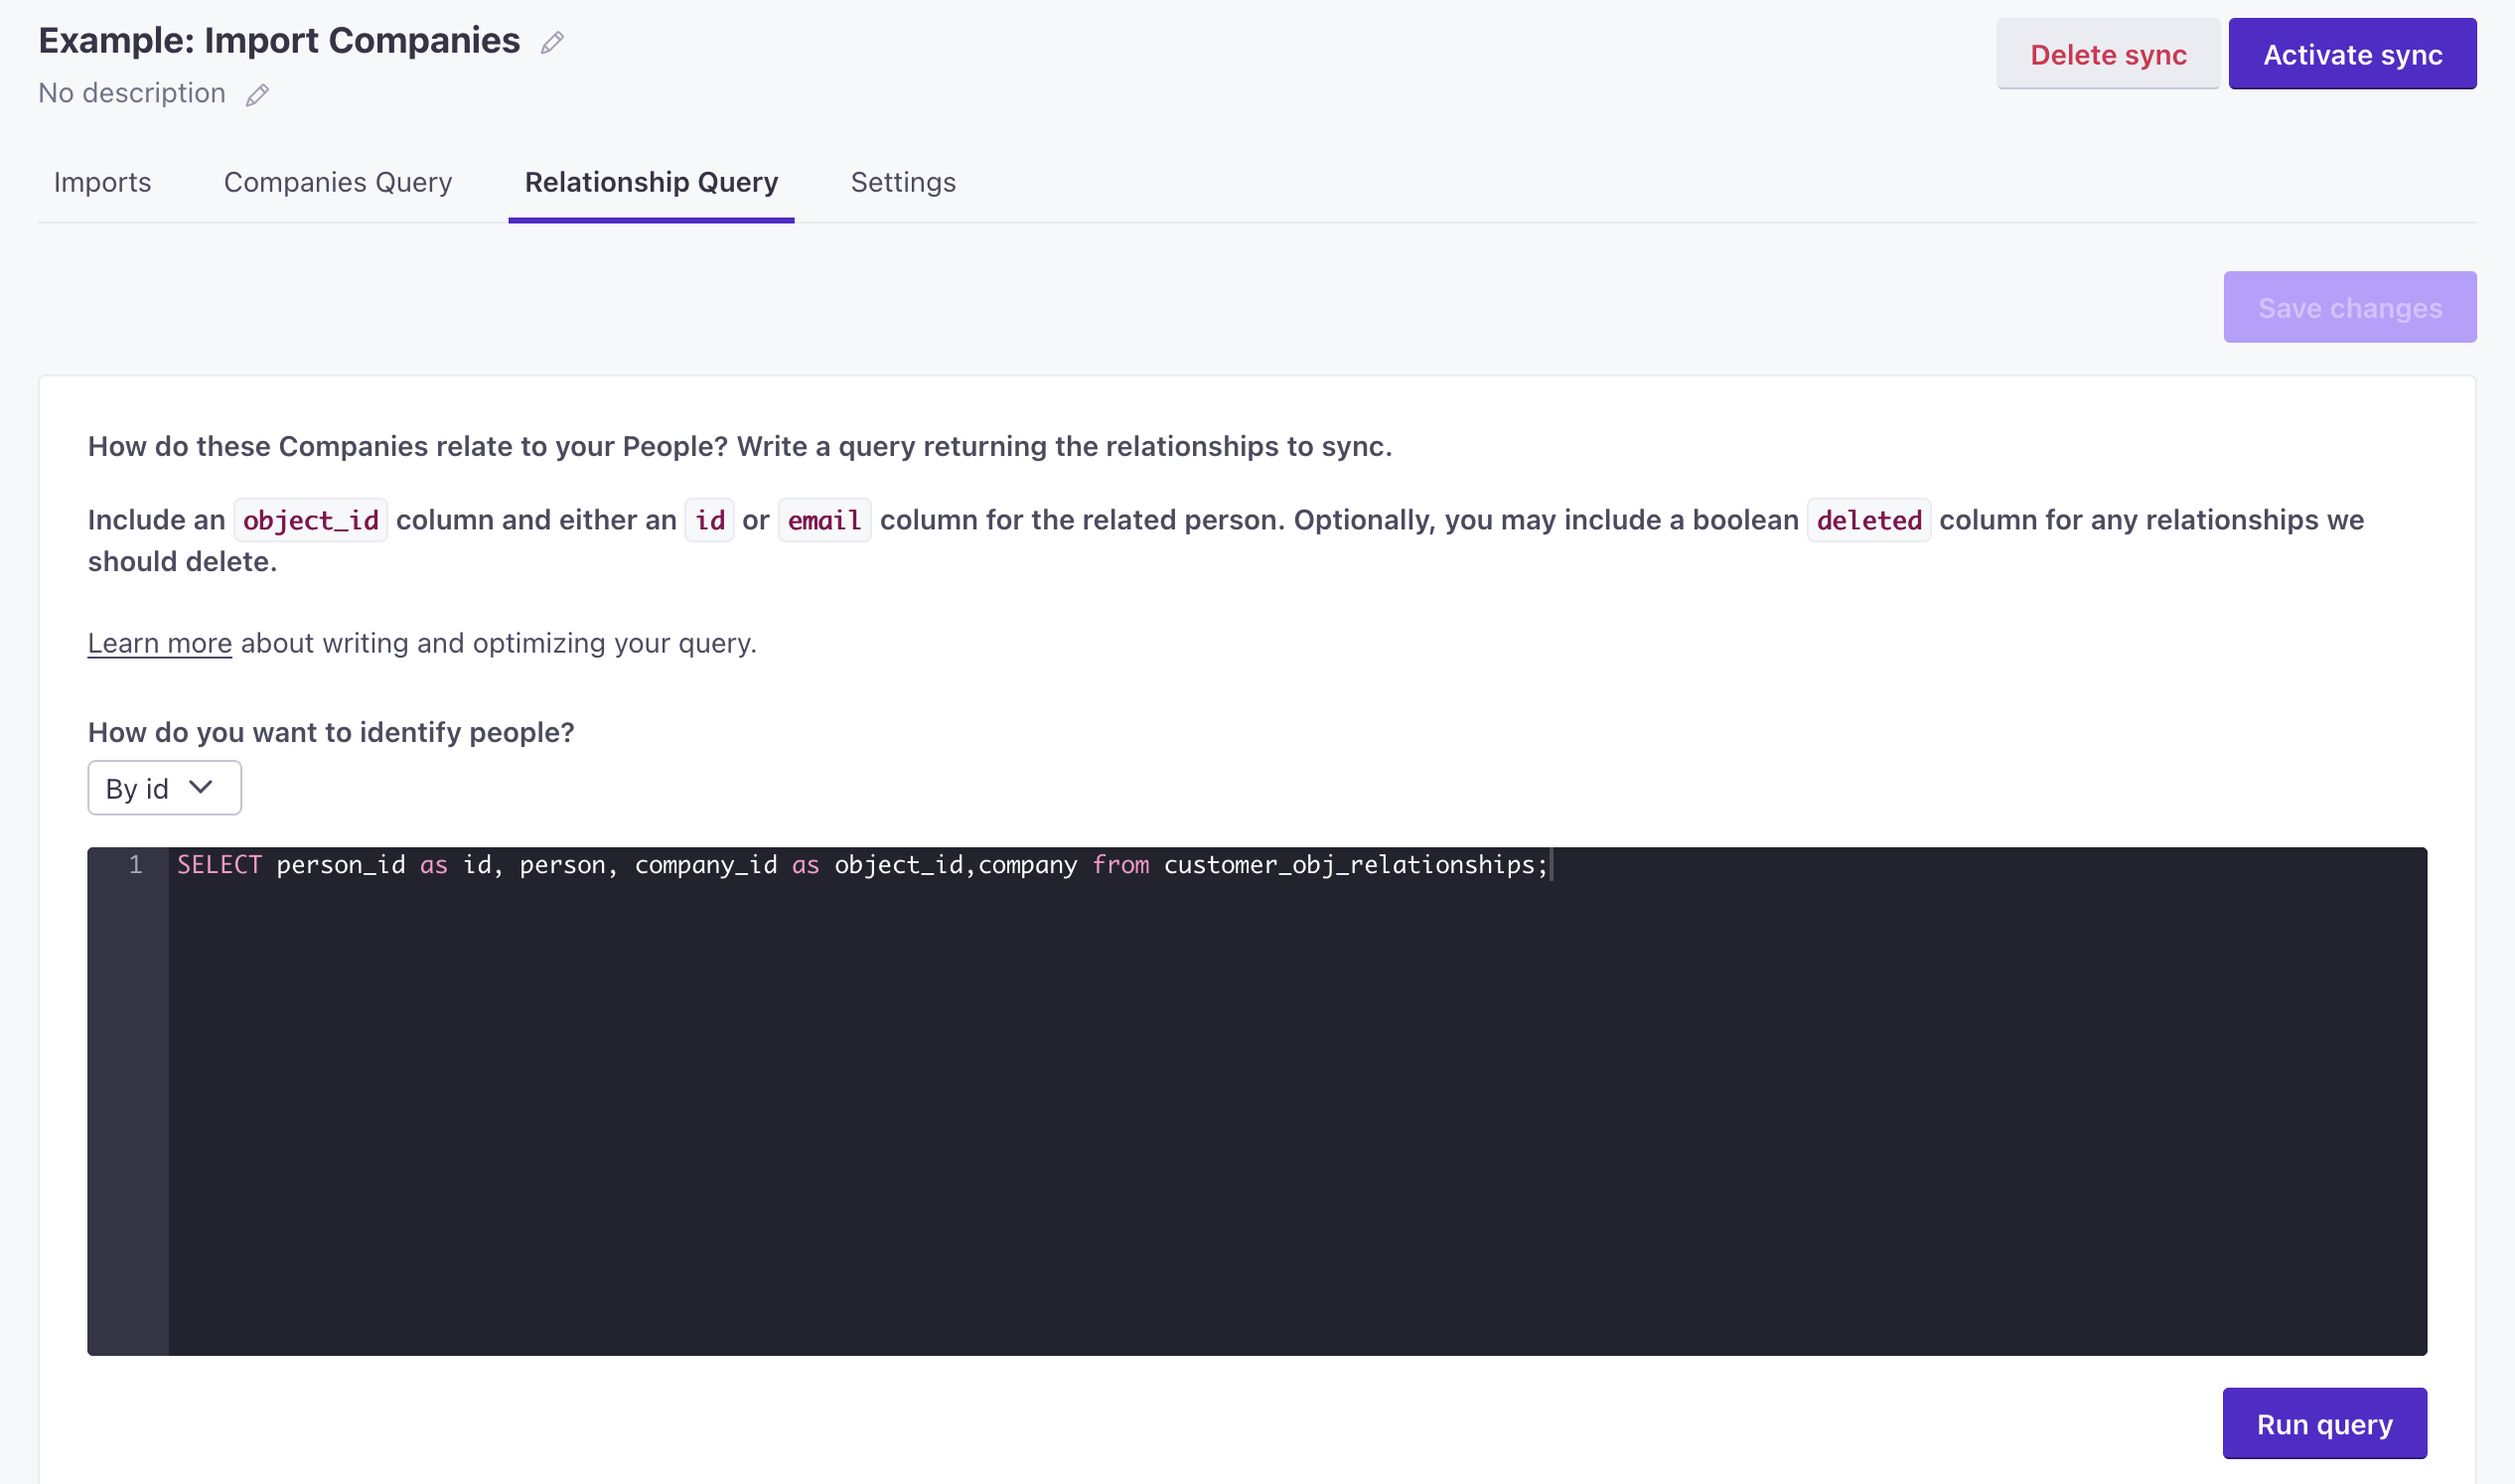
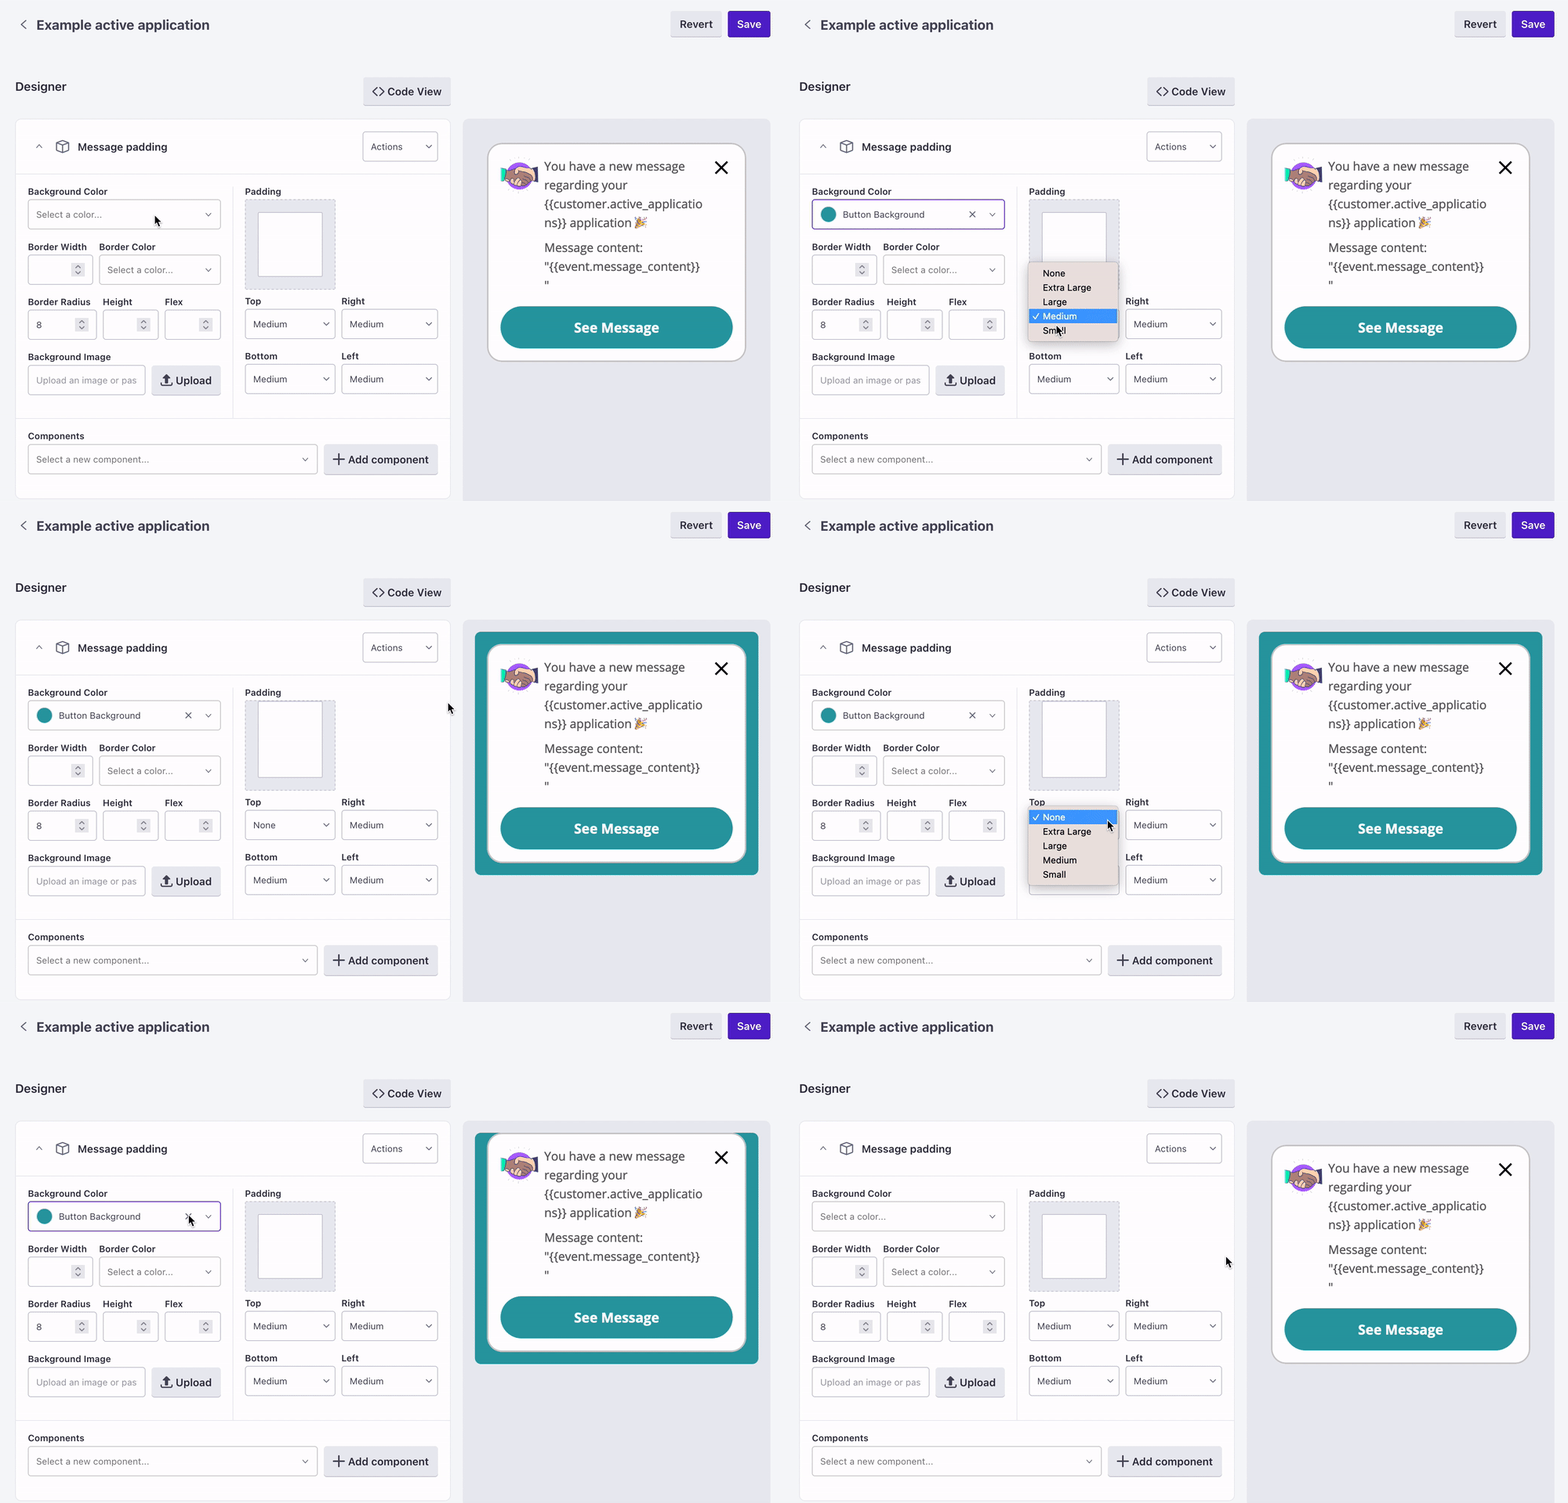
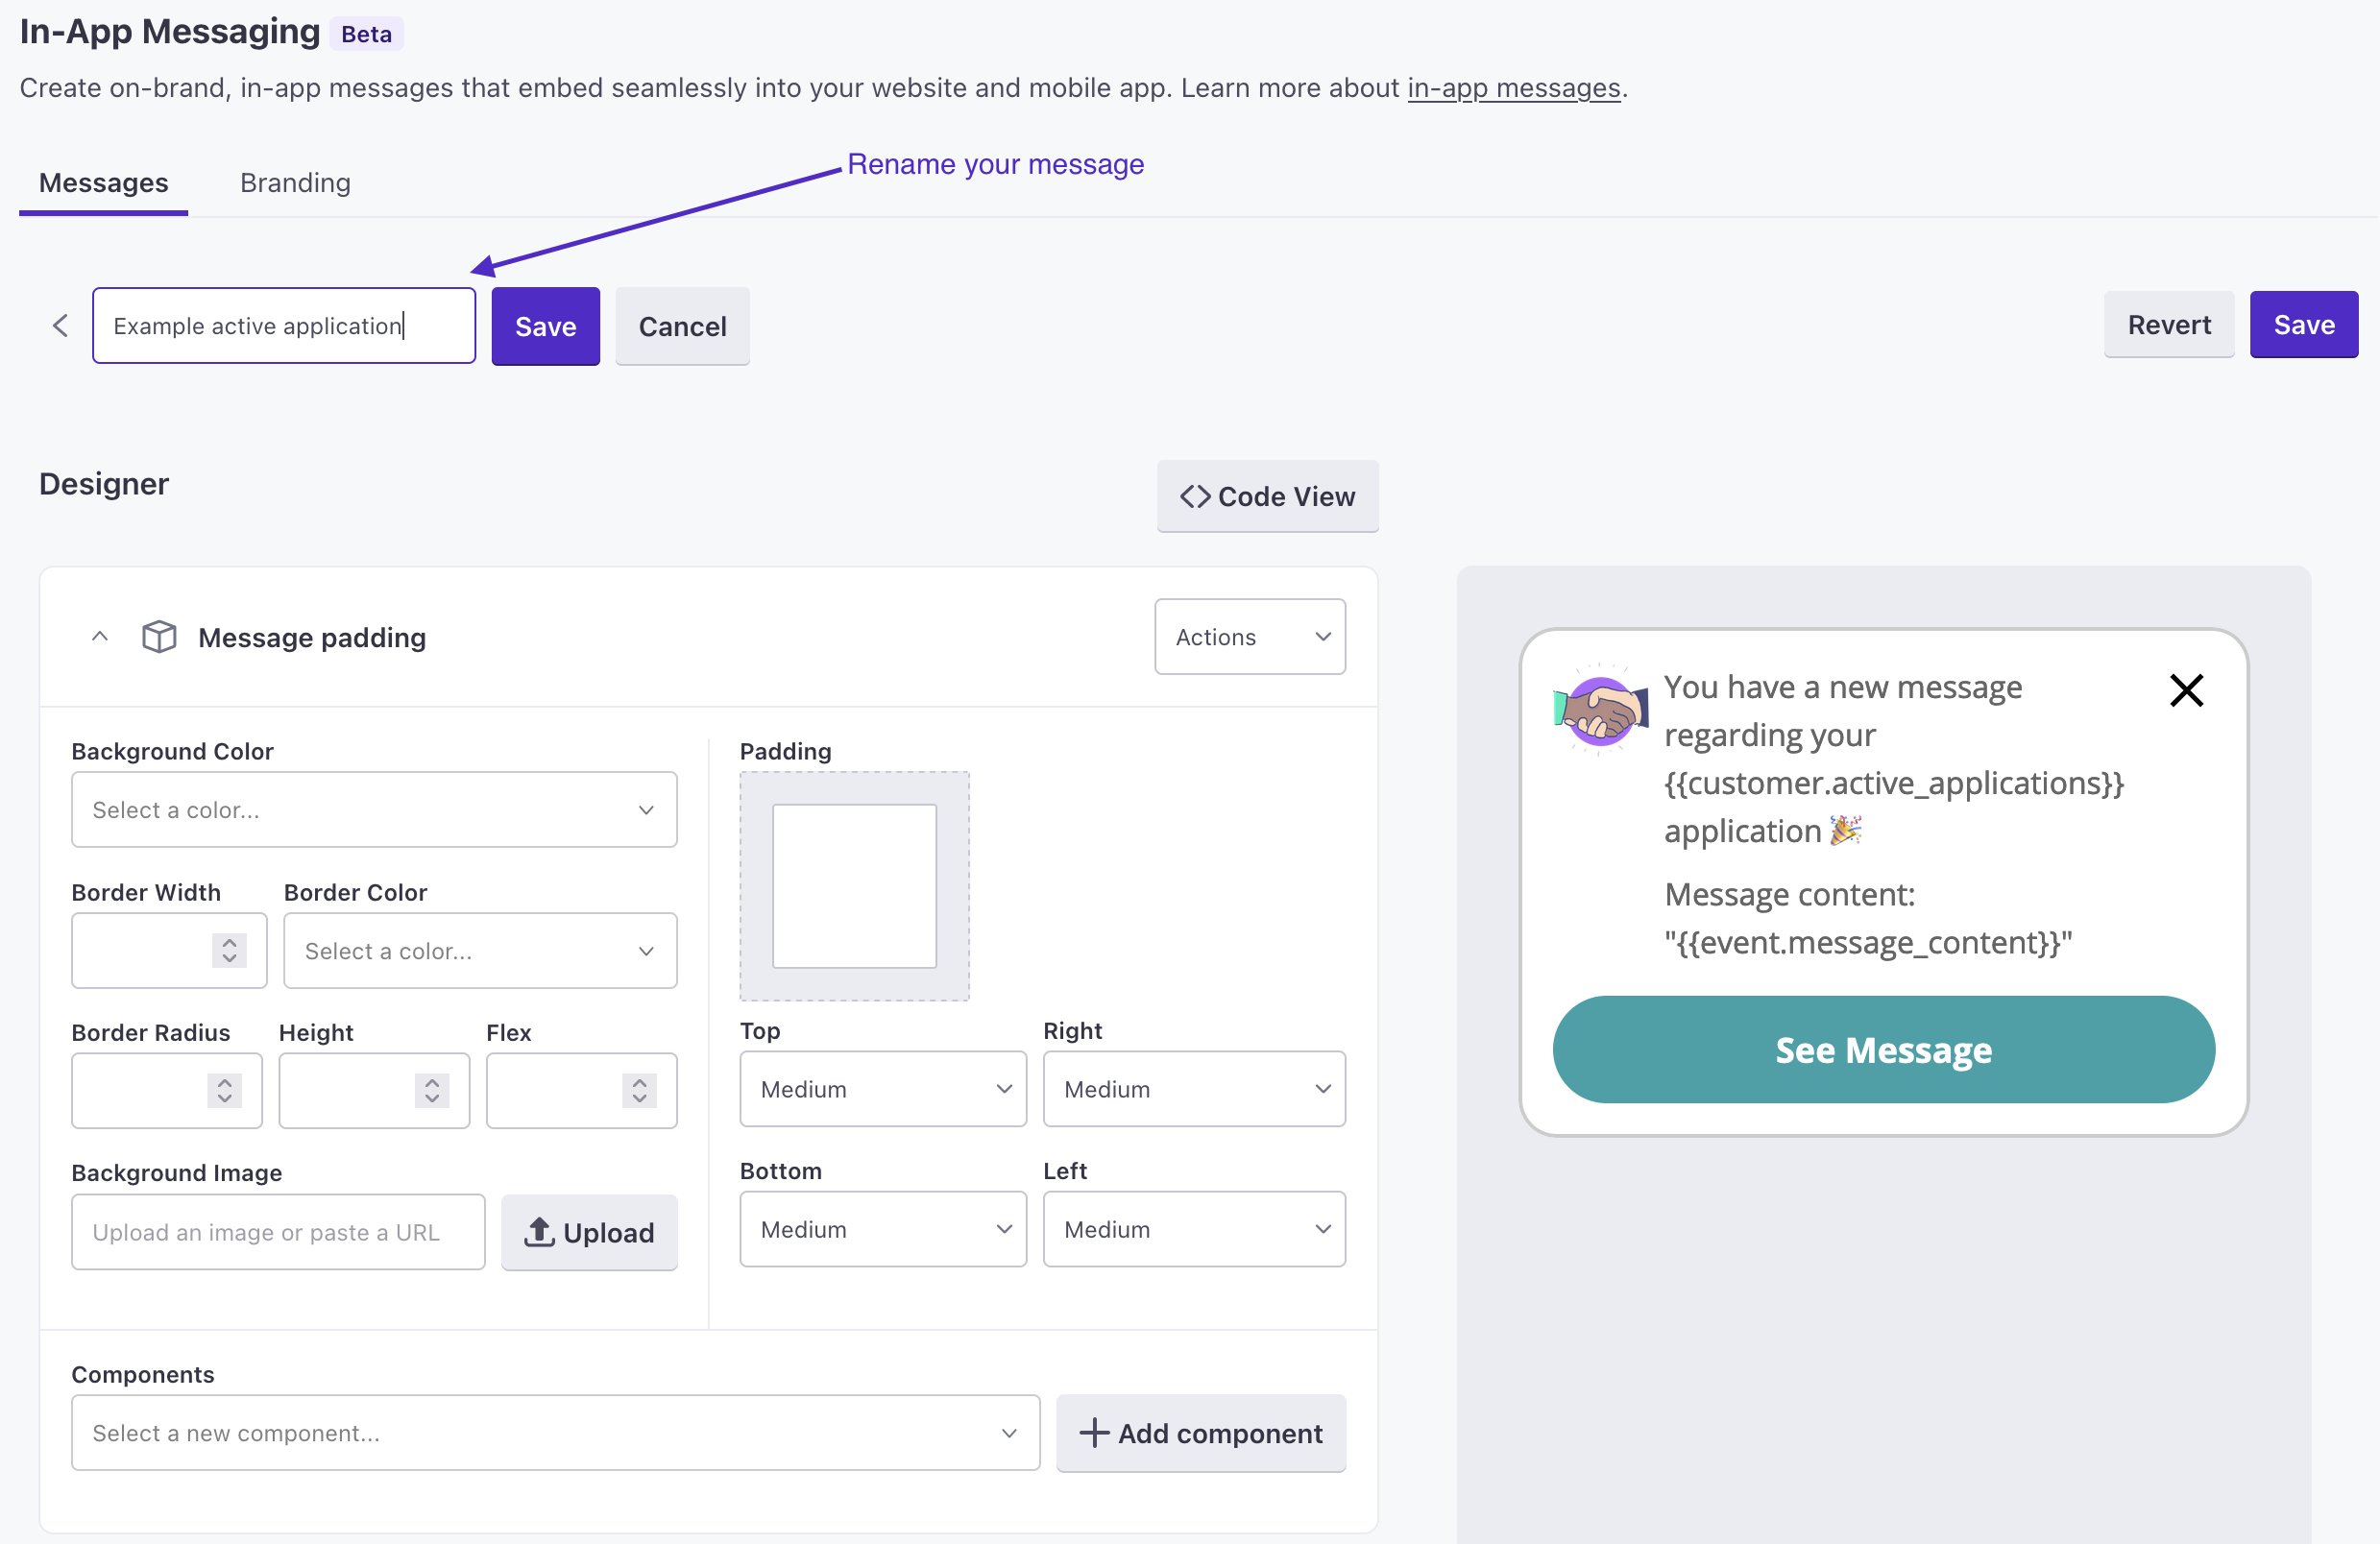
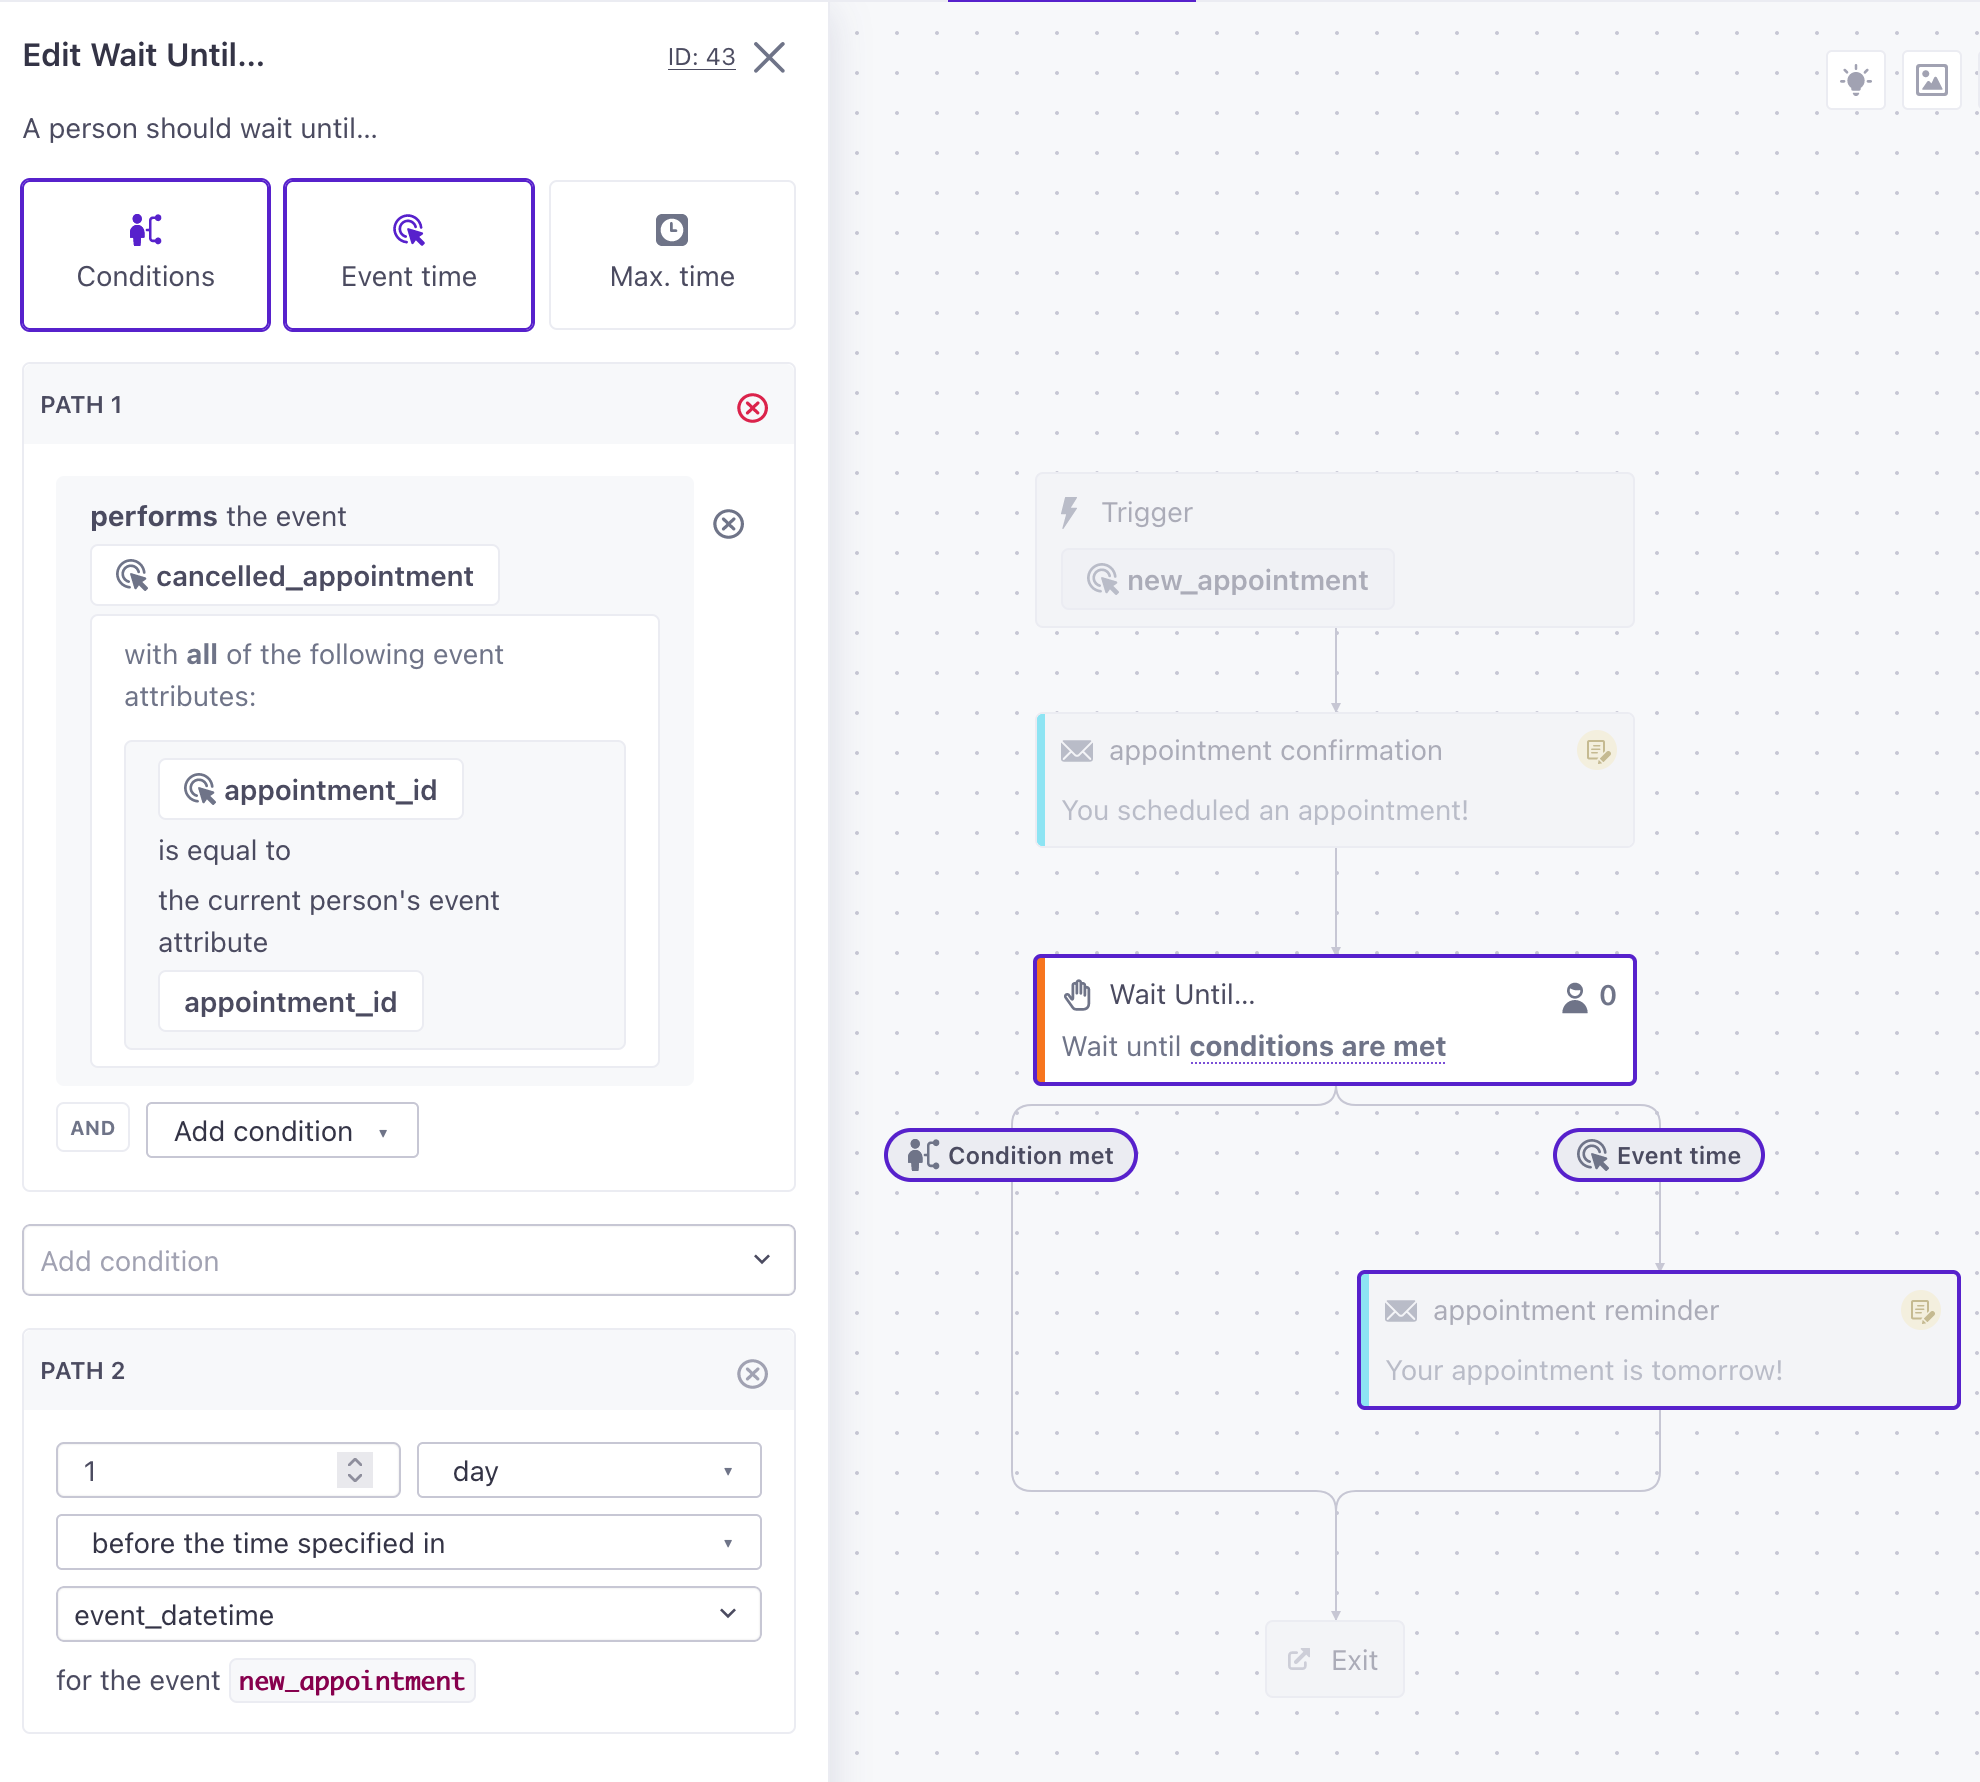
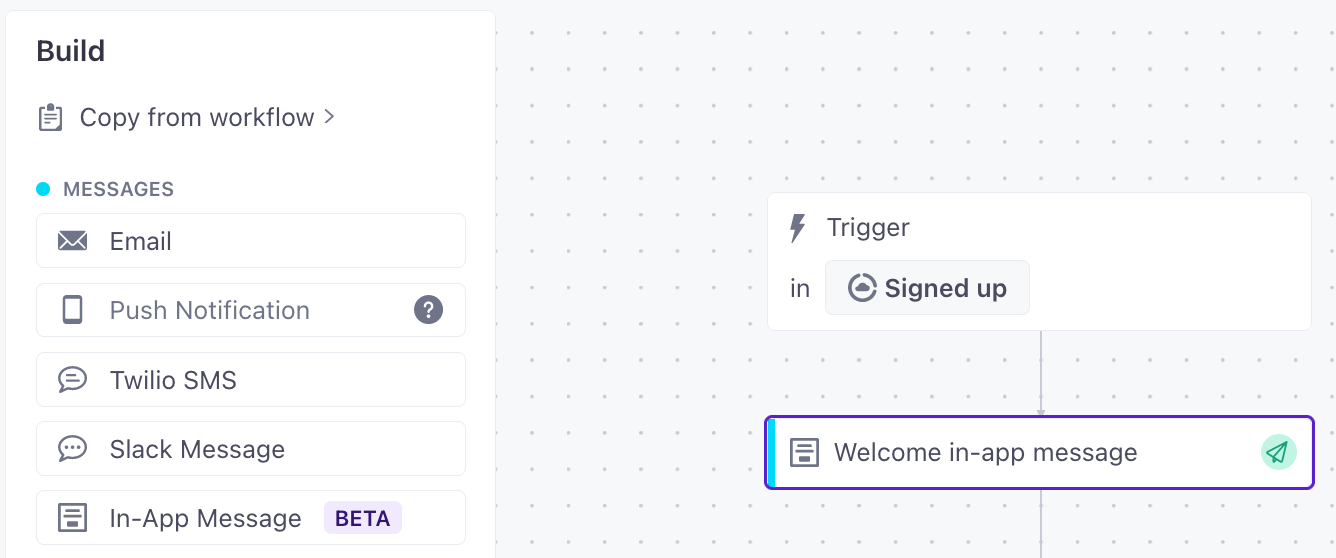
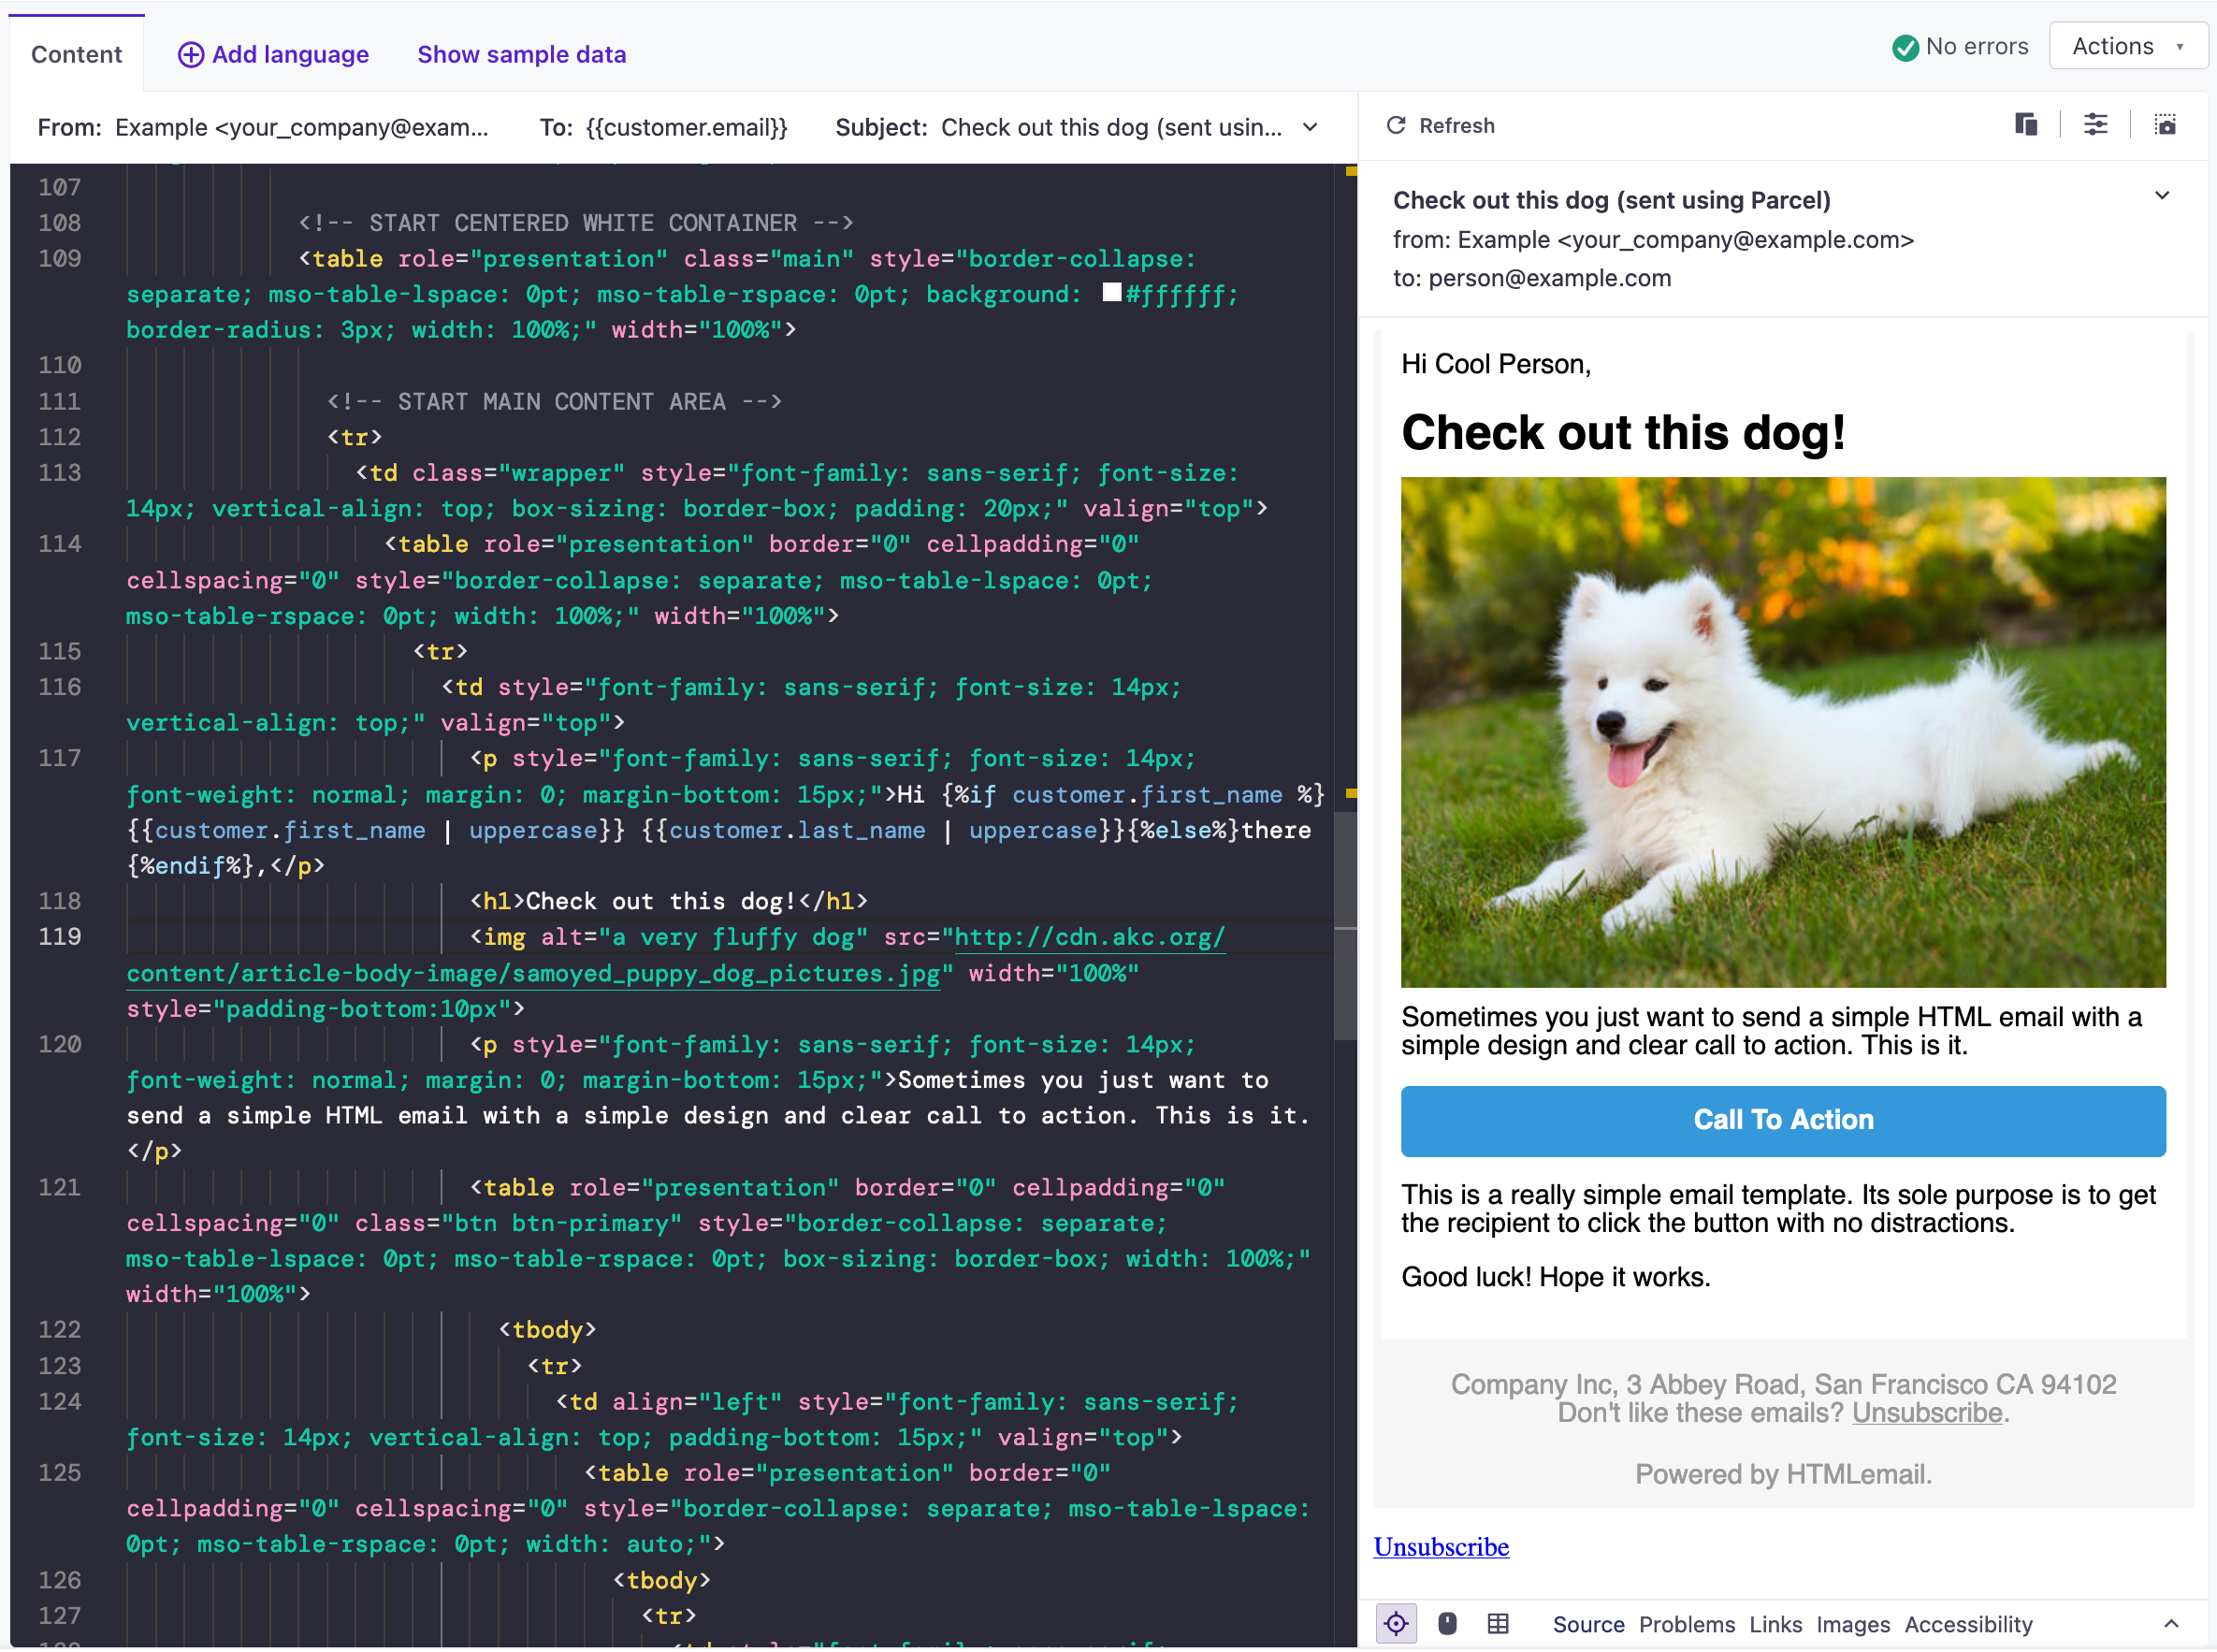
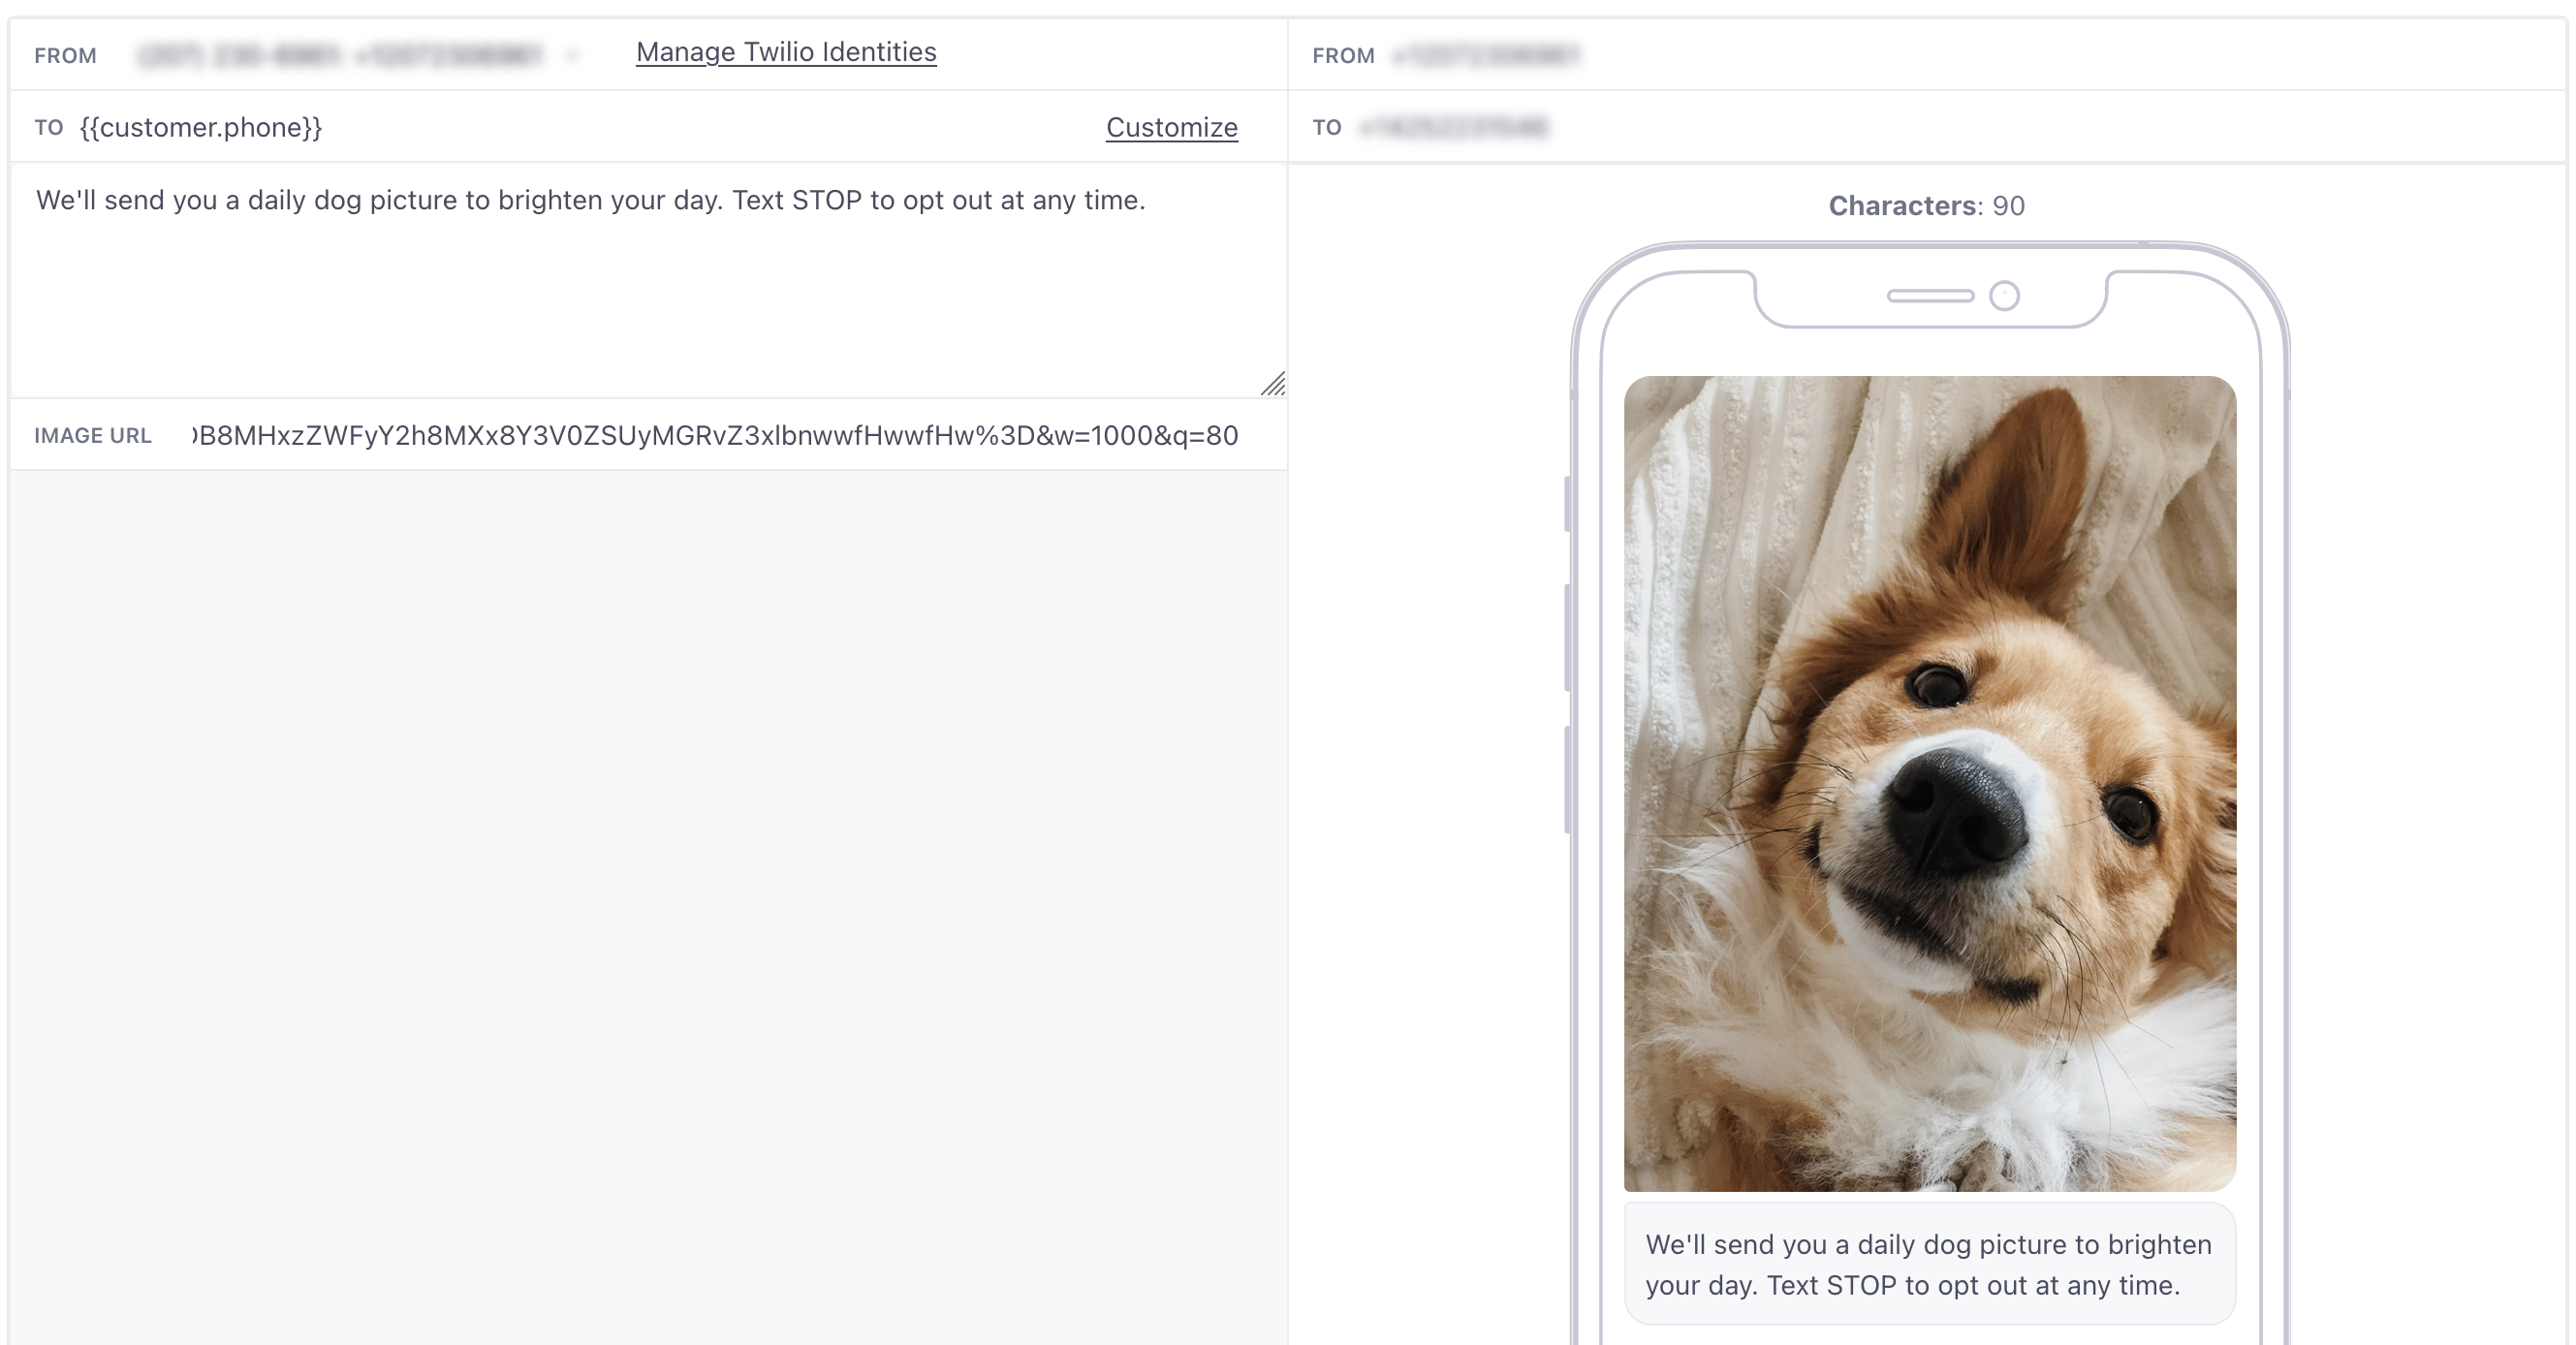
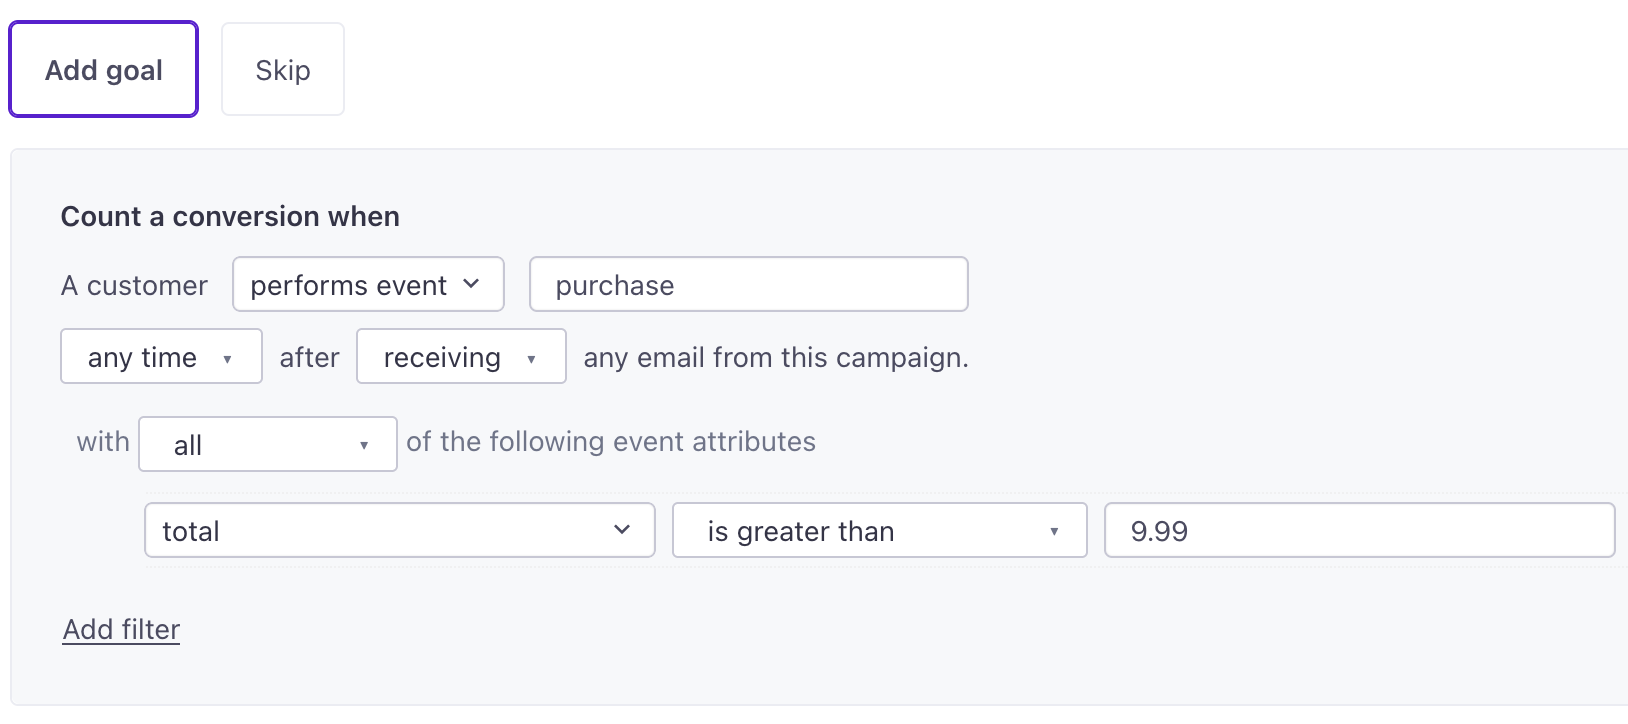
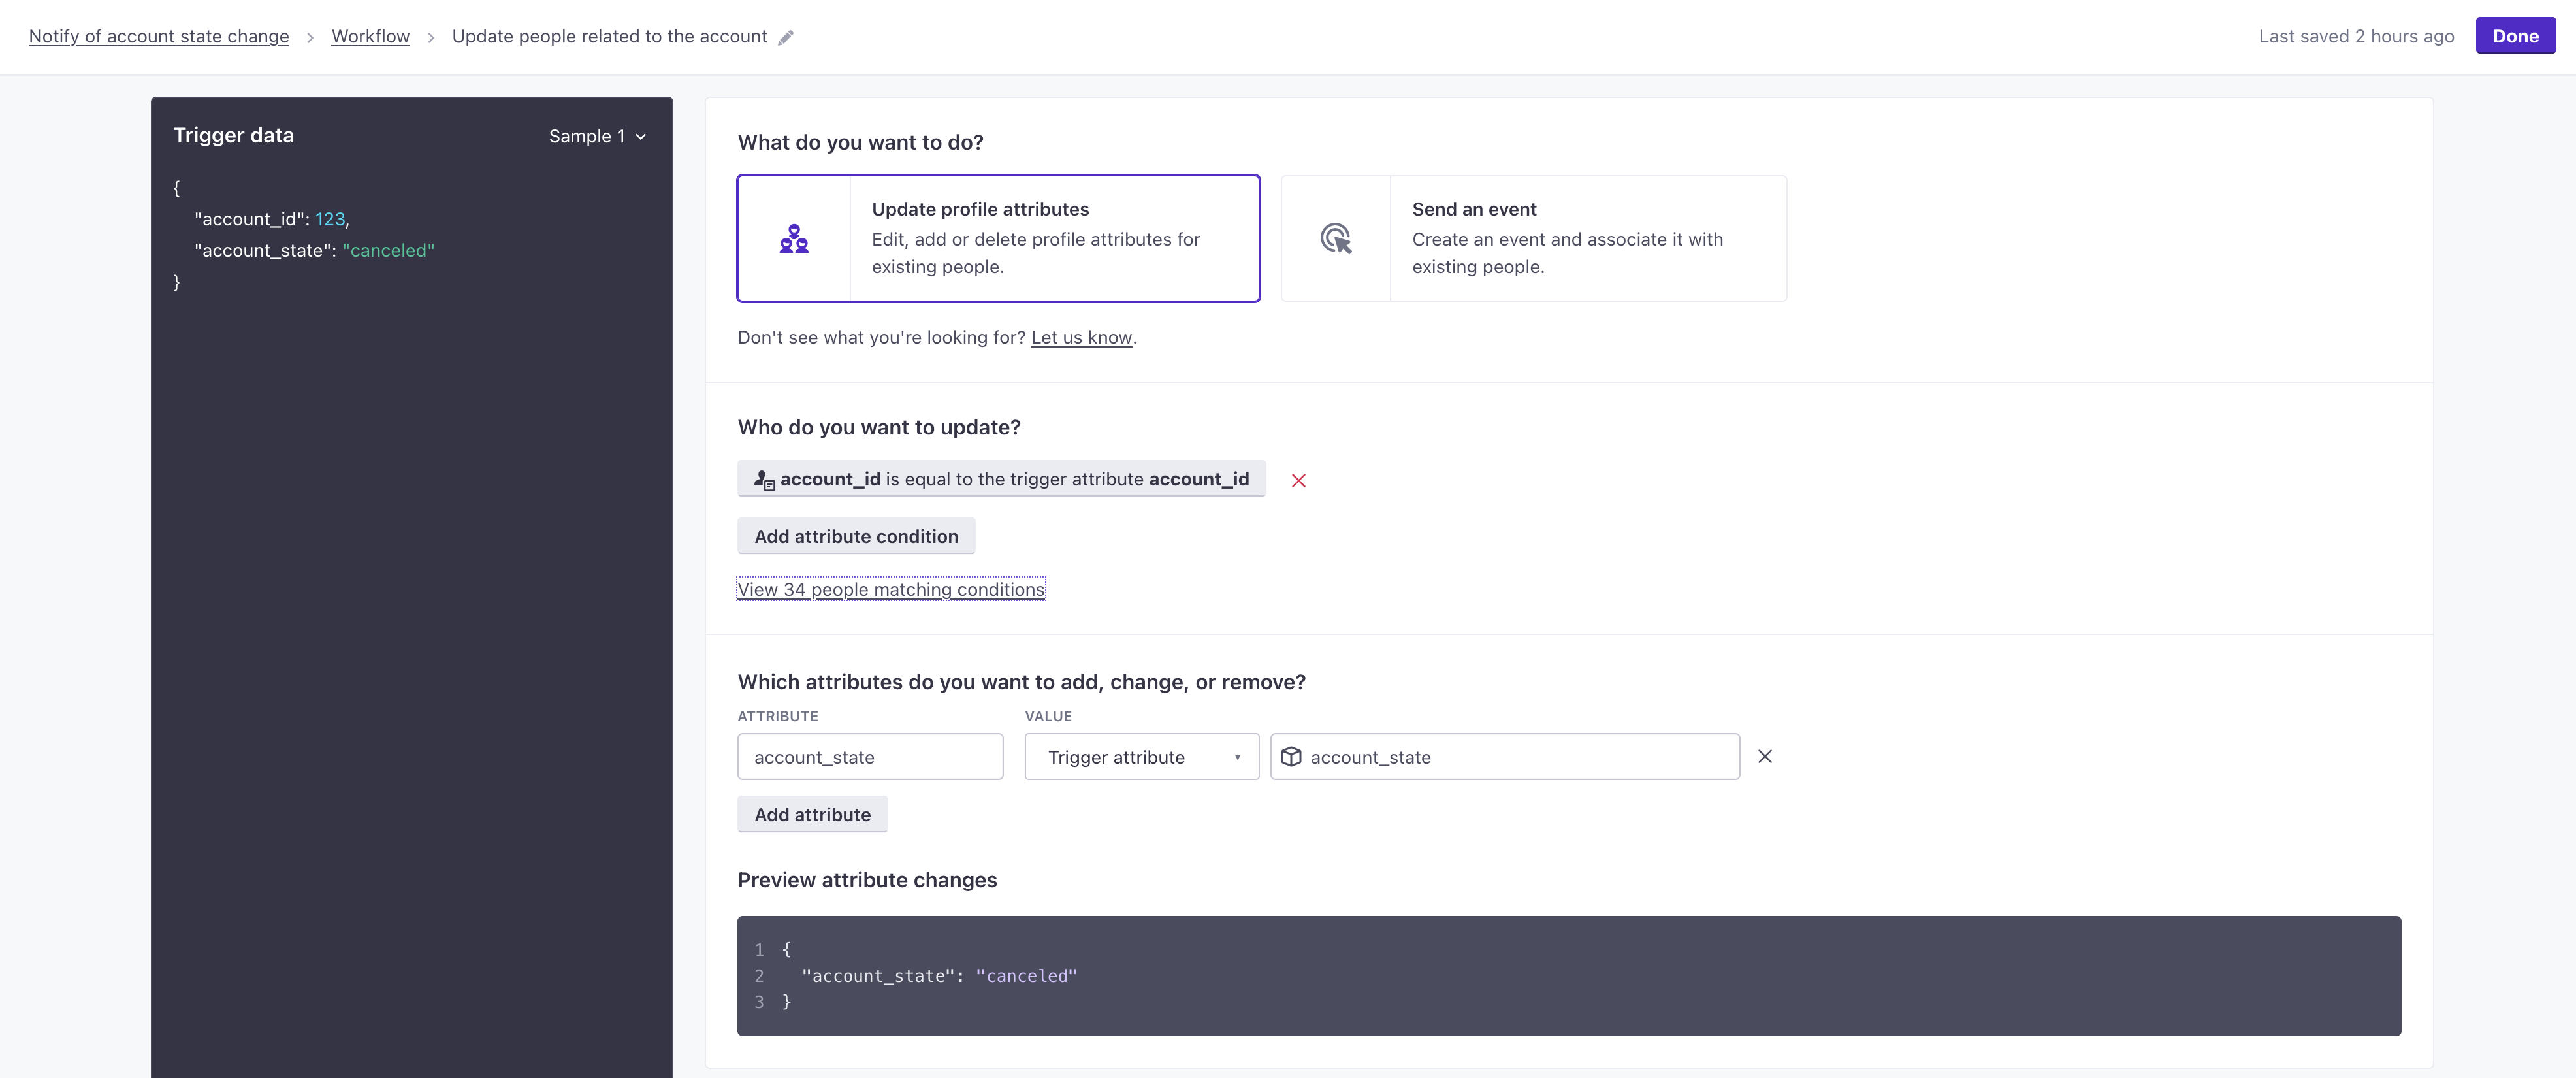
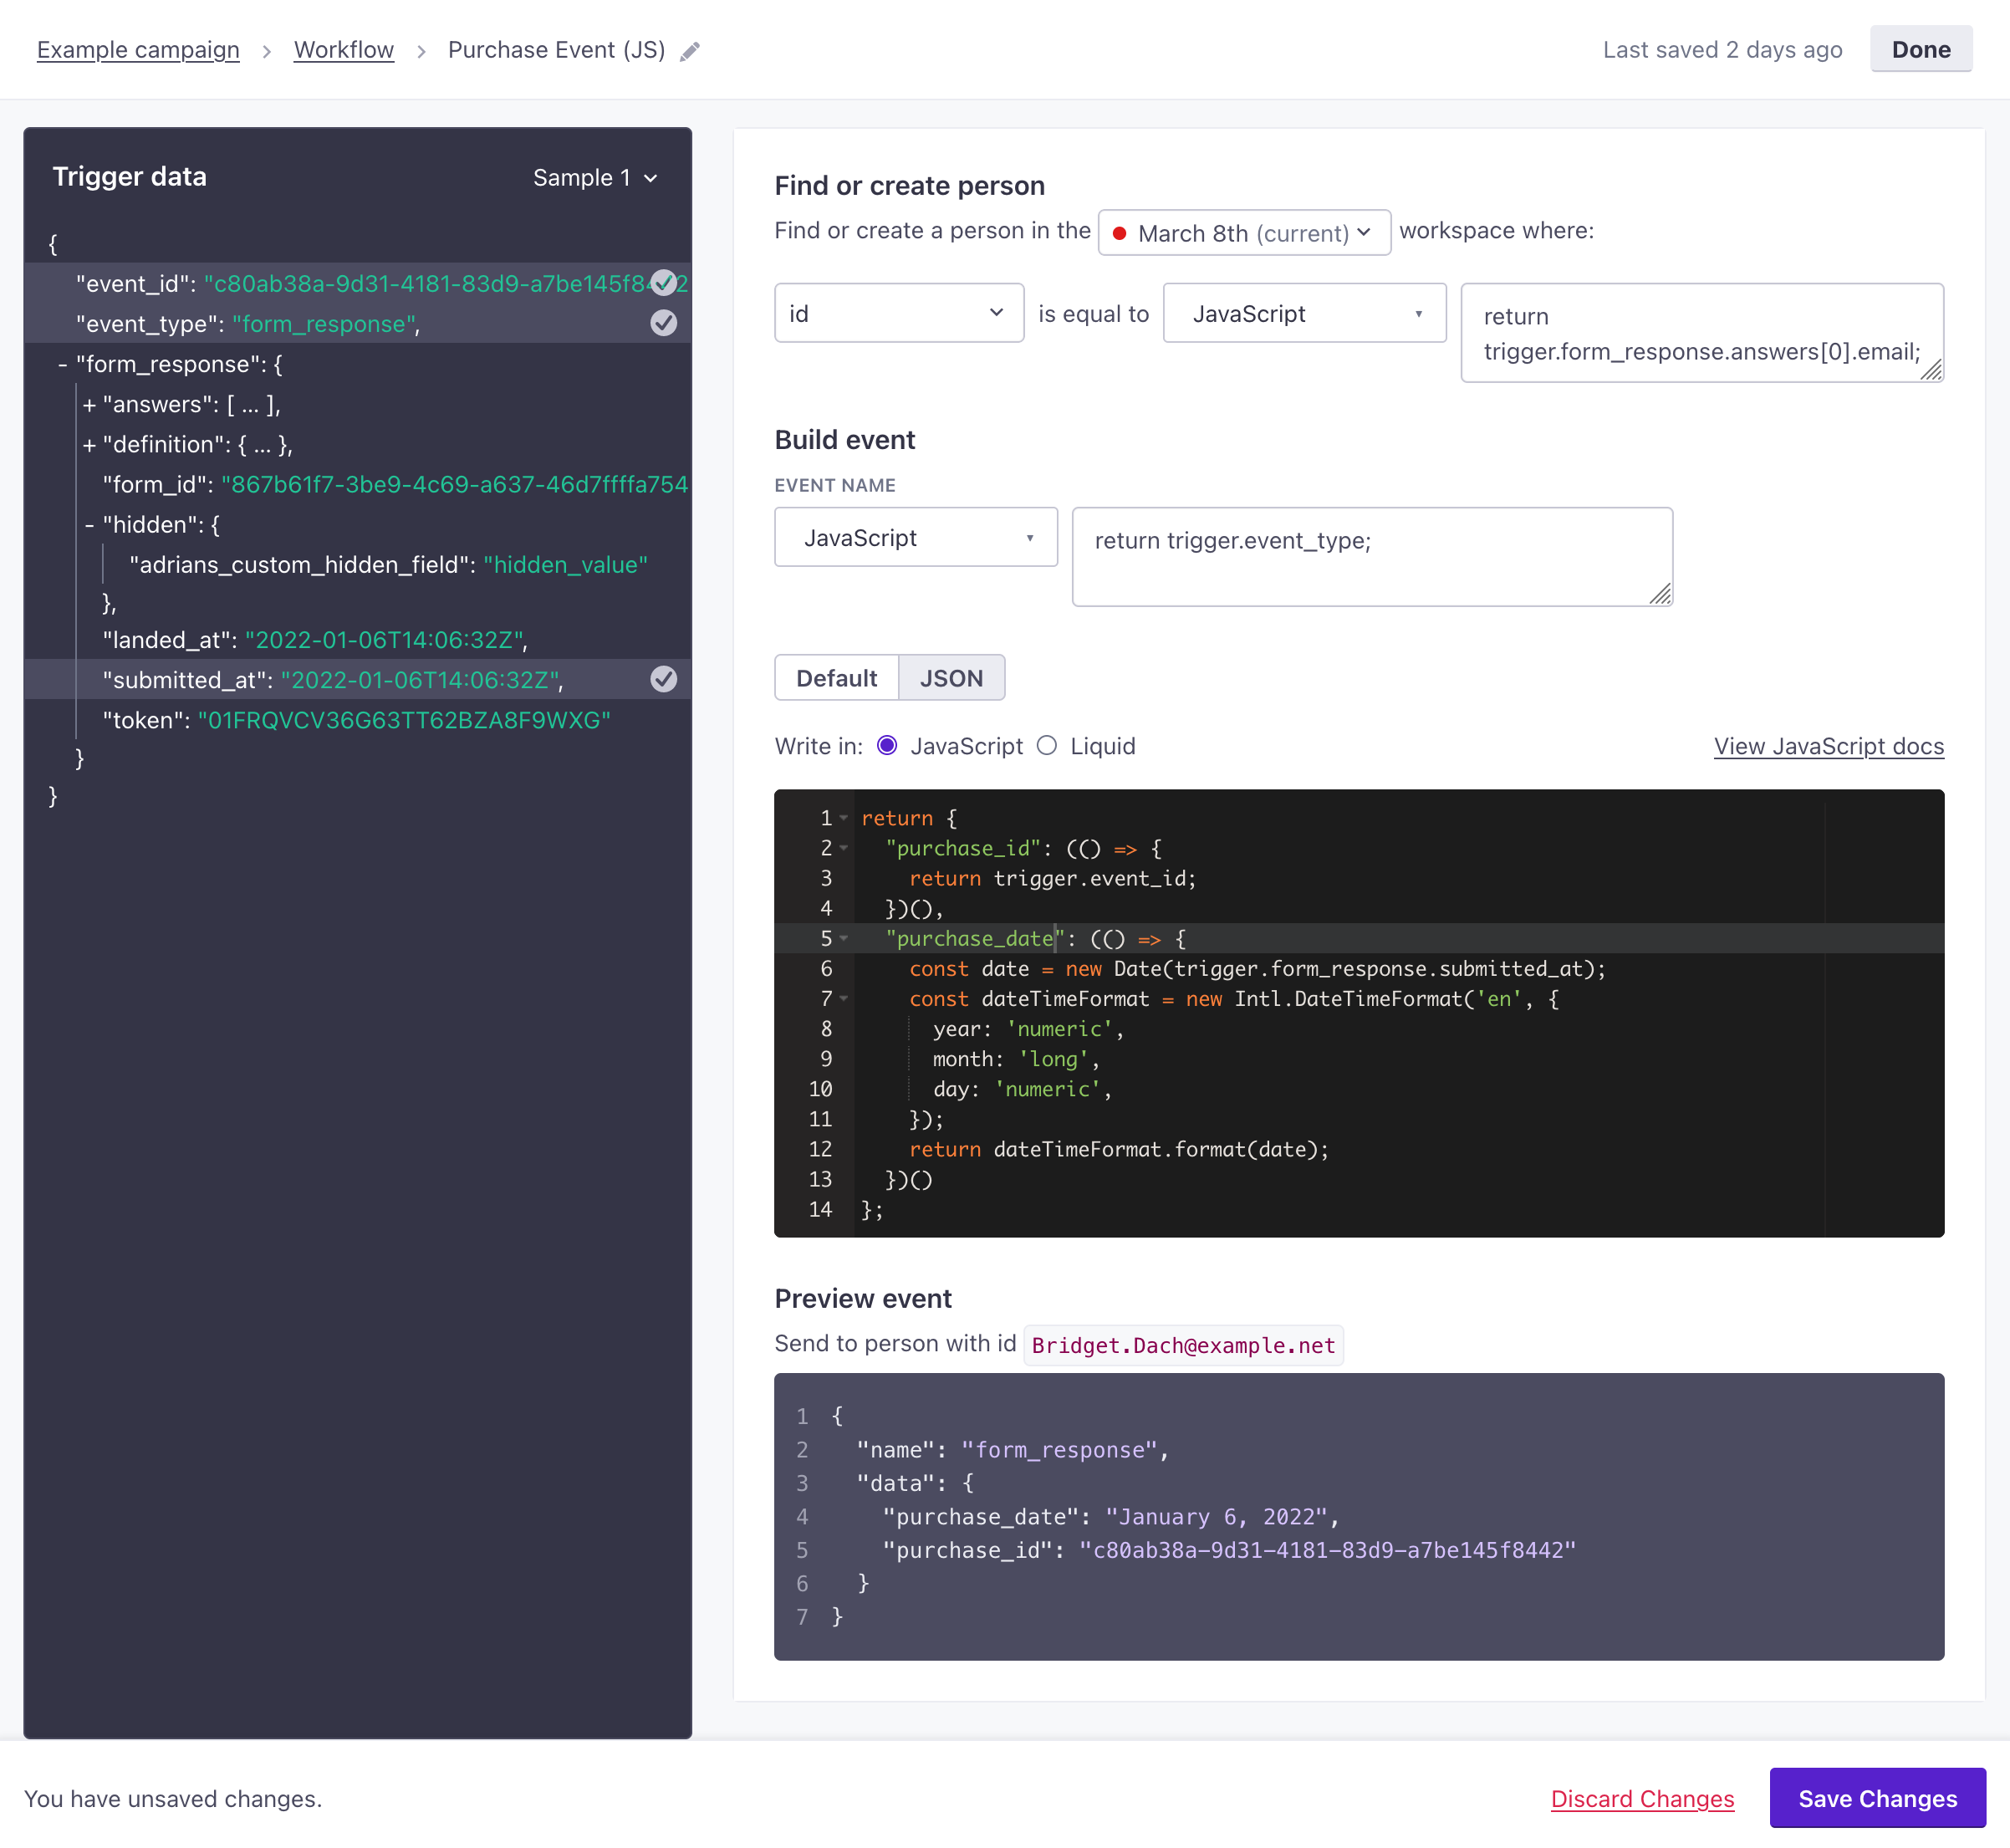
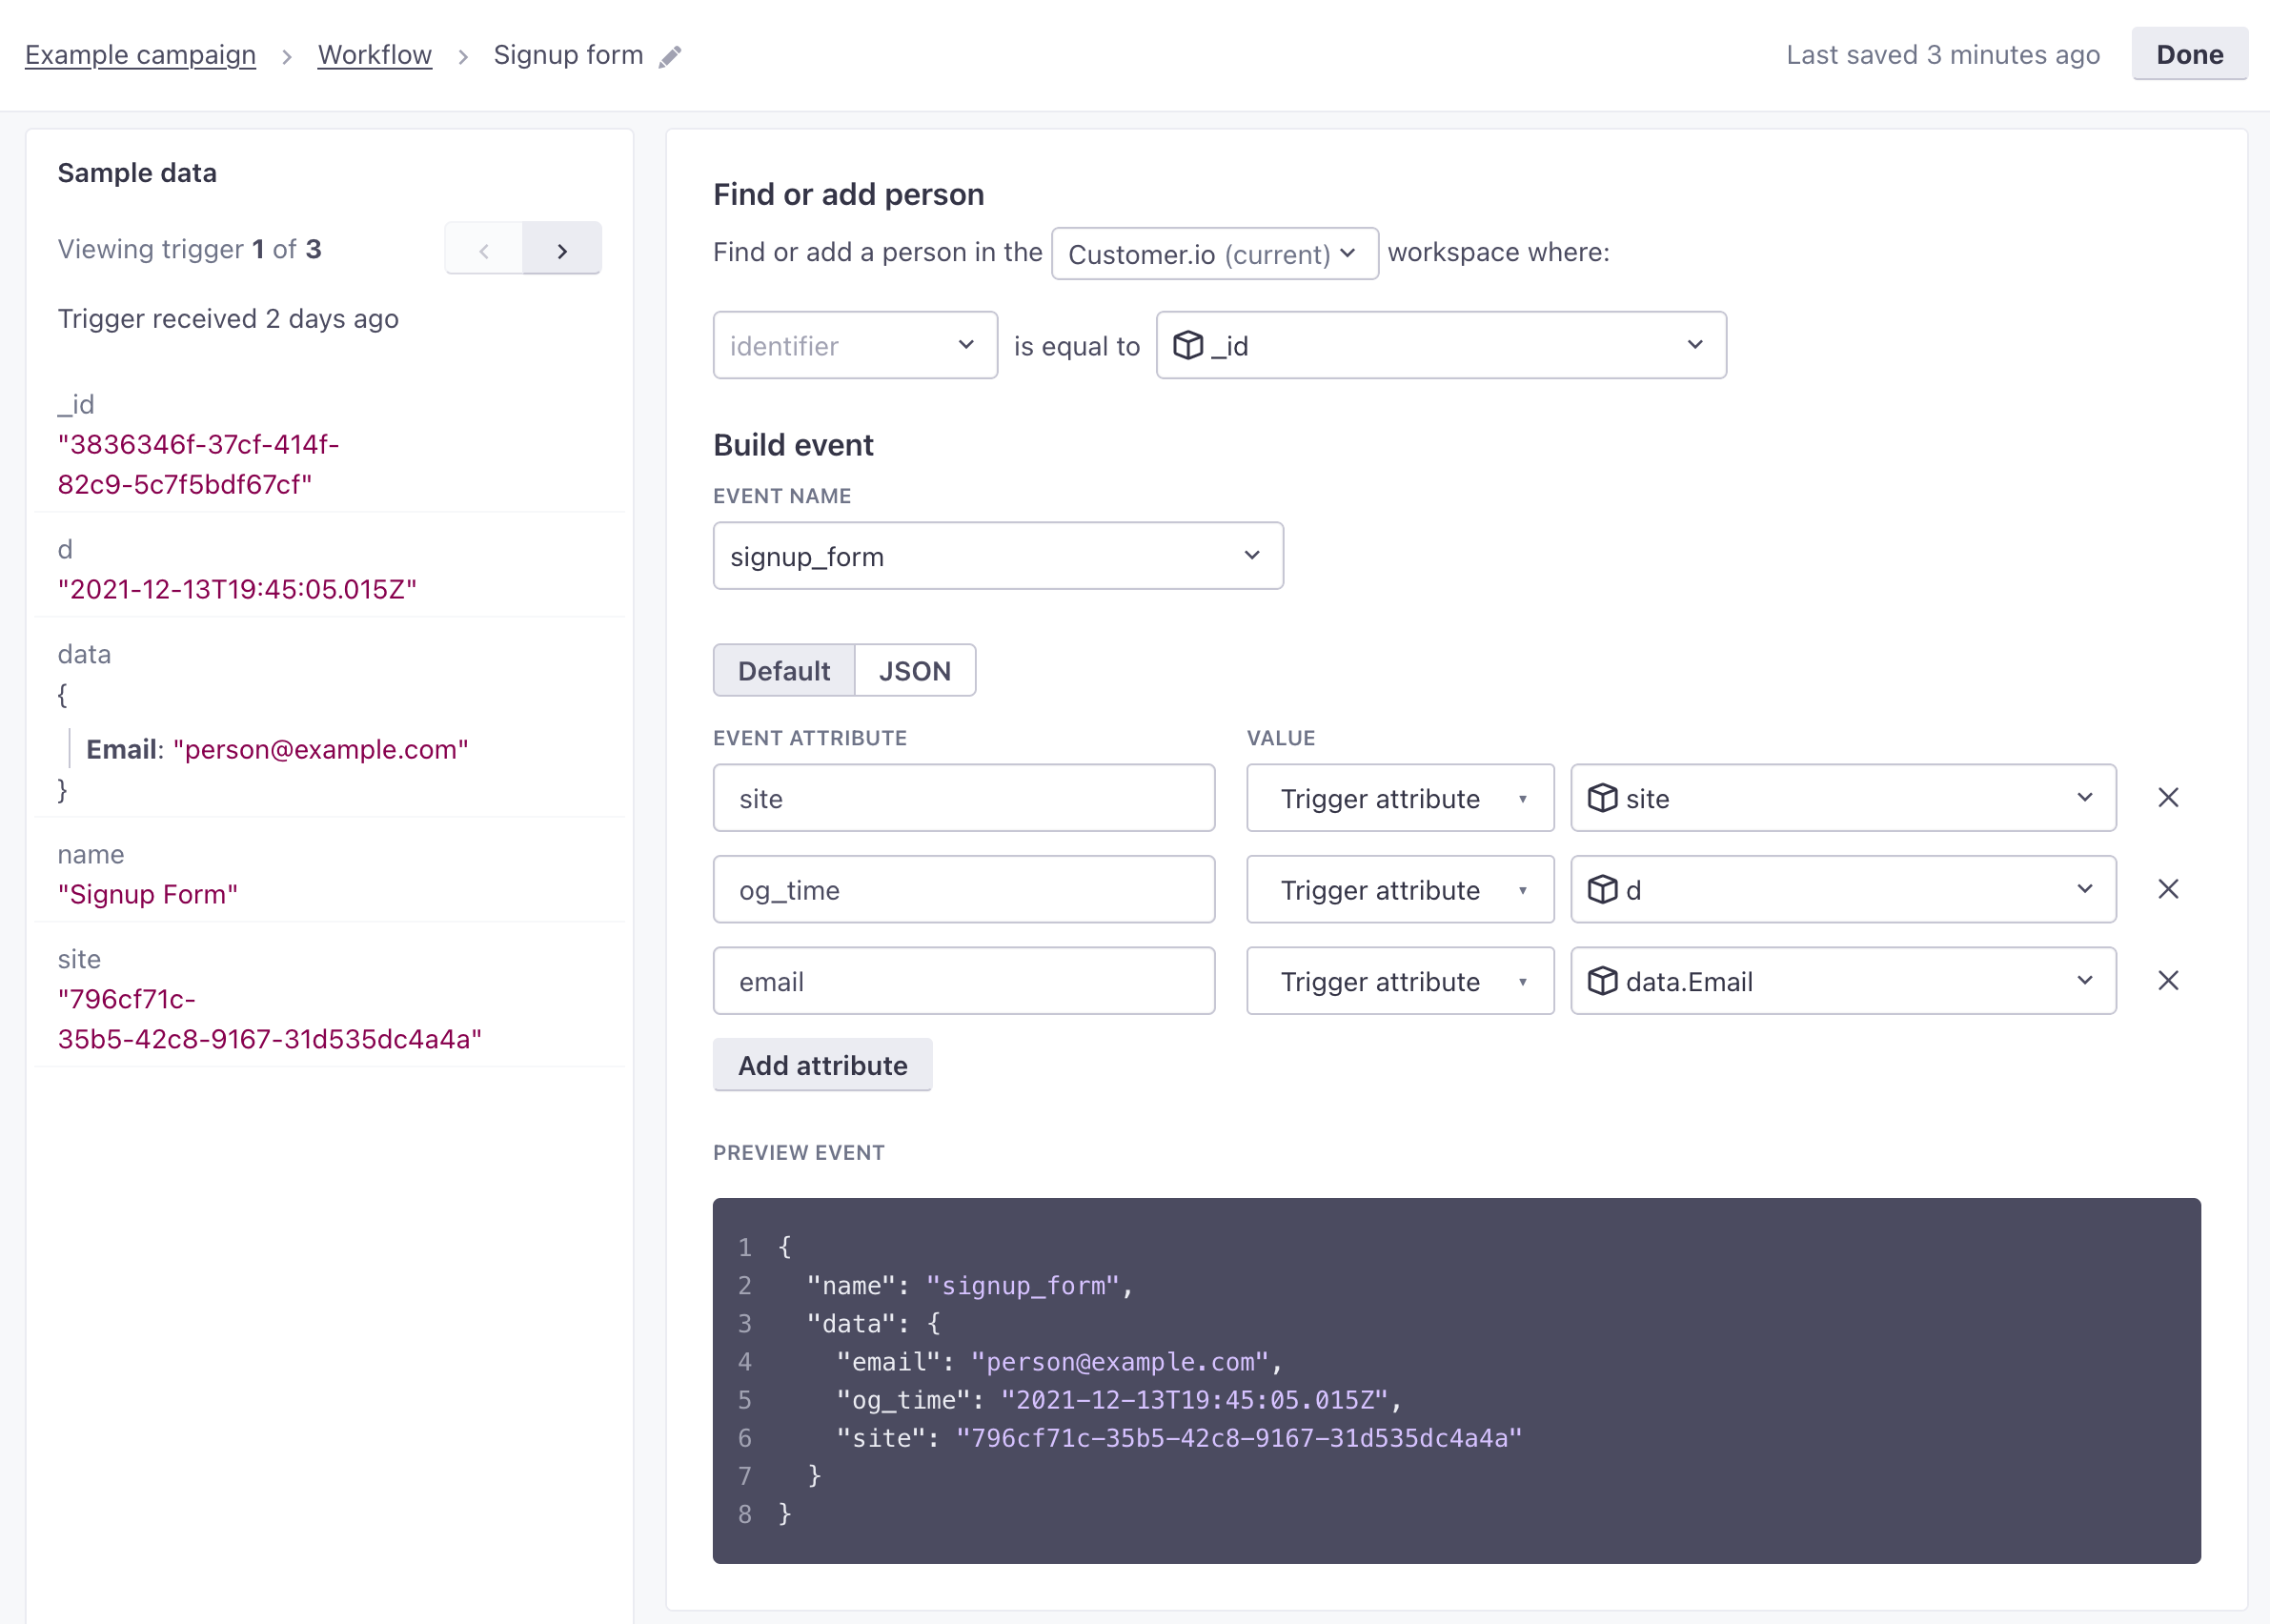
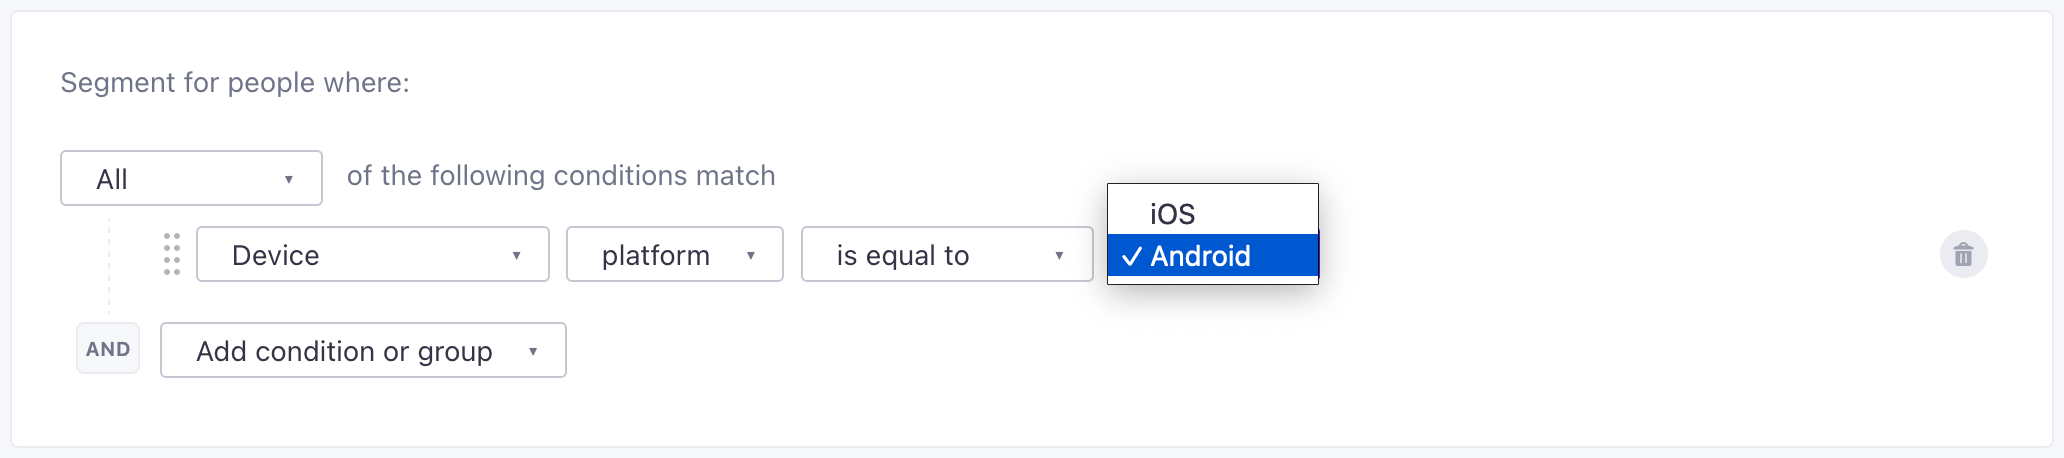
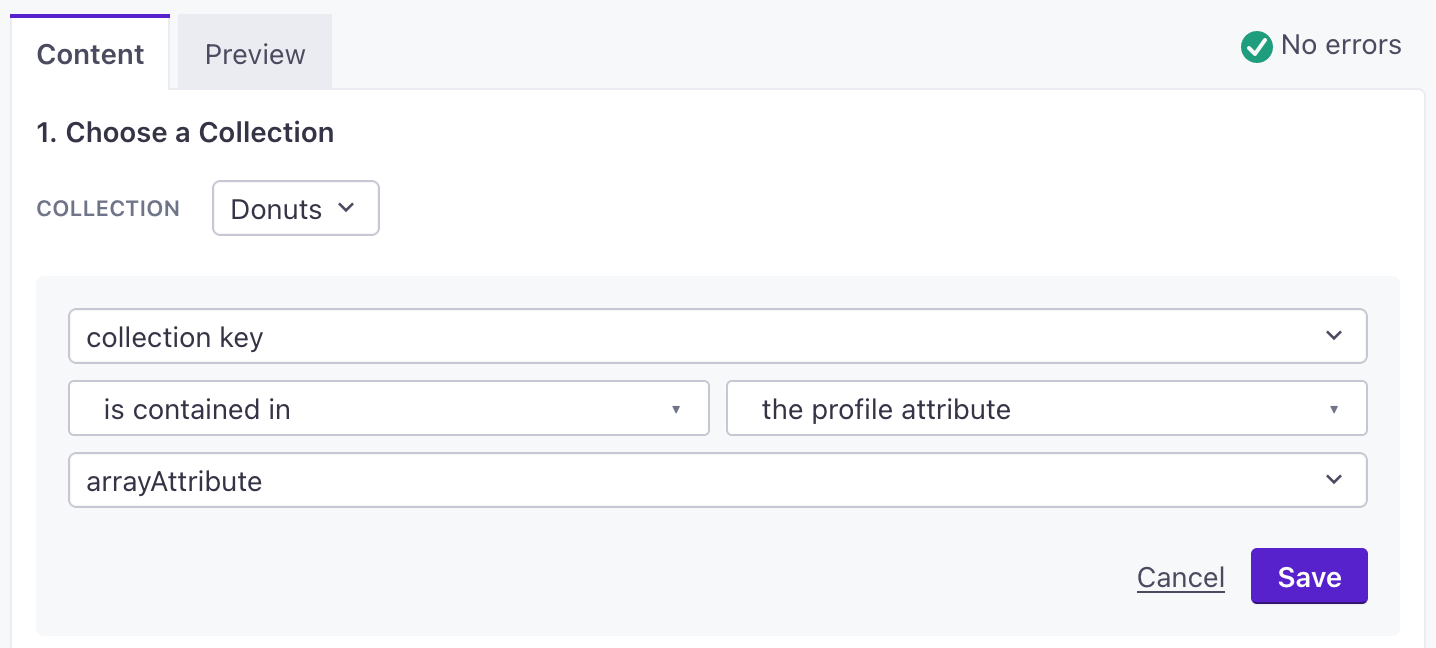
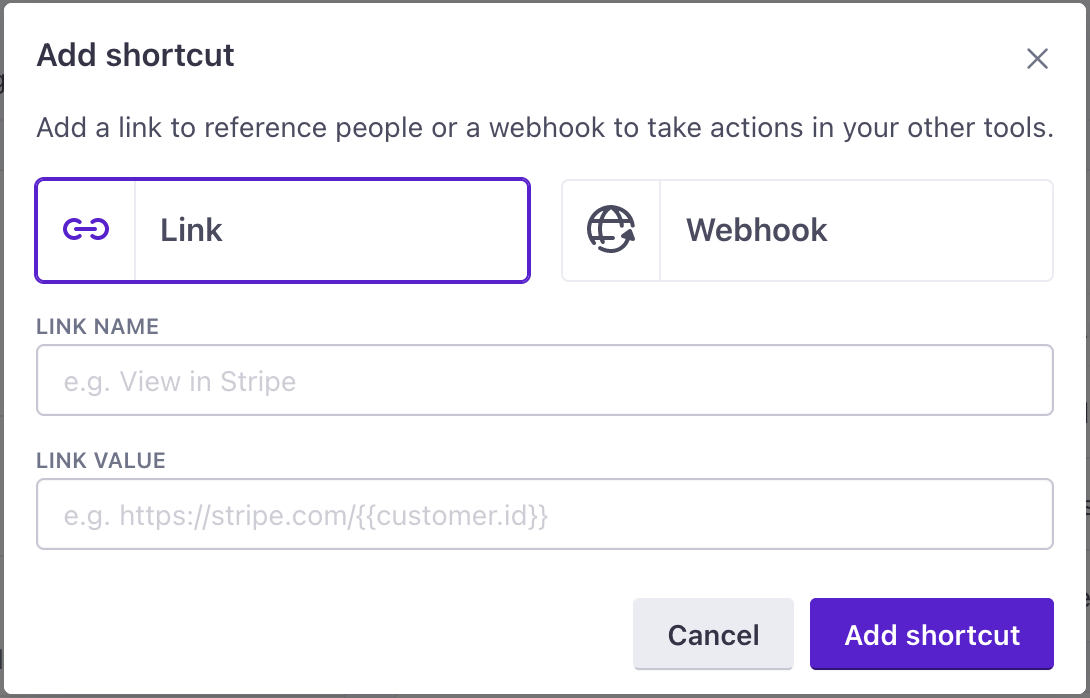
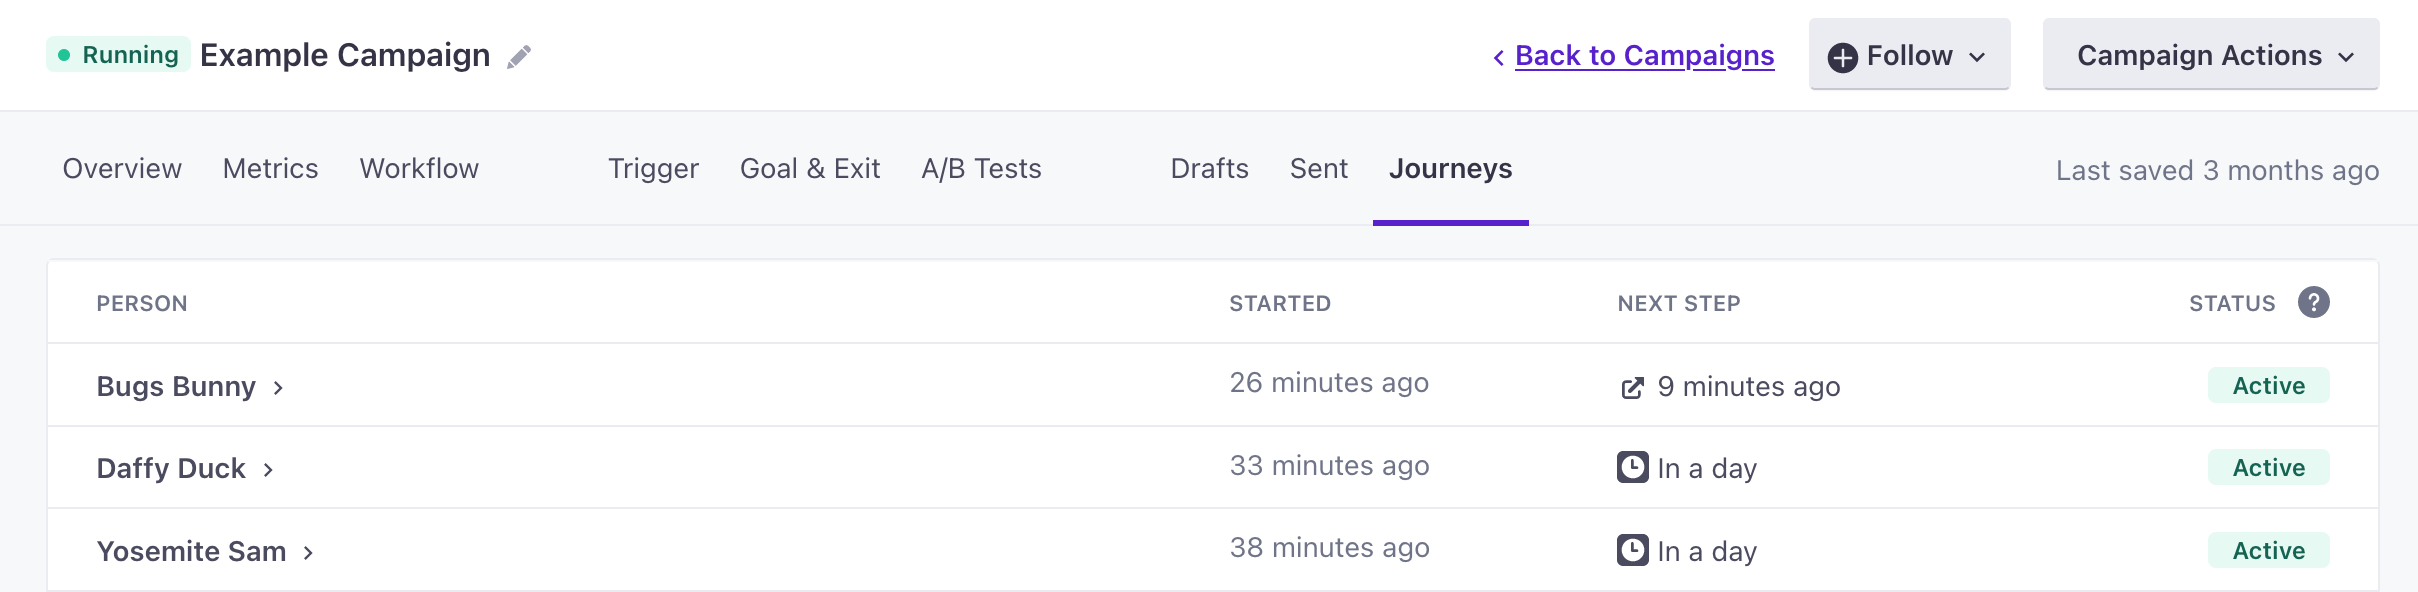
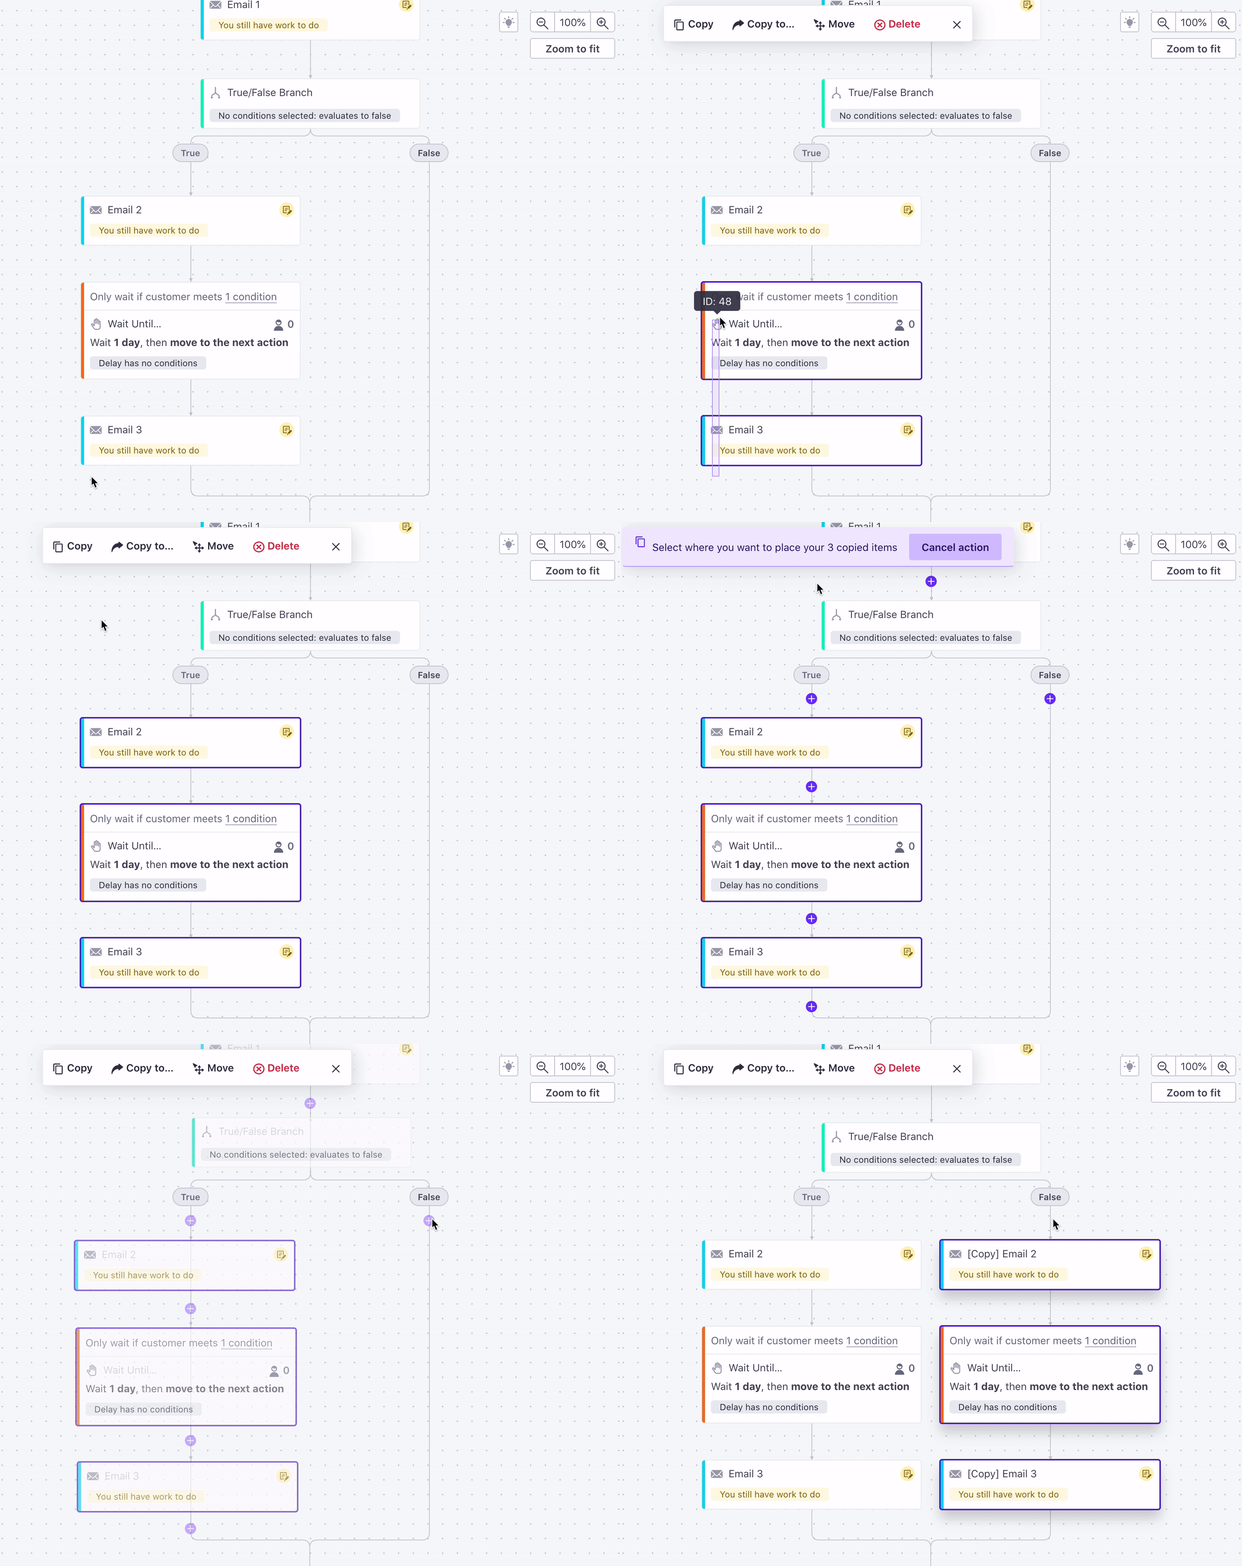
Chain multiple delays together in a single Wait Until block
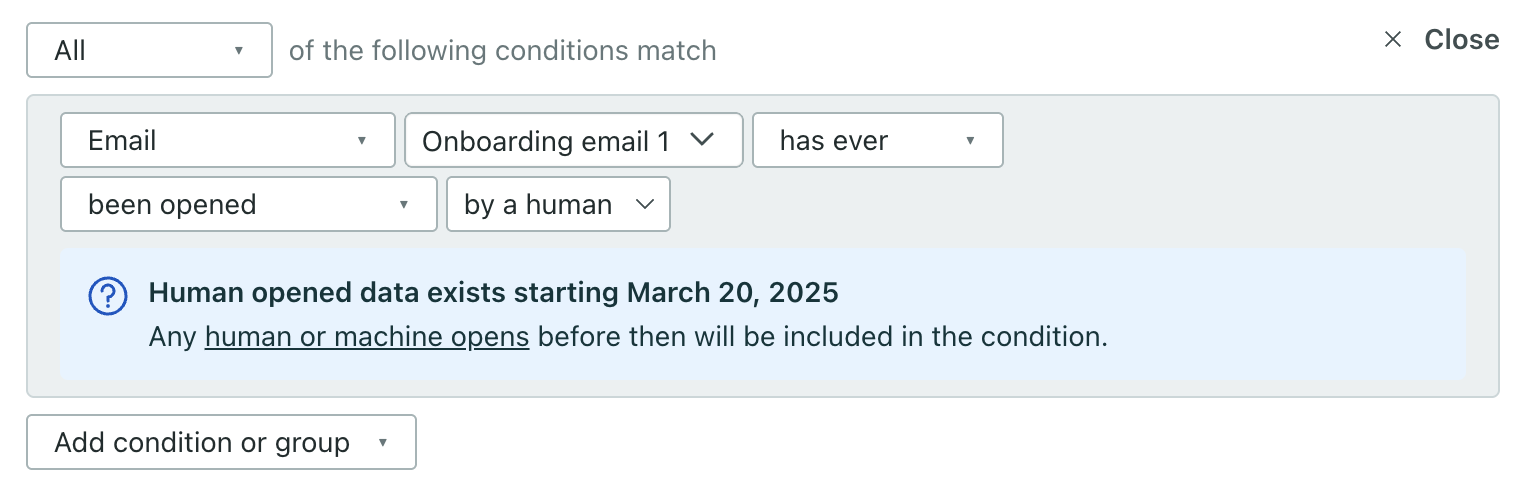
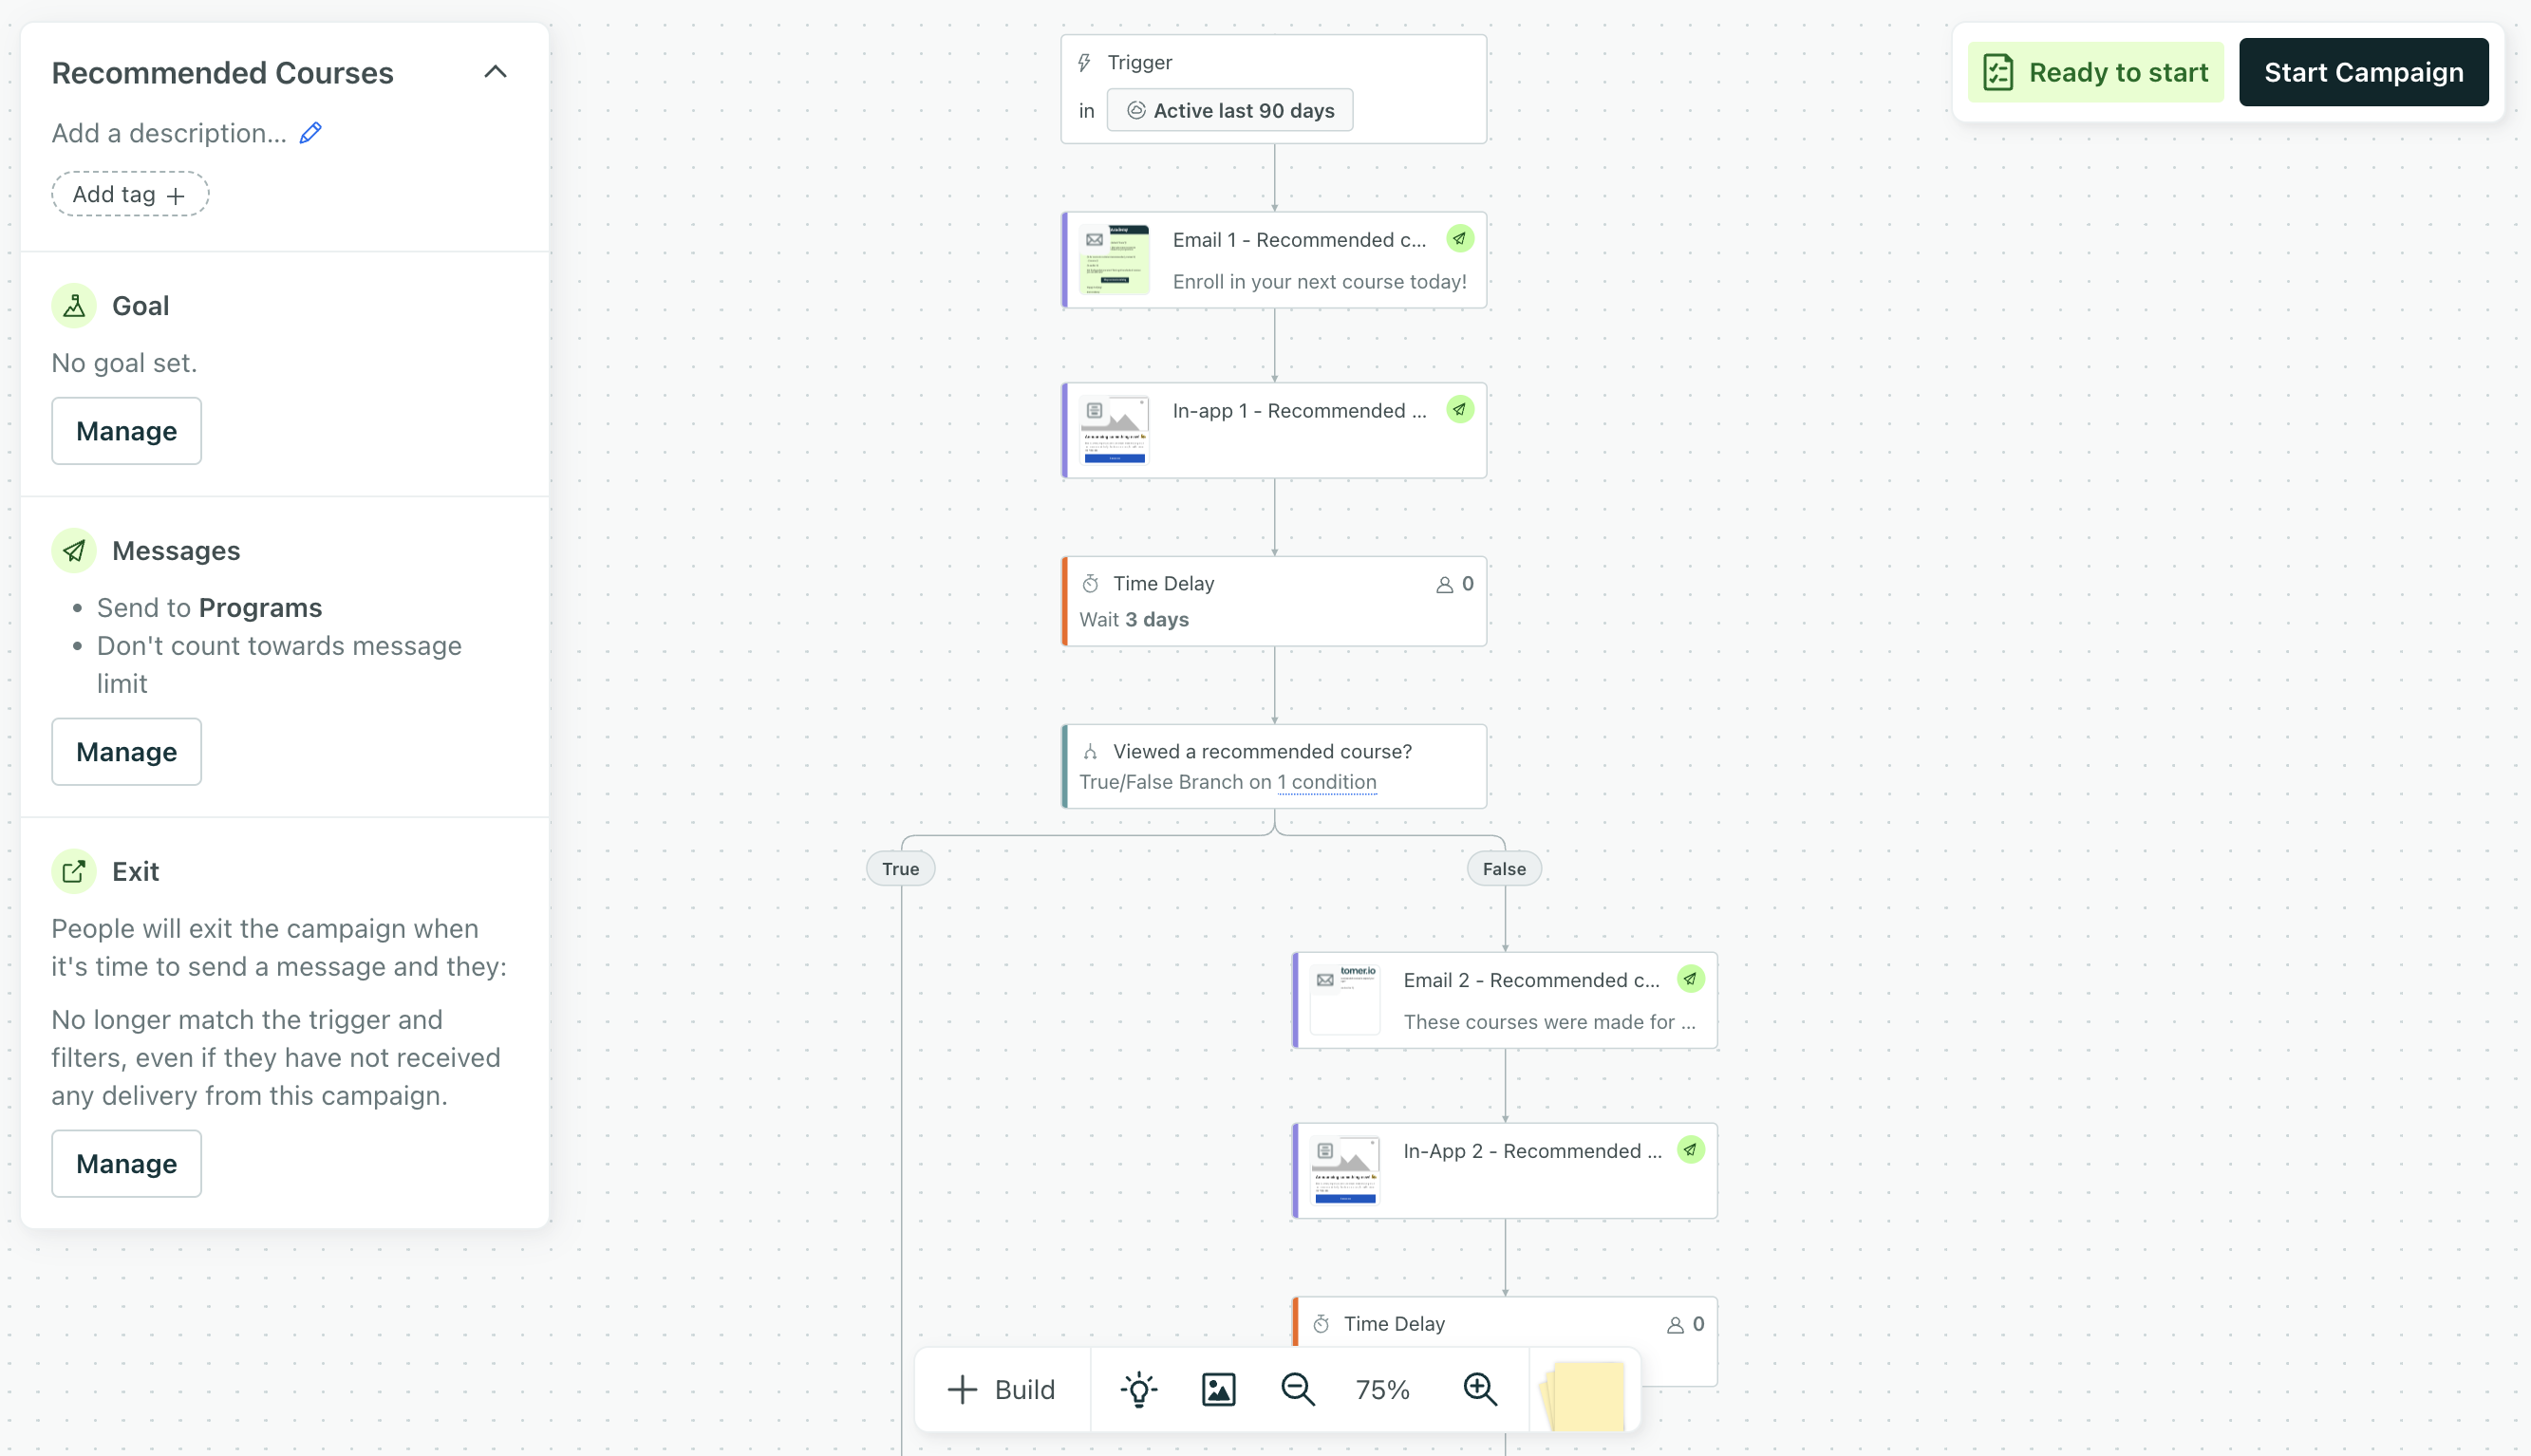
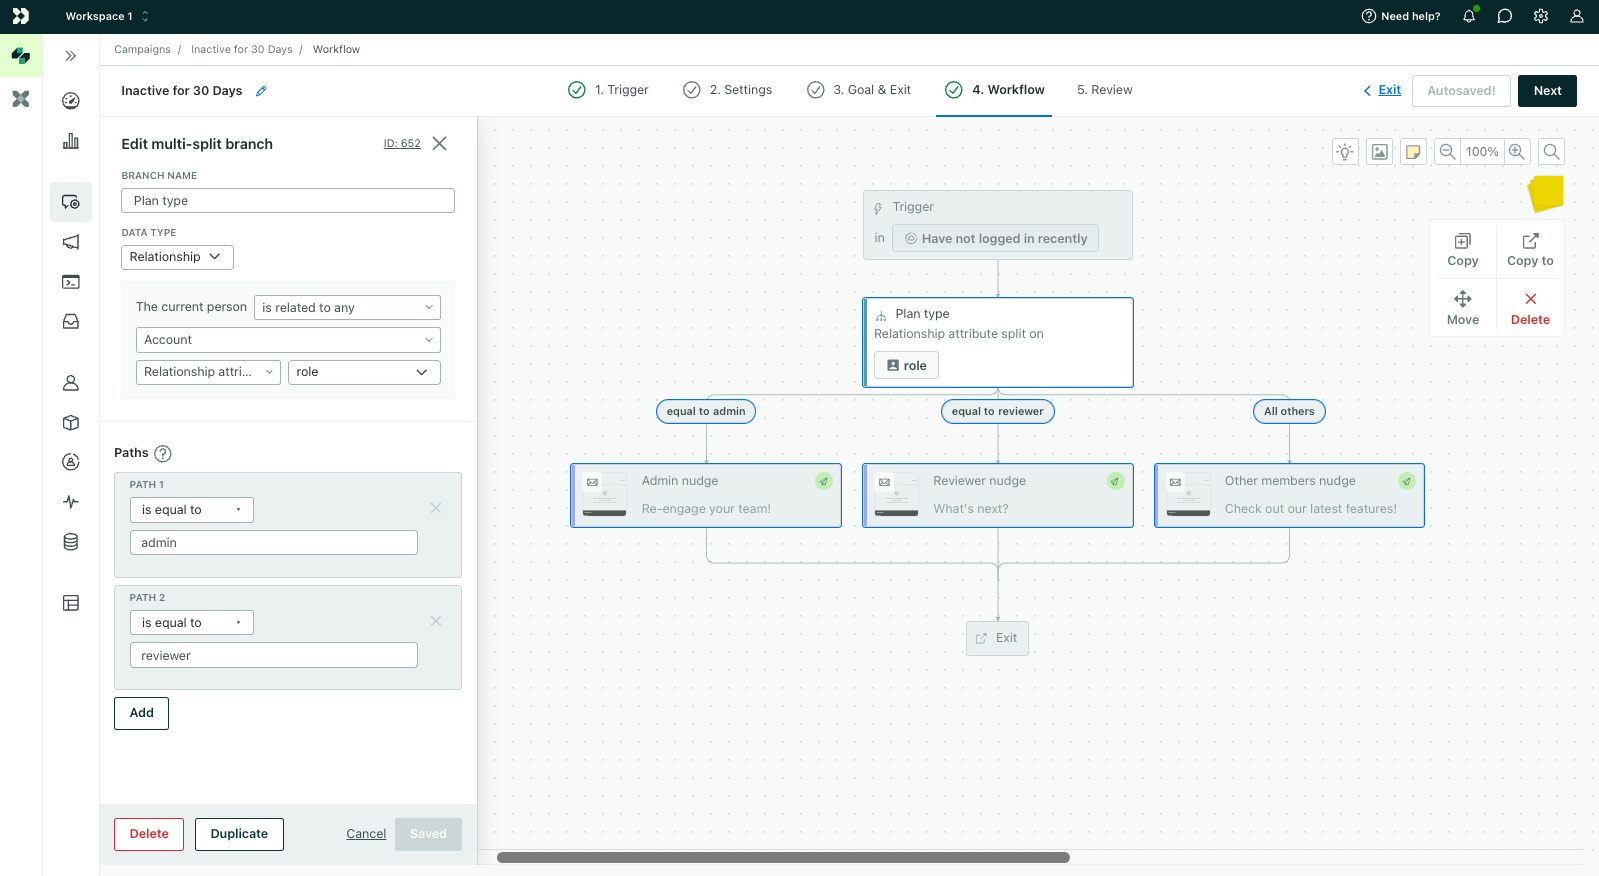
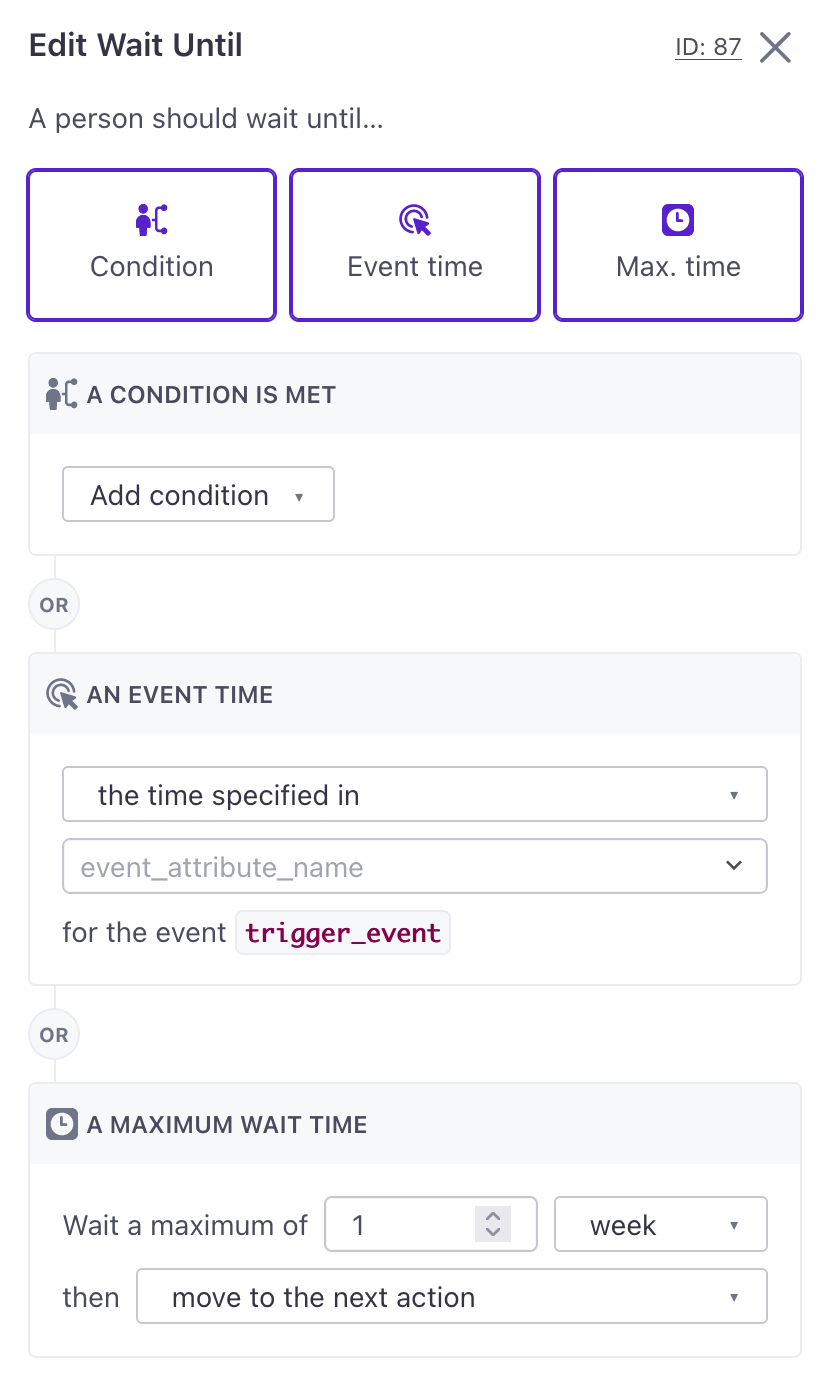
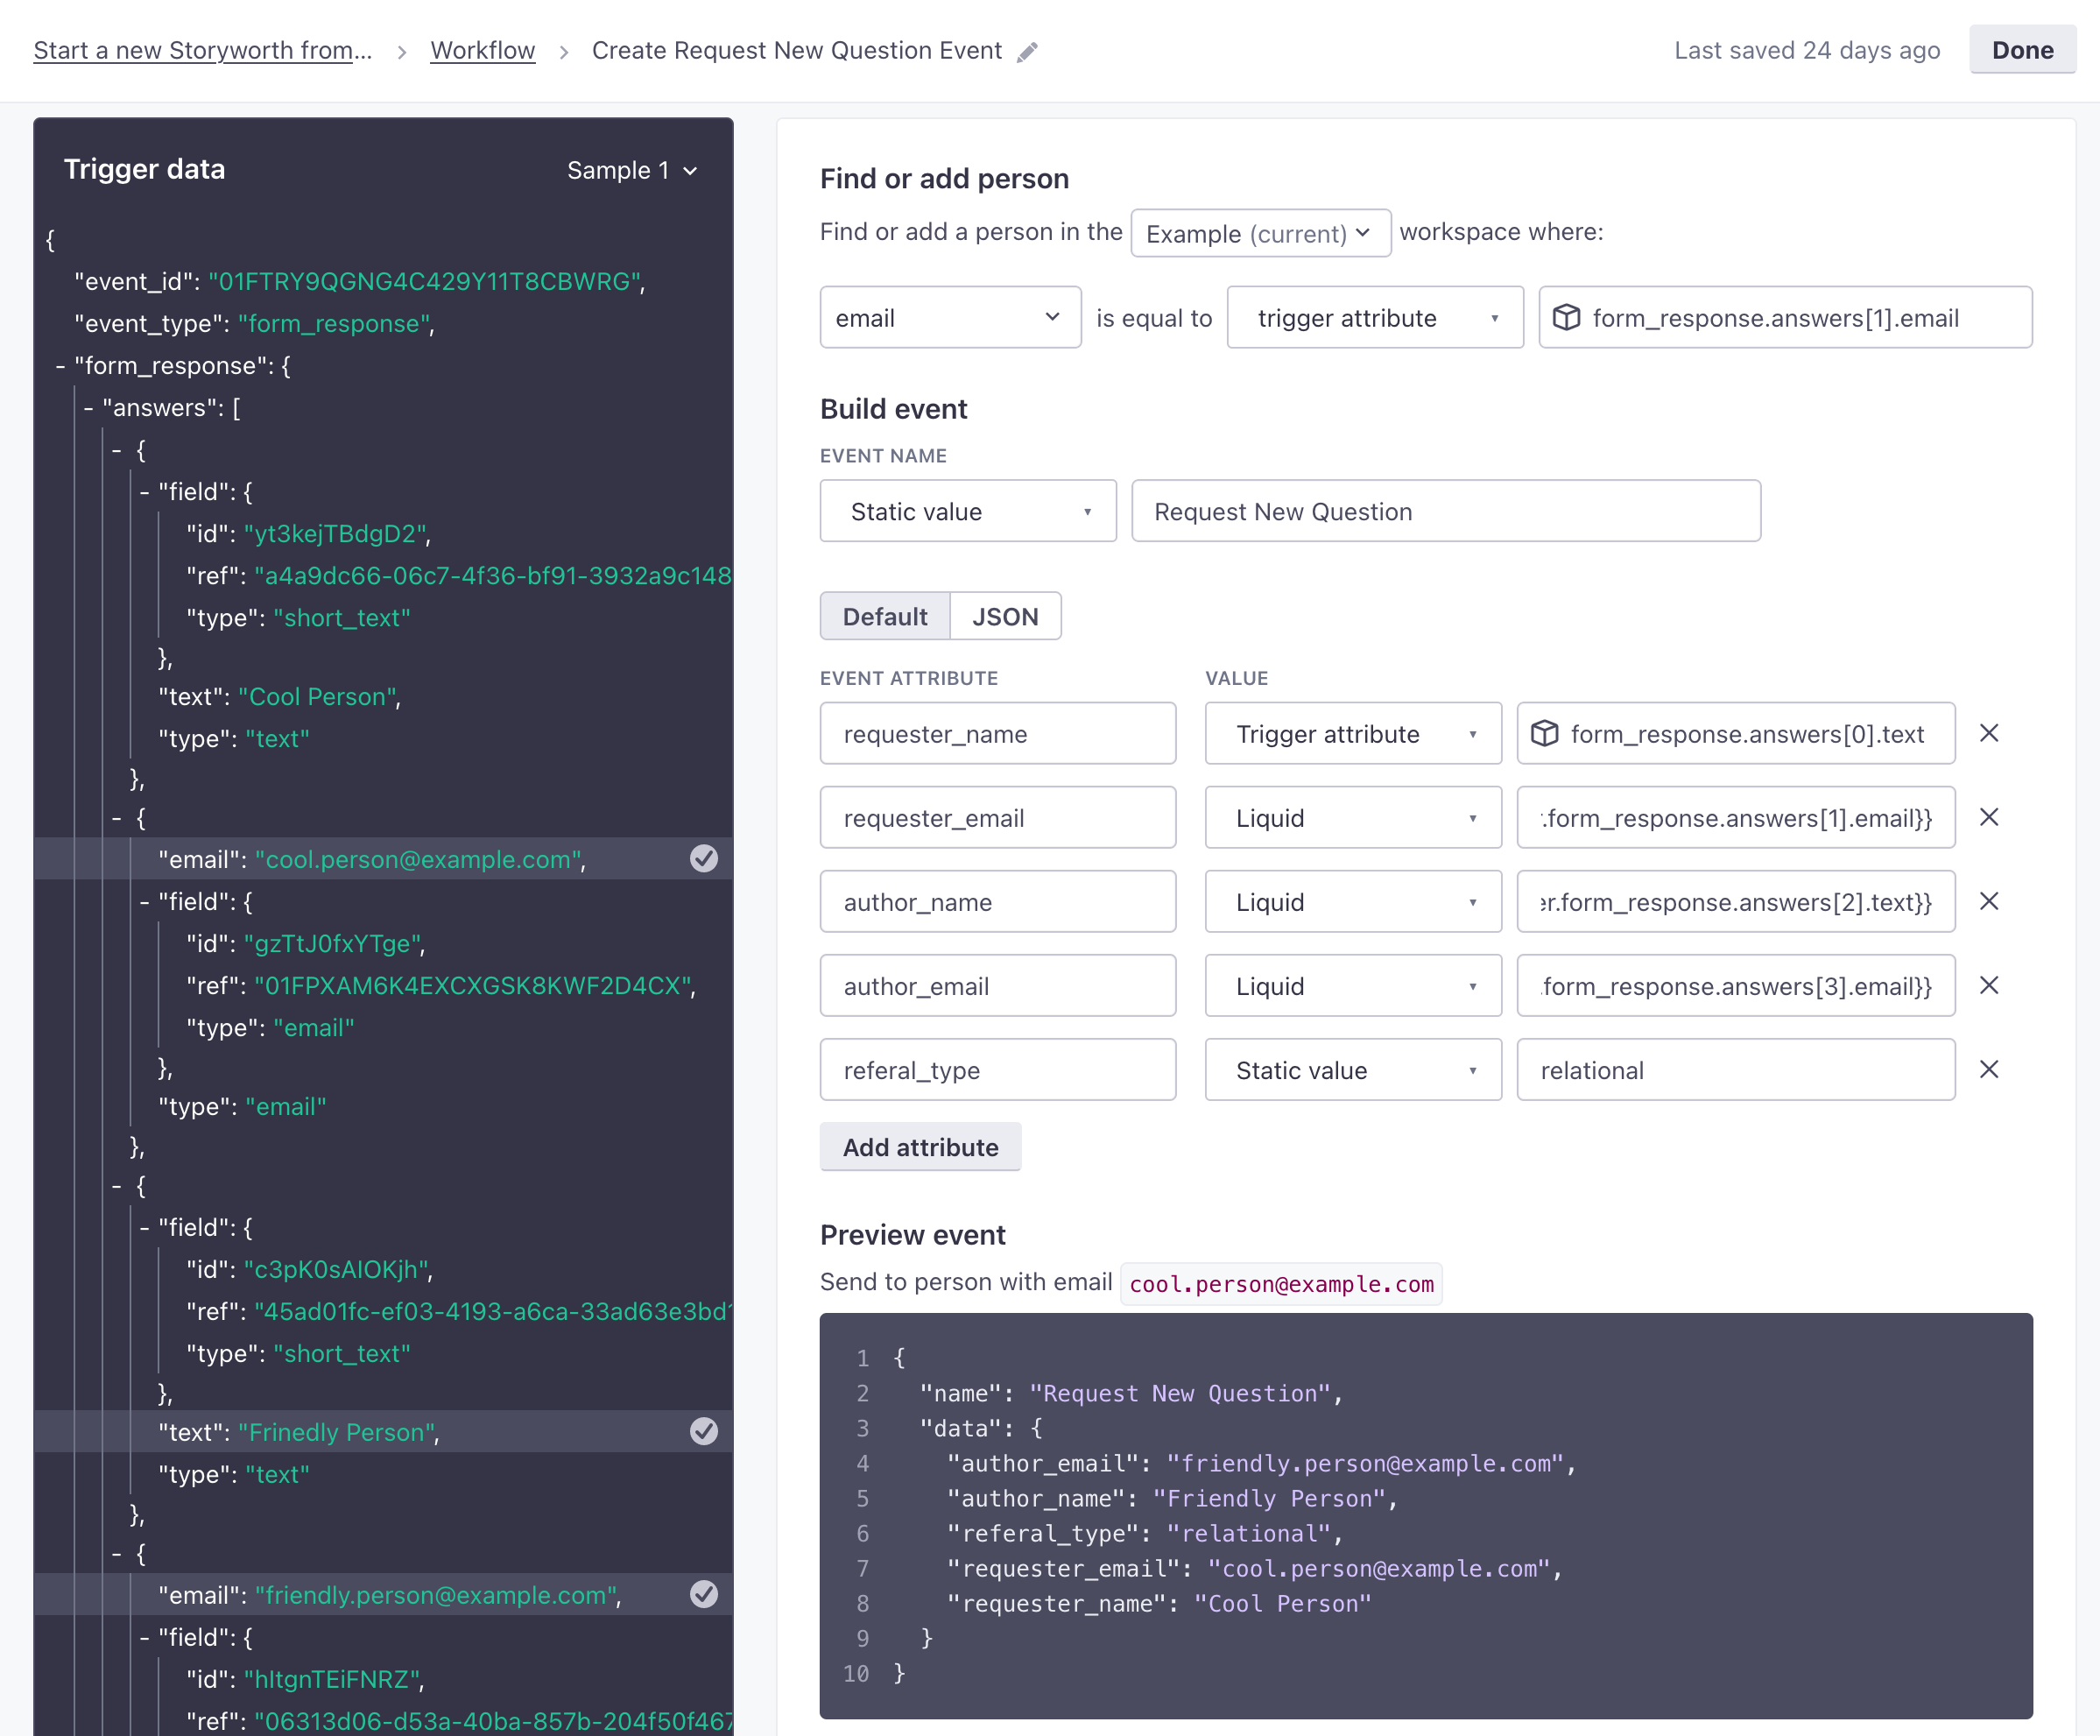
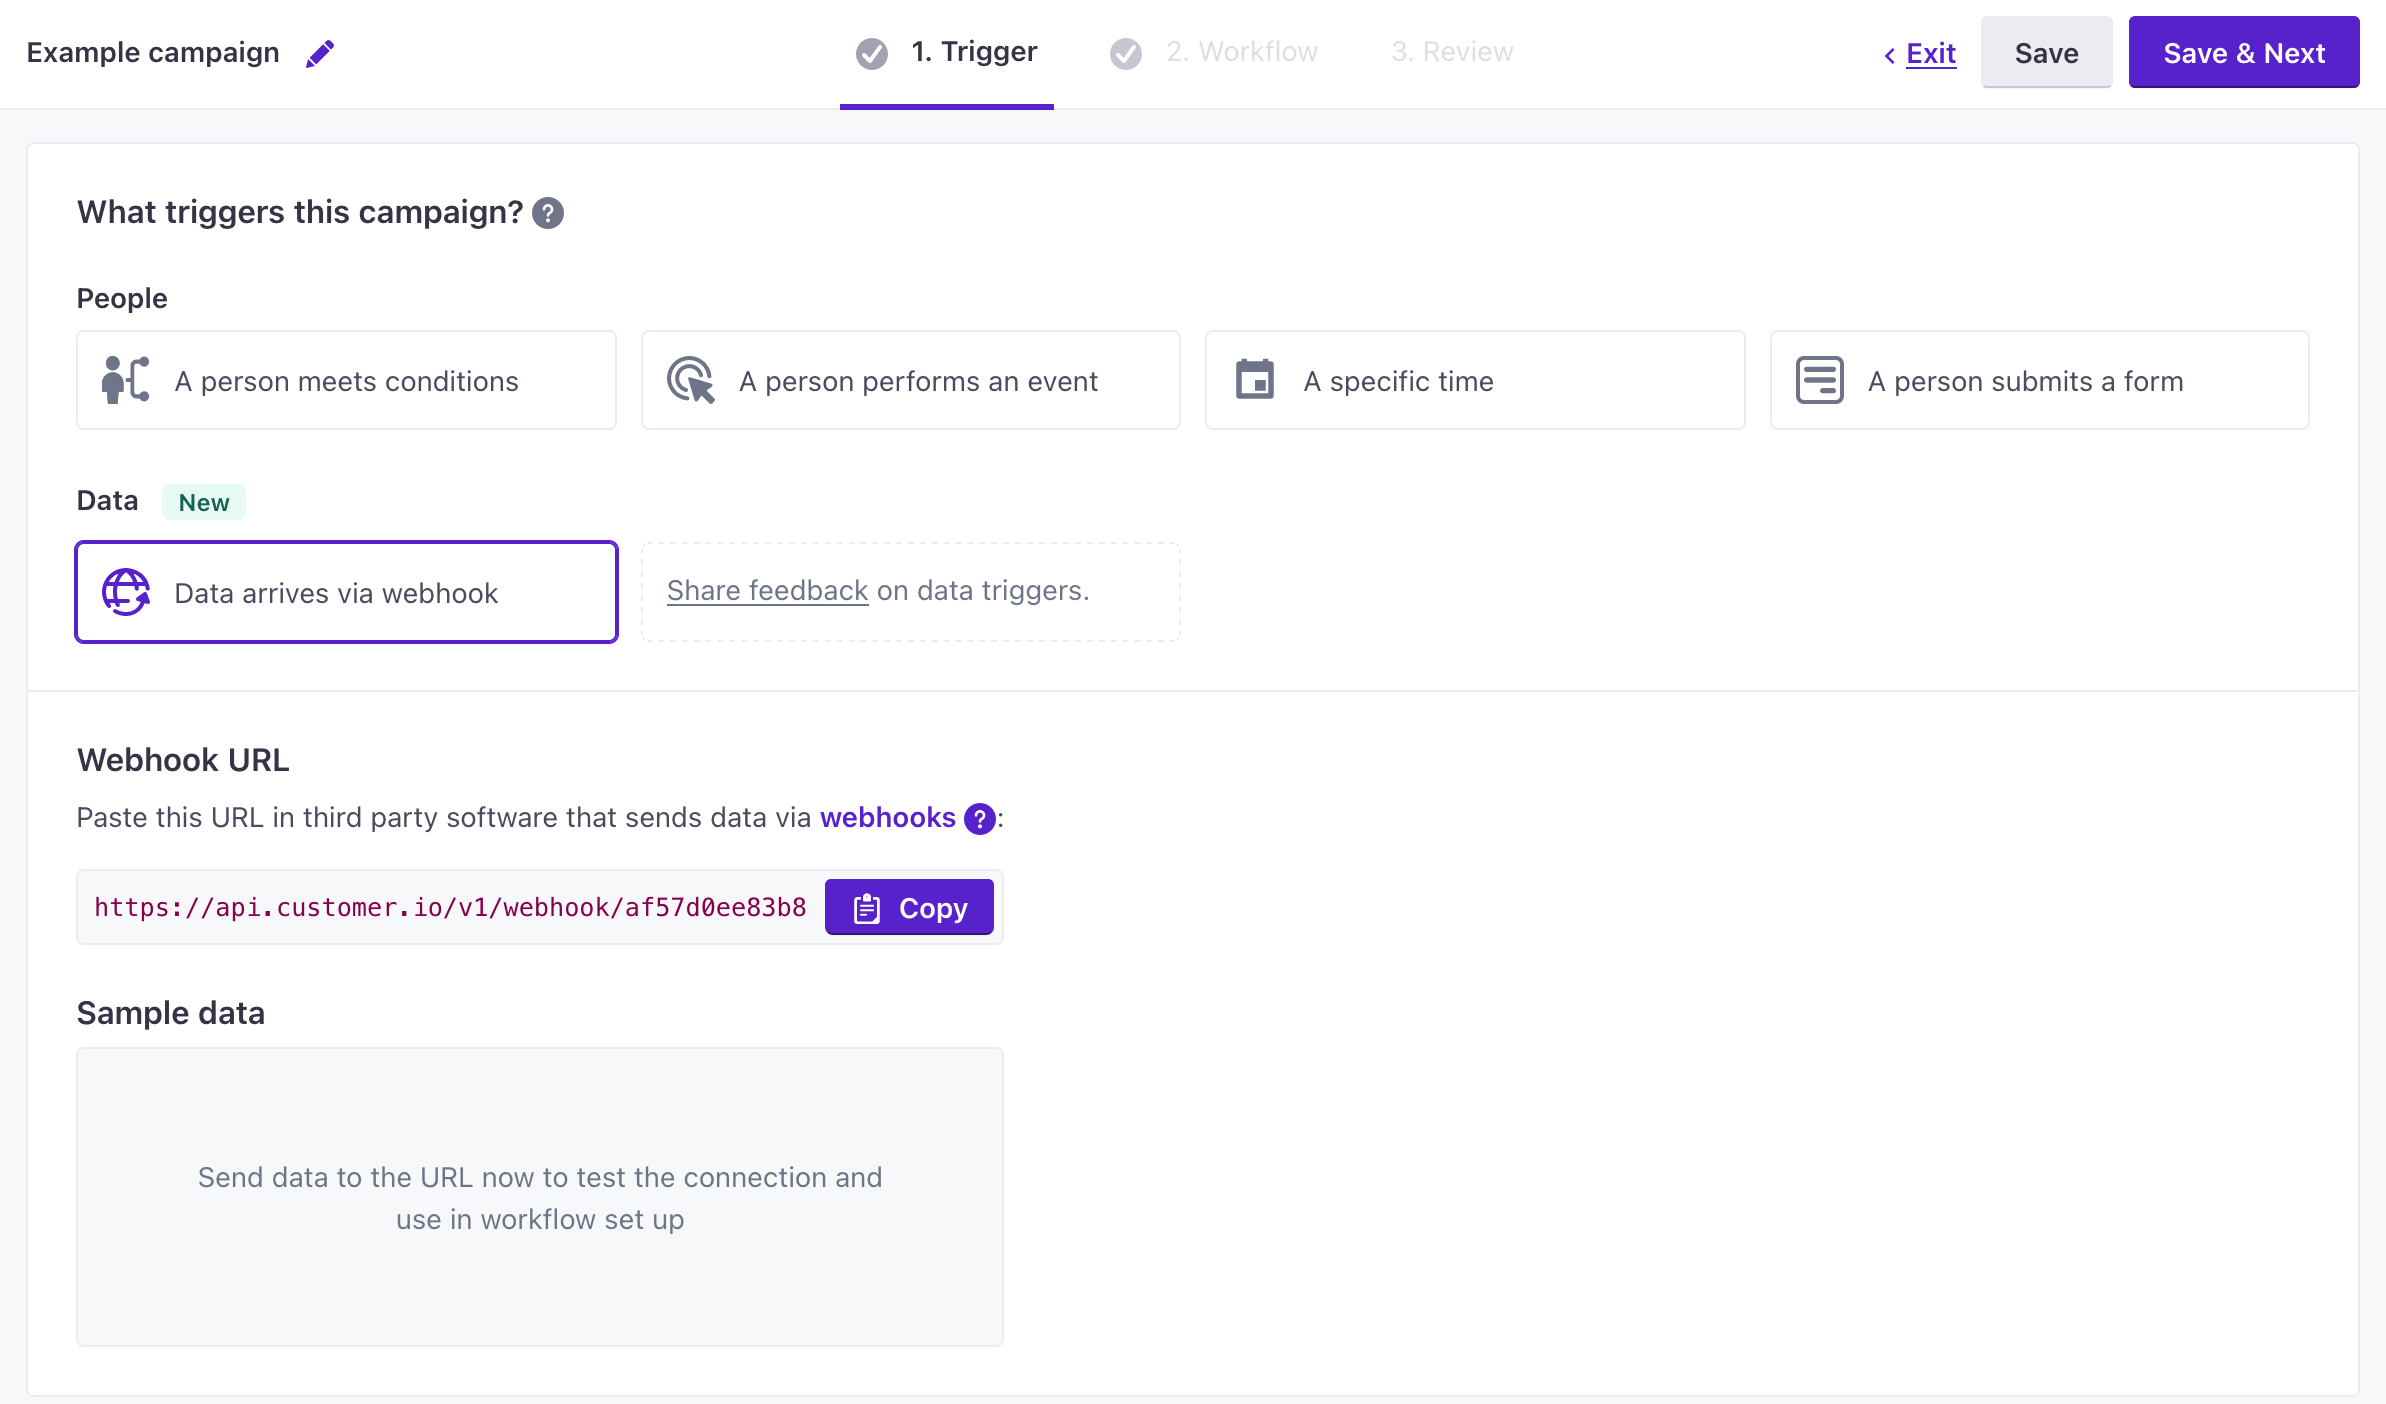
The Wait Until action now supports one or more delays including time windows, and lets you combine conditions within a path using And, Or, and nested groups.
Read more →Check out the latest features and fixes in Customer.io.
Want to see what we're working on? Take a look at our roadmap.
The Wait Until action now supports one or more delays including time windows, and lets you combine conditions within a path using And, Or, and nested groups.
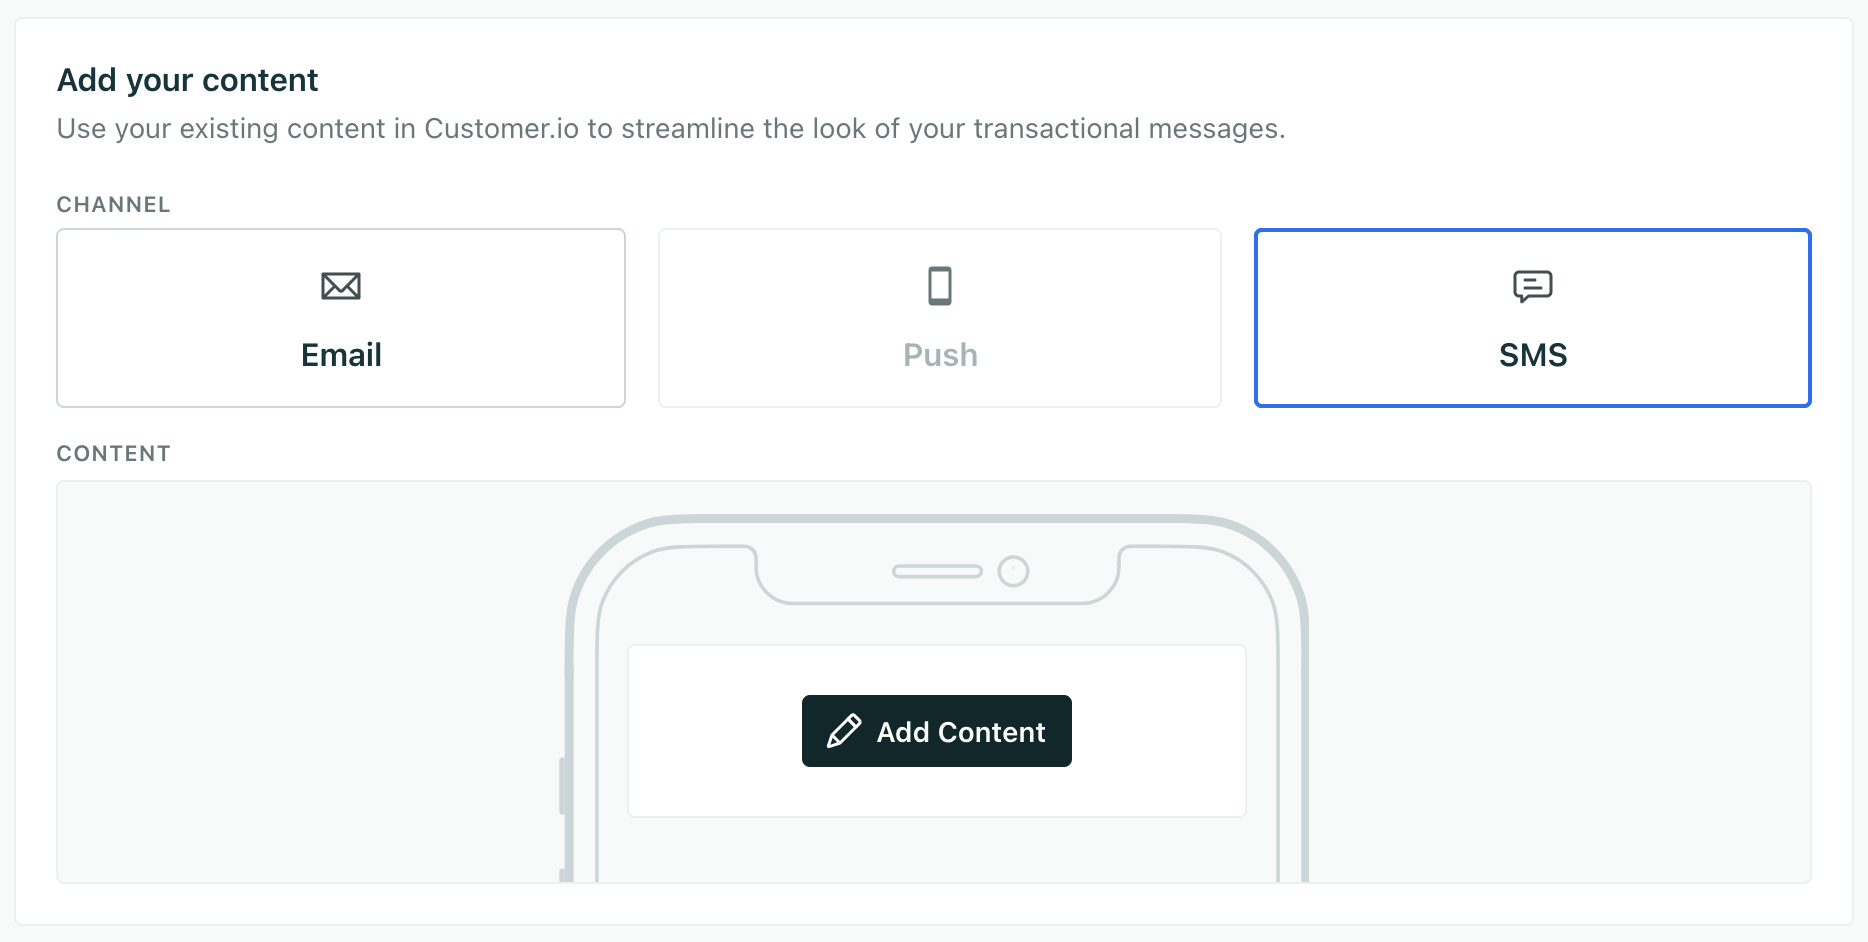
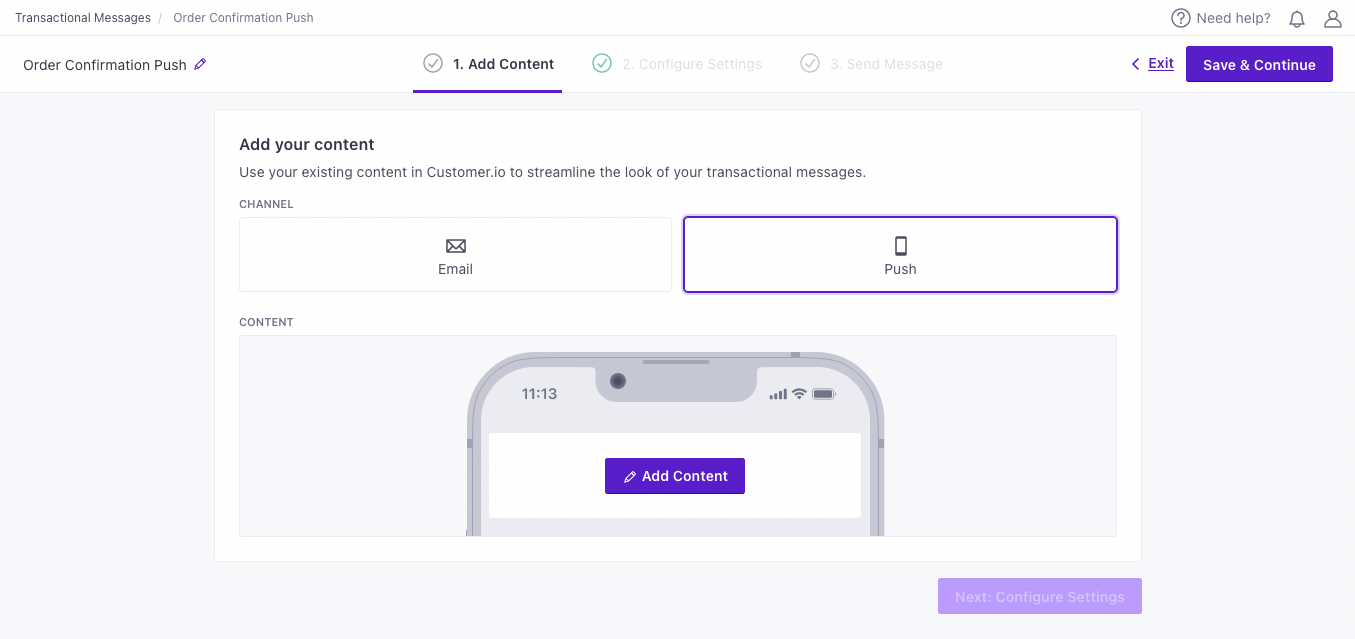
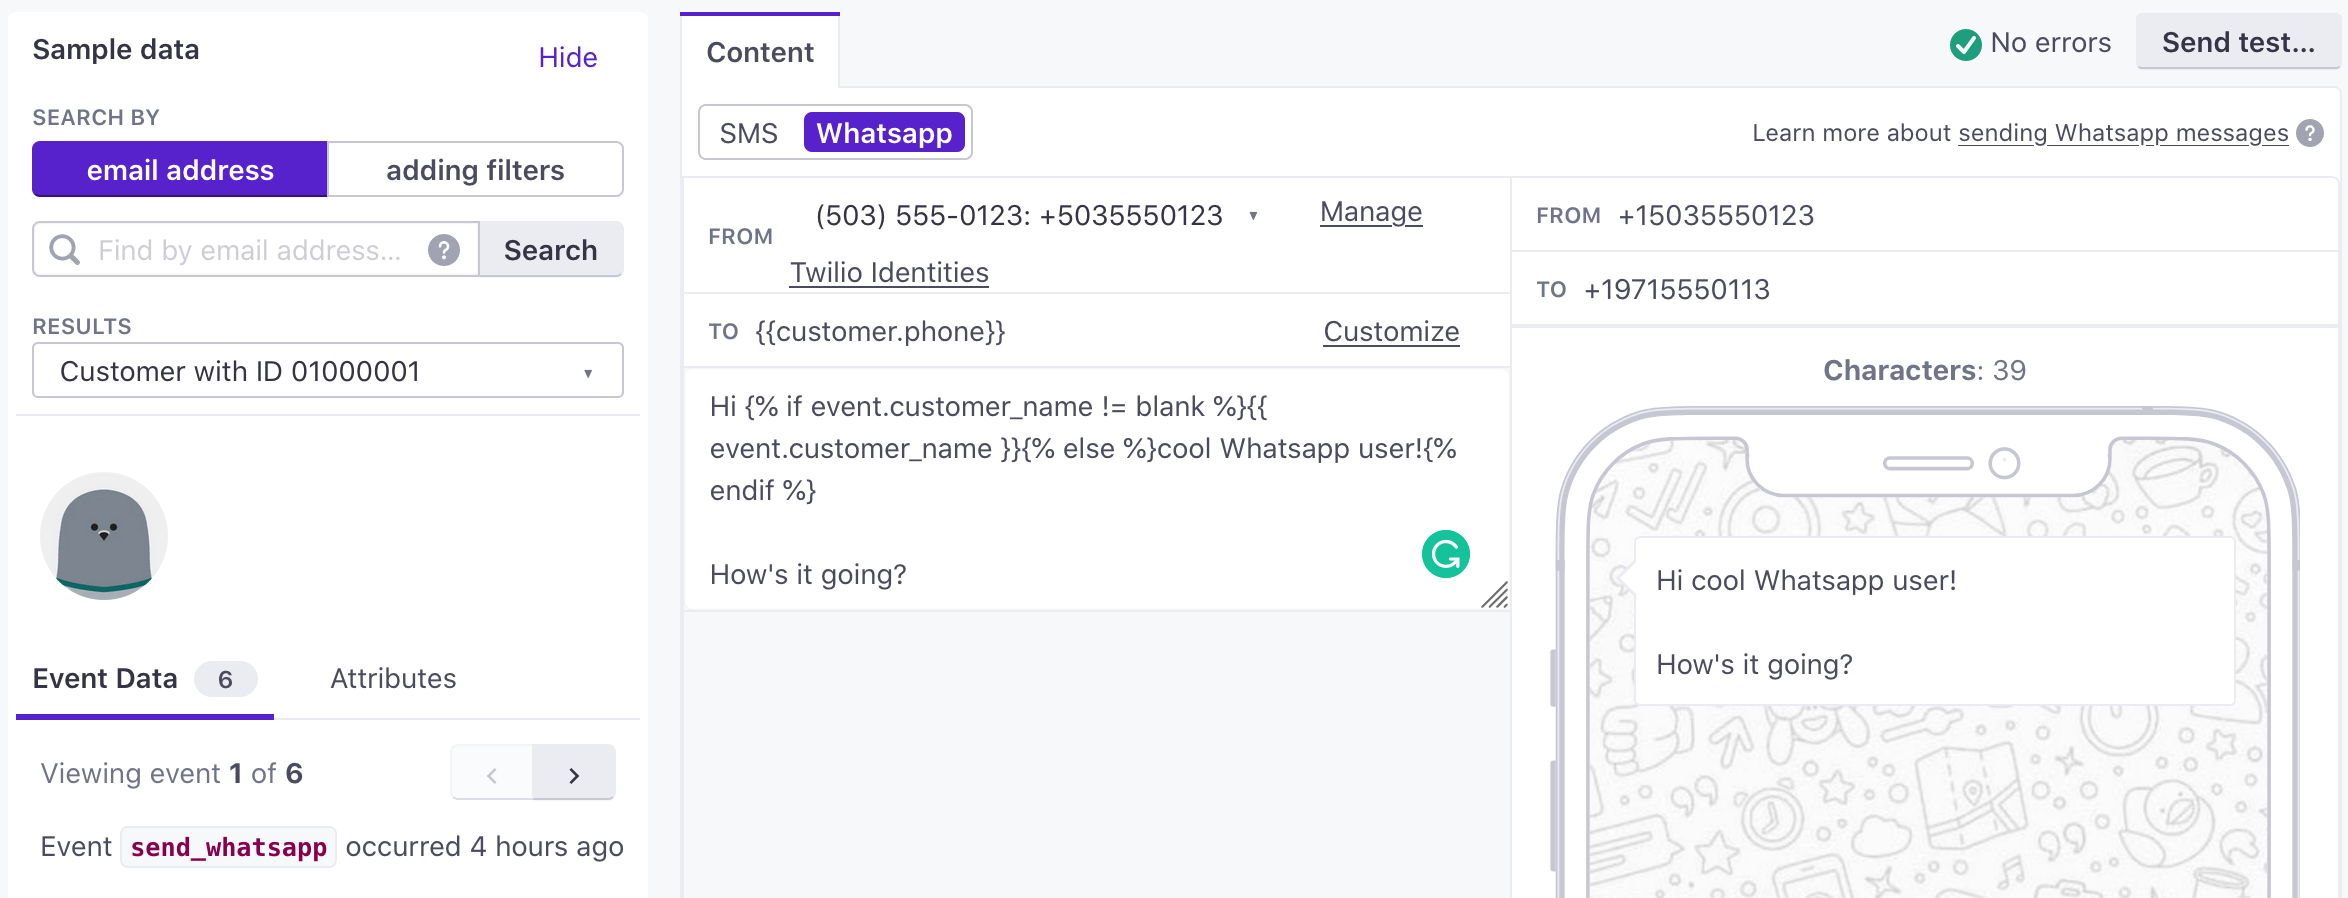
Read more →You can now trigger one-to-one WhatsApp messages—like order confirmations, appointment reminders, and verification codes—from your application using the transactional API.
Go to the docs →
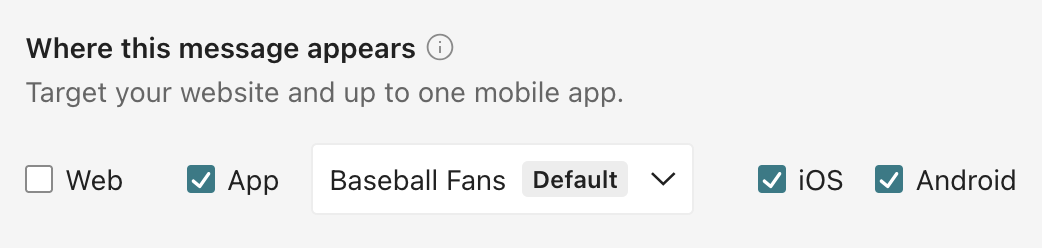
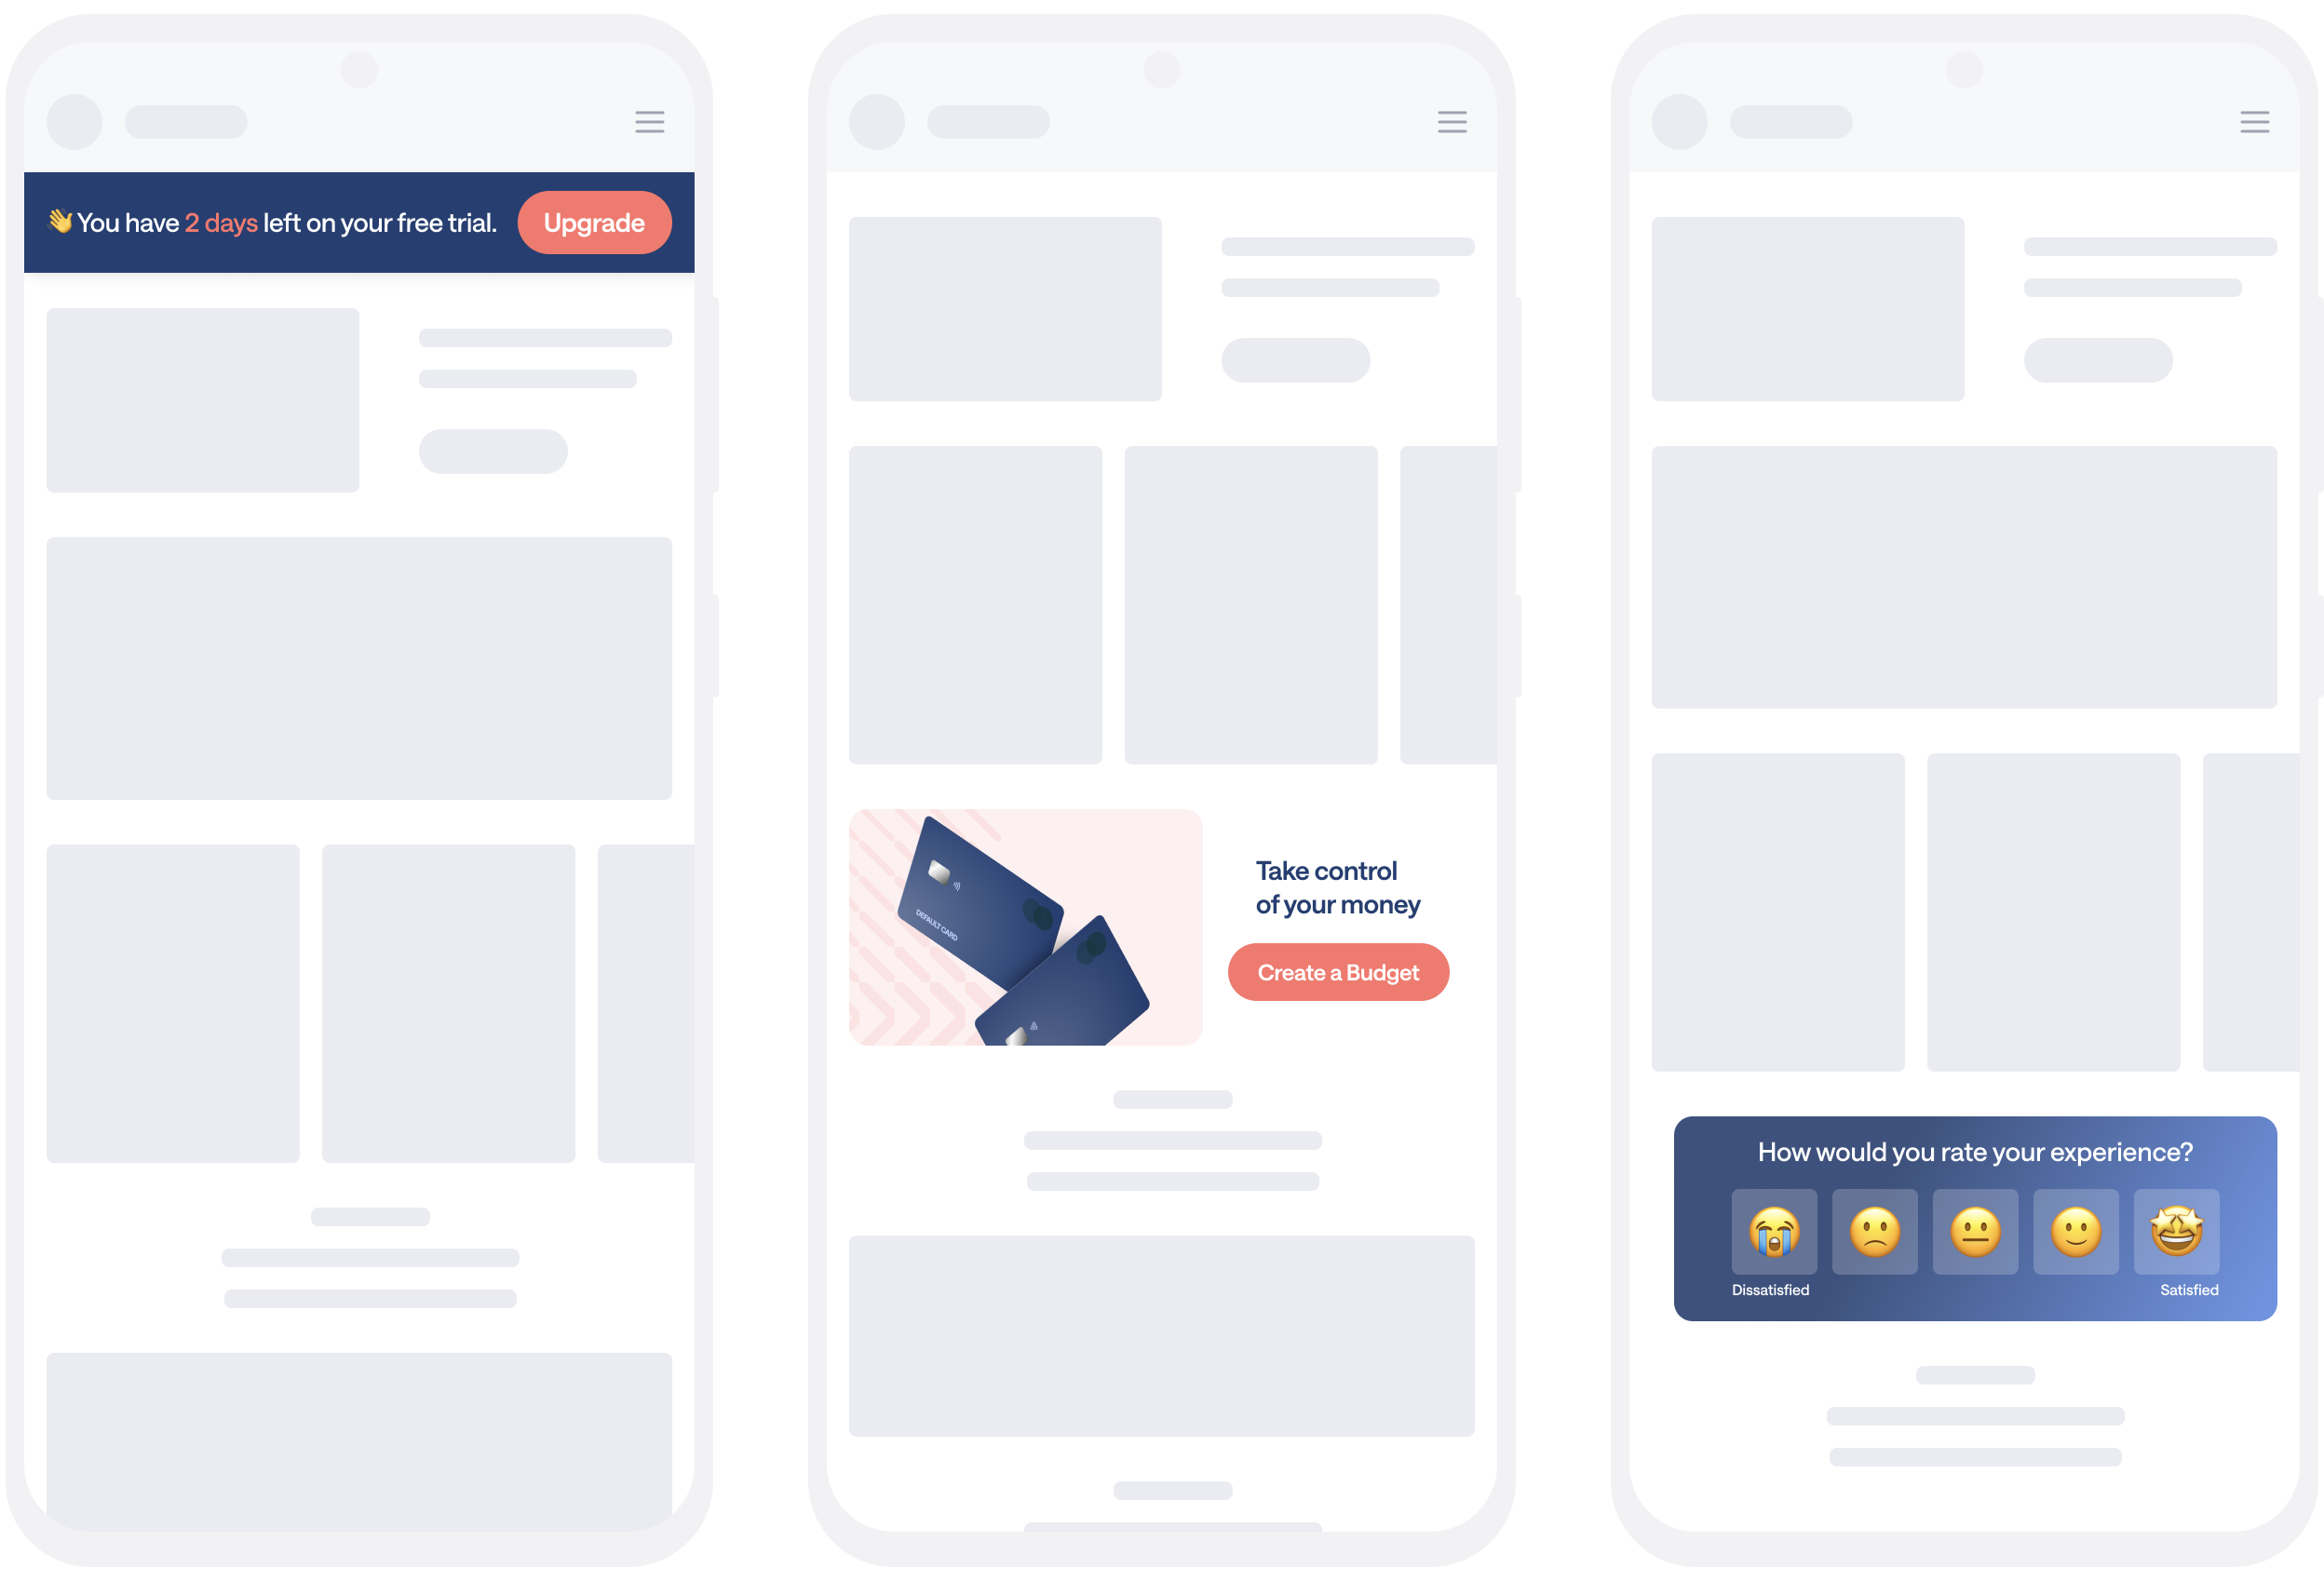
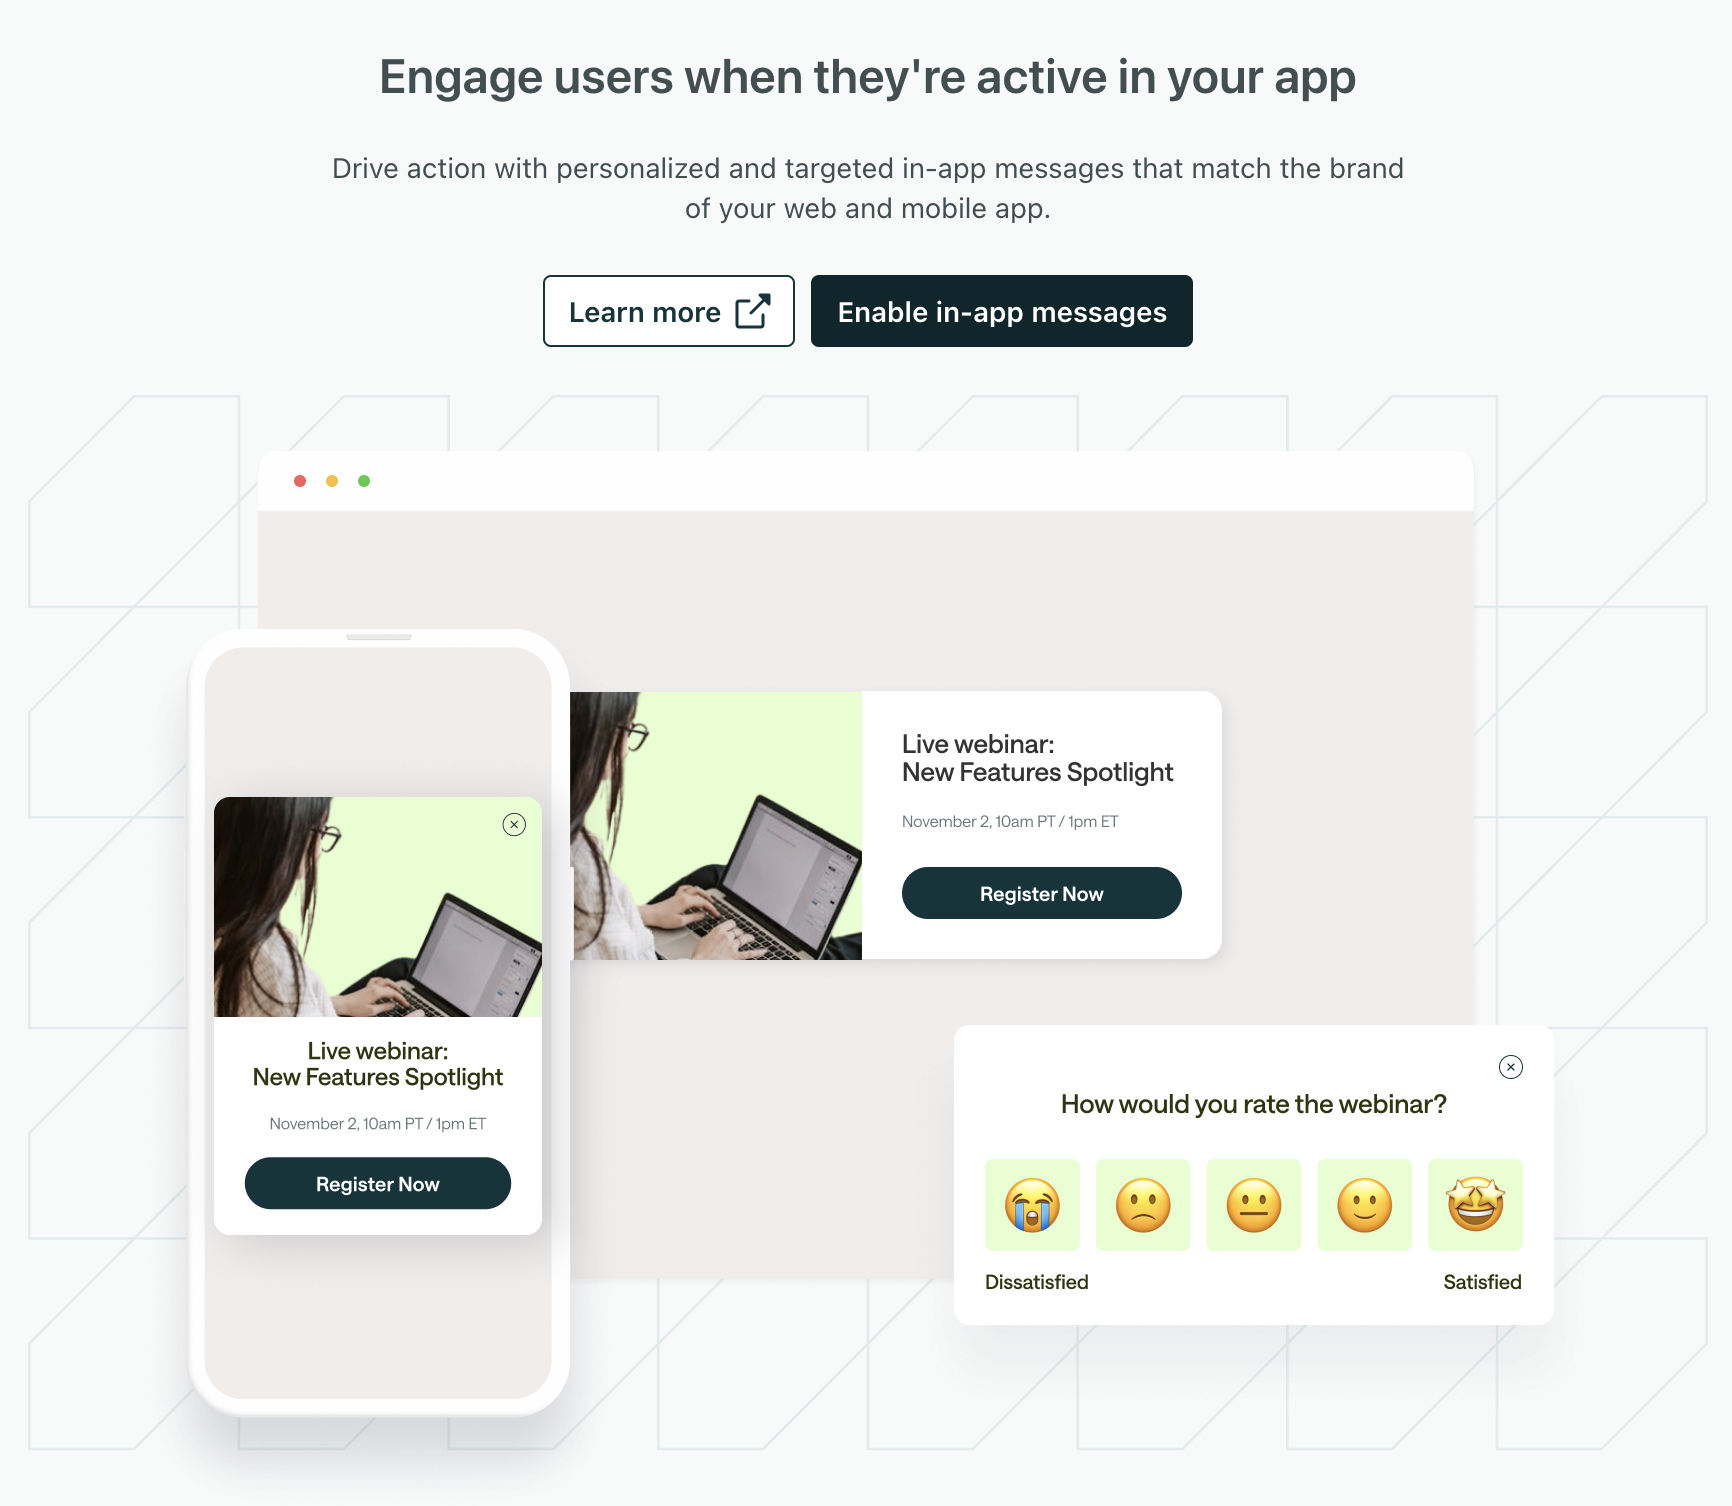
If you have multiple mobile apps with overlapping audiences, you can support both apps in the same workspace. When you send an in-app message, you can choose the apps and platforms you want to show your in-app message on—no more page-rule workarounds or separate workspaces to keep messages out of the wrong app.
If you have multiple apps in your workspace, in-app messages will show a Where this message appears setting. From here, you’ll choose the app your message belongs to and the platforms where you want to show it.
You’ll need to update your mobile SDK to support this feature. If you have multiple apps that you manage across workspaces today, and you want to consolidate them to a single workspace, you need to wait until a significant number of devices have updated to the new SDK version before you consolidate workspaces.
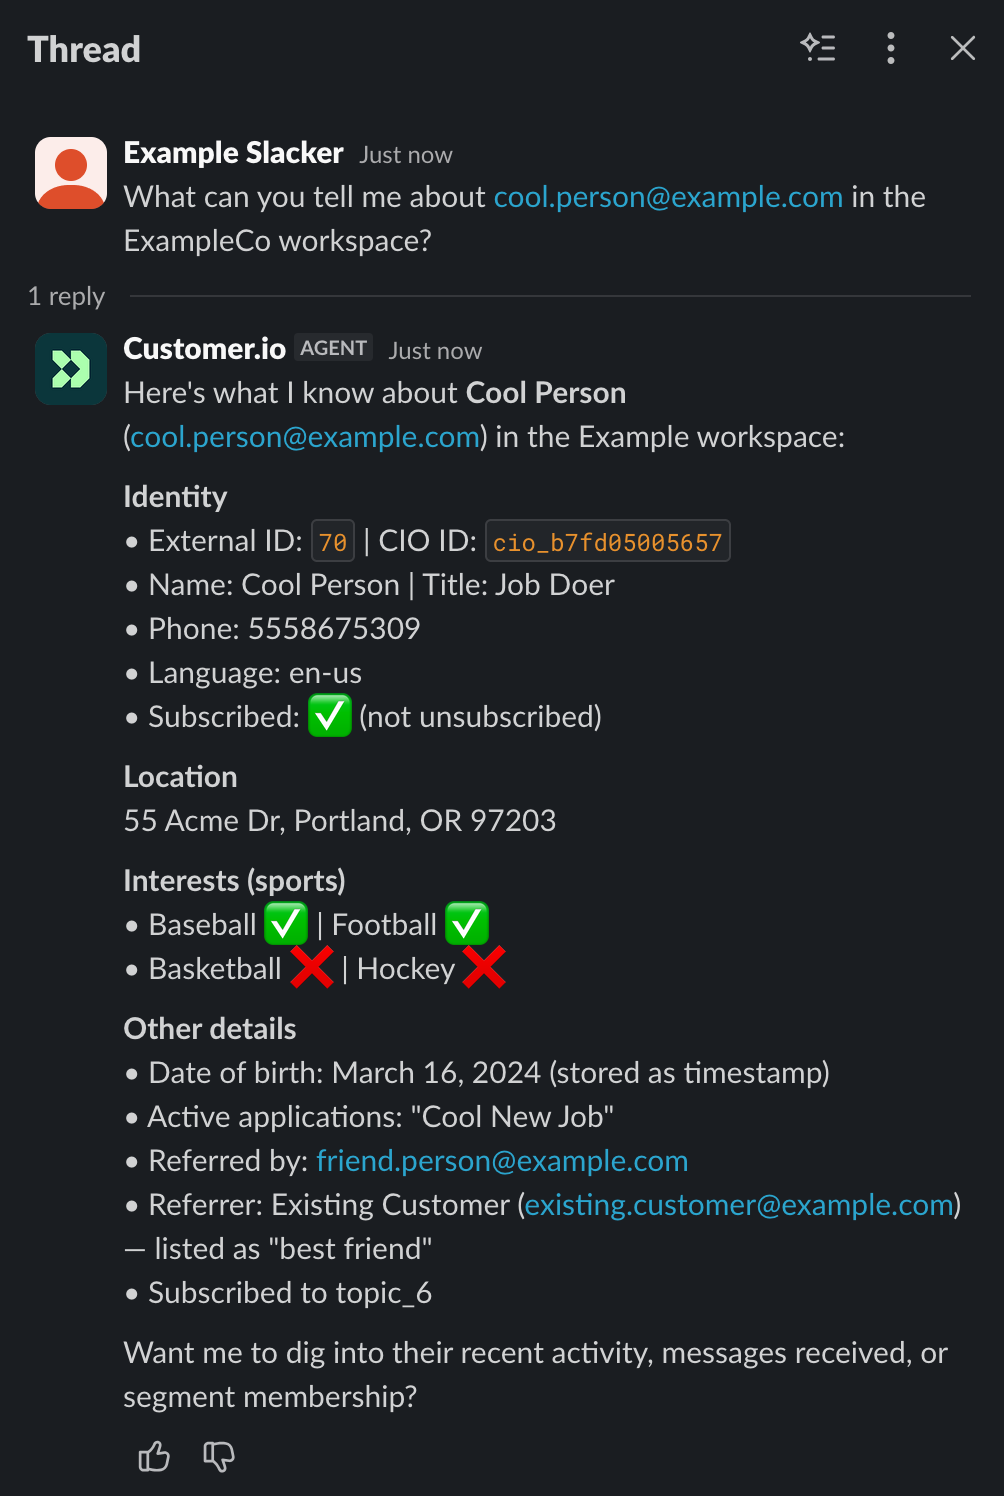
The Customer.io AI agent now works in Slack. You can @Customer.io in a thread to ask it questions about your data and workspace. Or you can message it directly and give it work—without opening Customer.io.
With the Customer.io Slack app, Customer.io becomes another collaborator in your work. You can have a conversation about the messages you want to send and hand the work off to @Customer.io all in one place.
We’re rolling the Customer.io Slack app out to accounts through August 22. If you don’t see Slack Agent options in your settings yet, it’s on the way.
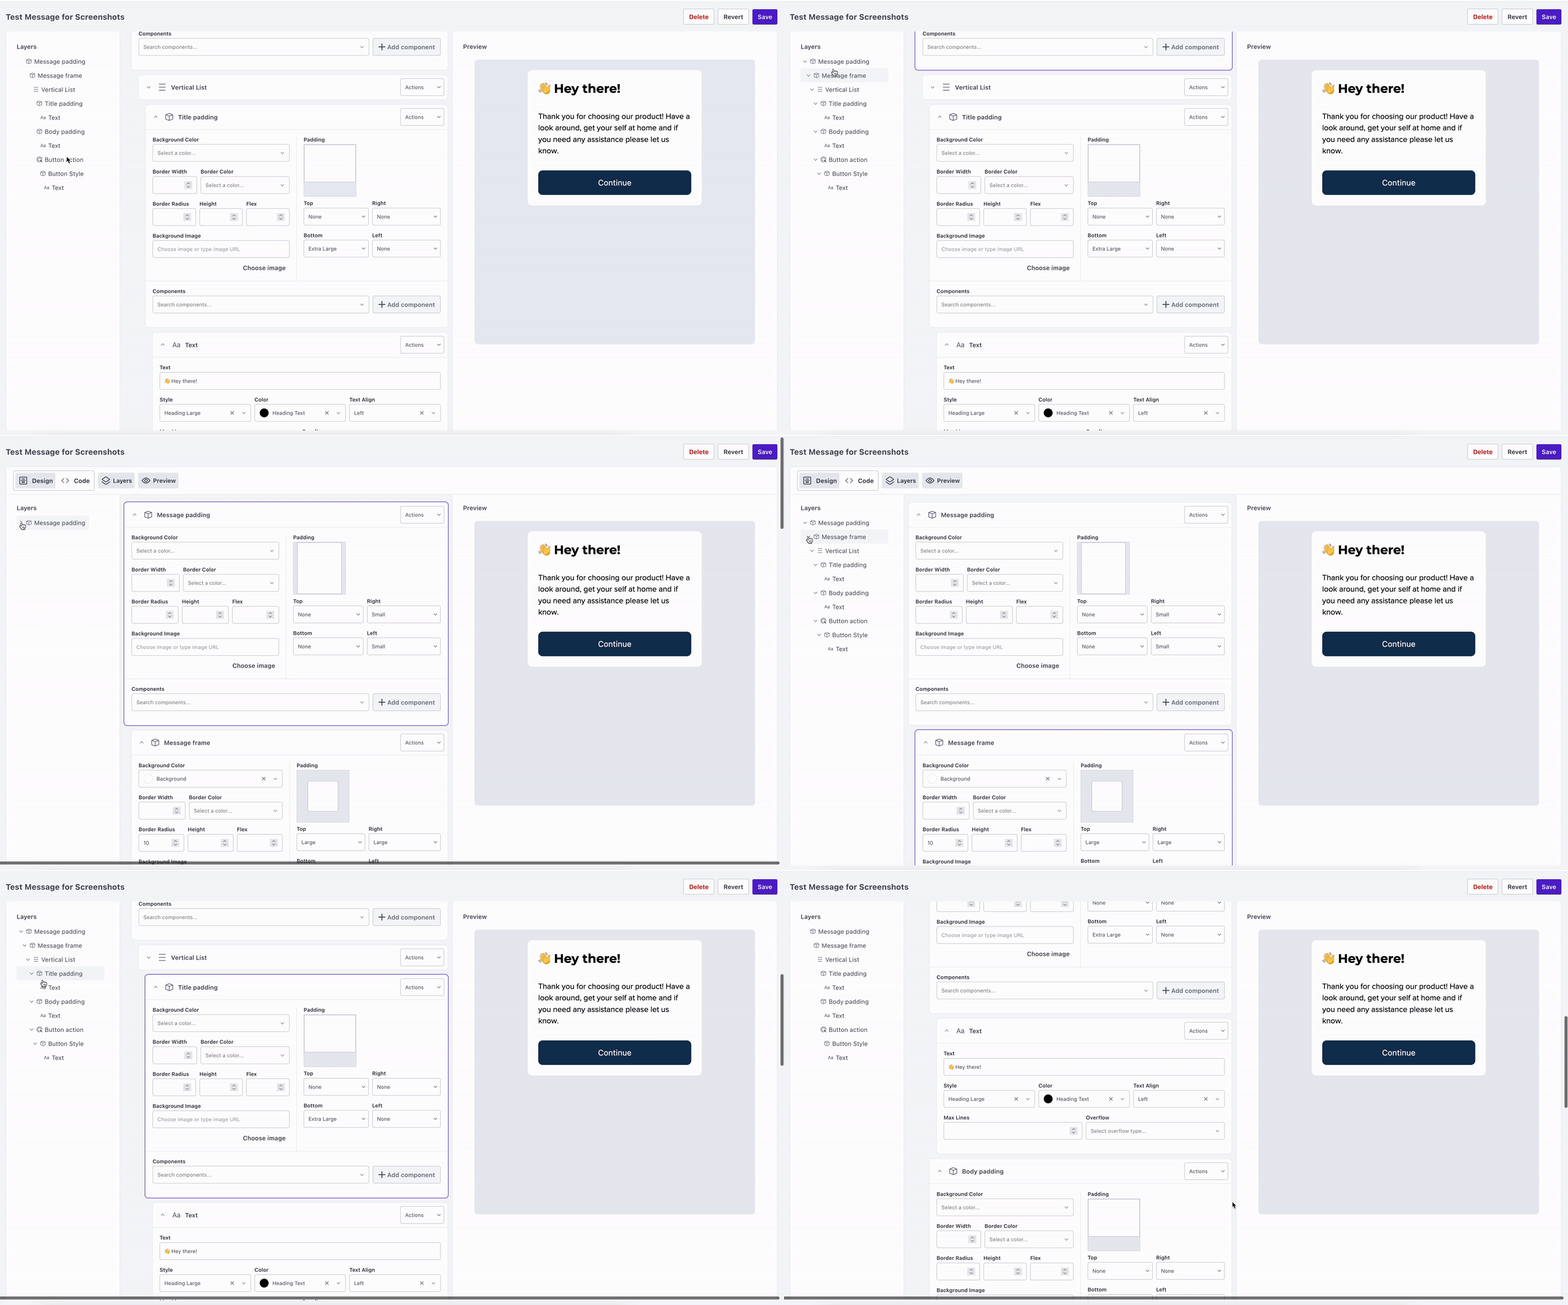
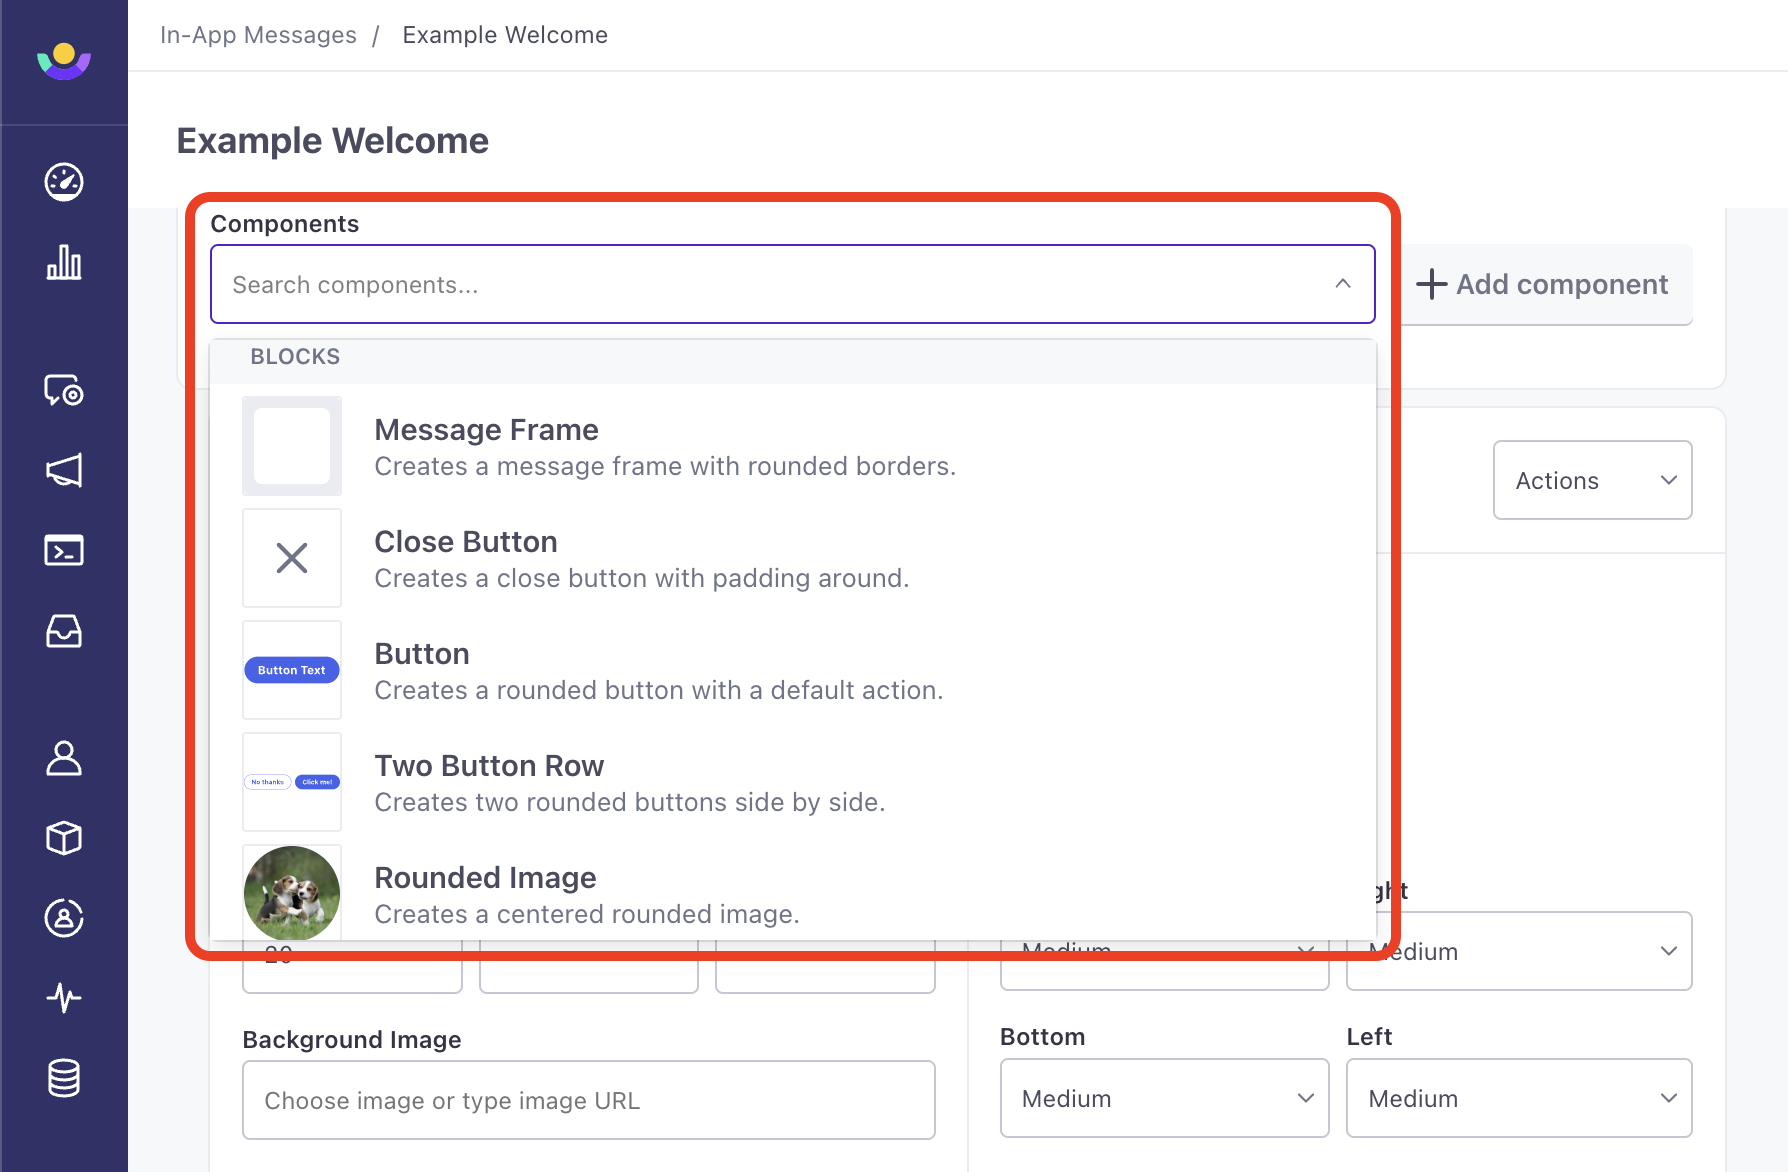
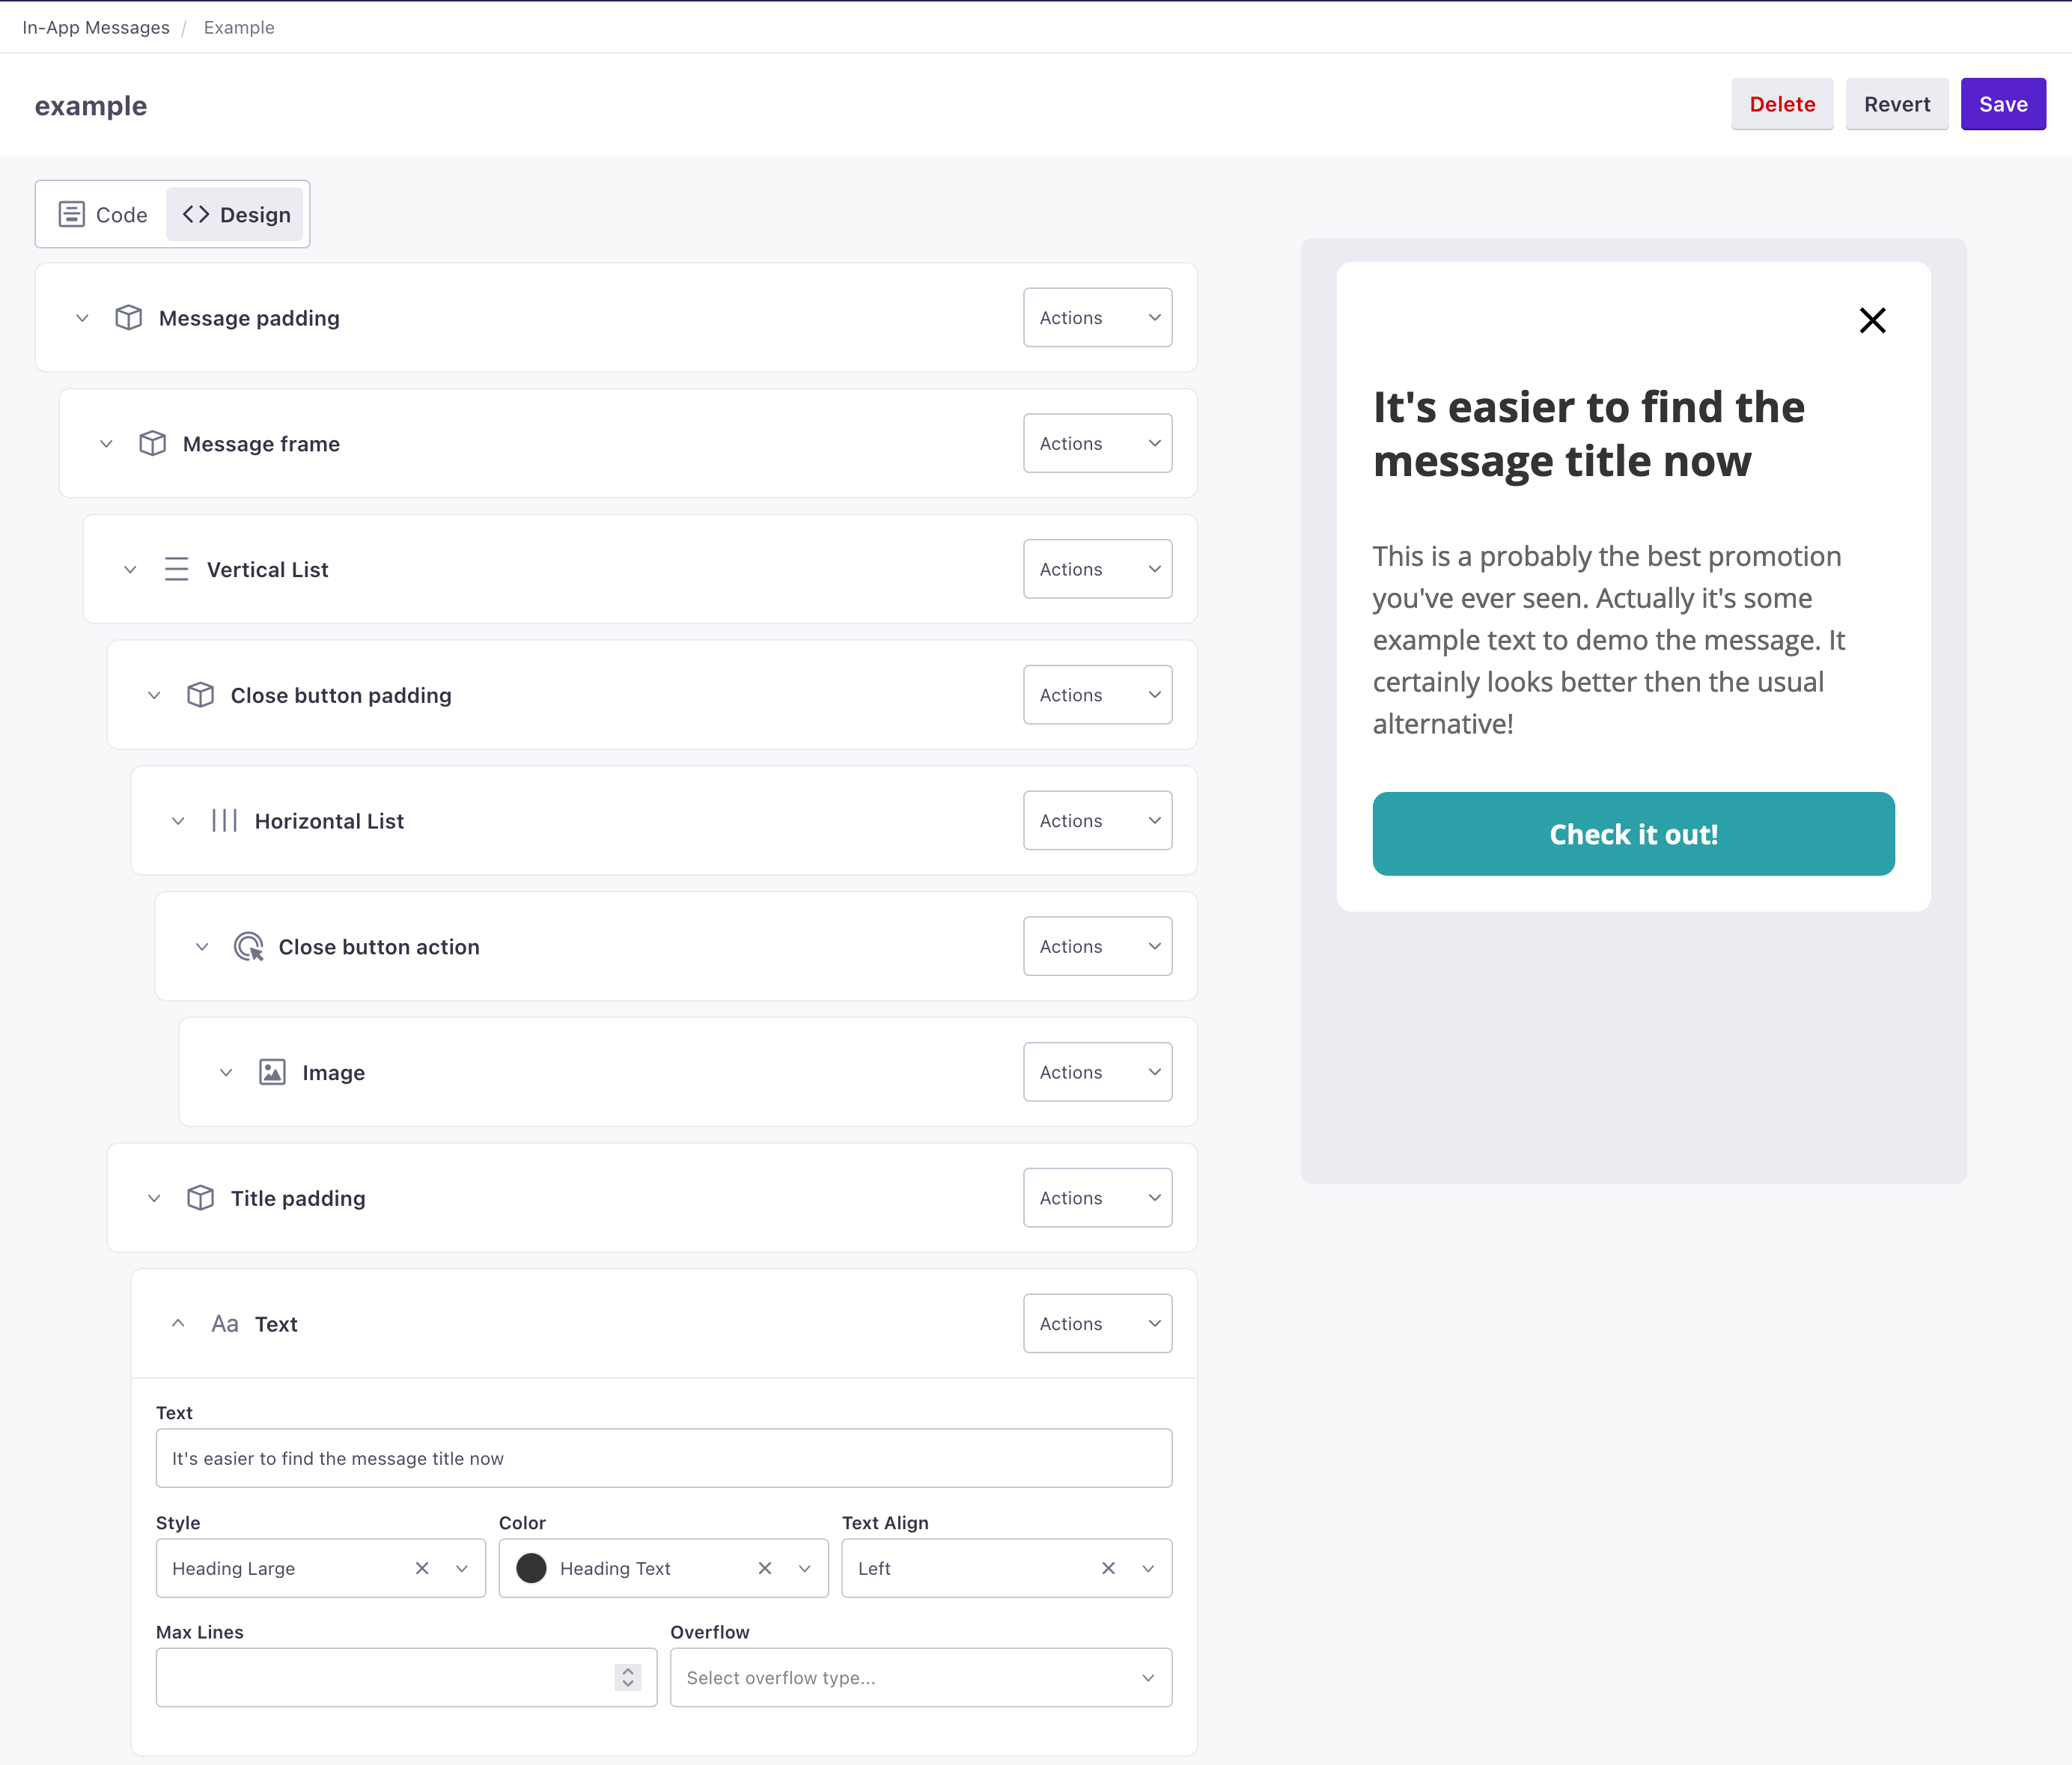
Edit your components more intuitively with slash commands to add blocks, shortcuts to navigate and resize elements, and the ability to click and drag items from any part of the component, not just the handle.
Go to the docs →
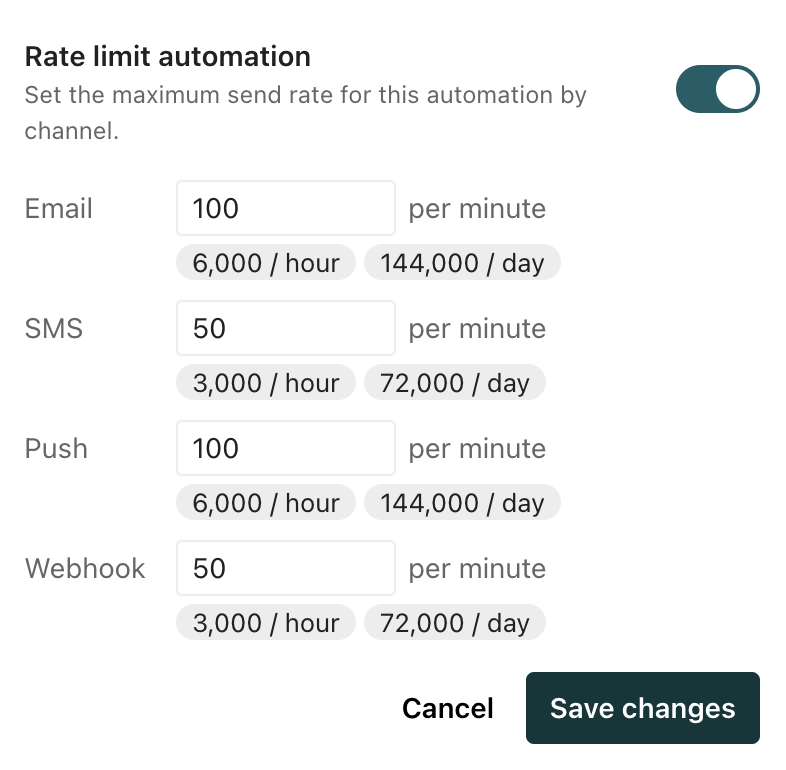
You can now add a rate limit per channel for each of your automations and API-triggered broadcasts. You might add a rate limit to protect your email sender reputation or to prevent overwhelming your downstream systems.
To account for rate limits, you can now enable Wait before continuing journey for any message to make sure people receive your messages before moving forward in your automation.
You can now bring your own provider for SMS messages! Previously, you could only integrate with Twilio or work with Customer.io to set up sending with SMS. You can integrate with one or more providers per workspace to make it easier to message people across different regions or subaccounts.
Go to the docs →
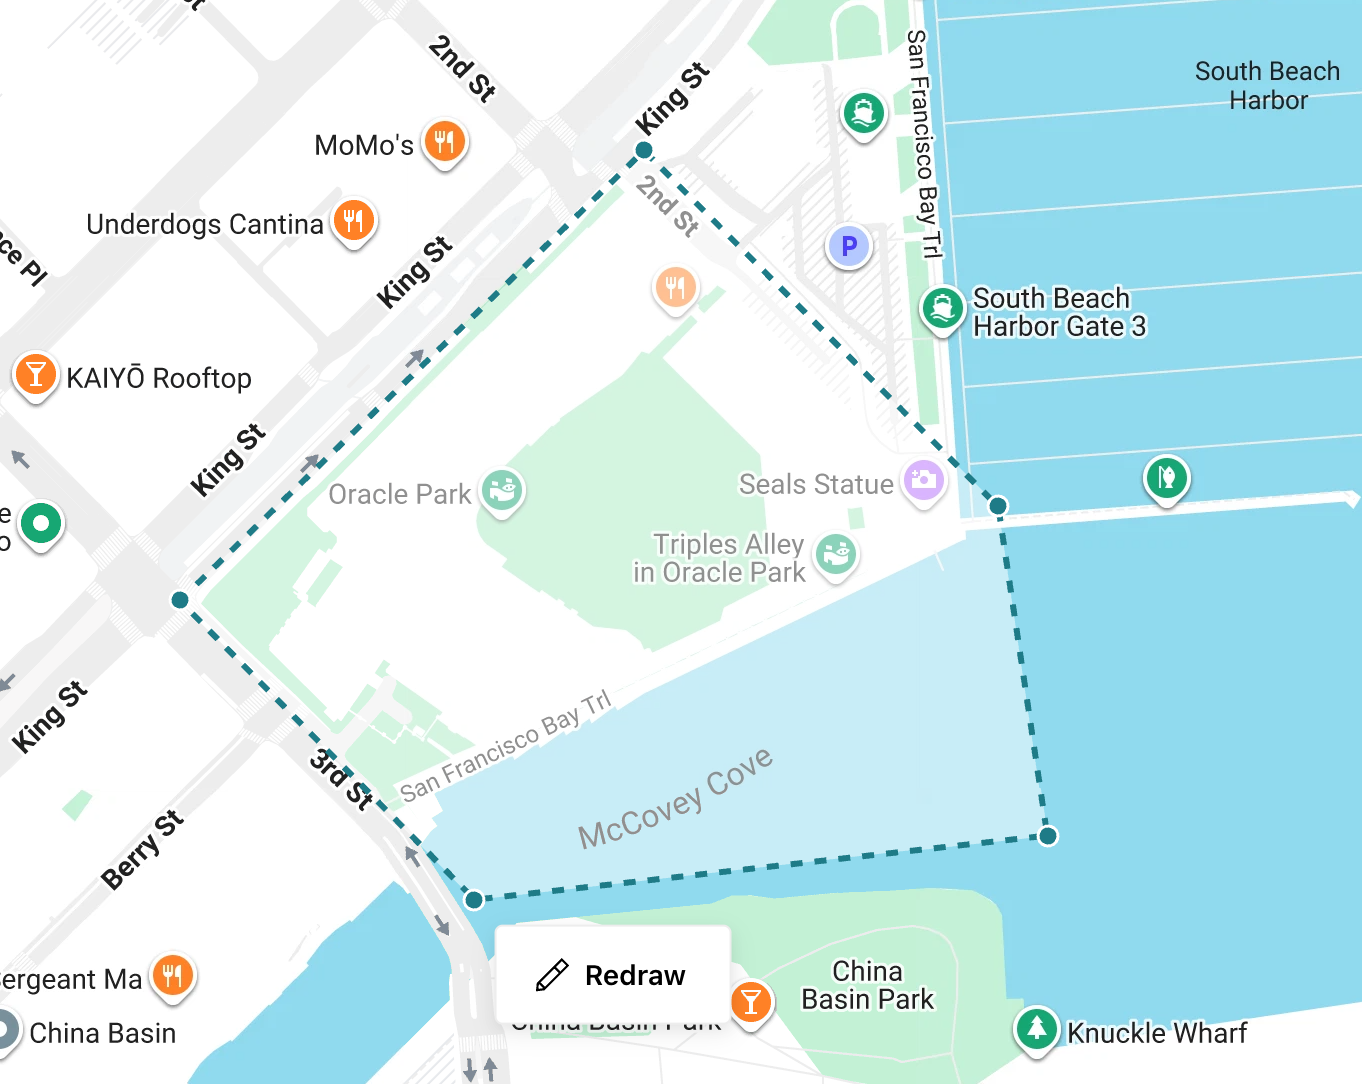
You can now trigger workflows when a person enters or exits a physical location, like a store, a parking lot, a venue, and engage them across any of your message channels. Geofencing helps you send timely, location-aware messages without building custom location logic or relying on a third-party geofencing integration.
Geofences are available on Premium and Enterprise plans. You can trigger automations, group people into segments, and add geofence conditions to wait actions in automations. You can track when people enter or exit a geofence in their activity logs.
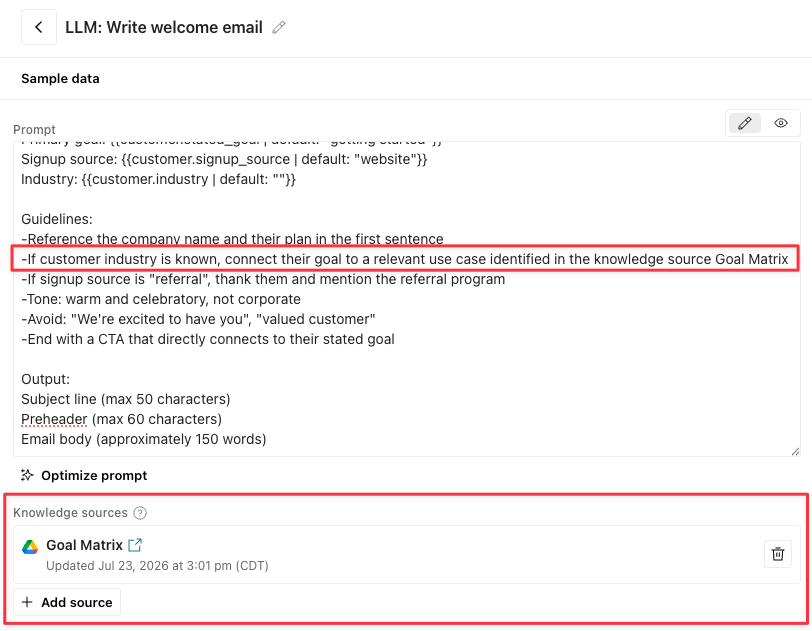
You can now attach a file, a Google Drive doc, or query recent events as a knowledge source and reuse it across LLM actions, instead of pasting the same text into every prompt. Reference the knowledge source name in the prompt to tell the LLM how to use it.
Save any source to the workspace-scoped Knowledge Library and attach it to one or more actions.
Knowledge sources are also available to the Agent if you want to use them as context for other requests.
This summer, we released more than ten new features, including geofences, live notifications, an in-app notification inbox, and expanded support for SMS providers. Read on for an overview of everything that's new.
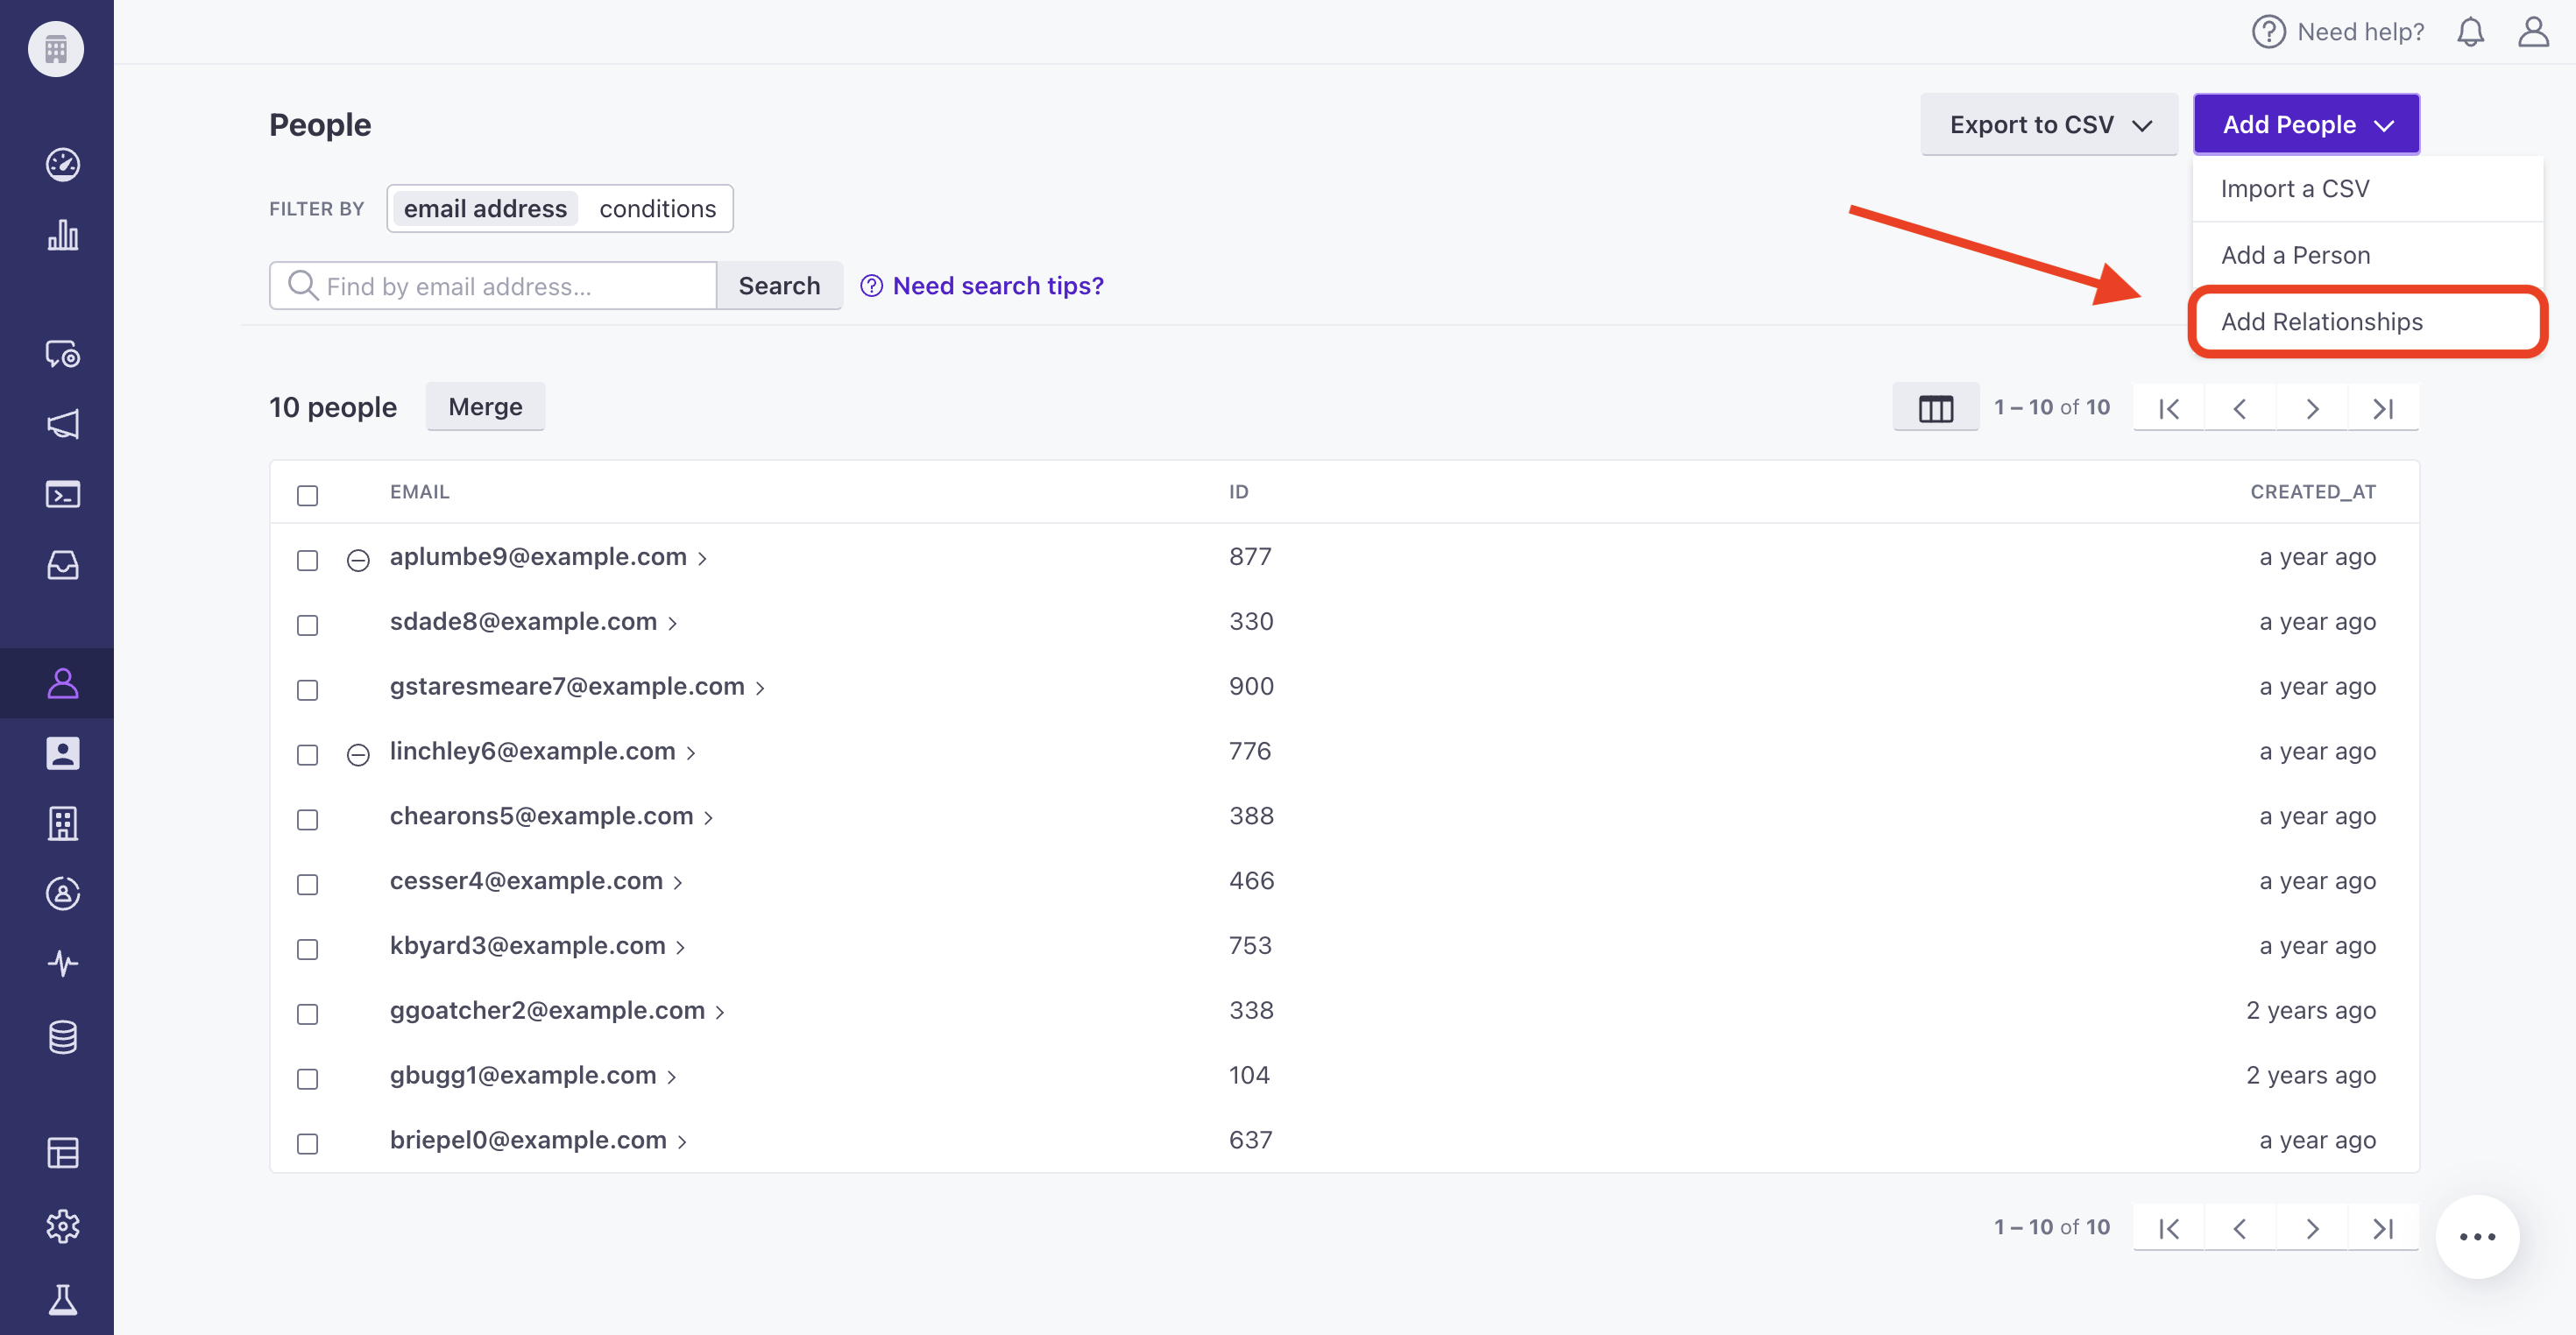
Go to the docs →We're starting to enable support for multiple mobile apps per platform so you no longer need to duplicate or split audiences across workspaces. You can register each app with its own credentials, send pushes through a specific app, and create segments to group profiles by the apps they use.
Read more →
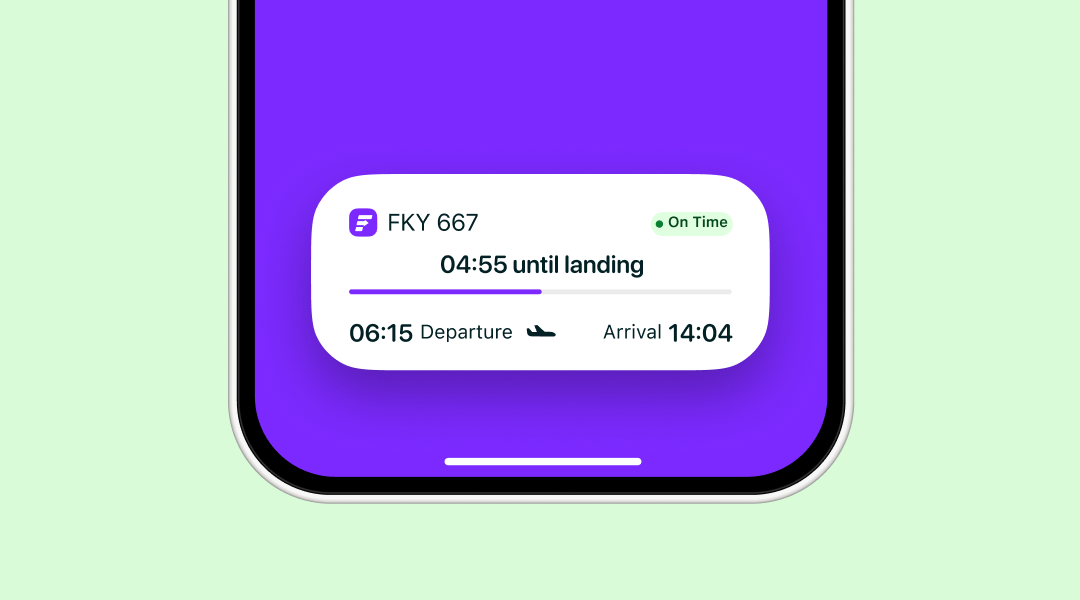
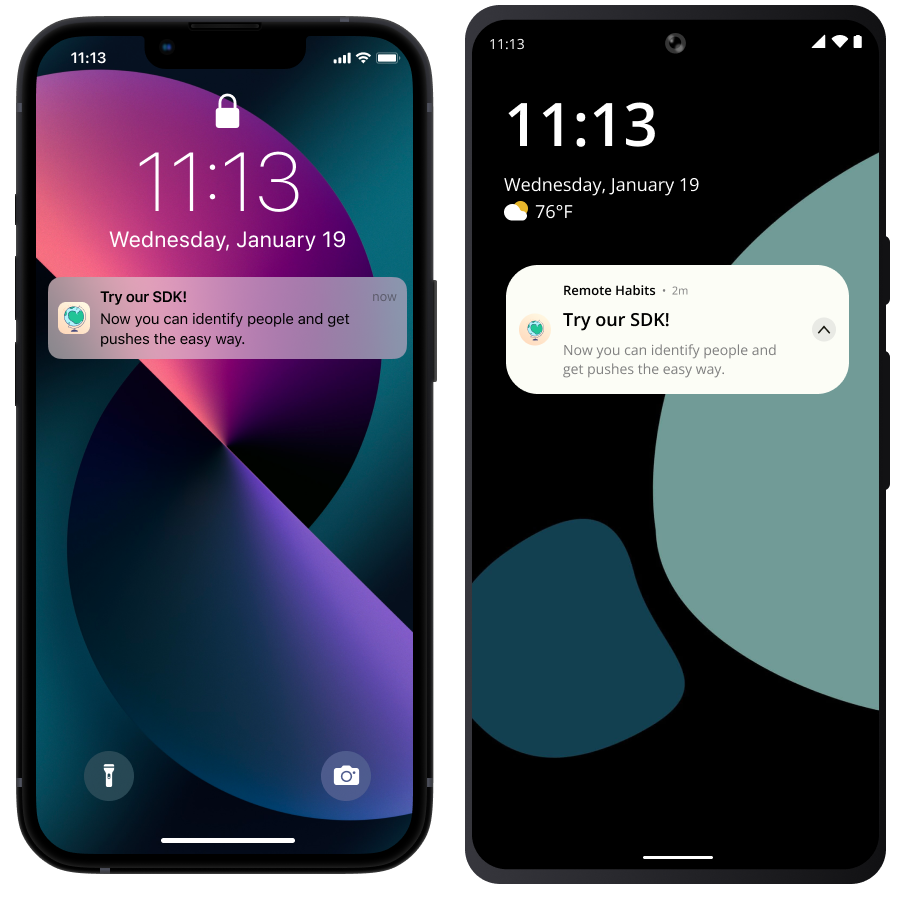
Live notifications let you push real-time, continuously updated notifications to your customers' devices, like a delivery tracker or a countdown to an event. On iOS, they render as Live Activities on the Lock Screen and in the Dynamic Island; on Android, they appear in the notification shade with Android 16's Live Updates treatment.
Read more →
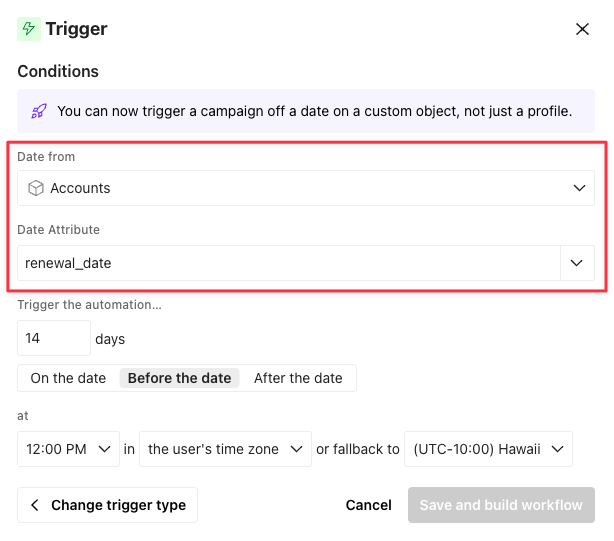
You can now trigger an automation off a date attribute on a custom object. This means you can send messages relative to a date stored on an object, like trigger reminder campaigns based on reservations or membership renewals, and avoid storing duplicate data on people's profiles!
To get started, choose the trigger type Important date and select the relevant object type. Narrow your audience further by adding Filters and Audience settings.
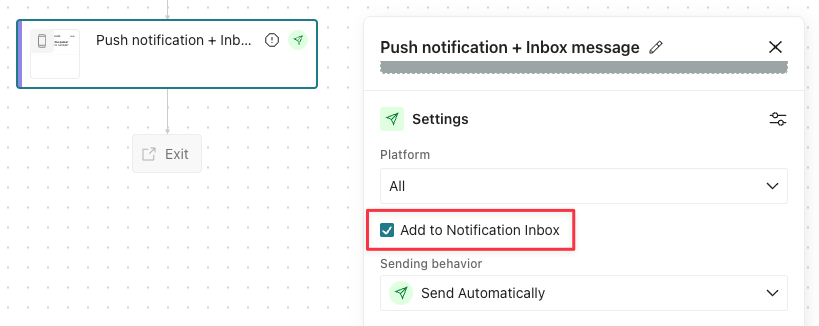
When you send a push notification, you can now add a copy of it to your notification inbox. This way, people can revisit the message after dismissing the push or still receive your message if they don't have a device that can receive it.
Push notifications are easy to miss: people dismiss them by accident, or don’t have a device that can receive them. Now you can give any push a home in your notification inbox.
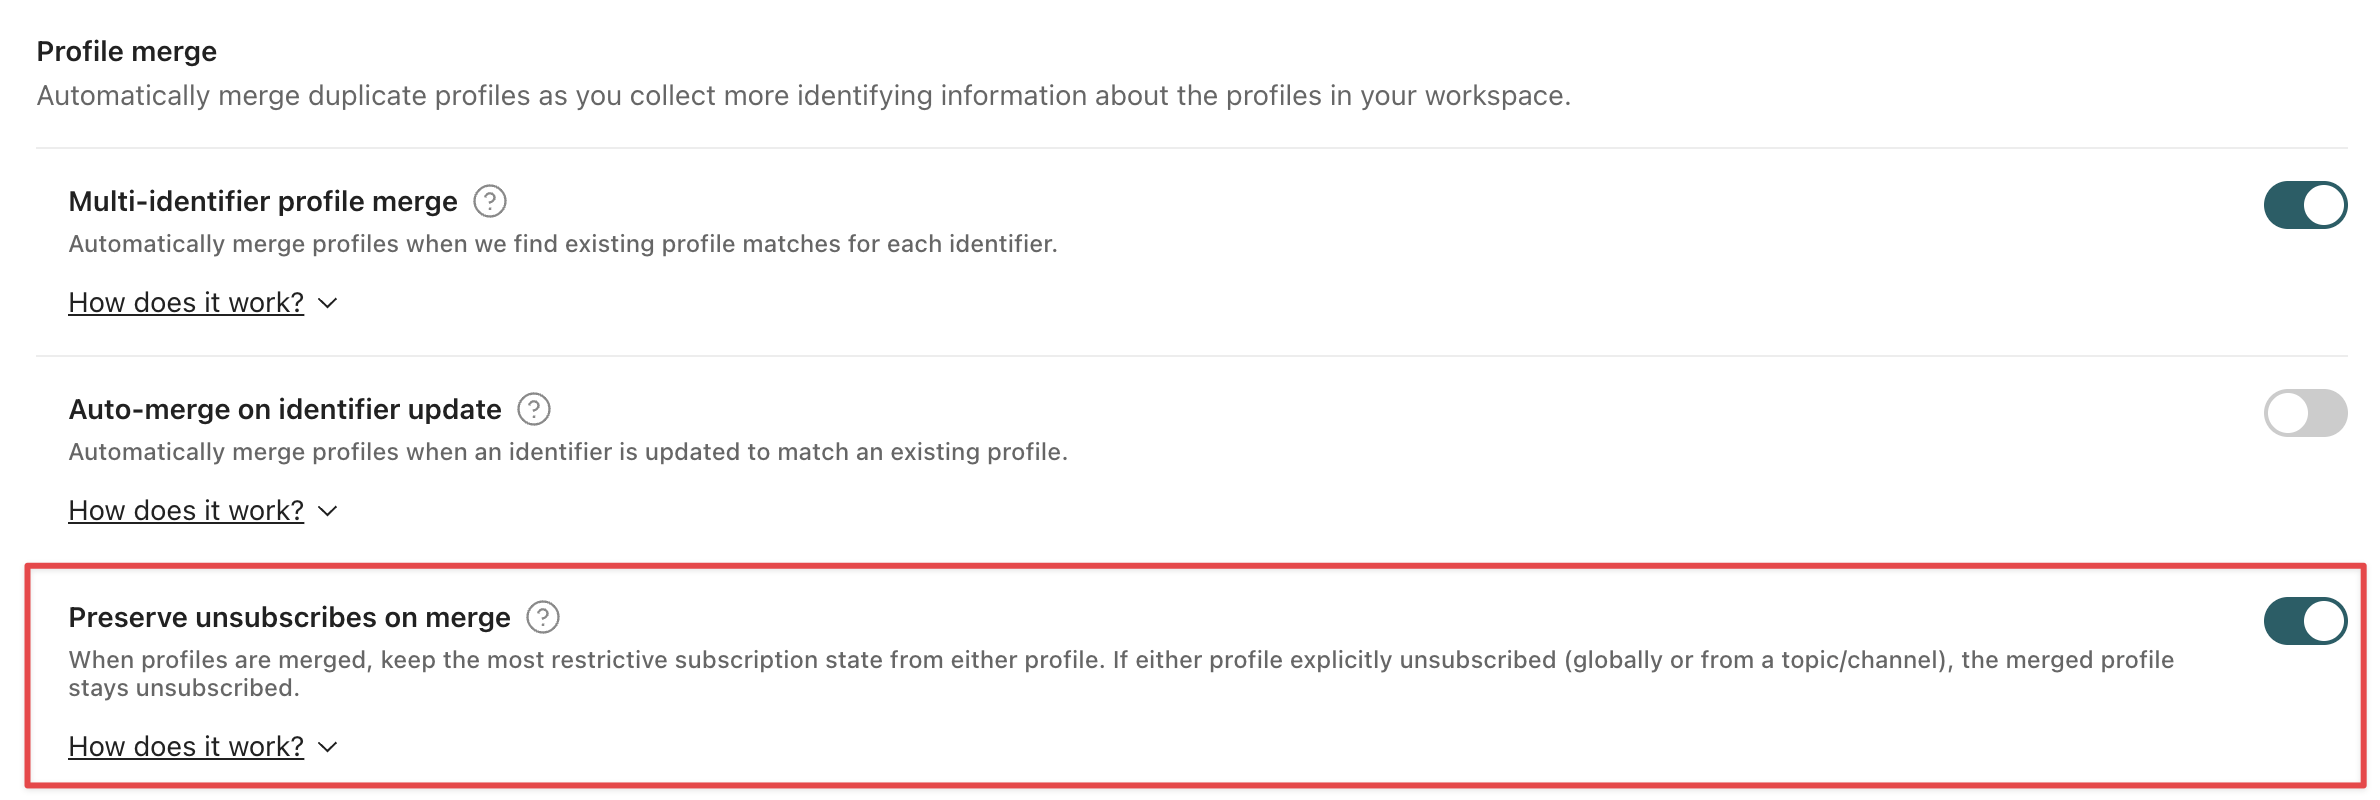
When you merge profiles, the primary profile's settings take precedence over the secondary profile's settings. However, now you can update your workspace merge settings to preserve unsubscribe preferences no matter which profile is primary. This helps prevent you from messaging people who opted out.
Go to the docs →
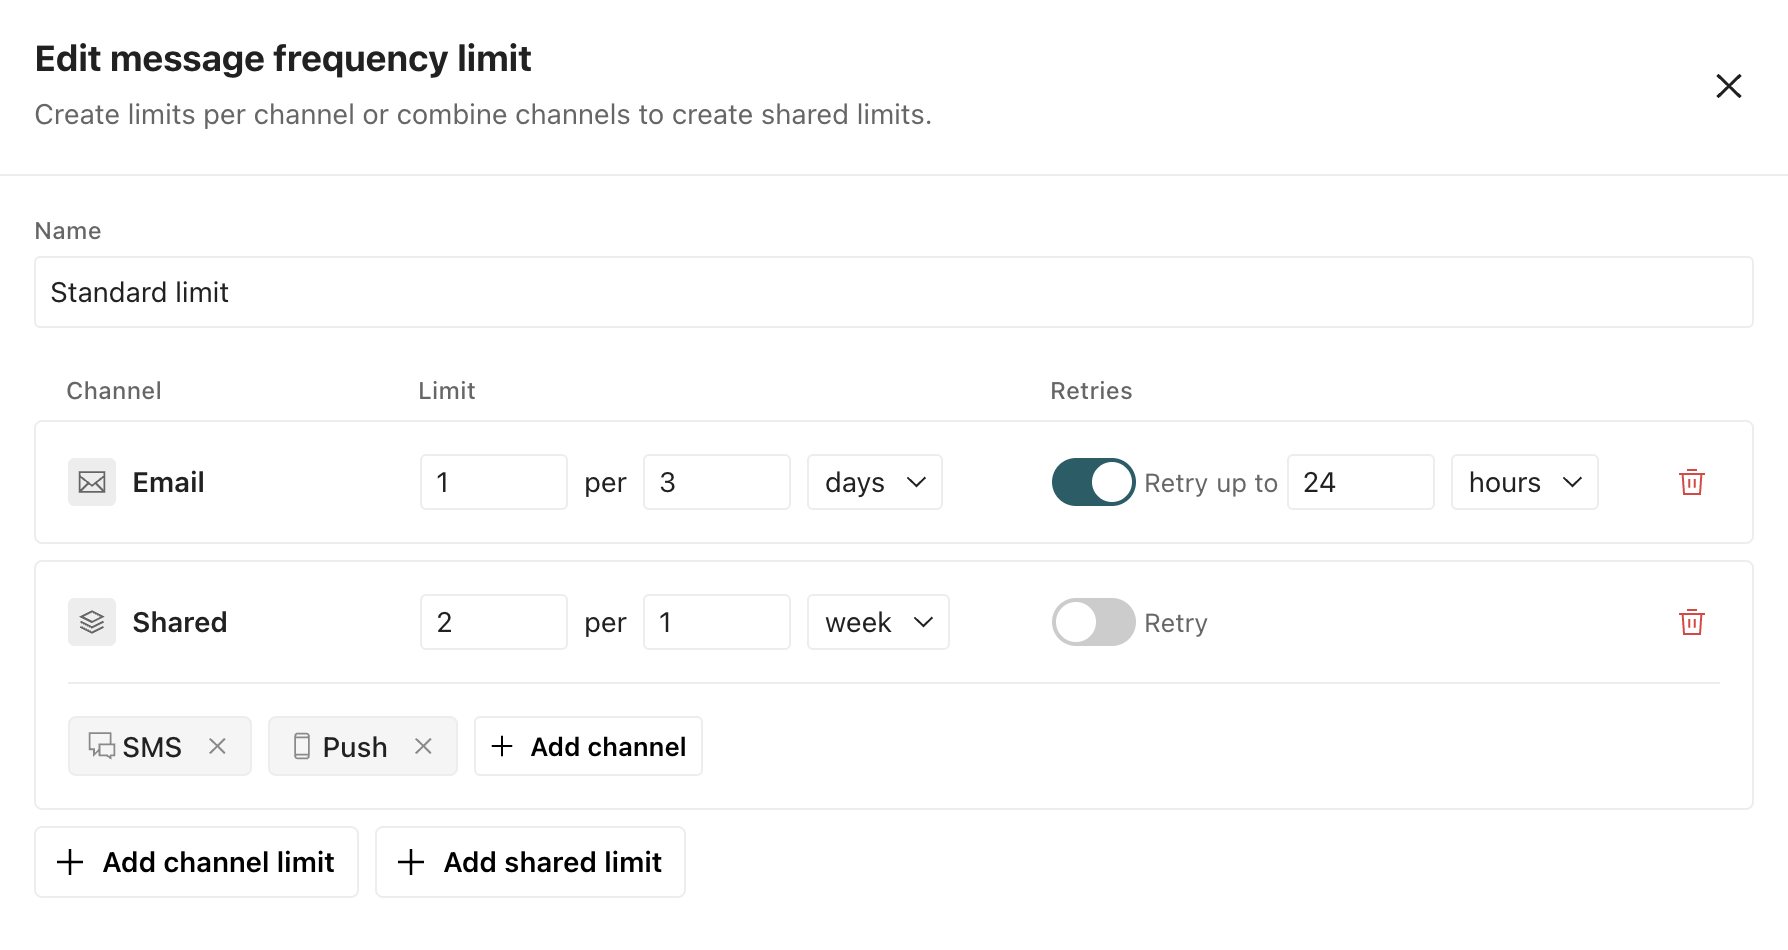
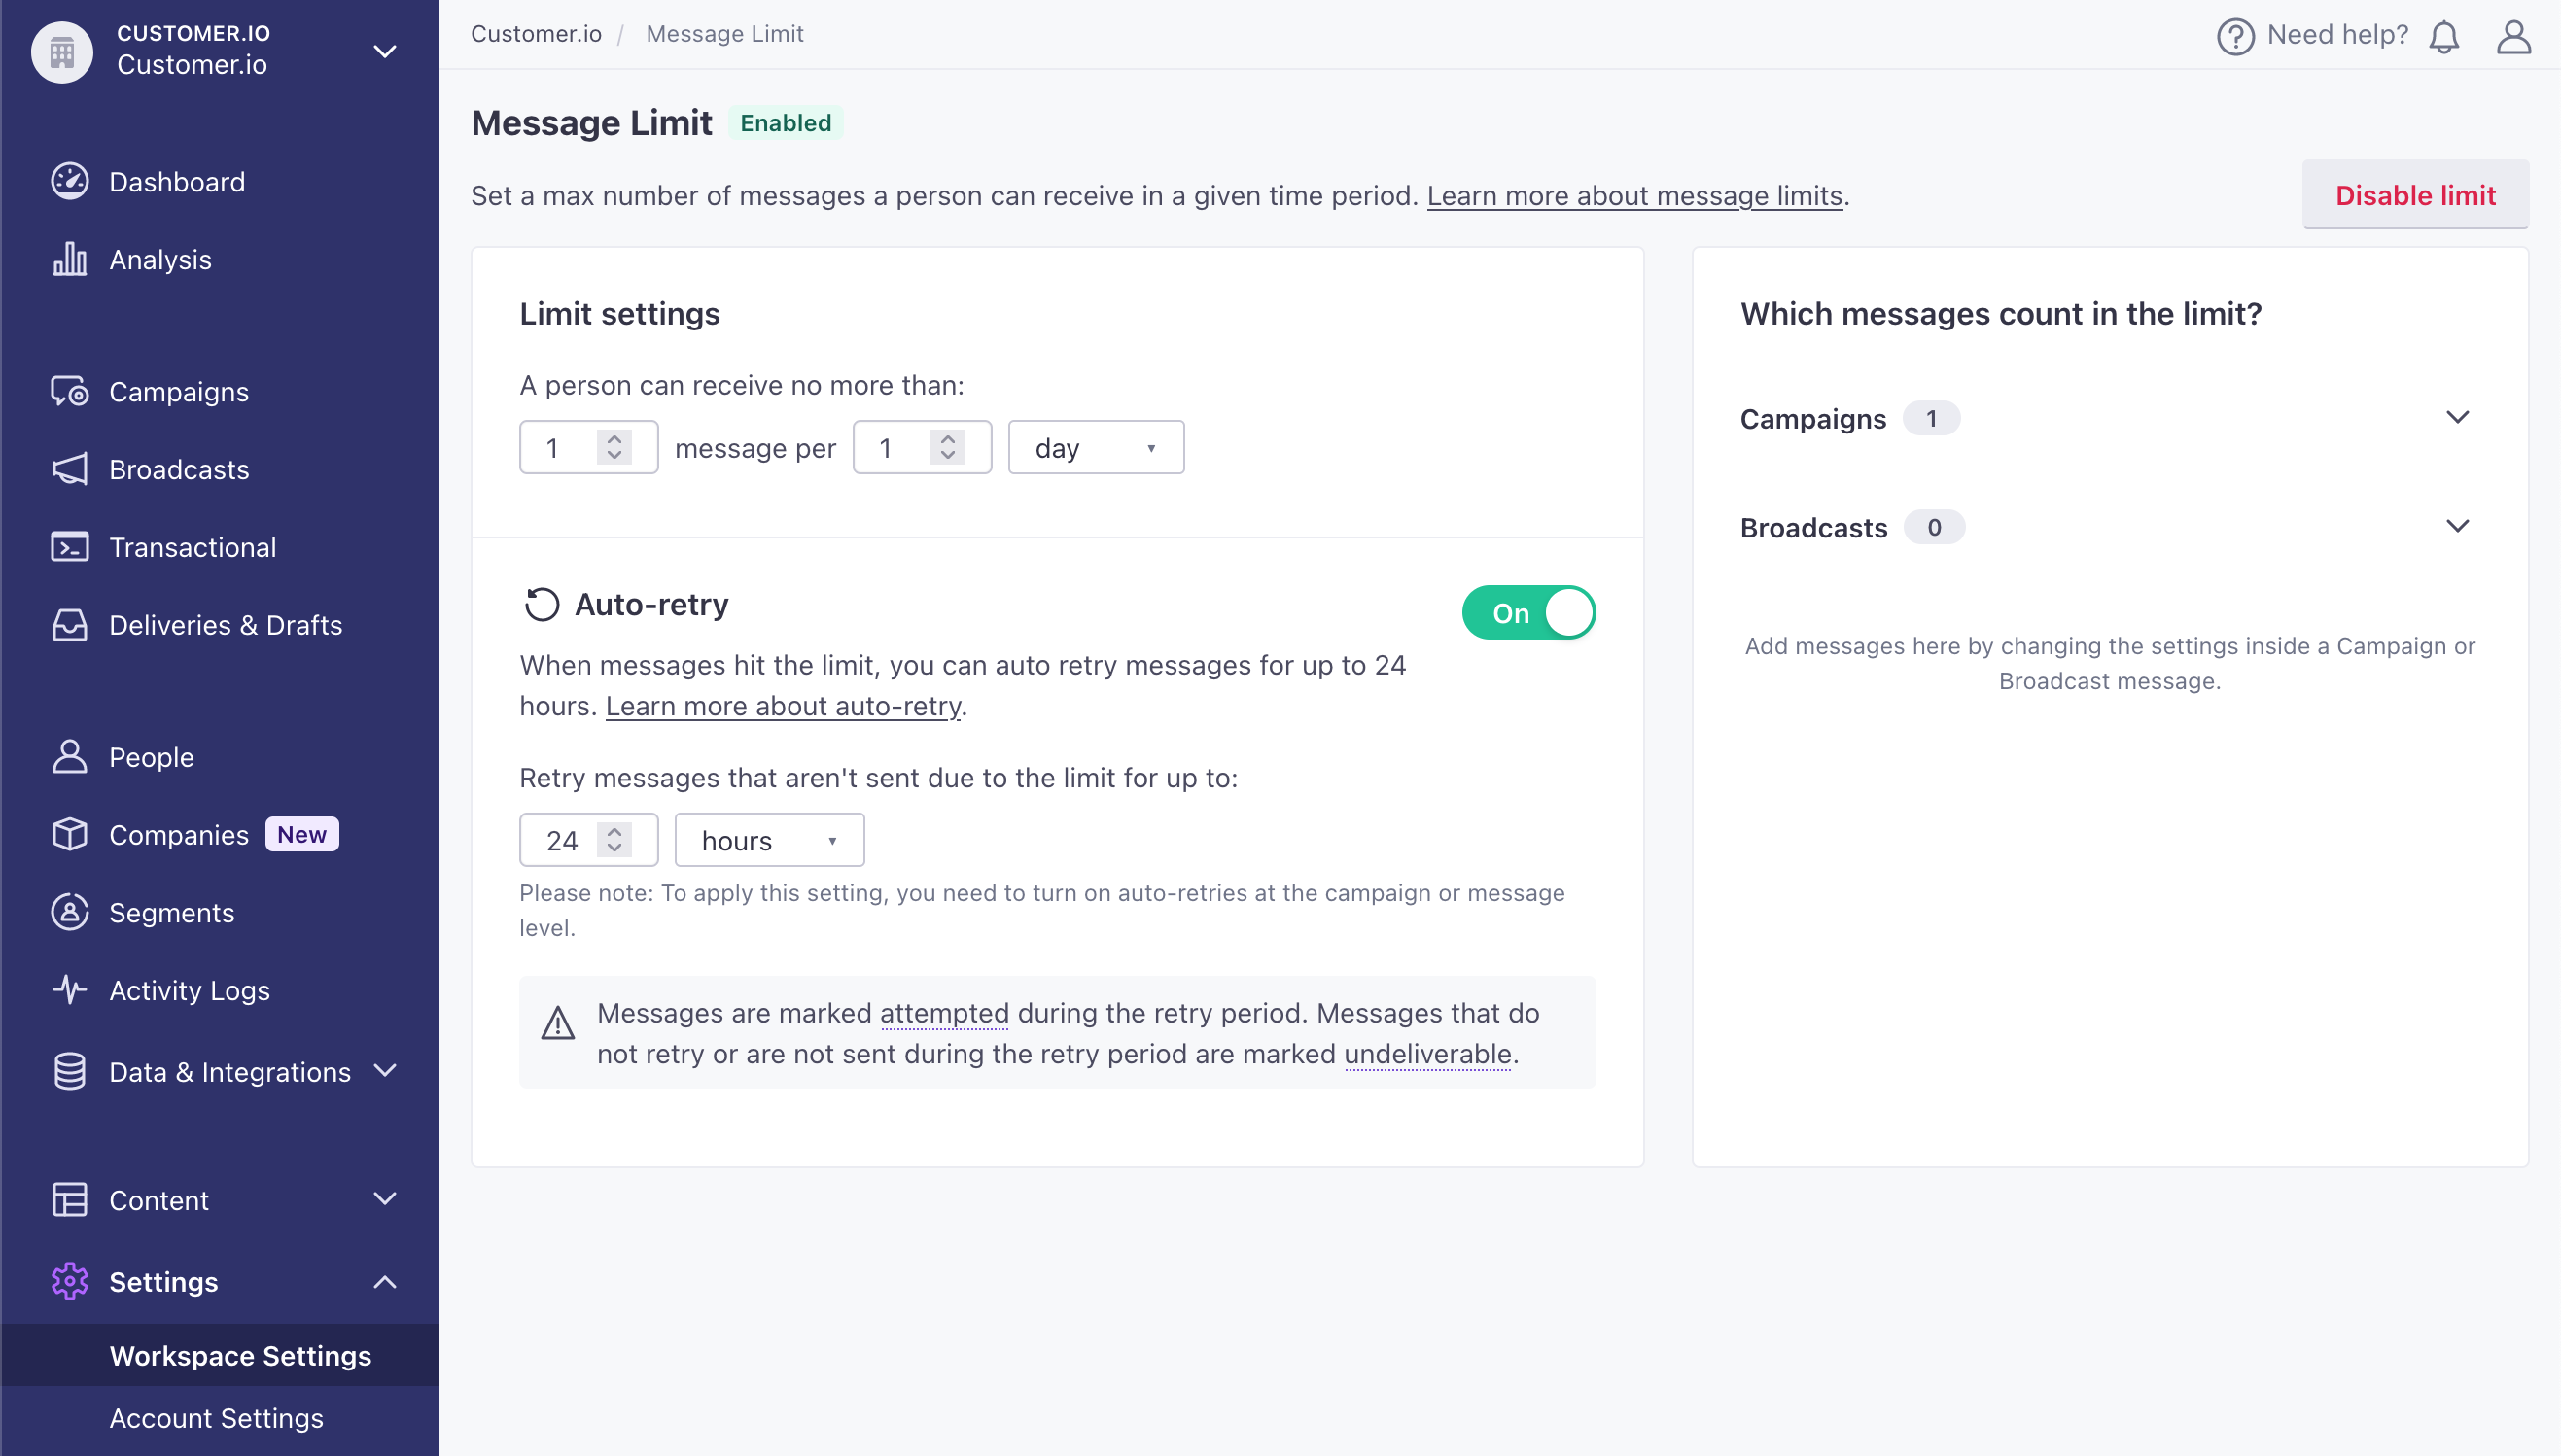
You can now set up channel-based message limits for email, SMS, push notifications, and webhooks. Historically, you could only set a single message limit across your message channels.
You can add per-channel or shared message limits to ensure your audience receives the right number of messages in a specific time frame. With this release, you can also set a wider time frame for your message limit. Instead of 7 days, your message limit can be up to 31 days.
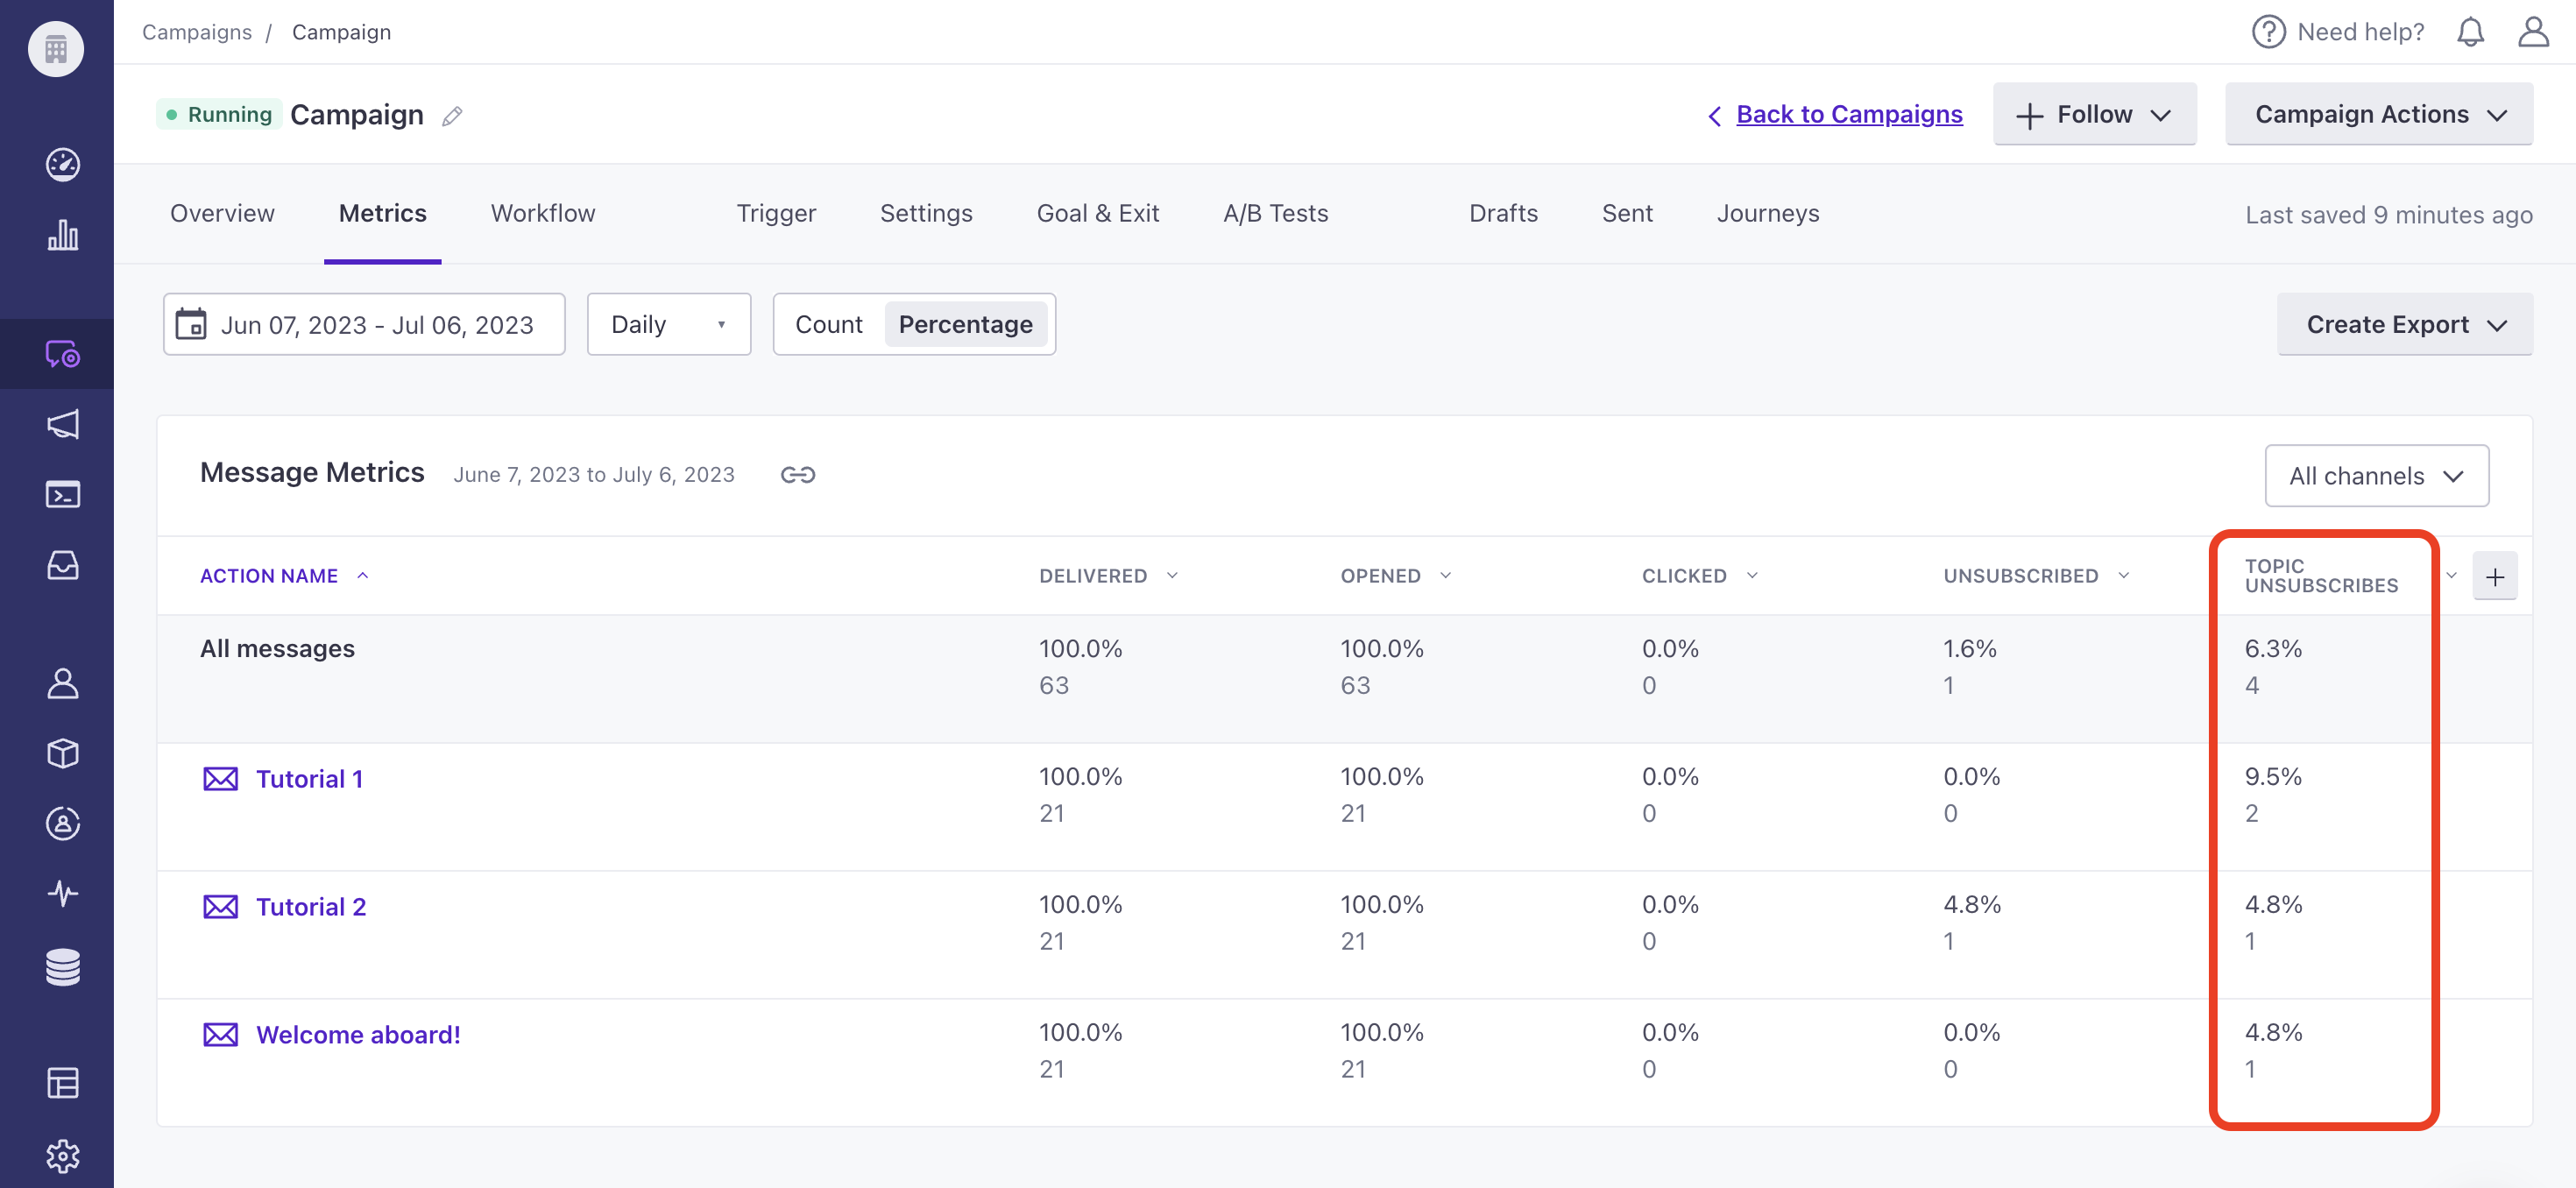
You can limit the number of WhatsApp and SMS messages sent via Twilio, but not other vendors. Learn more about channel limits.
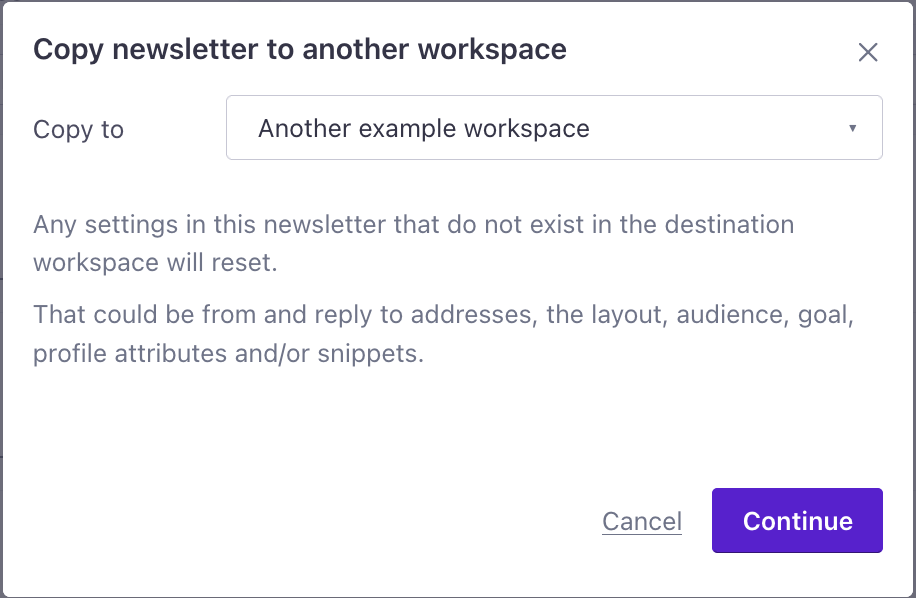
We've updated some navigation labels to better match how people think about marketing automation and messaging their audience: Campaigns are now Automations, People are Profiles, and Newsletters are One-time sends.
Here’s what changed:
| You used to see | You’ll now see |
|---|---|
| Campaigns | Automations |
| People | Profiles |
| Broadcasts > Newsletters | Broadcasts > One-time sends |
| Analysis | Reports |
| Deliveries & drafts | Message activity (with Sent and Drafts tabs) |
| Activity logs | Profile activity |
APIs and data don’t change. Endpoints, field names, and identifiers keep their names. What we now call an automation is still a campaign in the API, and a one-time send is still a newsletter. Any links you’ve bookmarked will still work; we redirect the old paths to the new ones automatically—both in the app and in our documentation.
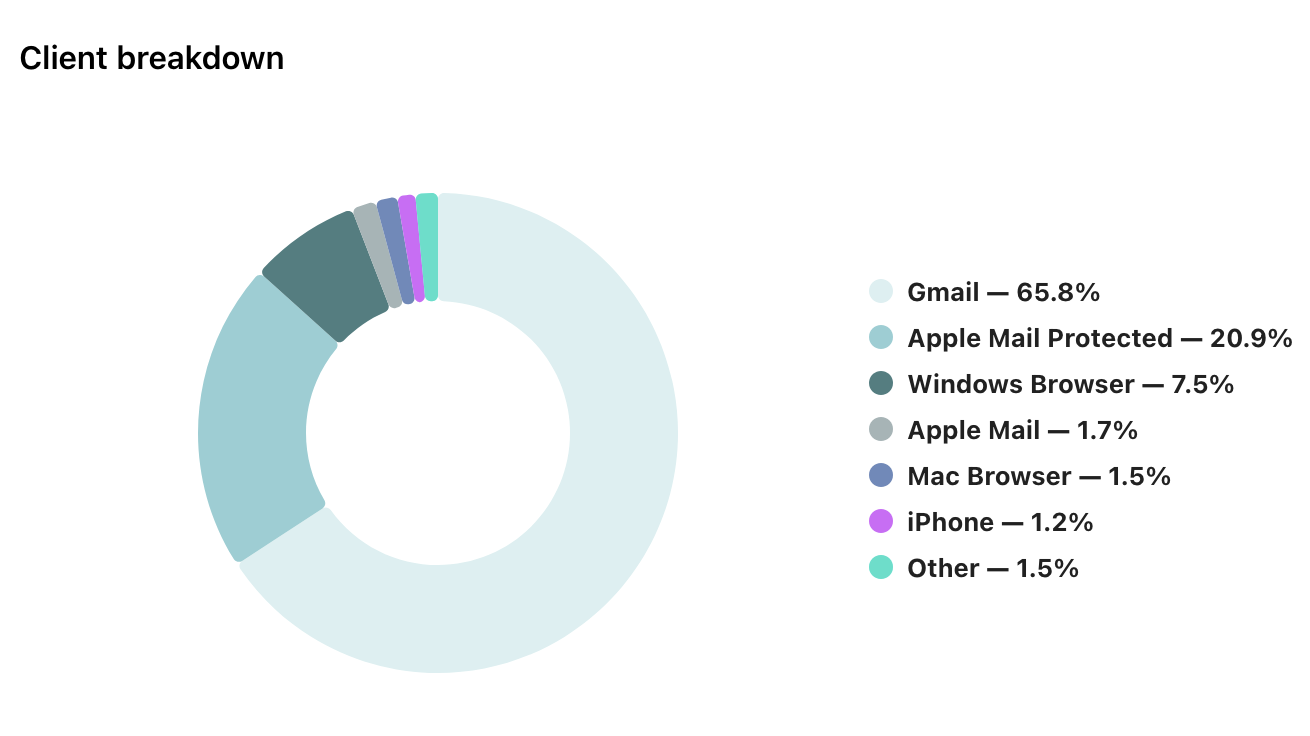
The new Email clients tab in the Analysis section breaks down opens and clicks by email client. This information tells you which clients you should focus on when designing emails, and how privacy proxies affect your open rates.
The Email clients tab shows each client’s share of your opens, human opens, and clicks, with charts for your overall client mix and how it changes day by day. Email client data is available from April 15, 2025 onward.
The Deliverability tab now also shows a daily send volume chart with bounce and spam complaint rates.
This feature is available to premium and enterprise accounts with access to deliverability analytics.
If you have multiple Customer.io accounts, you no longer need a separate login for each one. With guest access, you can sign in to your own account and switch to any account that added you as a guest. If you maintained multiple accounts yourself, you can merge them into a single login.
With guest access, you have:
We've added a way for you to honor your audience's consent to track email opens. This also helps you stay in compliance with regional regulations, like France's latest CNIL rule, which takes effect July 14, 2026.
You can now decide when to track email opens. This includes:
cio_email_tracking_consent attribute you can set through the API, imports, etc; this attribute represents consent for open tracking.
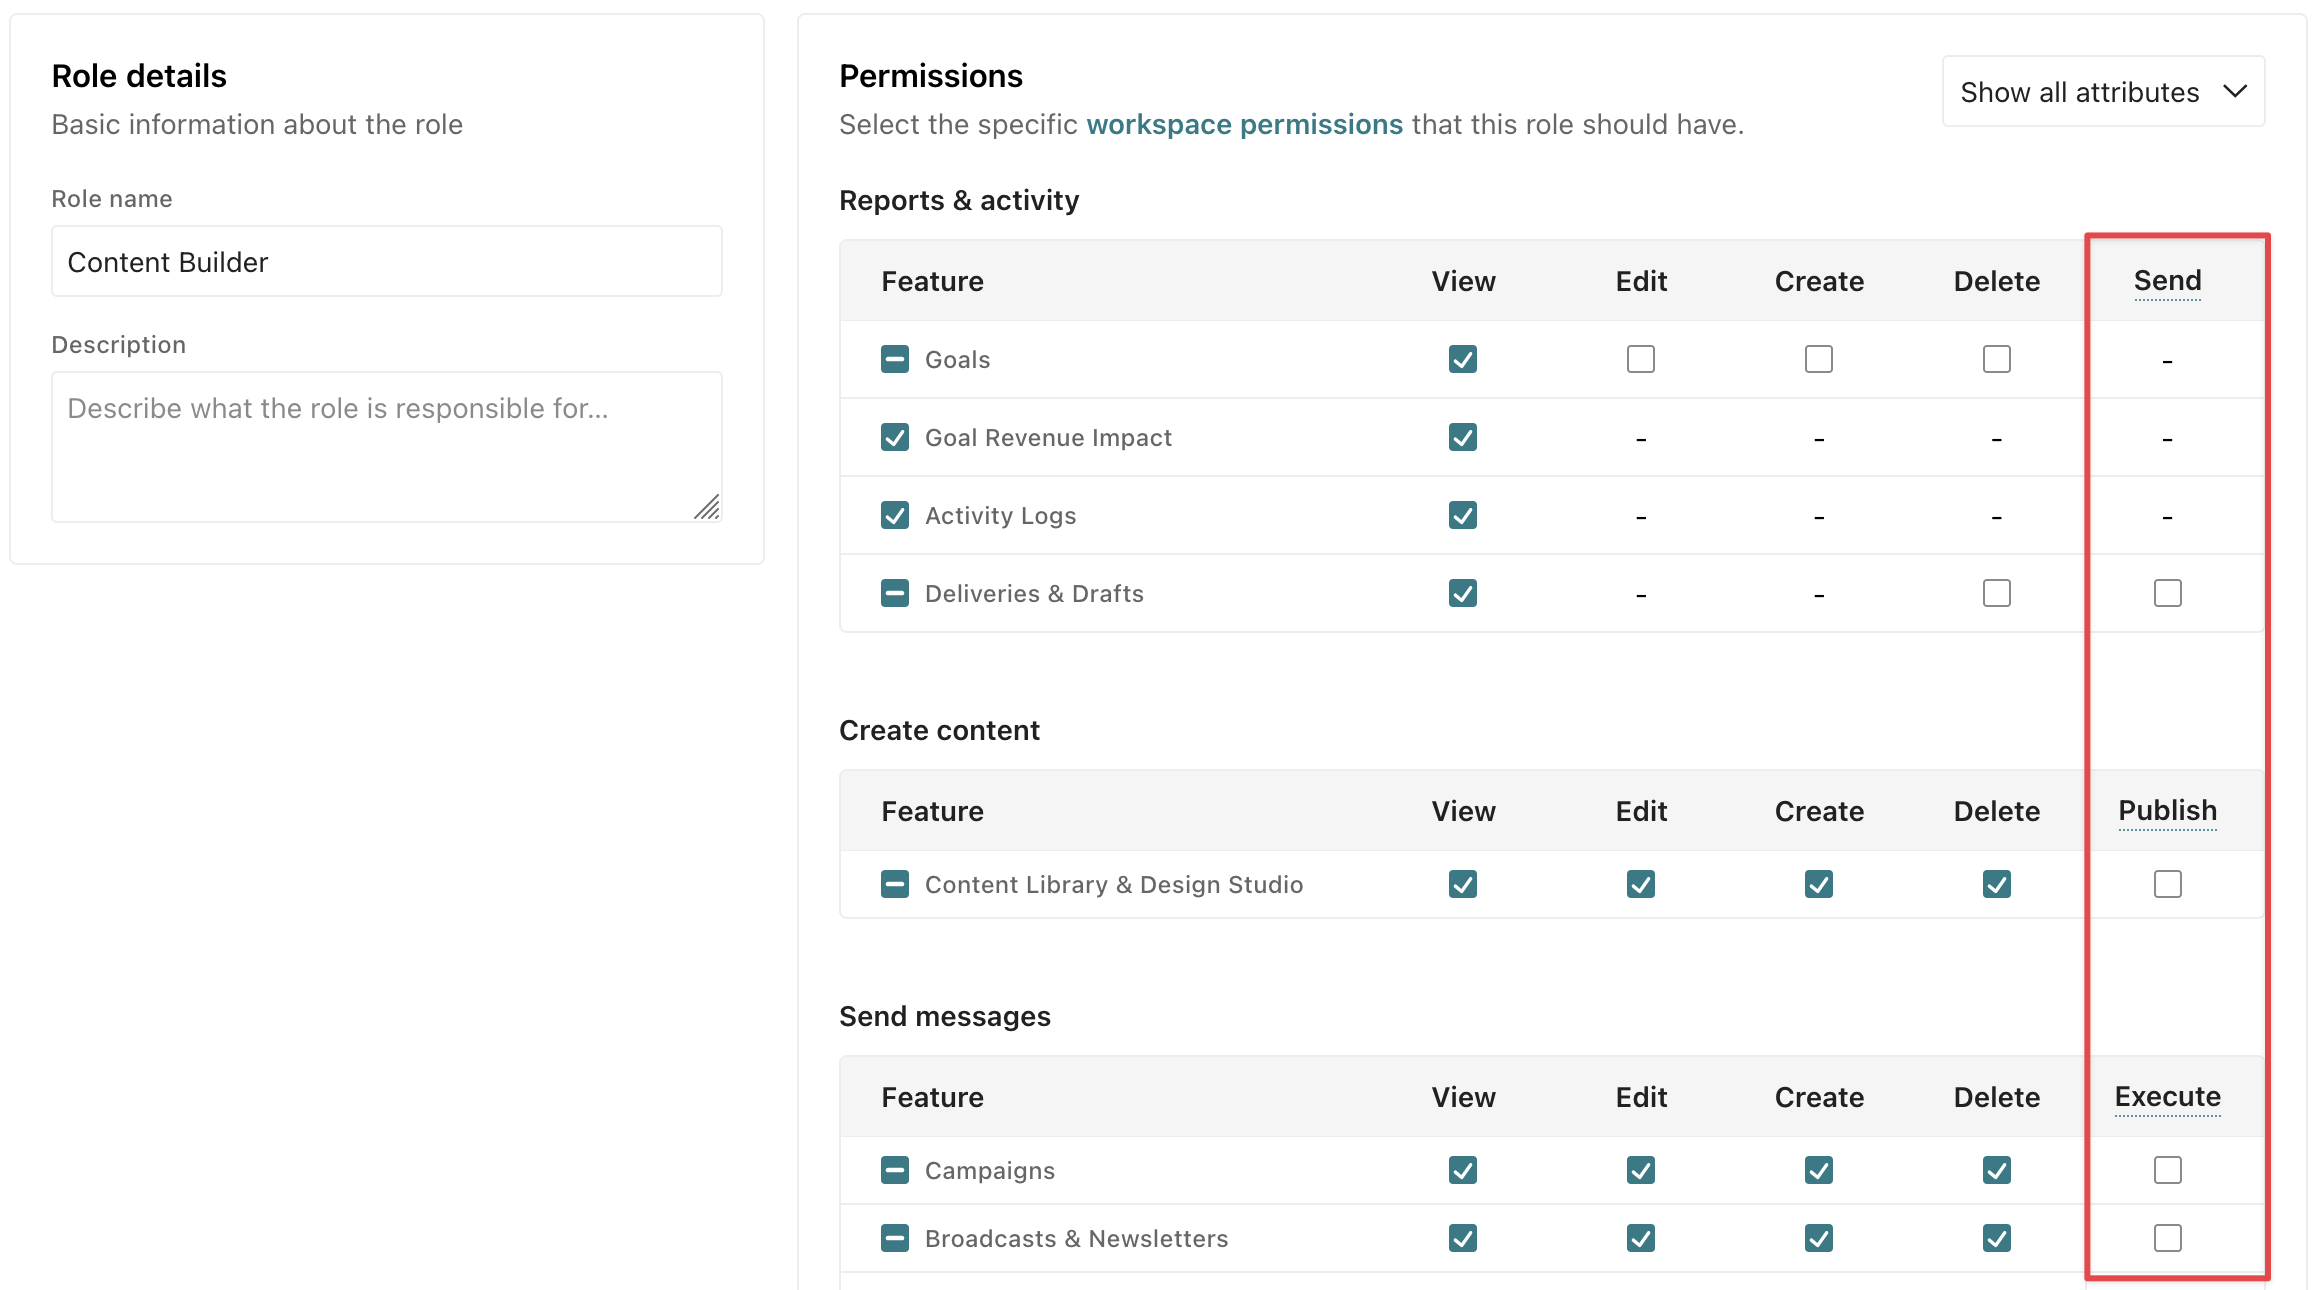
You can now specify whether teammates can send messages and start or stop your workflows, like automations. Previously if you could create an automation or broadcast, you could also activate that automation or send that broadcast. With this change, you can give team members the ability to build and edit automations and content without letting them send things, so you can maintain strict control over who can and can't send messages.
To activate your workflows and send messages, you need the Execute permission for the workflow. To resend deliveries, retry attempted messages, or refire webhooks, you need the Send permission for Deliveries & Drafts and Edit permission for the relevant workflow.
Custom roles created before this release have the same permissions as before—unless you update the role.
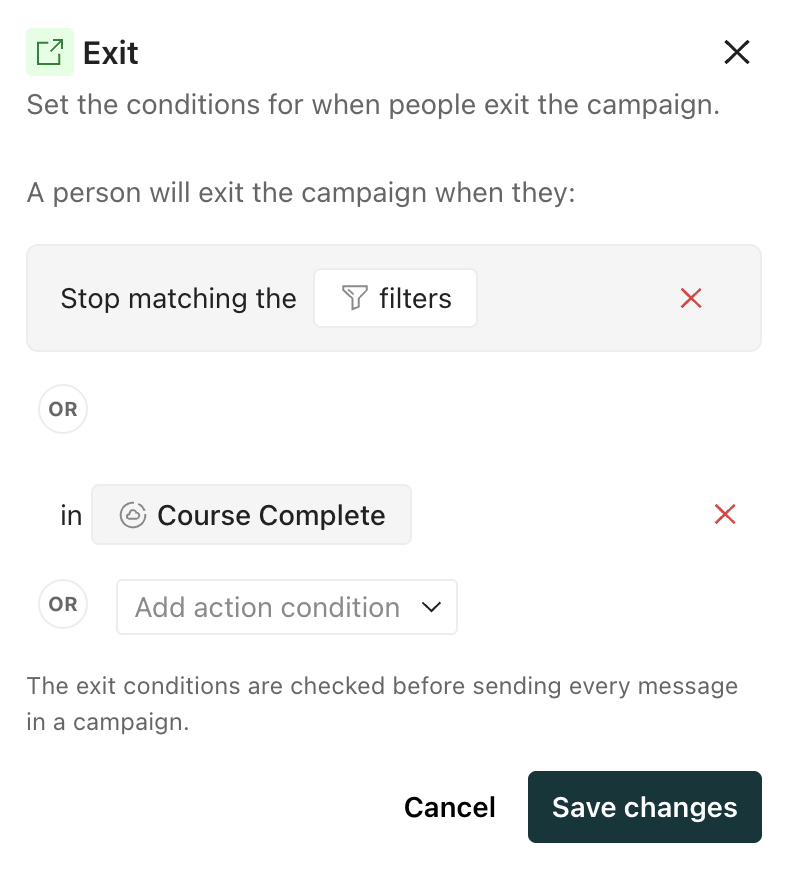
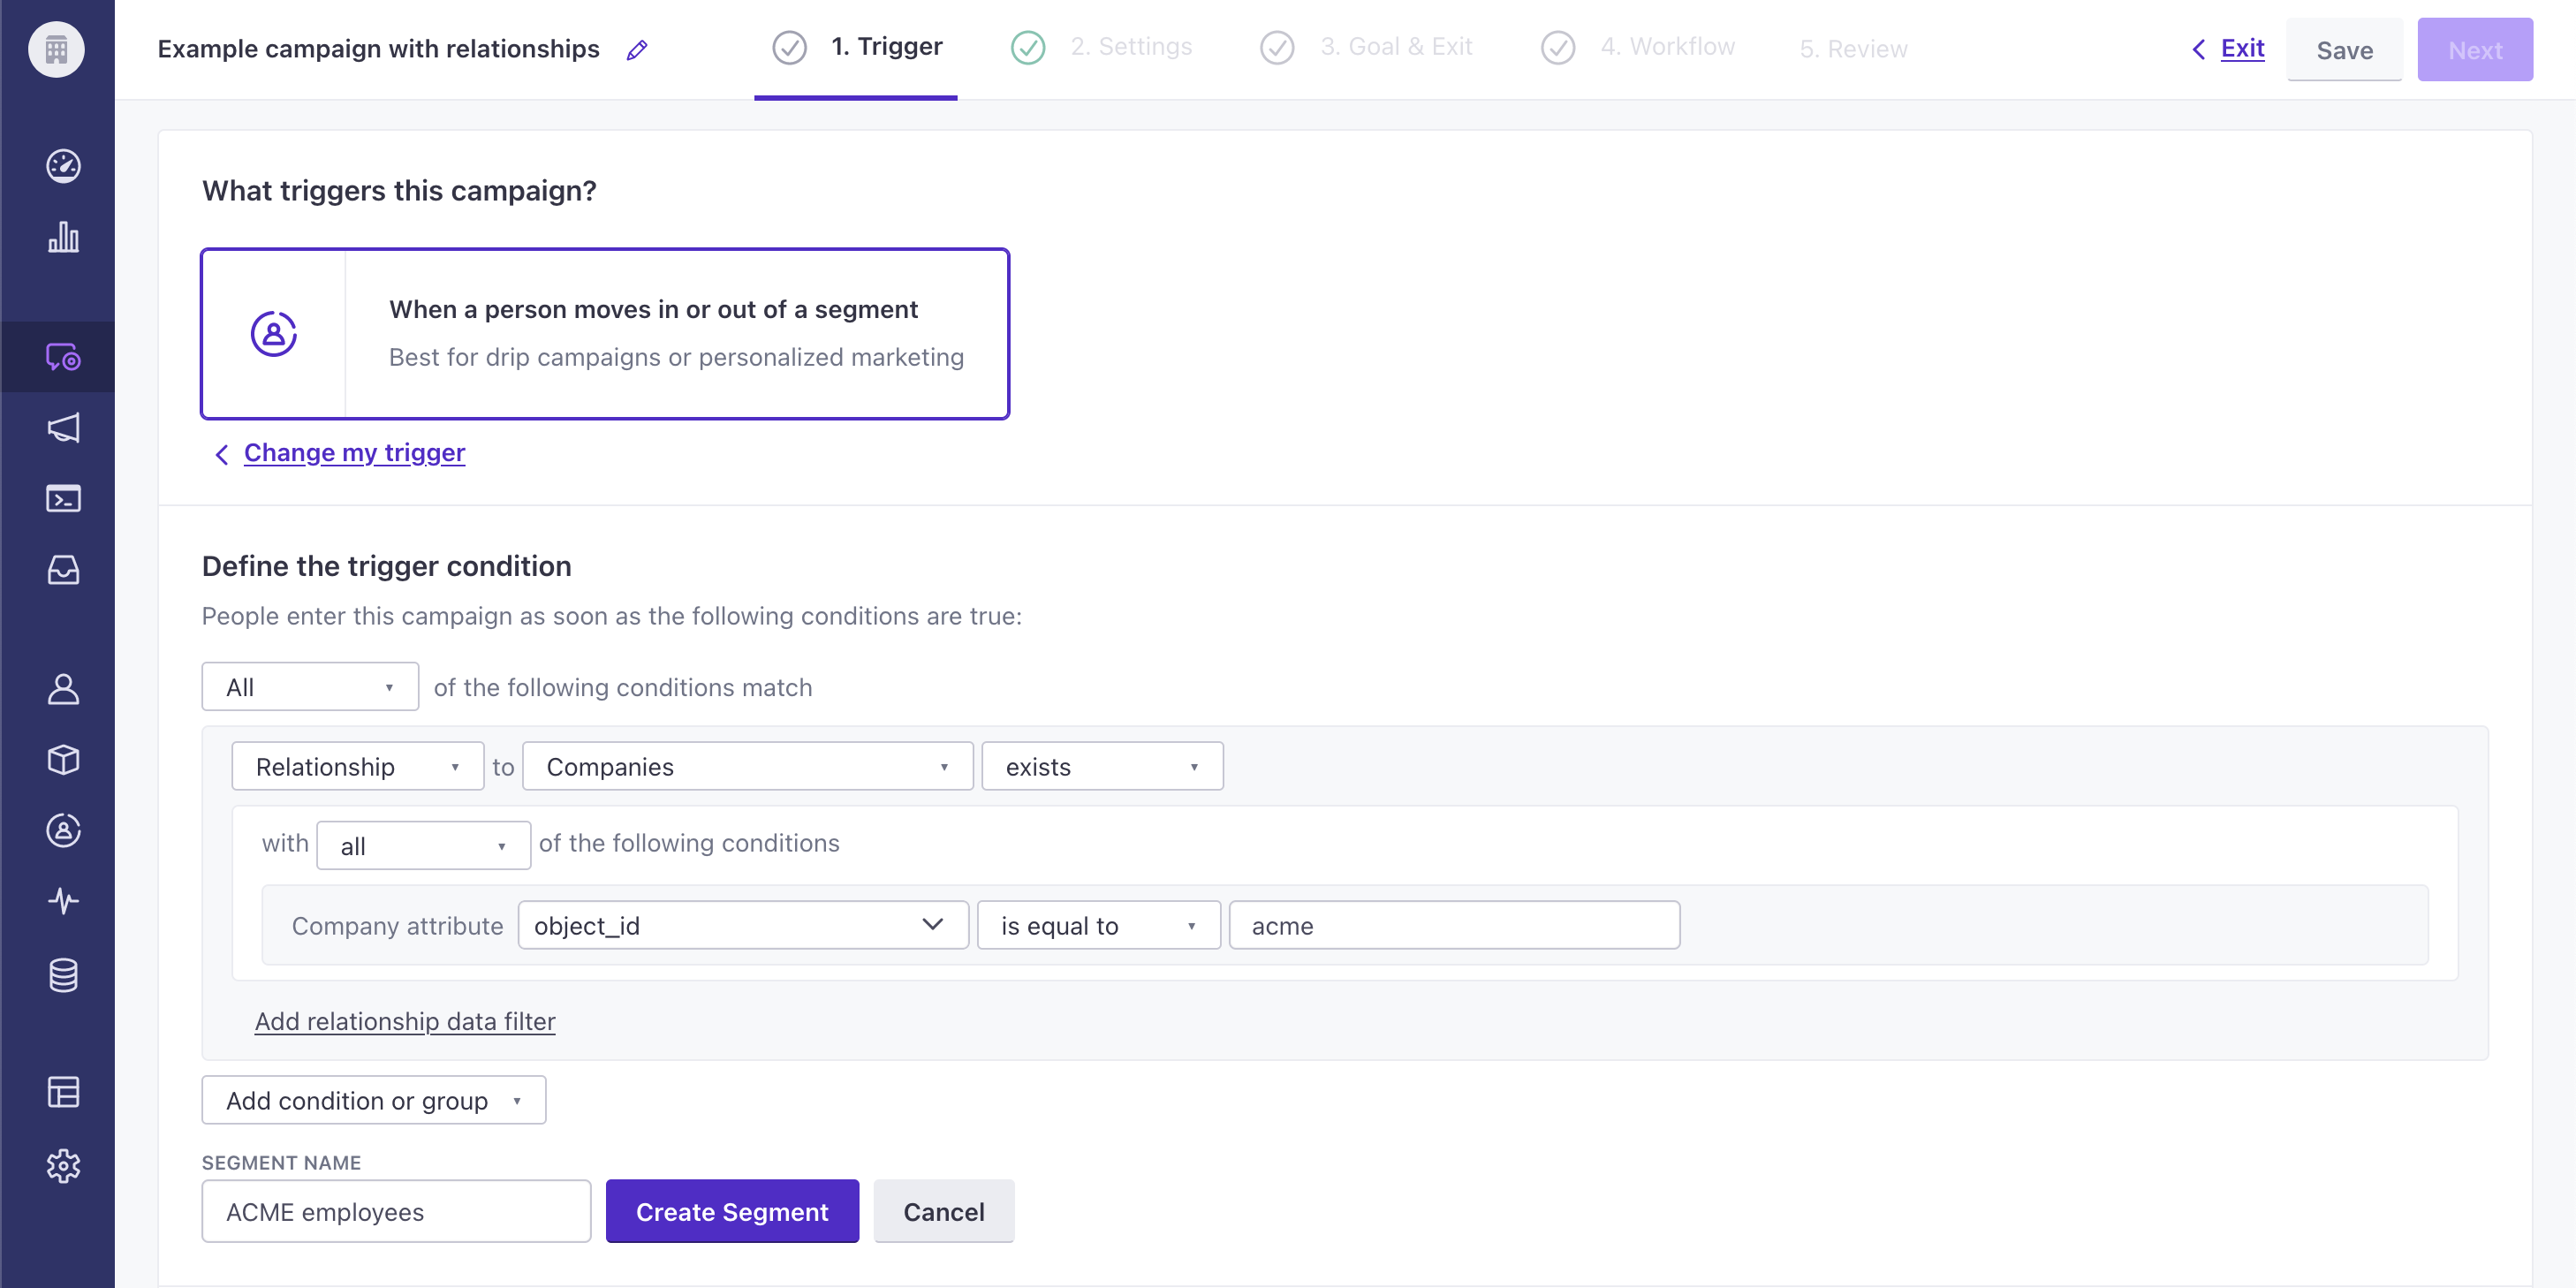
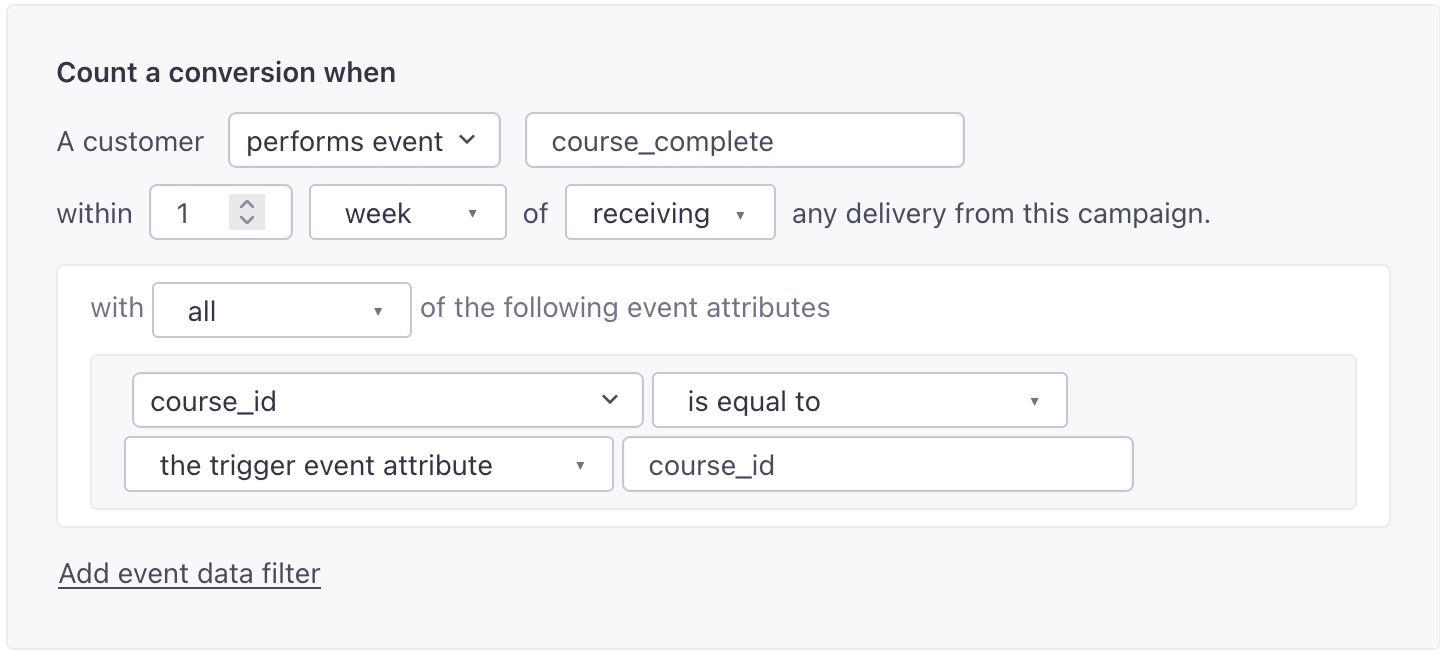
People can now exit your automations early when they meet segment or event conditions. This means you no longer have to depend on conversion criteria to end journeys early. You can define segment or event conditions that match or differ from your automation's goal.
Read more →
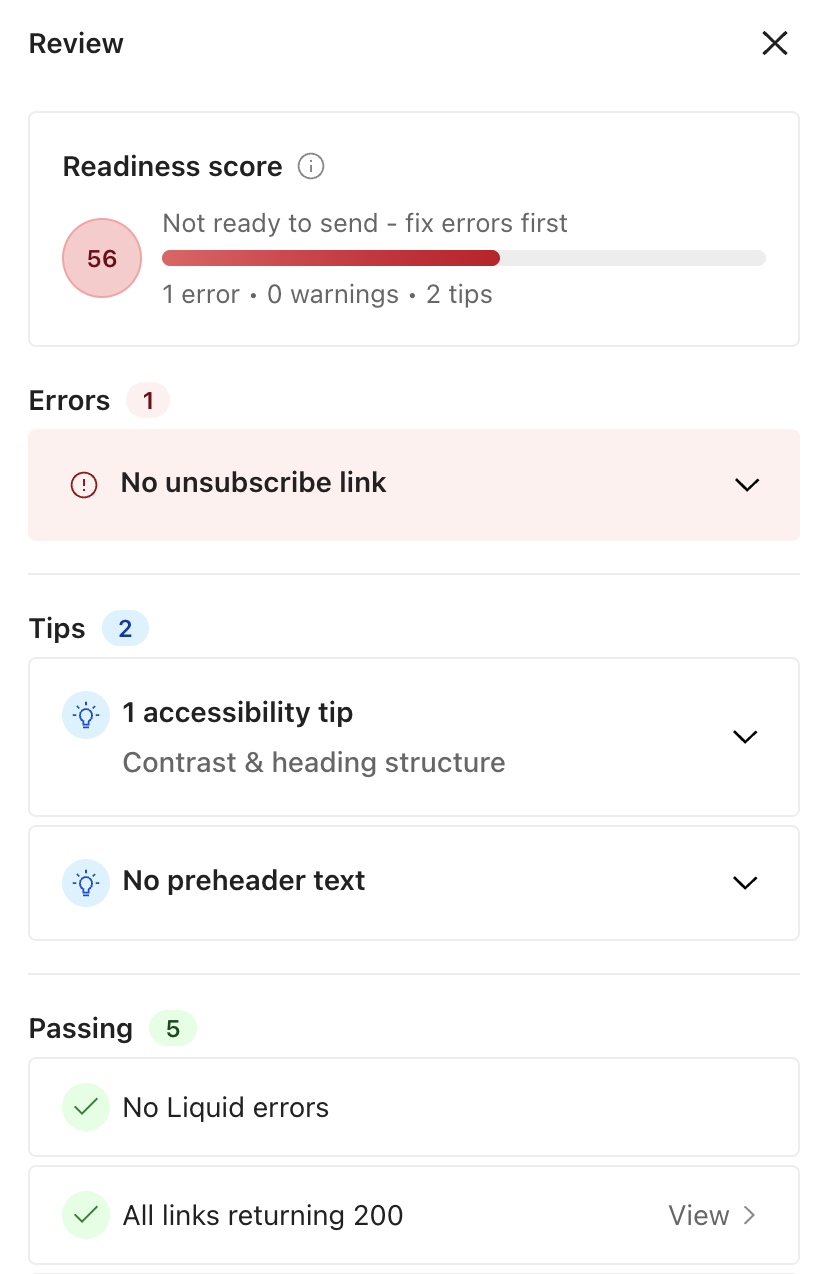
Use the review panel to find errors that could prevent your email from sending, audit your images, validate your links, and see how you score against SpamAssassin to improve the quality of your message.
The panel features a new readiness score which flags critical errors and warnings, and highlights tips to improve common issues in email.
Previously, these tools were hidden in the code editor. Now you can access them from the same review panel in either the visual or code editors!
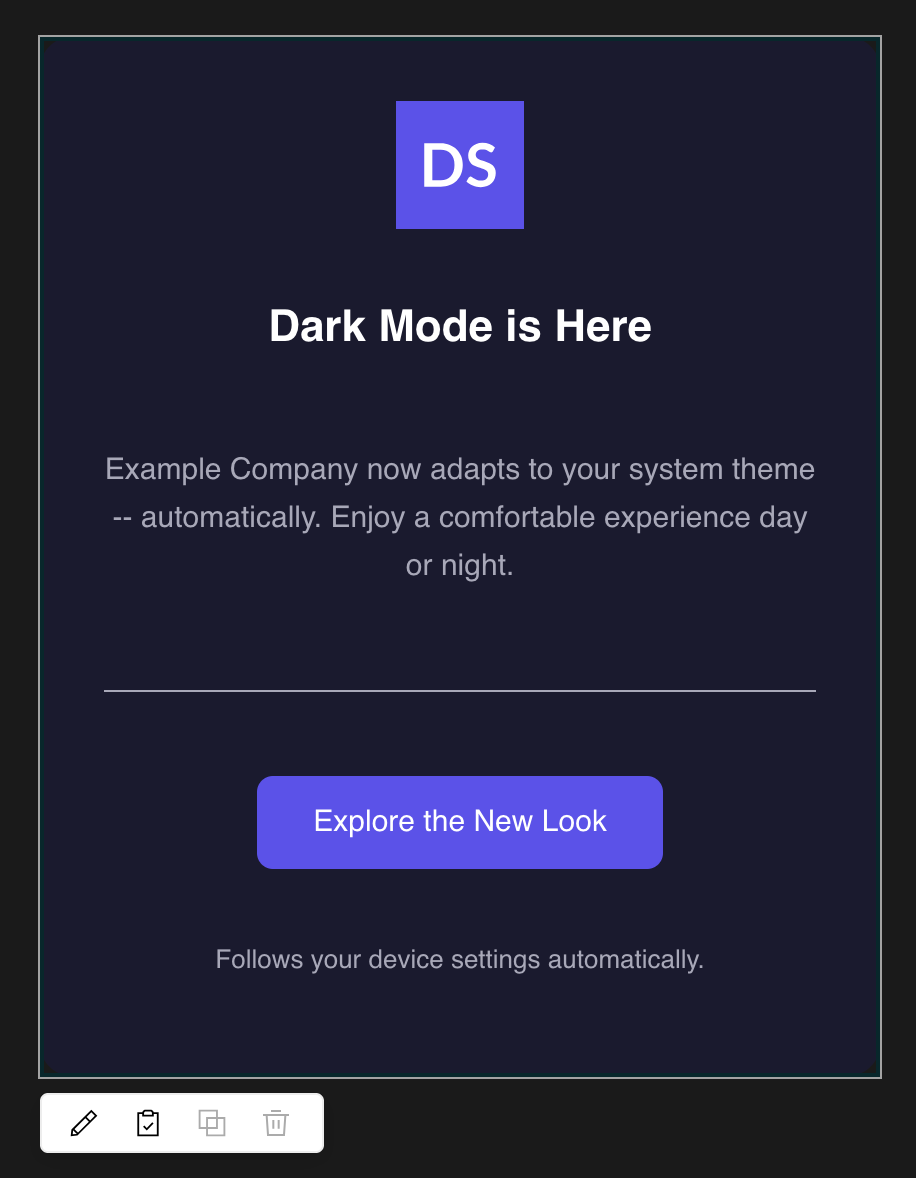
You can now set separate dark mode values for color properties in in-app messages—like fills, text, and borders—in your in-app messages. This feature is now available for our JavaScript web integration and our iOS and Android SDKs.
Click on any color property in Design Studio to expose separate light and dark values. Your in-app messages with automatically respect your audience’s system preferences.
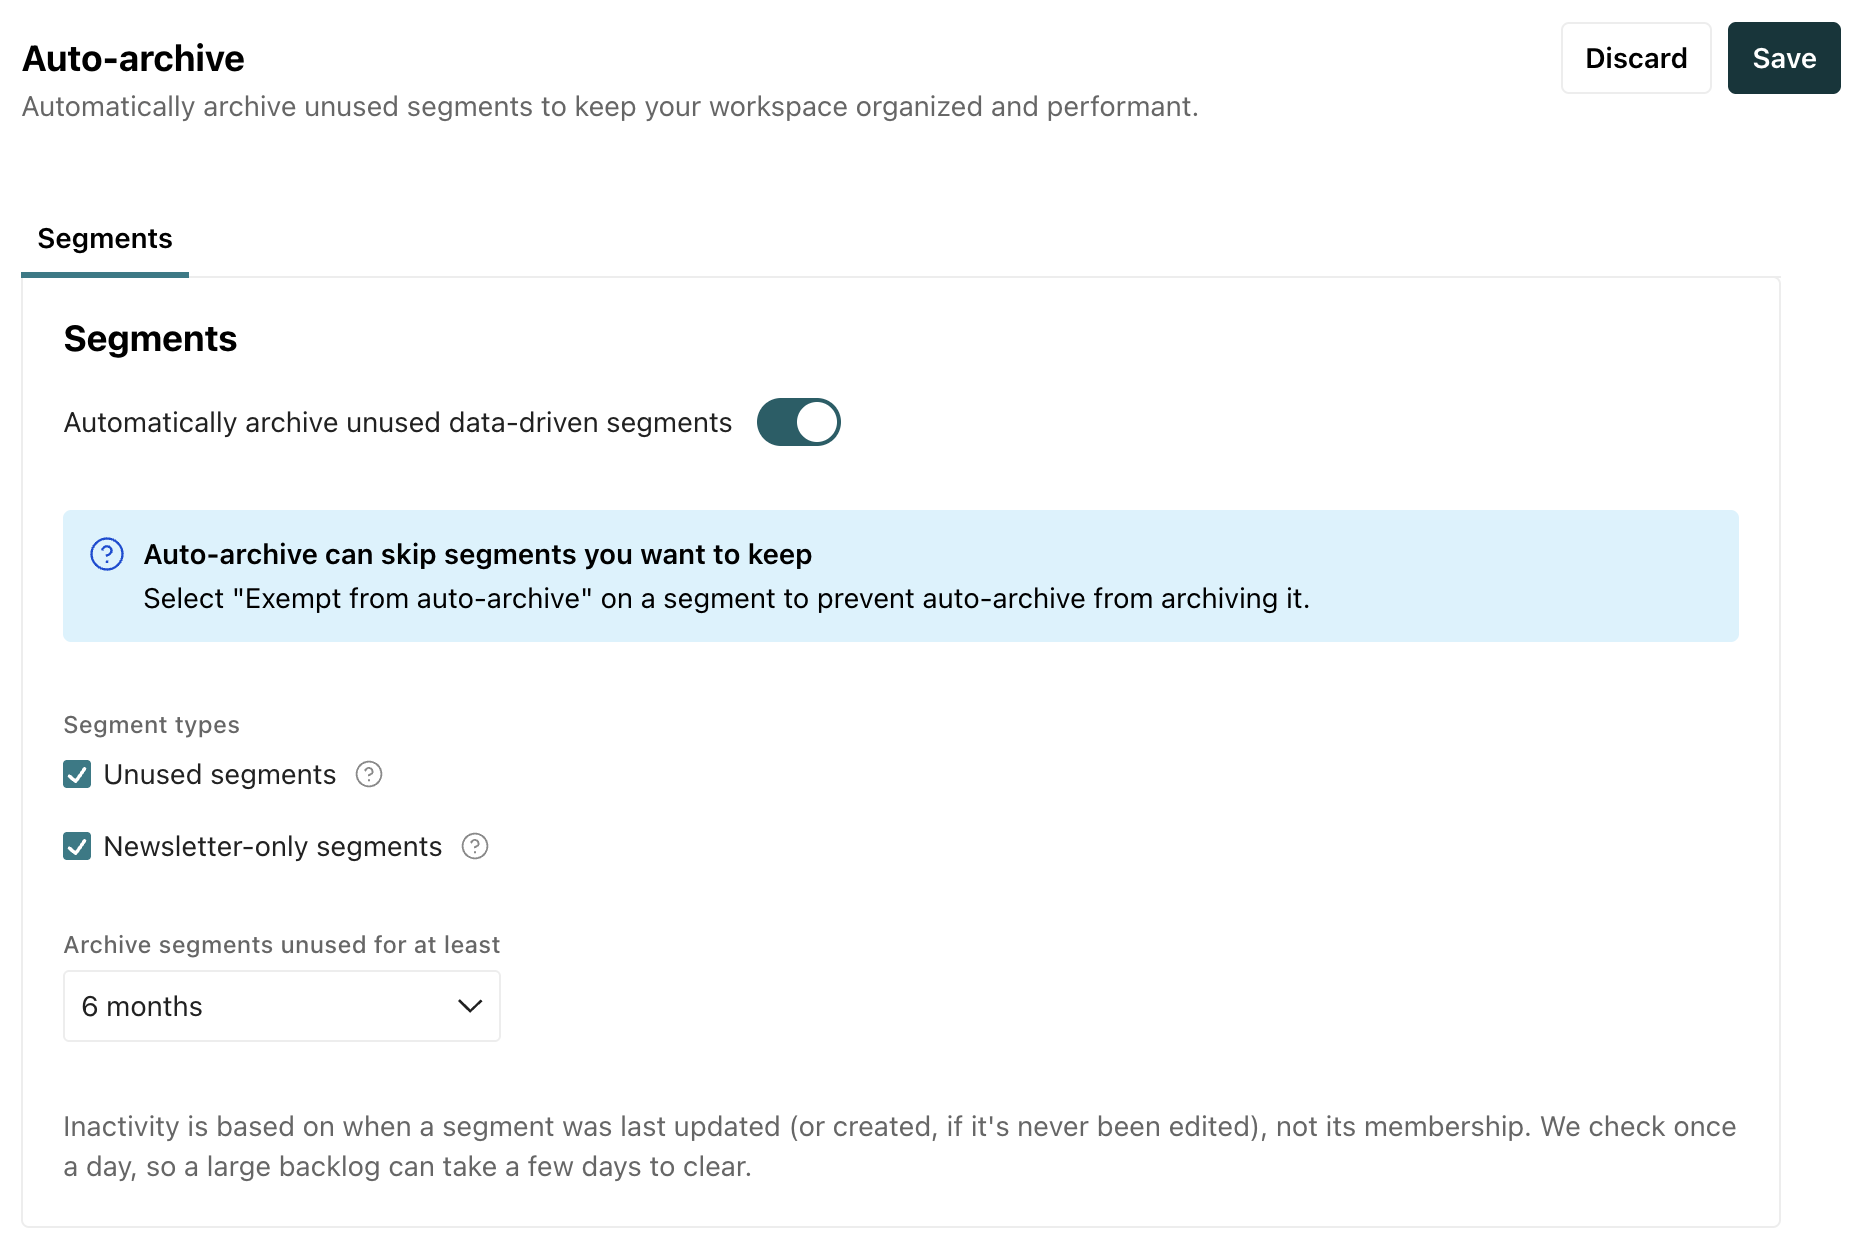
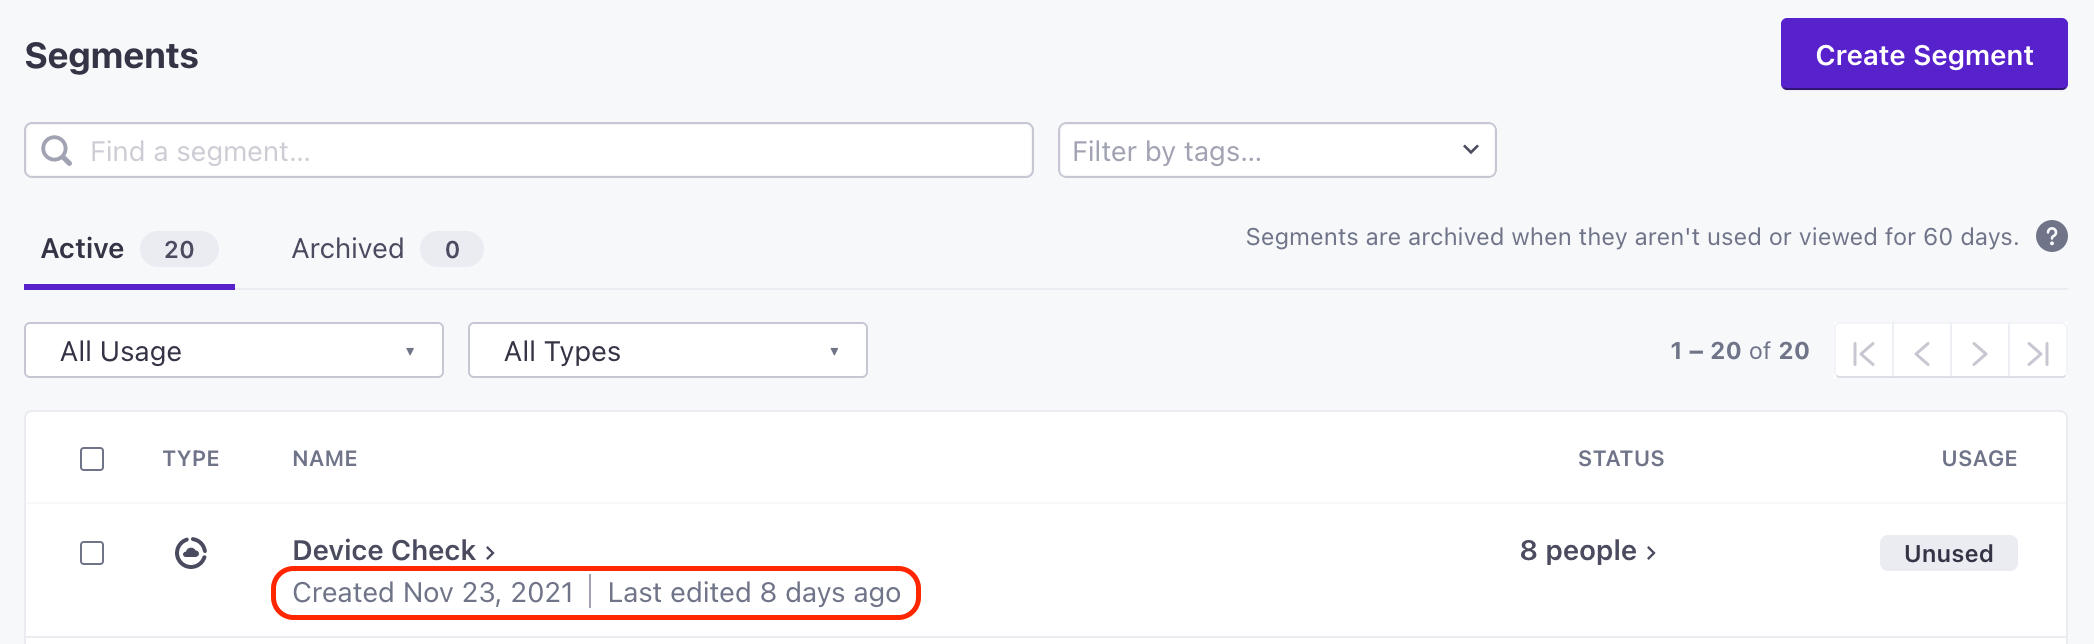
Auto-archive is an optional, workspace-level setting that archives unused dynamic segments. This helps you keep your list of segments up-to-date and relevant to your current workflows.
You can exempt segments from auto-archiving and restore segments that were automatically archived at any time.
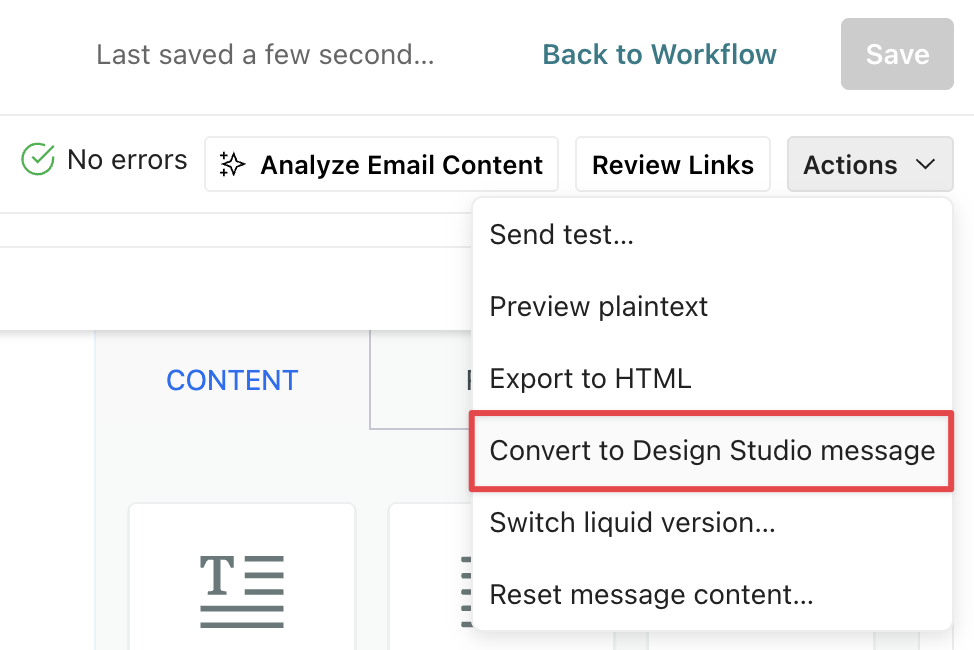
Use our converter tool to migrate emails made in the classic drag-and-drop editor to Design Studio, where you have access to more features like global styles and templates!
Go to the docs →
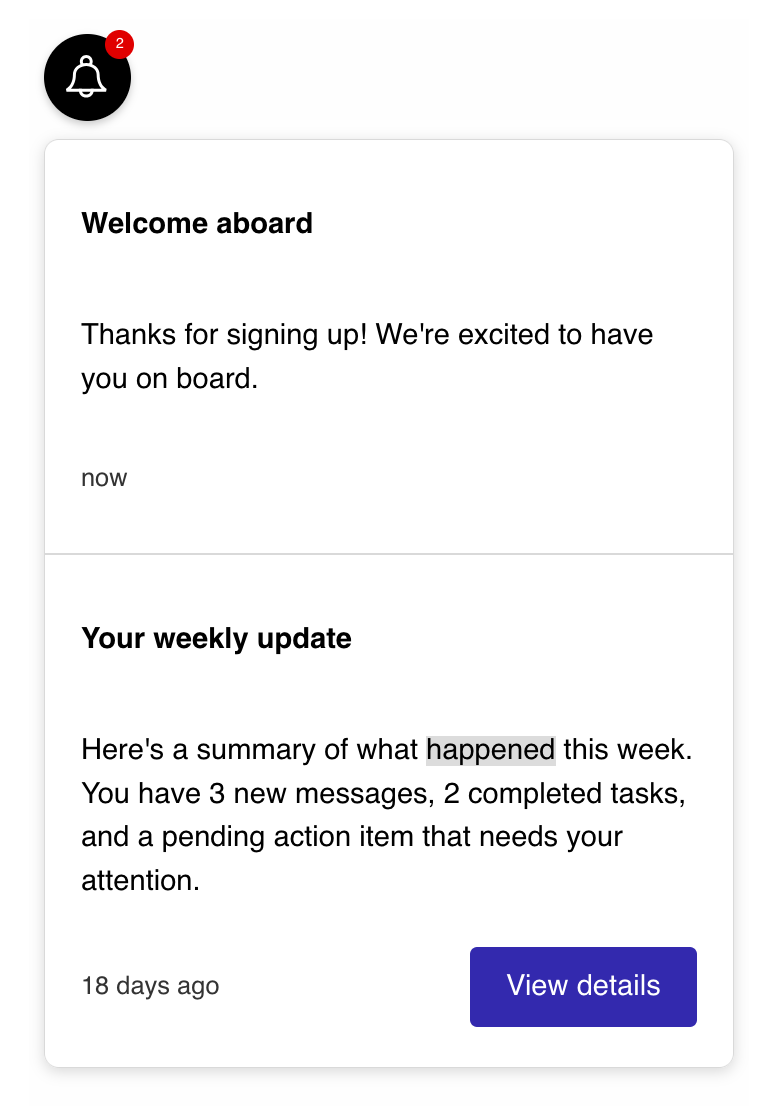
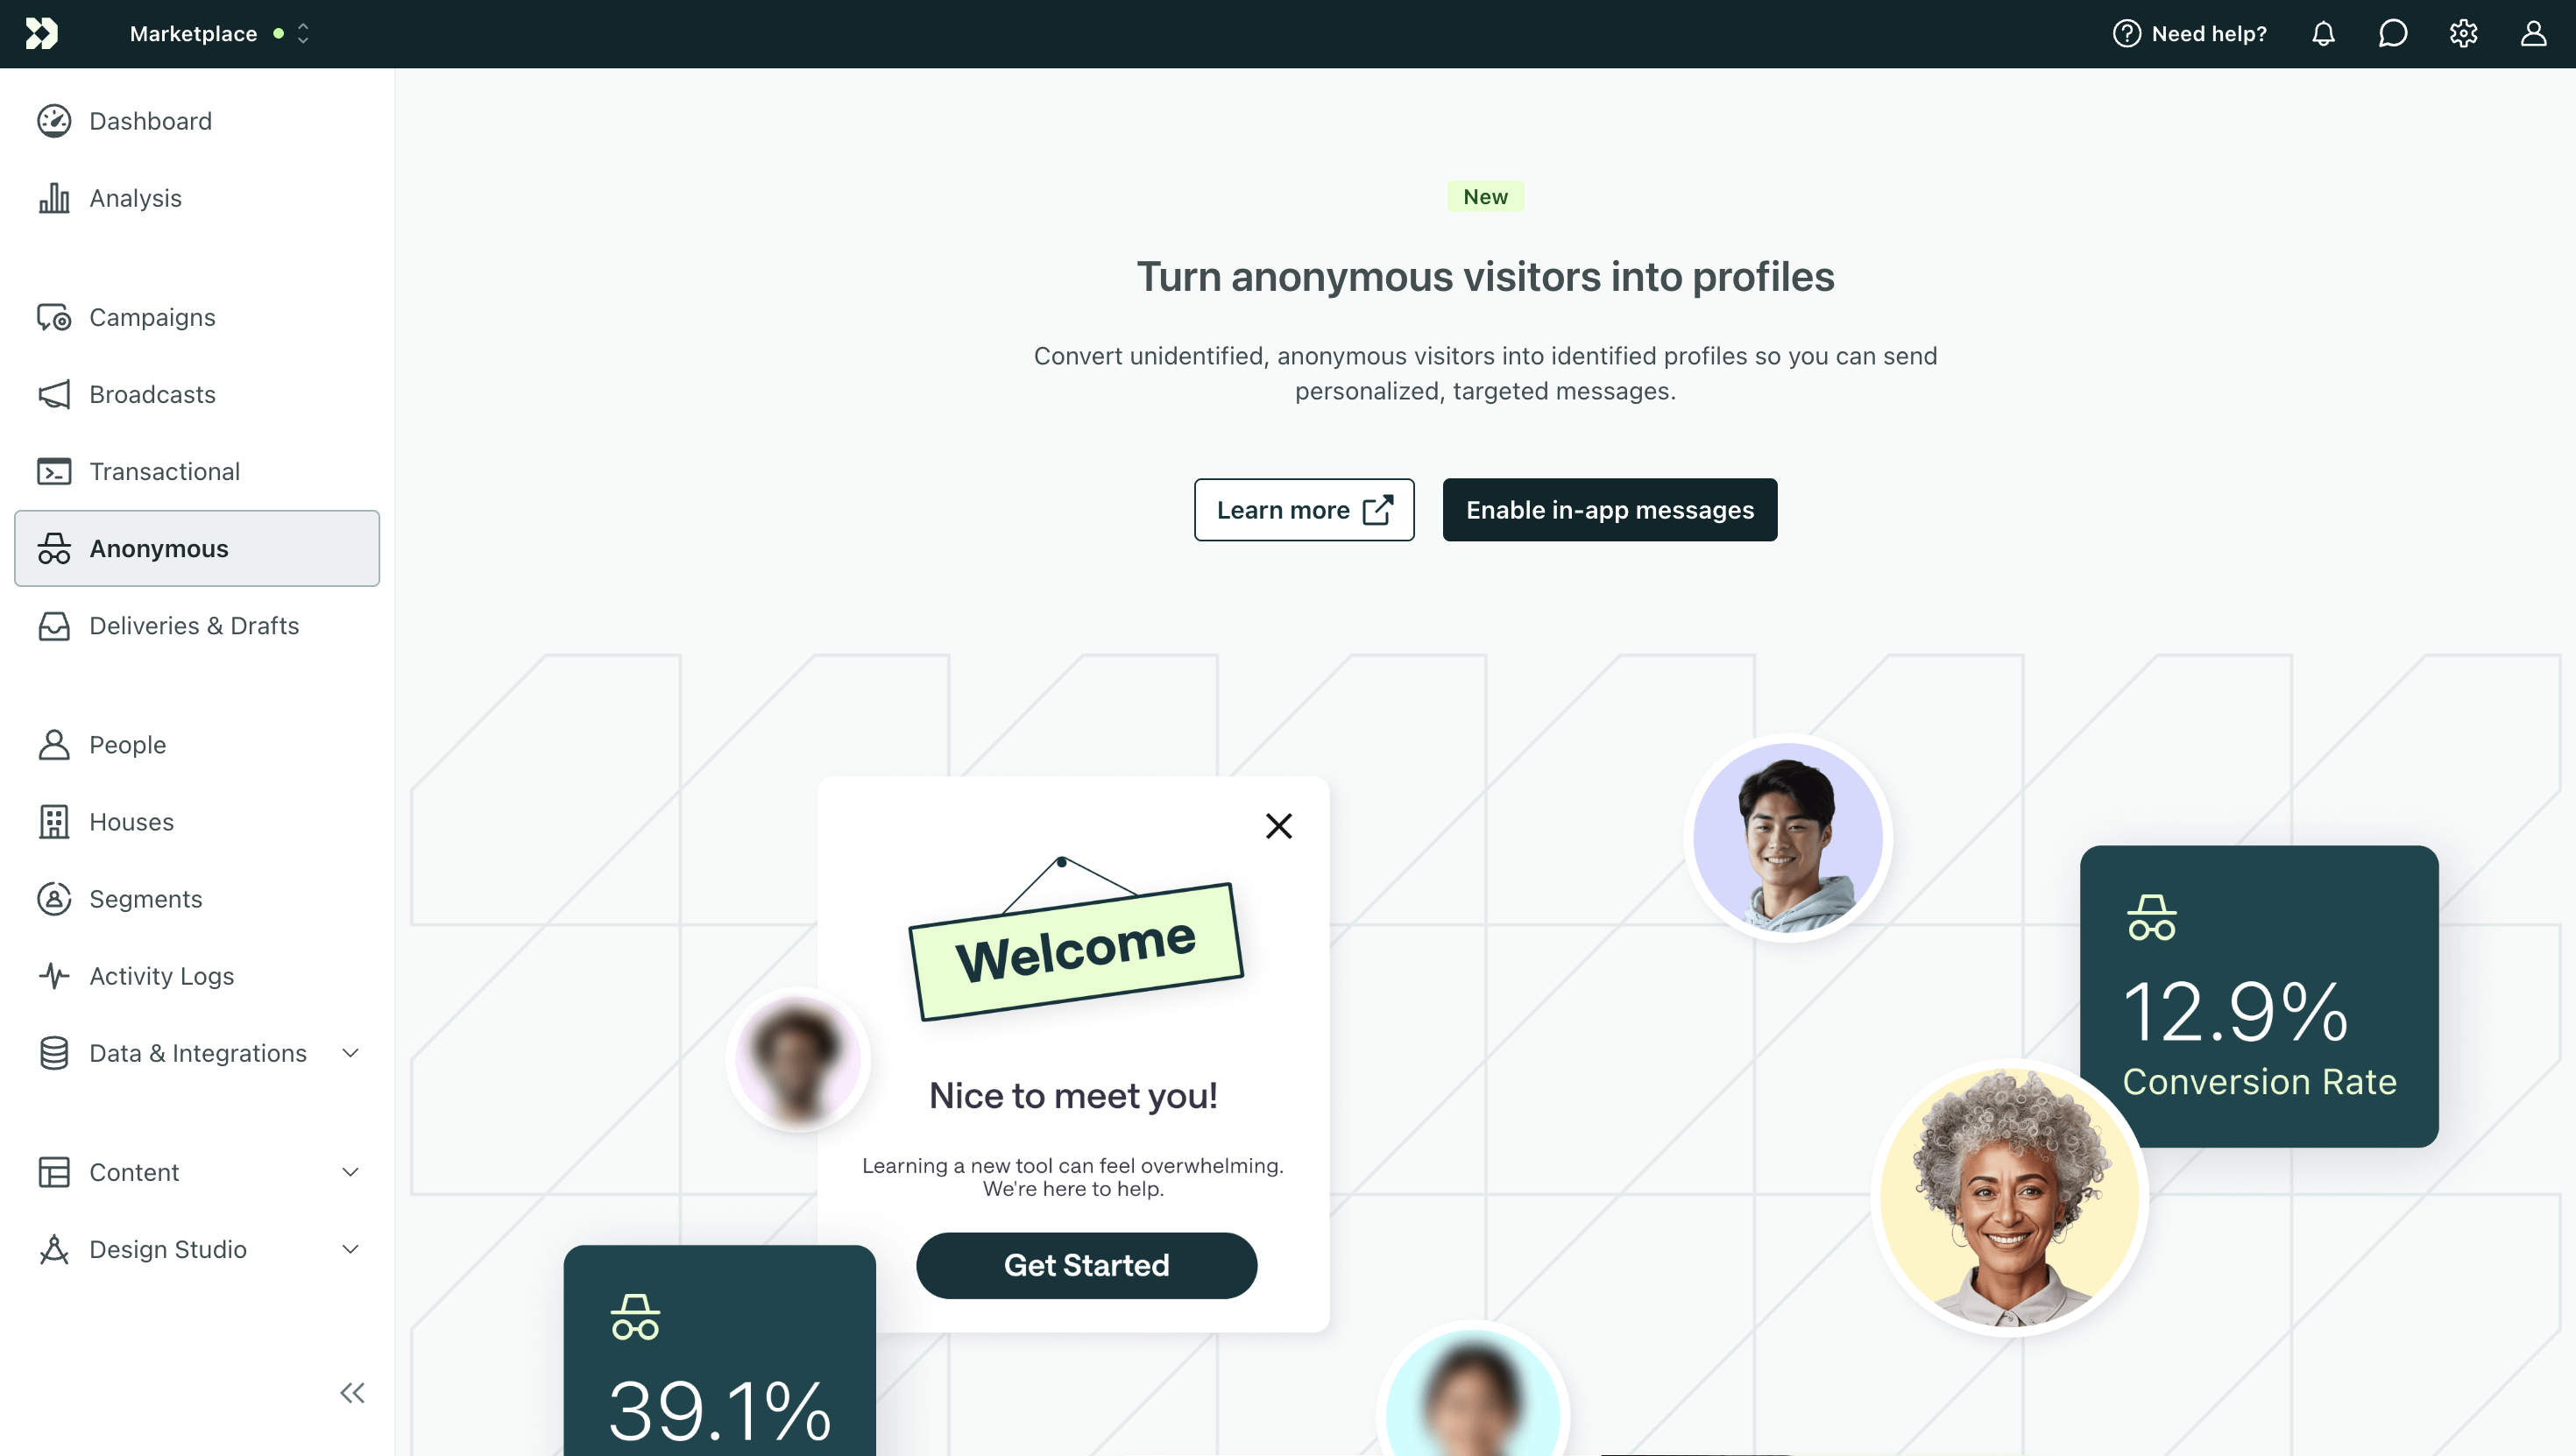
We've made it easy to set up a notification inbox for your website, complete with messages styled to match your brand's look and feel. You can do it all without a developer.
When you set up an inbox, you can style it with the icon, colors, where it’ll appear on your website, and your “unread” indicator. Then you can set up automations or broadcasts to send messages to the inbox—complete with images and calls to action. With the styles you set up in Customer.io, your inbox and messages will look like a natural part of your app, with none of the front-end work.
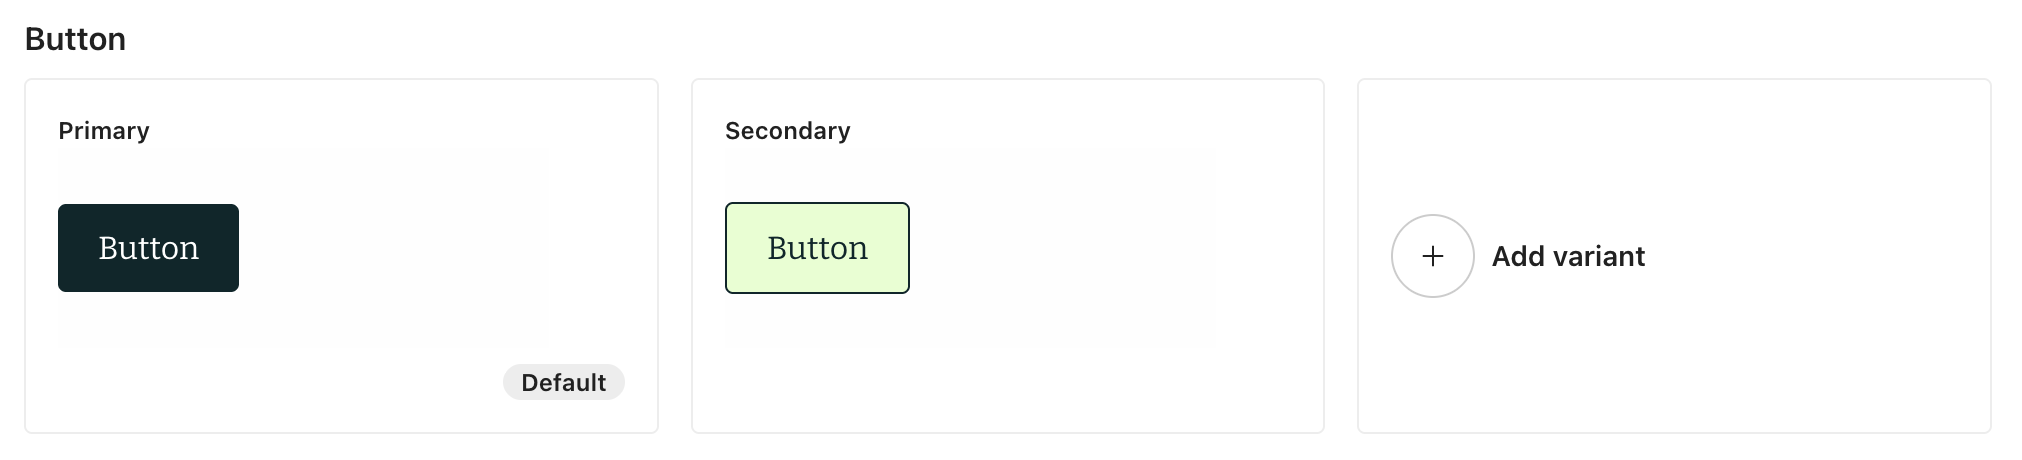
You can now save more than one branded look for a global component, then switch between these variants as you build on-brand messages. We also added images and sections to global components so you can set their default styling in one place!
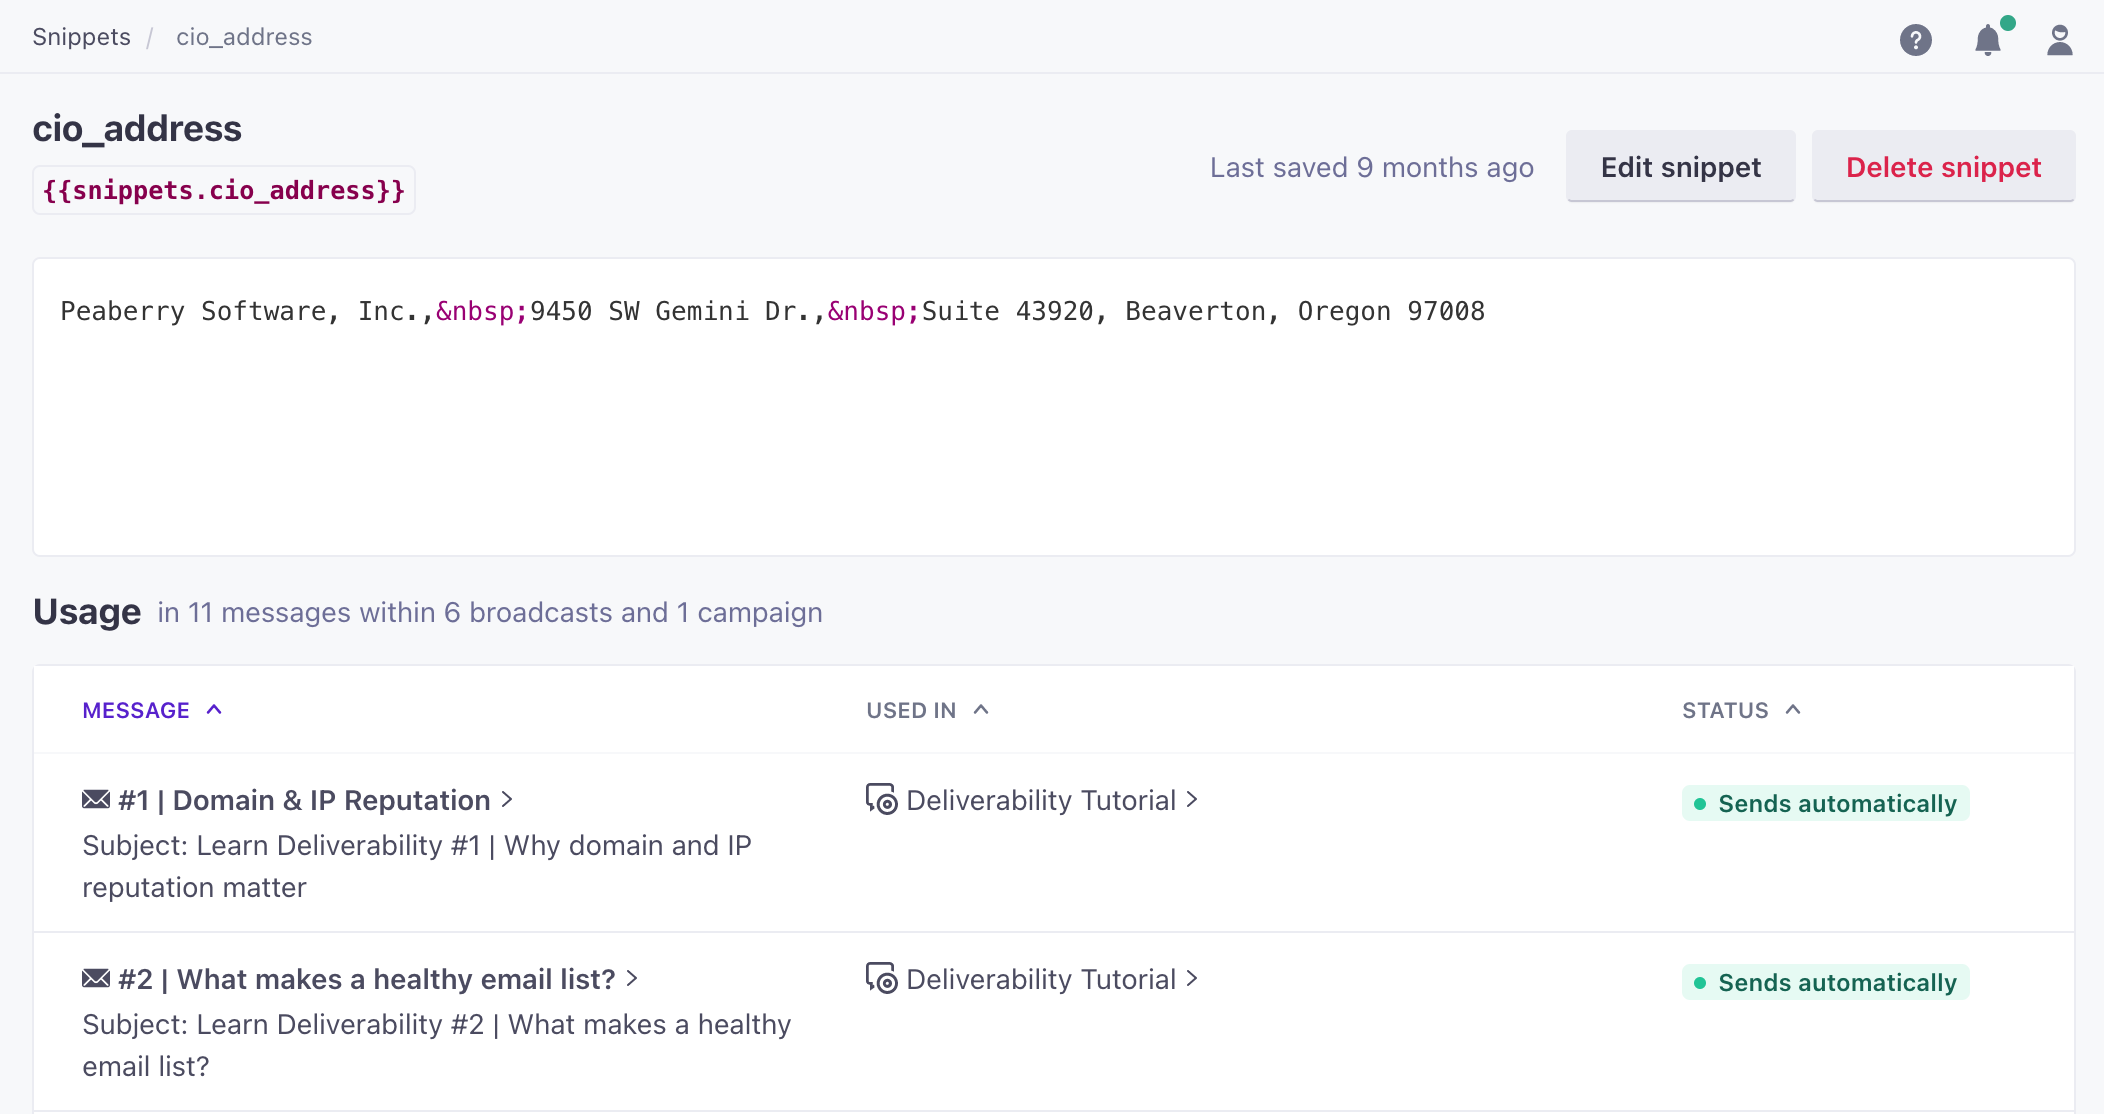
Go to the docs →You can now reference snippets ({{snippets.example}}) in anonymous in-app messages, and reuse shared content like a logo or URL across messages.
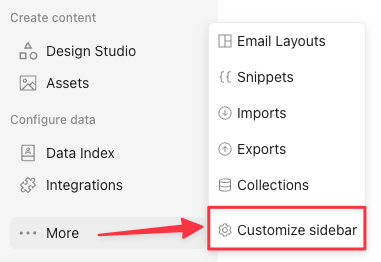
You can now show or hide which navigation items appear on your left-hand sidebar. This helps you navigate faster and reduces clutter when you don't use certain features.
Scroll to the bottom of the menu, click More, and choose Customize sidebar to get started.
Set up your Salesforce integration in fewer steps. Sync templates for contacts, leads, and accounts come with common mappings, and Agent can suggest fields based on your goals.
Getting Salesforce data into Customer.io used to mean manually configuring identifiers, picking fields, setting filters, and choosing your Data Pipelines format for every sync. Now, sync templates handle the common cases for you.
When you connect Salesforce, you can choose templates for contacts, leads, and accounts. Each template starts with common identifiers, mappings, filters, and fields. Pick a template, review the preview, add or remove fields, and enable the sync.
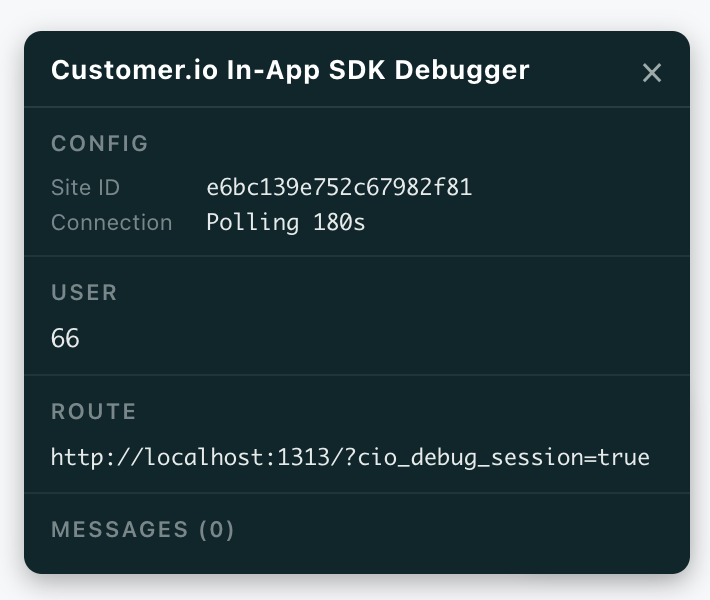
We now offer an in-app debugger to help you test and troubleshoot your in-app messages and implementation. Add cio_debug_session=true to any page on your site to see the SDK's live state—the workspace it's connected to, the person it's identified, the route it's on, and every message that's active or queued—right on your own site.
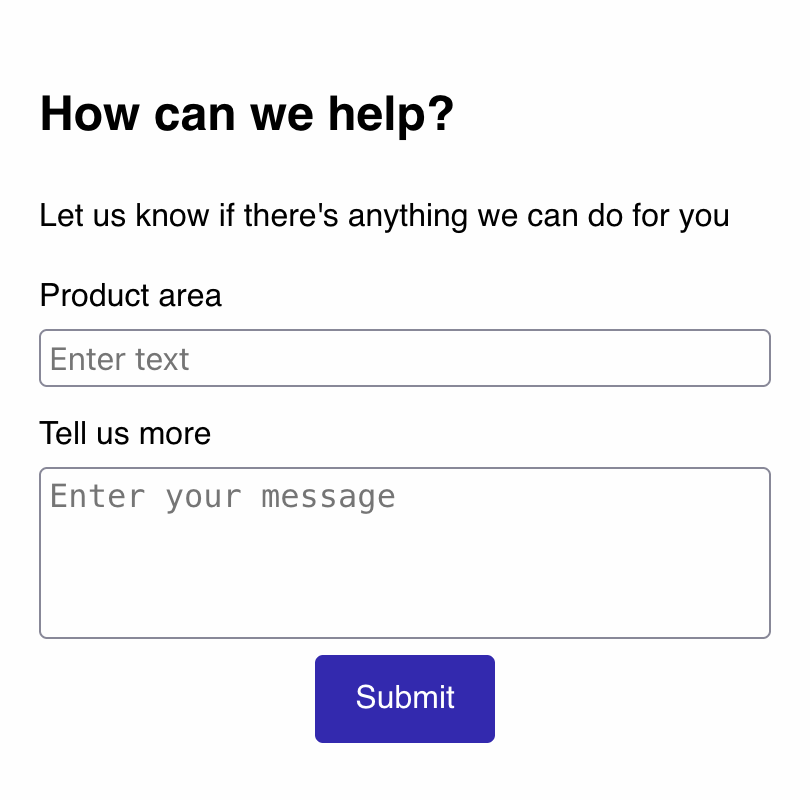
You can now add plain text fields in anonymous messages to collect feedback from visitors you haven't identified yet. This can help you gather feedback from users who might not be comfortable providing their name or email addresses.
Anonymous form submissions appear in a Form Submissions tab on your message’s Overview page. You can browse them or export to CSV so you can share feedback with others and use it to improve your product or service.
You can now create custom skills for the agent so it can do things that you and your team do regularly in Customer.io. You might add skills to help the agent enforce your brand voice, review automation drafts, or report metrics in a specific format.
Go to the docs →
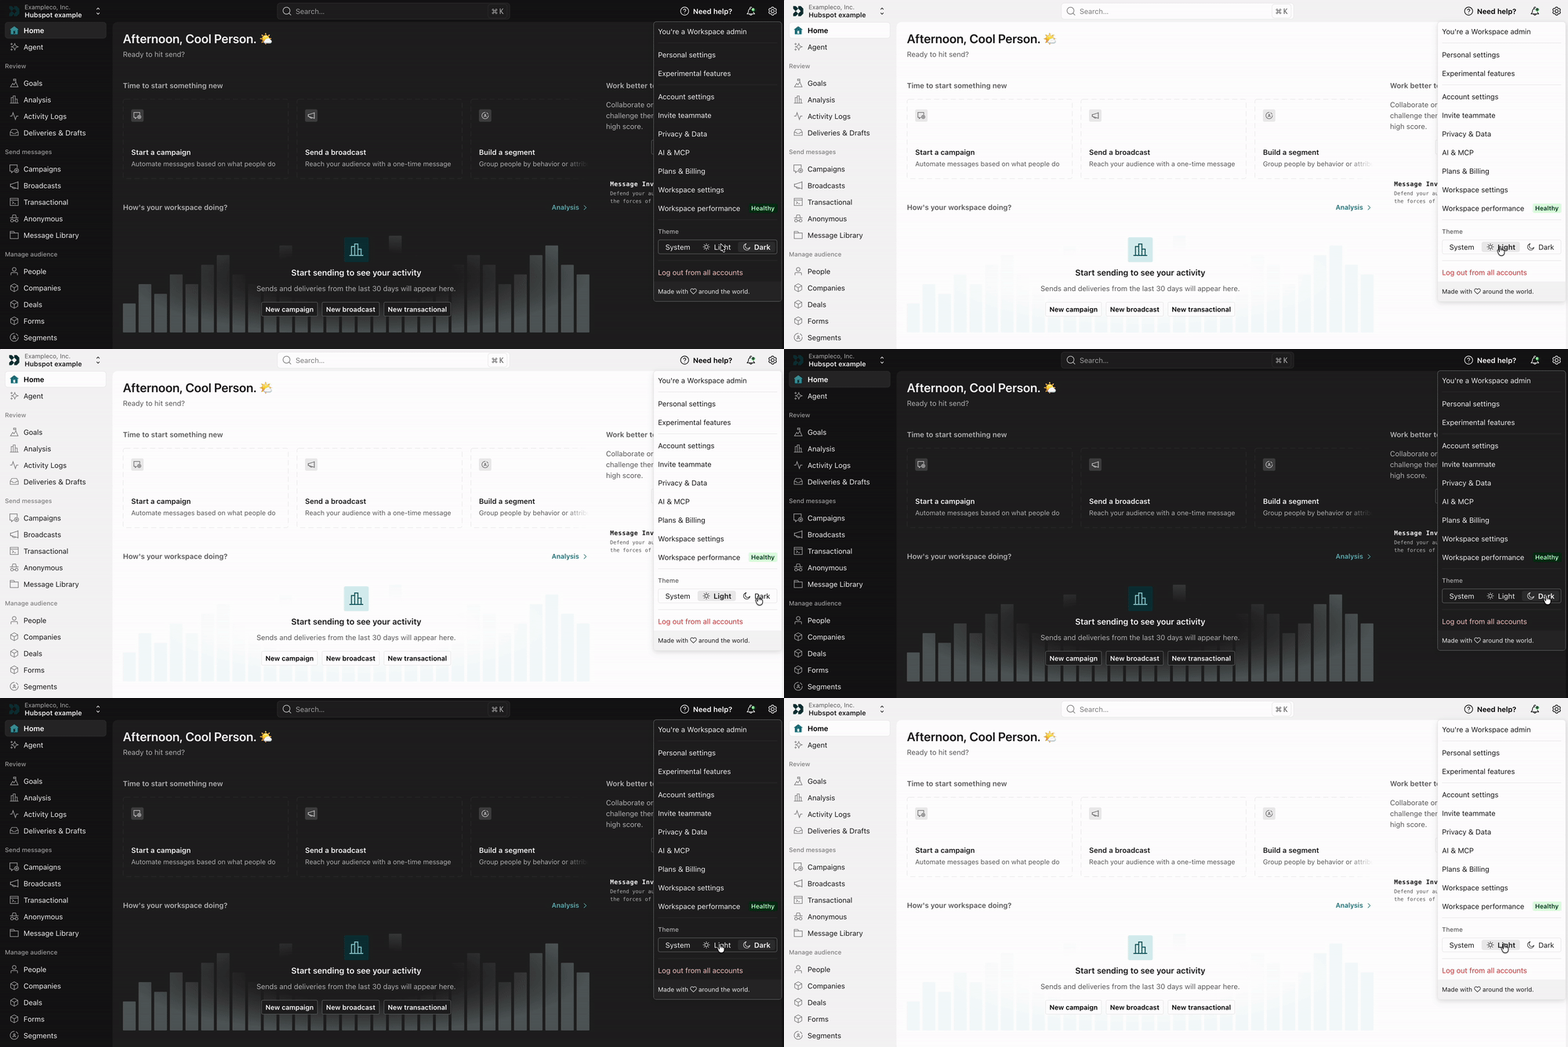
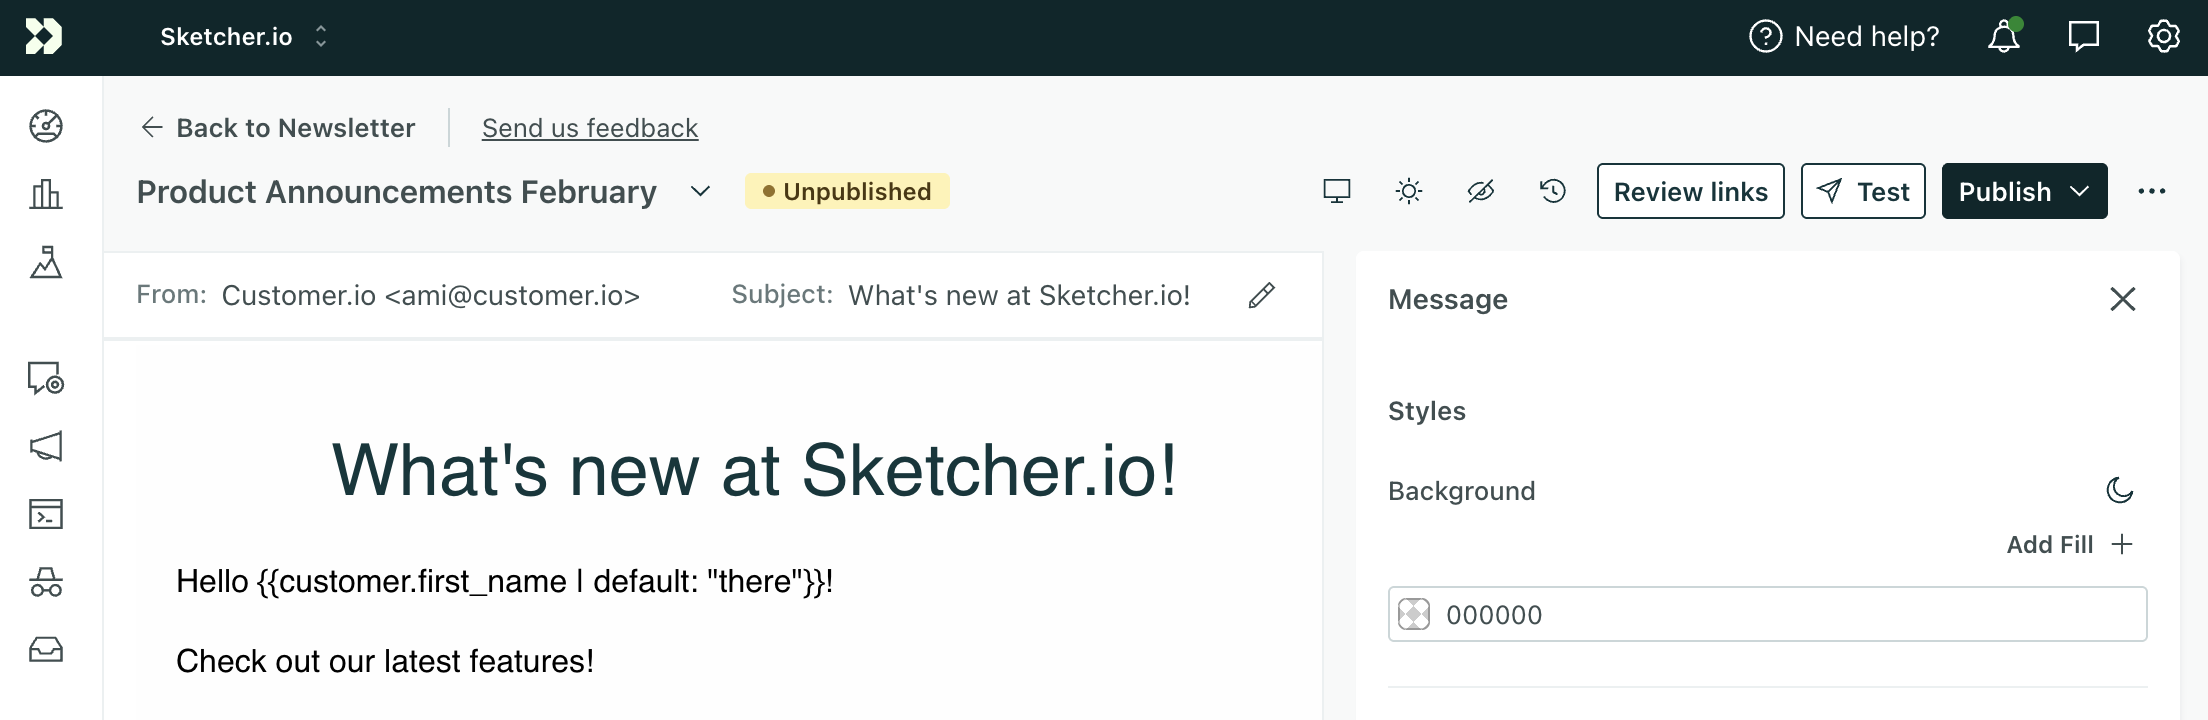
Now you can set your color scheme in Customer.io: your system preference (the default), light mode, or dark mode.
Click Settings in the top-right corner of Customer.io to change your Theme to System, Light, or Dark for all your workspaces.
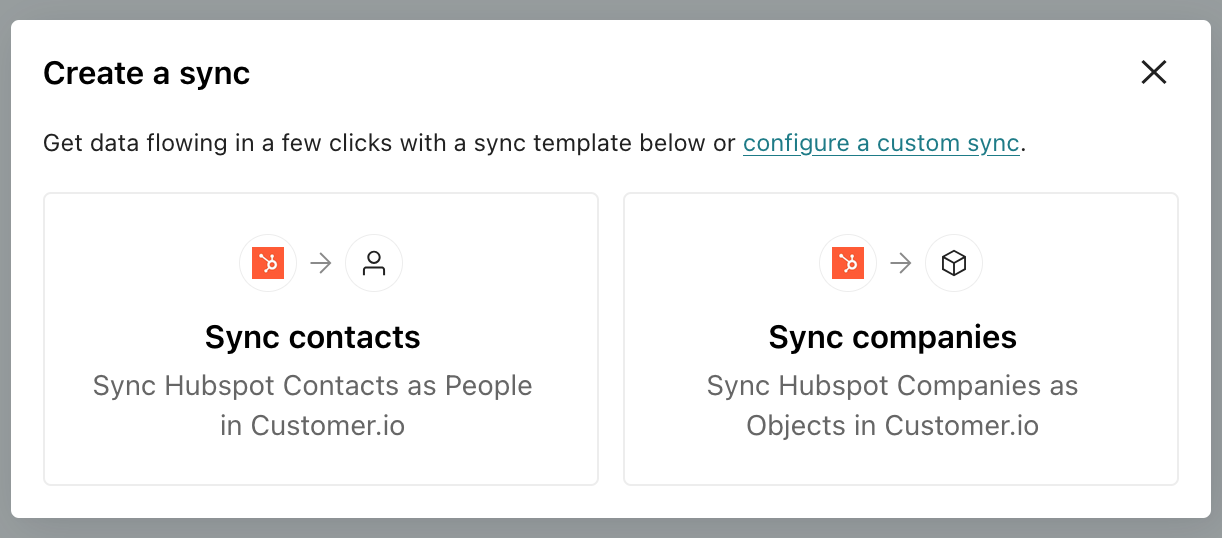
We've made it easier to integrate your HubSpot data and activate it in Customer.io. Our HubSpot integration now includes templates for contacts and companies—the most common data types you'll want to bring into Customer.io. These templates automatically map common fields to Customer.io and you can use AI to suggest additional fields based on your goals.
Go to the docs →You can now independently control whether MCP connections can edit live data and access sensitive profile attributes. By default, both settings are off, ensuring that your external AI tools using our MCP connections can't inadvertently expose sensitive data to AI tools or touch things like live segments and automations unless you explicitly let them.
Go to the docs →You can now generate global styles in Design Studio from a website link you provide. Previously, you could only generate from one of your sending domains. To get started, go to Design Studio > Styles!
Go to the docs →
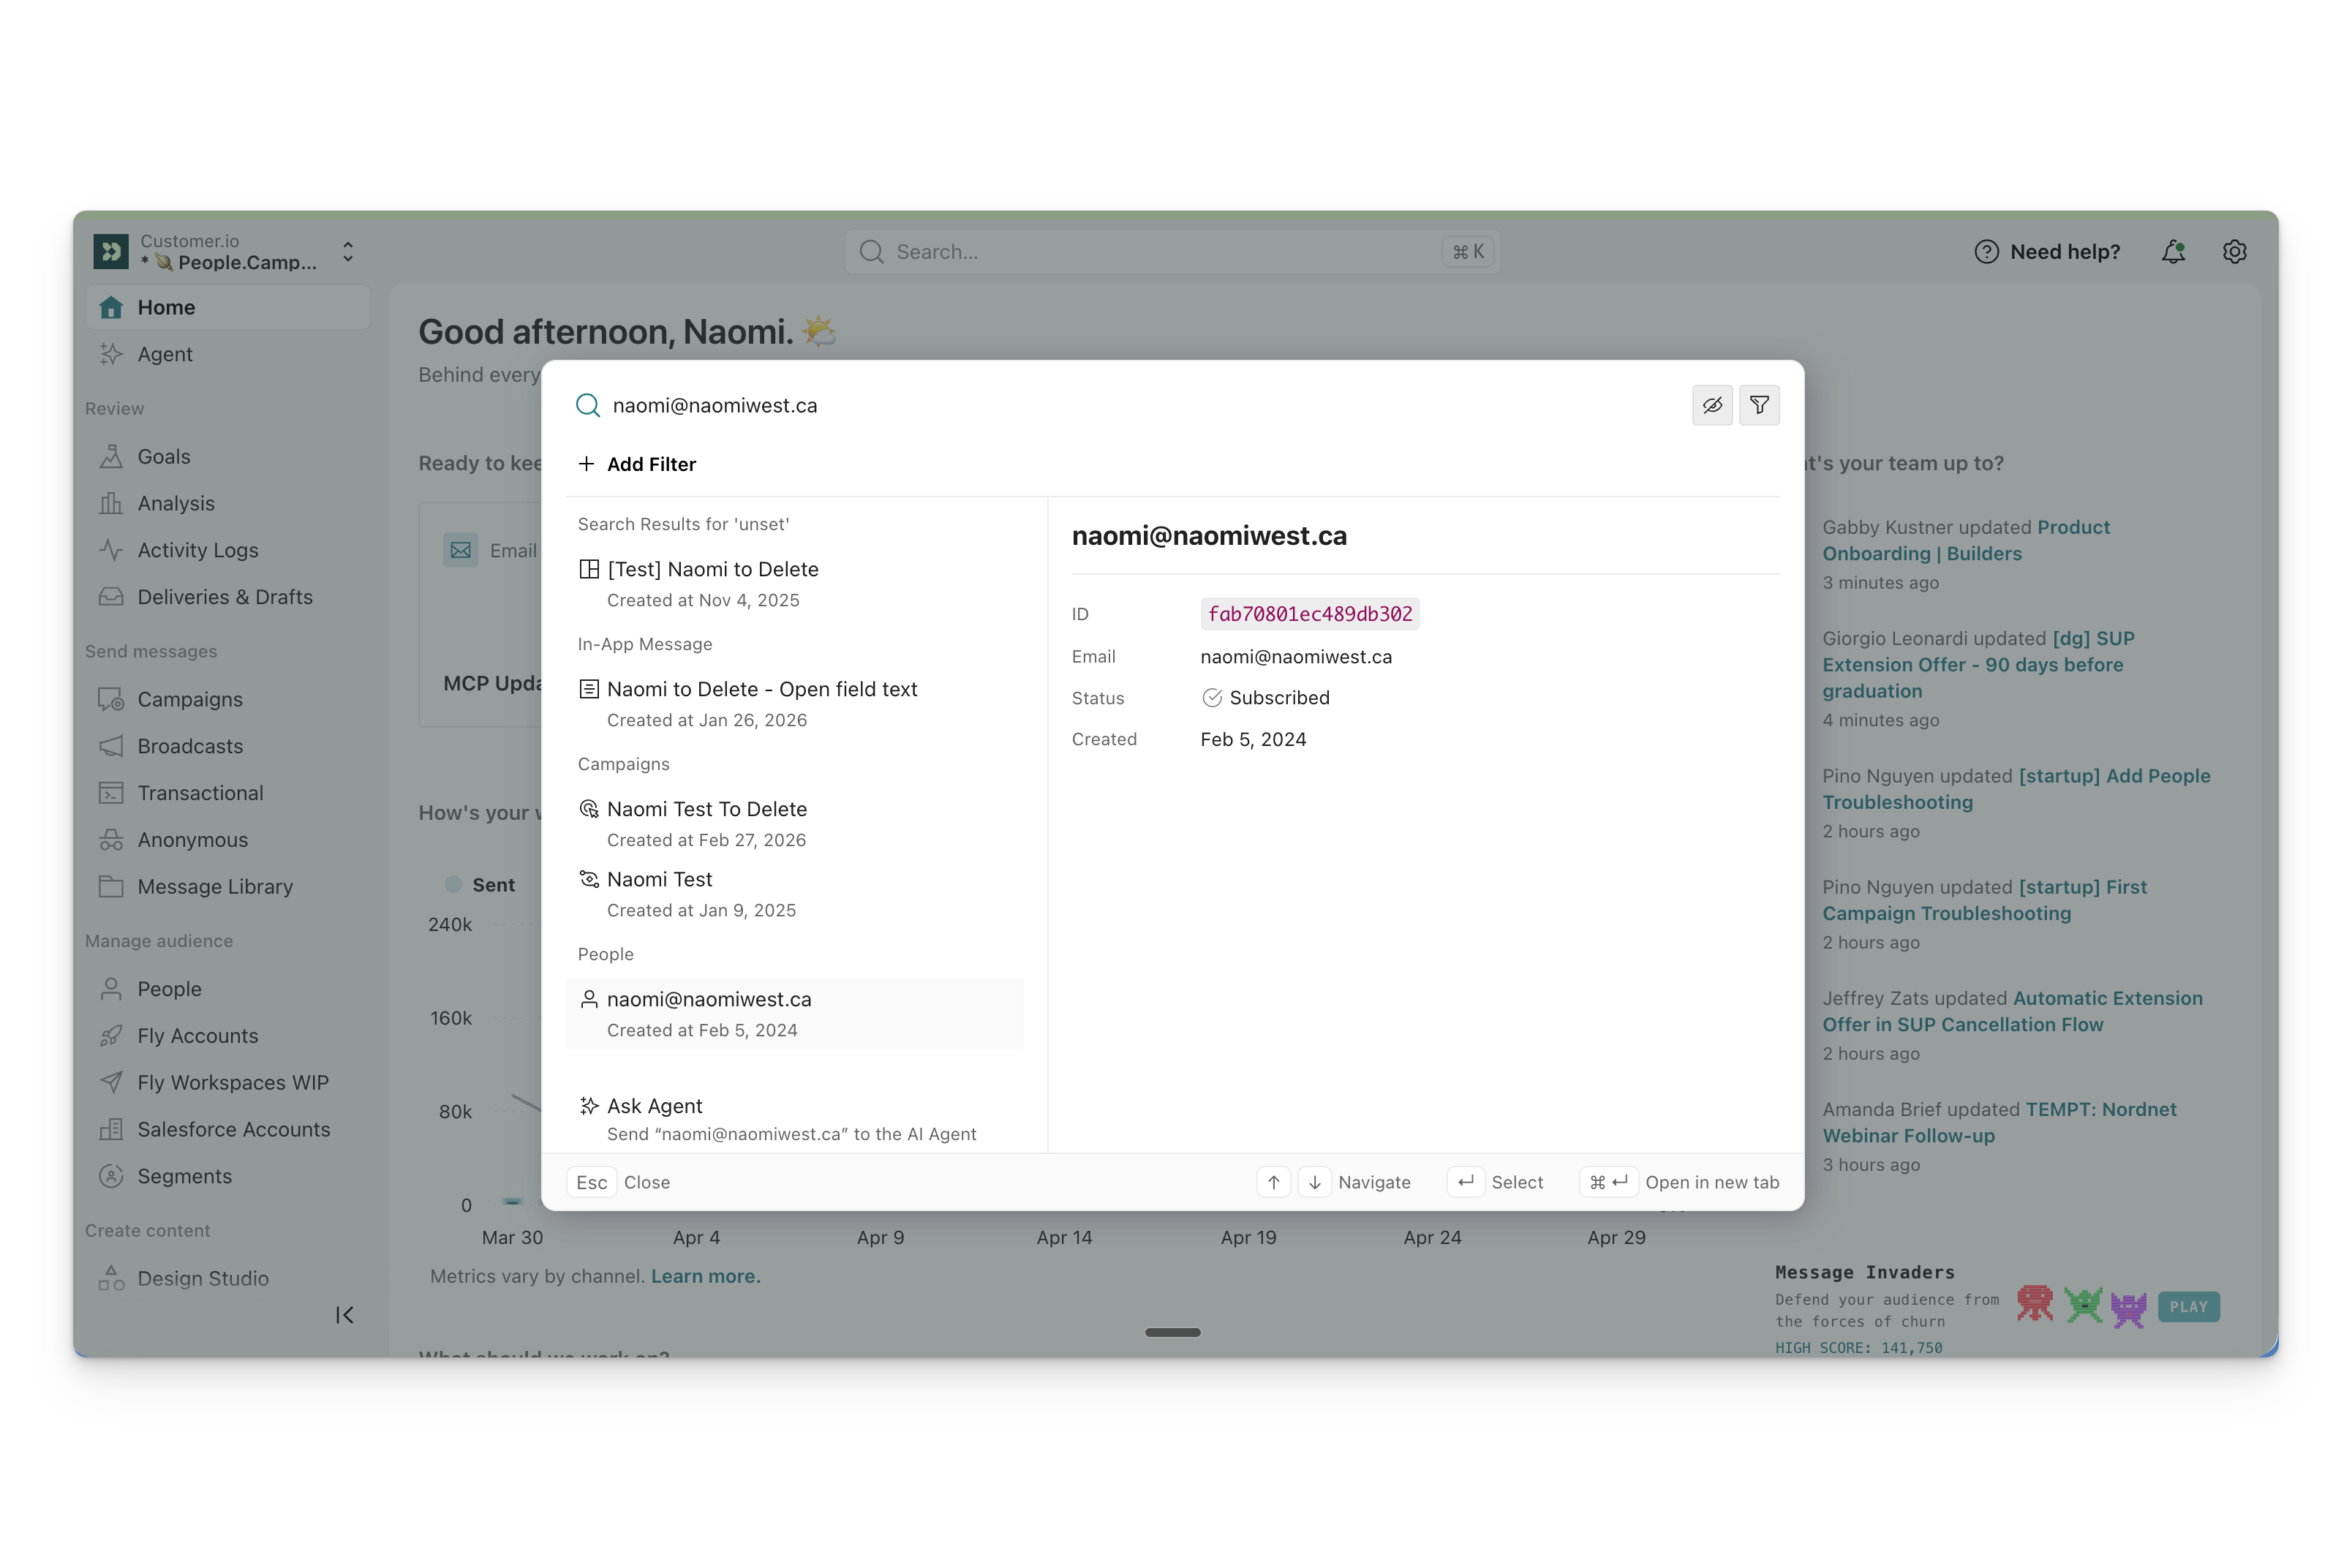
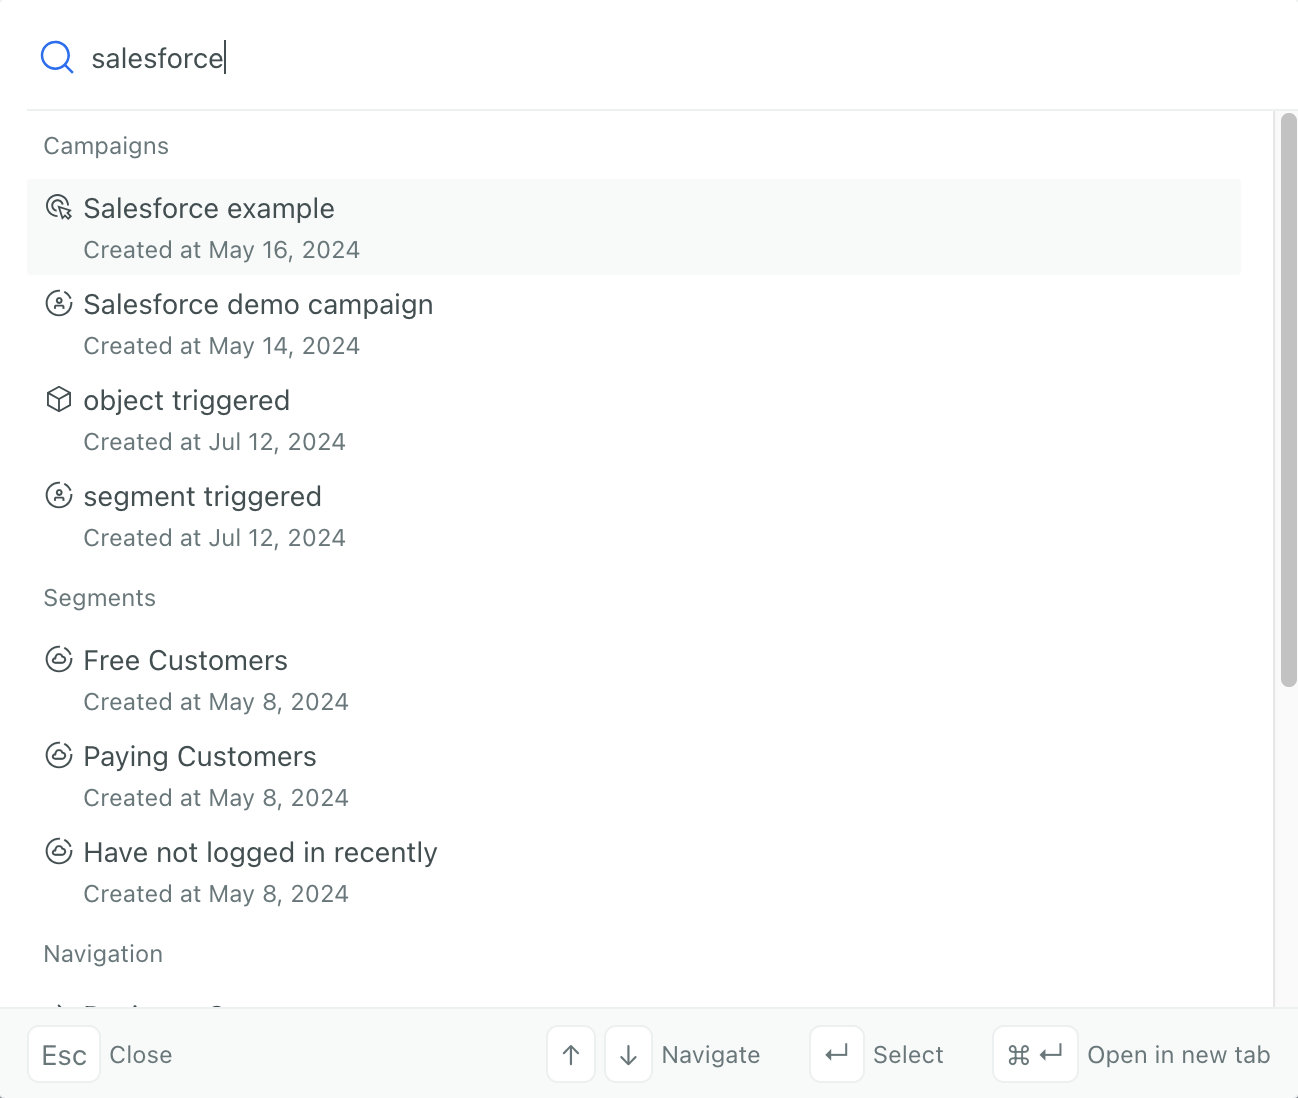
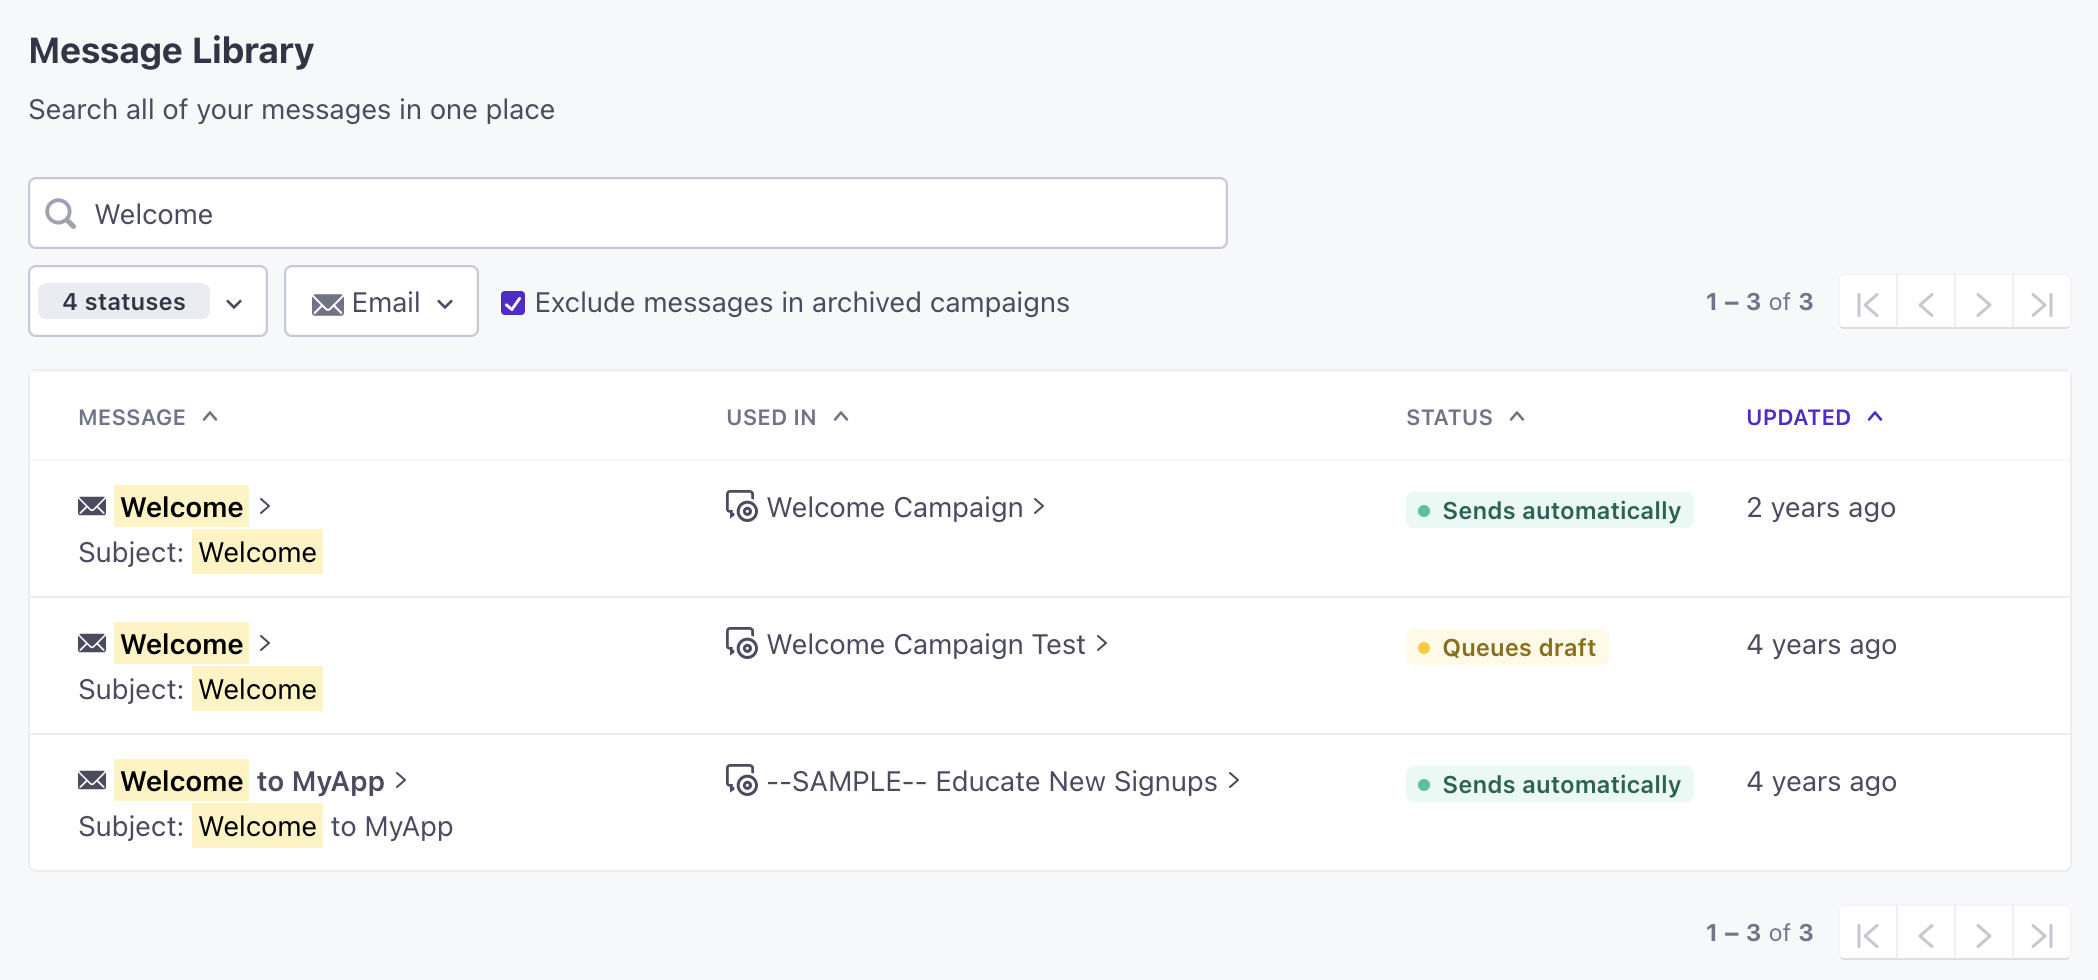
Universal search now covers even more data, including templates, people, product documentation, and newsletters. You can even preview results without leaving your current page.
Where our previous universal search only covered automations, segments, and in-app messages, we’ve expanded it to cover more of your data, so search can help you find what you need without clicking around.
This release also includes inline previews: click a search result to see key details—like a person’s ID, email, subscription status, and creation date—so you can confirm you’ve found the right thing before you click through.
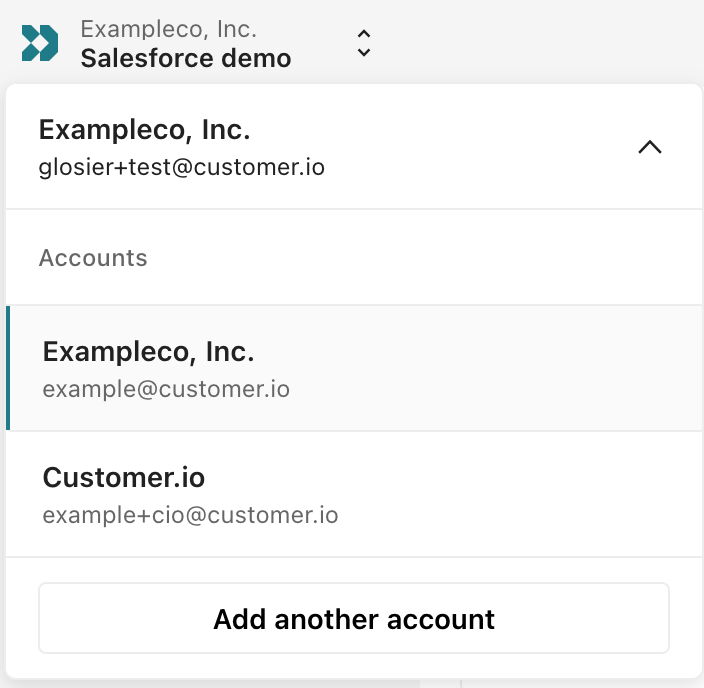
You can now log into multiple Customer.io accounts and switch between them without logging out.
If you manage multiple Customer.io accounts—for different clients, subsidiaries, or test and production environments—you no longer need to log out and back in to move between them. Just go to the workspaces dropdown in the top-left corner, click your account, and click Add another account to login to another one.
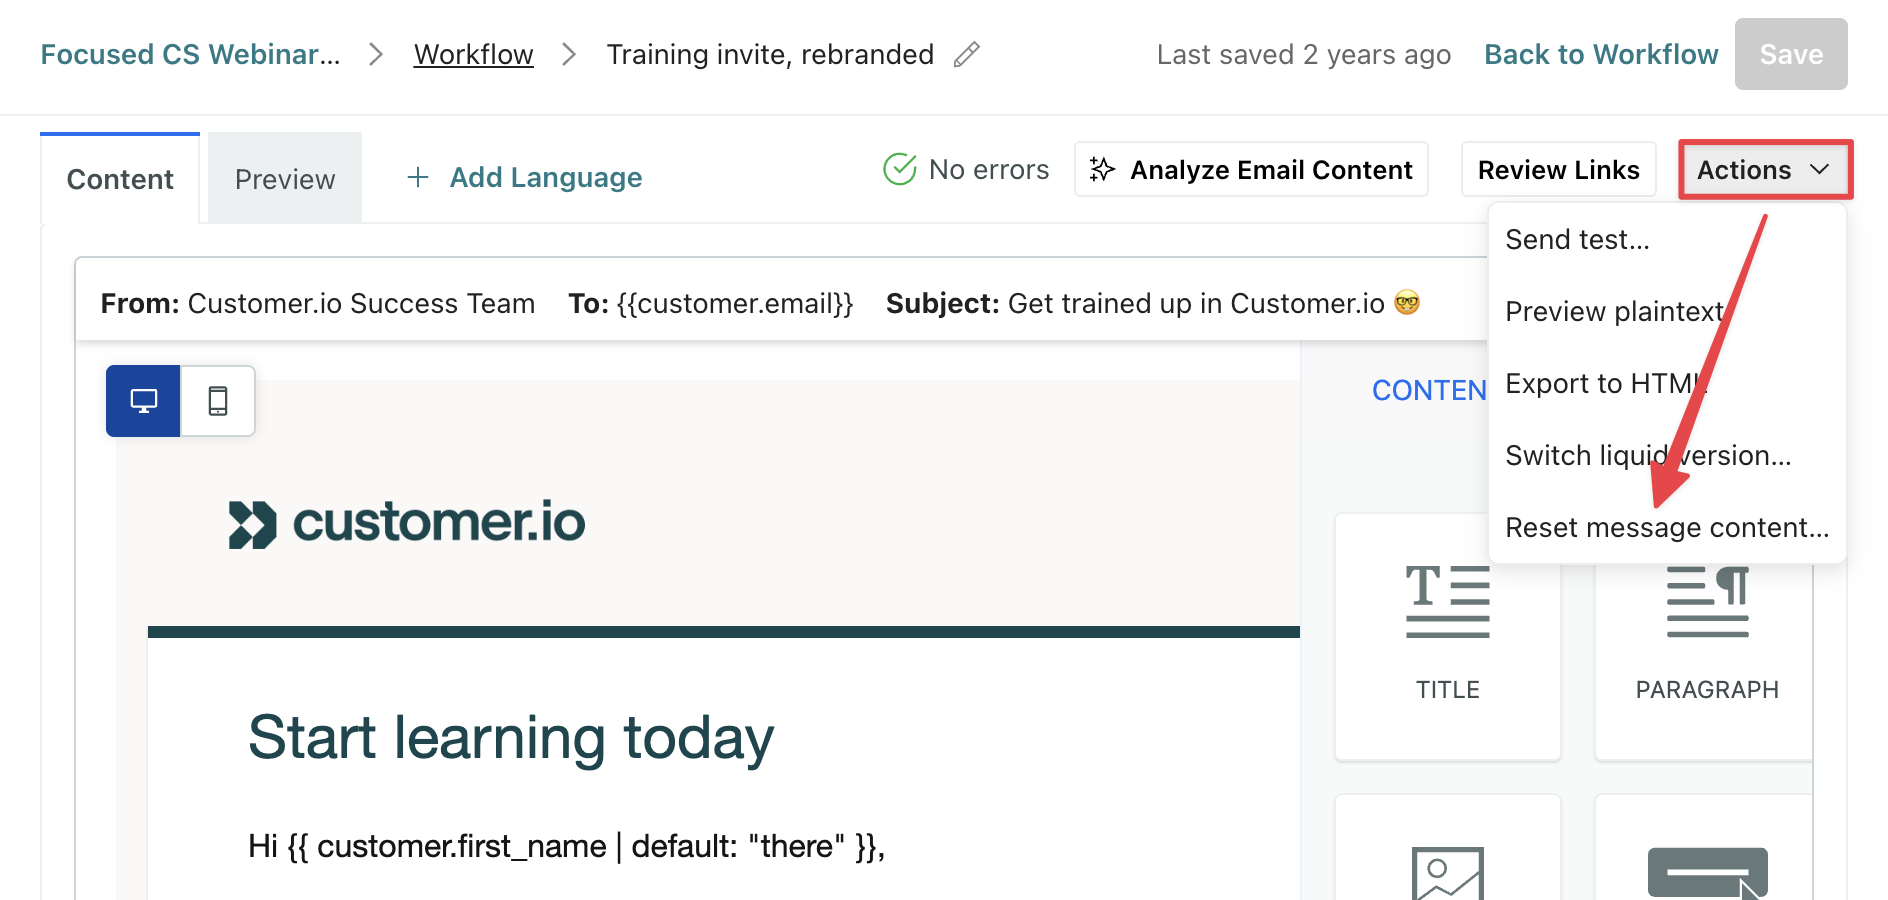
You can now use Reset message content to quickly change the email editor you're using and start from scratch. This means you no longer have to delete email blocks in automations or switch message types in newsletters to start over and change email editors!
Go to the docs →
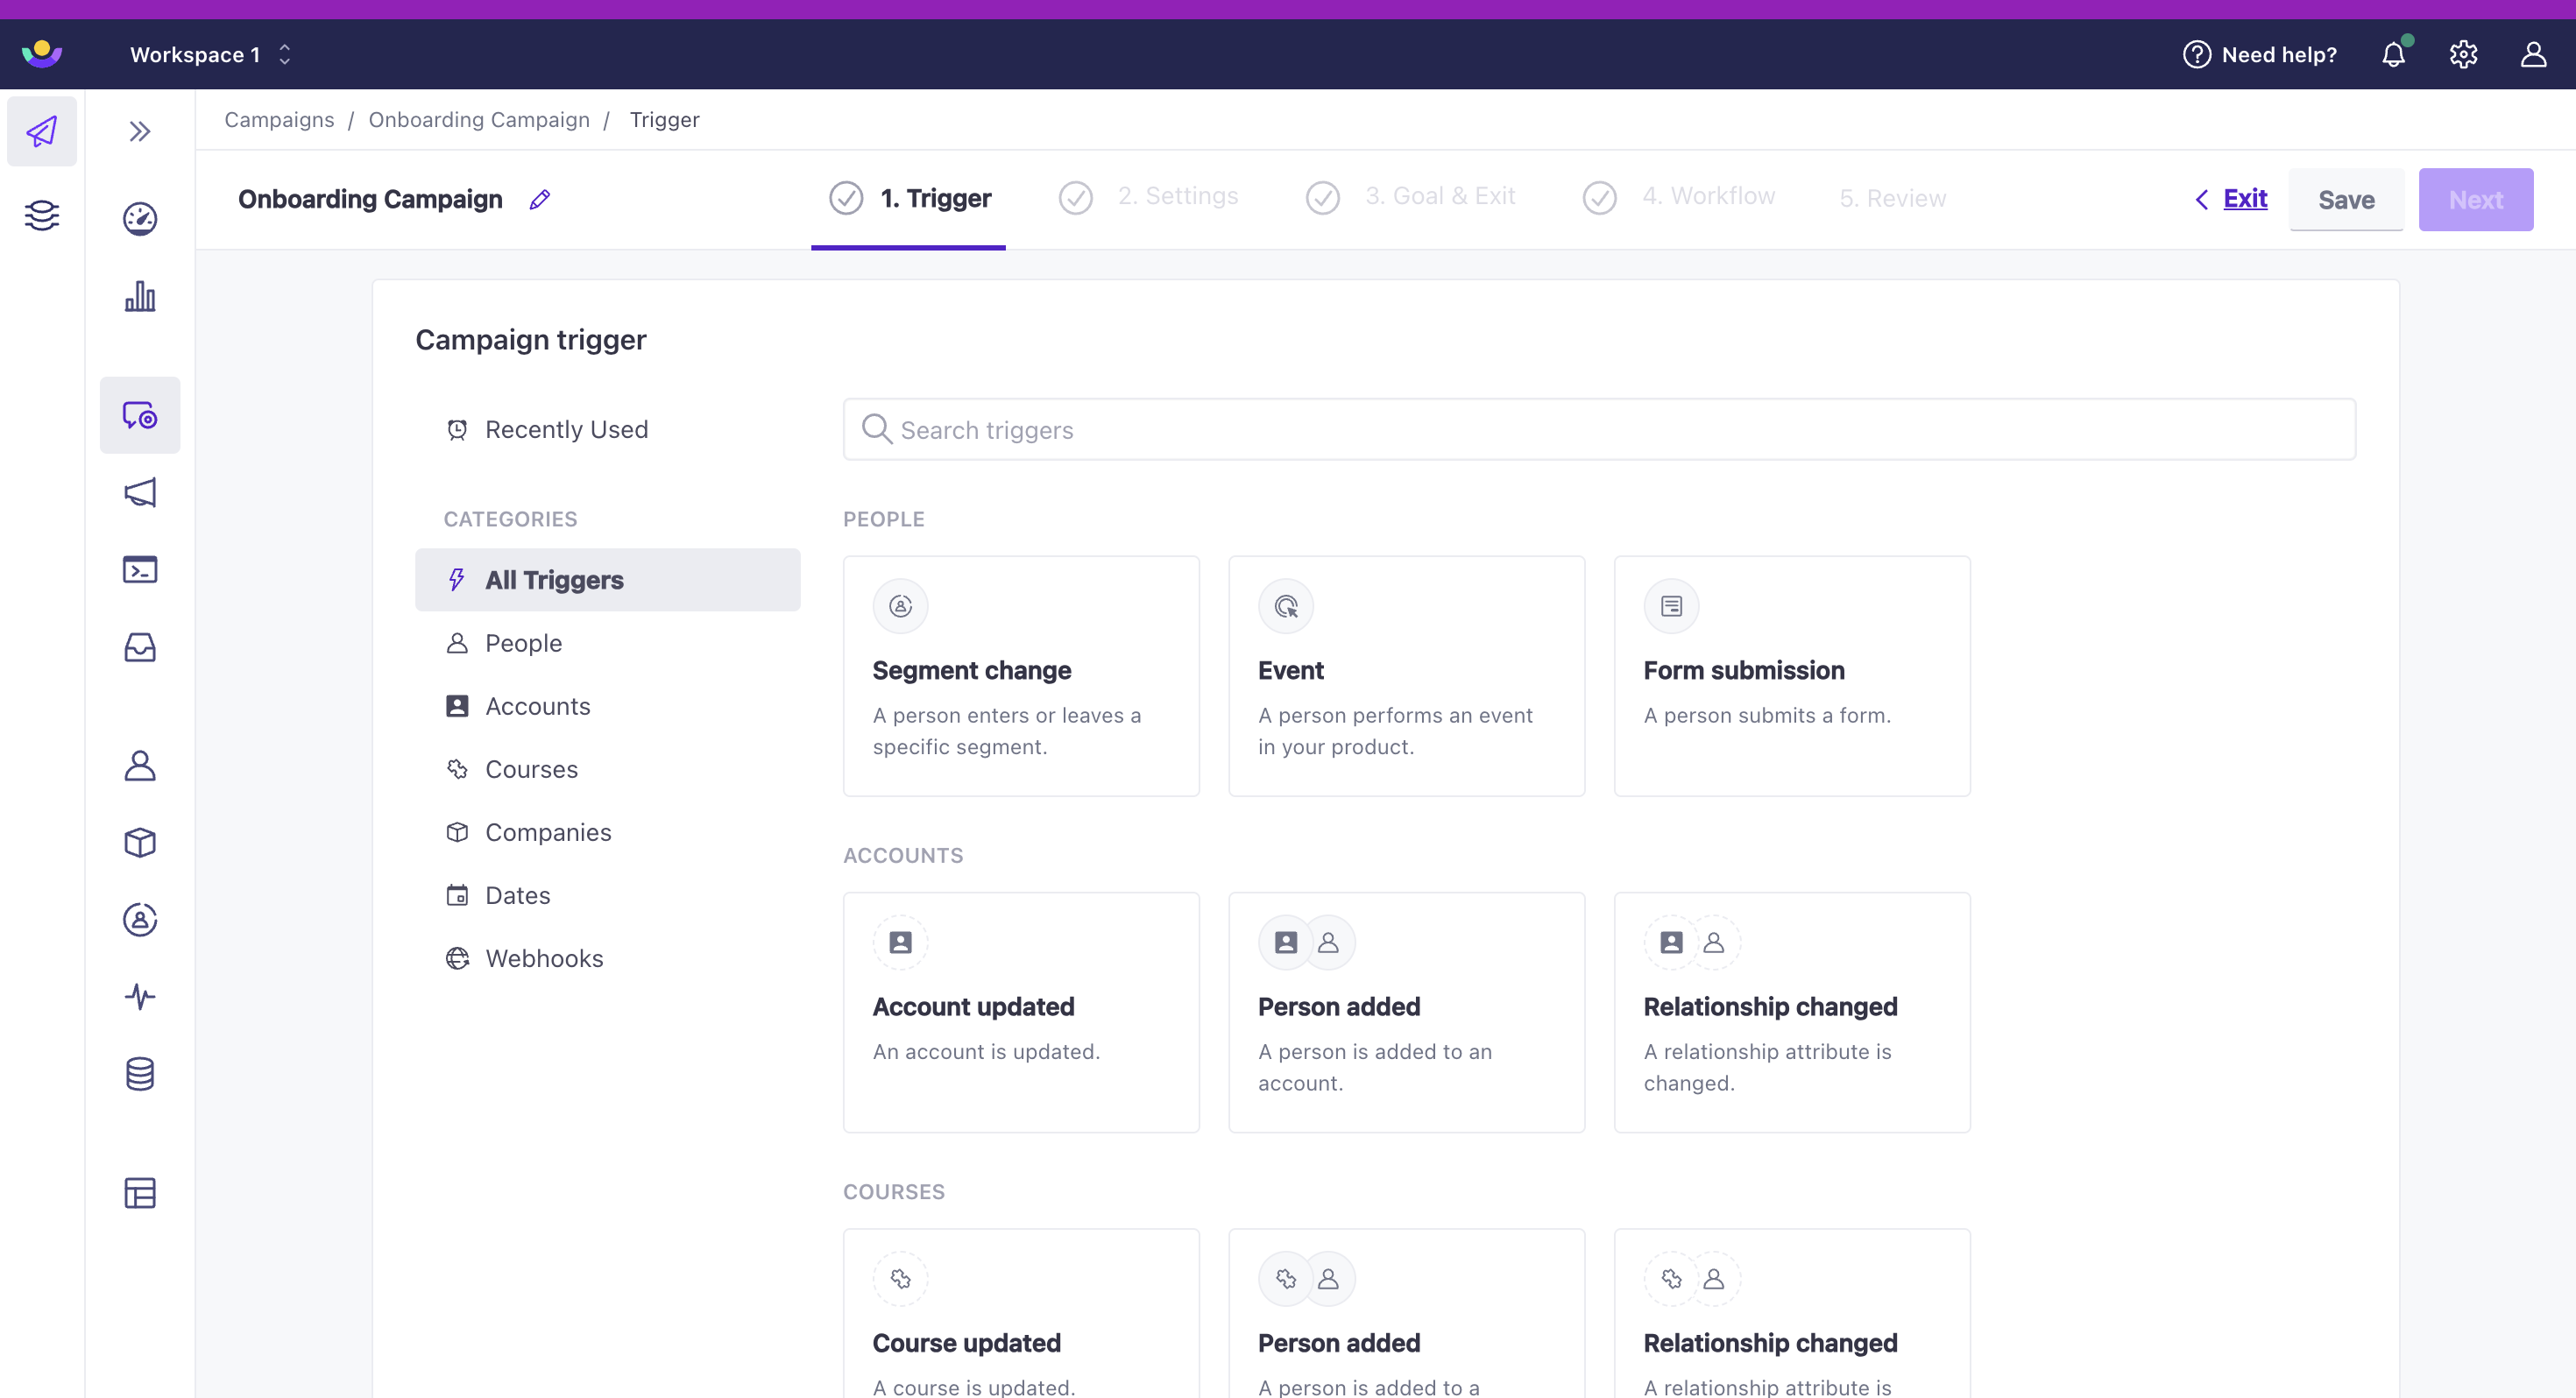
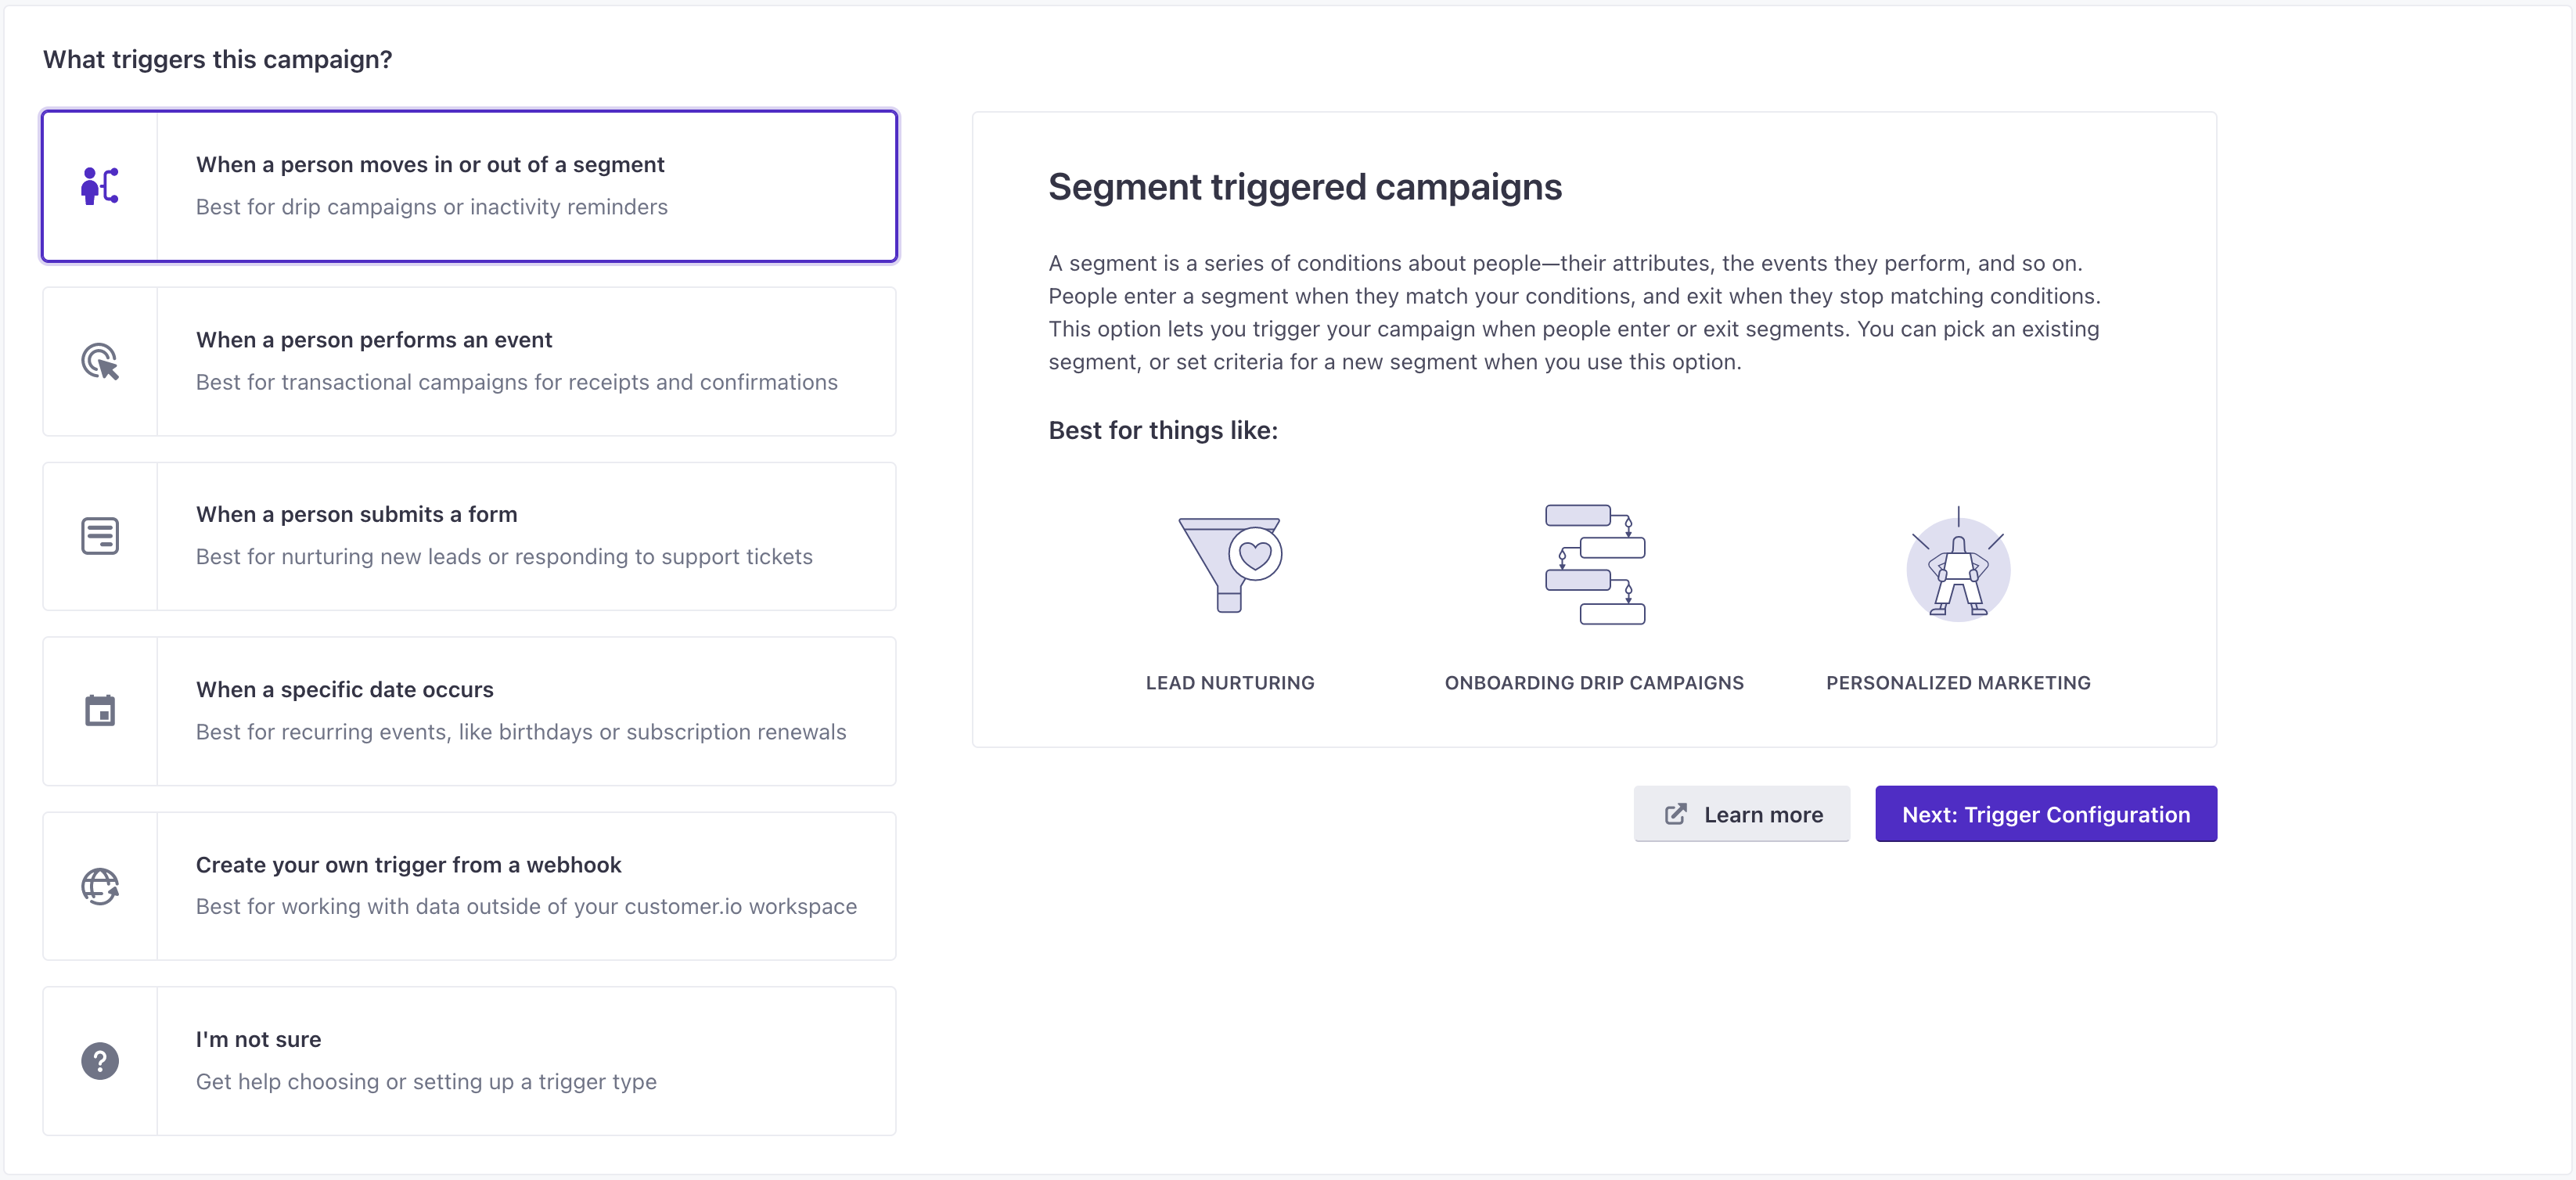
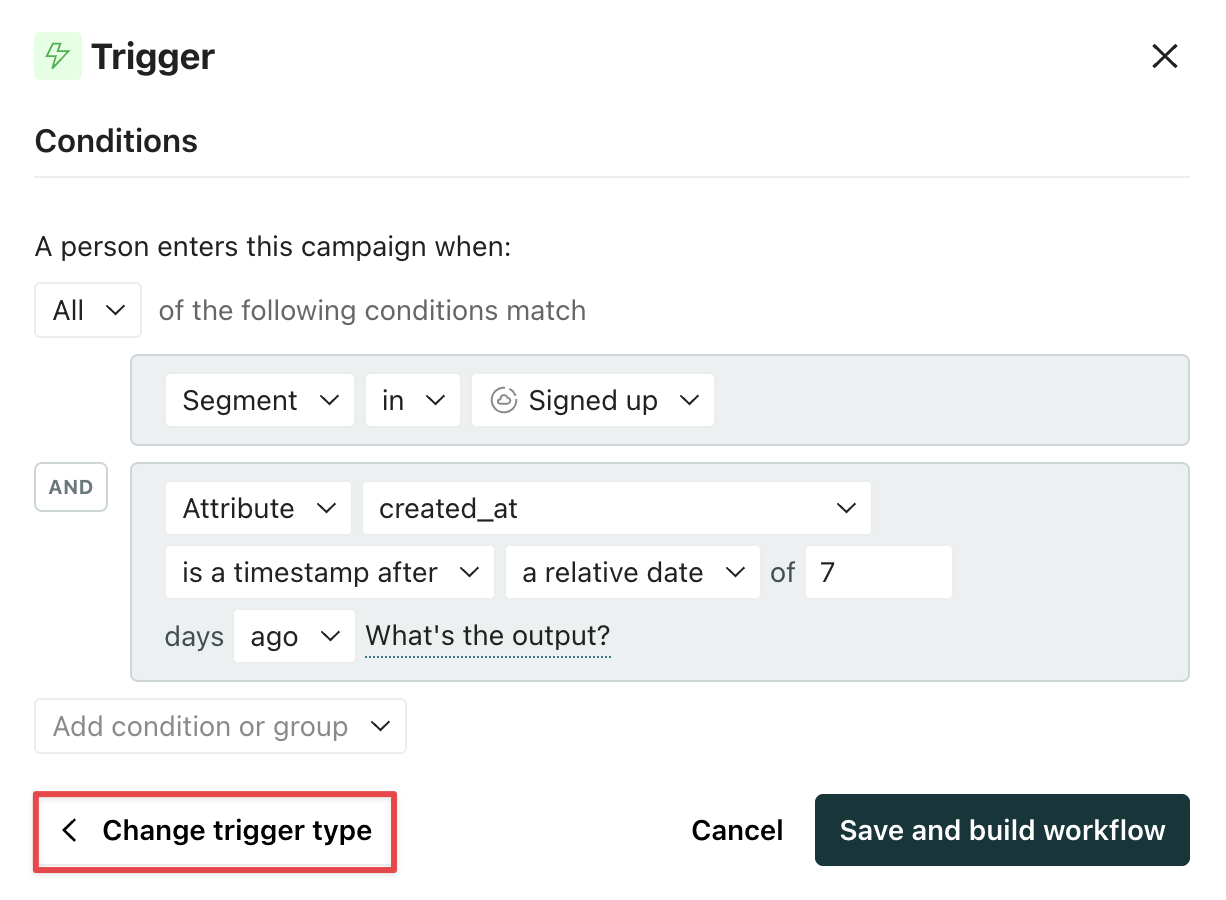
Previously, if you created an automation and later realized you needed a different trigger type, you'd have to create a new automation. Now, you can change your trigger type in your existing automation!
You can only modify the trigger type when the automation is in a draft or stopped state. This ensures you have time to review and update any workflow items impacted by a change to your trigger.
If you need to make changes before you start the automation, you’ll see warnings under each action block needing attention.
You can now programmatically create and send newsletters from our API! This can help streamline your workflow if you create content outside Customer.io.
You can create and send a newsletter in a single request, or use the Send a newsletter and Schedule a newsletter endpoints when a draft is ready. You can pass optional rate limits on both calls.
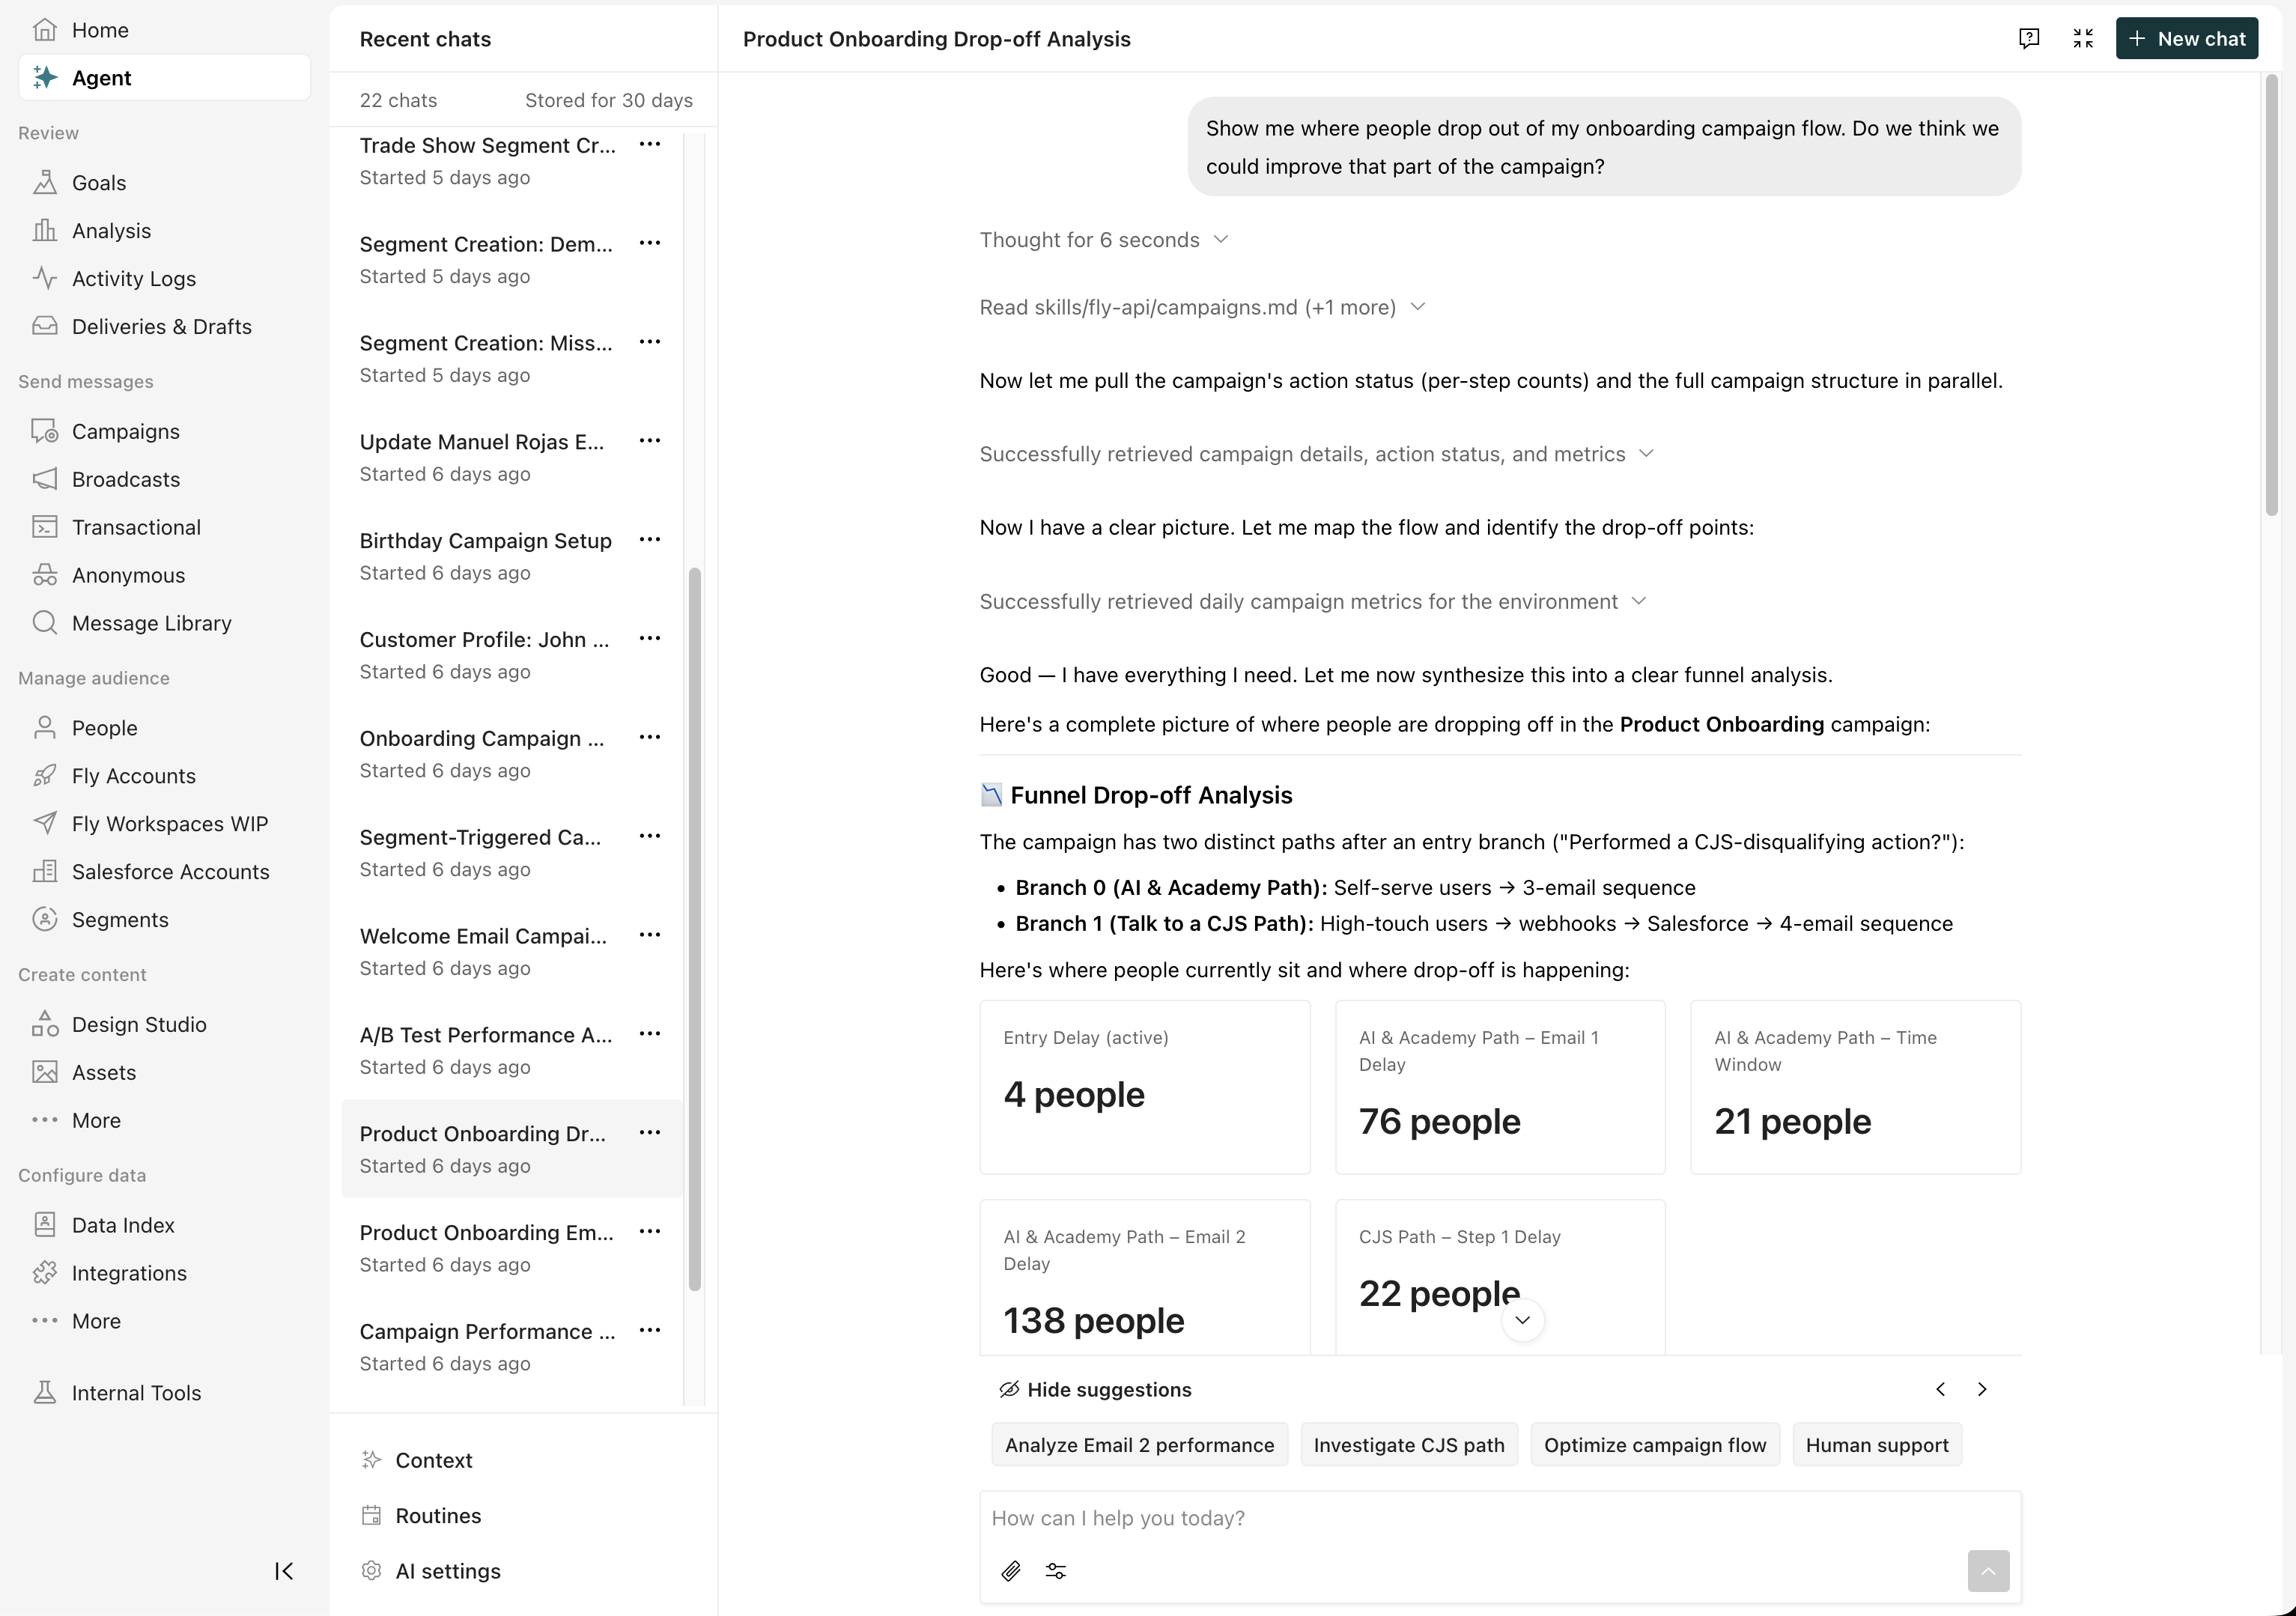
If you've used our AI assistant in the past, you'll notice it's had a glow-up. It's now called the agent and it can act as your coworker in Customer.io.
In the past, our AI Assistant was limited to specific tools. But the new agent can do just about anything you can do in Customer.io. It can create automations, draft emails, analyze automation performance, and more. It can even learn from you and get better over time!
You can also set up Routines to automate recurring tasks—things like checking your deliverability, auditing segments, and more.
And while we’ve expanded the agent’s capabilities, we’ve also given it guardrails to make sure it works safely. It’s limited to your permissions, and it has approval flows to make sure it doesn’t do things you don’t want it to do.

Goals let you define specific outcomes you're optimizing for—a purchase, a subscription upgrade, etc.—and measure achievement across automations and broadcasts.
Unlike automation-specific conversion goals, you can now track outcomes that span multiple workflows to help you more holistically strategize around your messaging and data.
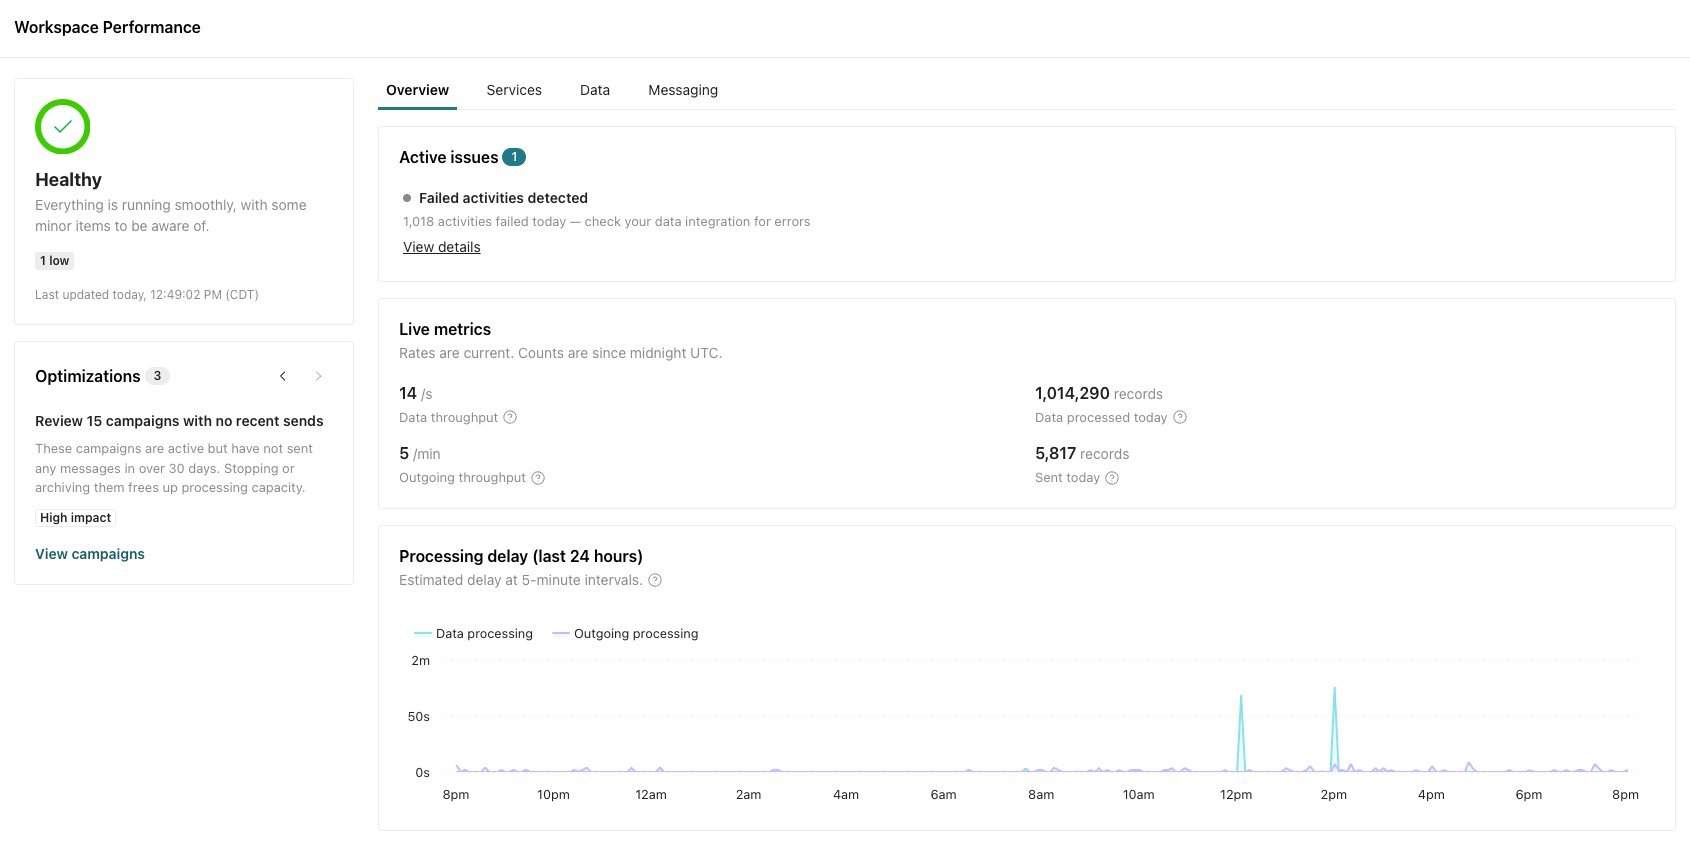
Go to the Workspace Performance dashboard to check the status of your workspace and monitor incoming data and outgoing messages. Use this dashboard to locate and troubleshoot performance issues.
You can also use this dashboard to optimize your workspace before issues arise! Go to > Workspace performance to get started.
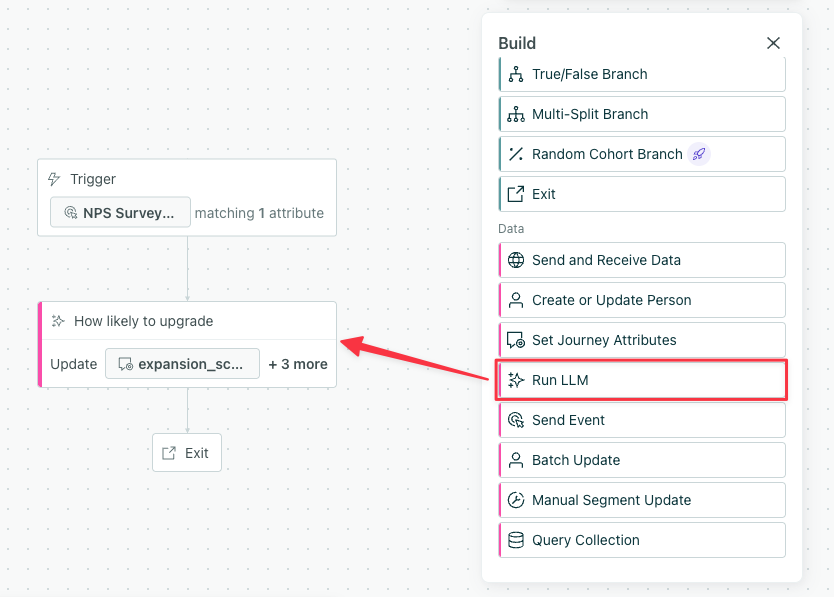
LLM actions let you prompt an AI model and store the output as attributes for use later in an automation. They use AI credits, a new currency in your account.
You can use LLM actions to personalize messages, enrich data, and create conditions to help you reach the right audience.
Each time an LLM action runs, it uses AI credits. Learn more in Billing.
We've released eight new capabilities—AI-powered intelligence, outcome-first measurement, a redesigned experience, and expanded channel reach—that don't just expand what you can do, but change what's possible.
Go to the docs →
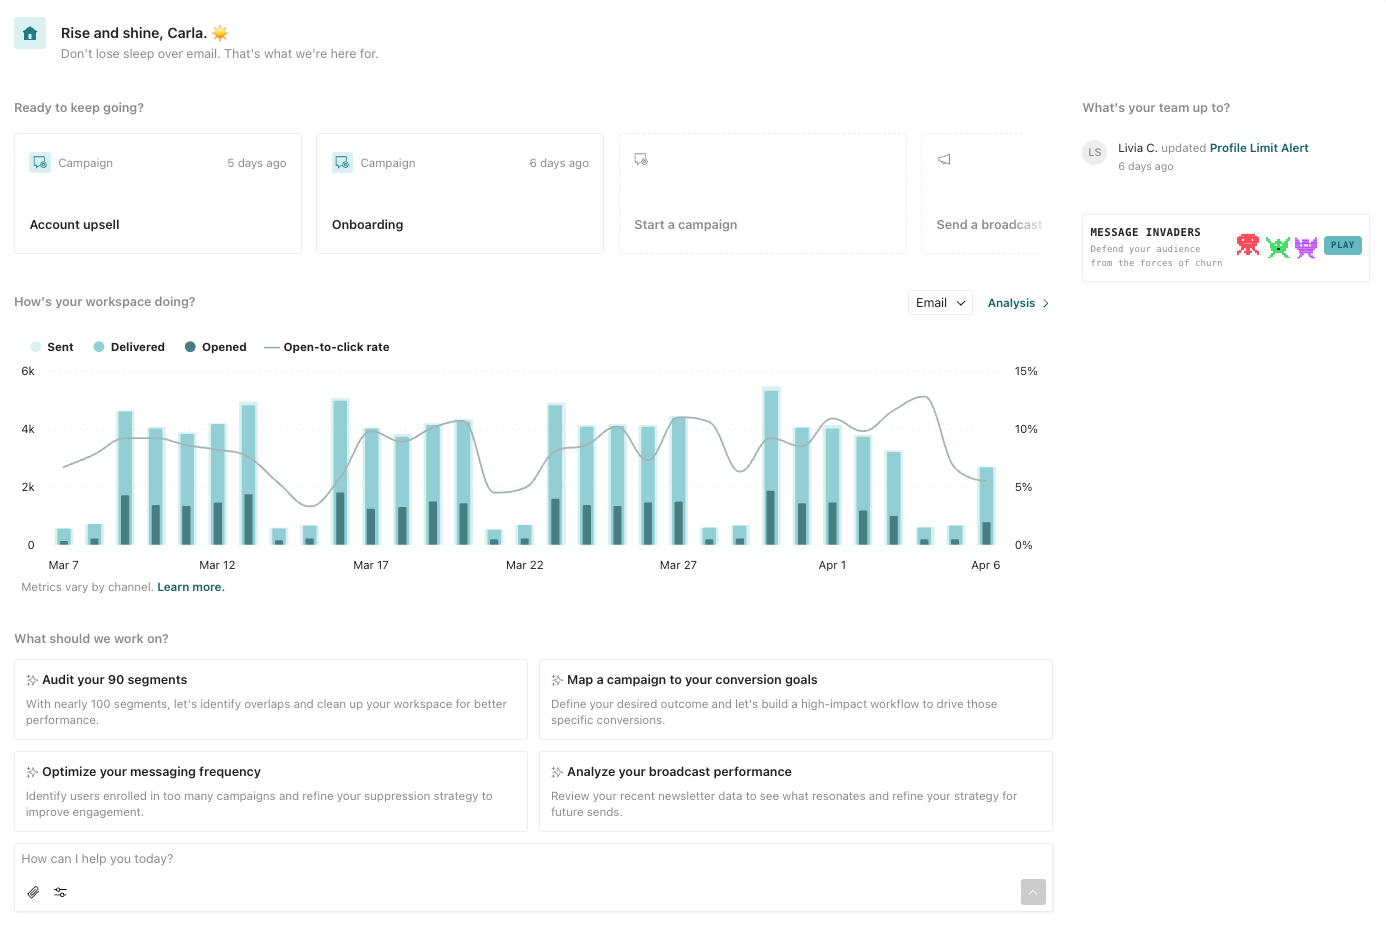
Your workspace has a new look and feel! You'll see a revamped Home dashboard and a more organized navigation menu.
From the Home dashboard, you can see message performance at a glance and take action on your workspace. Pick up where you last left off or select a suggested action to get started.
Now it's easier to find what you need in Customer.io without clicking through menus. Press ⌘K (or Ctrl+K on Windows/Linux) from anywhere in your workspace to instantly search for automations, segments, templates, broadcasts, and more. AI-enhanced ranking surfaces the most relevant results—even if you don't type an exact match.
Note that this feature does not search for people, objects, or their data. To find people, you’ll continue to use the activity log, people page, or segments.
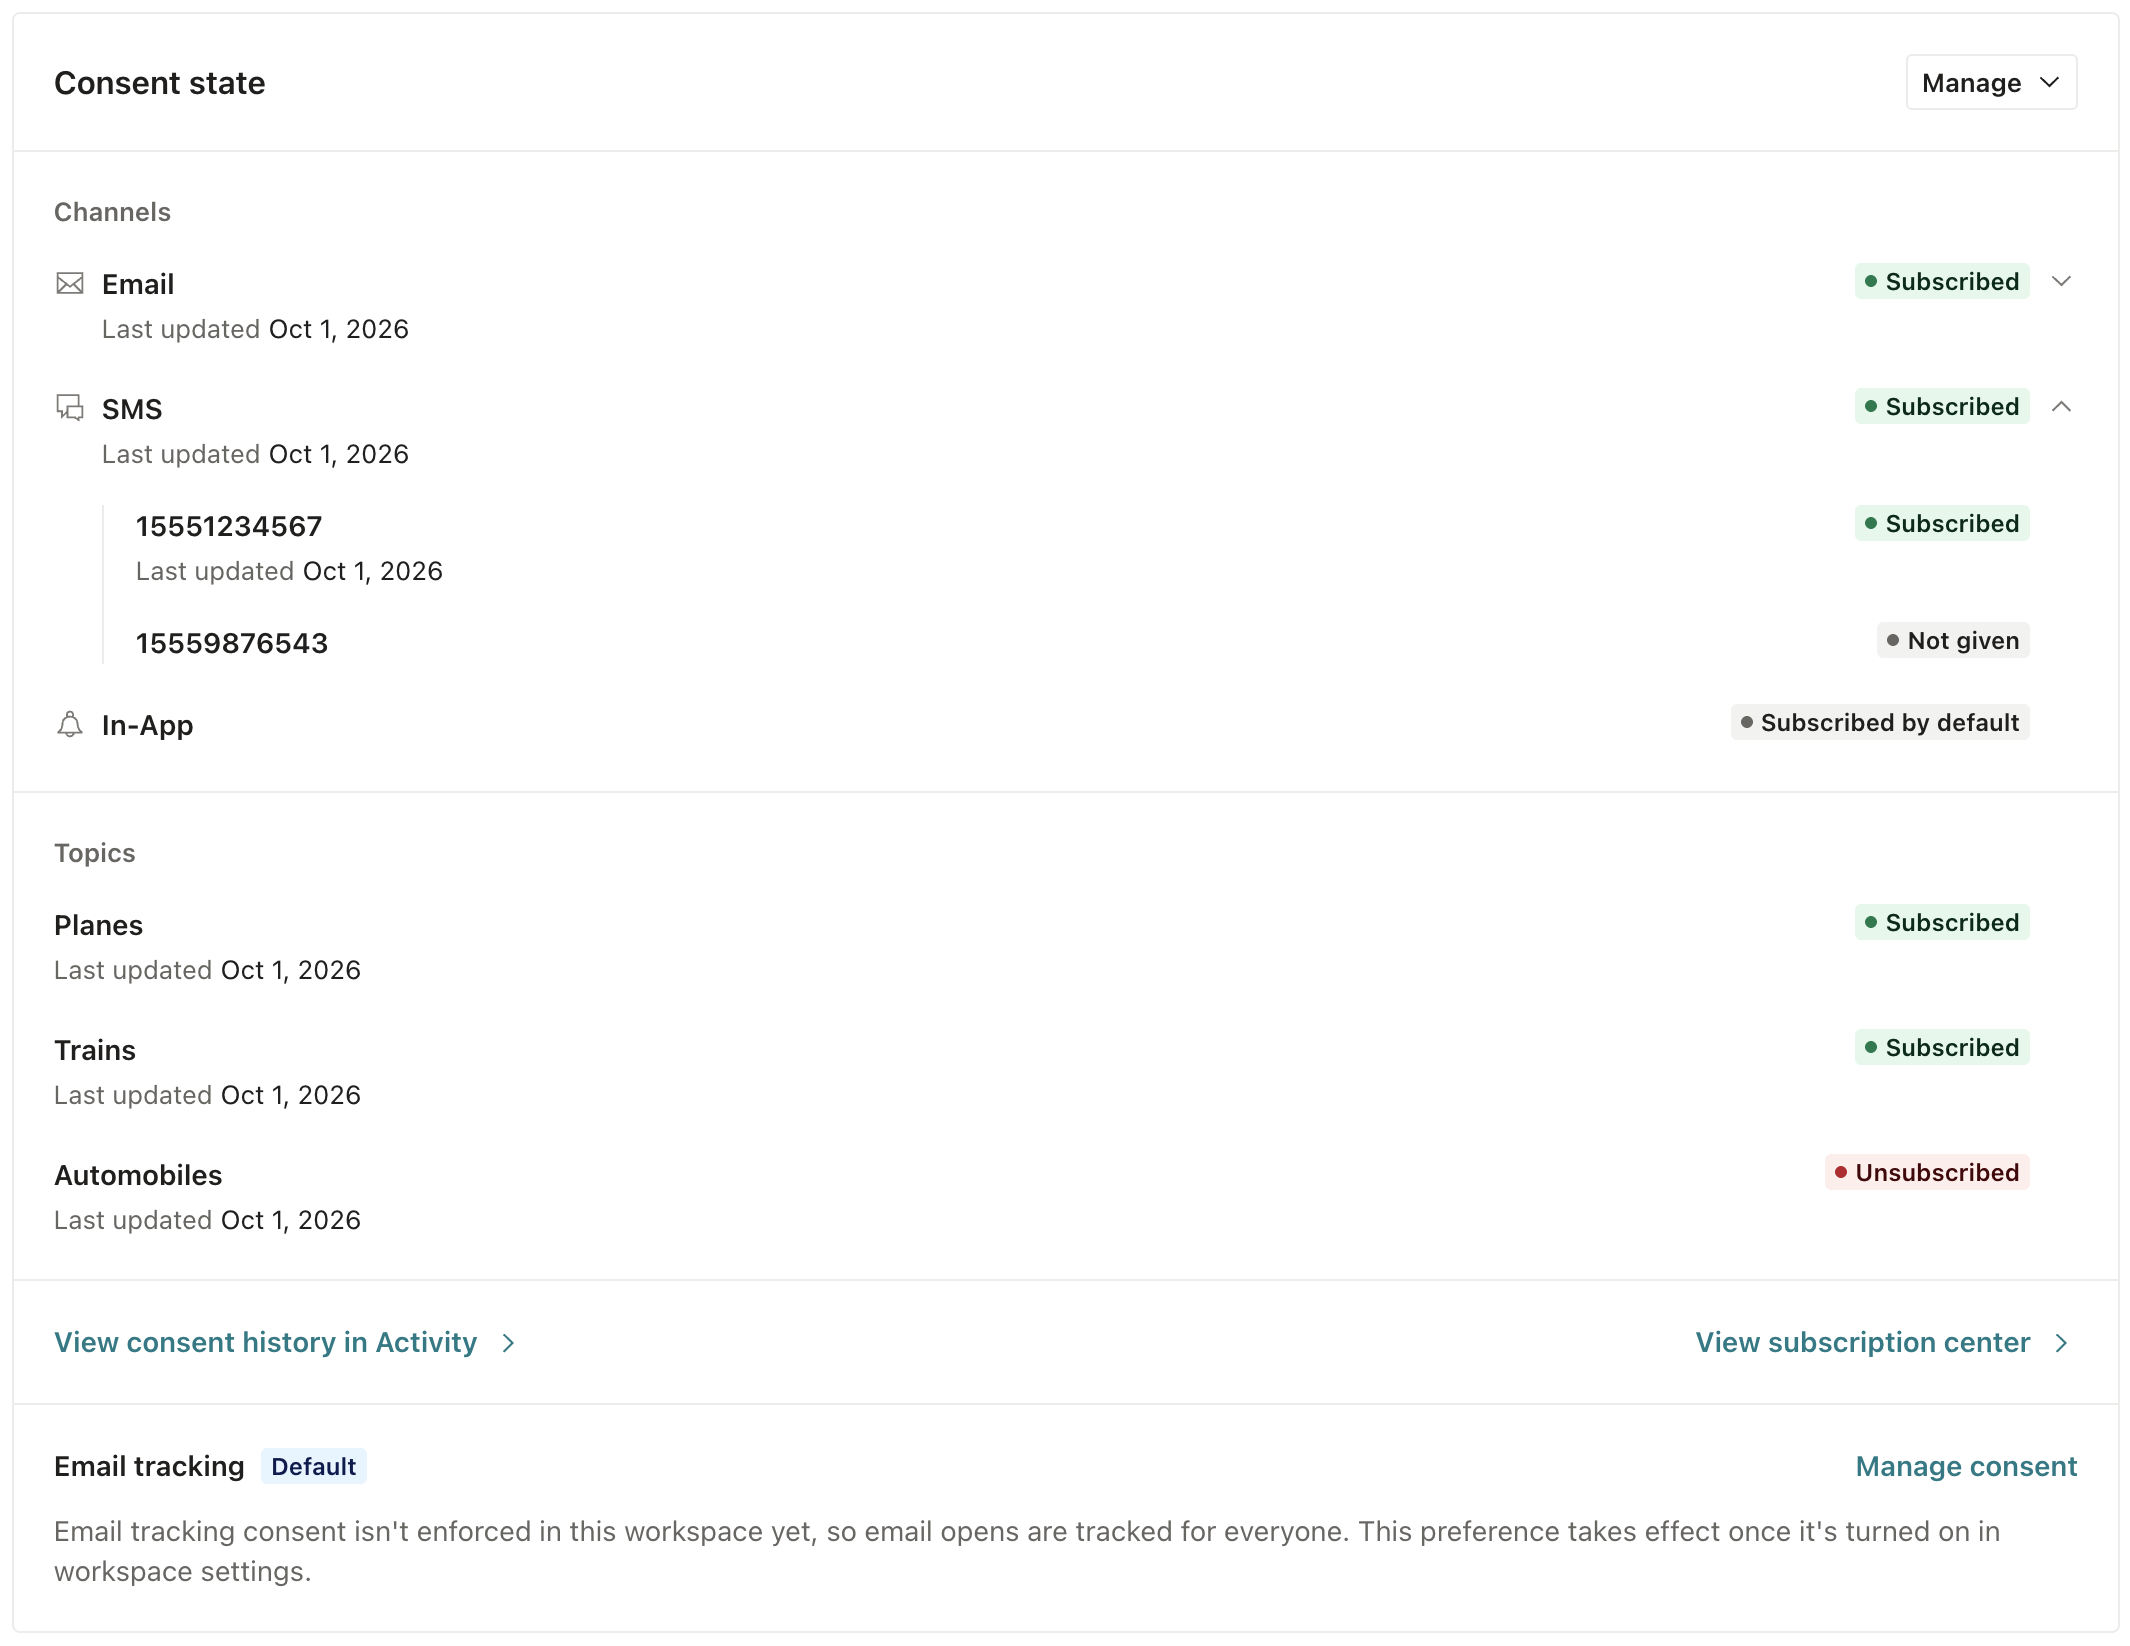
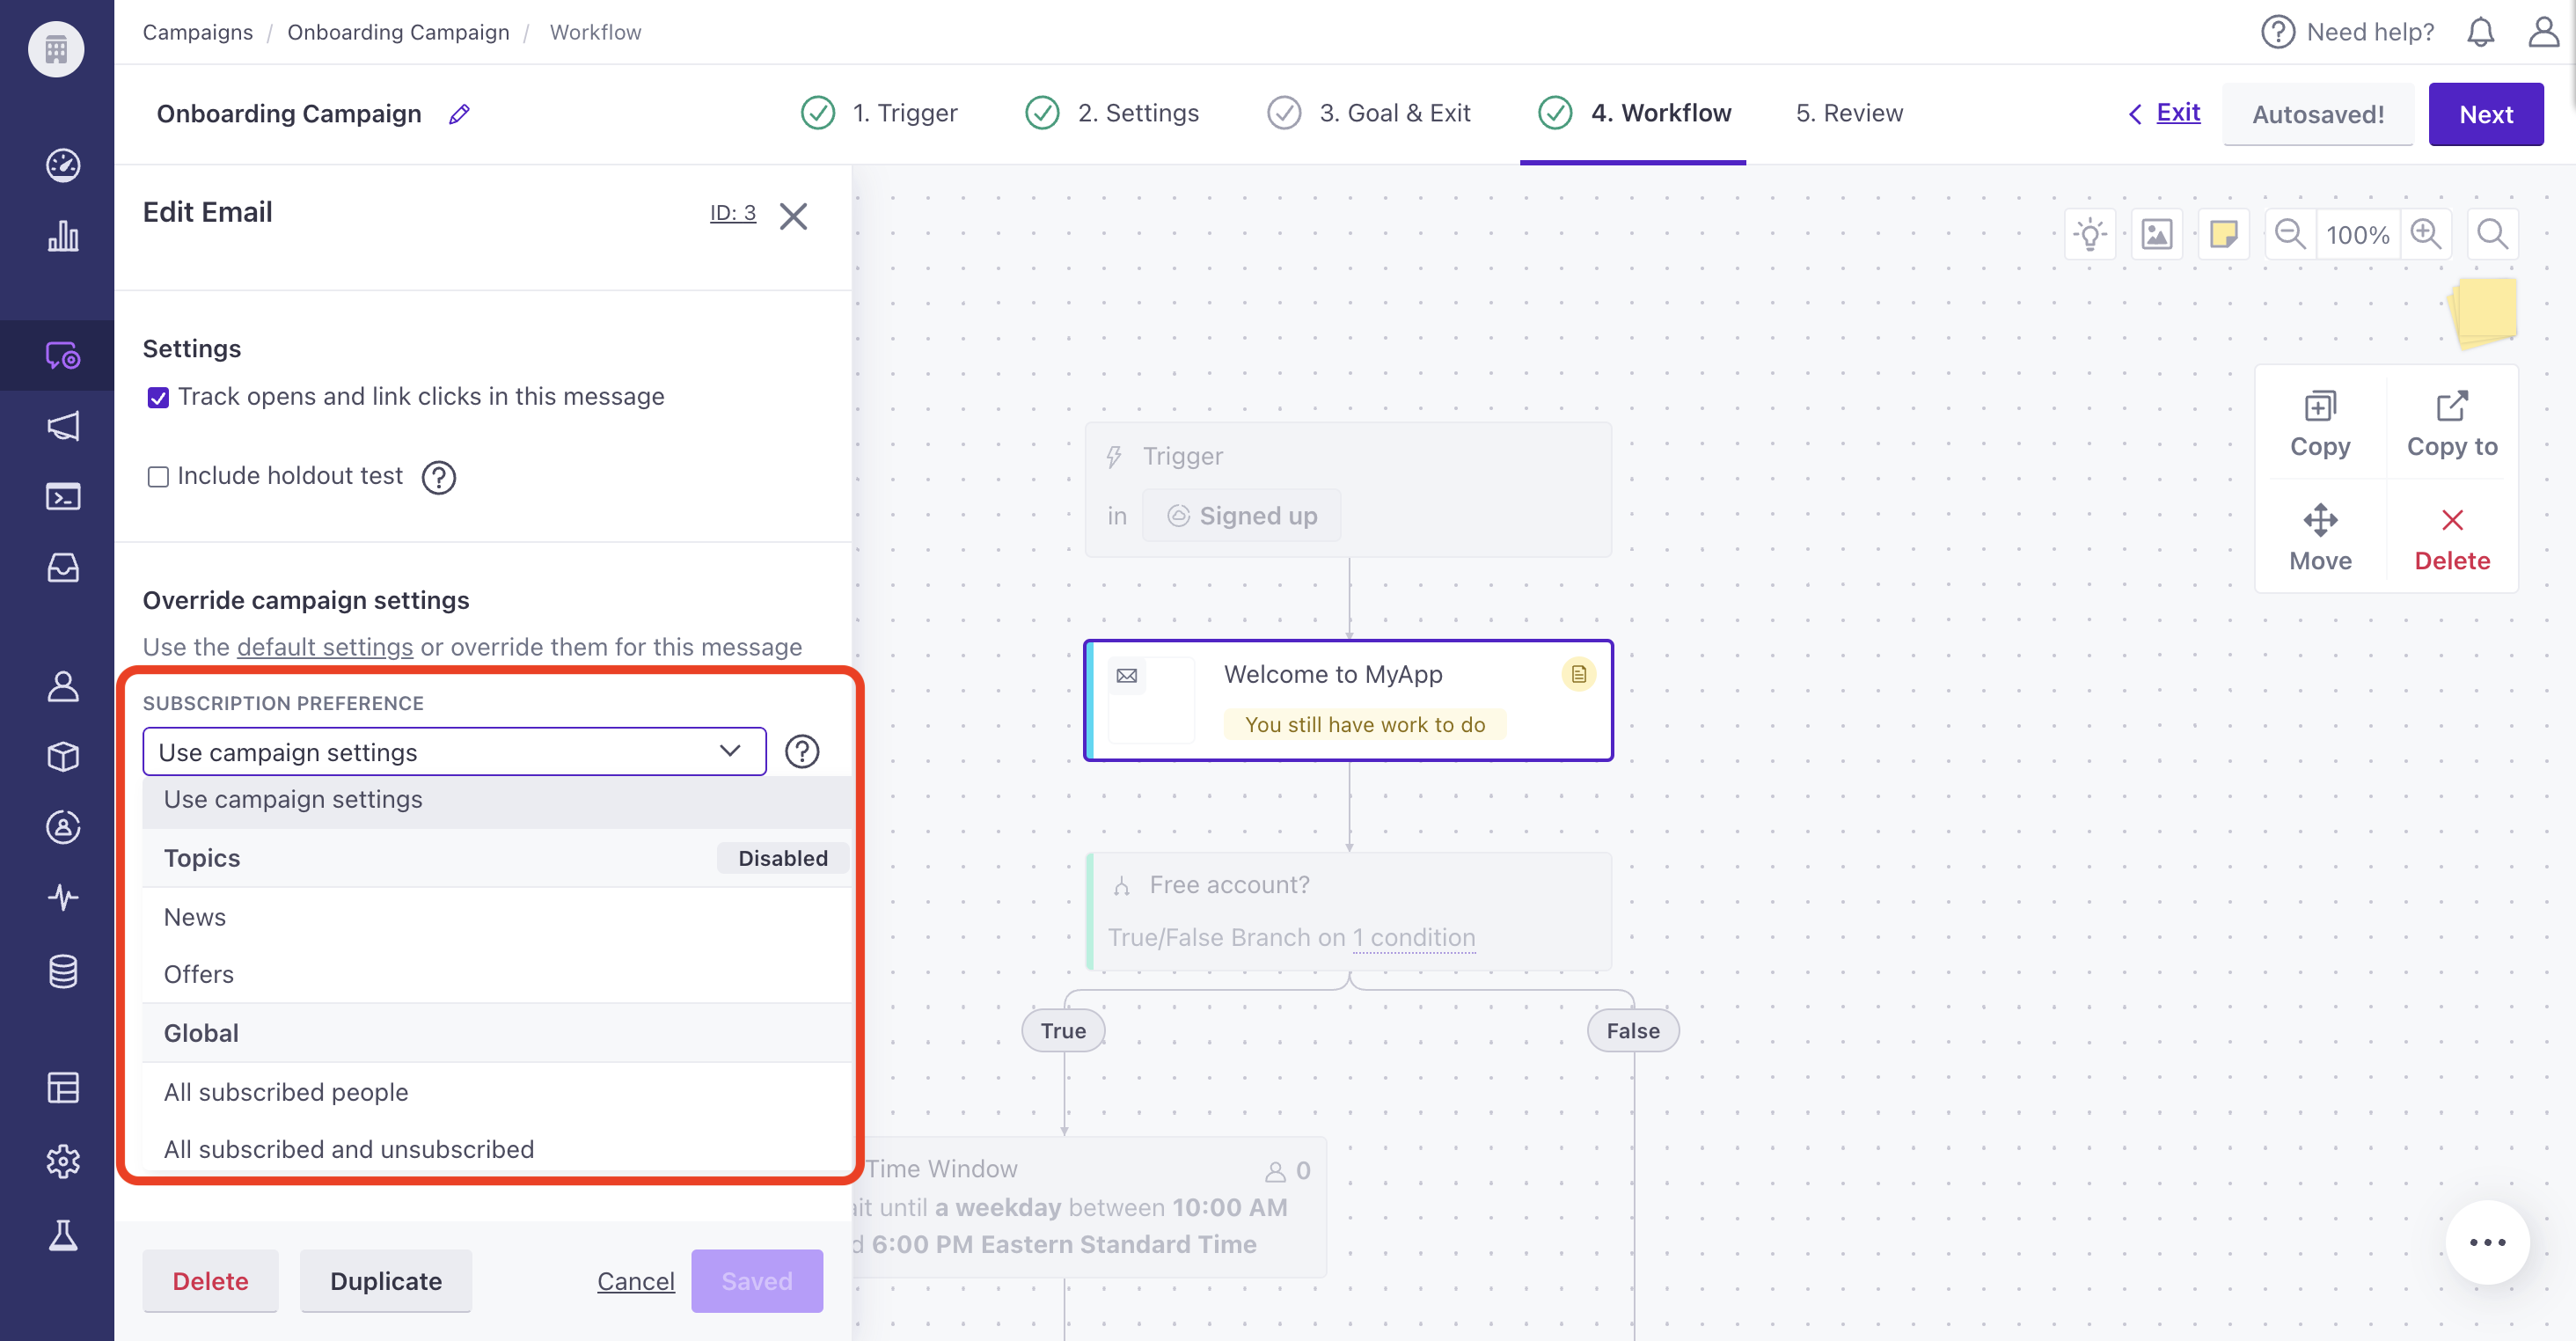
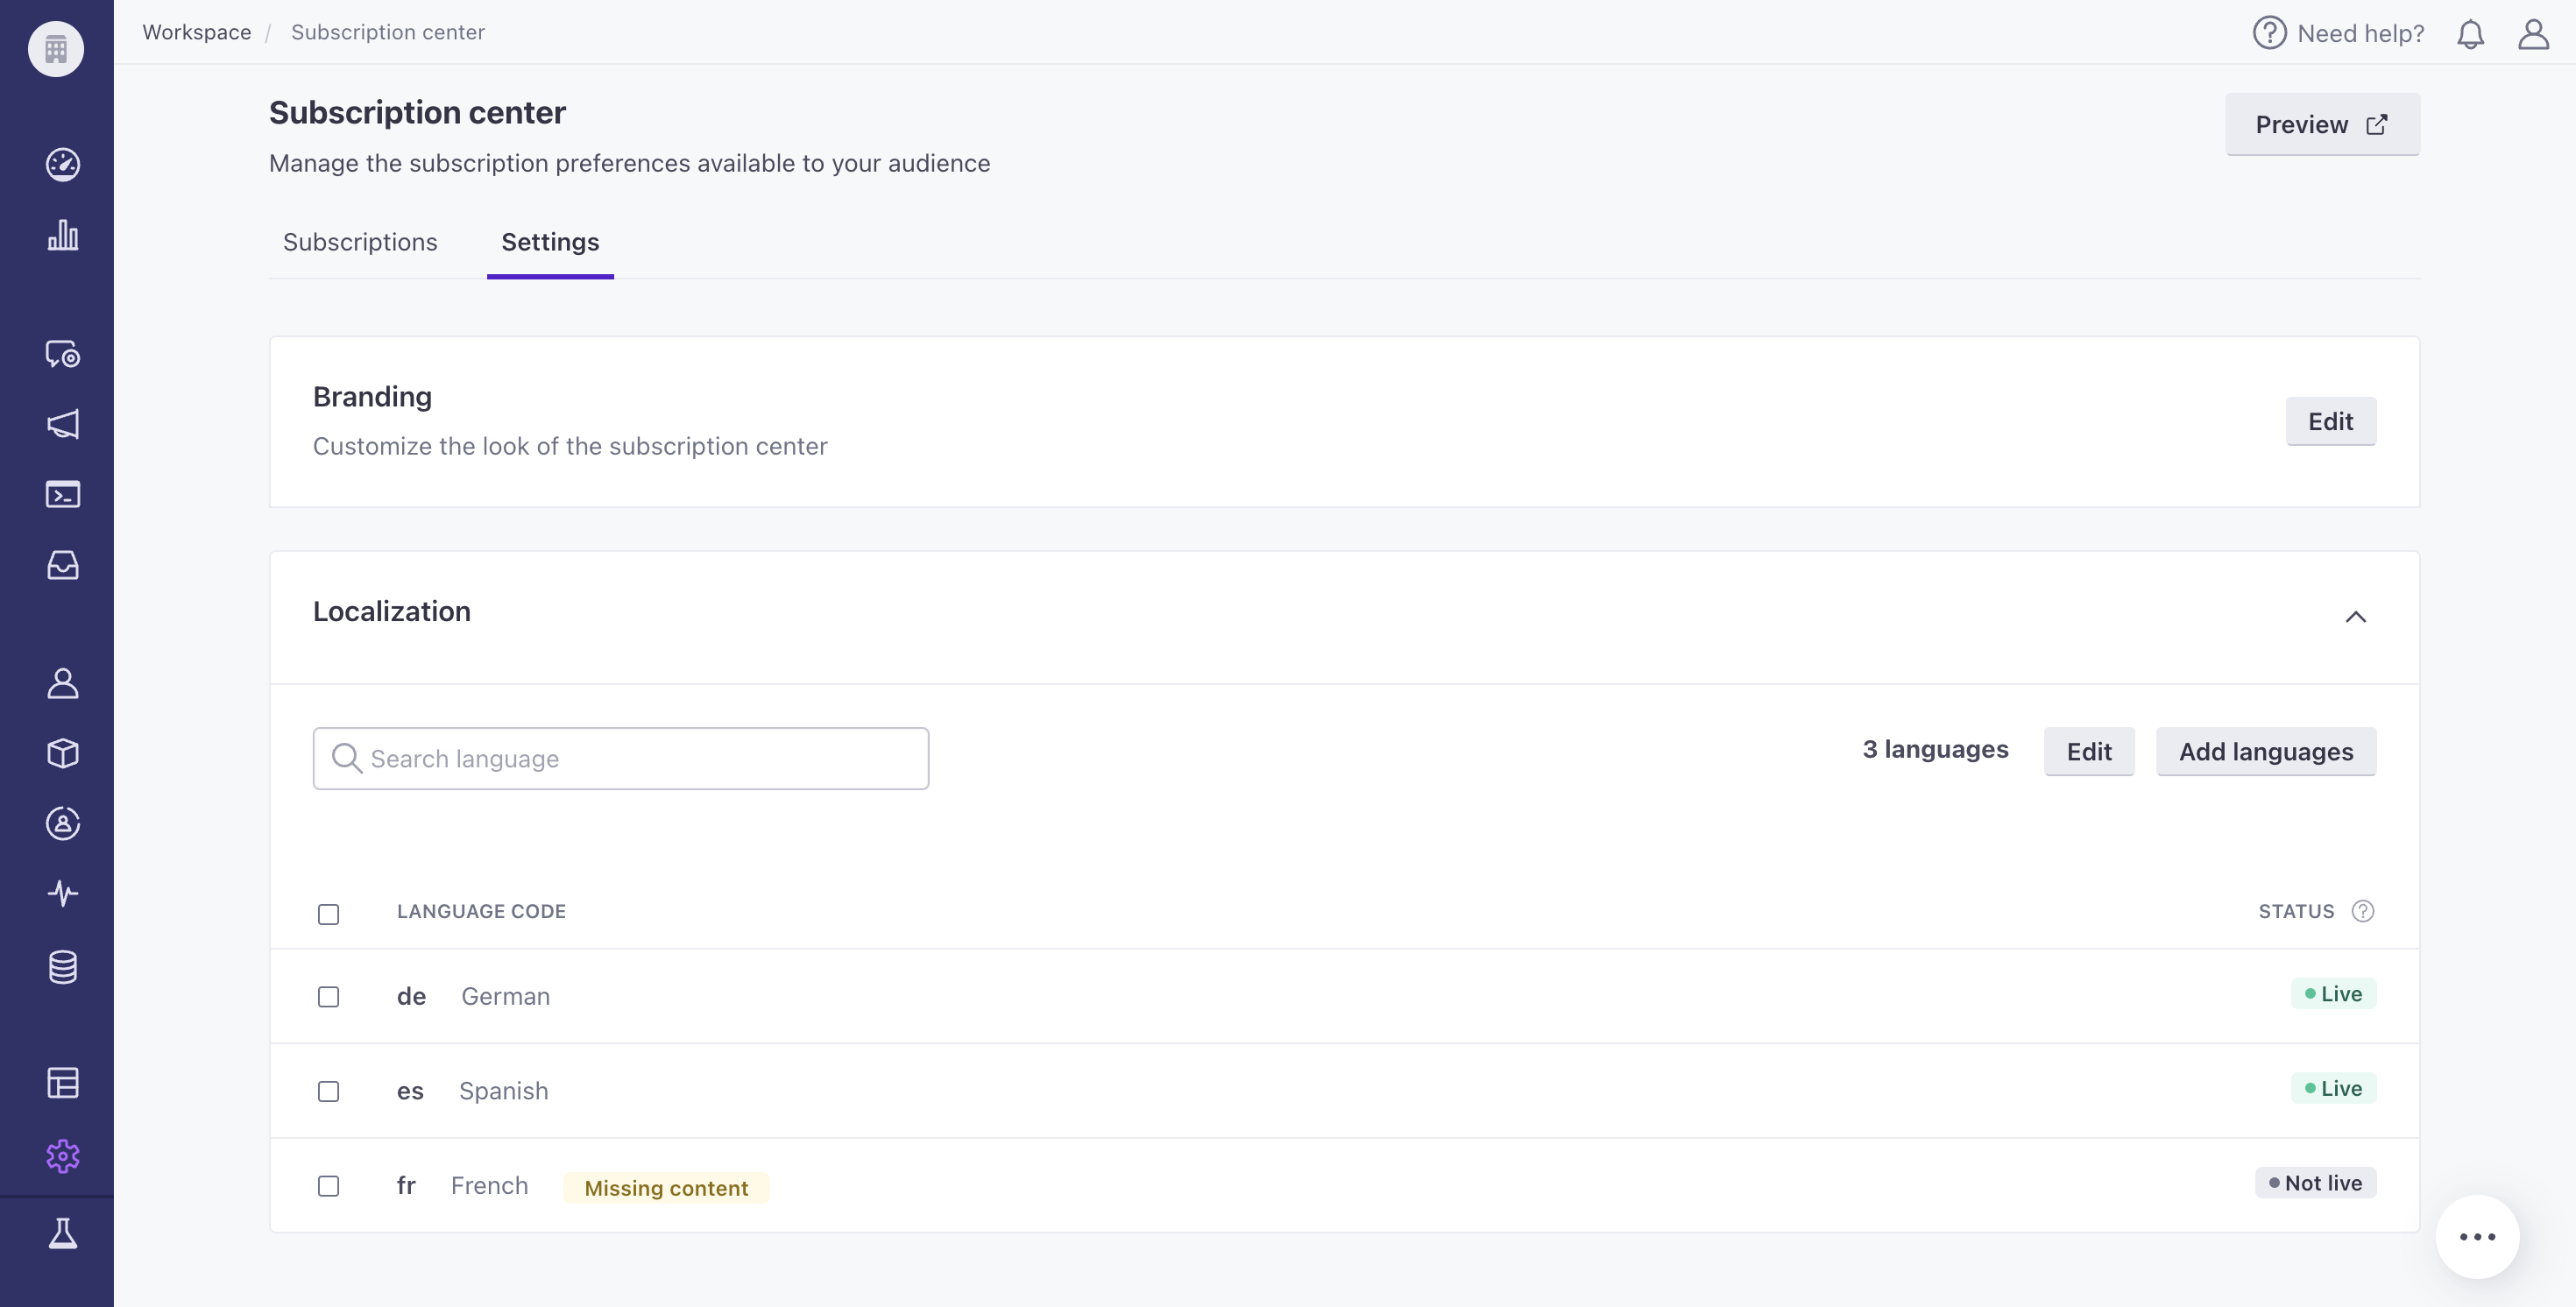
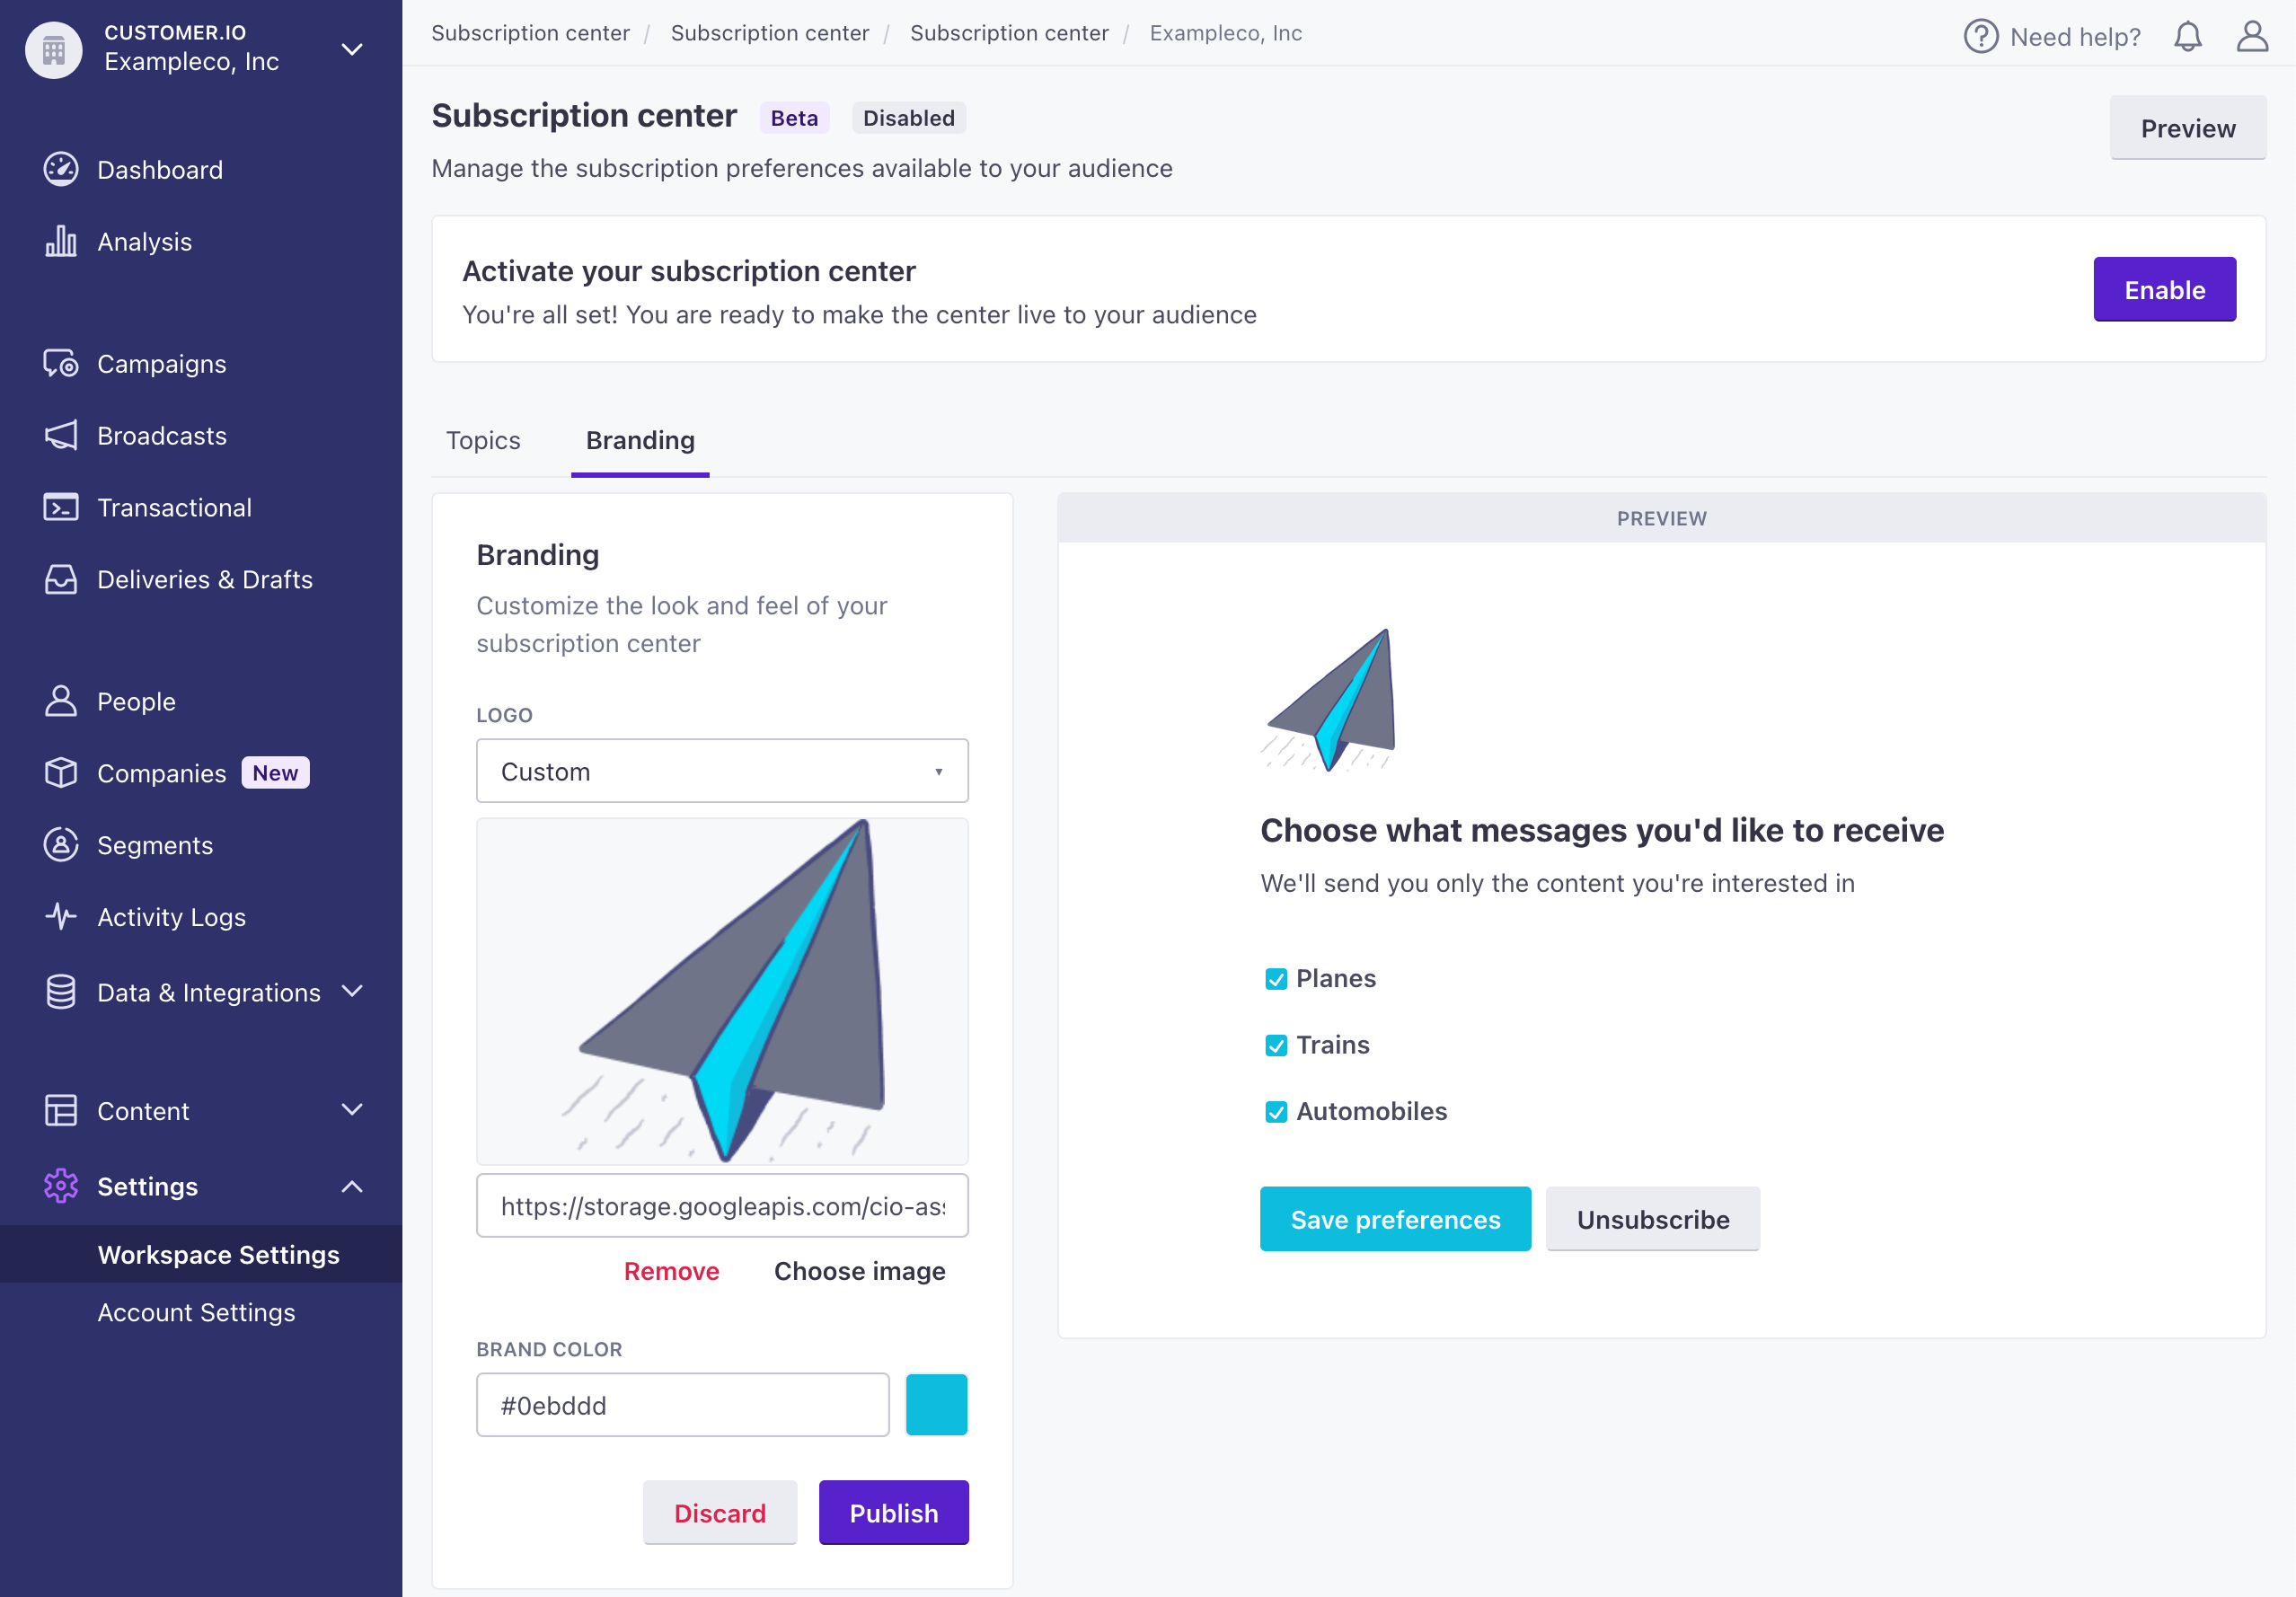
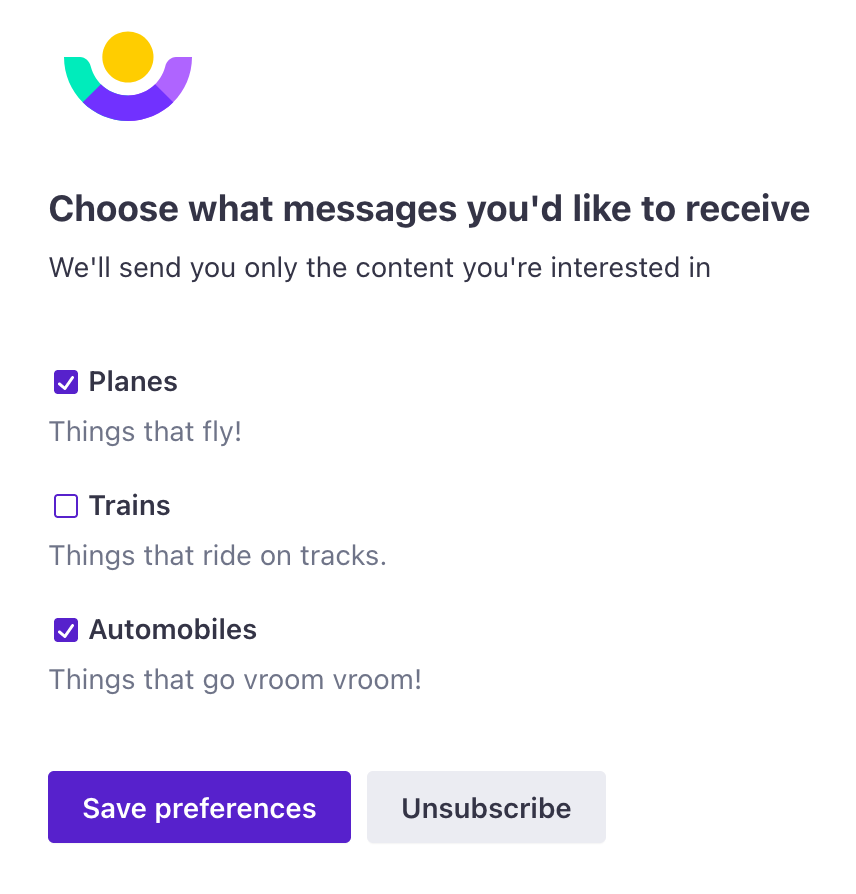
Your audience can now subscribe or unsubscribe from individual messaging channels—like email, SMS, or push notifications—independent of topic preferences. Now people can choose not just the kinds of messages they want to receive, but also the channels they want to receive them on, so they're less likely to unsubscribe all together.
Channel preferences add a new layer of subscription control to your subscription center. Where topic preferences let people choose what they hear about, channel preferences let them choose how they receive messages.
You can set up channel-based subscription preferences for any messaging channel you have enabled in your workspace.
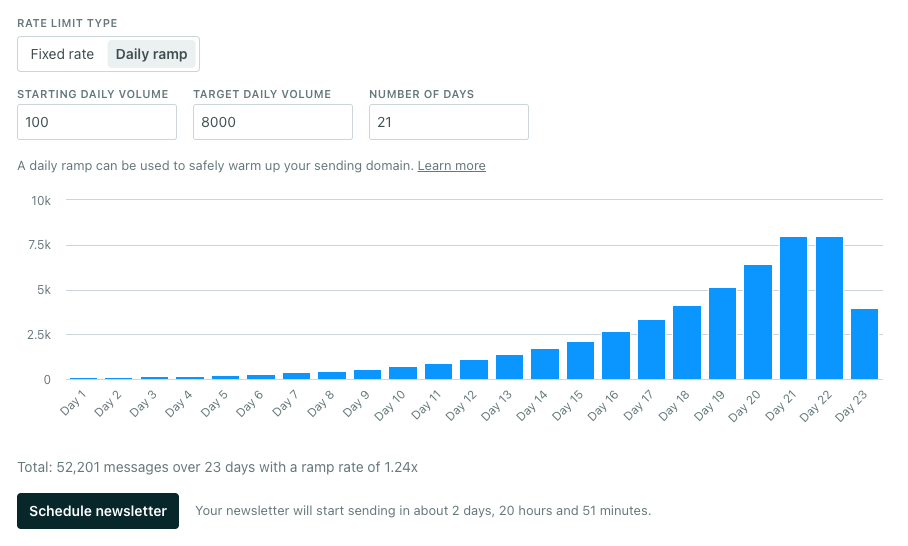
You can now set a daily ramp period when rate limiting newsletters, which gradually increases your send volume over multiple days to warm up your sending domain.
Previously, you could only set a fixed send rate for newsletters—a consistent number of messages per minute, hour, or day. If you needed to warm up a domain, you had to manually create separate newsletters for each period of your warm-up schedule. Now, domain warming is less manual and easier to set up!
We’ve also increased the maximum newsletter send time to 60 days to give you more room for gradual warming and large sends.
Our new Live Preview makes it easy to see and adjust your in-app messages in real time, so you can make sure they look and behave the way you want them to before you send them to your audience.
Click Live Preview when working on your in-app message to get started. We’ll open your website in a new window where you can see and adjust your message in real time.
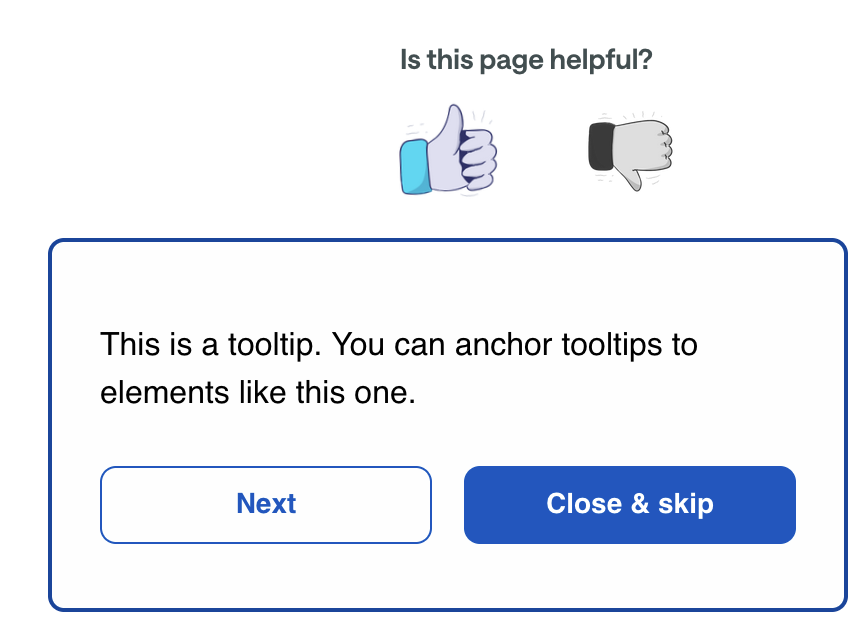
We've added a new Tooltip display type for Web-based in-app messages that anchors your message to a specific element on a page, like a button, menu item, or feature you want to draw attention to. With tooltips, you can provide contextual help, educate your audience about new features, and help orient new users.
Read more →
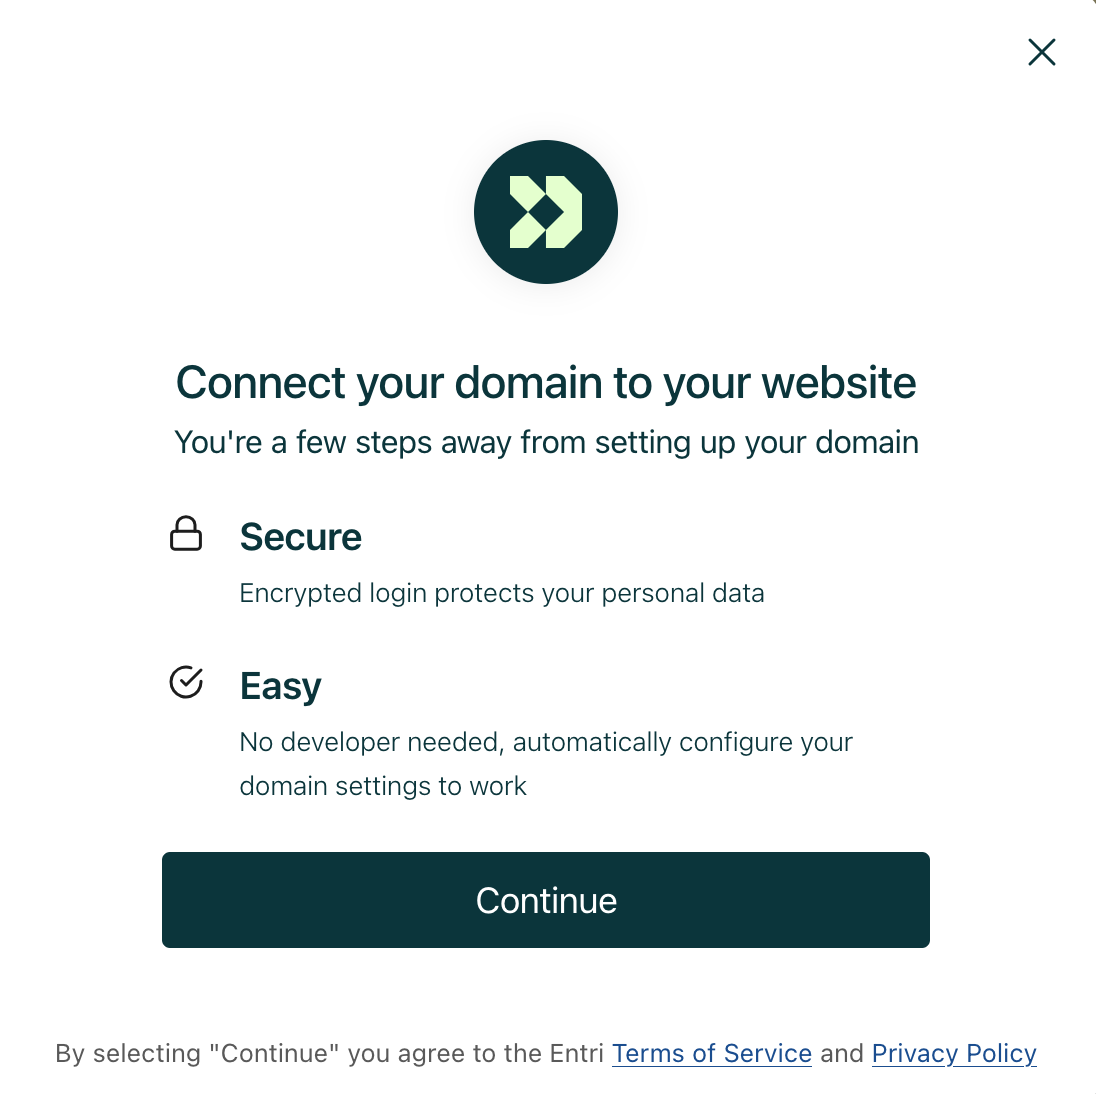
Our new Automatic setup option makes it easy to set up your email domains in Customer.io. Powered by Entri, automatic setup connects to your DNS provider and configures your records for you, so you don't have to go through the hassle of manually copying records to your DNS provider.
Entri ↗ supports over 50 DNS providers, including GoDaddy, Namecheap, Cloudflare, and Amazon Route 53.
You can now add up to 10 custom short link domains per workspace for SMS and WhatsApp messages. Now you can use different, branded links depending on the kind of message you want to send.
This is especially useful if you manage multiple brands, want to rotate domains, or want to separate domains by message type.
We've removed a long-standing pain point that prevented you from limiting the send rate for translated newsletters!
Rate limiting lets you control how quickly your newsletters go out, which can help reduce the load on your downstream systems and maintain deliverability, so we want to make sure you can limit sends when it makes sense for your business.
On the Review step of a newsletter, you can now turn on the toggle Limit send rate when your newsletter has multiple language variants.
You can now create, update, and delete emails and components in Design Studio using the App API! This can help you migrate email templates from external tools withoout manual copy/paste. It also enables you to programmatically add email translations.
You’ll use our latest endpoints to manage content in Design Studio; you can’t update Design Studio content using other message-related endpoints.
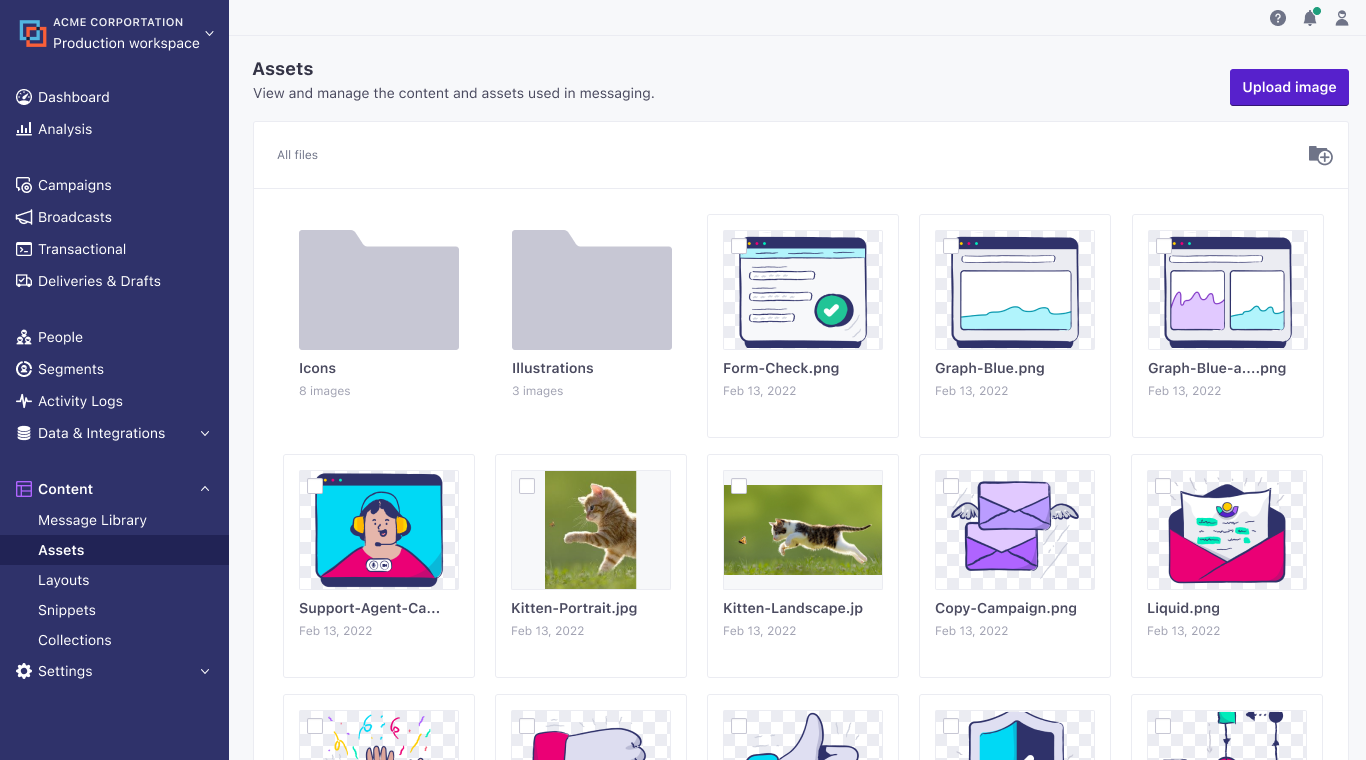
You’ll also see new Assets endpoints, which you can use to create, update, or delete images and PDFs in your Asset library for use across message channels.
Keep these best practices in mind as you migrate your HTML to Design Studio!
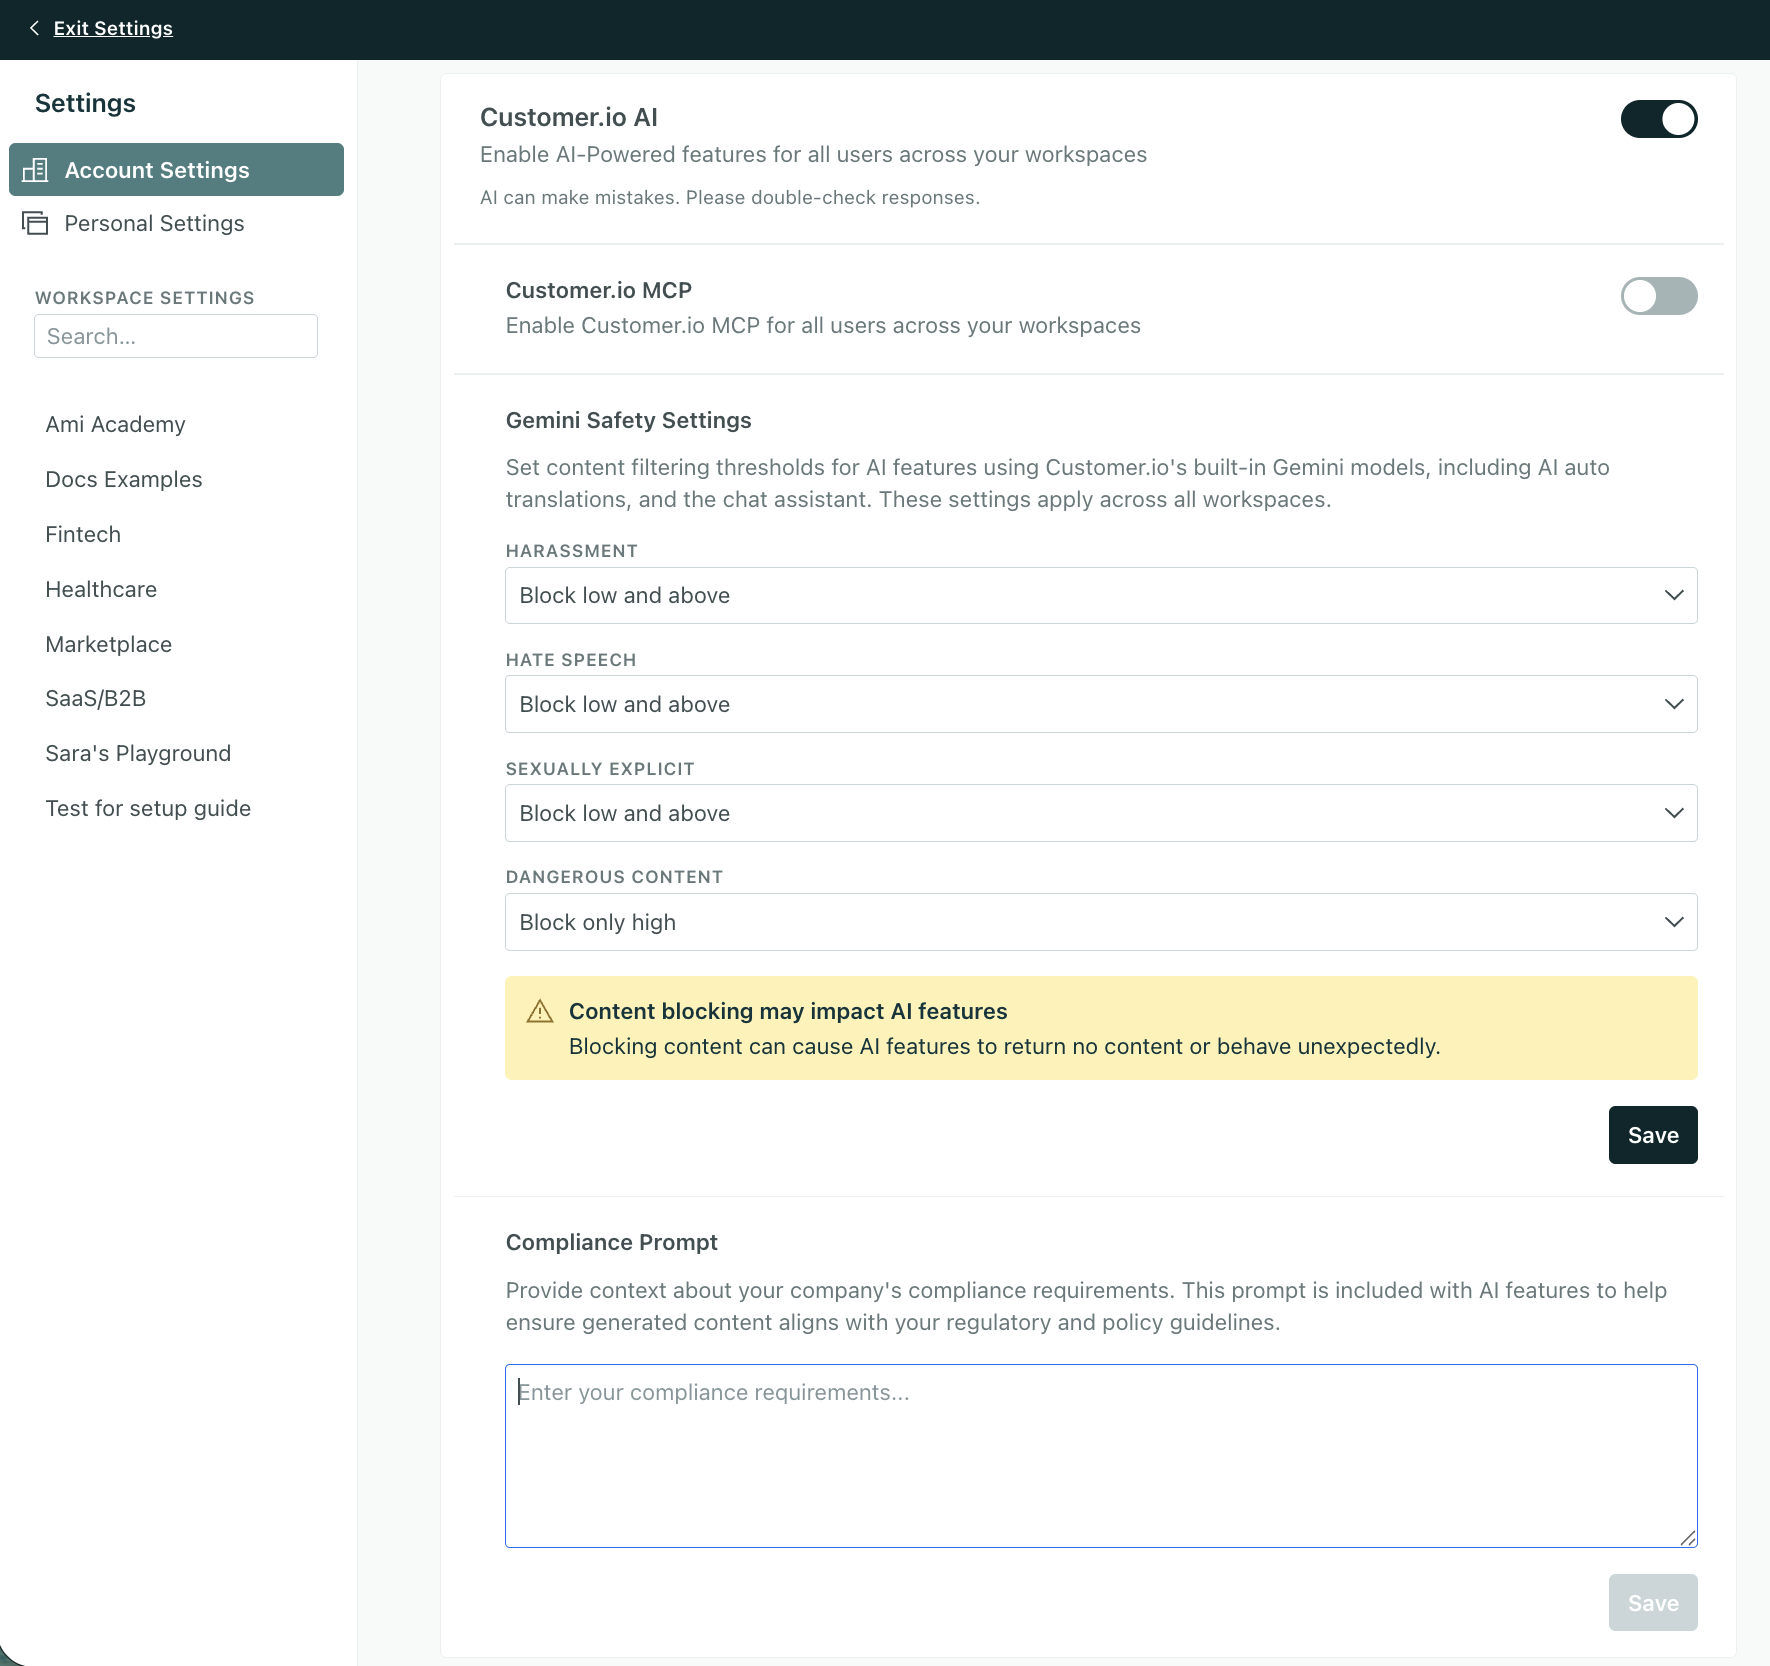
Account admins can now configure safety and compliance settings for AI embedded in Customer.io. Set guardrails for features like auto-translations, email content analysis, AI subject lines, and more in Account Settings > Privacy, Data, & AI.
Customer.io’s AI tools use Gemini models, so you’ll see Gemini Safety Settings on your Privacy page. You can filter content by four categories—Harassment, Hate Speech, Sexually Explicit, and Dangerous Content—with options ranging from Off (no filtering) to Block low and above (strictest filtering). By default, there is no filtering applied to your account.
You can also include a compliance prompt to help ensure generated content aligns with other regulatory and policy guidelines.
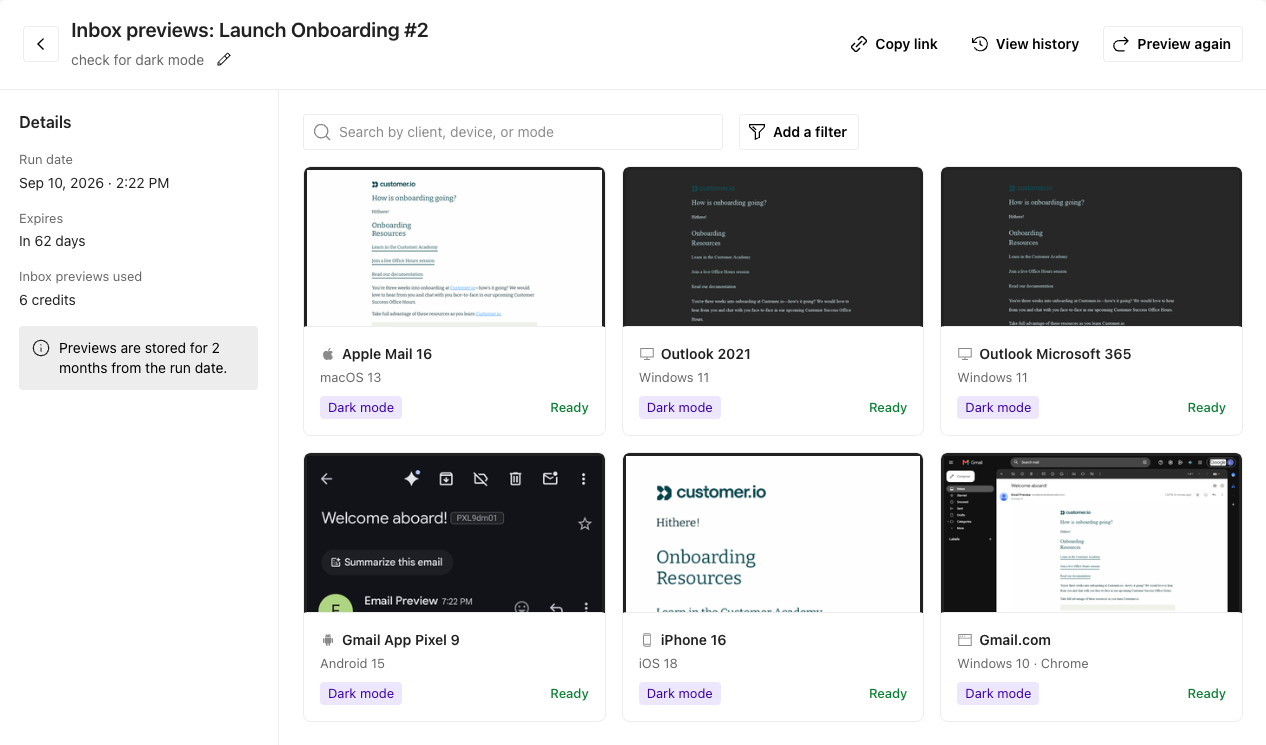
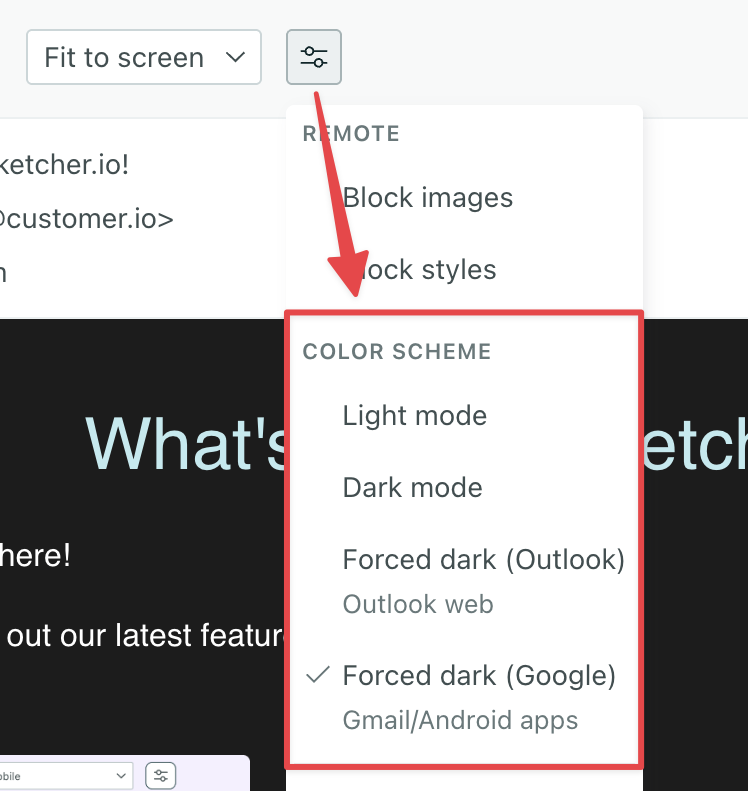
You can now preview what your email will look like when Google apps or Outlook force dark mode styles. This helps you see how colors invert in clients that don't support your dark mode styles.
Learn more about these preview settings and how to make your design more consistent in email clients that don’t support dark mode styles.
These preview settings are available in our latest email editor, Design Studio, and our Code-only editor.
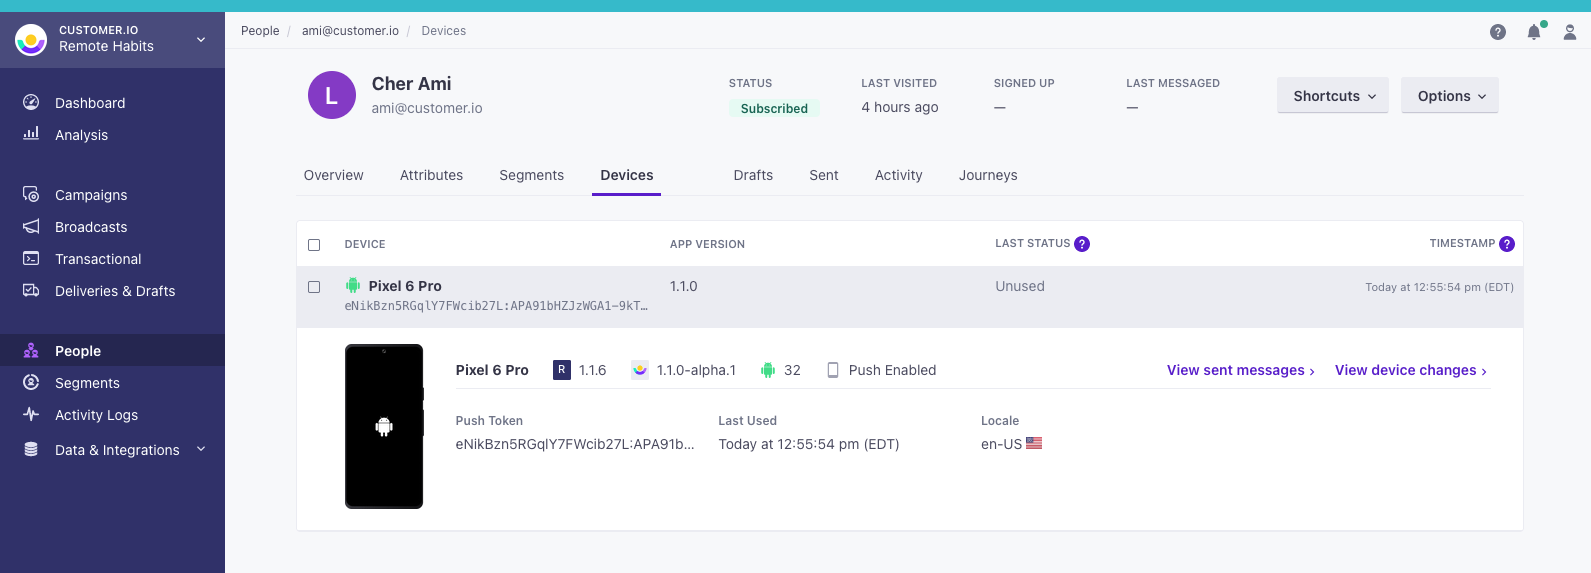
Our mobile SDKs now support location tracking so you can send geo-aware messages with even greater accuracy than IP-based geolocation.
Customer.io already gives you the option to enrich locations from IP addresses, but VPNs, carrier routing, and shared Wi-Fi can reduce accuracy for mobile apps. With the new location module, our SDKs can capture device coordinates and Customer.io reverse-geocodes them into cio_city, cio_state, and cio_country profile attributes. The SDK also sends Location Update events that you can use to trigger journeys and build segments.
To minimize battery usage, our SDKs limit location updates to once per day at most and only when the person has moved a meaningful distance.
Location tracking is available in all our mobile SDKs:
You can now navigate seamlessly between the Design Studio editor and your automation, broadcast, or transactional message!
Whether you edit the email from Design Studio or your automation, you can now directly update your content from either place.
You’ll also see a few other enhancements:
You can now reach your audience in Japan, Thailand, Taiwan, Indonesia, and other APAC markets through LINE, one of the most popular messaging platforms in the region.
LINE is the dominant messaging app in key Asian markets, with over 90 million monthly active users in Japan alone and market penetration of 70-95% in its core regions. In these markets, LINE isn’t just another channel—it’s how people communicate daily.
Now you can send LINE messages as a part of your automations and broadcasts. Send text and image messages to your LINE audience, track delivery and engagement metrics, and manage your LINE contacts alongside all your other channels.
In object or relationship-triggered automations, you can now hold people in Wait Until blocks based on relationships to any object, not just the triggering object. This gives you more flexibility when crafting your workflow logic.
For instance, if you have Account and Subscription objects, you can now trigger an automation when an account is created and wait to message someone until they’ve activated a subscription.
Design Studio now supports multi-lingual messaging and AI-powered translations! When you add a language to your email, you can auto-translate your content without leaving the editor.
Multi-lingual messaging is essential for global markets, and now Design Studio can help you reach them without cumbersome branching in automations. Reduce time spent copying content between tools, and scale personalized messaging with less overhead.
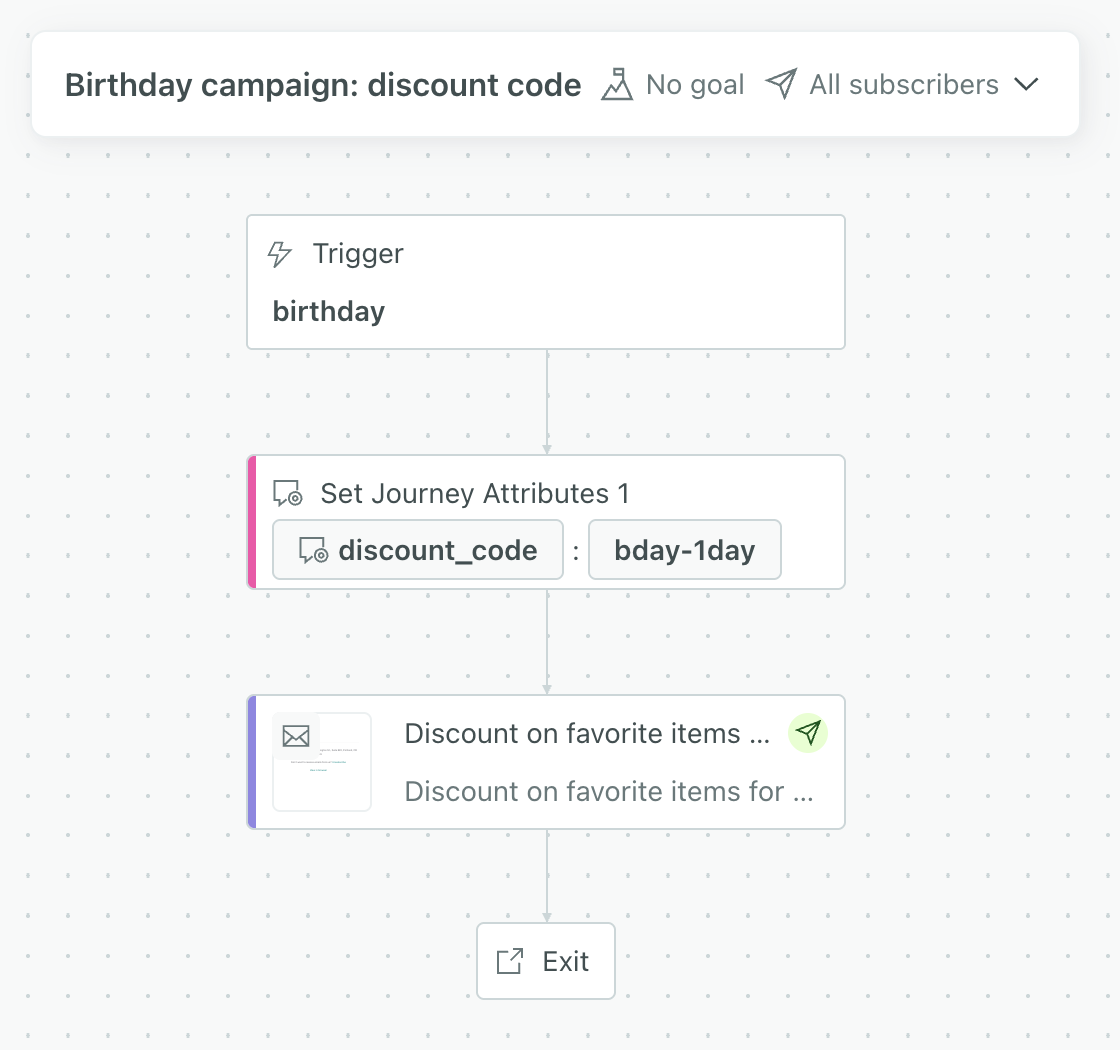
You can now create and update temporary attributes in an automation using a new workflow action—Set journey attributes.
You might use this to set static data, like a discount code, that only applies while your customers are in the automation.
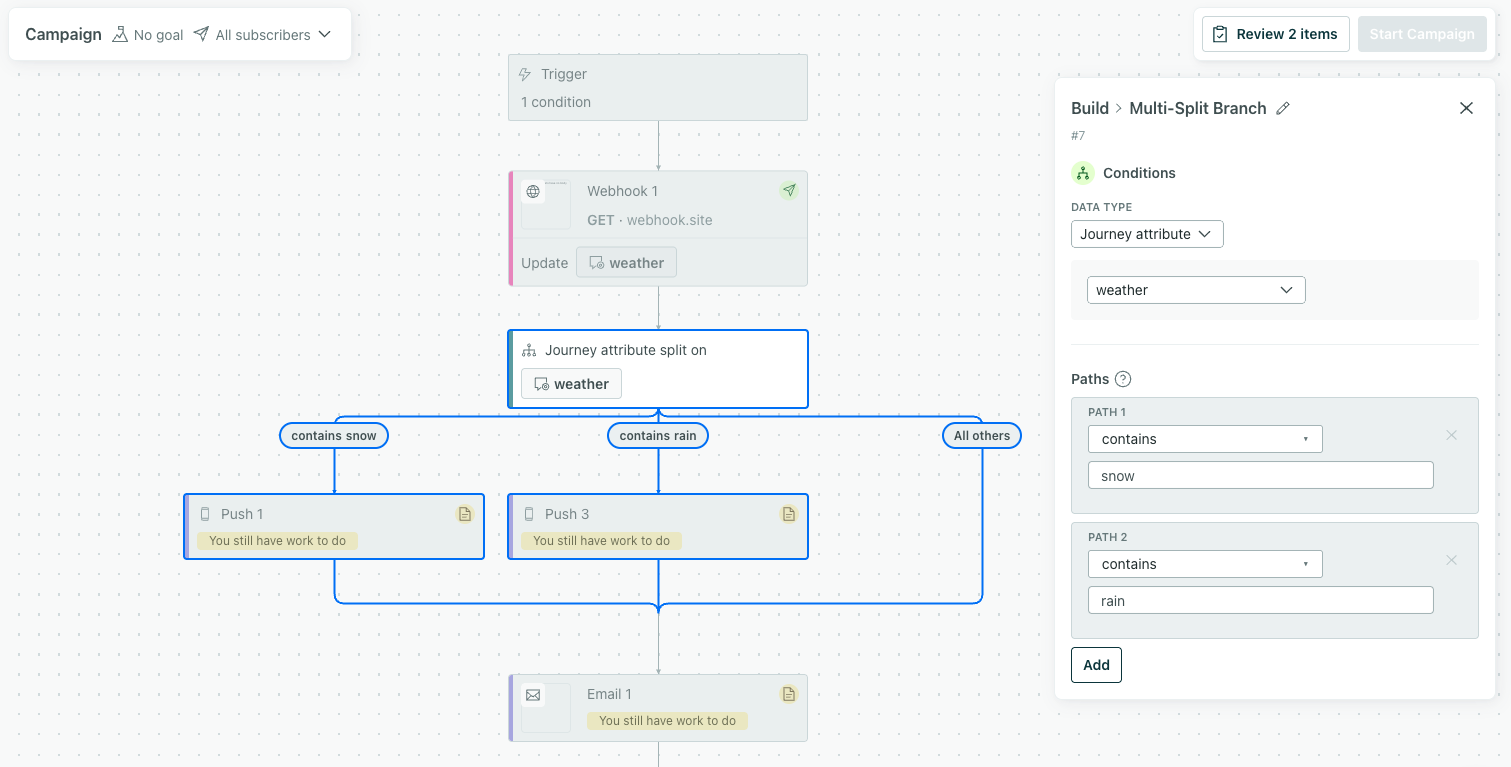
This means you can now set journey attributes based on webhook data, collection queries, and a workflow action designed specifically for journey attributes.
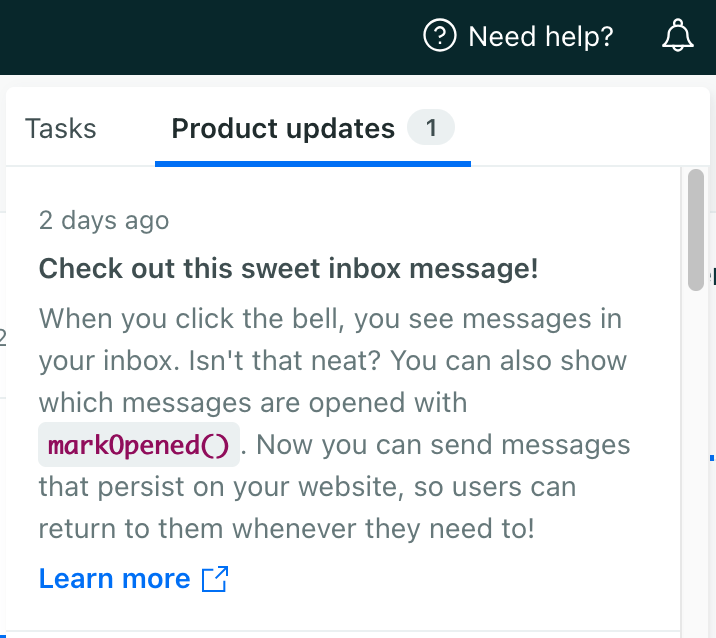
Now you can send messages to a central inbox on your website or in your app. Unlike in-app messages or push notifications, which are gone when your audience dismisses them, inbox messages give your users a way to see important messages at their leisure.
With inbox messages, you can send important updates like announcements, order confirmations, or reminders to a notification inbox that people can check whenever they want.
For now, you’ll build your notification inbox yourself and invoke inbox methods to fetch and manage messages. Your messages are delivered as JSON payloads that you can render however you want, making it easy to align with your brand and app design.
But we recognize that this takes a bit of work. This is just our first release for this feature, and we plan to make it easier to support a notification inbox and messages in the future!
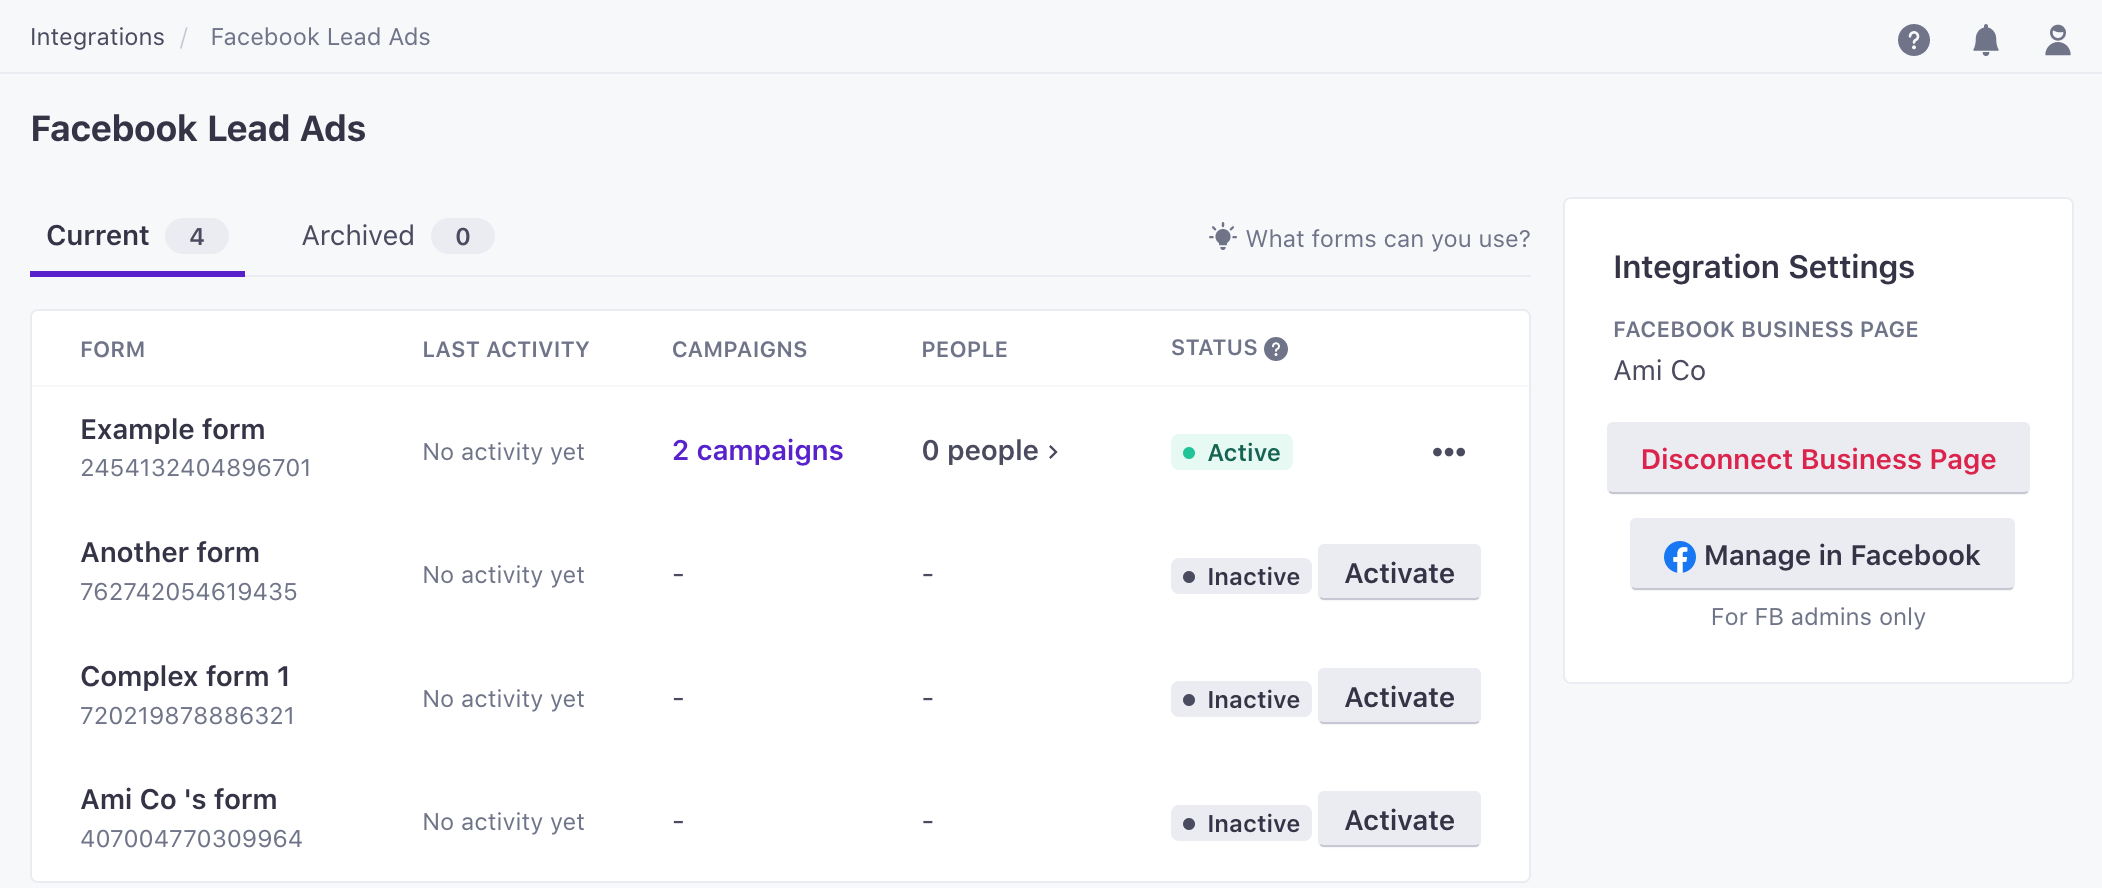
In the past, you had to sign up for third party to send WhatsApp messages through Customer.io, even if you already had a WhatsApp-approved Facebook Business Account. Now you can send WhatsApp messages from Customer.io using your Facebook Business Account without a third-party!
WhatsApp messages are based on templates approved by Meta. You’ll create templates in your Facebook/WhatsApp Business Account and then use them to send messages from Customer.io.
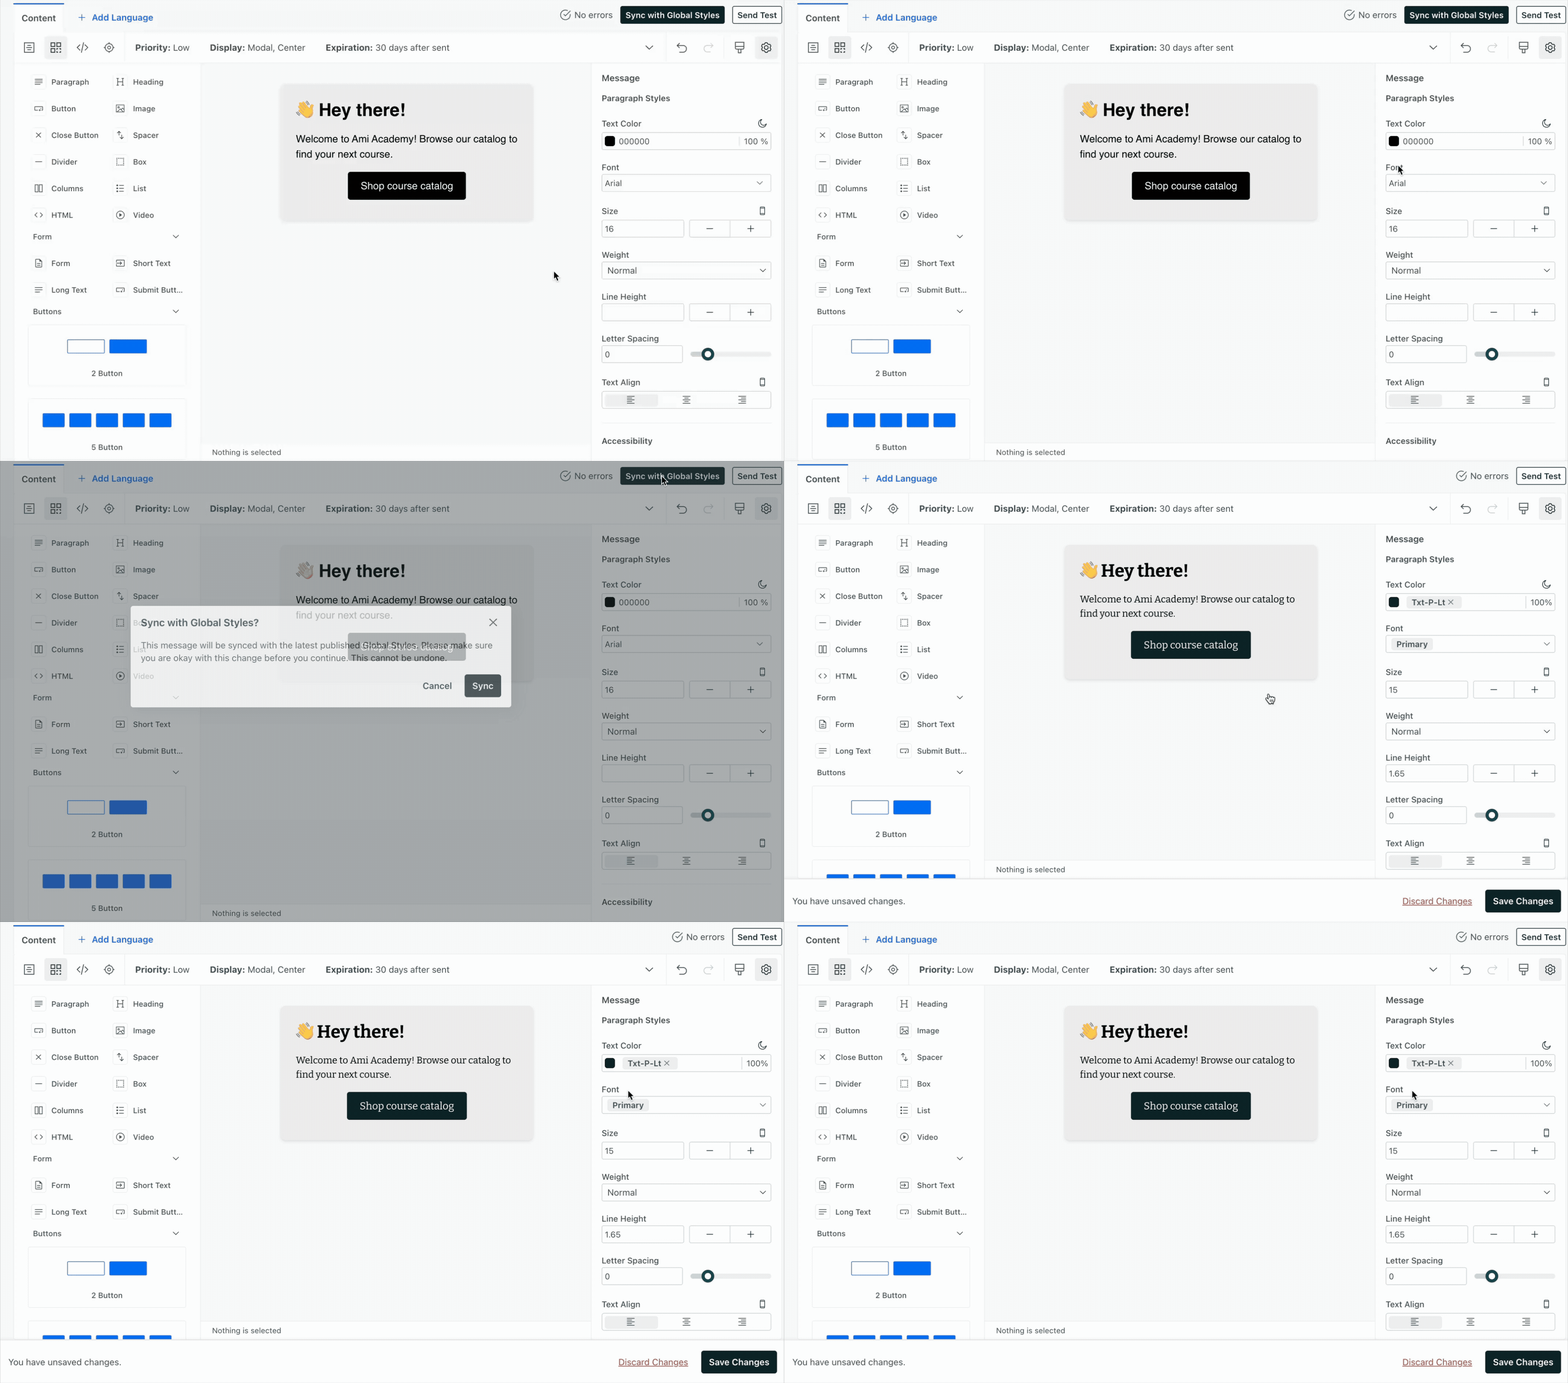
You can set colors, fonts, and more in Global Styles to ensure brand consistency across your messages. They now apply to your in-app messages, in addition to emails made in Design Studio. We're in the process of rolling this out to all accounts this week.
Moving forward, new in-app messages will automatically pull from your global styles, and you can choose to sync existing messages to align them with your current branding.
This release also introduces the concept of publishing to in-app messages. When you publish styles, you decide which emails and/or in-app messages to update. This pushes changes to your workflows (automations, broadcasts, etc) so that whether you send a test message or the automation is actively sending to people, your messages will use the current styles.
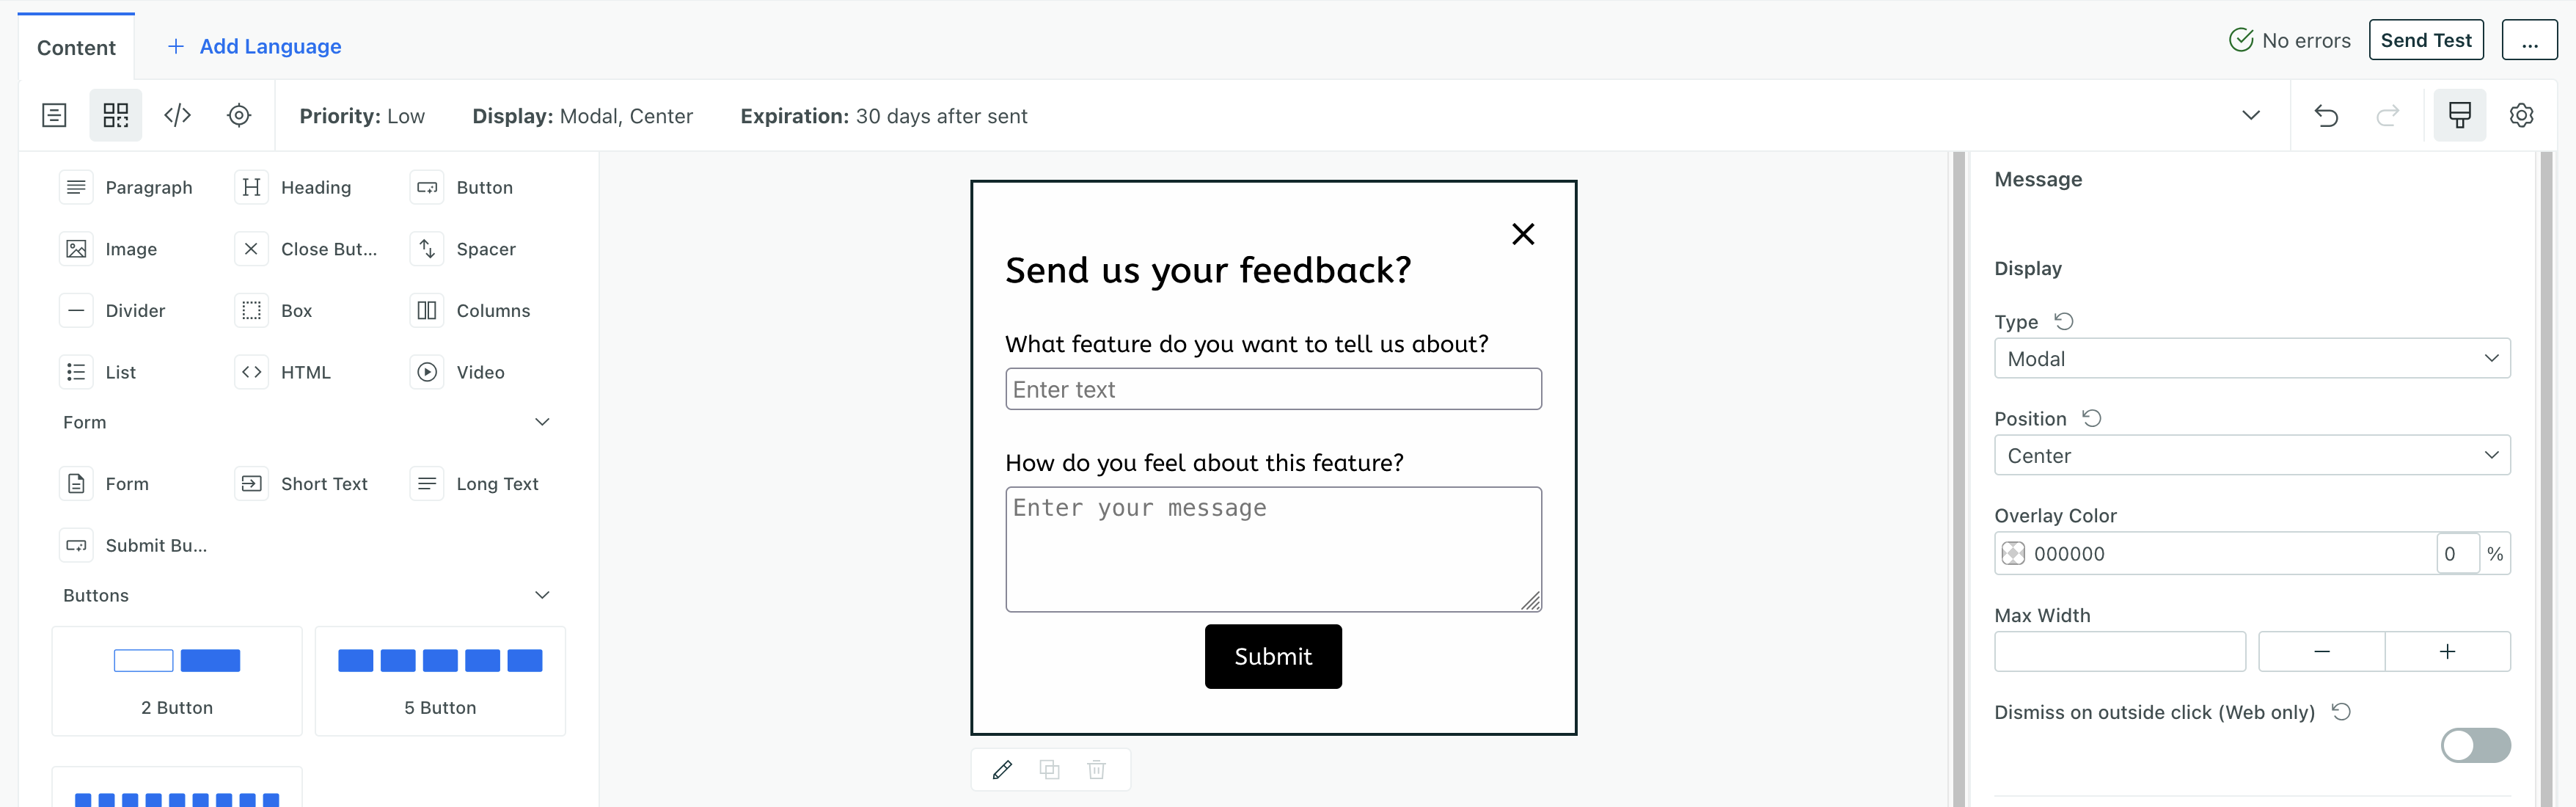
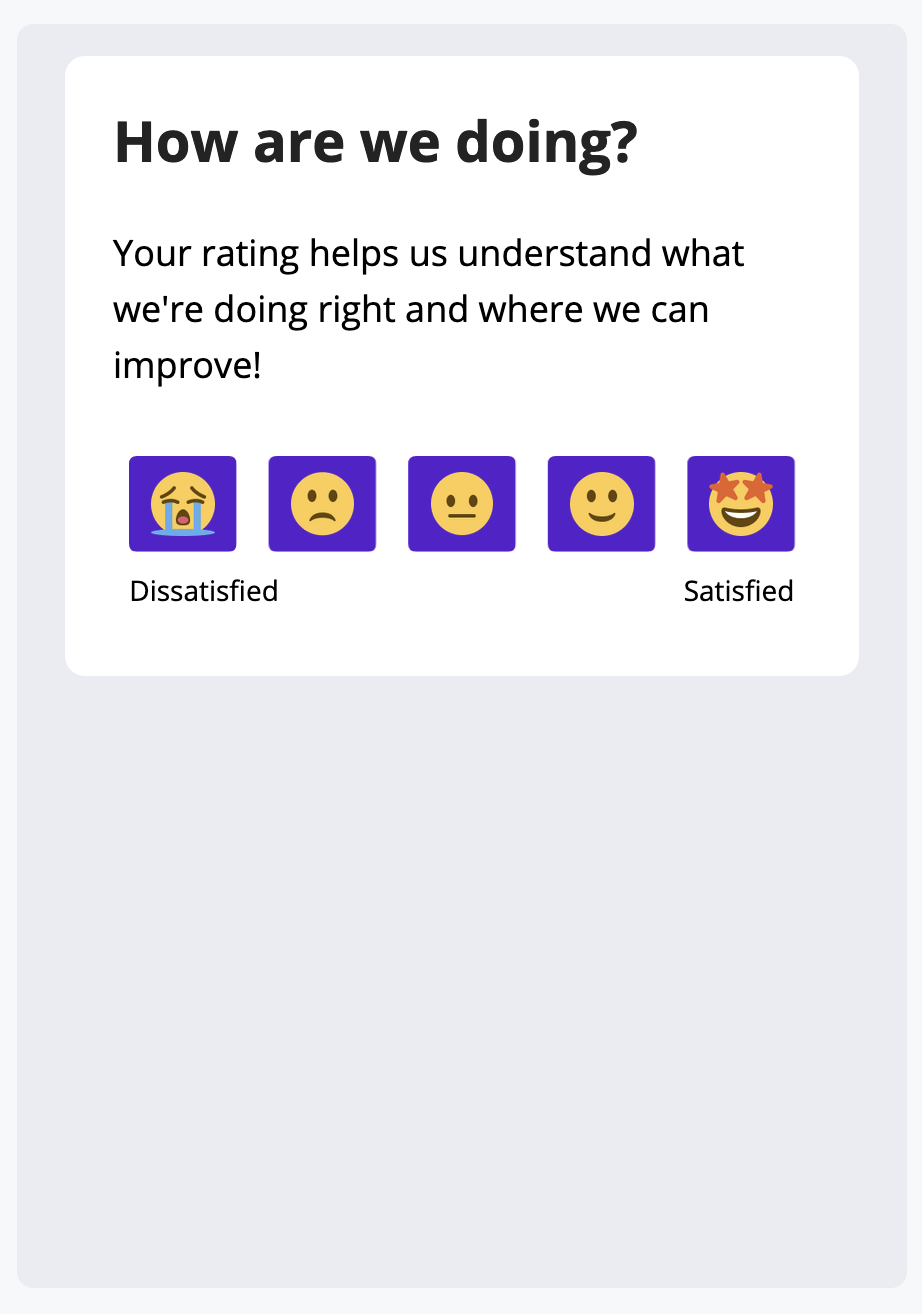
You can capture feedback from your audience directly through Customer.io—without using a third-party form provider. We support forms with plain-text inputs and plan to add support for other inputs in the future—like checkboxes and radio buttons.
We capture form submissions with your users’ input as a part of automations, broadcasts, or newsletters. You can also trigger downstream automations when someone submits your forms to thank them for their feedback, request a follow-up meeting, or offer a discount!
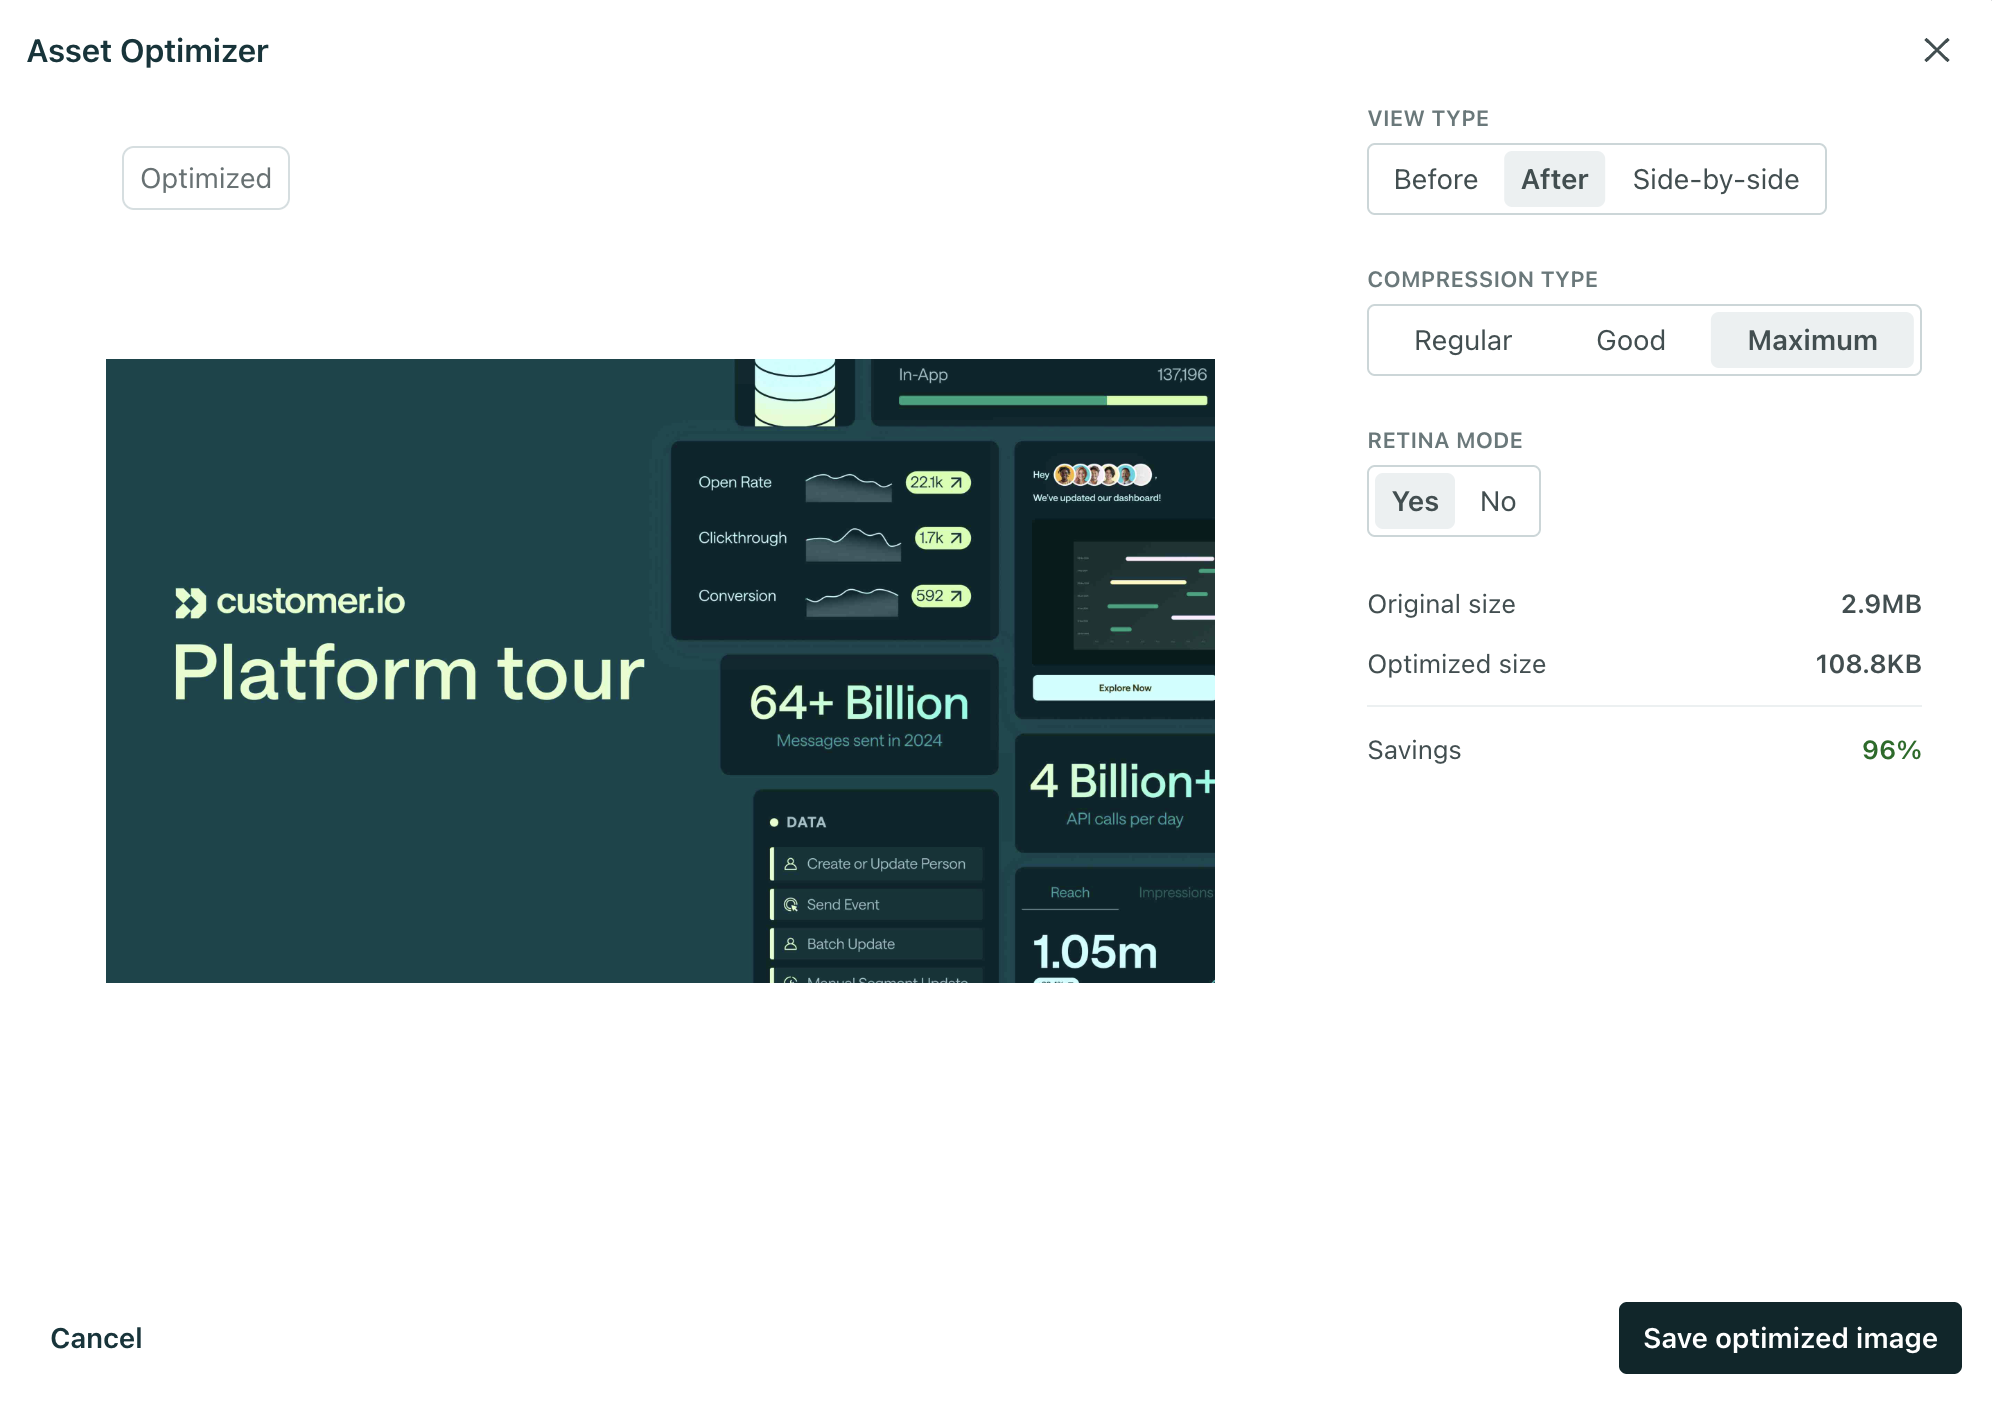
You can now optimize images when you upload them through Design Studio to reduce file size and maintain quality—without using third-party tools. This helps reduce friction that can hurt engagement in your automations.
Large assets cause emails to load slowly, impacting success of your automations. With optimization, you can ensure graphics appear quickly (even on poor mobile connections) to prevent drop-off from blank screens and protect click-through rates.
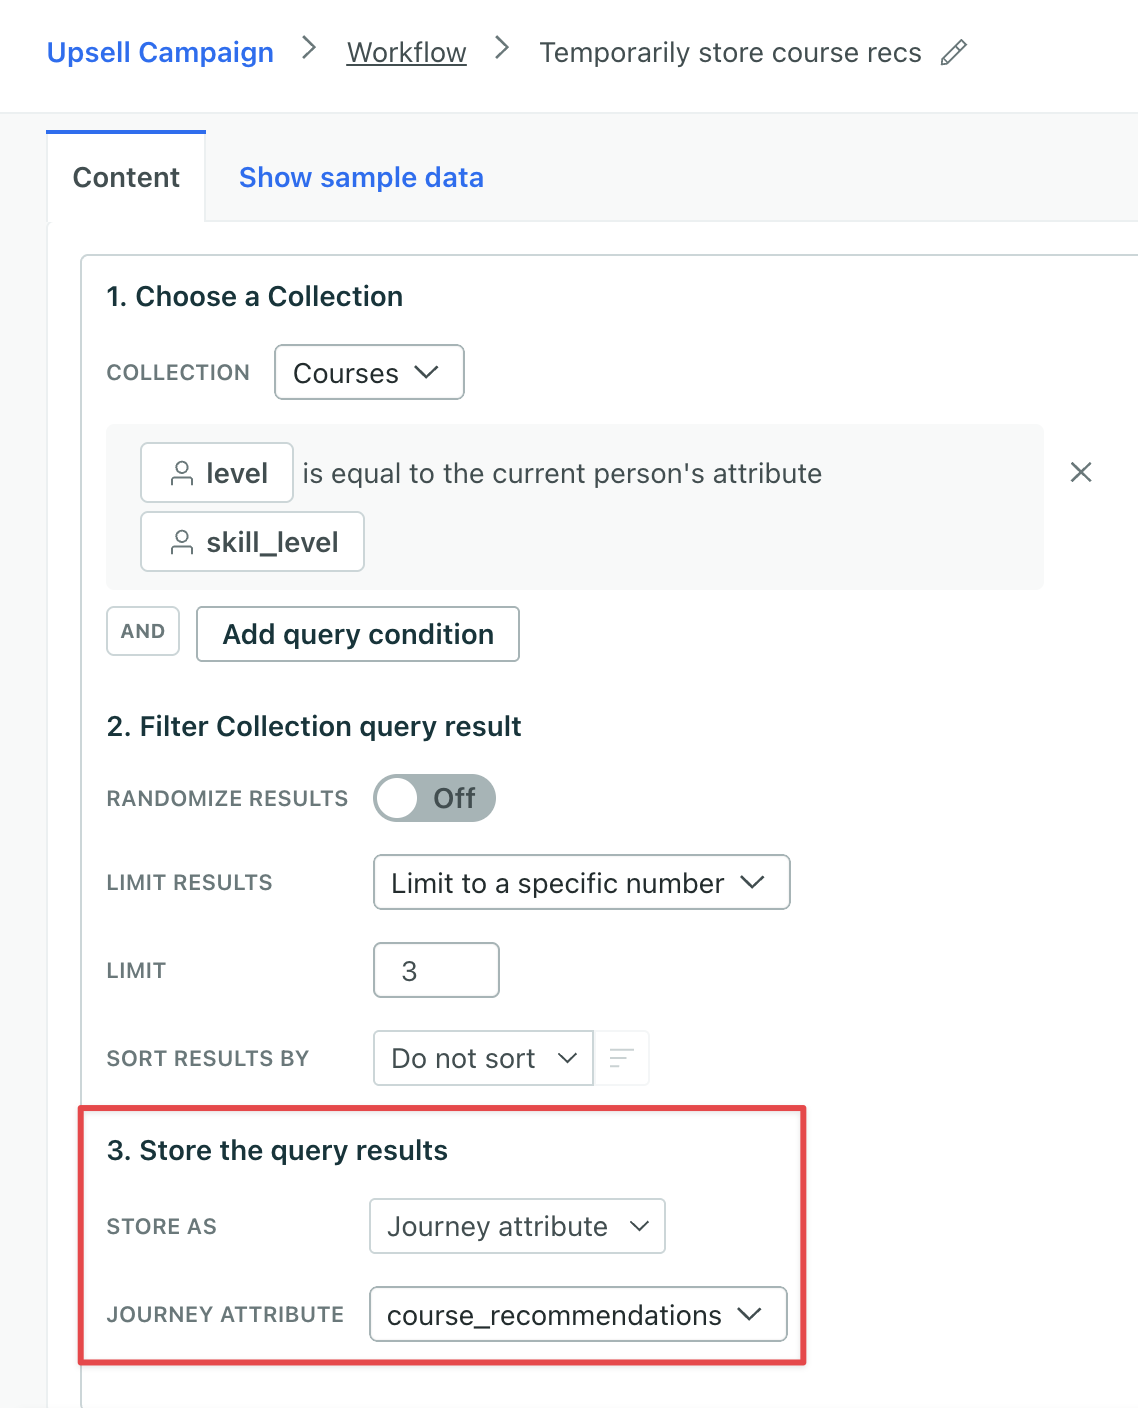
You can now store collection data as journey attributes, which expire at the end of a person’s journey. Journey attributes are available throughout your workflow: reference them in messages, create branch conditions, and more!
This means you can now temporarily store data from both collections and webhooks to keep your customers’ profiles as lean as possible.
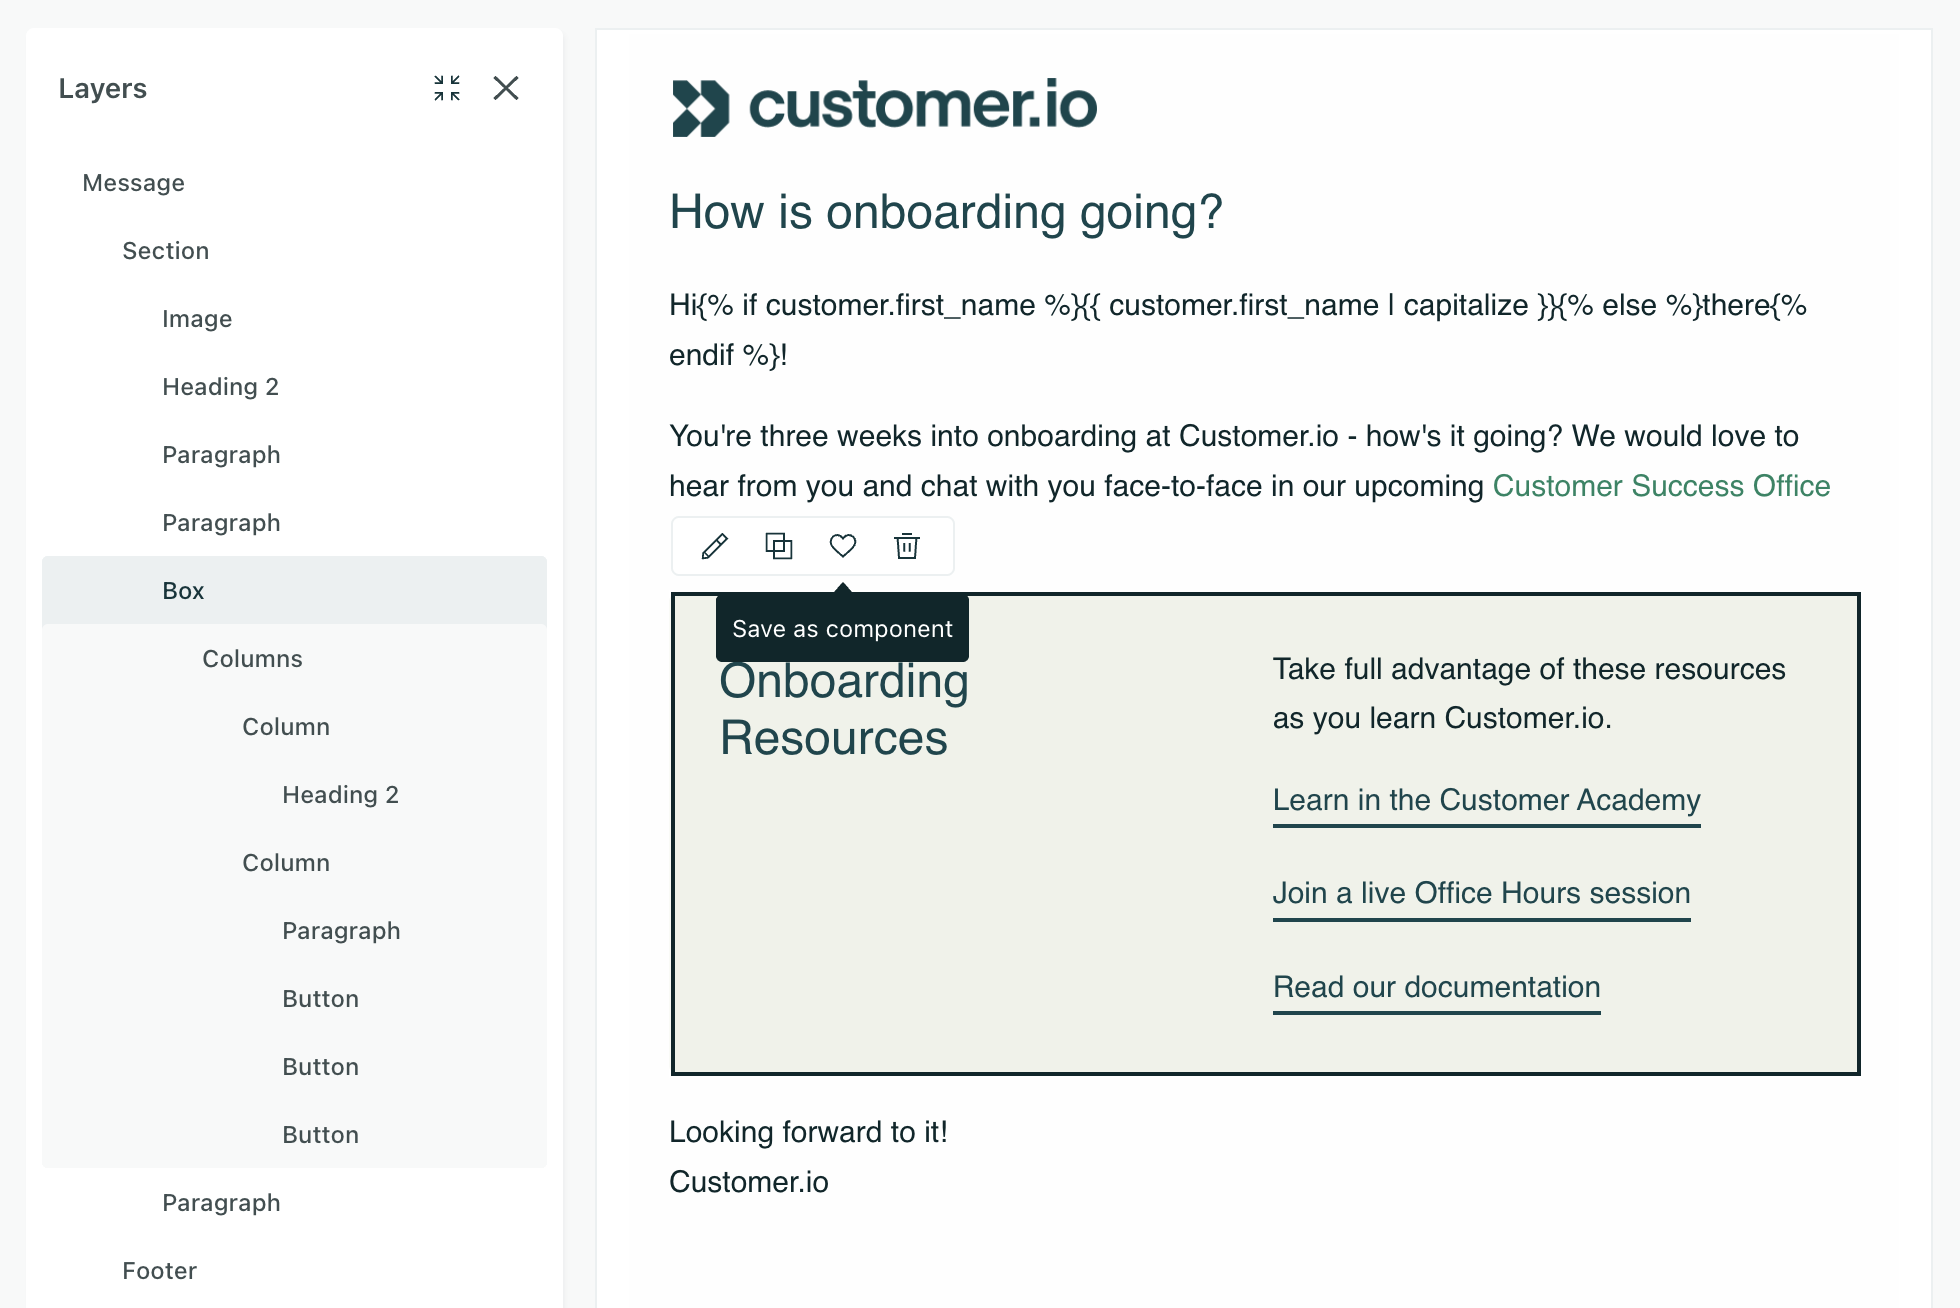
You can now create and save custom components directly from the visual editor in Design Studio! This makes it easier for any team member to manage reusable content like headers and footers.
Build a block using components in the visual editor, and then click to save it as a new custom component file. It’s immediately accessible in the Insert menu of the visual editor for reuse across your emails.
You can also detach components from the source file if you want to make changes unique to that email.
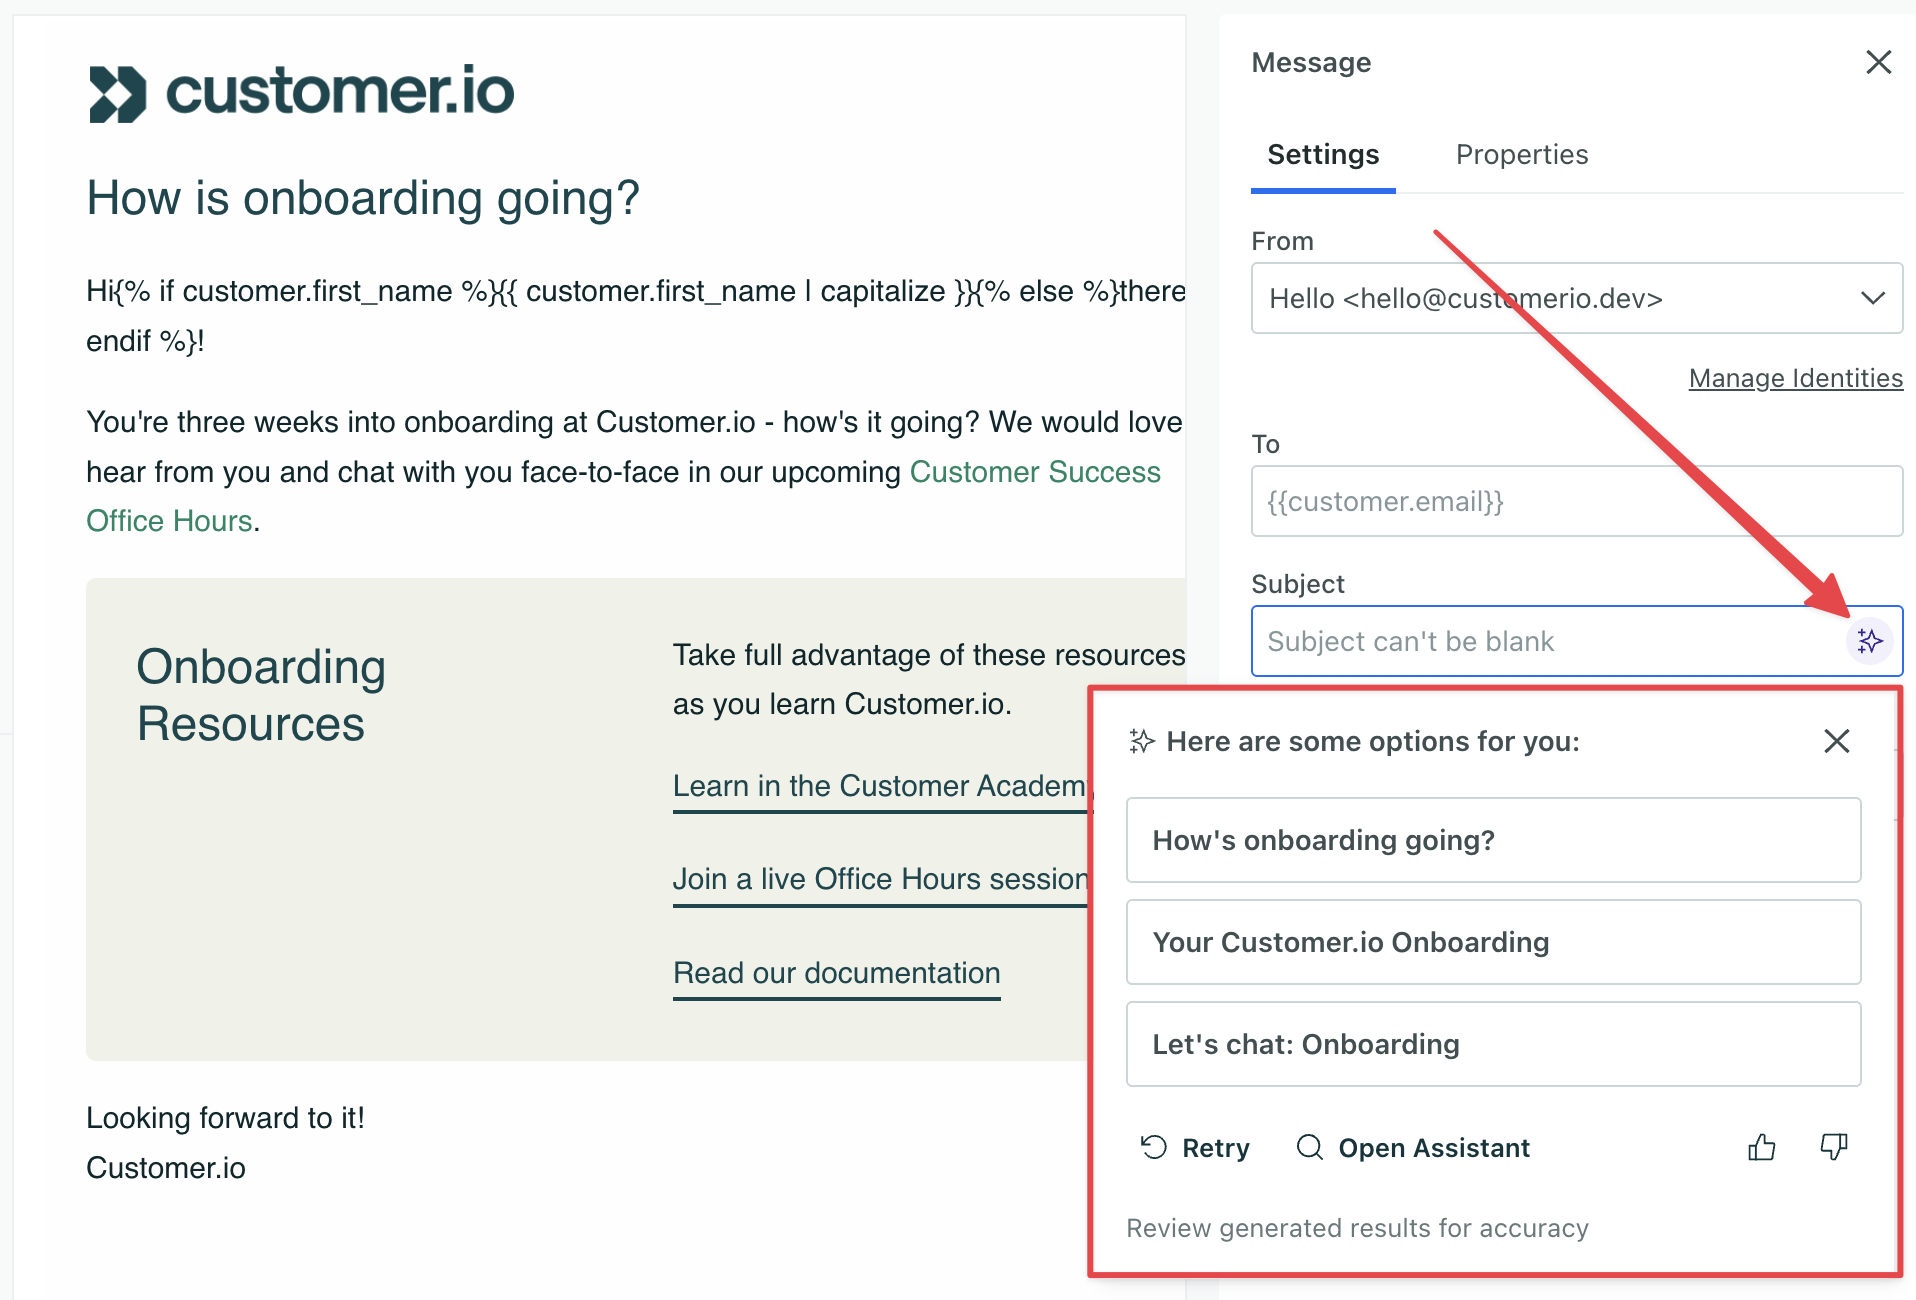
In Design Studio and our Drag-and-drop editor, create on-brand subject lines faster with AI. We generate the subject based on your message content and your workspace's AI business context.
For best results, generate subject lines after your email content is complete!
This feature only applies to subject lines, not preheader/preview text.
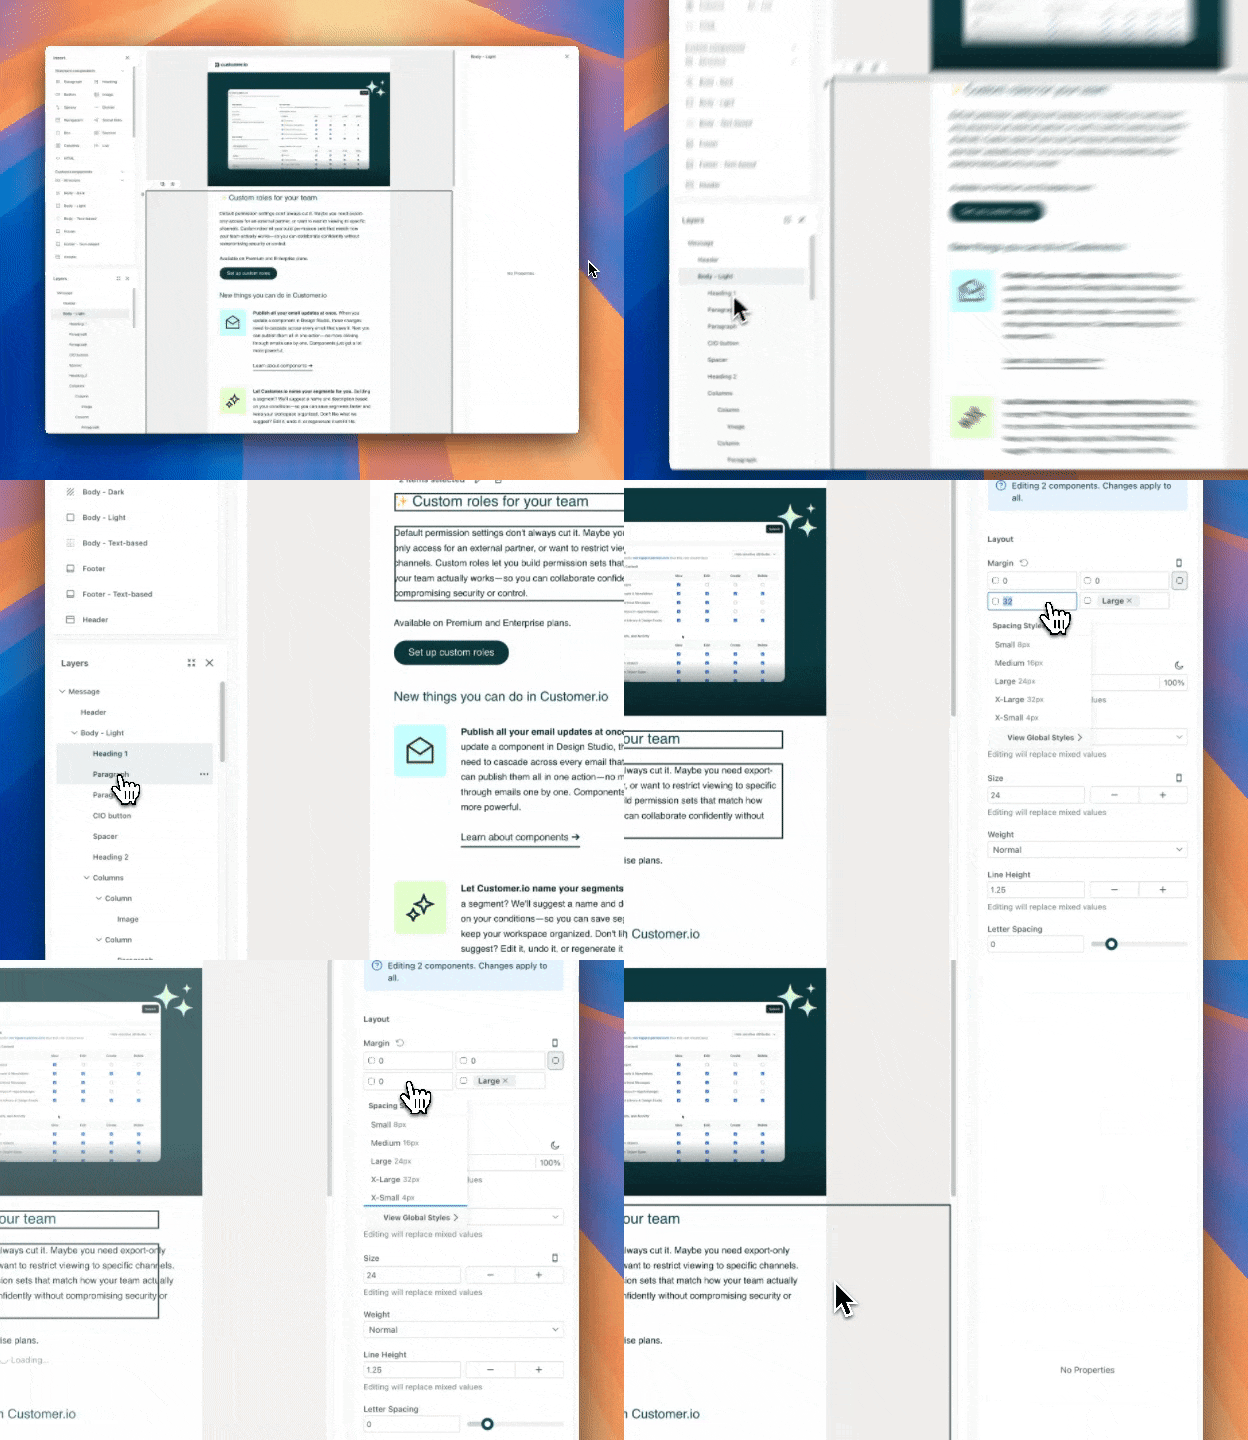
You can now move and style multiple components at once in Design Studio emails and our in-app message editor. This can help you more quickly make a change across your entire message.
While message creation requires fine-tuning, it shouldn’t interrupt your creative flow. Previously, refining Design Studio emails or in-apps—like the padding on four different buttons—required you to go through a cycle of repetitive, manual adjustments. Now you can do this in a single, fluid motion: click, drag, and change your styles.
To make edits across multiple components, click and drag your cursor on the canvas to select multiple components.
Learn more about editing multiple components in Design Studio and in-app messages.
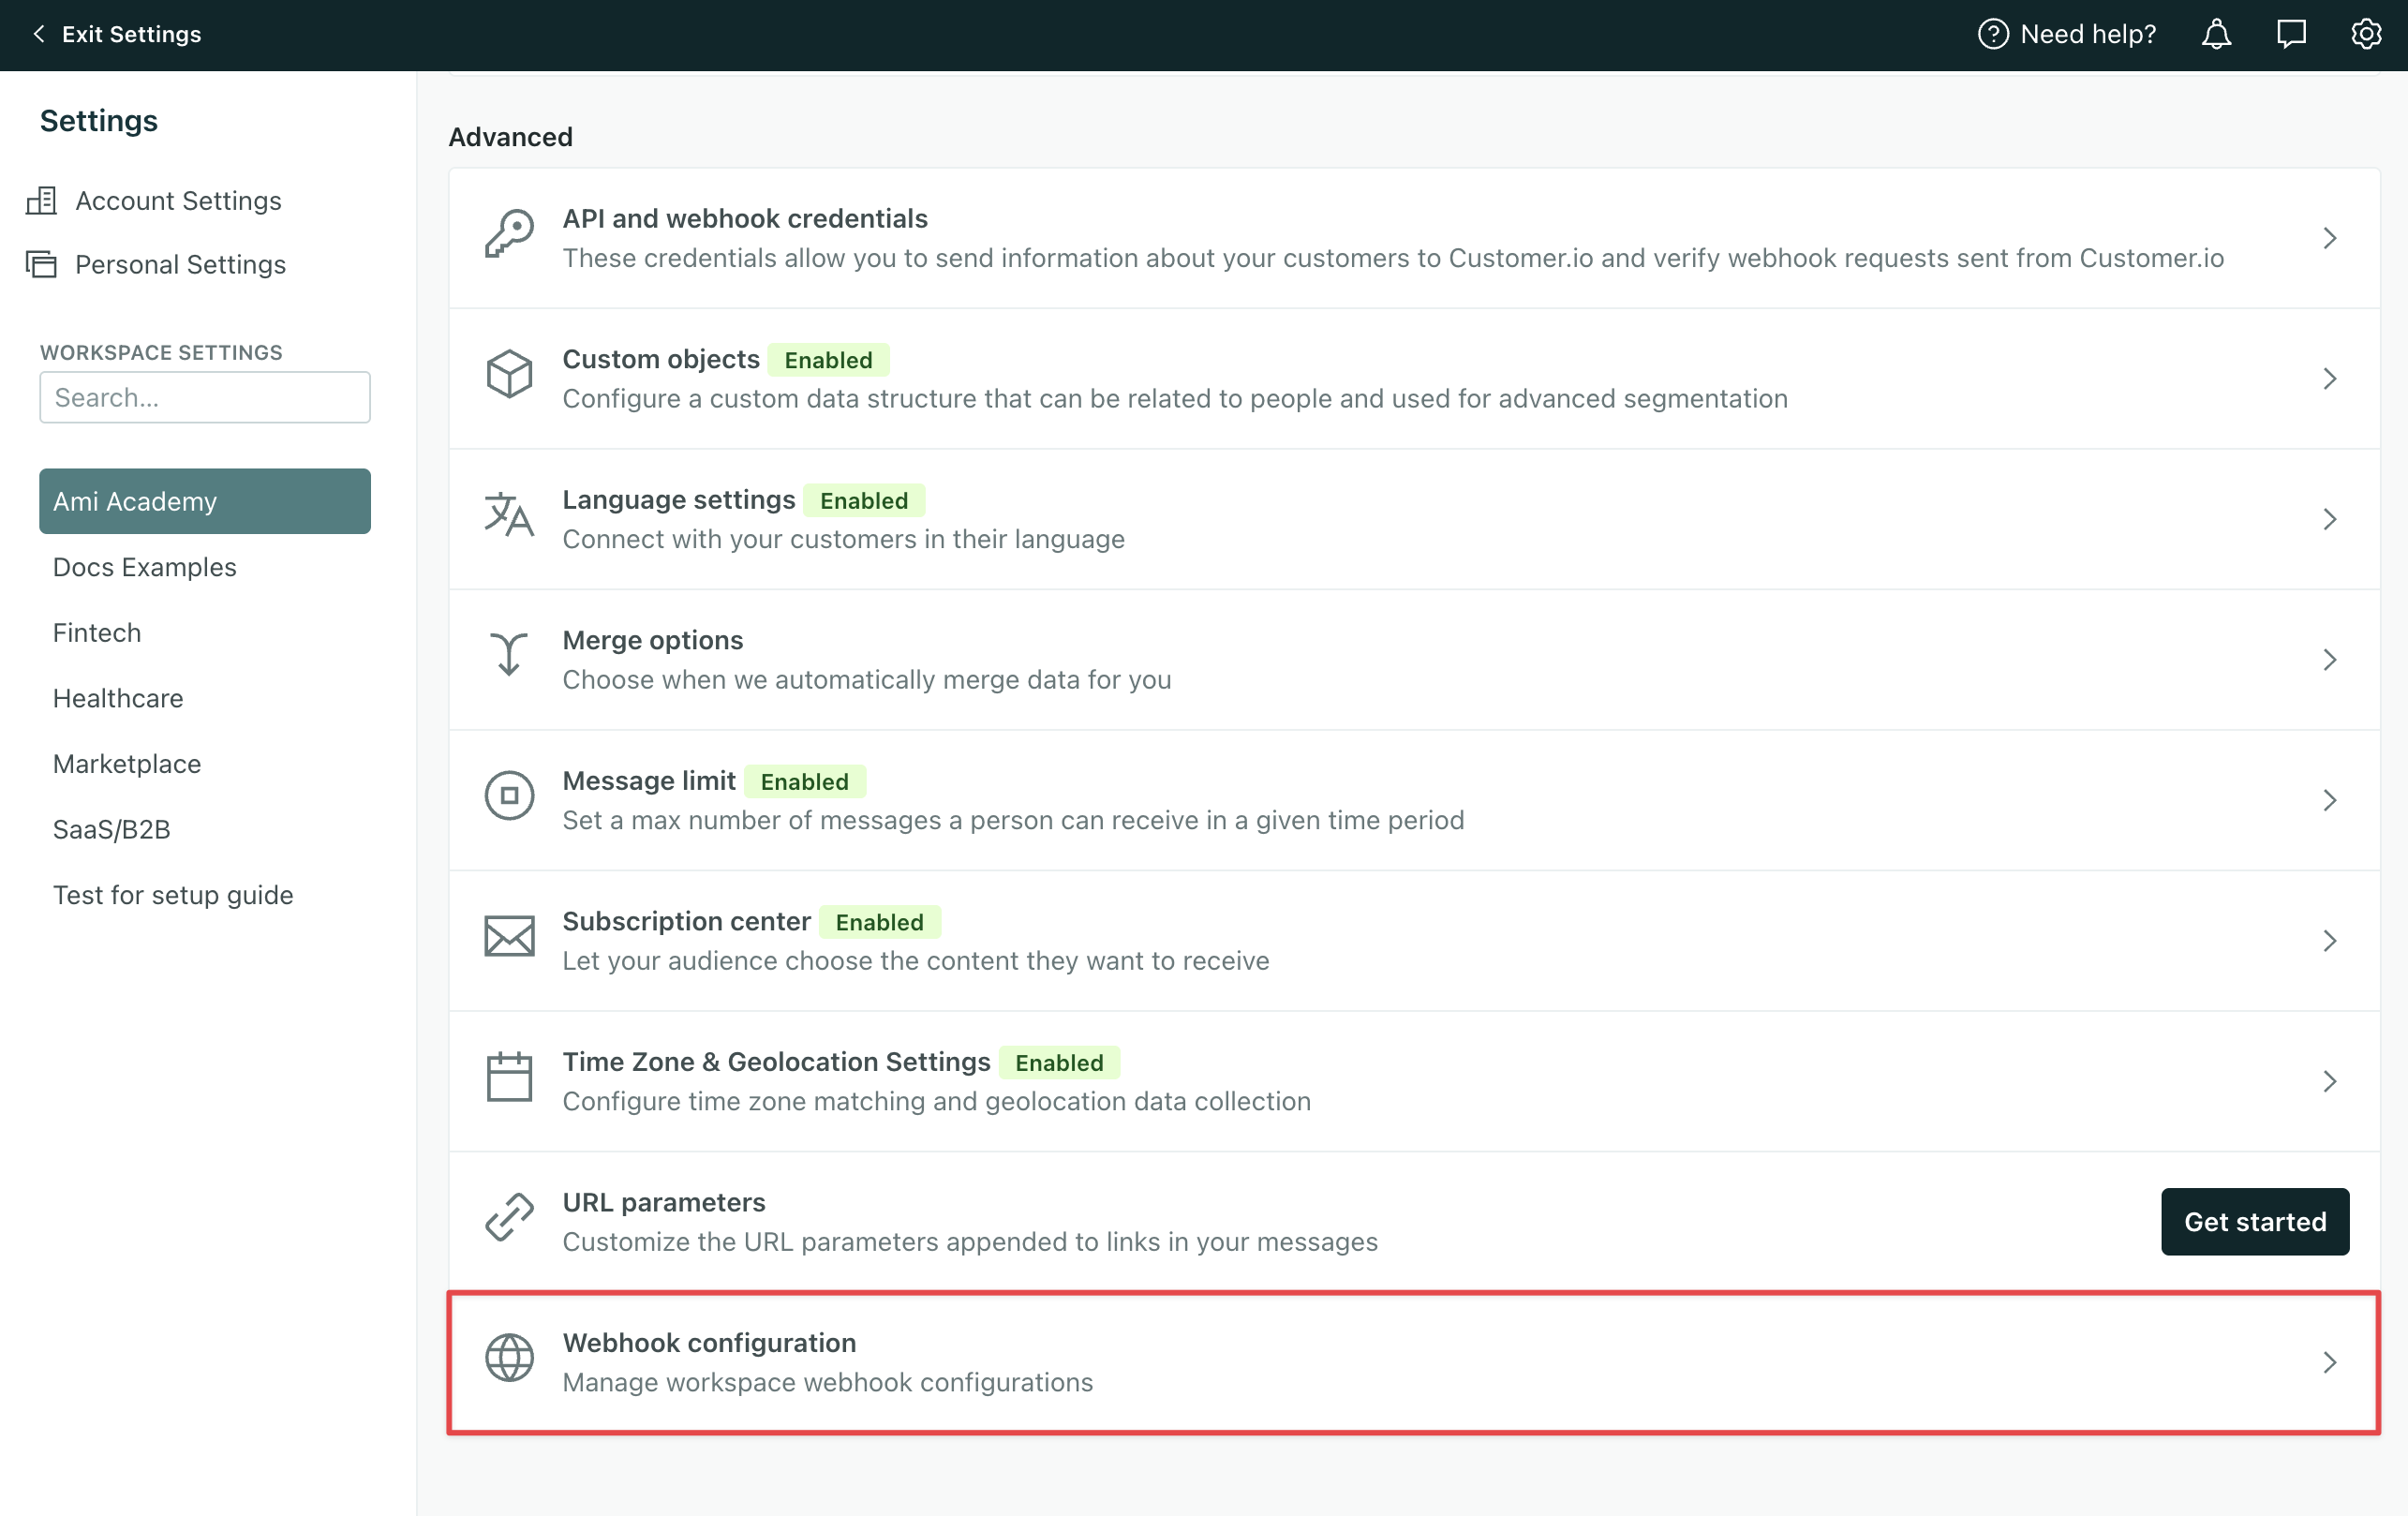
Configure webhooks once in Workspace Settings, and reuse them across automations and broadcasts—without exposing API credentials to your whole team.
Why it matters:
Only Account and Workspace admins can configure reusable webhooks.
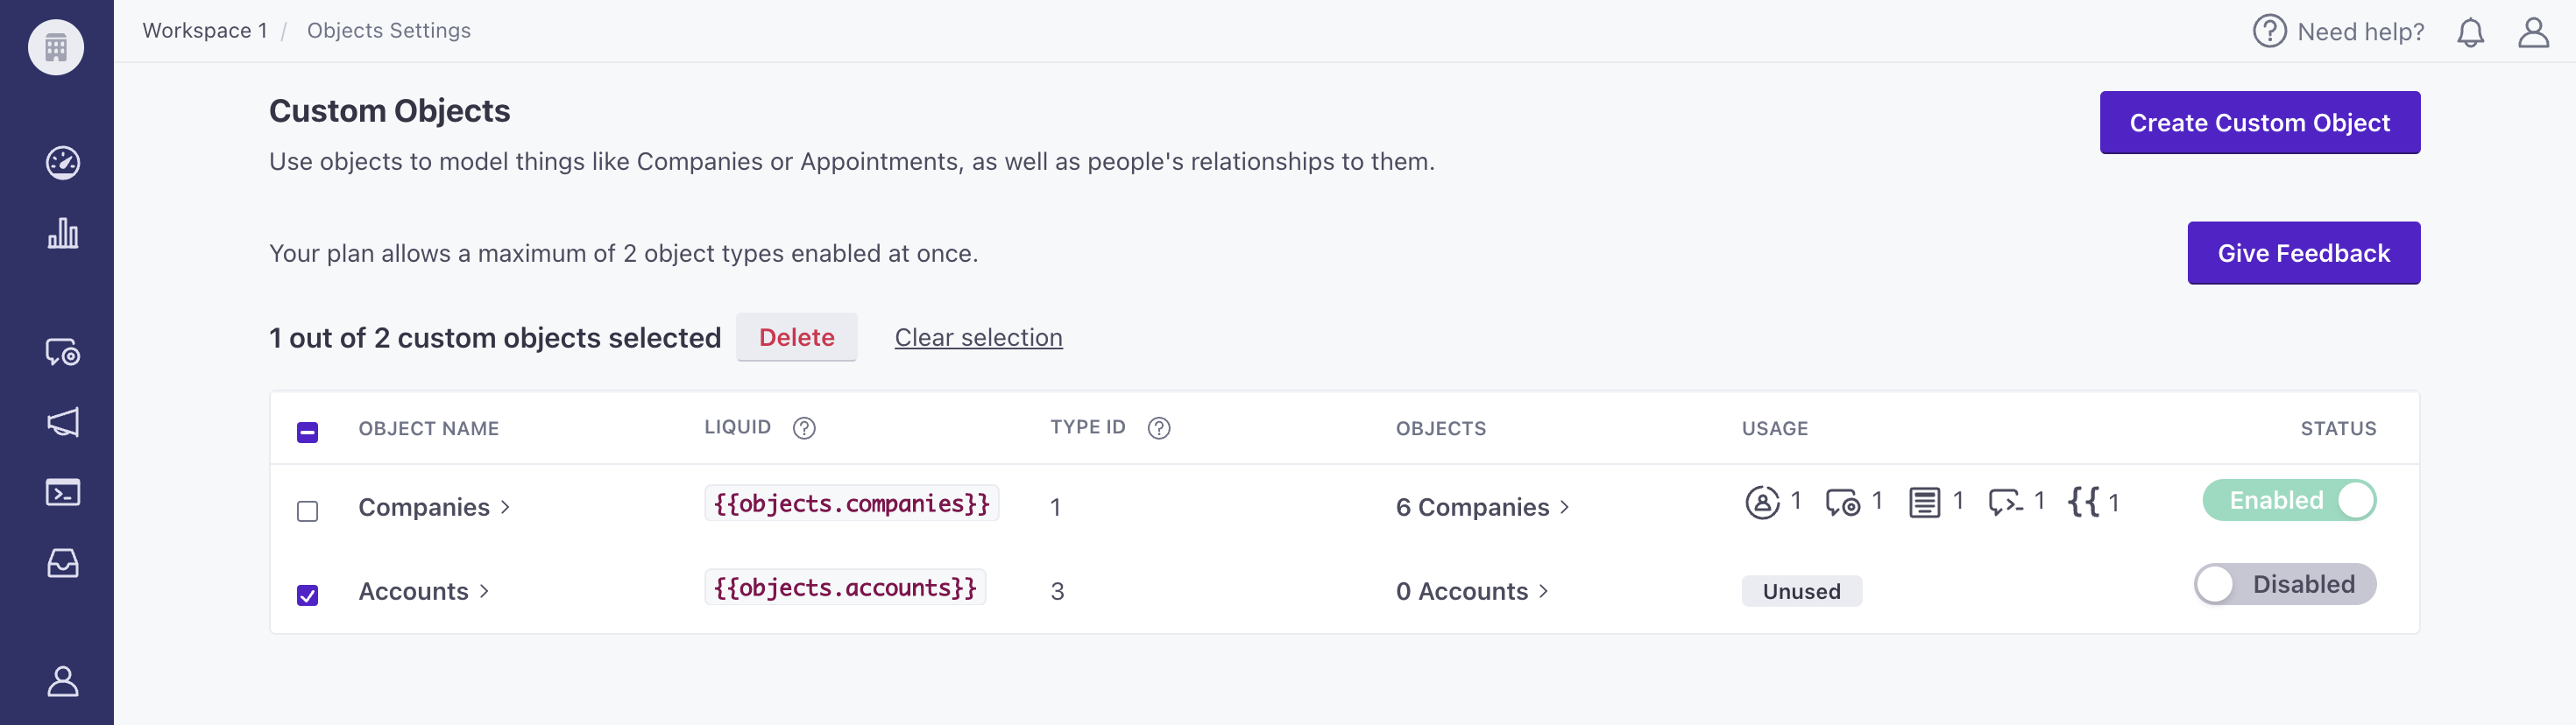
You can now use Wait Until to hold a journey until a condition on the object—or a relationship to the object—that triggered an automation is true. This makes it easy to align messages and other workflow actions to object states or times for things like orders, subscriptions, appointments, and more.
For example, you can:
status is equal to deliveredAppointment.starts_at
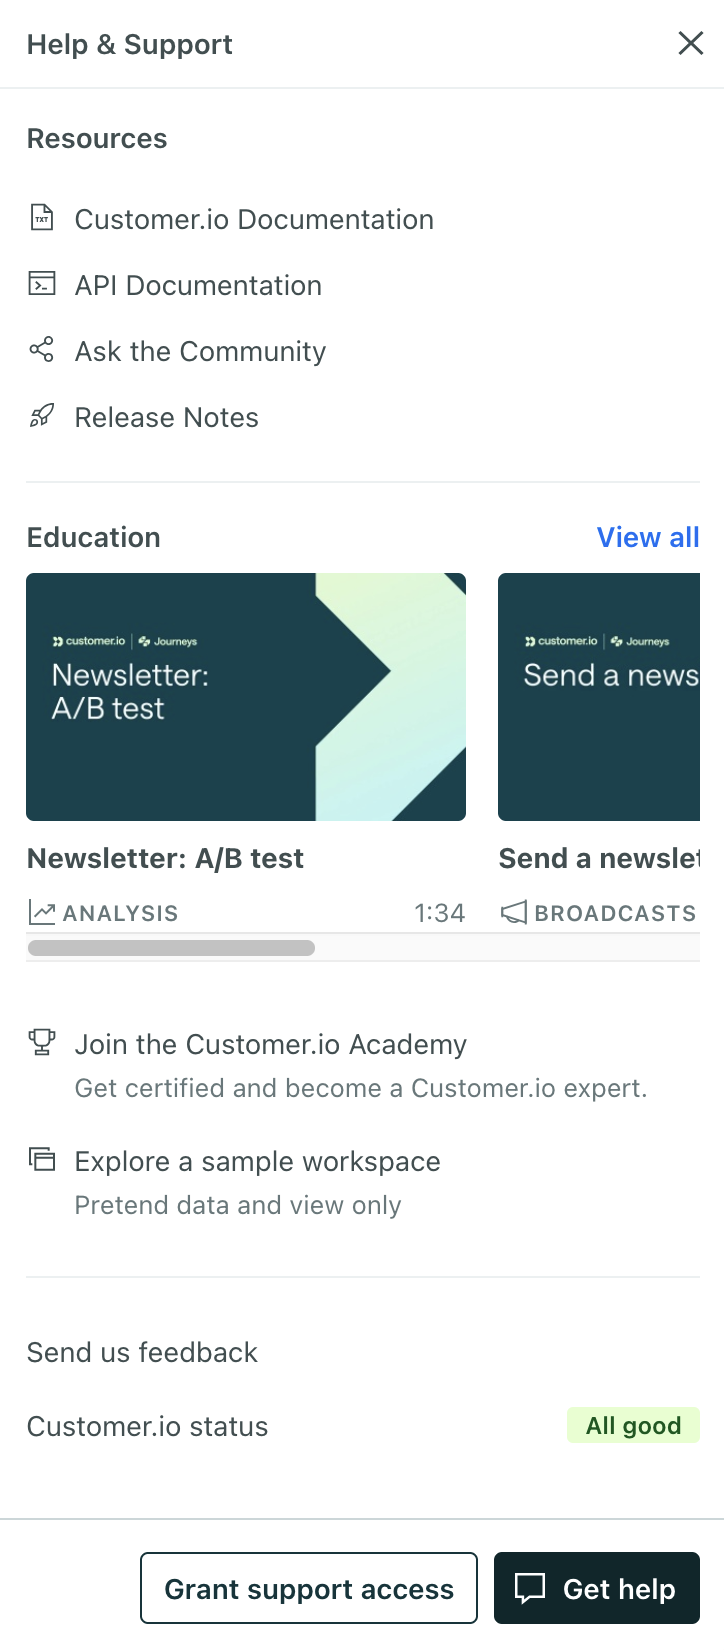
We've redesigned the Help & Support sidebar to make it easier to find resources and get help when you need it!
You can temporarily store data from a webhook on journey attributes, which expire at the end of a person’s journey. Journey attributes are available throughout your workflow: you can reference them in messages, create branch conditions, and more!
This means you no longer have to store webhook data important to a person’s journey on their profile, which doesn’t expire and could clutter up your workspace.
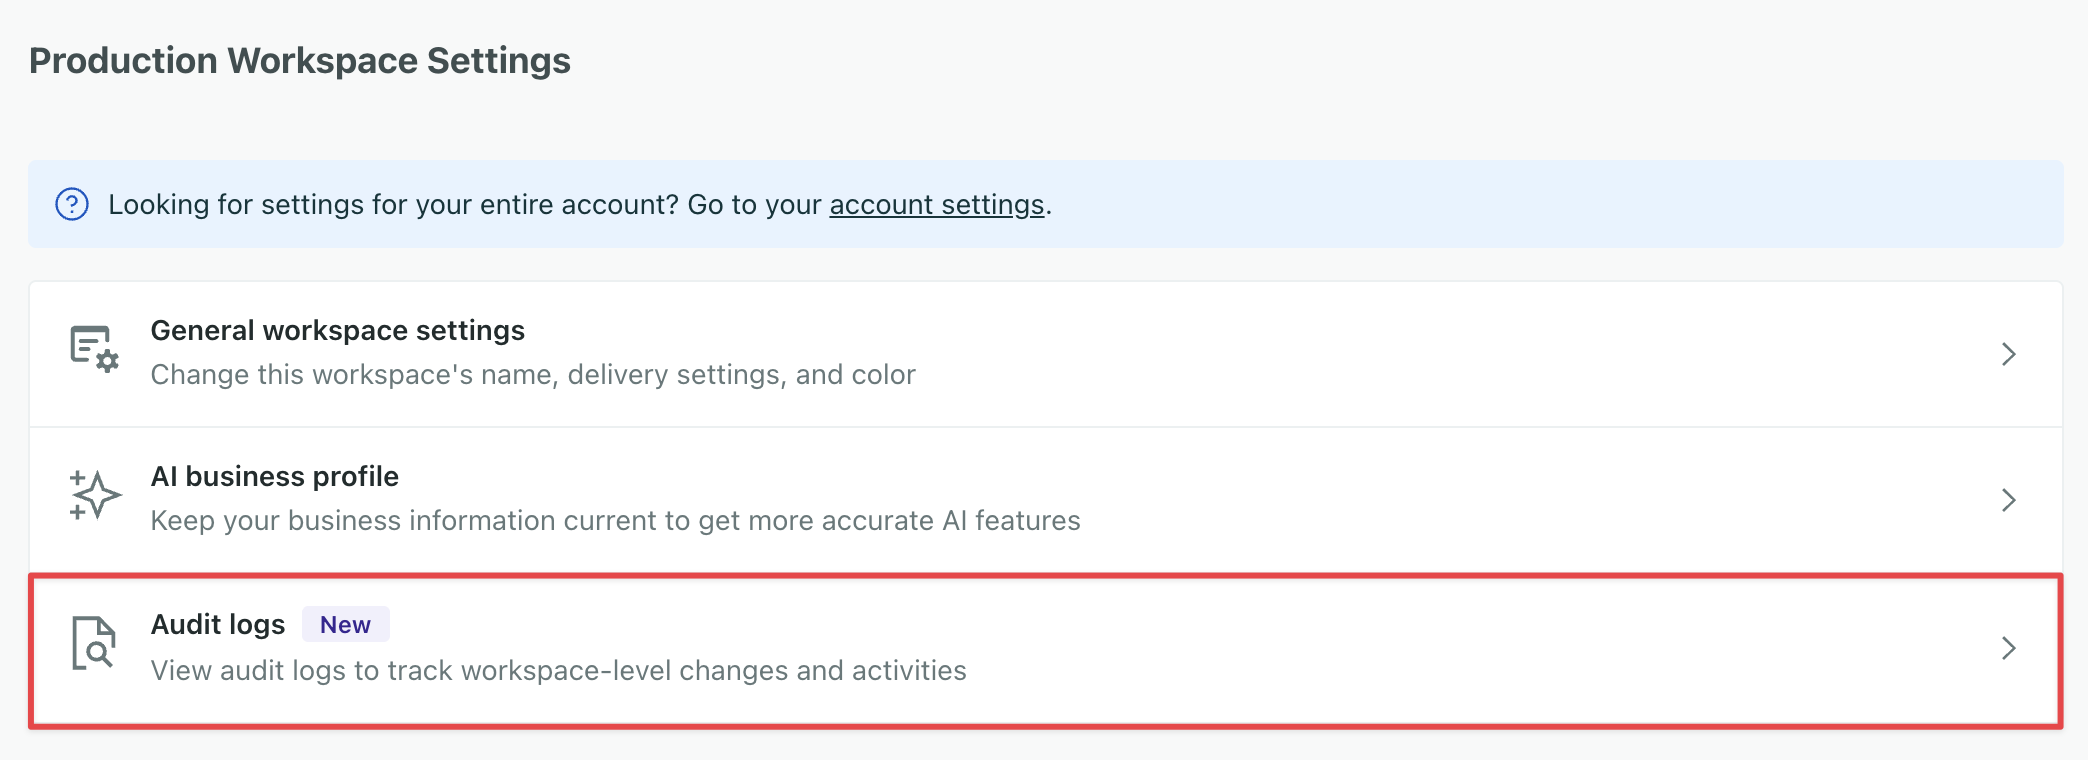
Our new Audit Logs give you visibility into team actions across automations, integrations, data exports, and security events so you can debug production incidents faster, meet compliance requirements, and maintain accountability across your team. Now you can see who makes changes to messages, automations, and other data in your account.
You must be an Account Admin to access Audit Logs.
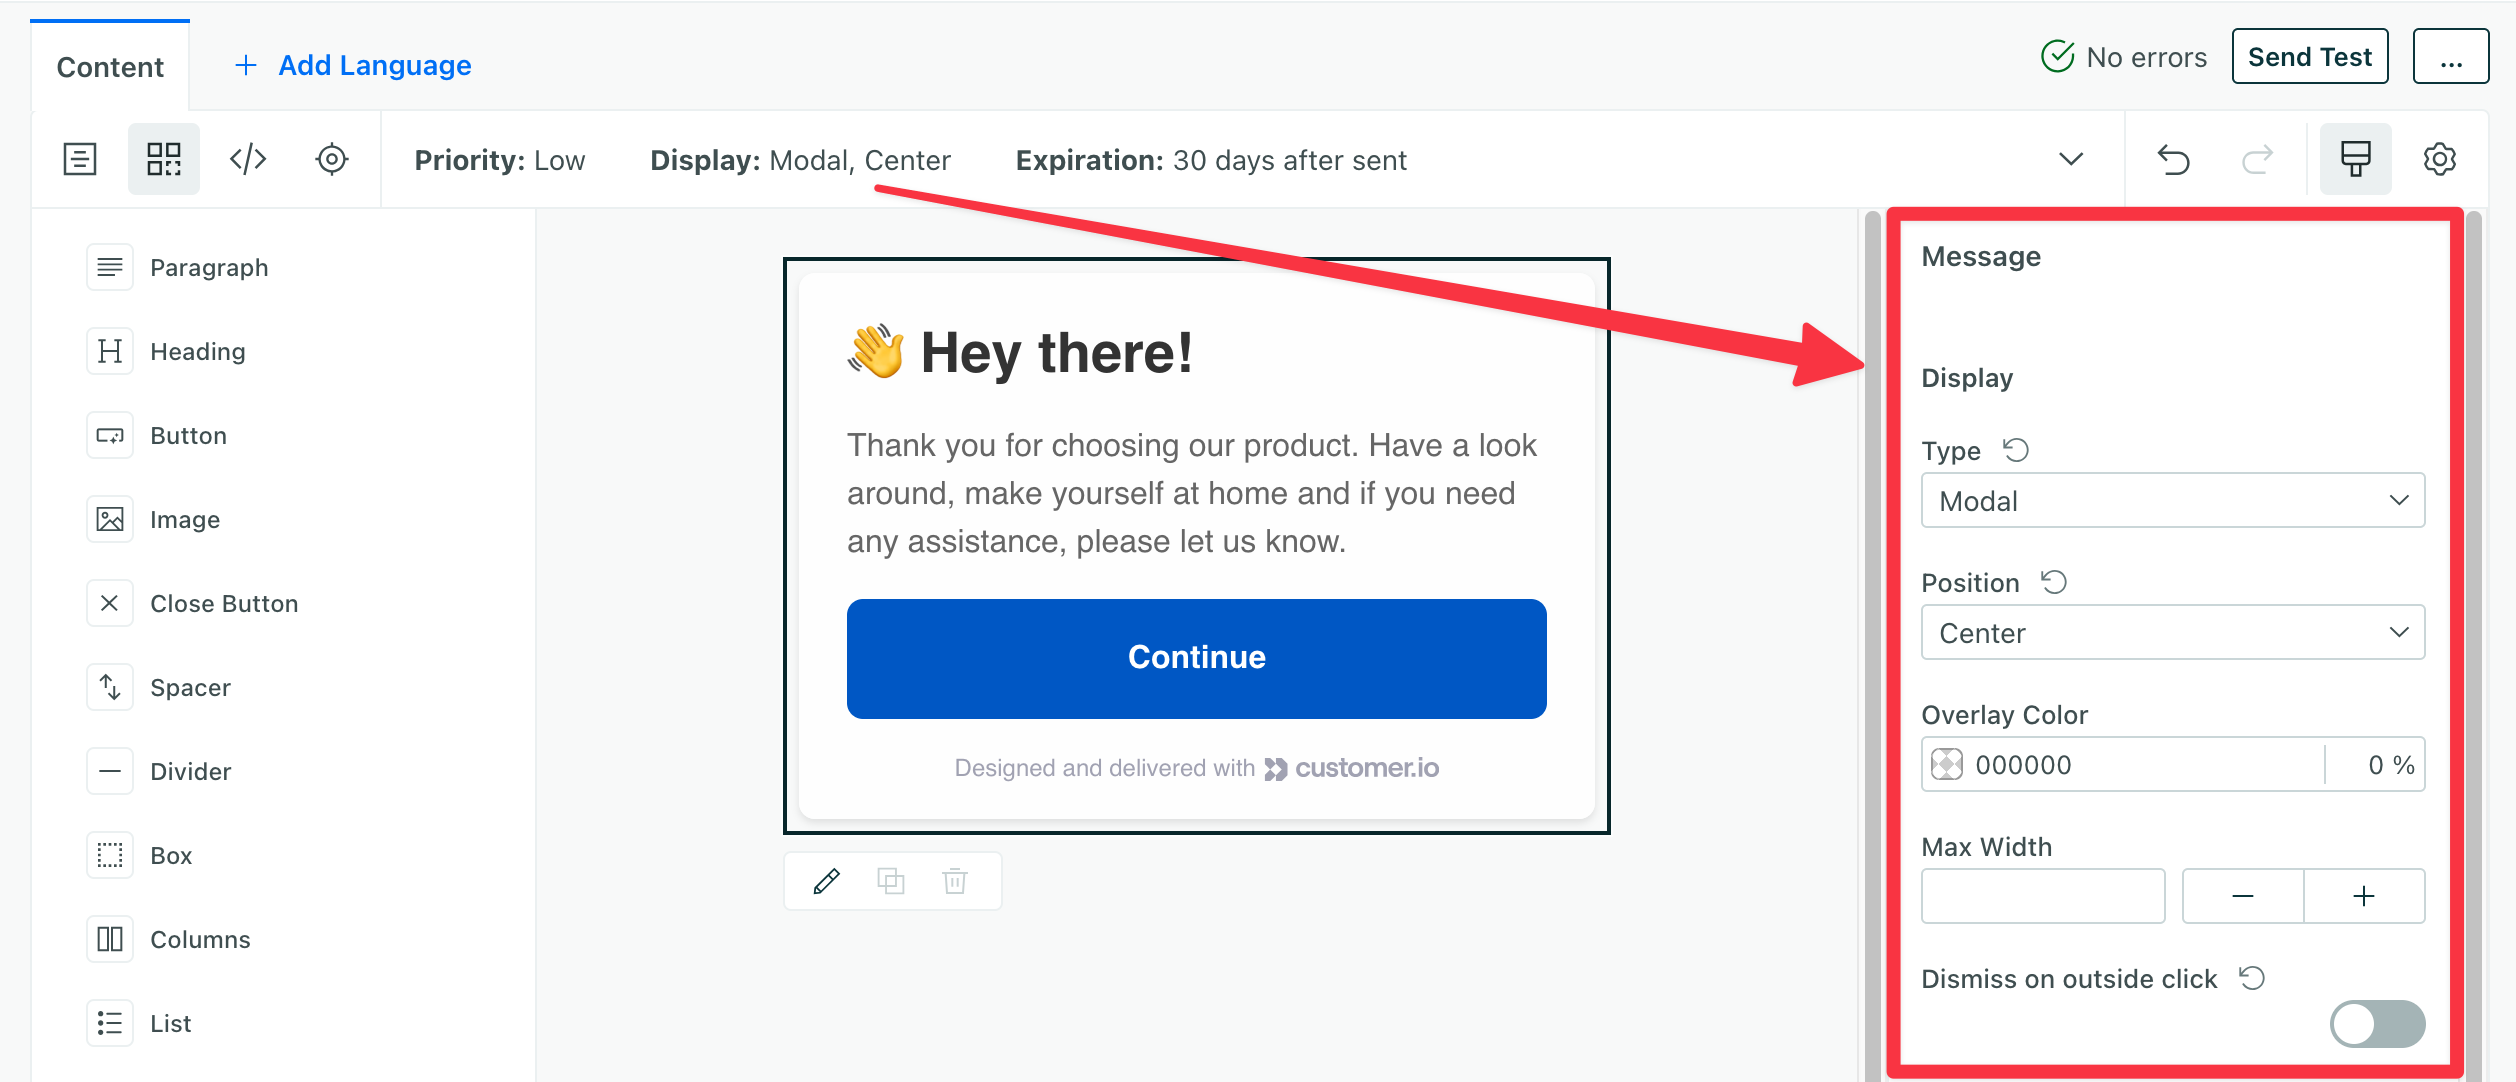
We're moved the display and position settings from the message envelope to the right sidebar when you select the background of your message. This lets you change these settings for each step in a message, and is our first change in supporting complex in-app message flows like product tours.
Go to the docs →
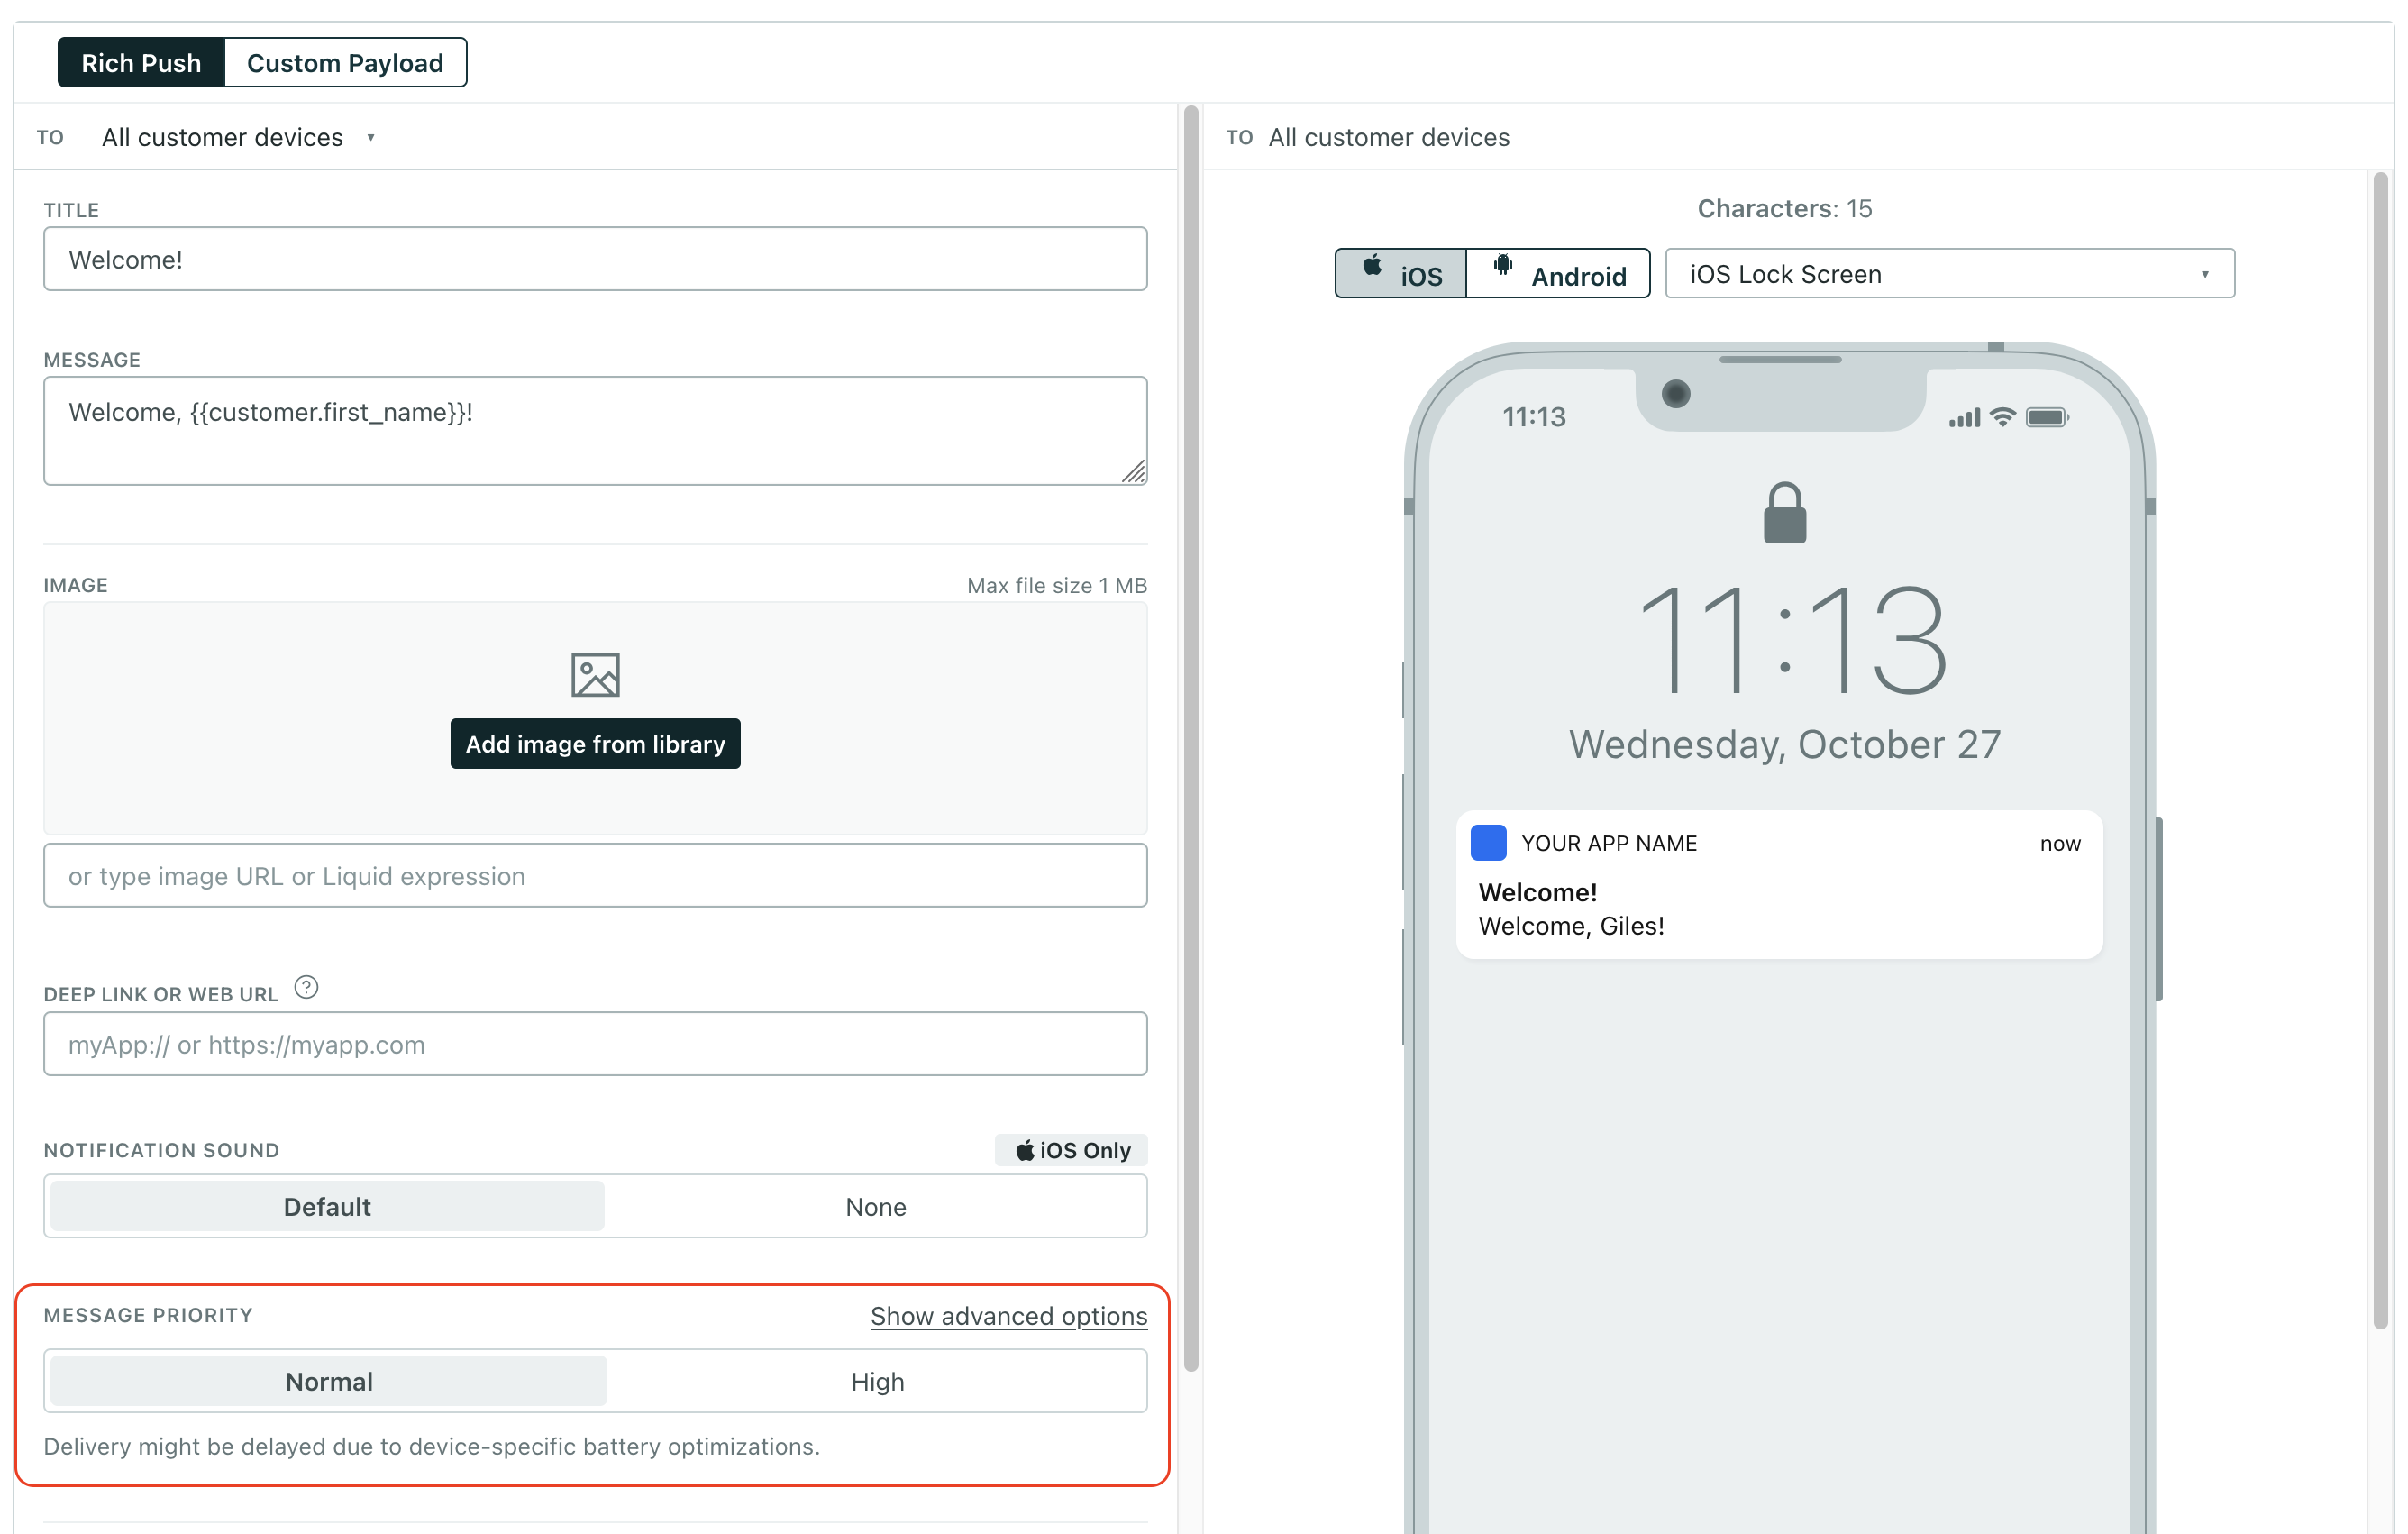
You no longer need to generate custom push payloads to control message priority. Now you can set message priority for push notifications in the push composer. This update helps you balance message delivery speed with battery optimization on recipient devices and does not require you to update your SDKs. It just works out of the box!
Under normal priority, Android devices in standby mode might not wake up long enough to send delivery metrics back to Customer.io, so you might not see messages as delivered until your users open your app. Setting High priority tells the recipient’s device to wake up to properly report delivery metrics!
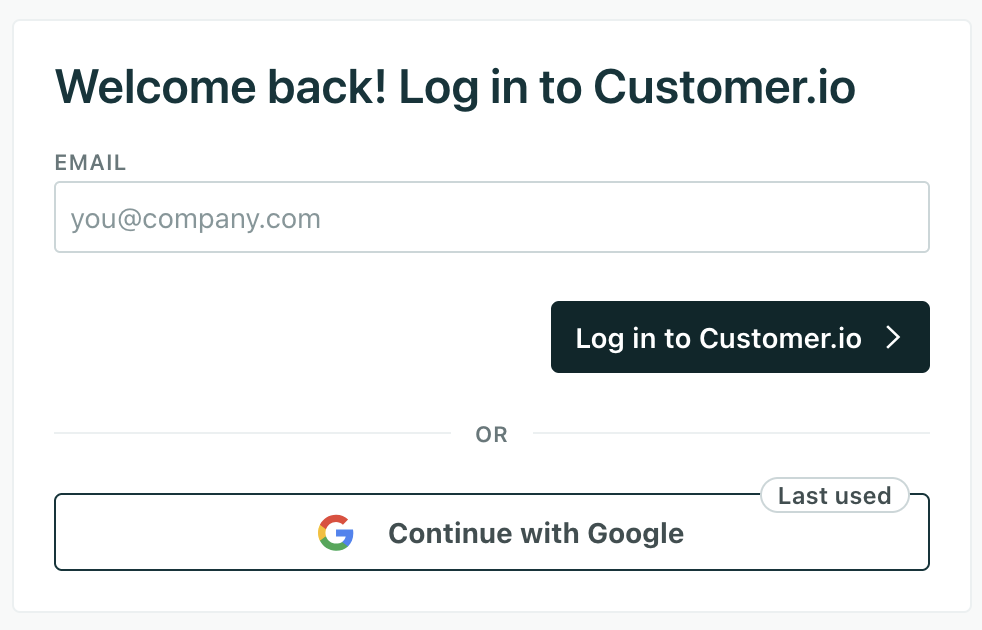
No more guessing which login method to use when you log out or your session expires: we now show a Last used badge on the login option you used most recently, so it's easy for you to get back into Customer.io!
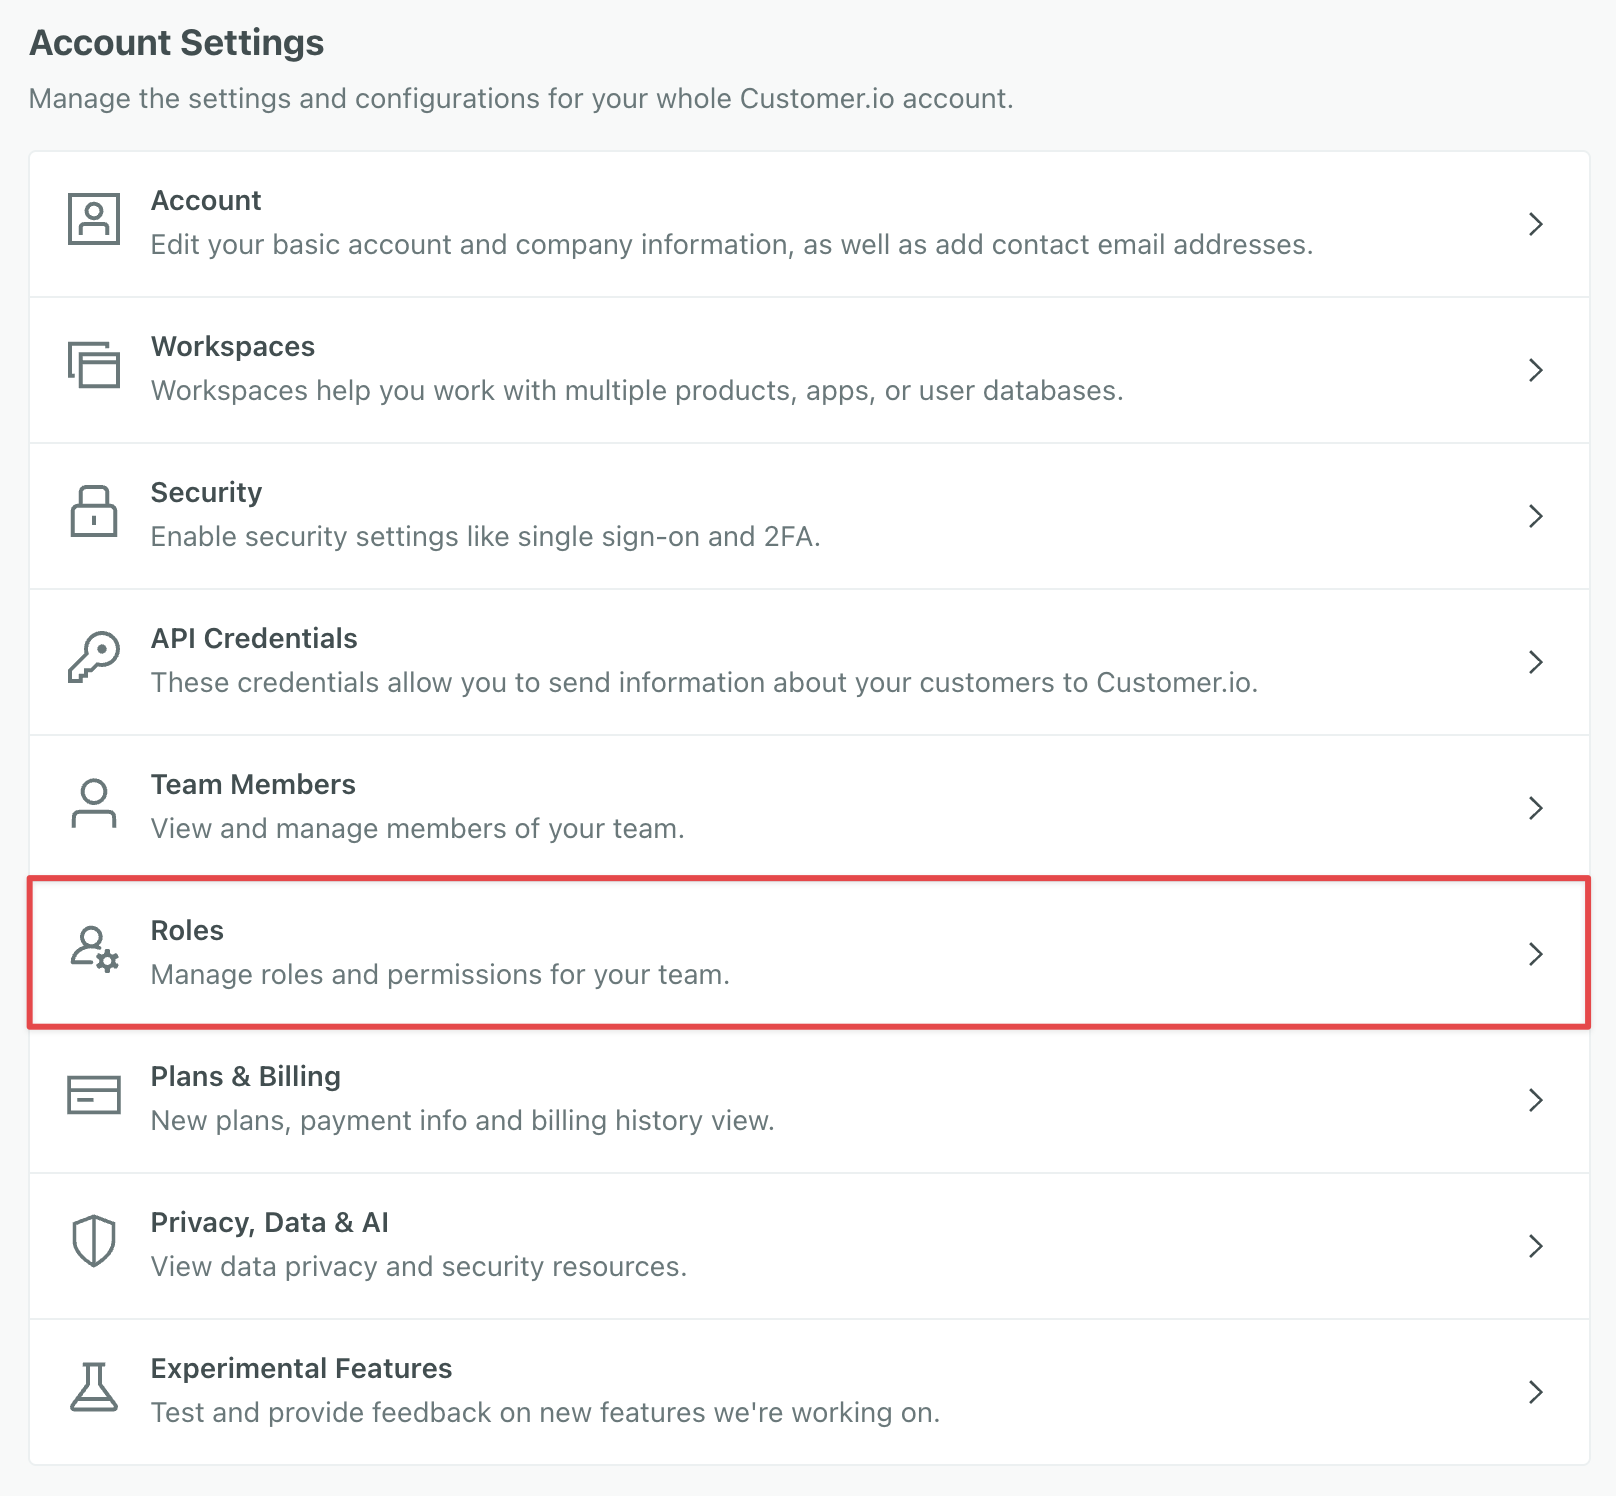
If you’re on a Premium or Enterprise plan, you can now customize roles to ensure secure, tailored access to your workspace.
Create roles in Account Settings to give external partners, developers, or marketers just the access they need, nothing more.
You must be an Account Admin to create and assign custom roles.
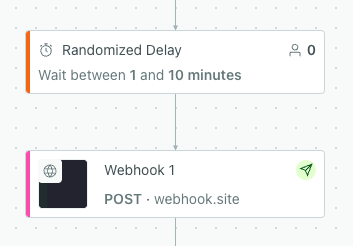
You can now hold people in randomized delays in automations. This can help you avoid overloading API endpoints with webhook requests.
This can help you greatly simplify workflows if you’ve added branches with a variety of time delays to achieve the same effect.
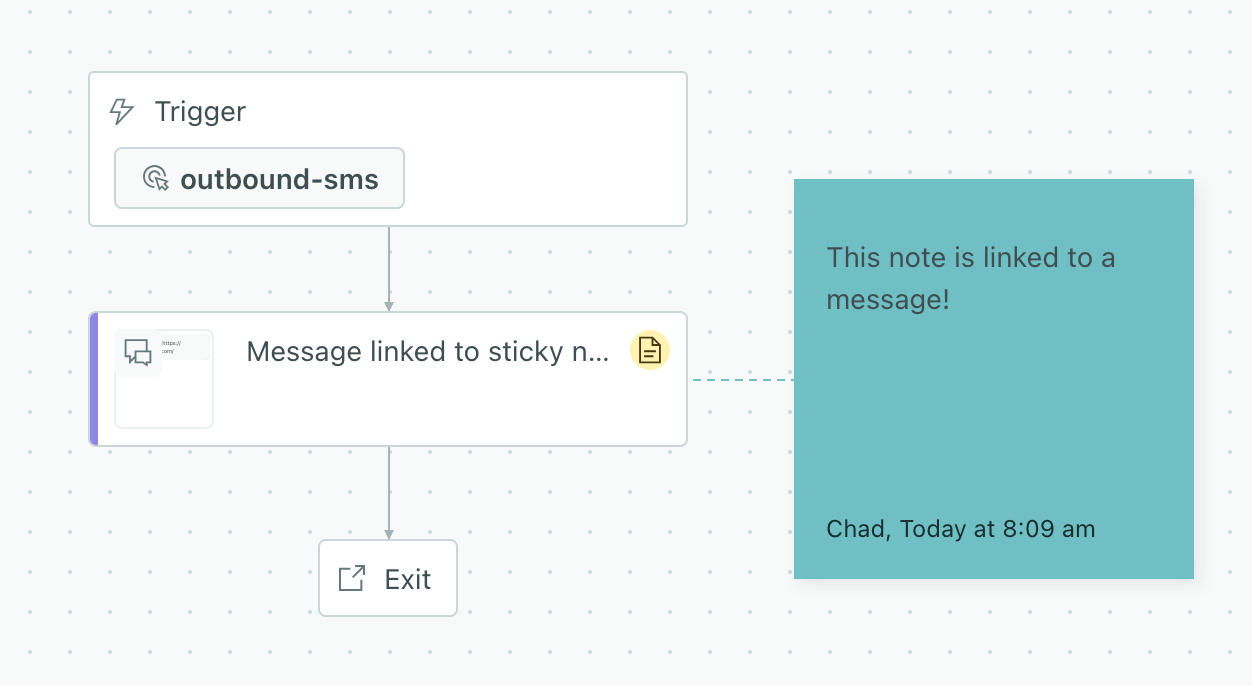
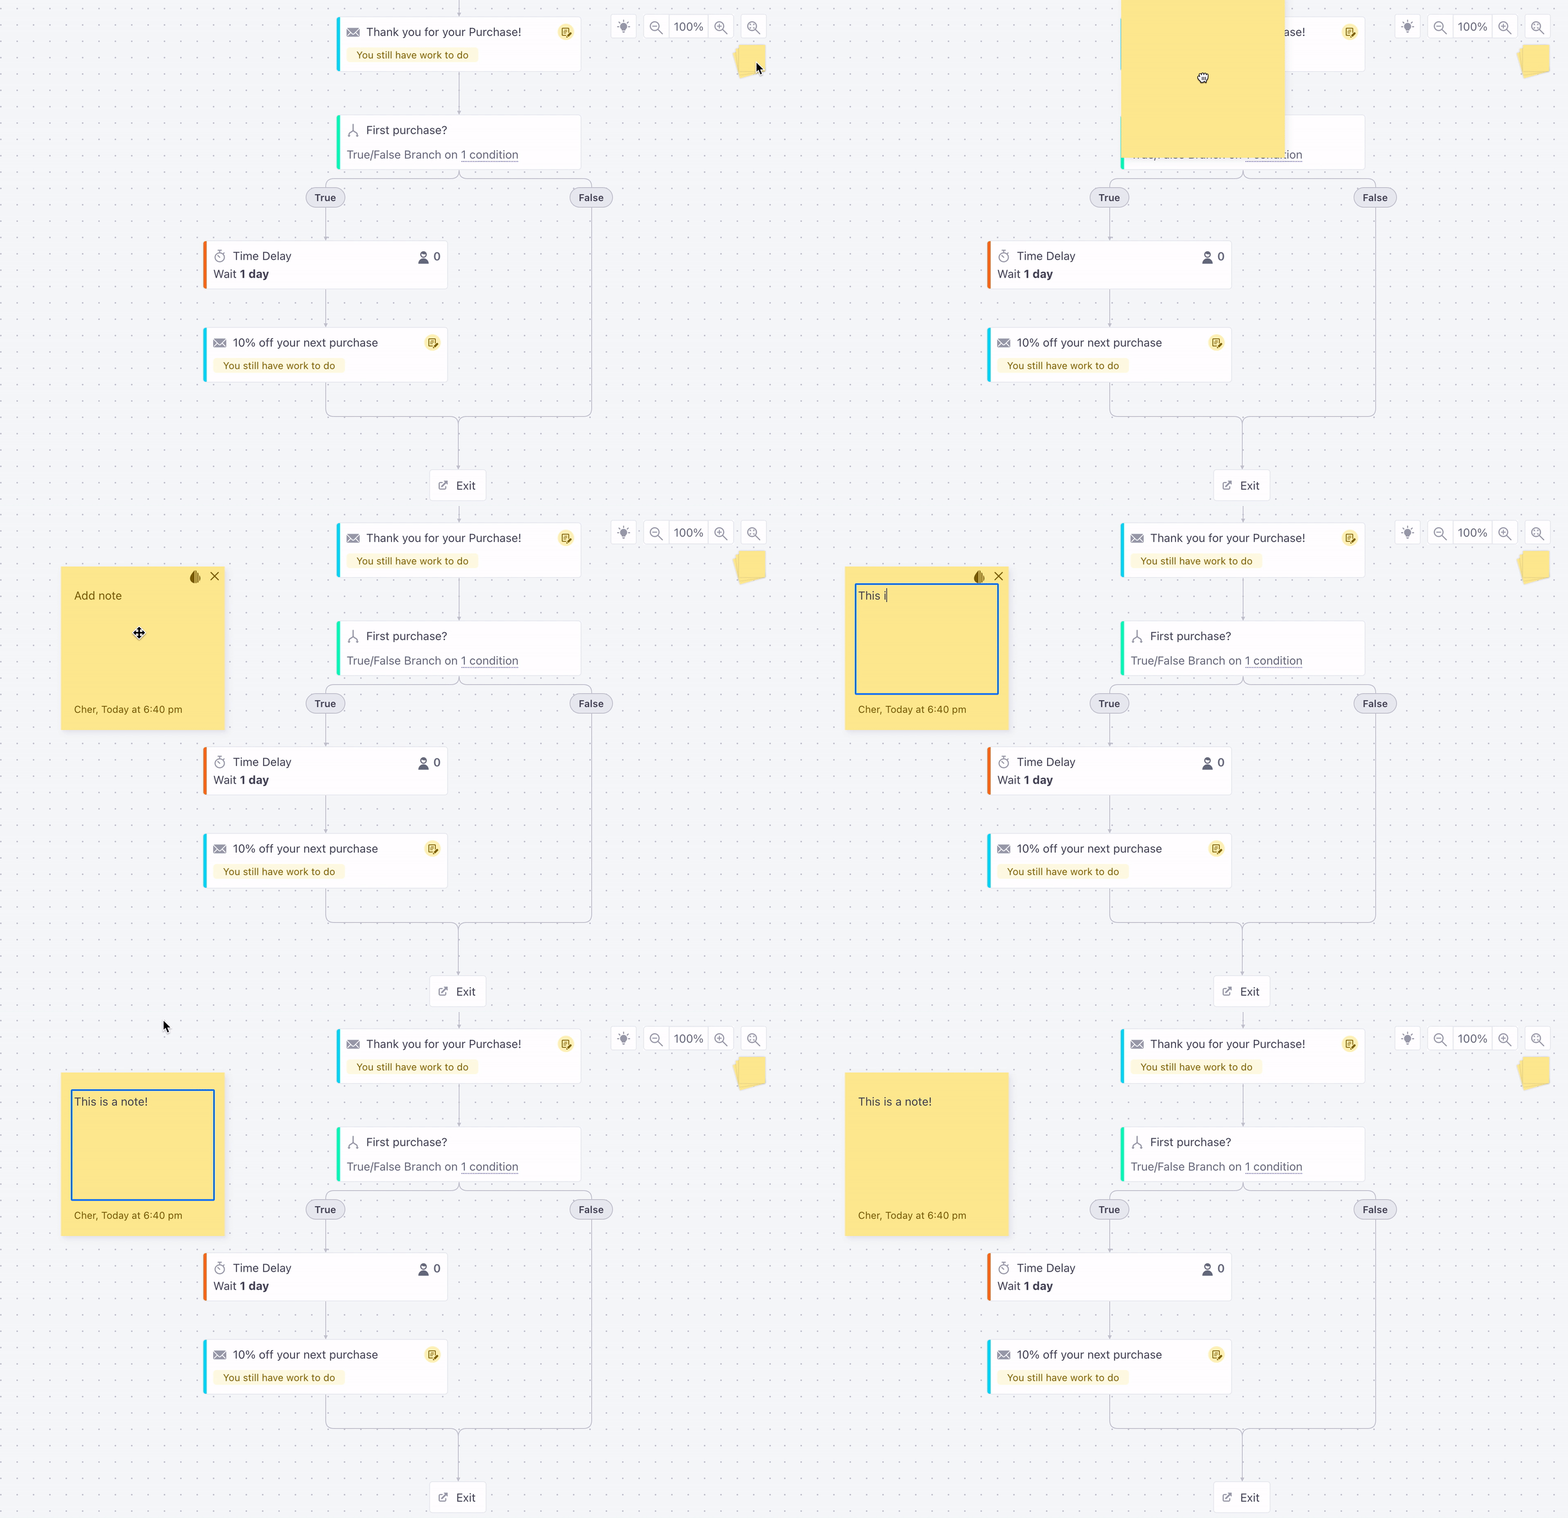
Sticky notes got even stickier! Now you can attach notes to actions in workflows. When you move things around your workflow, your notes move with them. This makes it easy to document automations and broadcasts for your fellow team members and ensures that your important notes don't get lost in the shuffle when you work on workflows.
To link sticky notes to workflow items: Click the icon on the note and drag it to the workflow item you want to attach it to.
Our AI Assistant and MCP server can now fetch detailed conditions for segments, automations, and templates, helping you better understand segment conditions and analyze automation performance.
You can ask our assistant about:
You can combine these things as well. For example, you might request information about an automation and then ask the assistant to analyze the emails in the automation for issues that might affect performance or deliverability.
If you send messages relating to healthcare in the United States, you may need to be HIPAA compliant. You can now send secure, HIPAA-compliant messages from Customer.io, safeguarding communications for your patients, members, and customers. Talk to your Customer.io representative about a or Business Associate Agreement (BAA) to get started.
Go to the docs →
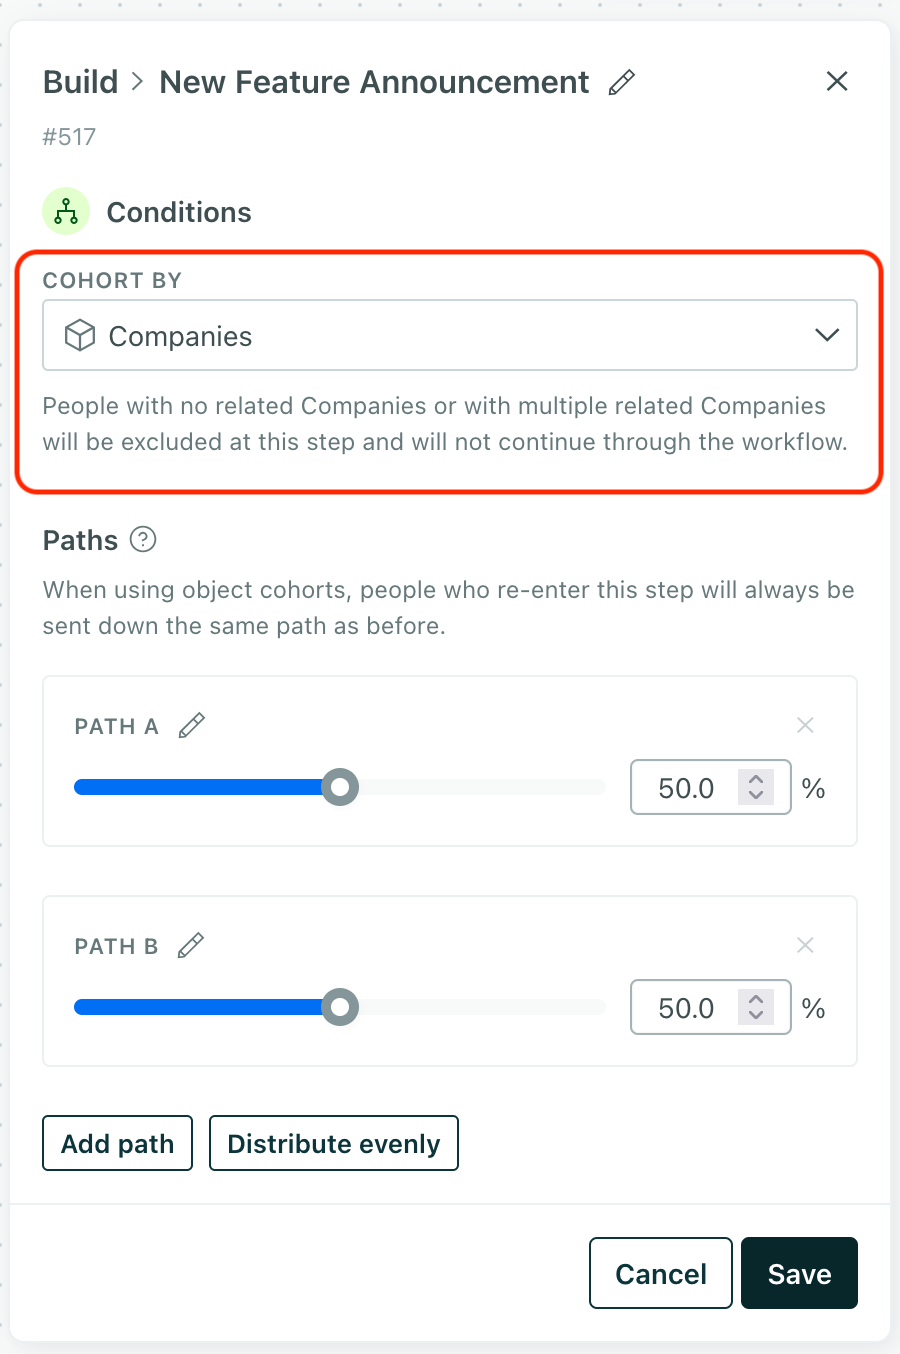
Our Random Cohort feature lets you test different messages or actions in an automation by randomly distributing people down different paths. But this could result in different experiences for people related to the same account, company, or other object, which might your audience. Now, you can use the Cohort by setting so everybody in the same account, company, or other group gets the same automation experience.
Go to the docs →
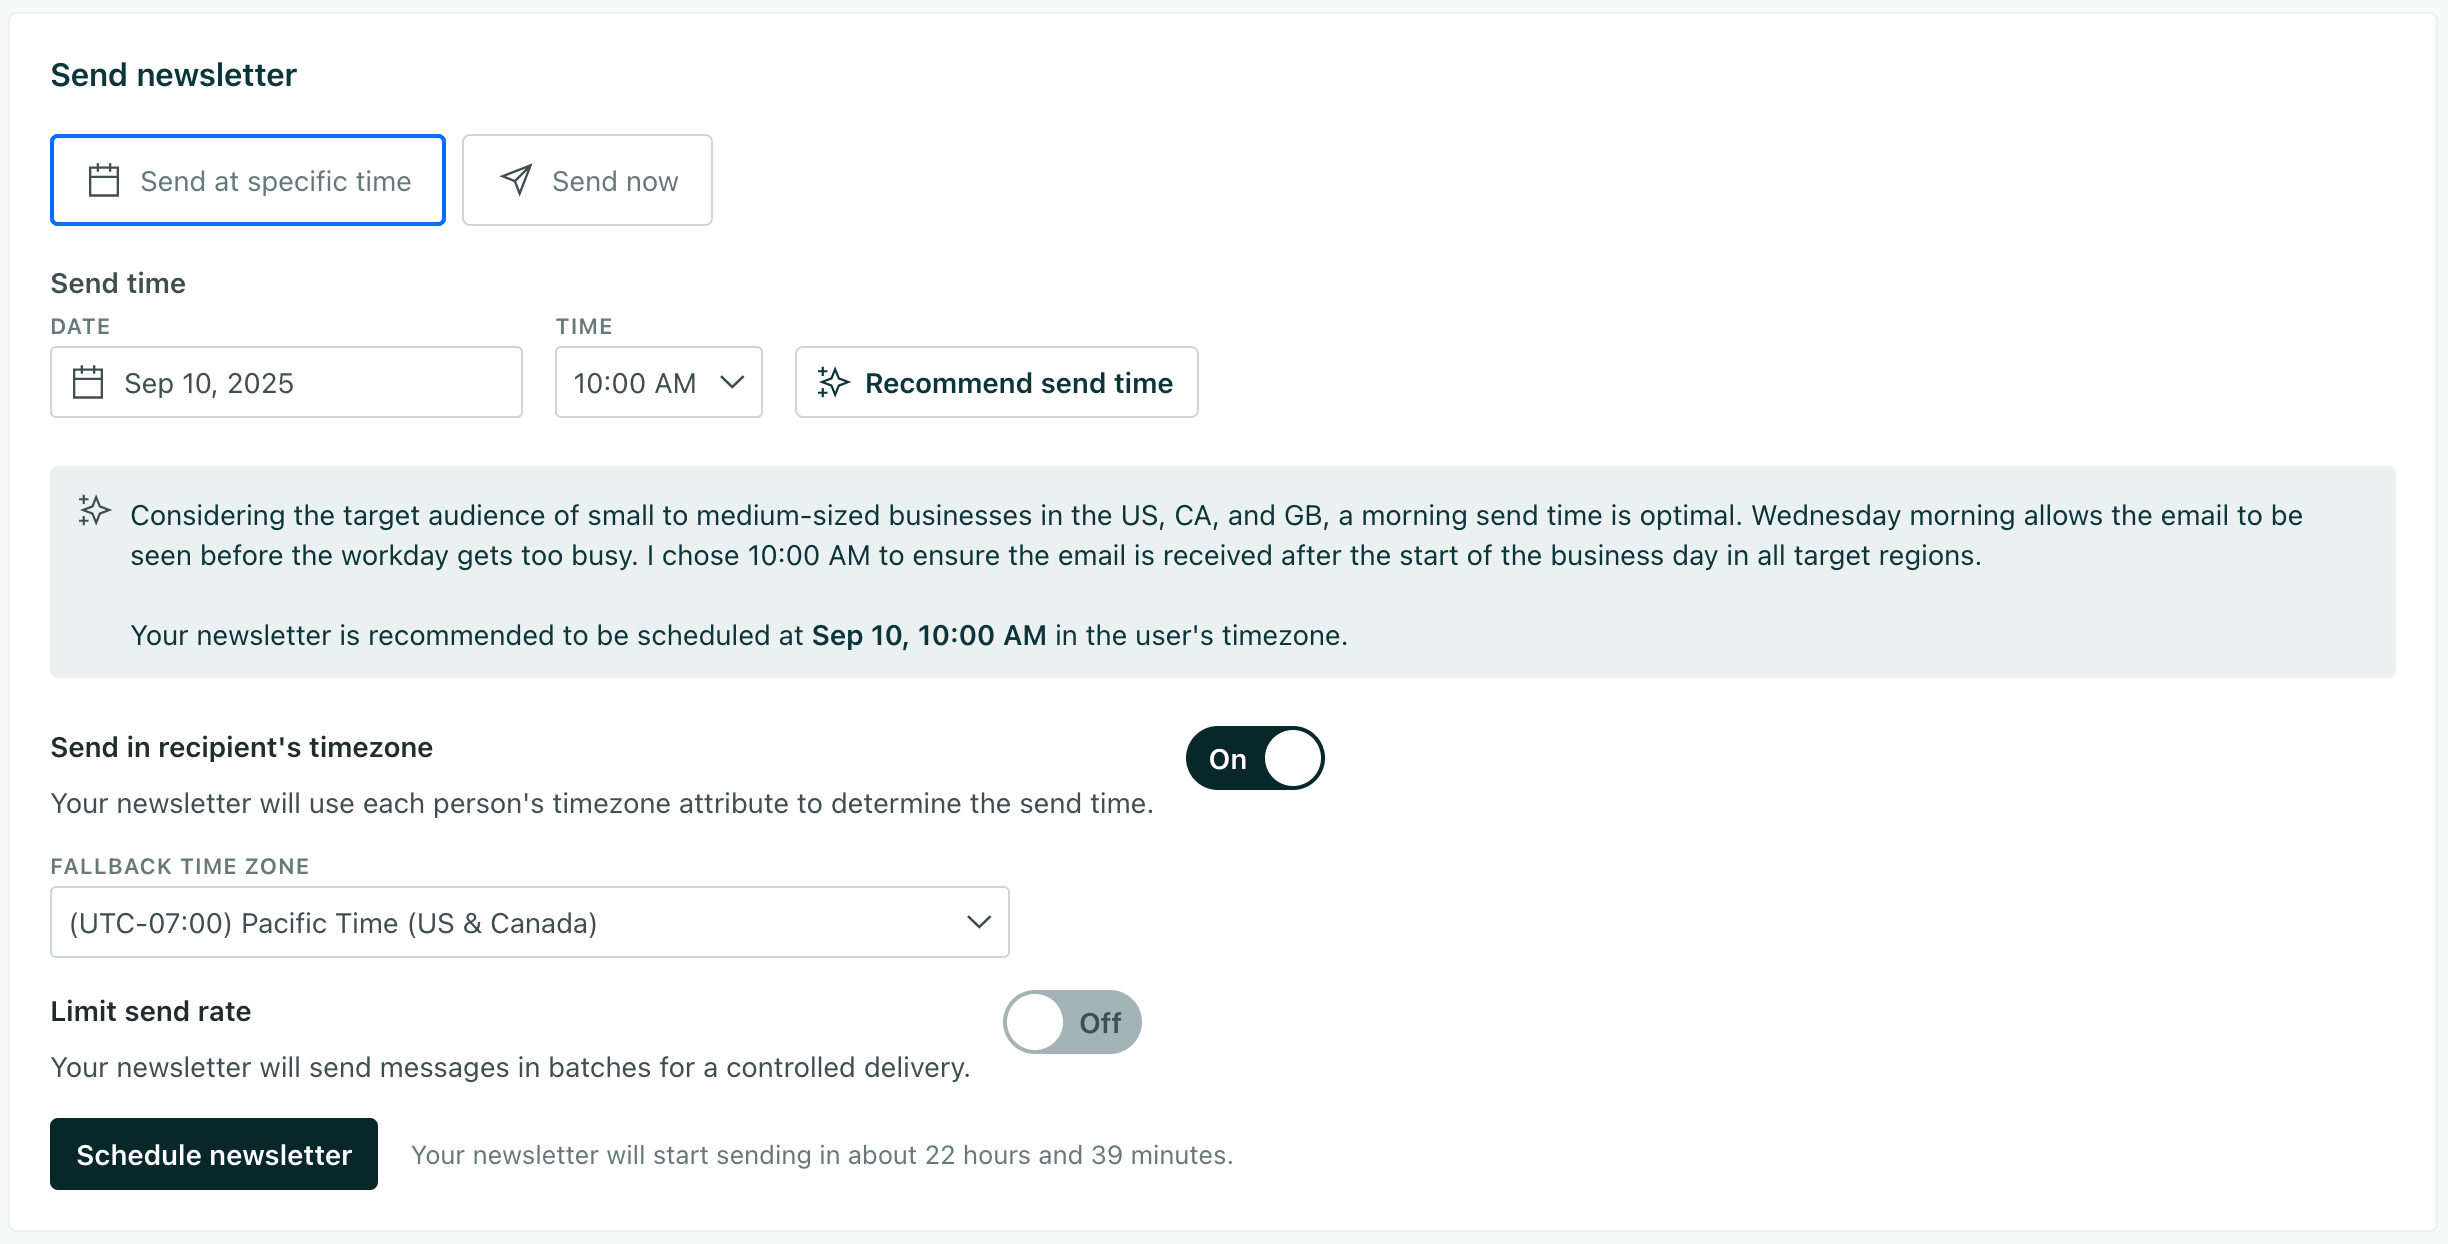
Our Recommended Send Time feature uses AI to help you schedule messages at the best times for your audience based on the content of your message and your audience's time zones. You can use our recommendations engage your audience at the right times.
This feature works great with our other new feature: Automatic Geolocation Data Collection. This helps you gather your audience’s time zone data, which you can use to produce better send time recommendations!
Our new Automatic Geolocation Data Collection feature captures geolocation and time zone data for people based on their IP addresses when you identify them. This data makes it easy to segment your audience by location and send messages at the right times for each member of your audience using our recommended send time feature and time zone match features.
Our JavaScript client and mobile SDKs automatically capture IP addresses for you, making geolocation easy.
If you use our backend libraries (like our Node.JS or Go SDKs) or our Pipelines API, you’ll need to:
context.ip field in your identify requests.This setting is on by default for workspaces in our US data center and off by default for workspaces in our EU data center. If you’re in the EU data center, you’ll need to enable it under Workspace Settings > Time Zone & Geolocation Settings.
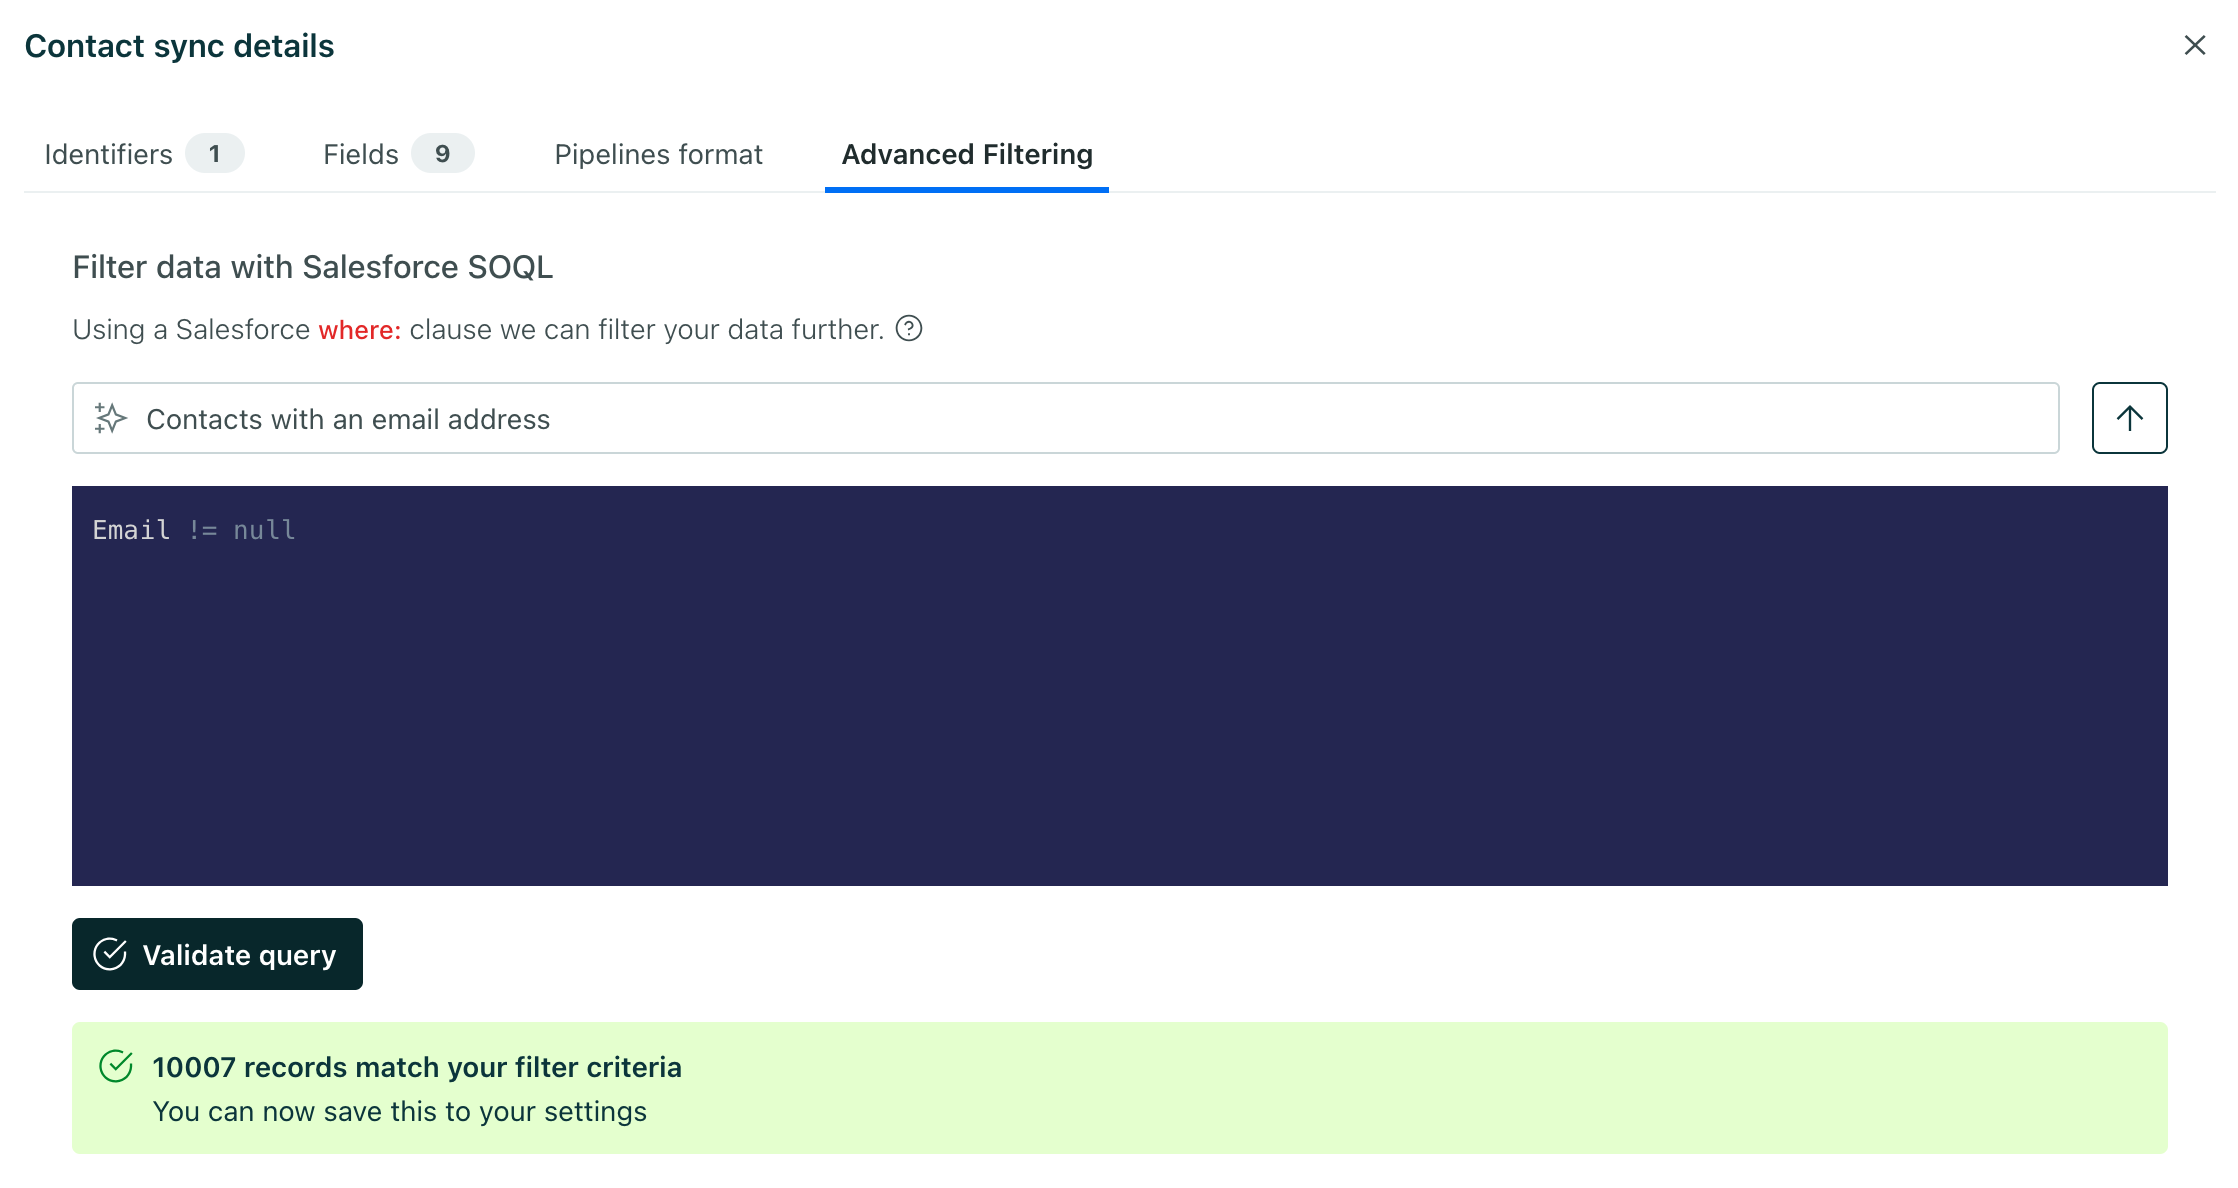
You can now filter incoming Salesforce data to only bring in the data you need to use in Customer.io. In the past, if you didn't want to use all of your Salesforce contacts, accounts, and other data types in Customer.io, you had to bring all of that data into Customer.io and clean it up later. This helps you avoid sending unnecessary data into Customer.io so you can focus on the data you really want to use.
While Salesforce filters typically require a SQL syntax, we’ve included a handy AI box, where you can describe the data you want to bring into Customer.io and we’ll generate a filter for you.
The Assistant can parse information in your images and answer questions about them. This can help you get more useful responses over the course of your conversation.
Here are some examples of how you could use this feature:
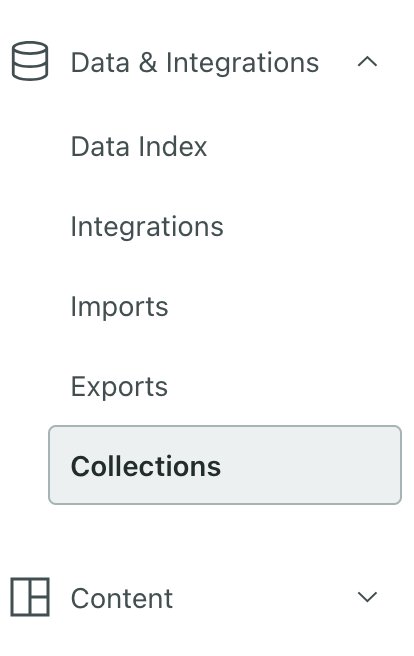
If you use collections, you're probably used to finding them in the Content menu. We've moved them—under Configure data, click More > Collections. They're much more like data you use programmatically than your typical message content, layouts, image assets, and so on. Don't worry: we haven't changed anything besides moving Collections to a friendlier location in our menu.
If you haven’t used collections before, now’s a great time to start! Collections let you store data that you want to use in automations but isn’t necessarily associated with people or objects An object is a non-person entity that you can associate with one or more people—like a company, account, or online course.
Historically you've had to identify someone in your app before you could send them messages—they had to log in or provide their email address. But now you can send in-app messages to anonymous users in your app, and provide offers that entice users to sign up or sign in.
You can even use inline content to populate your app for users who haven’t signed up or logged in. This helps you show default content to people who use your app but aren’t identified yet.
Update to one of the following versions of our SDKs to get started. You don’t have to make any changes to your app code—just update the SDK.
| SDK | Minimum required version for anonymous in-app messages |
|---|---|
| iOS | 3.14 |
| Android | 4.12 |
| React Native | 4.11 |
| Flutter | 2.9 |
| Expo | 2.8 |
We've upgraded the Assistant so it can answer high-level questions about your automation and broadcast metrics! You can also retrieve metrics through our MCP server.
Ask it questions like “Which automation had the lowest deliverability this month?” or “What’s the average click-to-open rate for my automations?” and it will search our docs and your workspace to give you a relevant answer.
Click at the top of your workspace to get started!
In the past, if you wanted to securely track links, you had to set up your own SSL certificate and proxy through a service like Cloudflare or tool like NGINX. Now, we'll do all of that for you, making it easy to set up link tracking just like you'd set up an email sending domain.
Go to the docs →
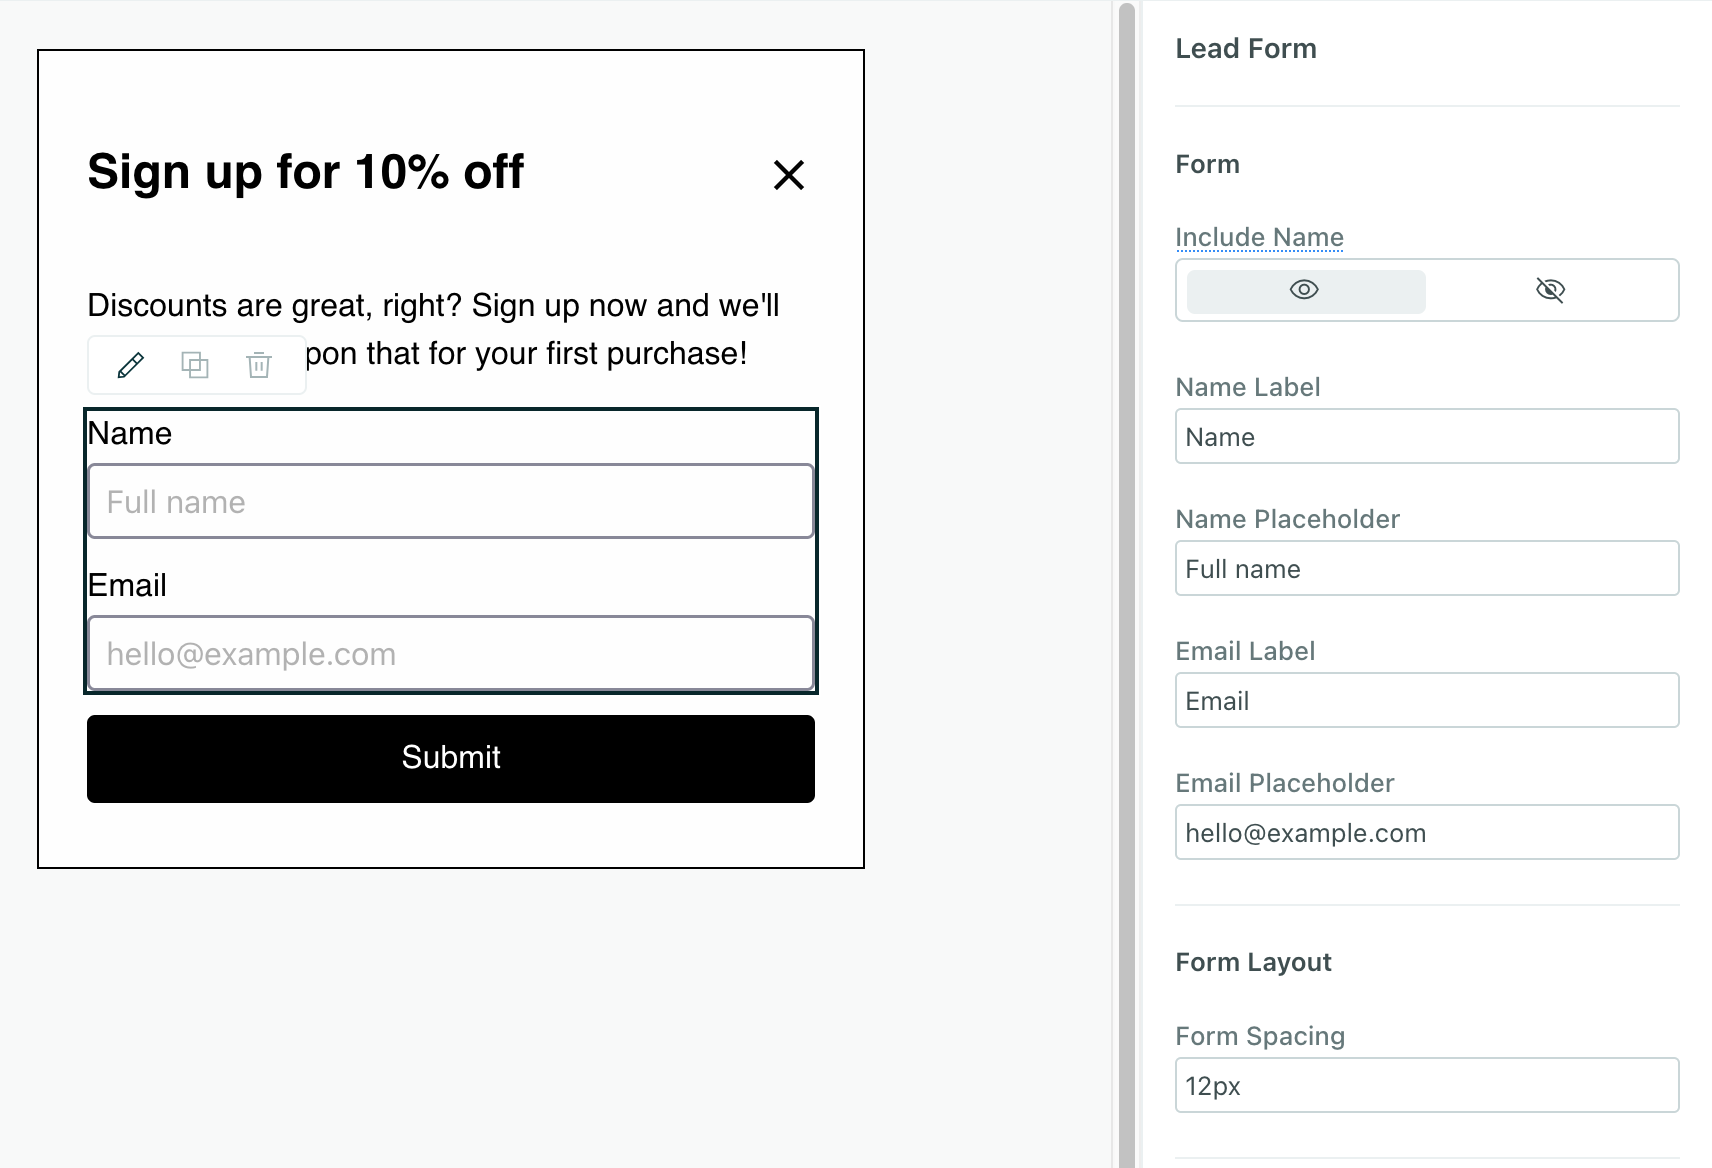
We've added a drag-and-drop Lead Form component for anonymous messages so you can collect names and emails of anonymous visitors and convert them into identified users.
This is our first release of a component that captures form data like this, but we’re working to expand support for more complex surveys and forms in the future.
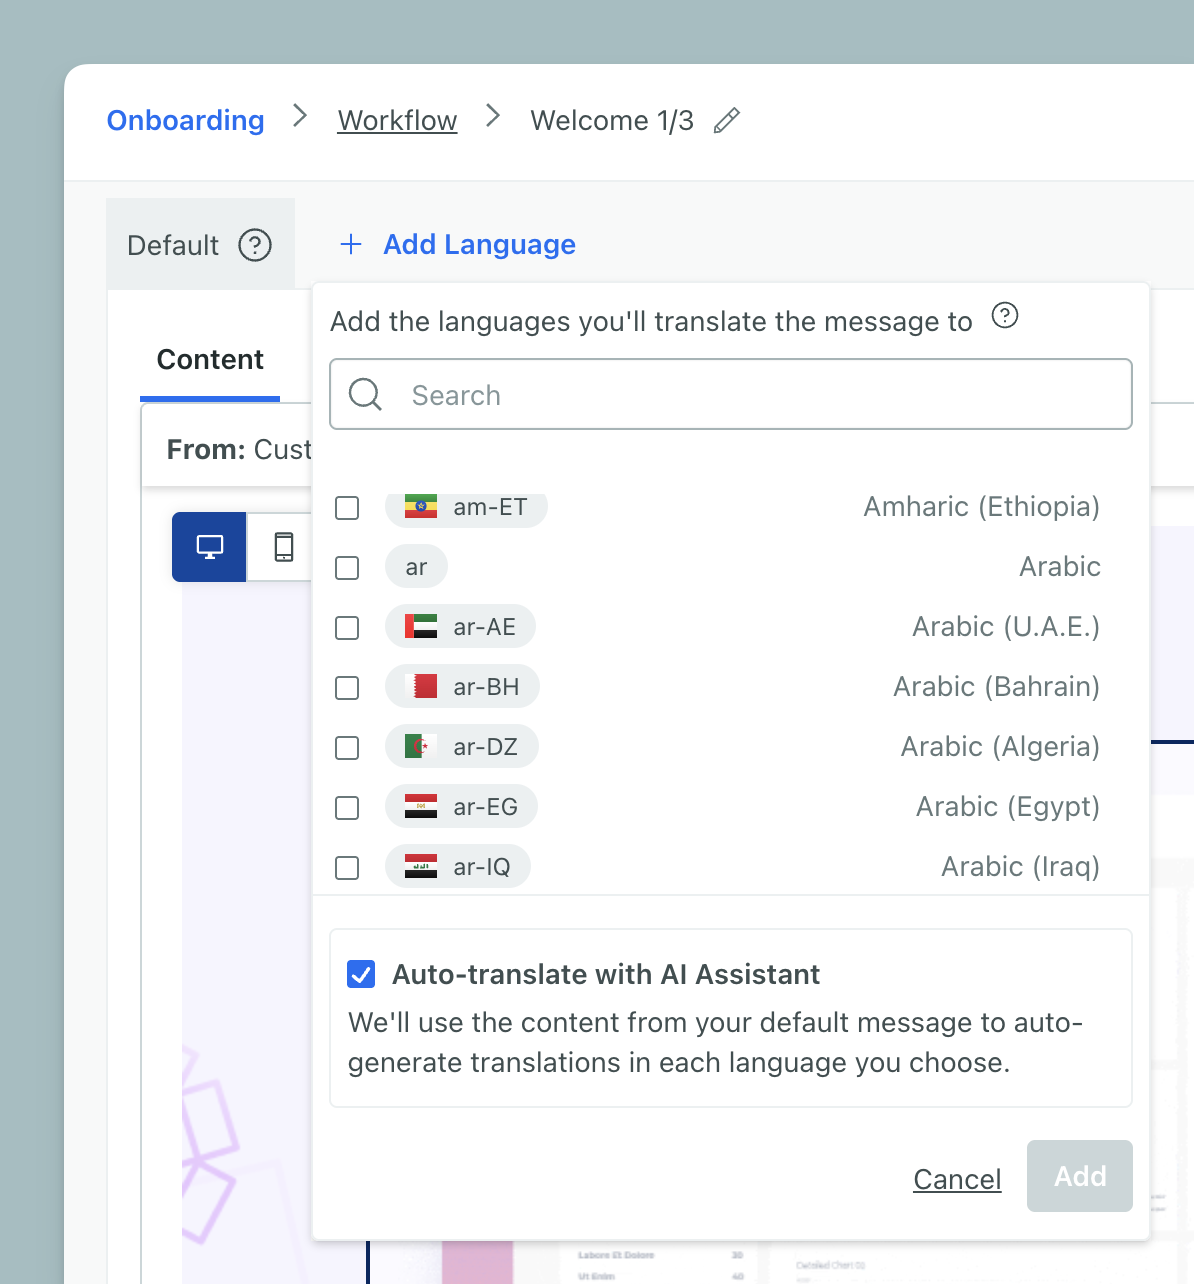
Translate messages across channels by leveraging AI. We automatically translate your message with AI unless you clear the Auto-translate option when selecting locales. Remember that AI can make mistakes; make sure someone who knows the language reviews the translation.
You can auto-translate across all message channels, but it’s not yet available for emails made in Design Studio.
Not seeing this option? Check that Customer.io AI is enabled in AI settings.
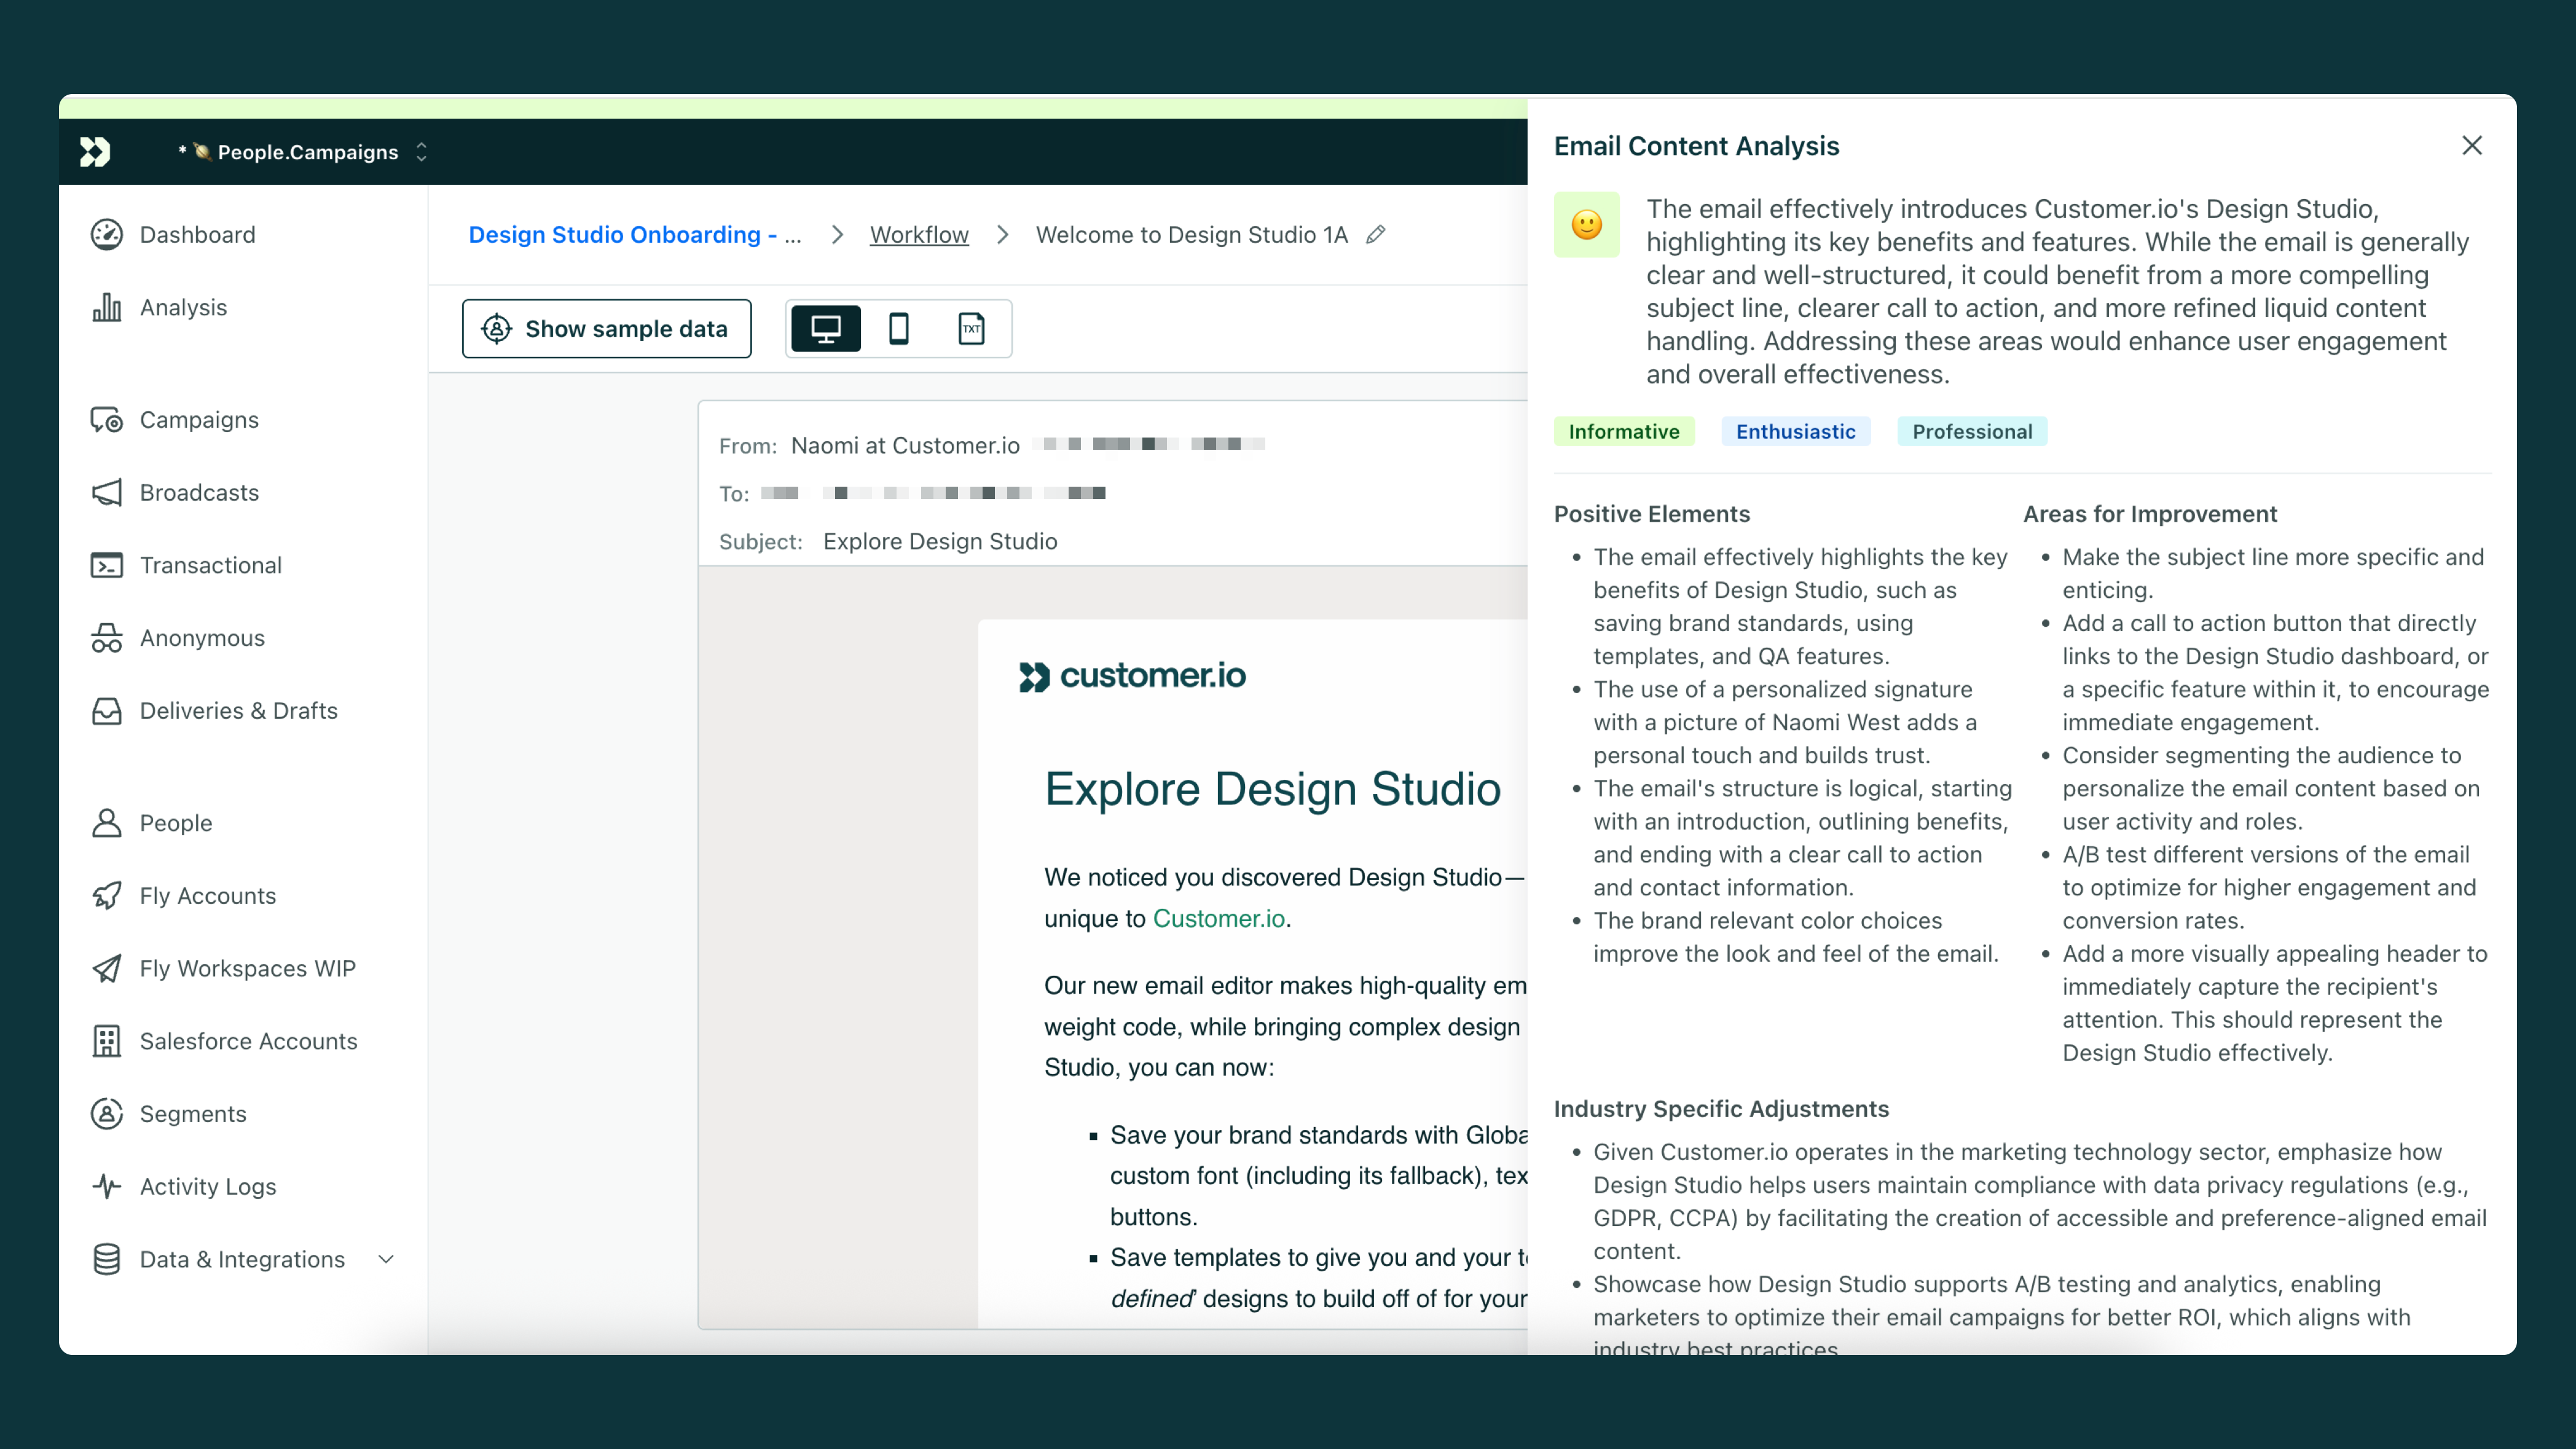
Analyze your content to help you catch typos, improve tone, and strengthen your message before sending. While editing an email in an automation, broadcast, or transactional message, click Analyze email content for feedback.
Go to the docs →
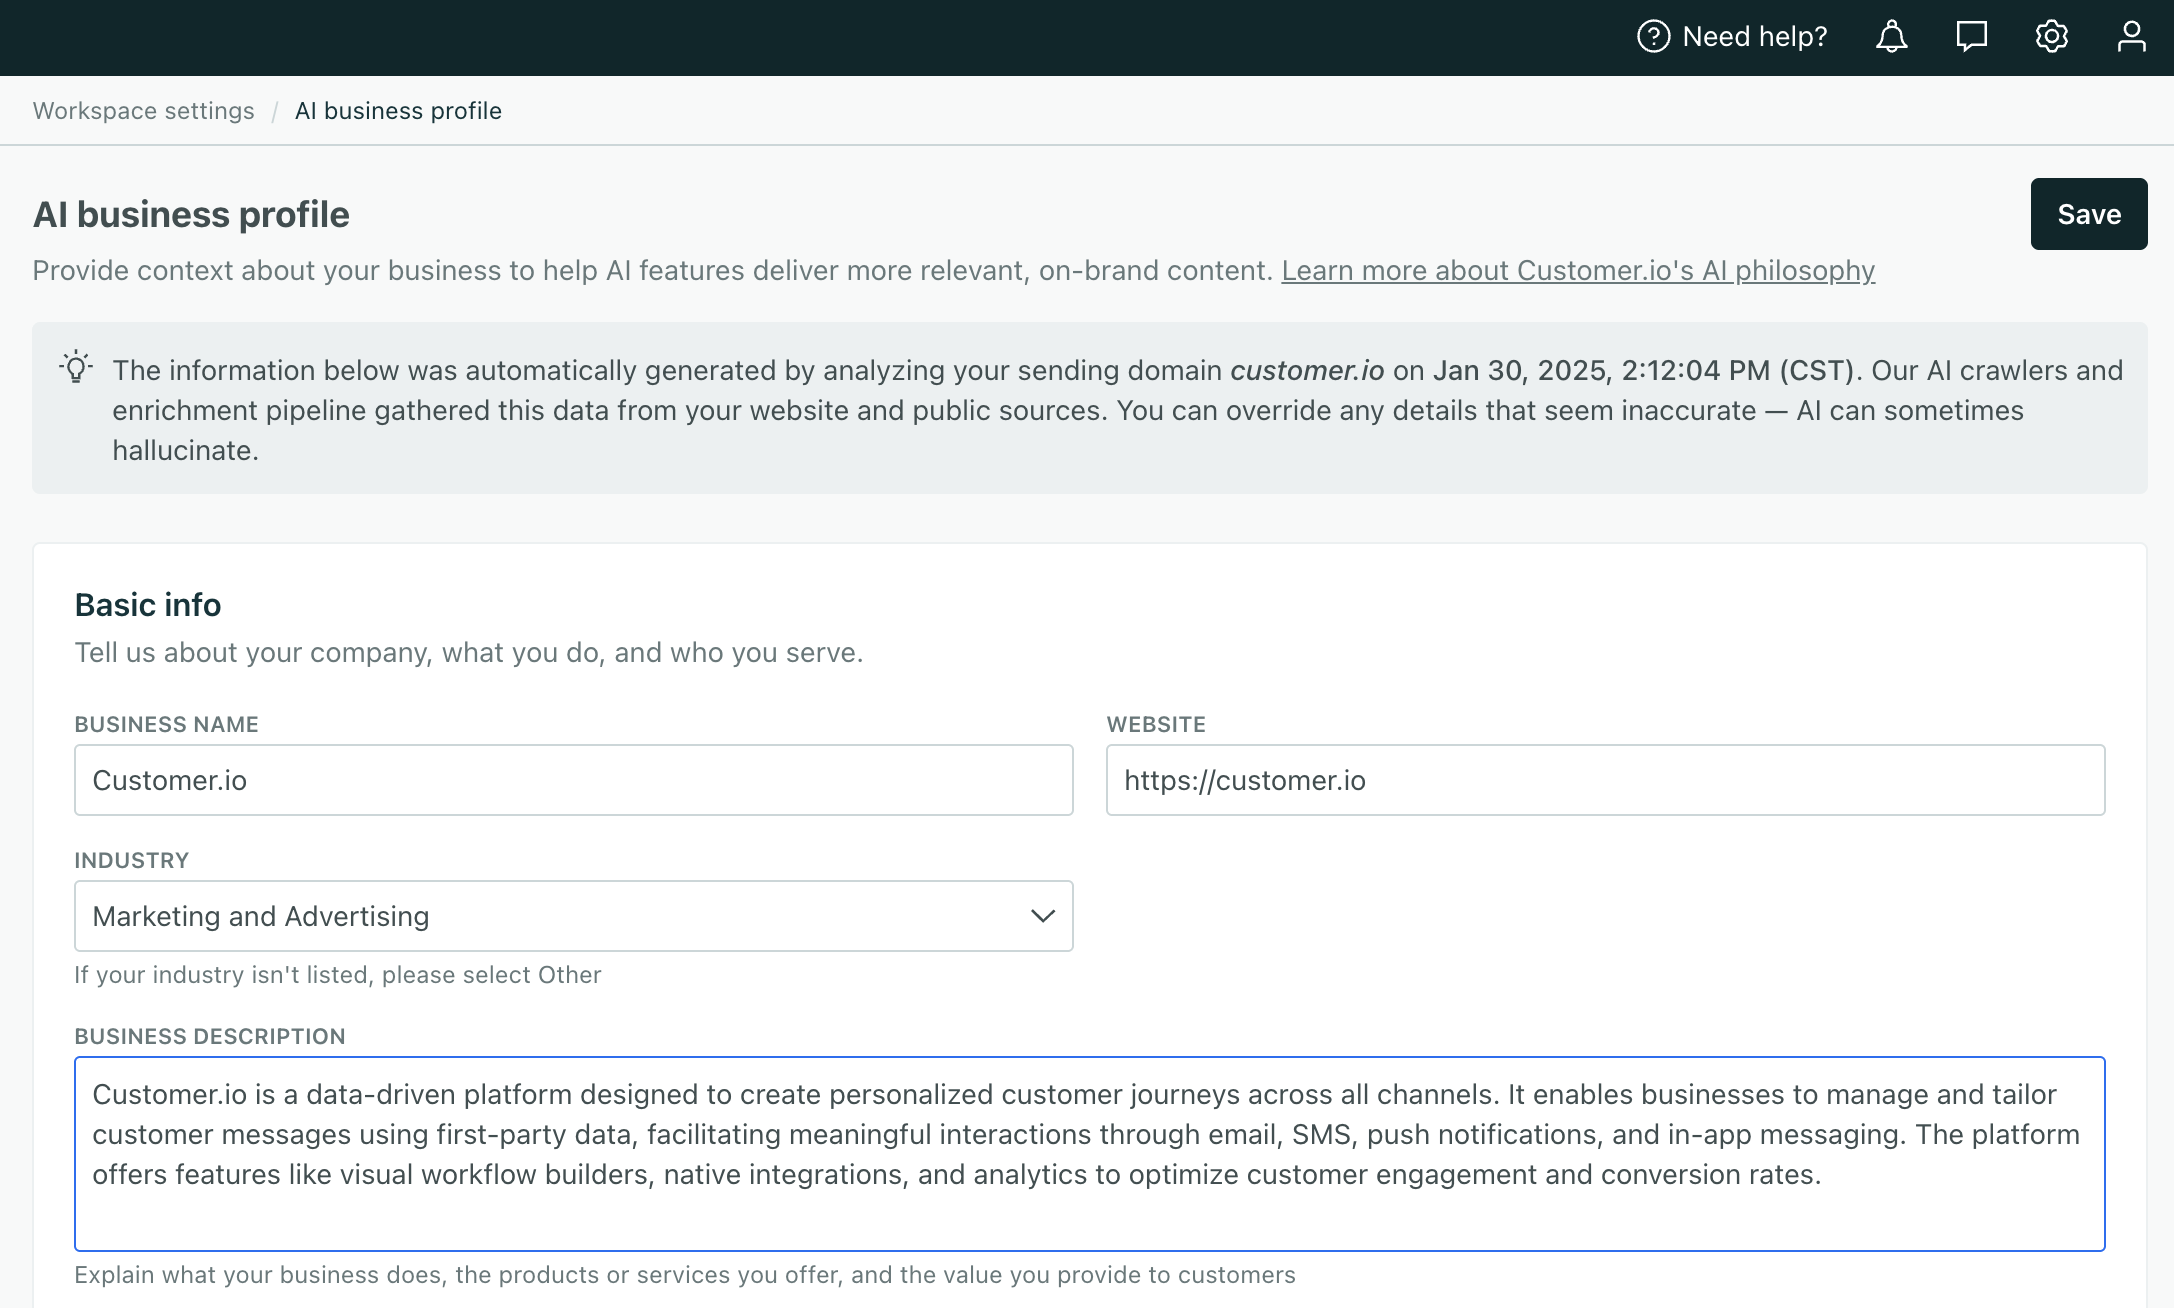
Providing context to our AI tools generates better results. By reviewing and updating the business context we auto-generate from your domain, you can ensure you're getting the most out of Customer.io. Go to Workspace settings > AI business context to get started!
Go to the docs →
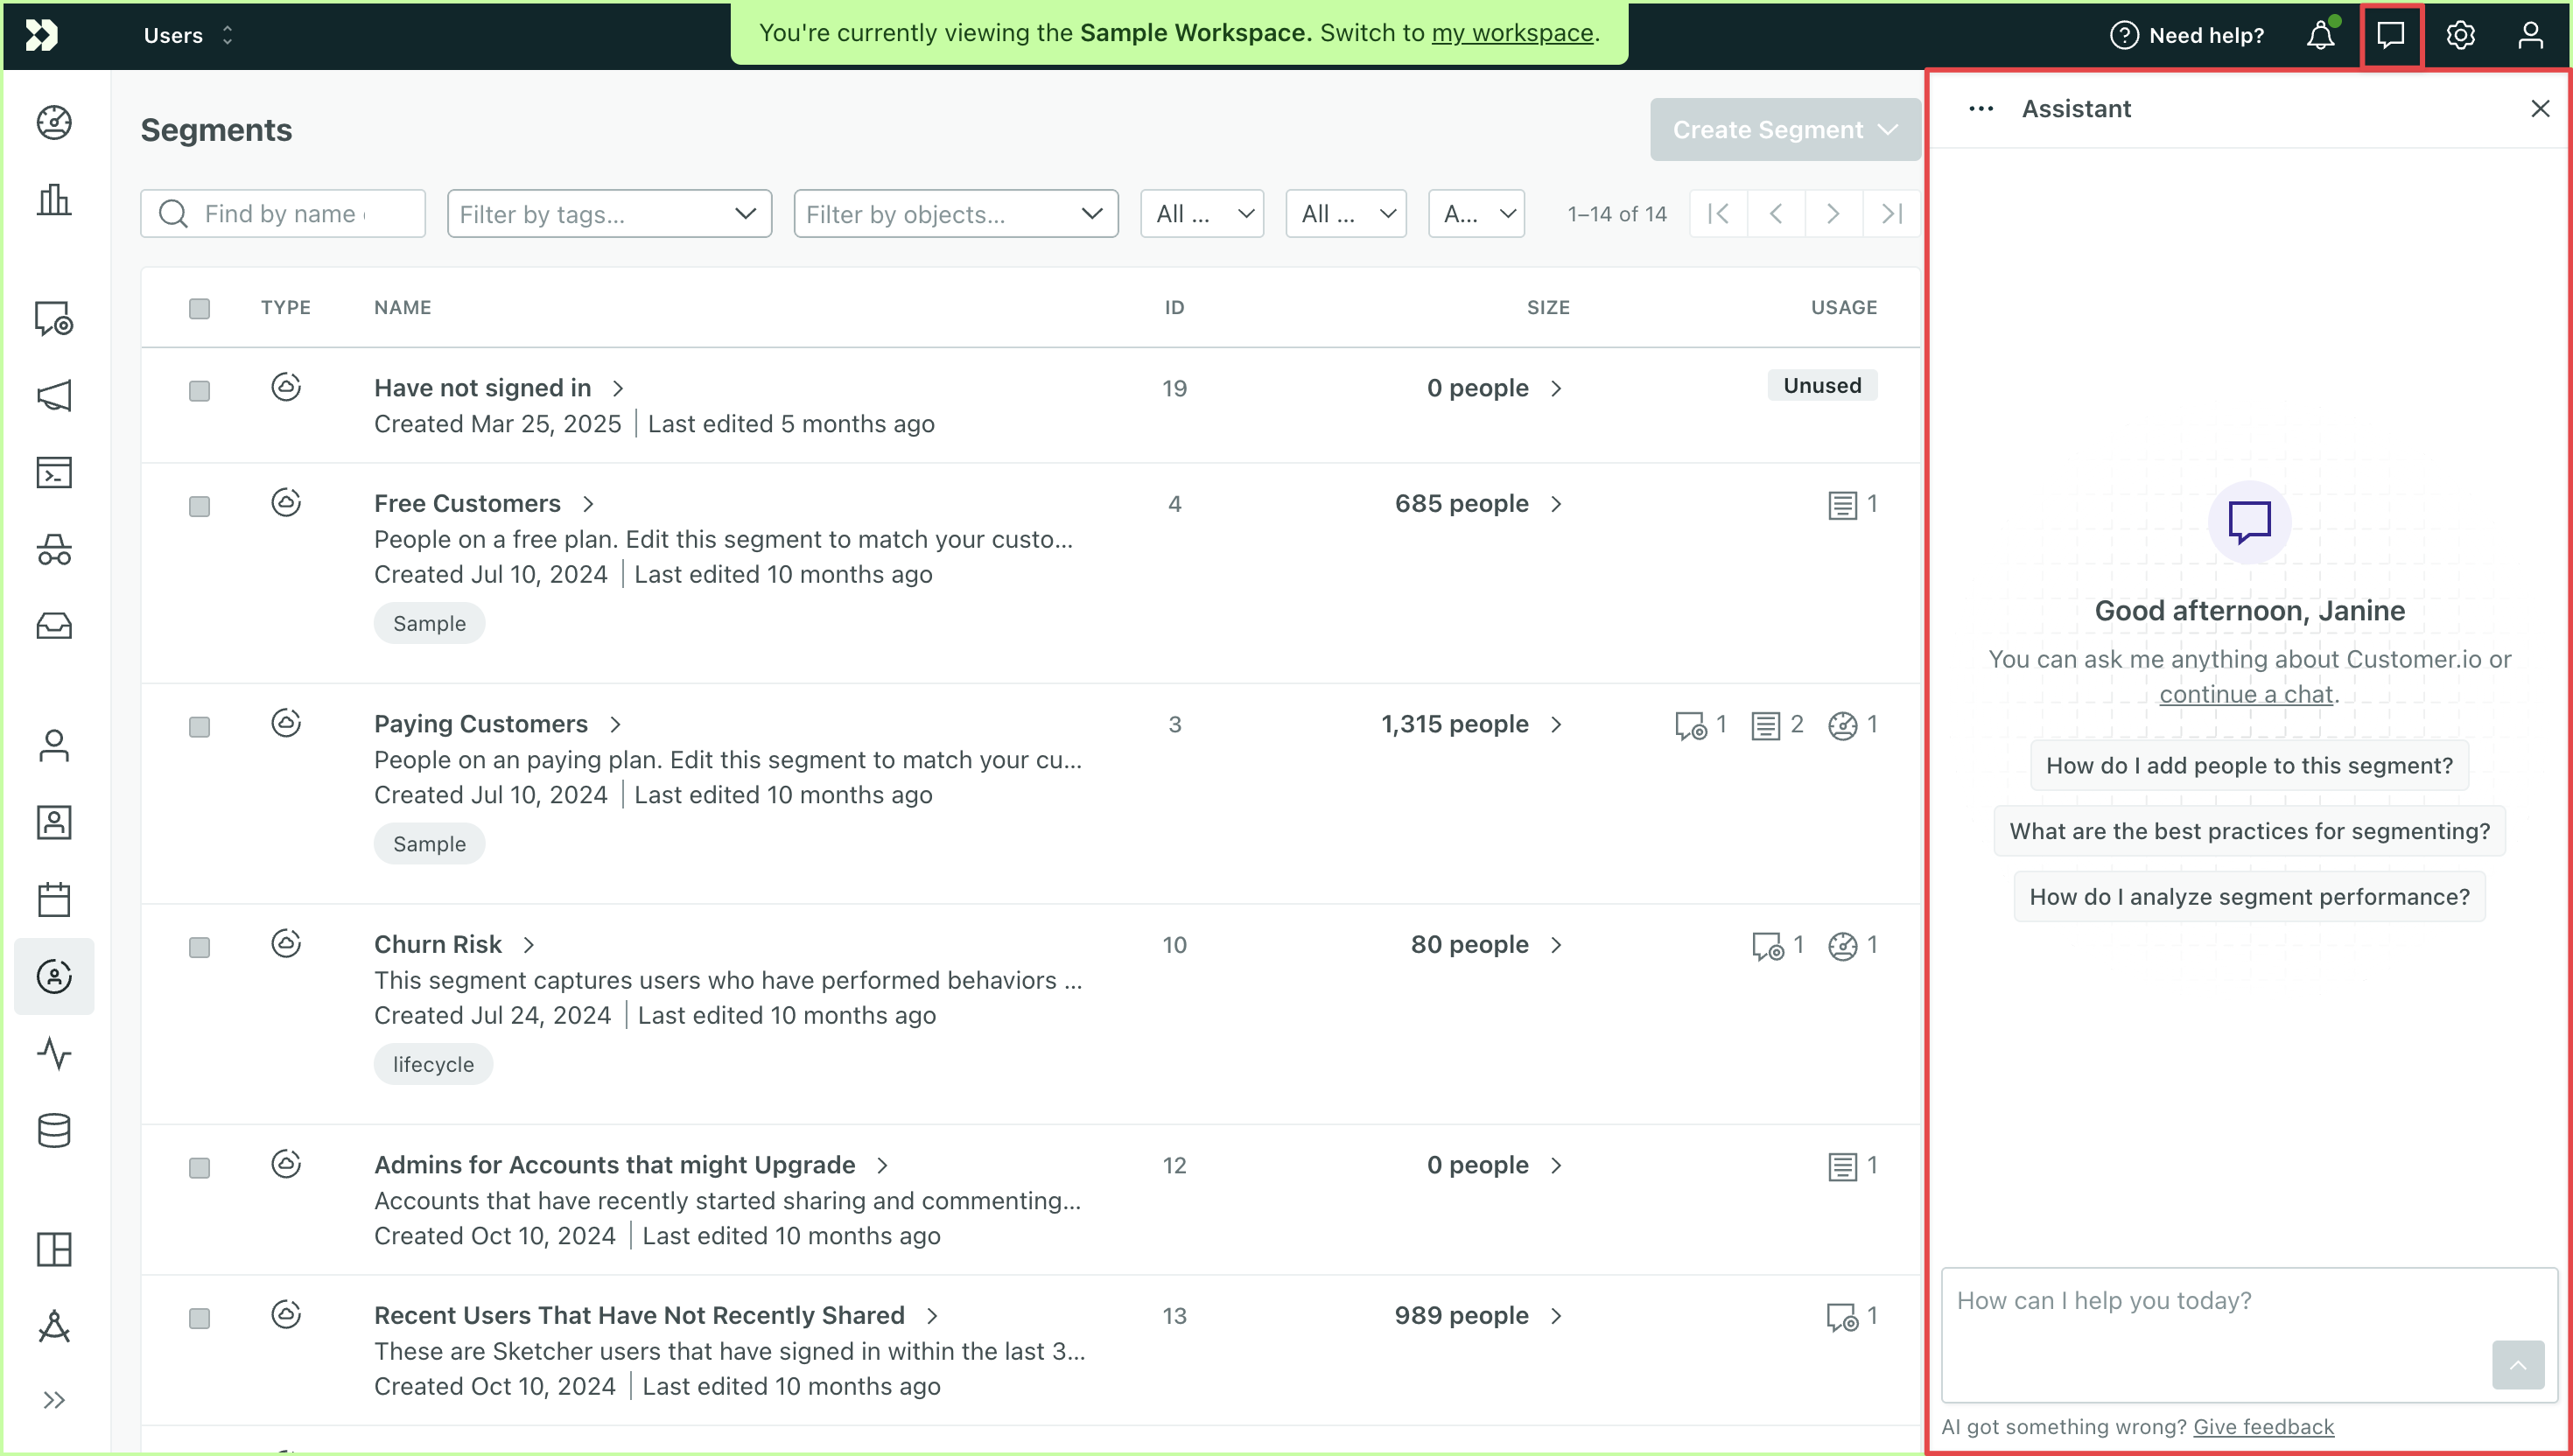
Ask the Assistant questions to learn about the platform and your workspace data.
You can also create segments from the Assistant. Describe your criteria, and it will build a segment you can use to trigger automations or group members of your audience.
At the top of your workspace, click the message bubble to get started. Make sure Customer.io AI is enabled in AI settings to access the full experience!
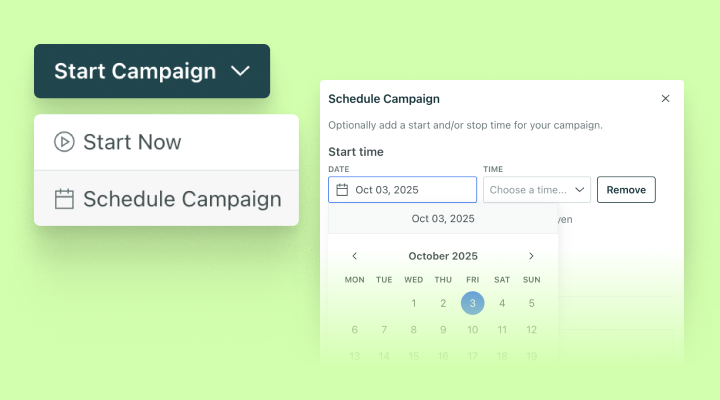
You can now schedule automations which eliminates the need for manual automation activation and gives you the flexibility to plan and execute time-bound marketing initiatives, like limited-time offers or seasonal automations.
Any automation with a scheduled start or stop time will show a label “Scheduled” alongside the status (Draft, Running, or Stopped).
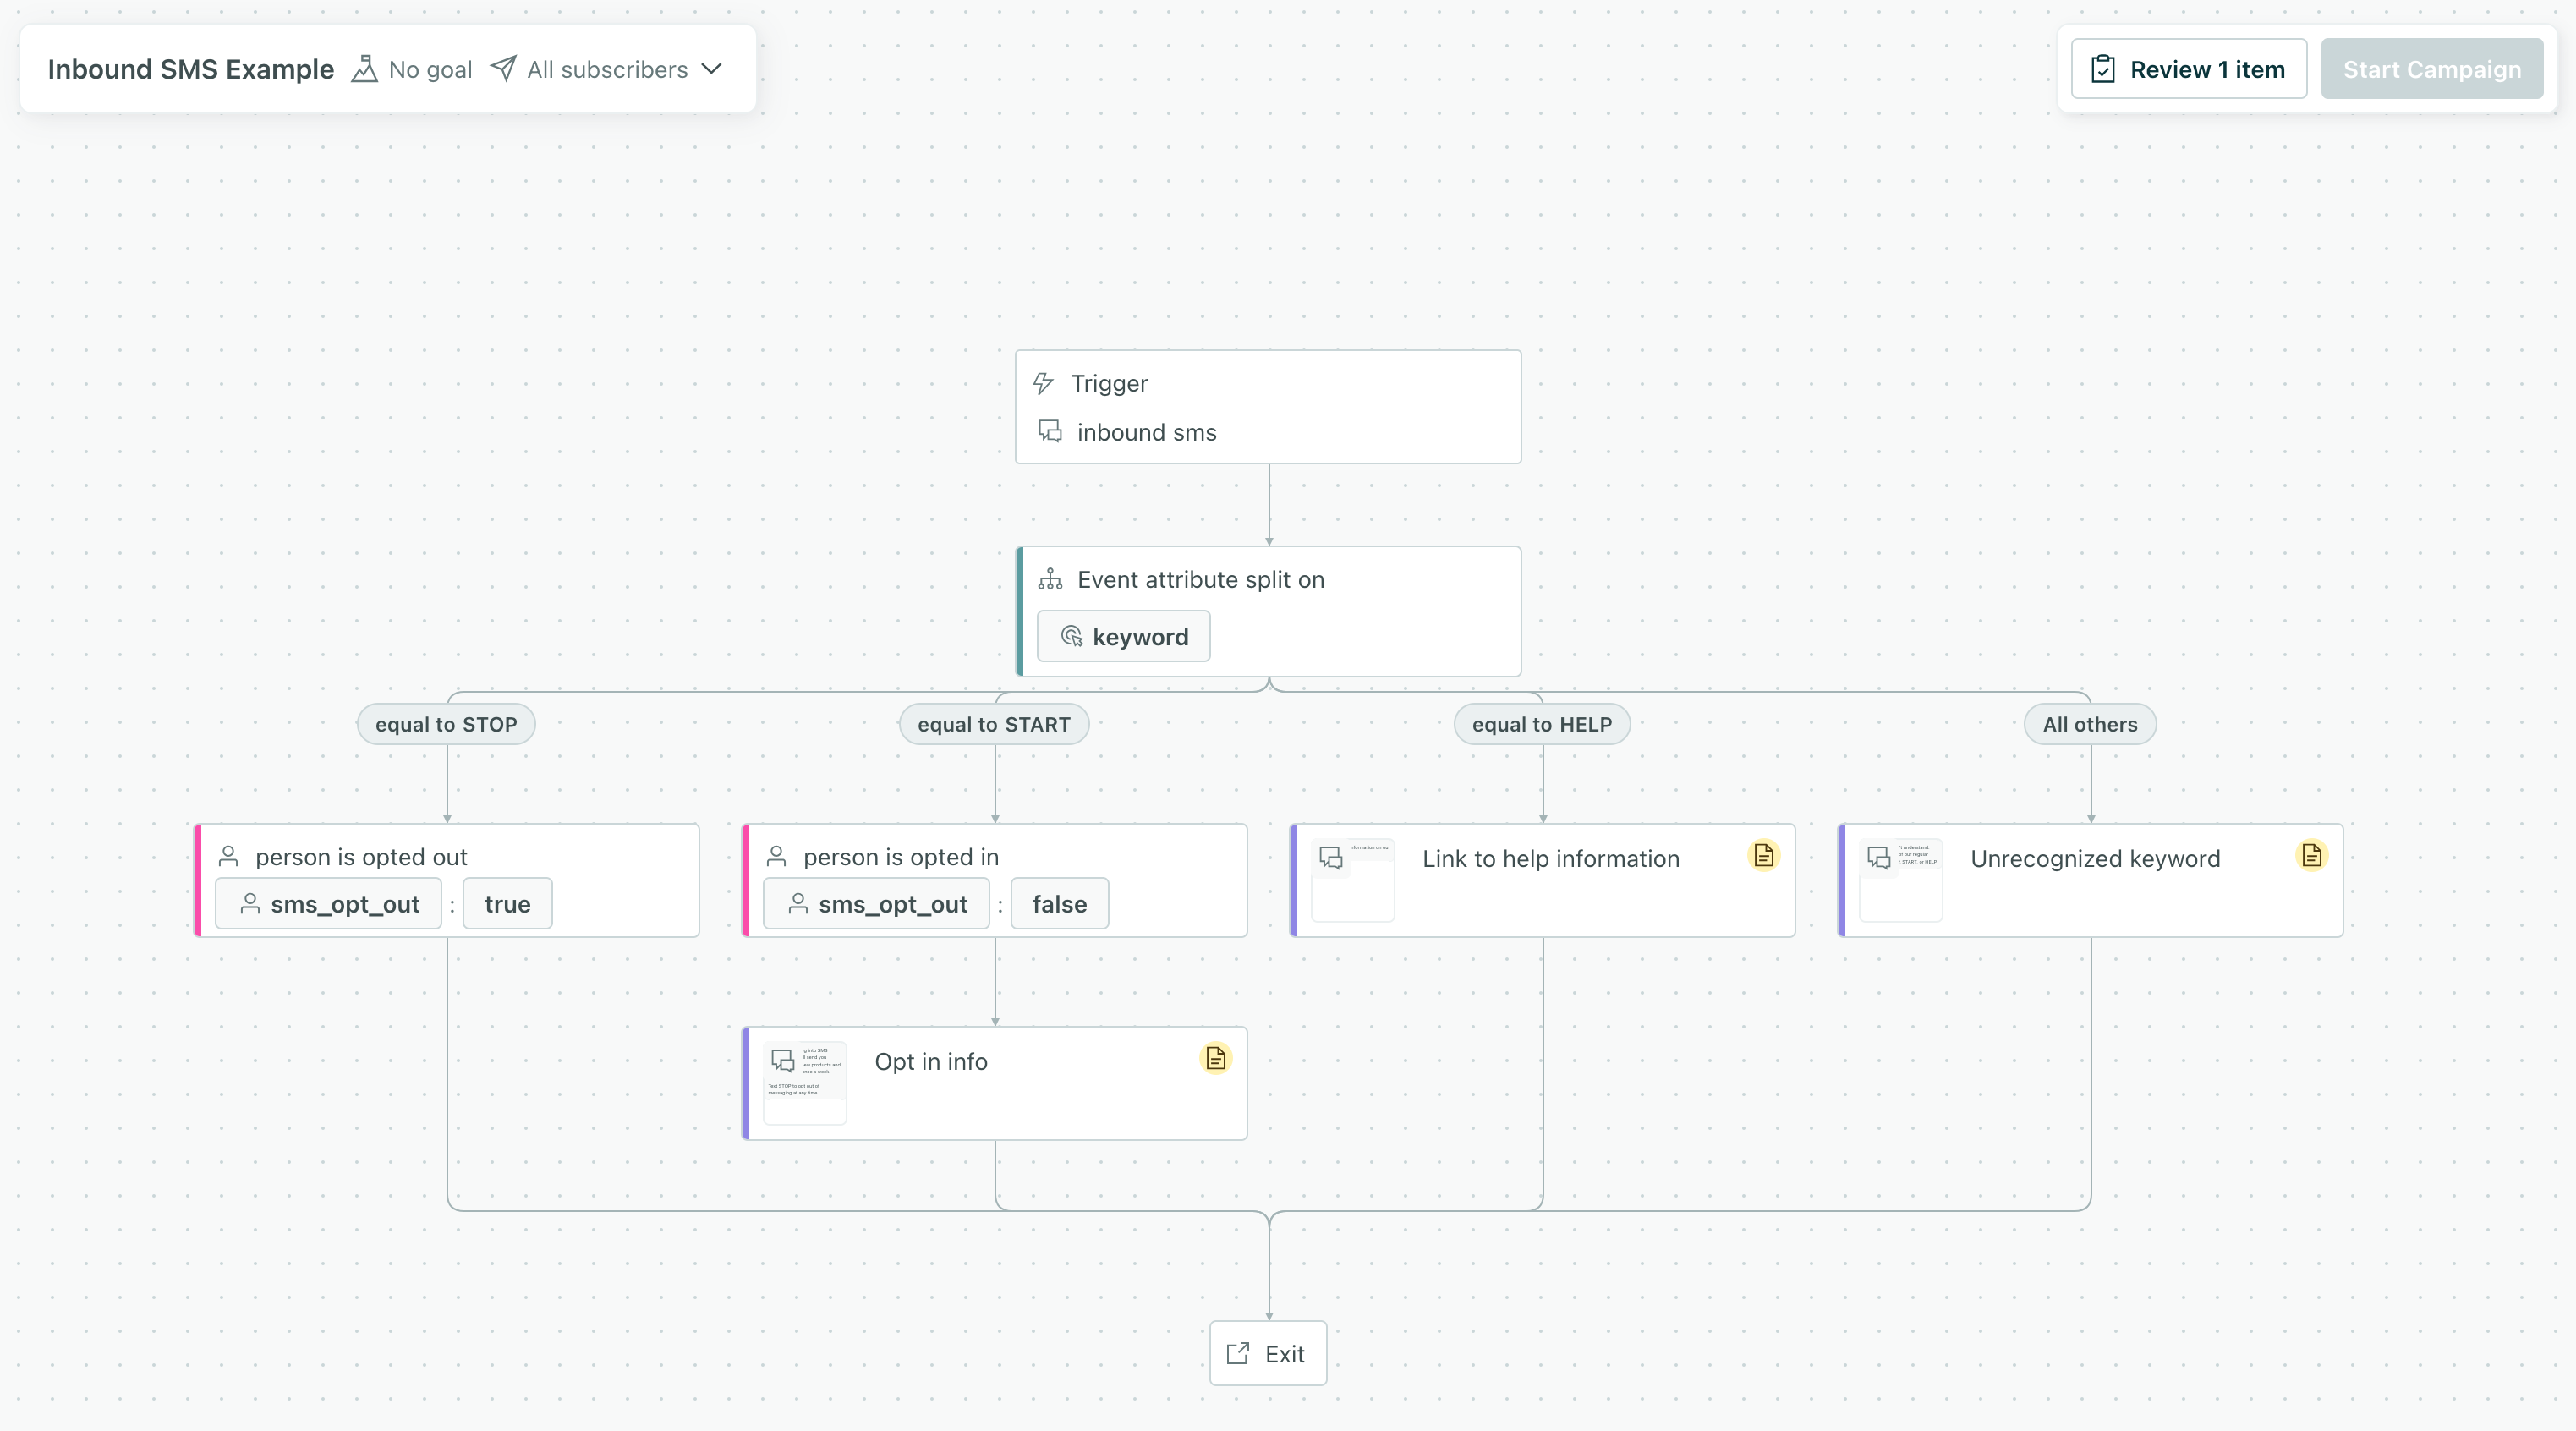
Text messaging is a truly bi-directional channel. Often times you want your audience to reply to, and engage with, your messages using a keyword. Now you can handle these replies in Customer.io.
With this release, you can automatically handle opt-out keywords like STOP and UNSUBSCRIBE without setting up a complicated webhook-based workflow. Now we handle these for you.
You can also use SMS replies from your audience as automation triggers. Now when people respond to messages, you can add them to segments, send them follow-up messages and so on.
You can now schedule broadcasts to send in users' timezones AND apply a rate limit. This helps ensure the best deliverability for your messages. Keep in mind, this could lead to some users receiving your message after the scheduled time.
Go to the docs →
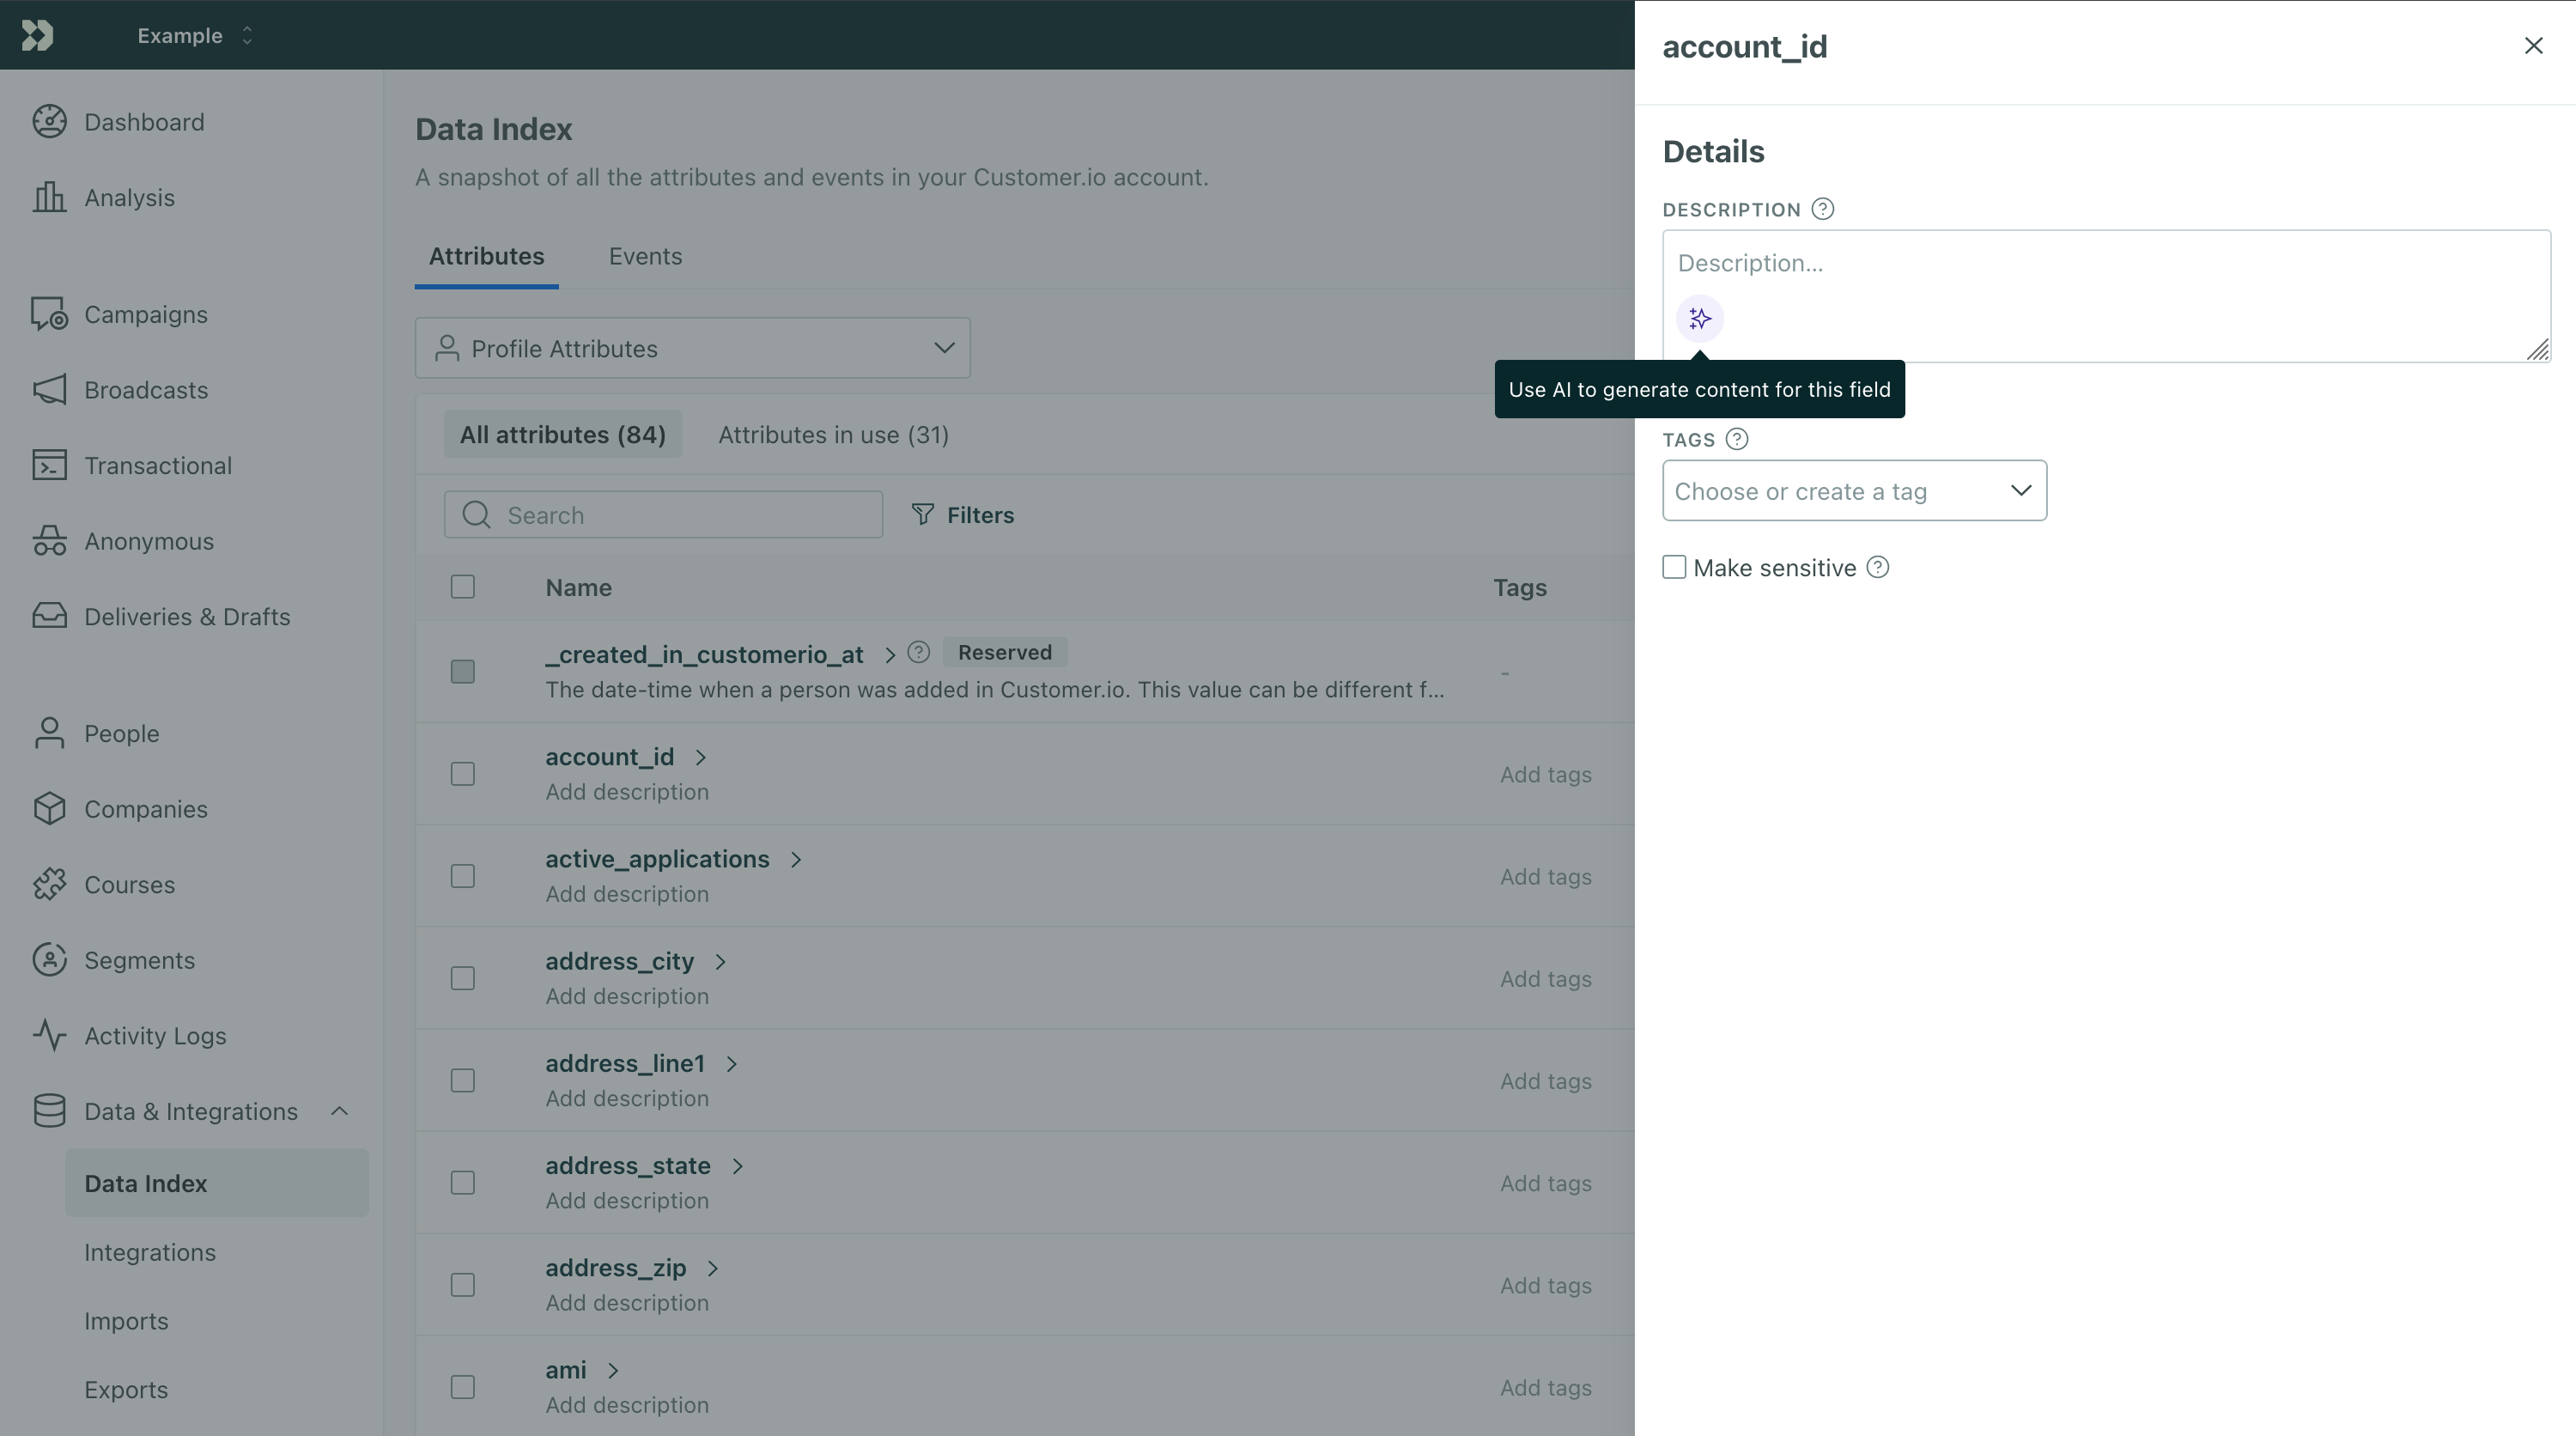
Our AI features often rely on the descriptions you provide for your data. These descriptions tell us about your attributes and events so we make accurate suggestions for things like segments. But describing all your data can be a lot of work. Now you can use AI to generate descriptions for your data!
Go to your Data Index, select an attribute or event, and click in the description field to generate a description.
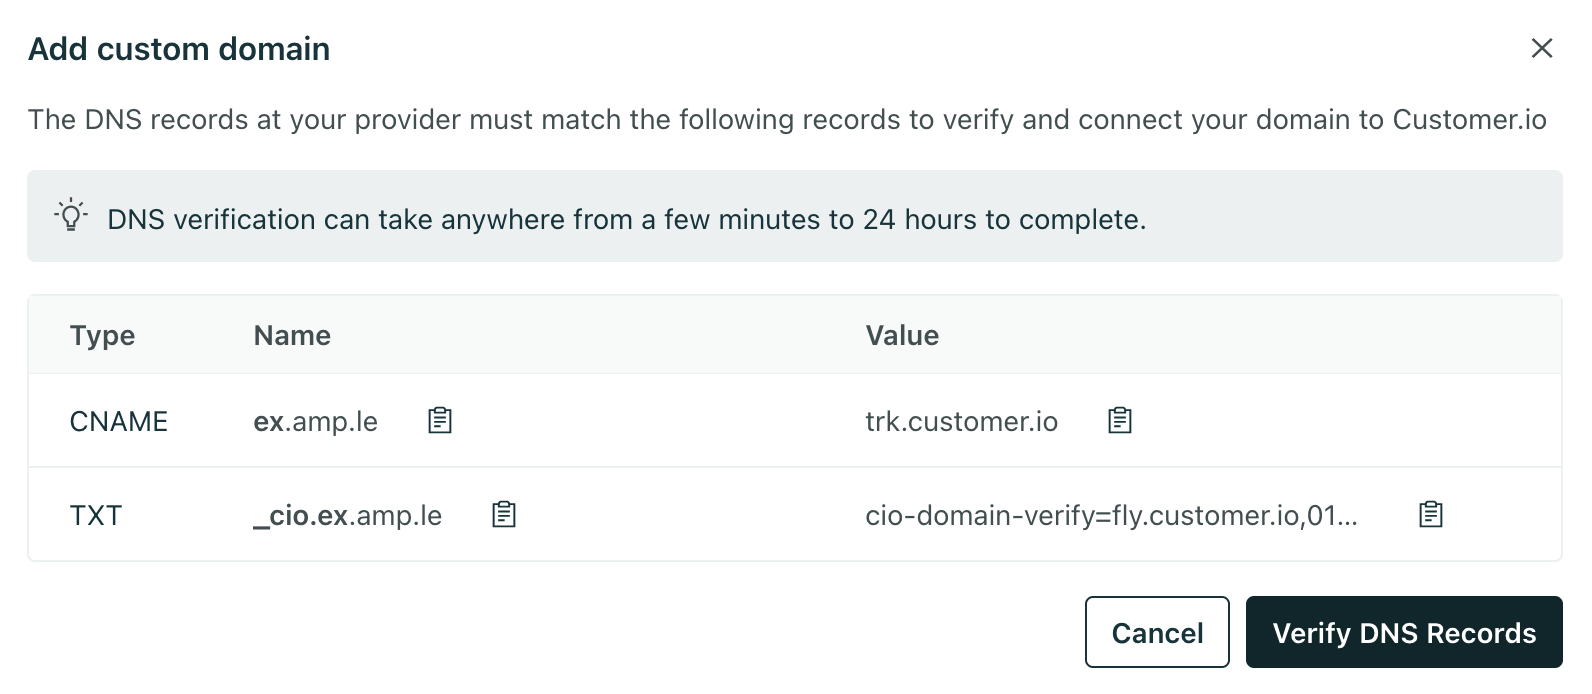
You can now use your own branded domain (like example.com) for shortened links in SMS and WhatsApp messages. That means stronger brand consistency, higher click-through rates, and compliance with evolving regulations.
Say goodbye to unbranded, spammy-looking links. Now you can send links your customers recognize and trust. Go to your > workspace settings > SMS and turn on Link shortening. Then click Add custom domain to add your own custom domain.
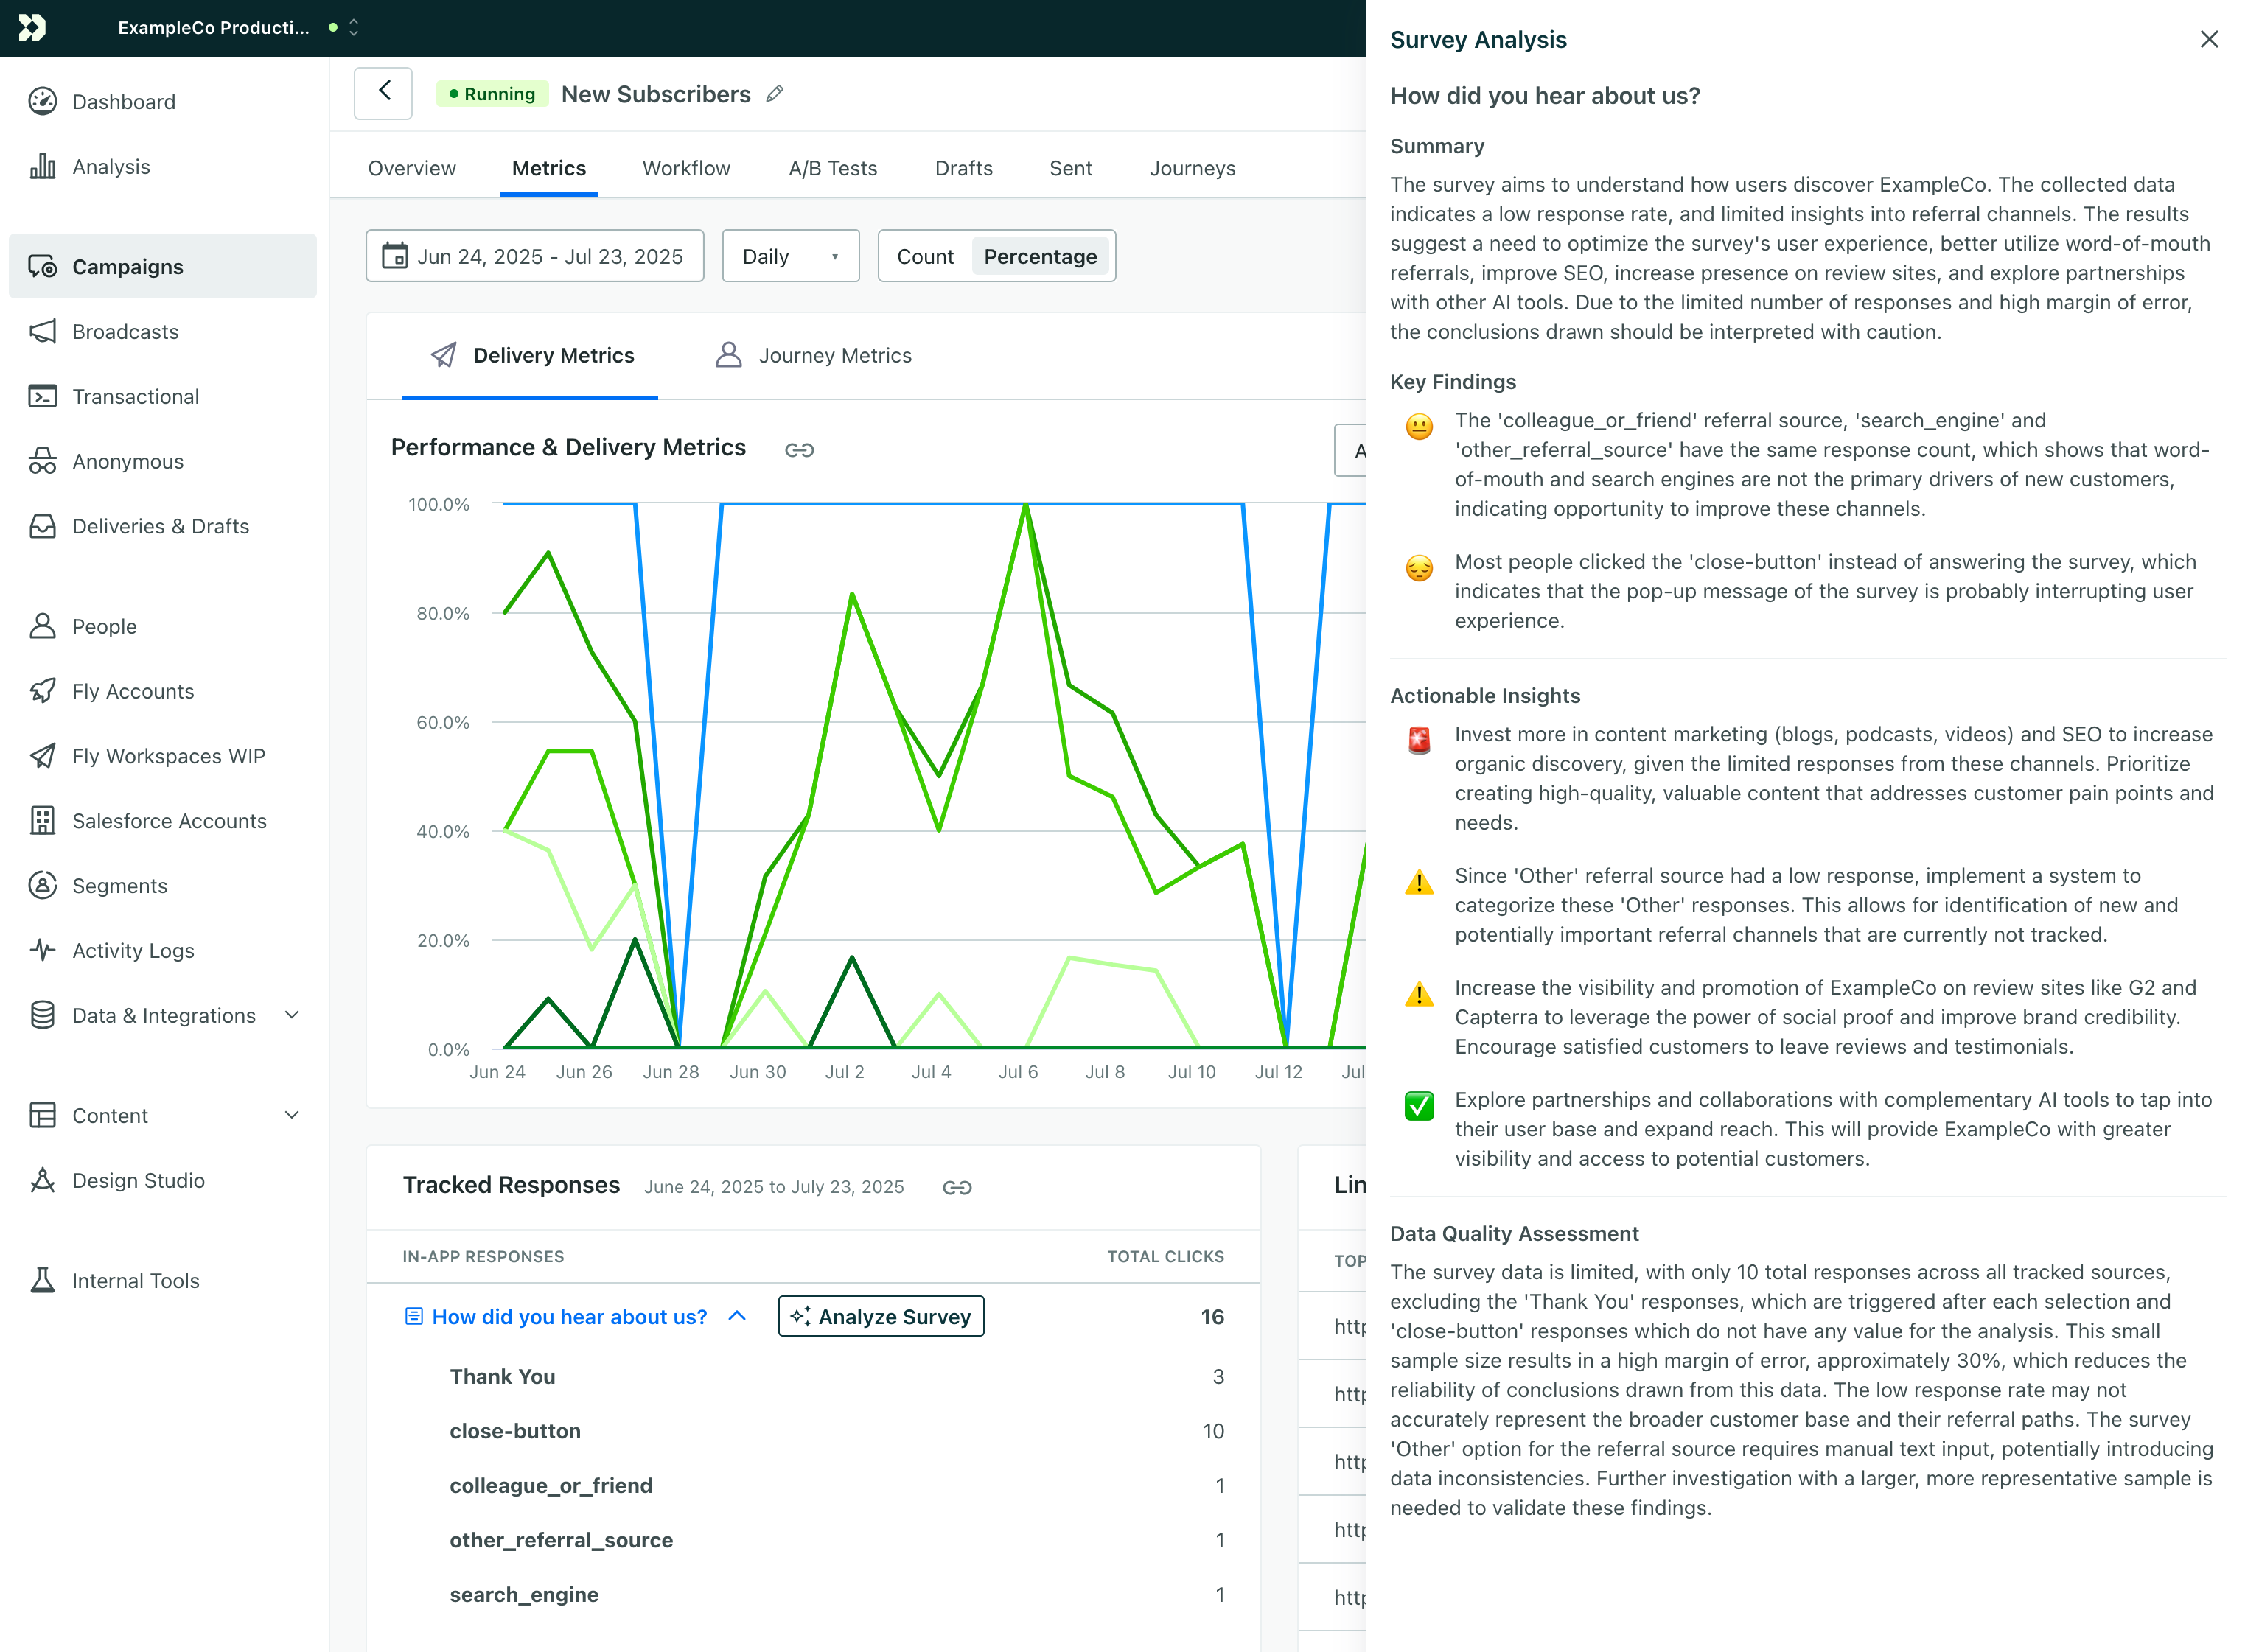
In-app surveys can be a great way to collect feedback from your users, but it can be tough to analyze the results and determine your next steps. Our Analyze Survey feature uses AI to provide you with actionable insights from in-app surveys and other in-app messages that capture responses.
Read more →Chances are that if you've built in-app messages in Customer.io, you've already used our new, visual in-app editor! To continue delivering a more user-friendly, flexible in-app messaging experience, we're ending support for our legacy in-app editor January 1, 2026. If you haven't made the switch yet, now's the perfect time to start using the new in-app editor, designed to help you build better in-app experiences.
Read more →
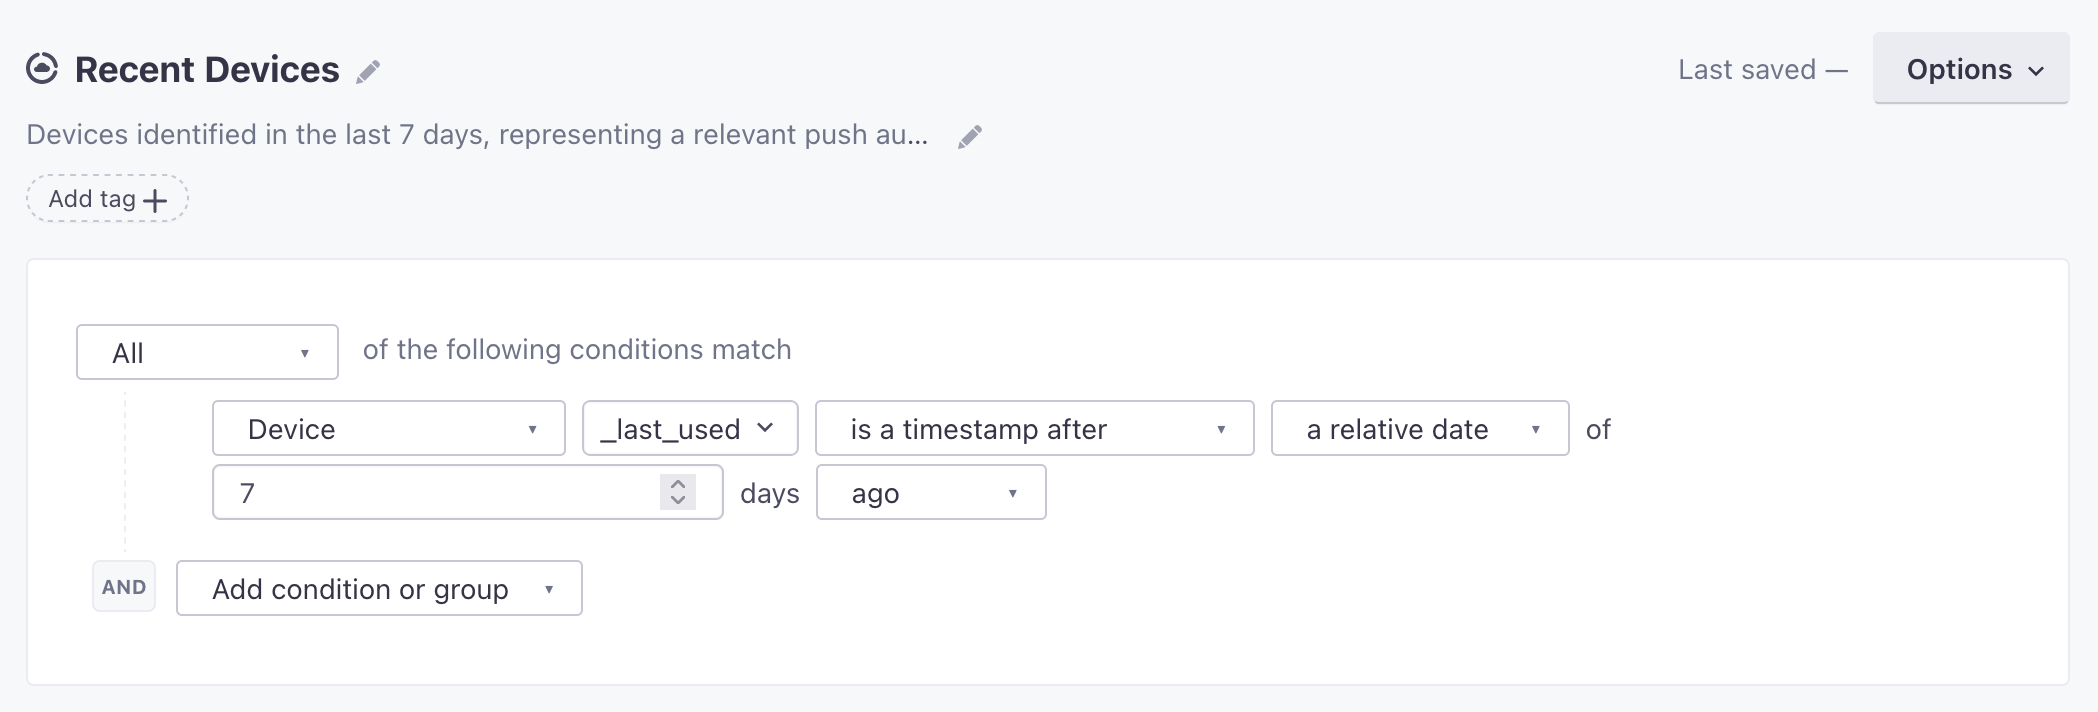
You can now create segments and conditions that target when people have opened or clicked on emails. This means you can trigger automations based on human data and avoid messaging people that may have never engaged with previous messages.
Go to the docs →
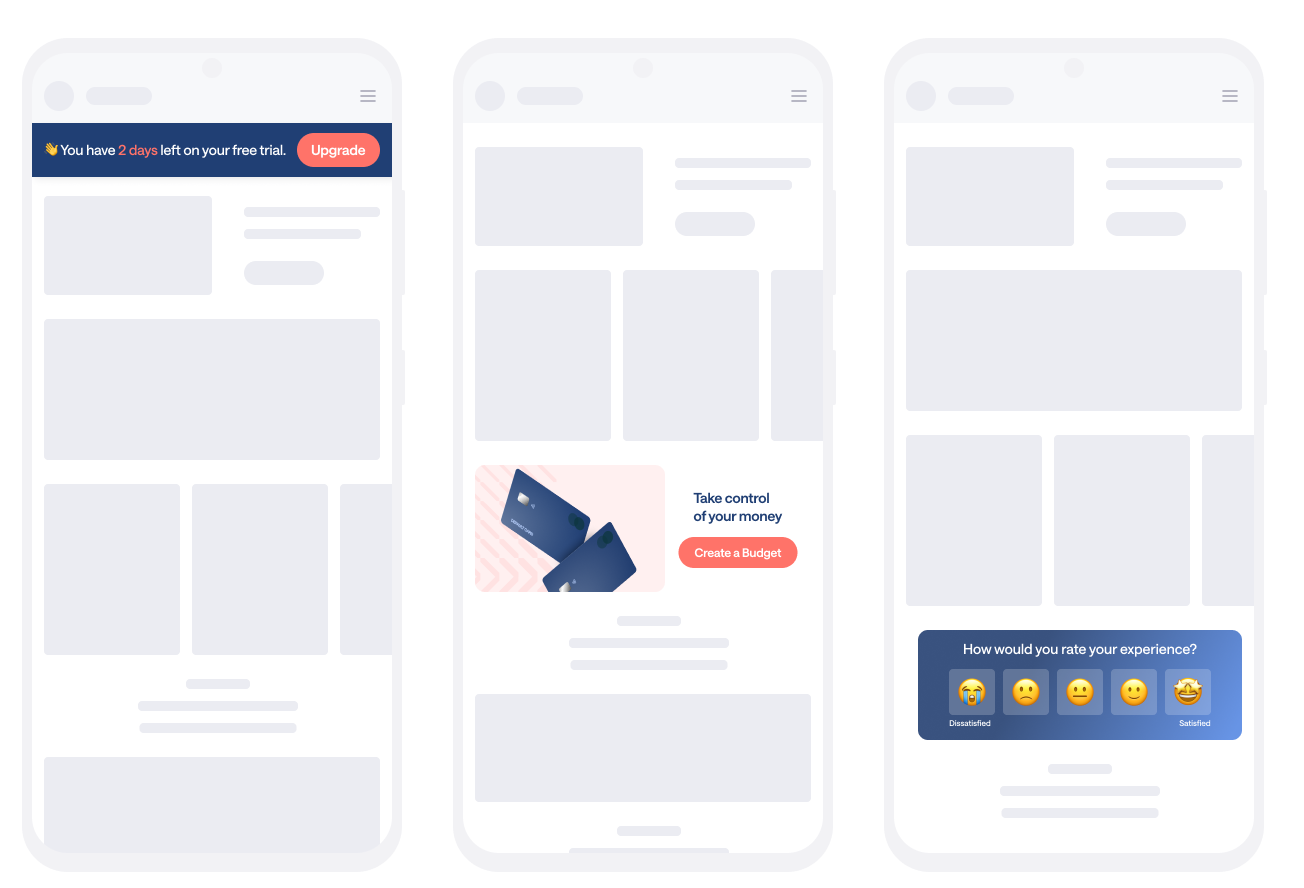
Inline messages help you deliver relevant content like onboarding tips, feature announcements, and promotions exactly where users need them—without interrupting them as they use your app.
When you send an inline message, you’ll specify the inline position and provide the ID of a view in your app that you want to populate with personalized content. You don’t have to push an app update or anything—just instant, relevant experiences for your users.
Inline messages are great for:
Update your SDK to the latest version to get started.
Understanding email deliverability used to mean juggling multiple reports, subscribing to expensive third-party tools, or relying on generic industry benchmarks that didn't reflect your real audience.
That’s all in the past.
Our new Deliverability Analytics Dashboard—available on premium and enterprise plans—gives you detailed insights into your subscribers across inbox providers, all in one place. See your audience weight, bounce rates, and engagement metrics for Gmail, Outlook, Yahoo, and more. Just click Analysis in the left navigation area, and you’ll have the visibility you need to fix deliverability issues before they hurt your automations.
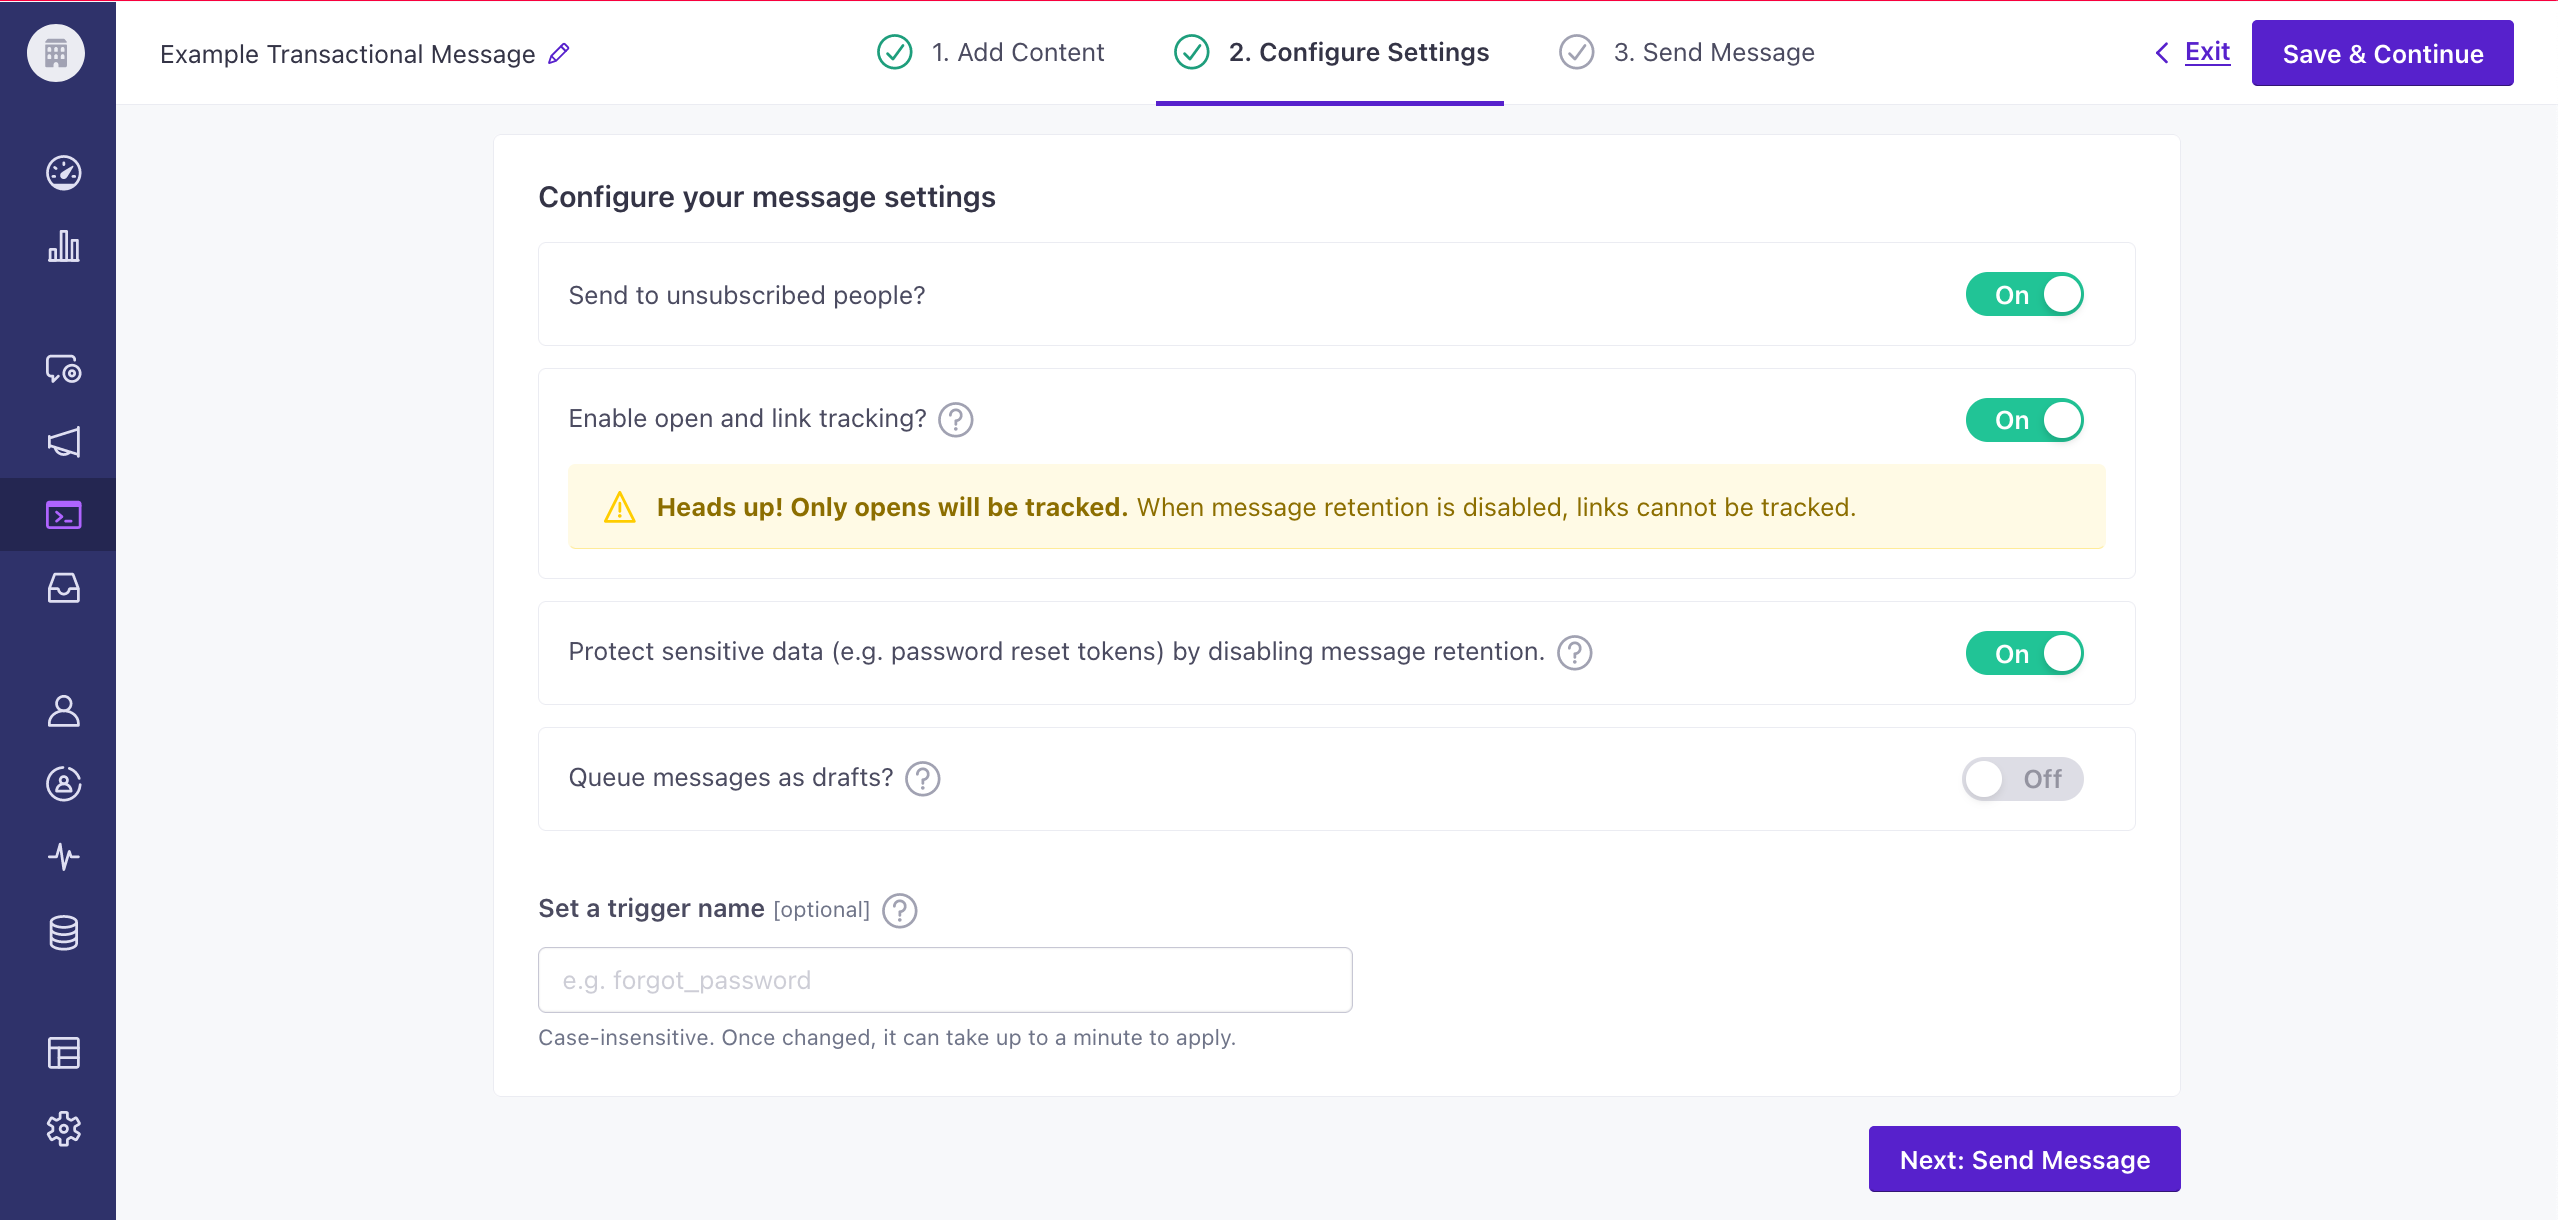
With transactional messaging available for SMS and WhatsApp, you can send important, timely one-to-one messages like two-factor authentication (2FA) codes and one-time passwords (OTP). Now, when your customers need an immediate response, you can send them messages over whatever channel they prefer—email, push, and now SMS or WhatsApp.
Go to the docs →
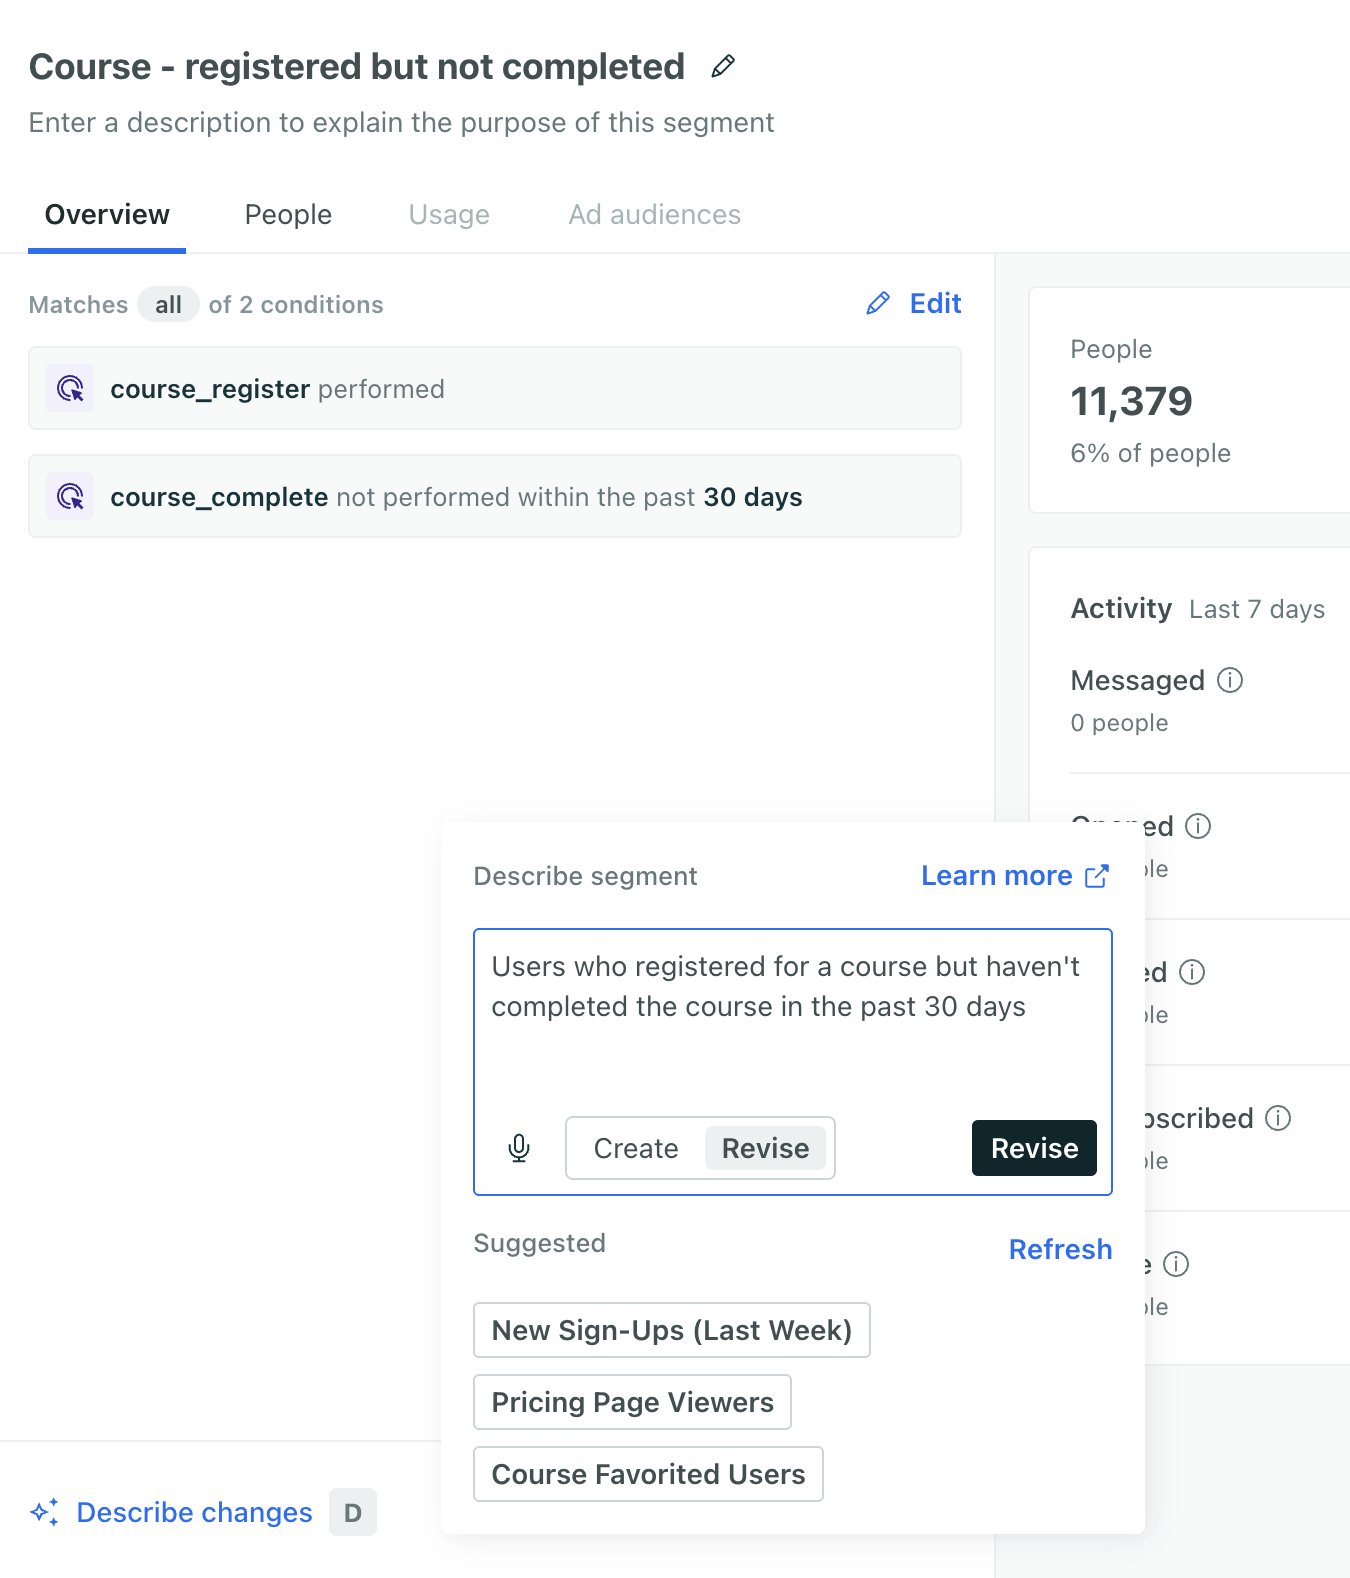
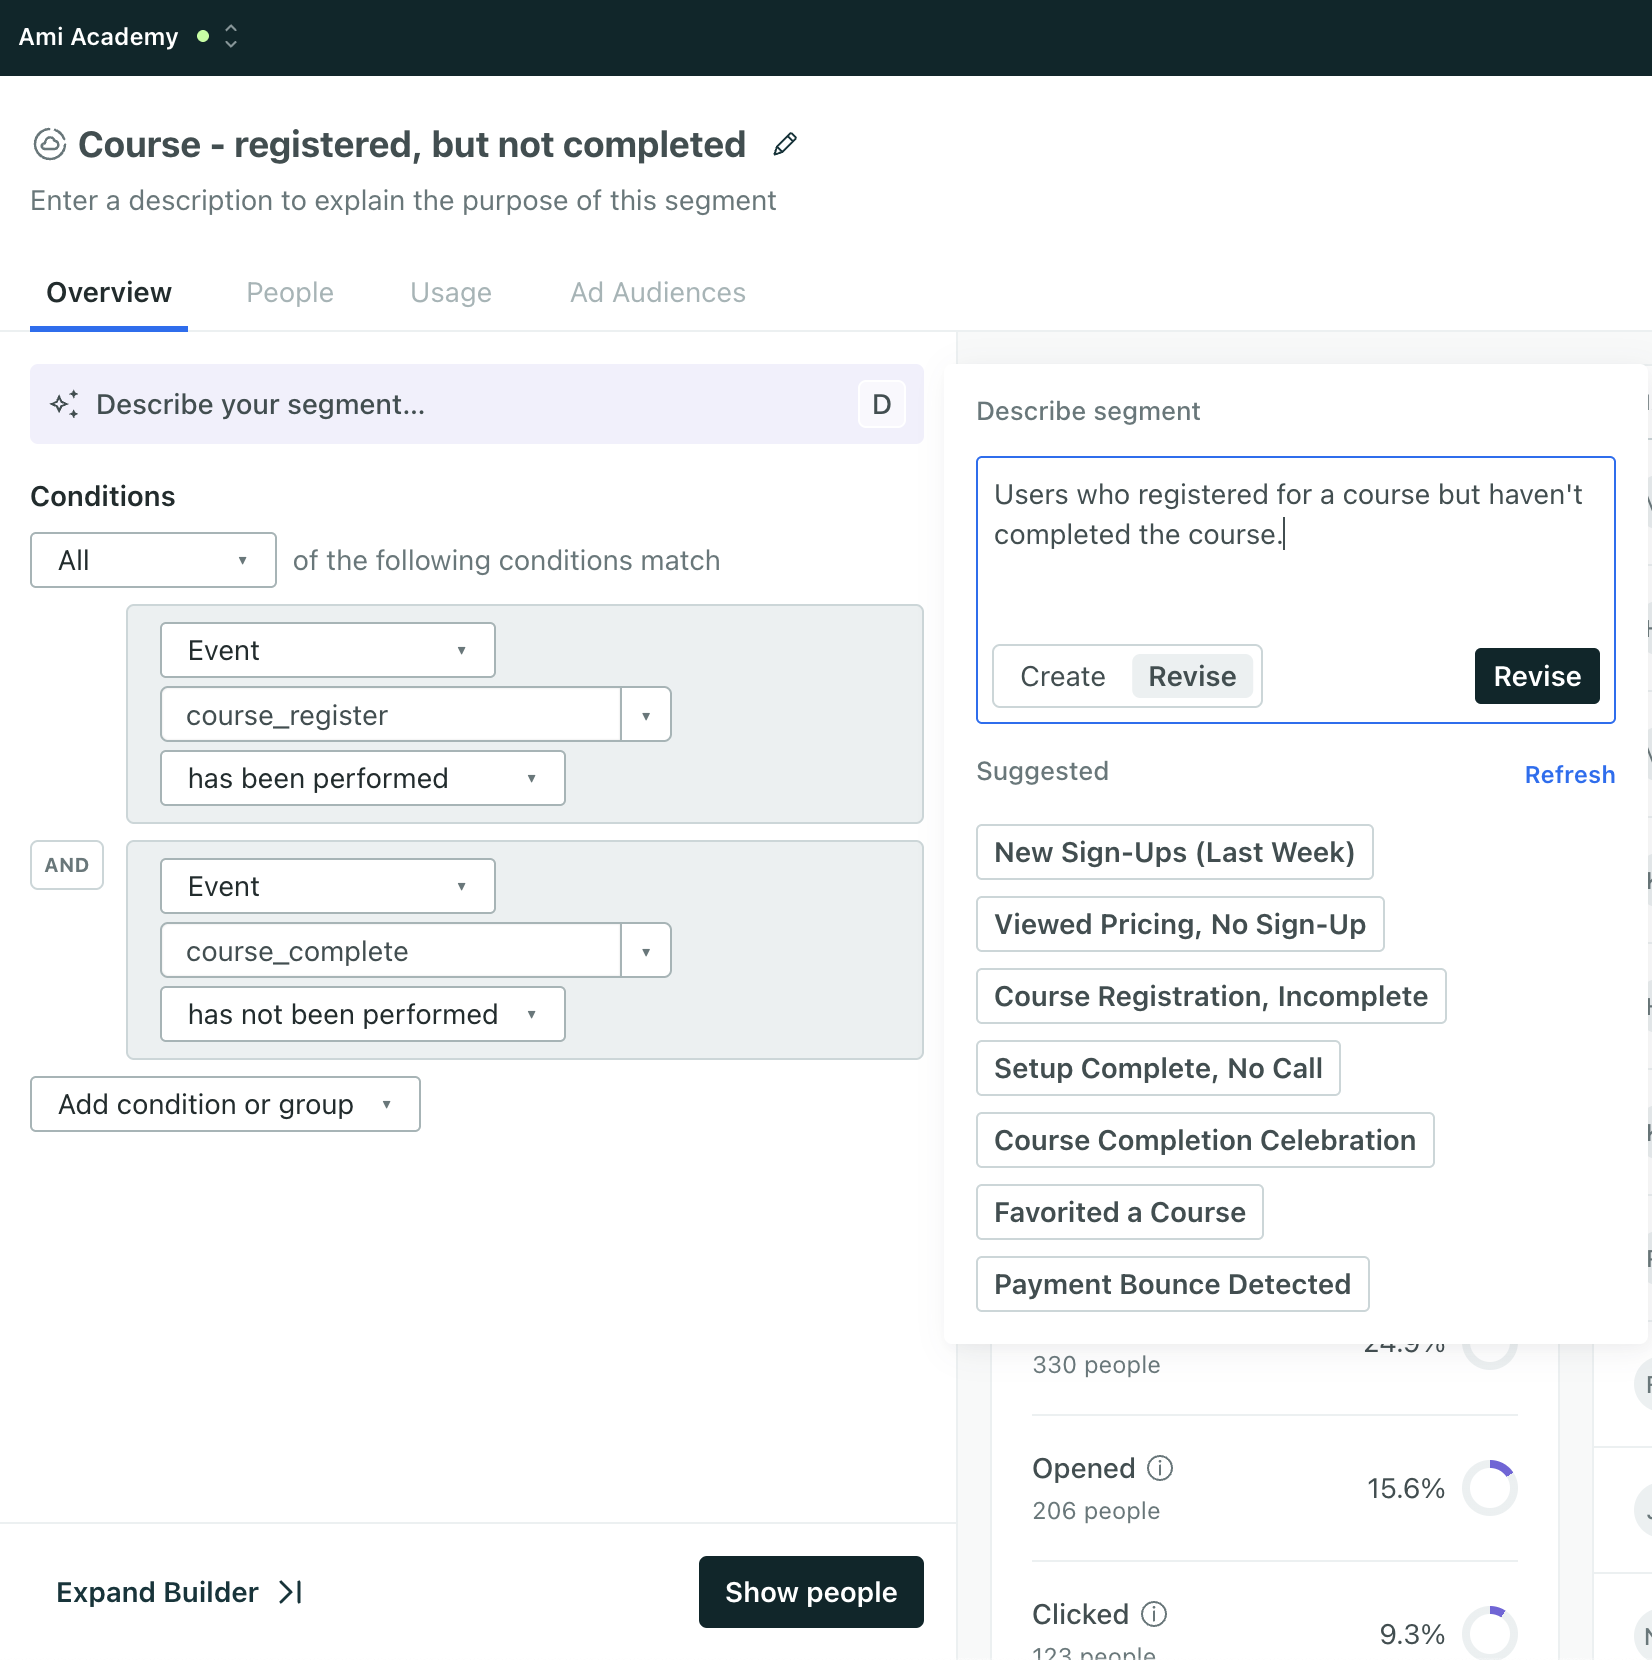
Build a segment with AI to help you get up and running quickly and find gaps in your current conditions. Generate a segment from a brief prompt or choose from our suggested segments. Make sure you review the conditions and insights before you save the segment to ensure you're targeting the right people. Go to Segments to get started!
Pro tip: add descriptions to your attributes and events to improve segment generation! Providing additional context on your data helps our segment builder better understand your data and provide more relevant results.
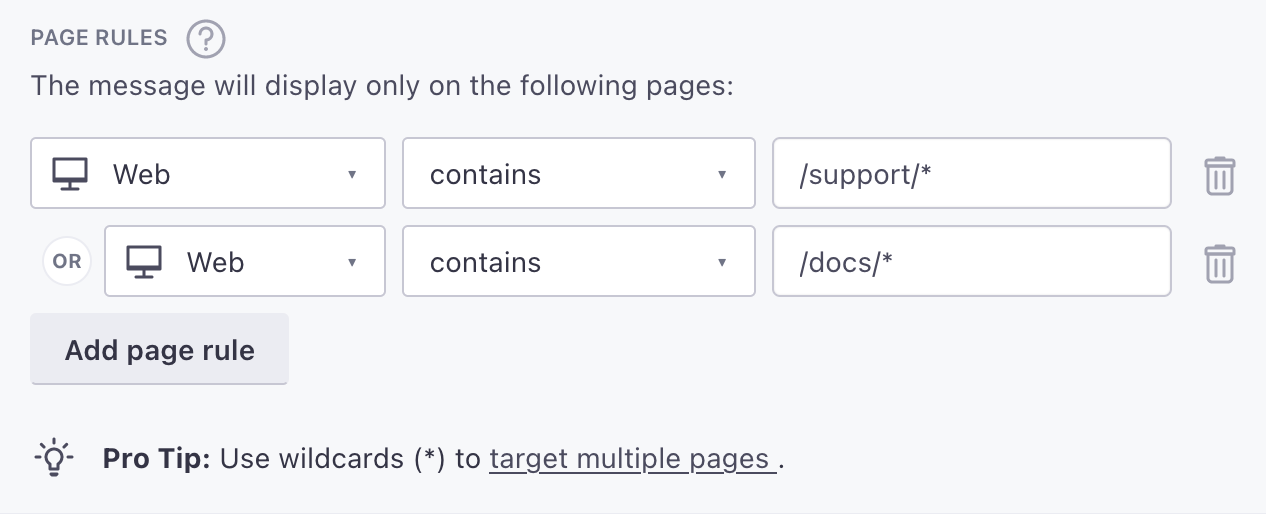
It’s now easier to show in-app messages on the exact pages where you want them to appear. Instead of writing complex regular expressions or listing every page you want to show your in-app message on, you can now use exclusion rules. These let you set up rules like 'show a message on all pages except…'.
We also added a Test page rules feature, so you can make sure that your message will appear on the right pages before you send it.
Setting up in-app messaging for your website used to mean finding your Site ID (which was buried in our UI) and asking your development team to update the JavaScript snippet on your website.
Now, that’s all in the past.
In-app messaging works automatically with our JavaScript integration. You just turn it on in your workspace settings and you’re ready to send messages to your website visitors—no extra code, no developer help needed.
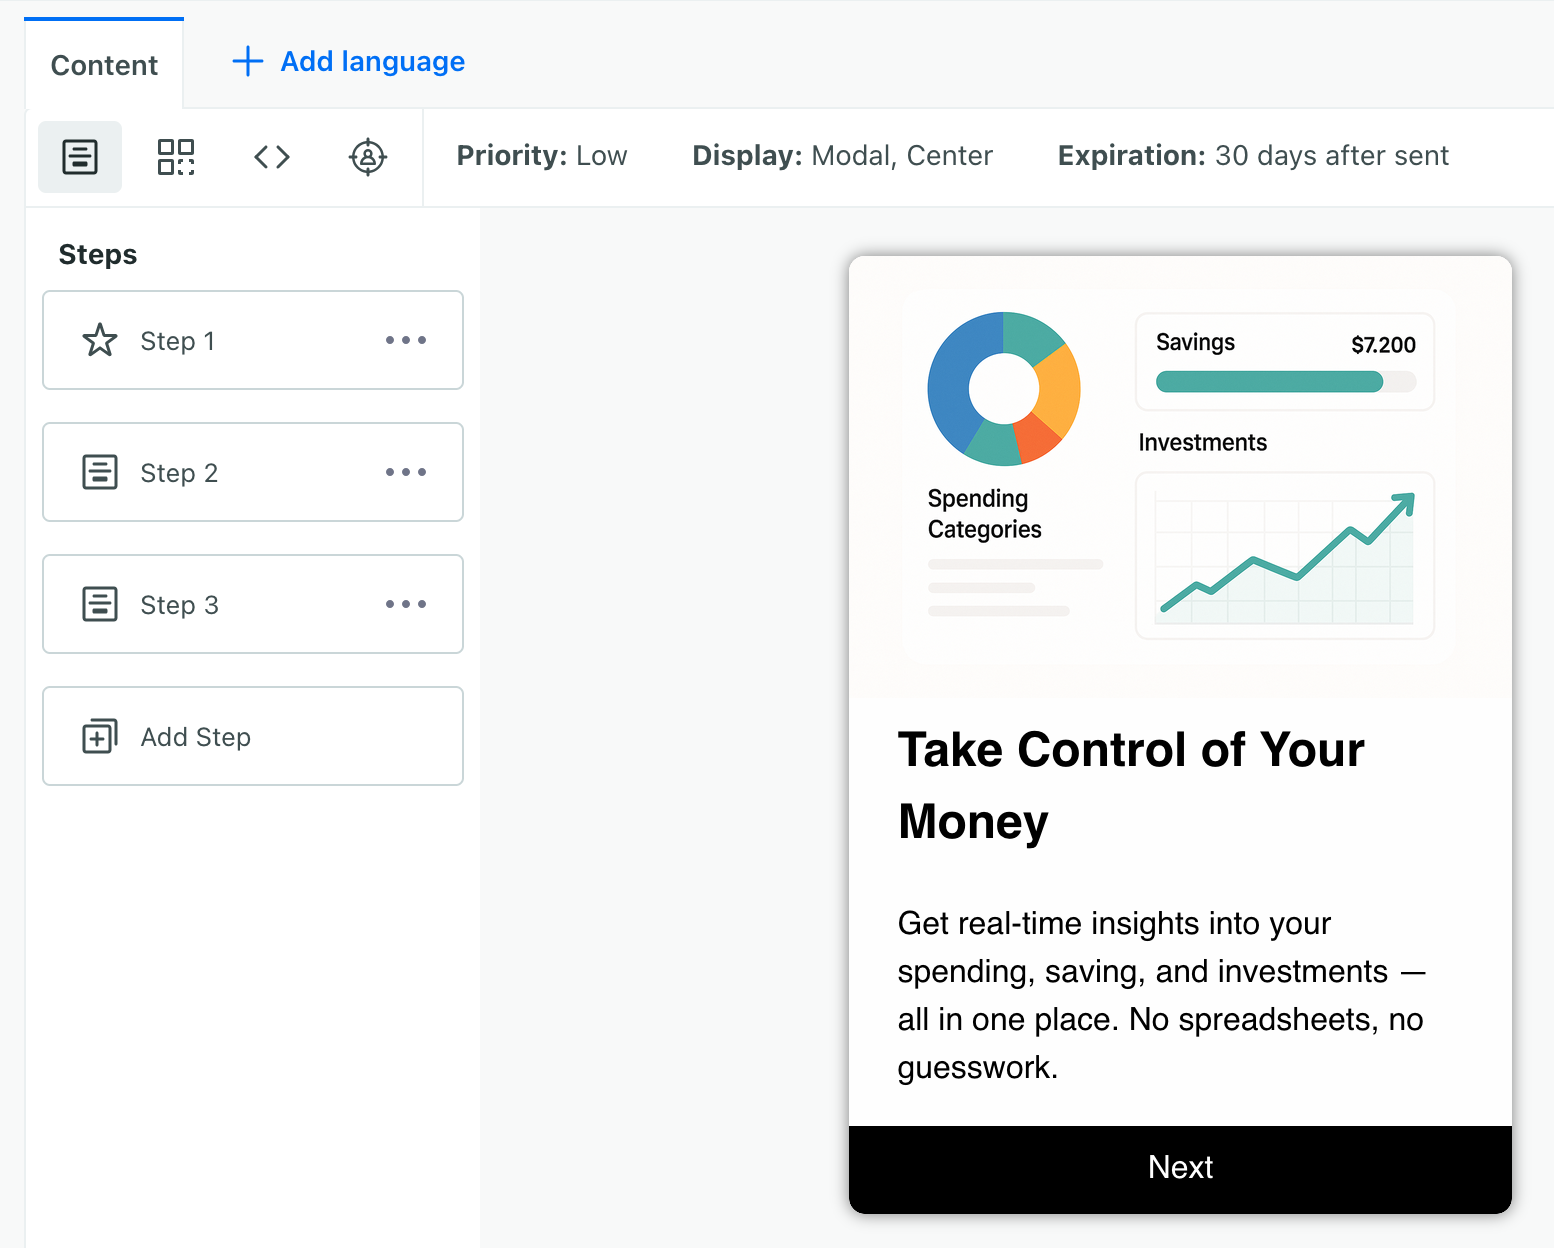
Have you ever wanted to onboard users with a brief explanation of your app, highlight new features for existing users, or respond to people who answer your surveys? Now you can with multi-step in-app messages—in-app messages that contain sub-messages or steps.
As people click or tap buttons and links in a multi-step message, you can move them along to subsequent steps in your message. This helps you to show users the right content at the right time based on how they interact with your messages—all without complicated code or logic!
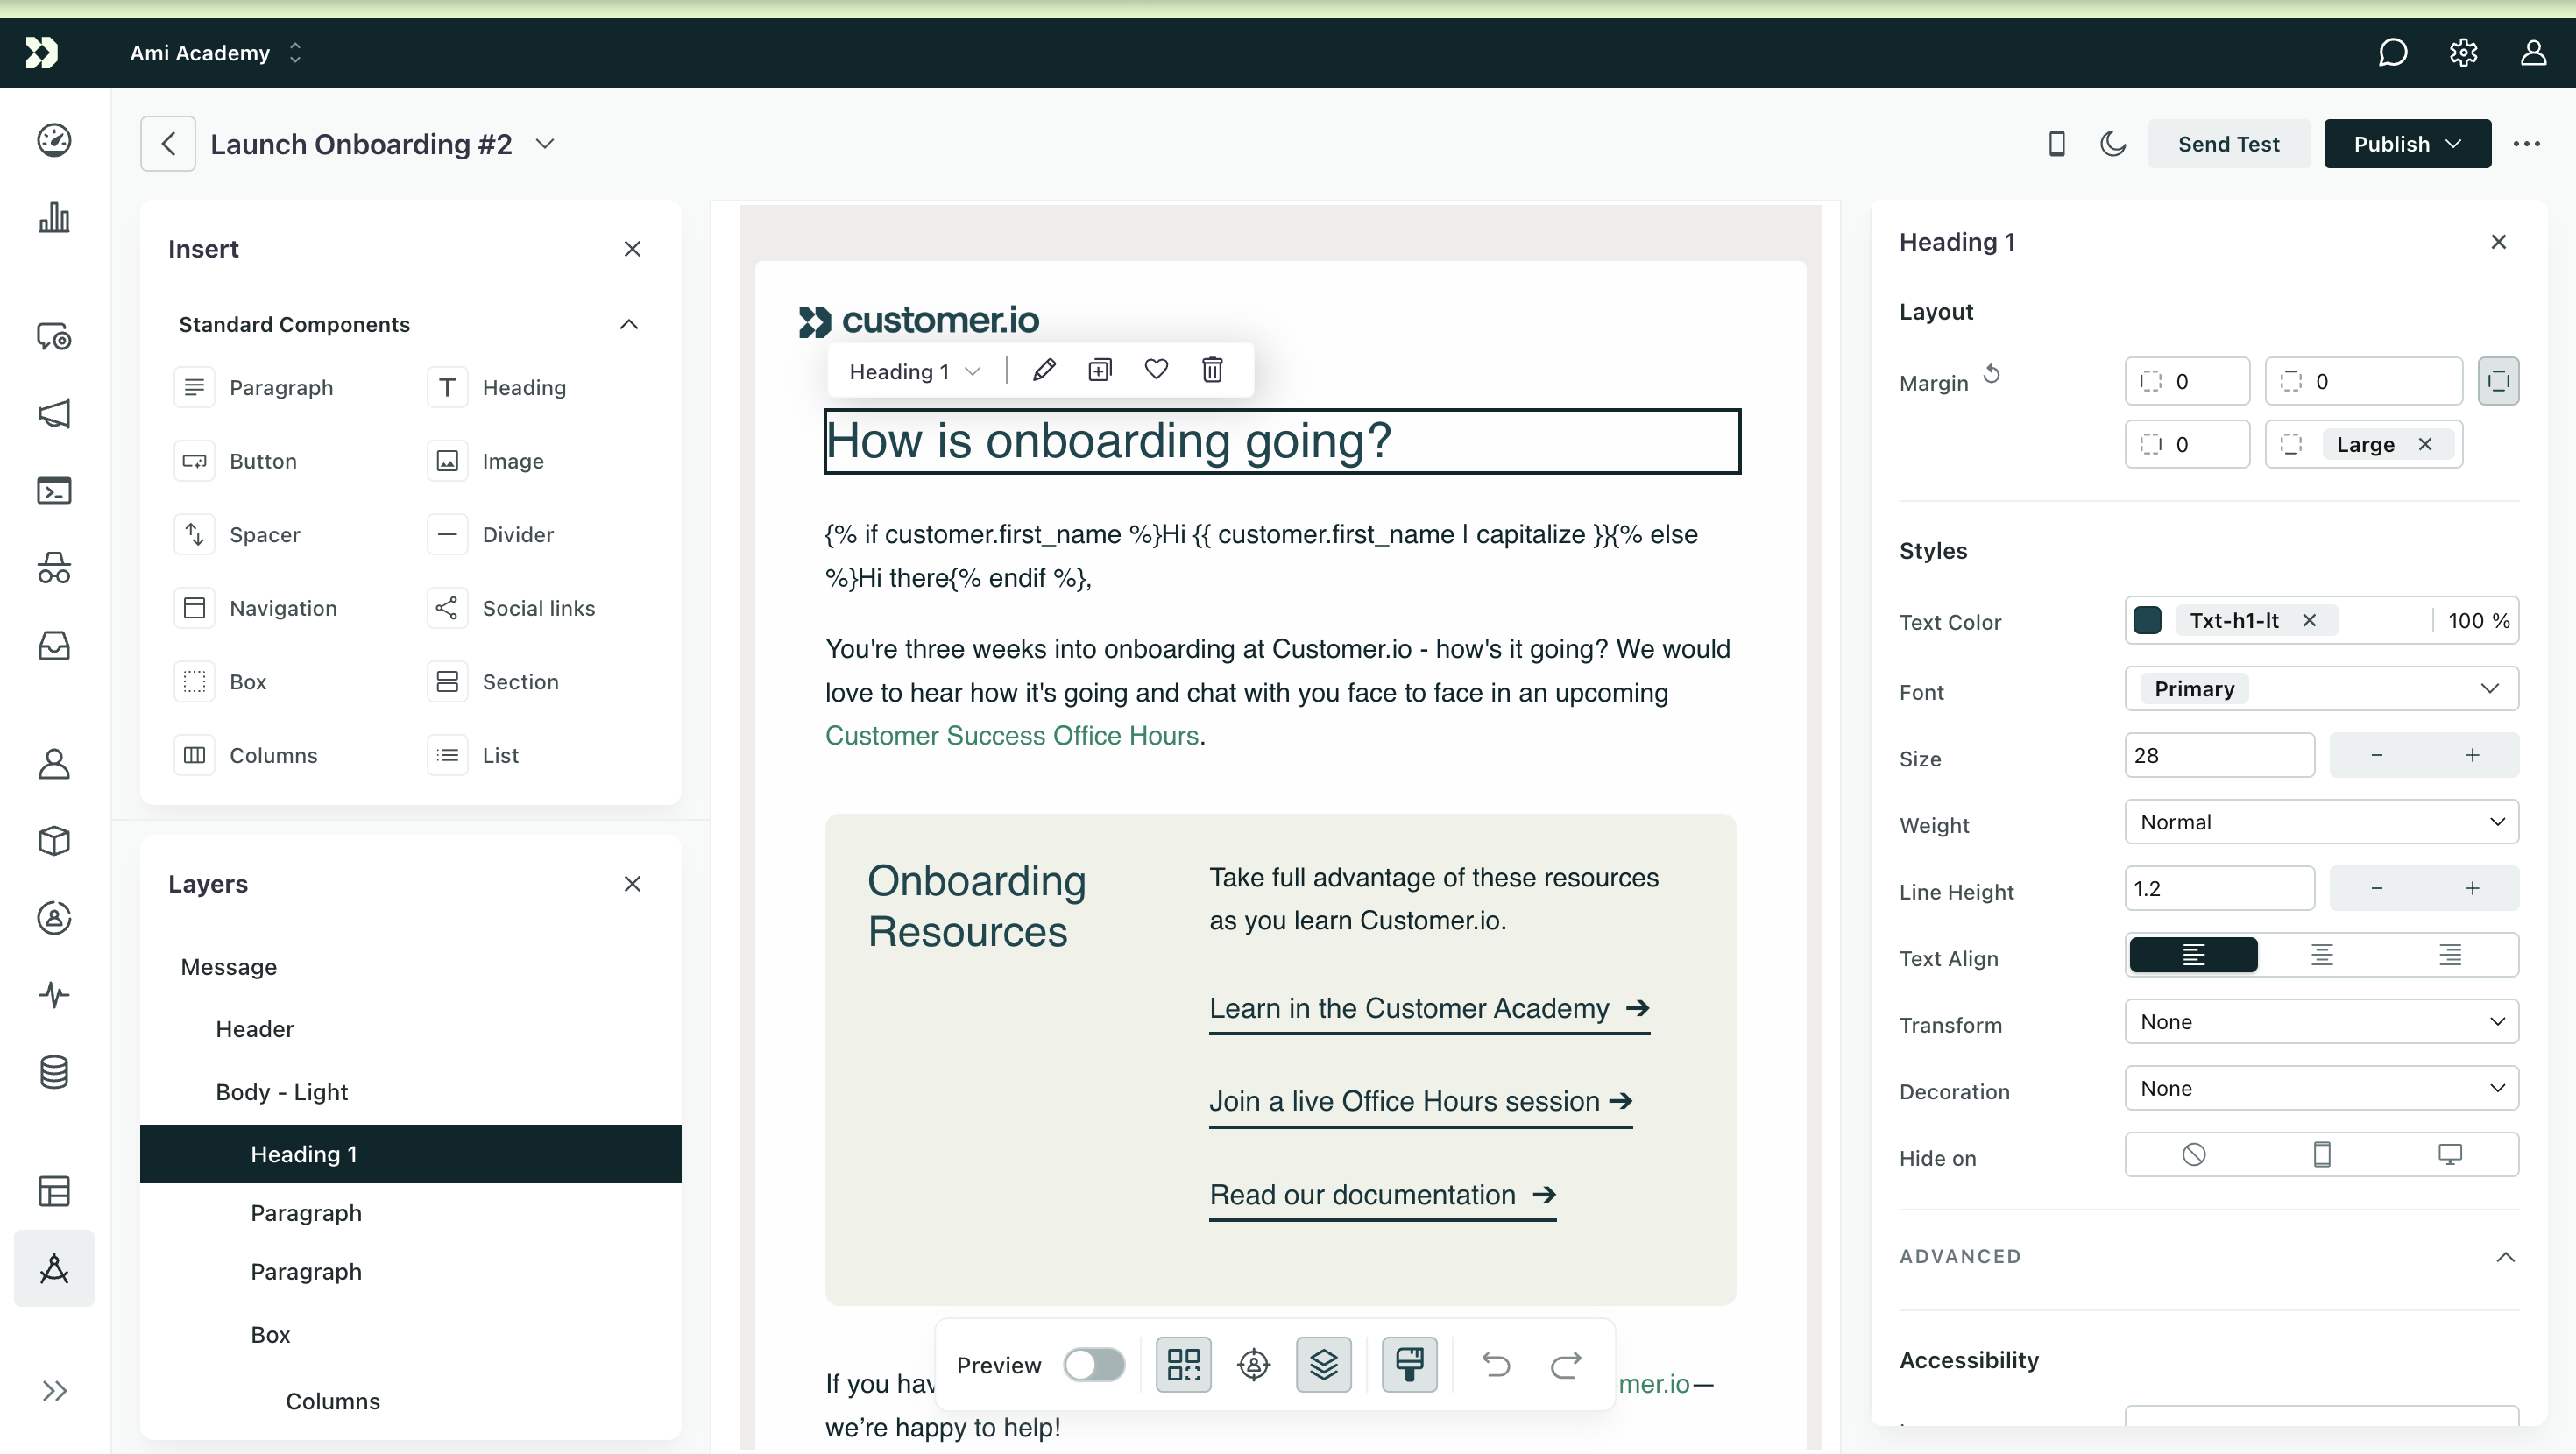
We're in the process of rolling out Design Studio, a flexible email design system that helps you create beautiful, responsive emails faster than ever before. Use components to create a block-based email from scratch, and set global styles to create a consistent brand across your messages made in Design Studio. No longer do you have to decide between a visual or code-based editor; you can use both!
Read more →
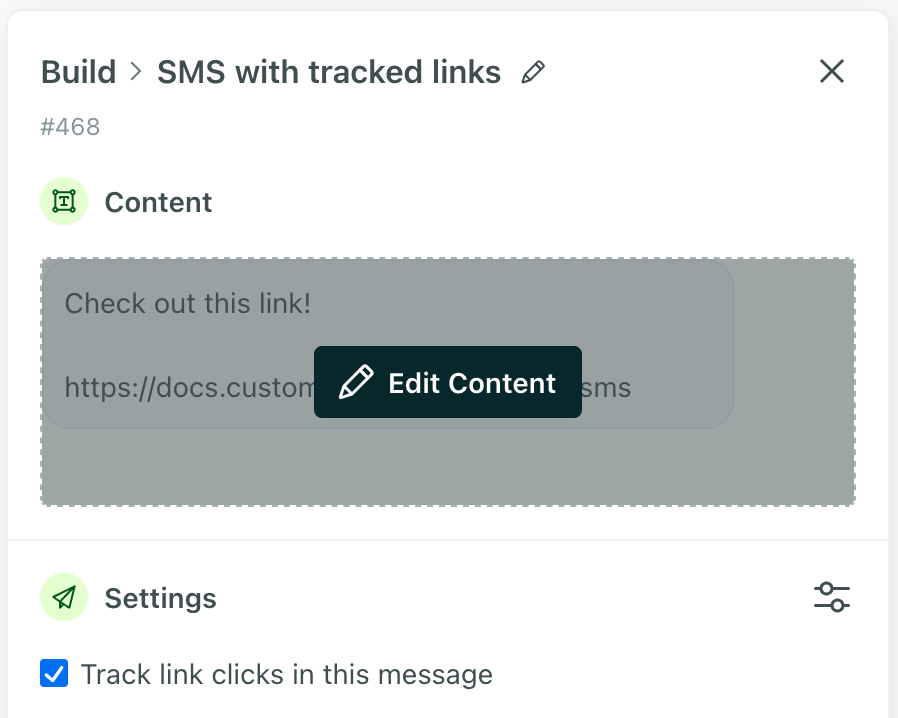
It’s now easier to track engagement with SMS and WhatsApp messages. SMS and WhatsApp messages previously required you to manually add inline liquid syntax to track links. Now we’ll automatically shorten and track your links by default so you can see when recipients engage with your messages. You can also enable or disable link tracking with a single toggle, just like in your emails.
Go to the docs →For a while, you've had the ability to A/B-test newsletters. But for any newsletter that wasn't an email, you had to monitor the results manually. Now we'll automatically detect which version of your SMS or push notification performed best, helping you optimize these messages without the extra work.
Go to the docs →
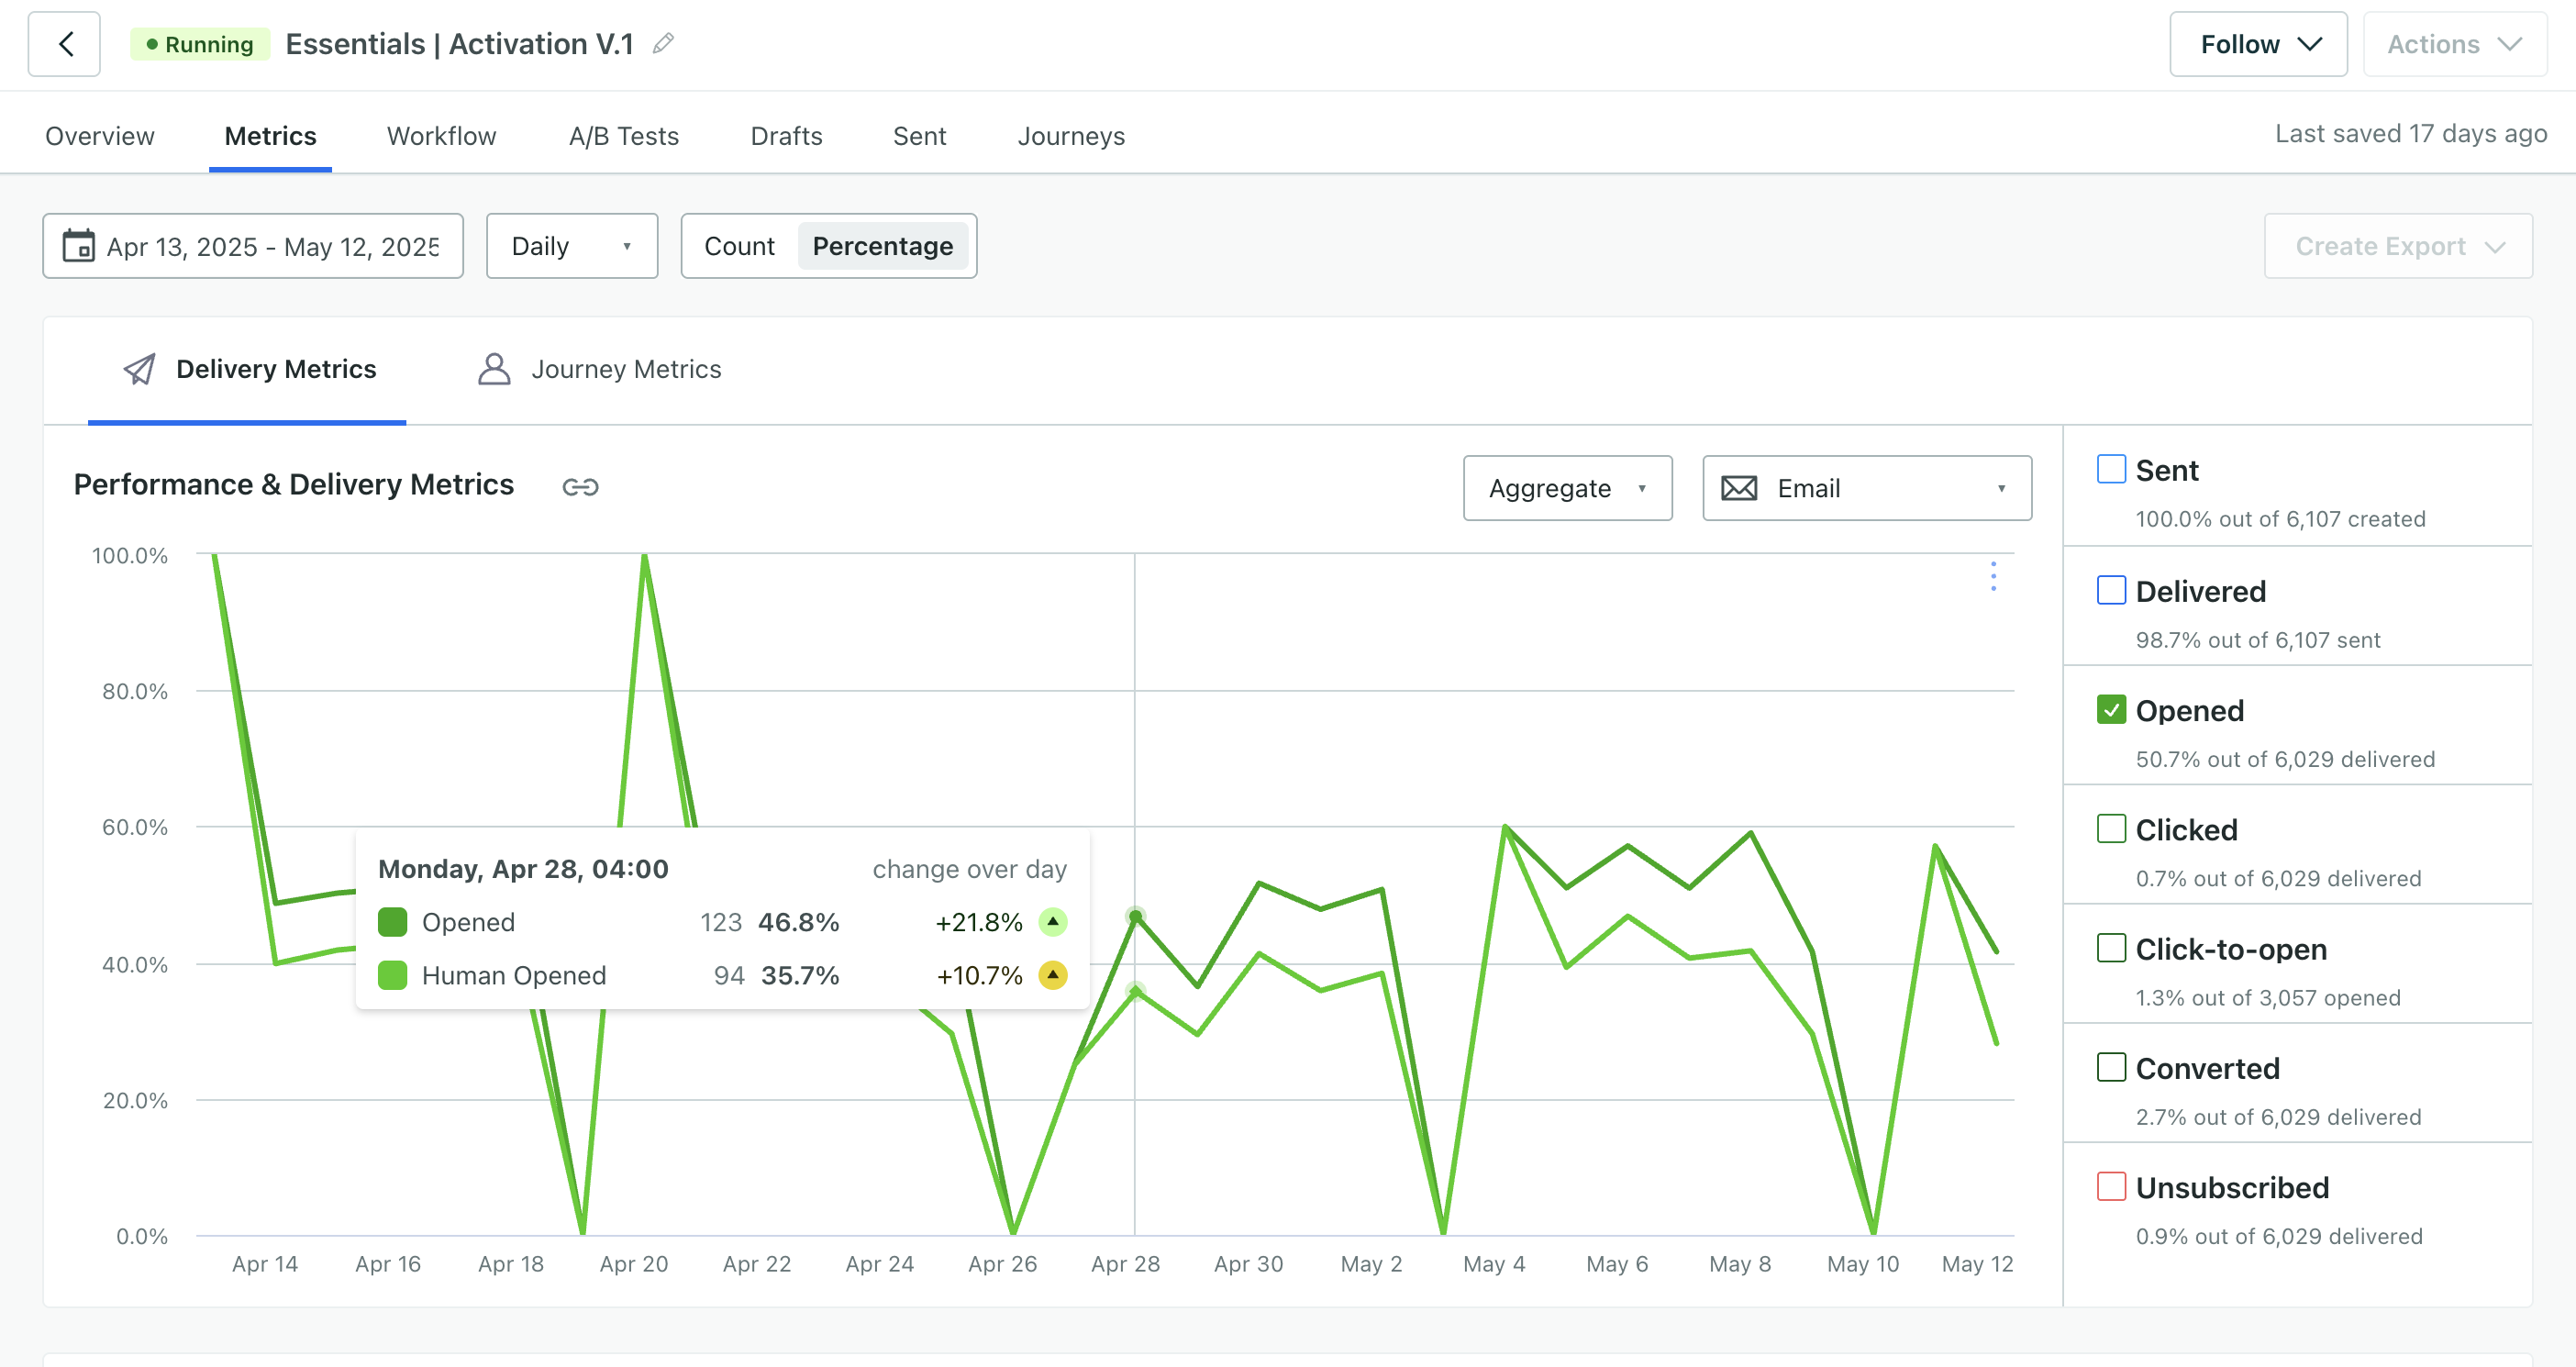
You can now track human vs machine email engagement trends in your automations, broadcasts, and transactional messages. Our new Human opened and Human clicked metrics exclude machine interactions from user bot agents, security scanners, and more so you know how people engage with your messages.
Read more →Account admins and workspace admins can now mark profile attributes as sensitive in the Data Index then hide this data from specific authors or viewers. This helps you ensure that sensitive data is only visible to the right people in your workspace.
Authors with sensitive data hidden have the same functionality as authors who can view all data, with one exception: they can’t edit people.
If you currently use our legacy “Hide all attributes” setting, your teammates will experience no change to the data and functionality they have access to.
You can now create automations by defining profile attribute conditions in the trigger. In the past, you had to create segments to trigger based on profile attributes, but now you only create segments when you need them. You can continue to define segment membership alongside attribute conditions for maximum flexibility.
All automations that use our legacy segment trigger will continue to work as expected and you’ll be able to duplicate them. For new automations, you’ll use the new trigger.
Note, the new trigger behaves differently than the legacy segment trigger in a few ways: filter conditions are now part of the trigger conditions, and you may need to add time-based conditions to ensure the right group of people trigger your automations at the correct time.
Send in-app messages like banners or surveys to unidentified visitors on your website or app to encourage them to sign up and convert. This is available to all Premium and Enterprise customers. Go to Anonymous Messages to get started.
Go to the docs →
Build a segment with AI to help you get up and running quickly and find gaps in your current conditions. Generate a segment from a brief prompt or choose from our suggested segments. Make sure you review the conditions and insights before you save the segment to ensure you're targeting the right people. Go to Segments to get started.
You can opt out of this builder and revert to our standard experience through the toggle in the bottom right of segment creation.
Now that our Expo plugin supports all of the features of our React Native SDK, we’re excited to announce its first official release!
If you’ve used a beta version of the plugin, you’ll notice that the official release includes support for Firebase Cloud Messaging (FCM) to iOS devices, and we’ve tried to slim down the workflow to make integrating even easier. Check out the changelog to see the complete list of Expo updates.
This change makes us compliant with Twilio's WhatsApp sending guidelines, and makes it easier to use your WhatsApp templates in Customer.io. If you already send WhatsApp messages, you'll need to upgrade your current WhatsApp templates to content templates in Twilio before April 1st, 2025.
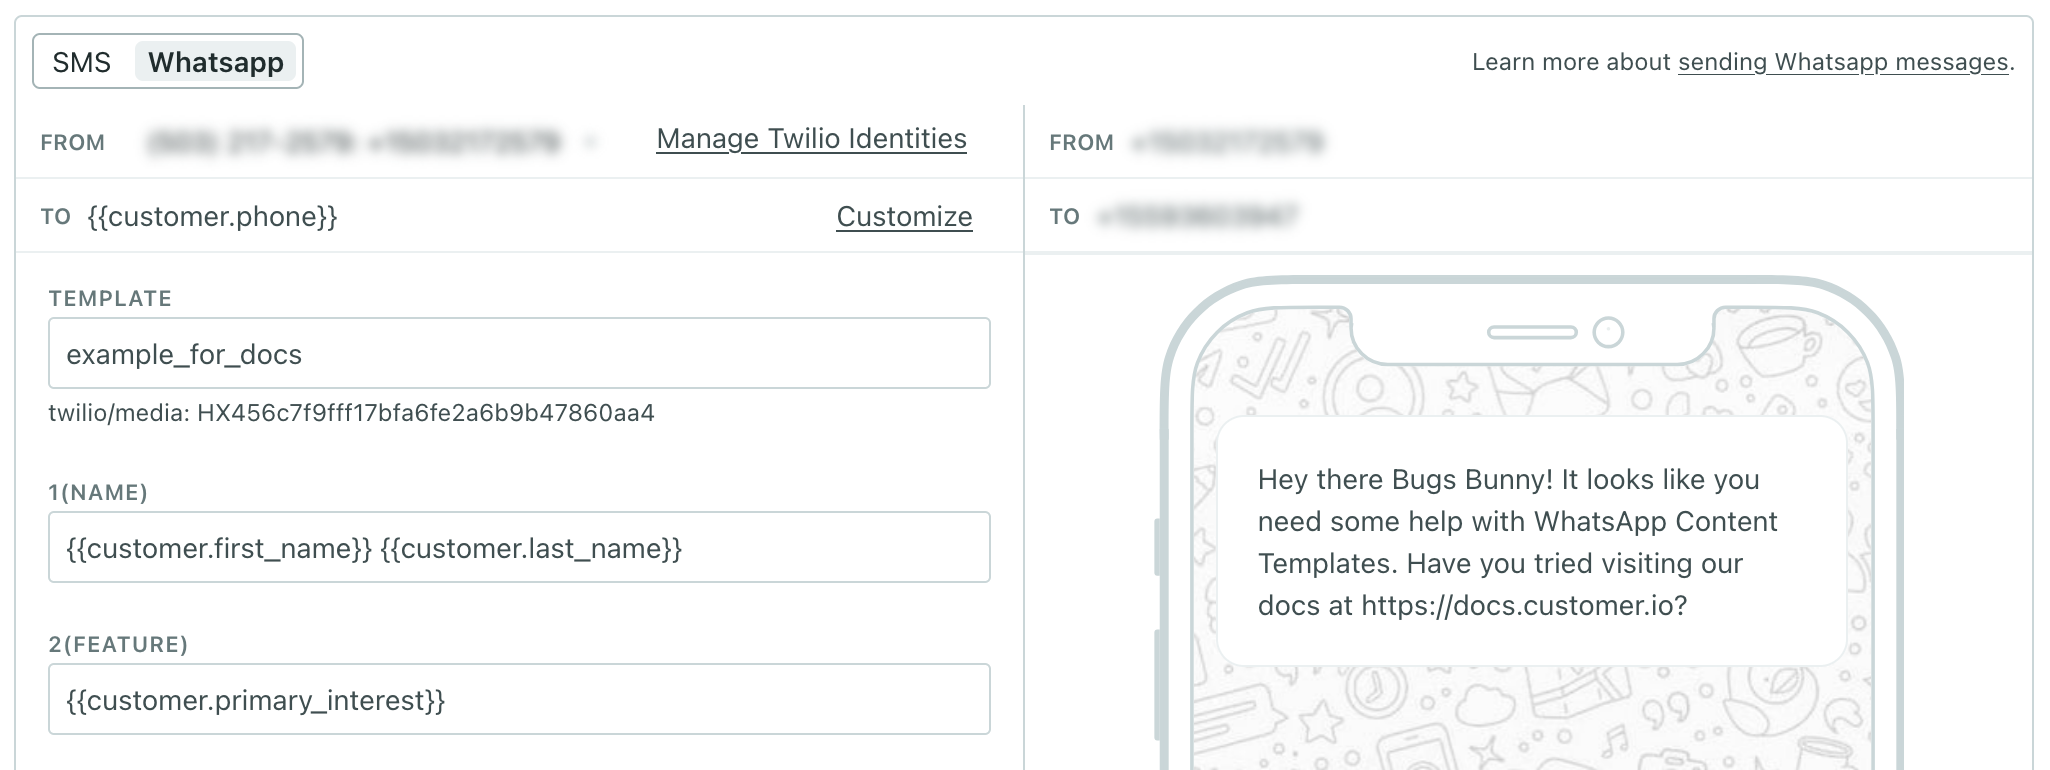
Before this release, you had to copy/paste content from Twilio into Customer.io before you could send a WhatsApp message. Now, when you add a WhatsApp message to an automation or broadcast, you can simply select your Twilio content template. We fetch the template and expose the fields you can fill in so you don’t have to leave Customer.io.
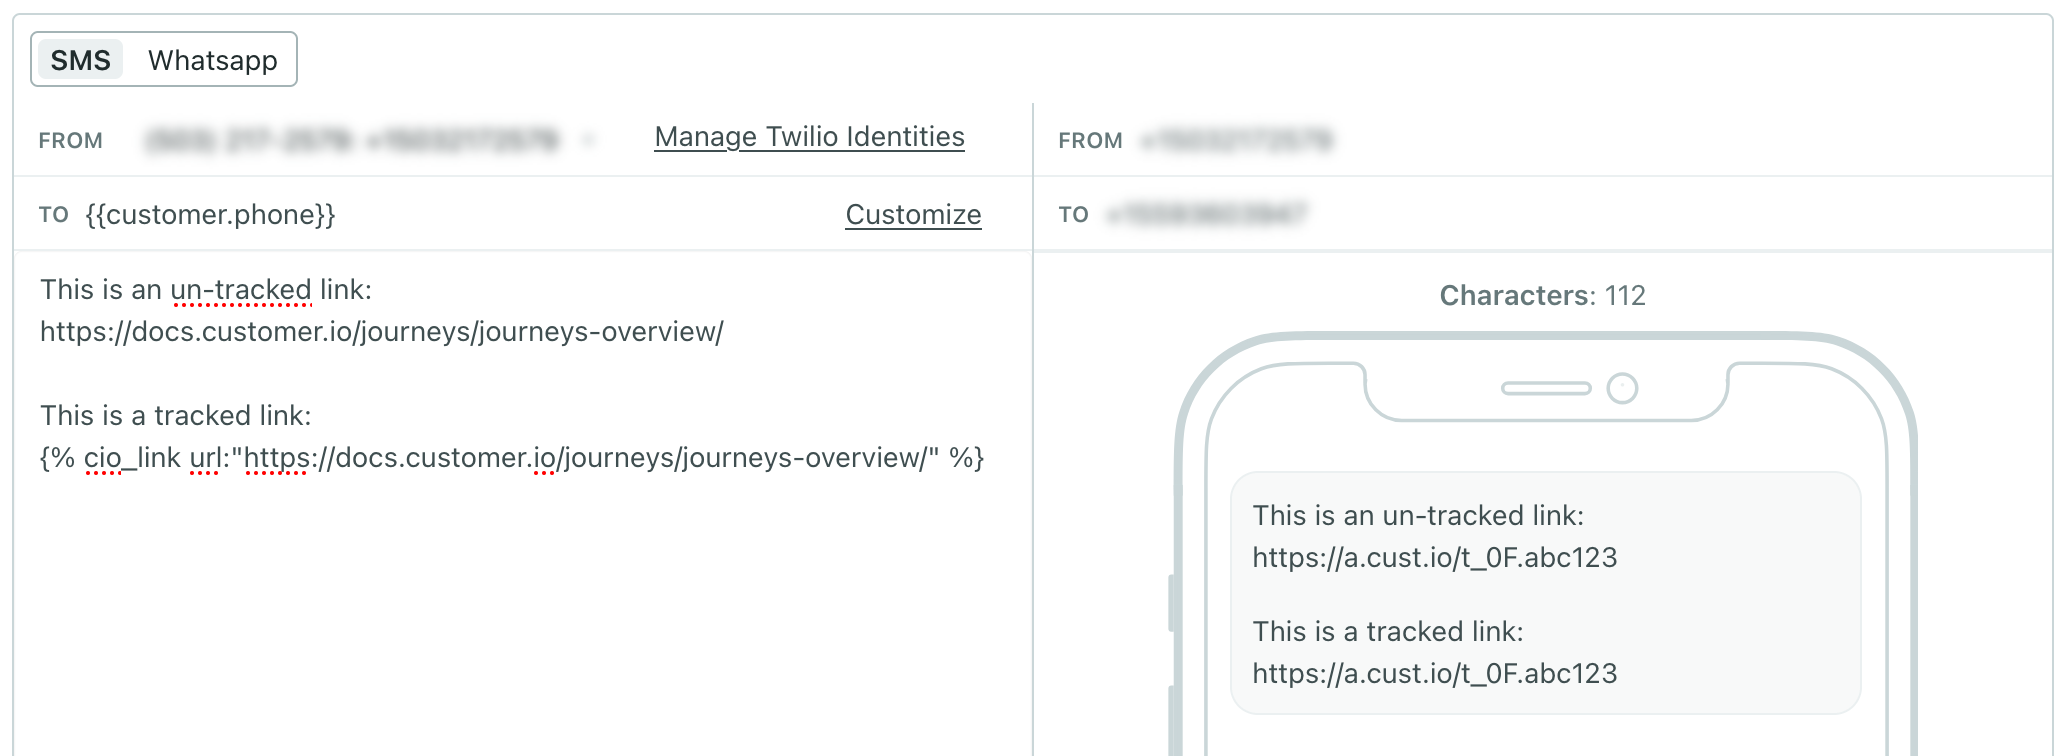
You can now enable link shortening for SMS and WhatsApp notifications! This will shorten both tracked and untracked links to help you stay within characters limits and streamline your messages.
Go to Workspace settings > SMS and turn on Shorten links. Shortened links use the format https://a.cx.io/lnk.abc123 (or https://e.cx.io/lnk.abc123 if you’re in our EU region), consuming between 28 and 38 characters so you have plenty of room to talk to your audience.
You can now add descriptions to attributes to ensure all of your teammates understand your data. Go to your workspace's Data Index to get started. This is available for profile attributes, not event attributes currently.
Go to the docs →
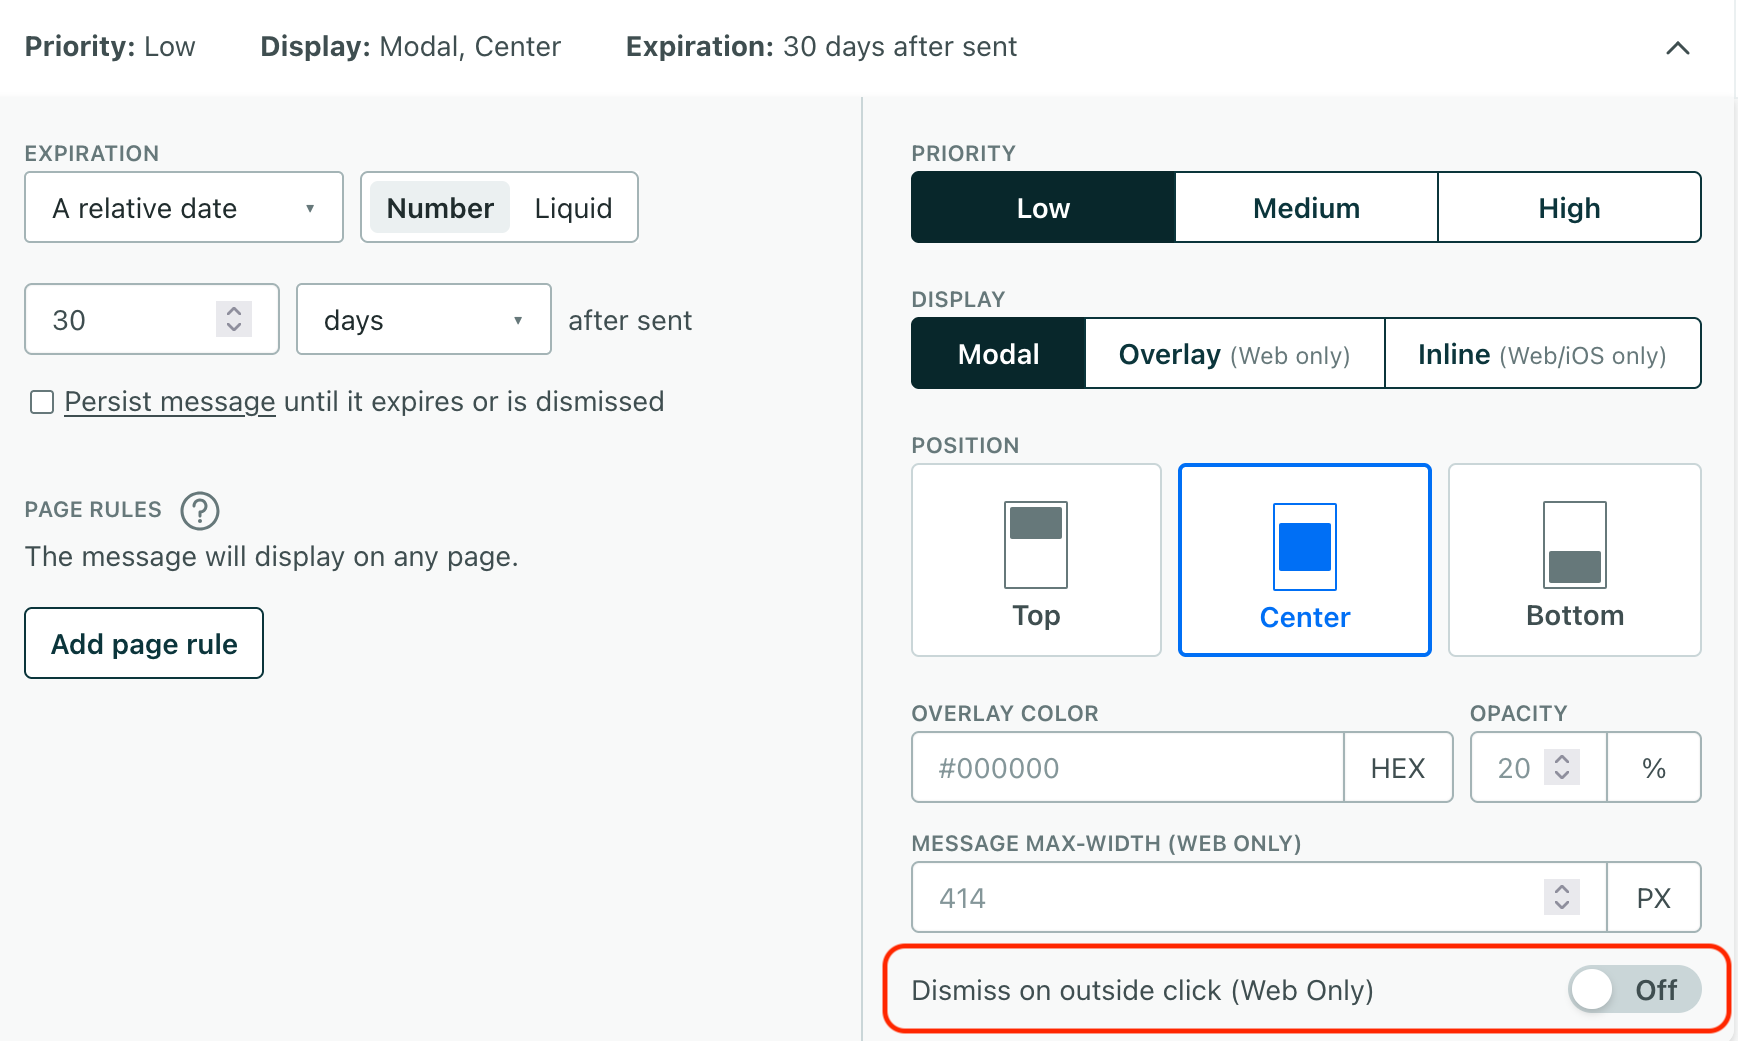
Your website might display different kinds of in-app messages that aren't always easy to dismiss. Now you can set up messages to dismiss when users click outside of them. This is a common pattern that internet-users are used to seeing and helps you create messages consistent with users' expectations, like banners or other informational messages that don't require user interaction.
Go to the docs →
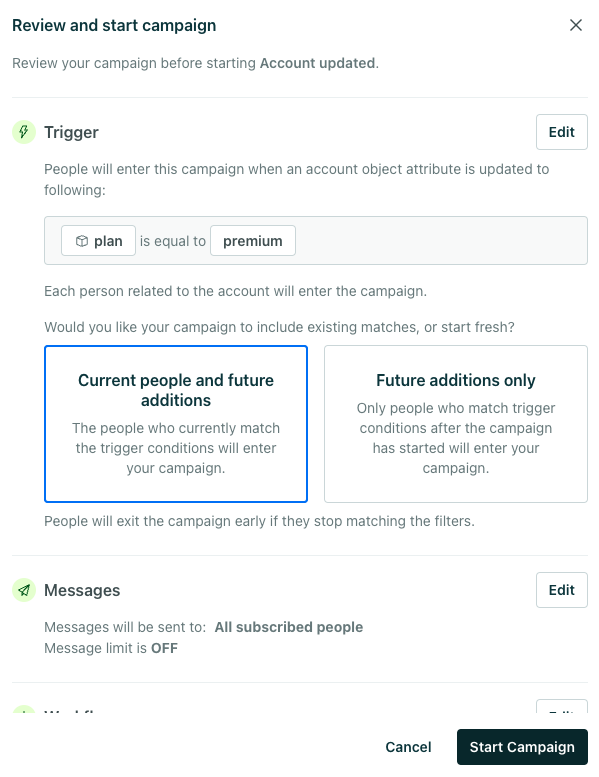
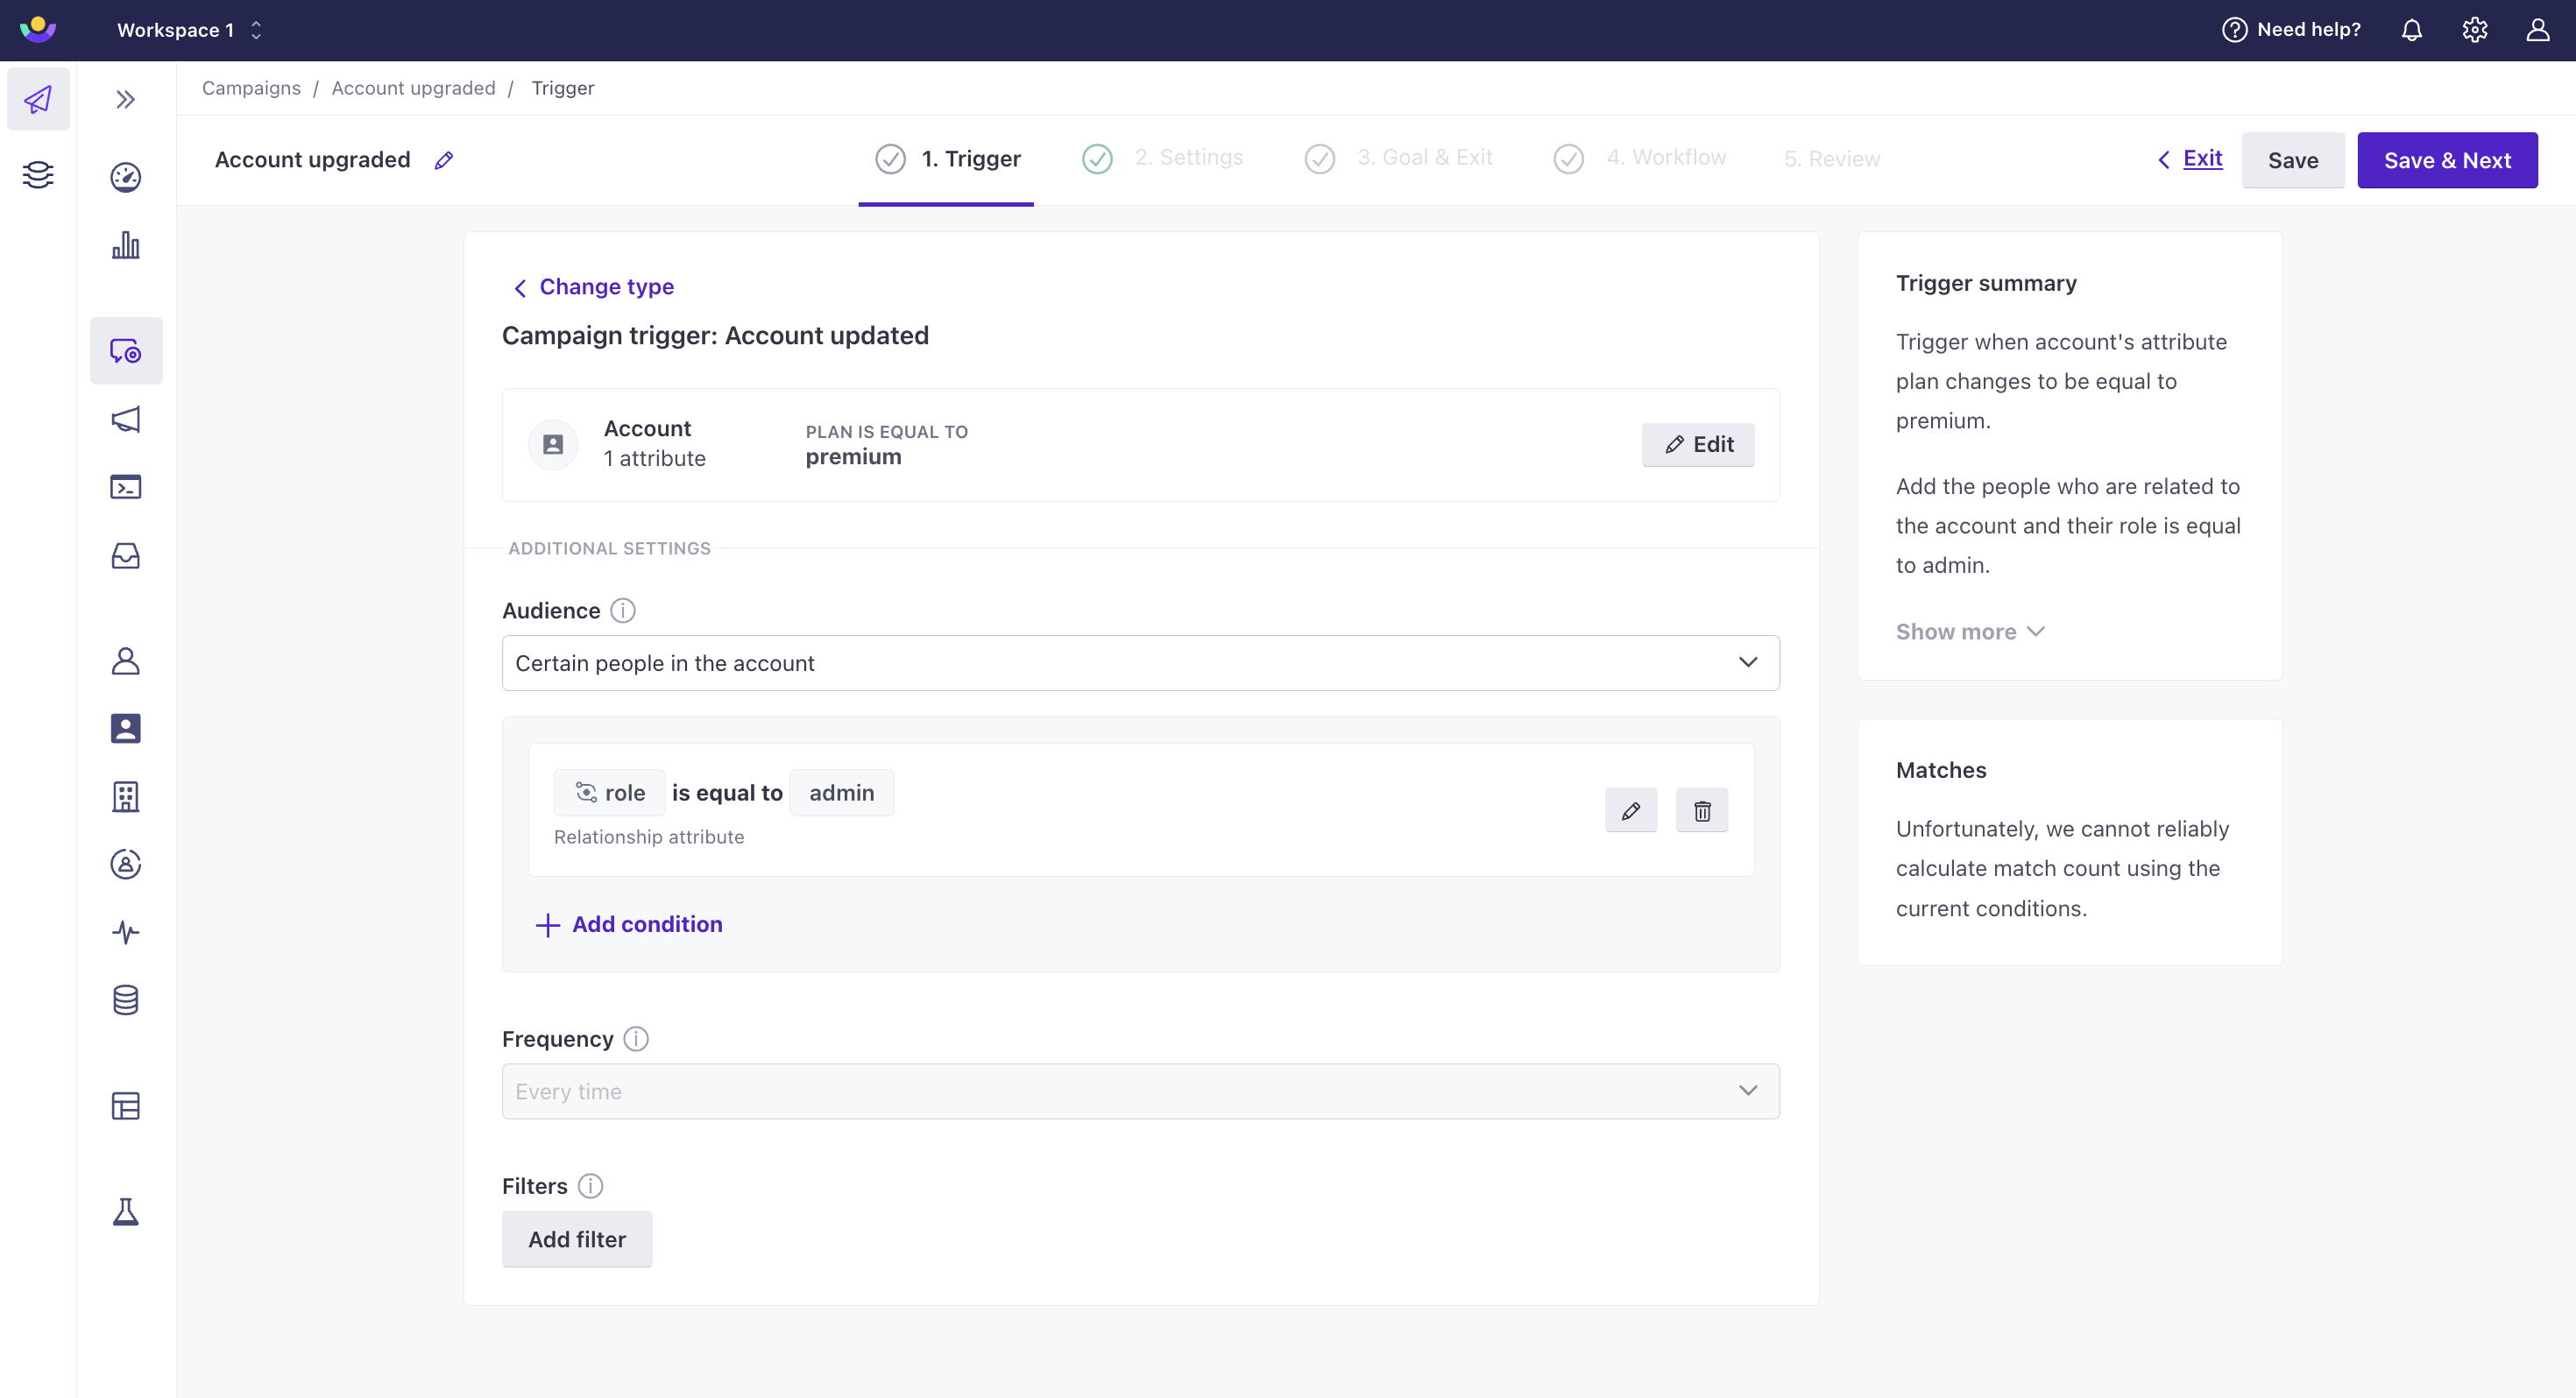
You now have more flexibility over who enters object and relationship-triggered automations! Previously, you could only trigger these automations for people who matched your trigger after the automation started. Now you can trigger these automations for people who already match your automation trigger when the automation starts. For instance, if you trigger an automation when the plan of an Account object changes to premium, you can now include people who are already related to Accounts with premium plans.
Go to the docs →Before now, you weren't able to take advantage of our JavaScript source integration if you used Segment.com's analytics.js client. Now, you can use the two together. If you're a Segment user and want to take advantage of Customer.io's native web integration, you'll call Customer.io from the cioanalytics variable and avoid conflicts with Segment's analytics variable.
Where most in-app messages let you message your audience, inline in-app messages provide a way to send content to your app without requiring an app update. Now, with version 3.8 or later of our native iOS SDK, you can use our in-app features to send messages that don't look like messages! Inline in-app messages let you send content that looks and feels like a part of your app—like personalized coupons, articles that might interest your users, events they might be interested in, and other things that apply to individual app users.
This feature is in early access and is available only to customers who are using our iOS Native SDK. Interested in joining our early release program? Fill out this form ↗ to request access. If you have questions, please let us know.
If you use Cloudflare or JumpCloud as your SSO identity provider (IdP), you can now enable SCIM 2.0 to auto-provision access for team members. After enabling this, just add or remove users from your IdP, and they'll be automatically added or removed from Customer.io. You must be an Account Admin in Customer.io to modify SSO settings. Go to your Account Settings to get started.
Go to the docs →
Our new automation builder has all the same features and functionality as before, but now you can modify settings, trigger data, and your workflow from one place! Modify automation settings in the top-left menu, and click + Build at the bottom to drag messages and actions onto your workflow. You'll automatically have the new experience the next time you log in; no action is needed on your part. All your existing automations will continue to work as expected.
Go to the docs →
We've updated our Expo SDK, adding CDP features so you can seamlessly integrate with destinations beyond Customer.io—like your analytics platform, CRM, or data warehouse. Customer.io can be your customer data platform (CDP) for free!
Read more →
You can now duplicate automations within a workspace to preserve automation settings like triggers, goals, and exit criteria in addition to workflow actions. Previously, you could only copy workflow items across automations.
Go to the docs →
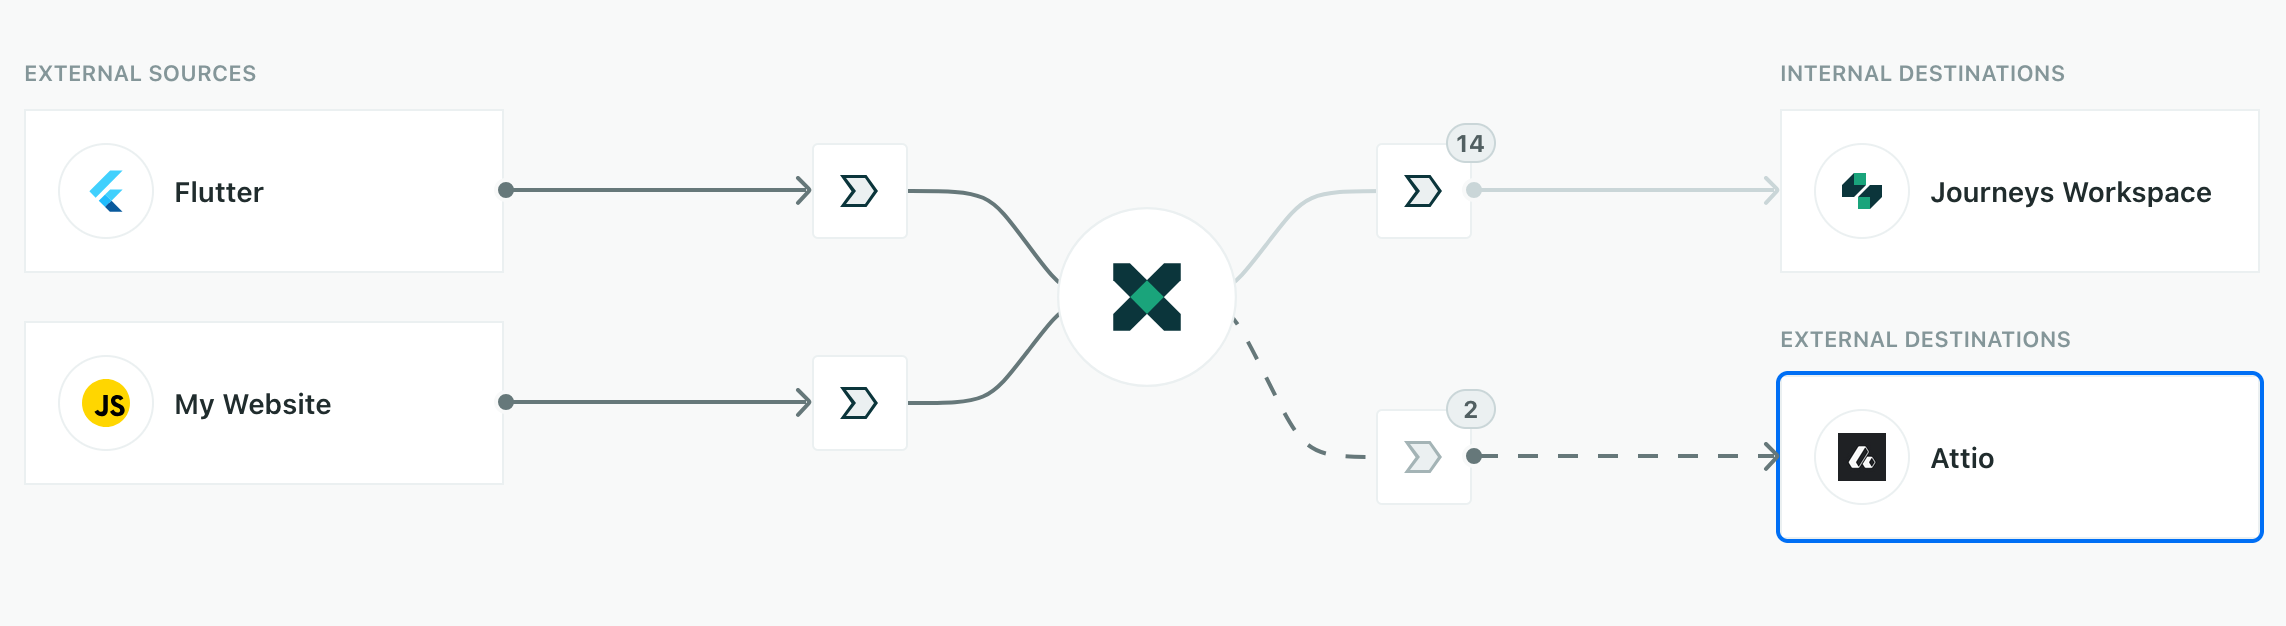
Attio is a Customer Relationship Management (CRM) tool that helps you manage your customers and their relationships. With this integration, you'll send records—the people and companies you identify—to Attio, where you maintain a holistic view of your customers and their activities. This means you can add new people and companies to Attio or enrich records in your CRM with attributes from Customer.io
Go to the docs →
You can relate people to non-people data called objects - like companies, accounts, and online courses - and trigger automations based on this data. Previously, you could only use object and relationship attributes in branches within object and relationship-triggered automations. Now, you can use this data to split people in your workflows across all automation types - segment-triggered, event-triggered, etc. Check out how you can use this functionality to personalize onboarding, drive feature adoption, and more!
Go to the docs →
We've updated our Flutter SDK, and it now has features that help you seamlessly integrate with destinations beyond Customer.io—like your analytics platform, CRM, or data warehouse. Customer.io can be your customer data platform (CDP) for free!
Read more →
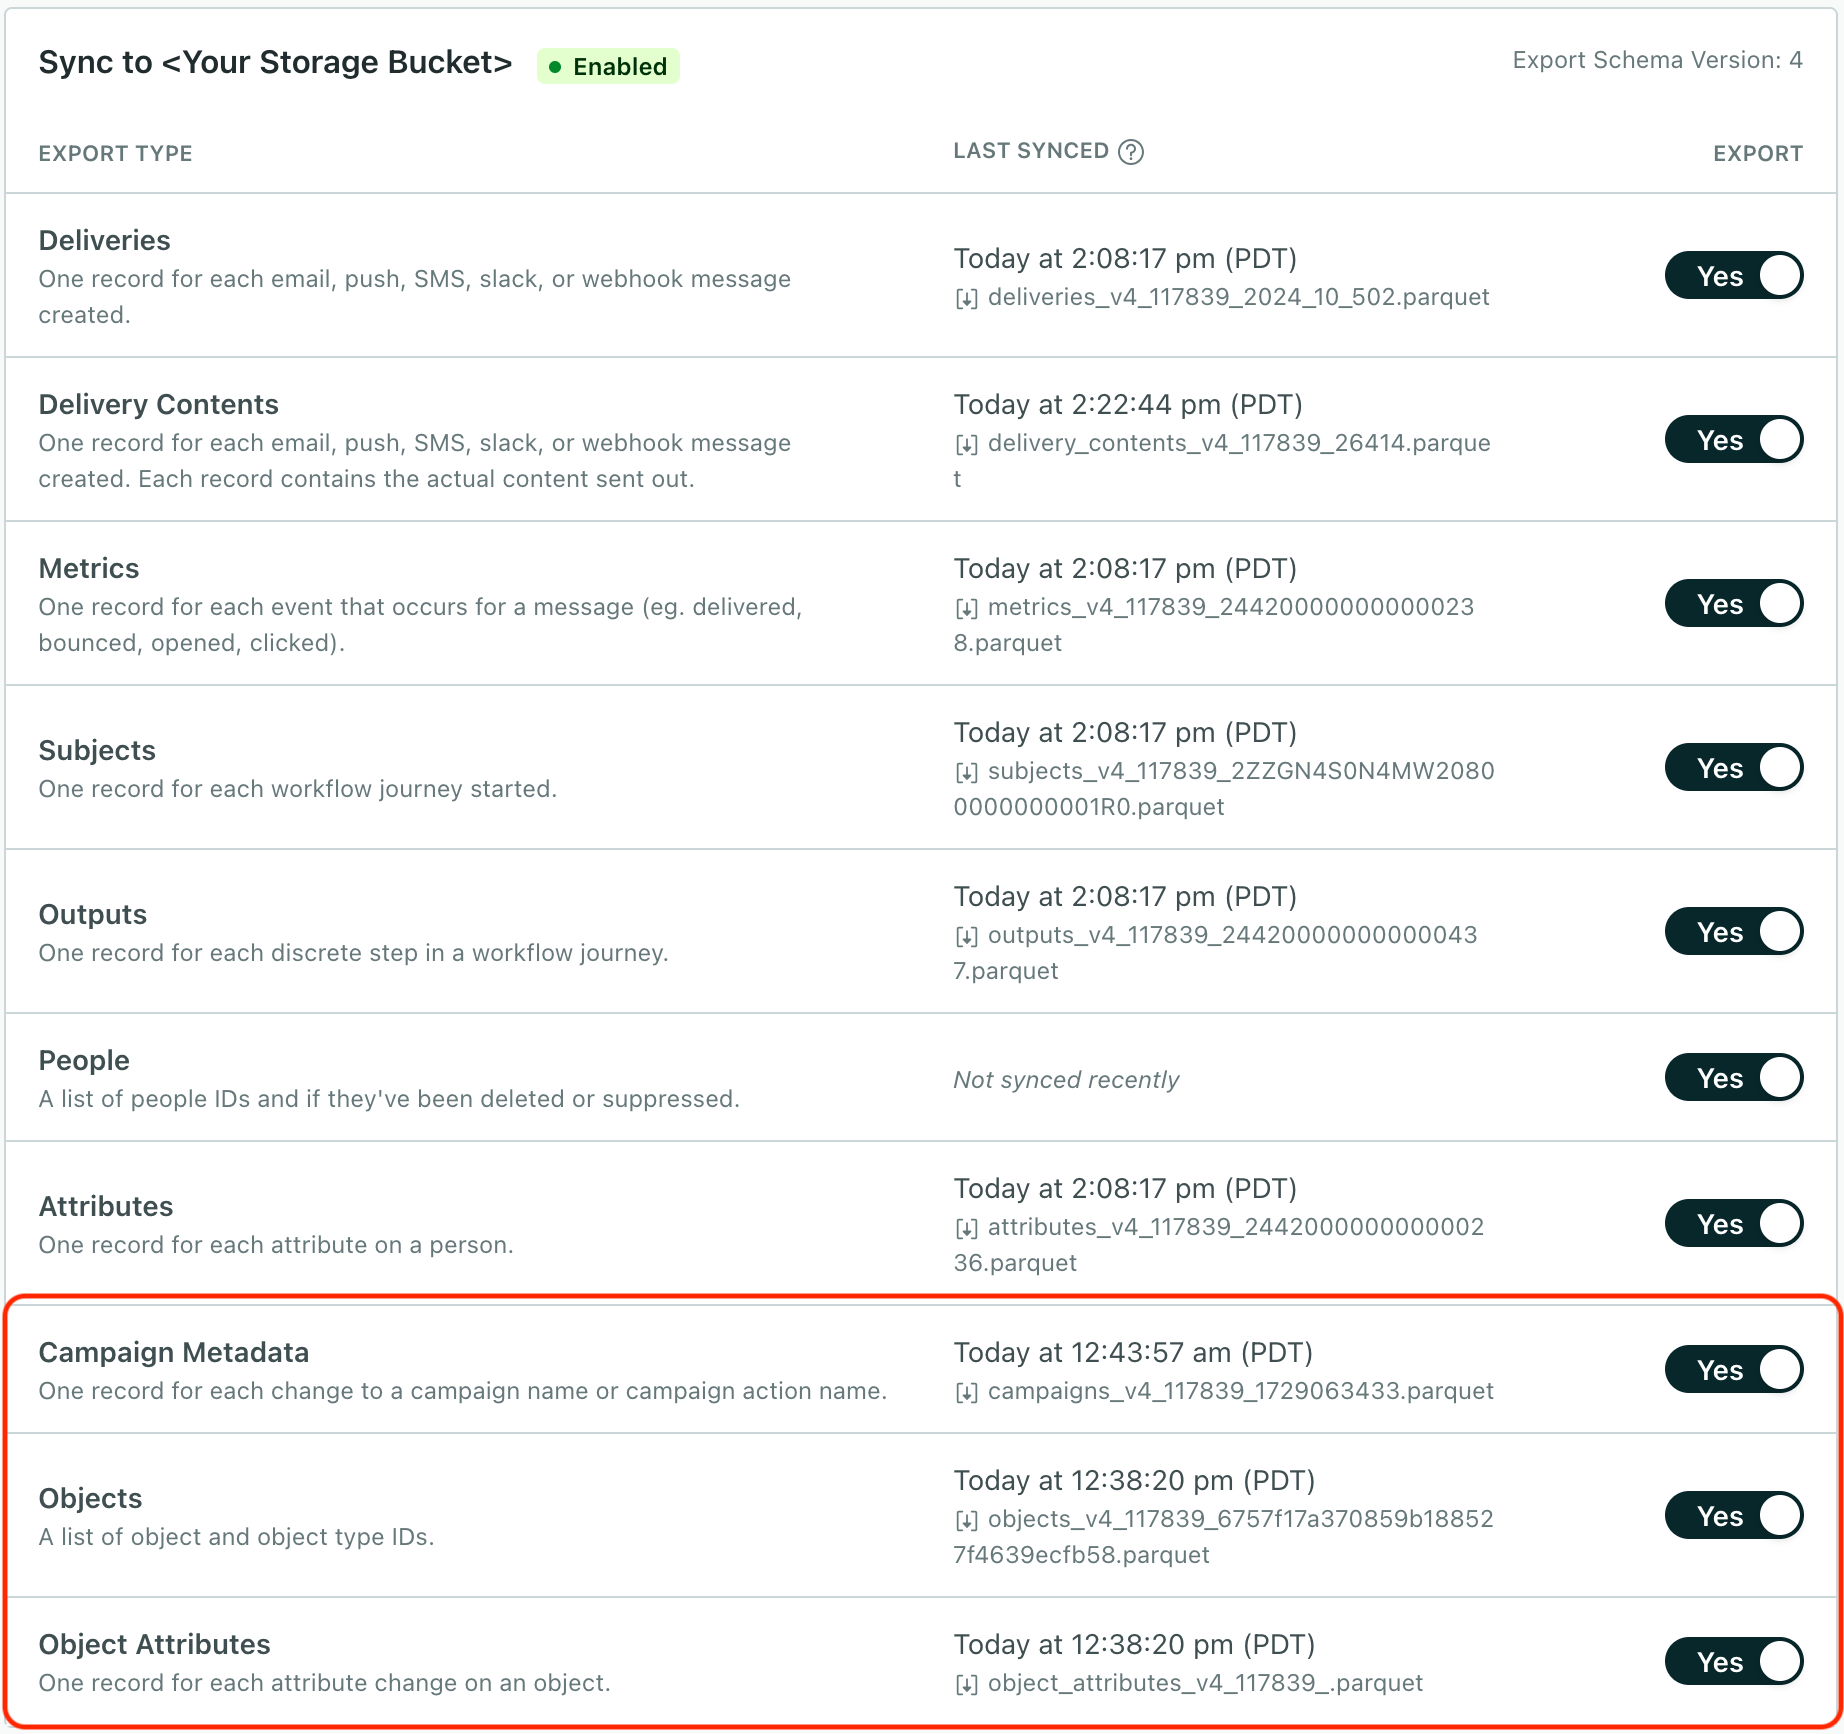
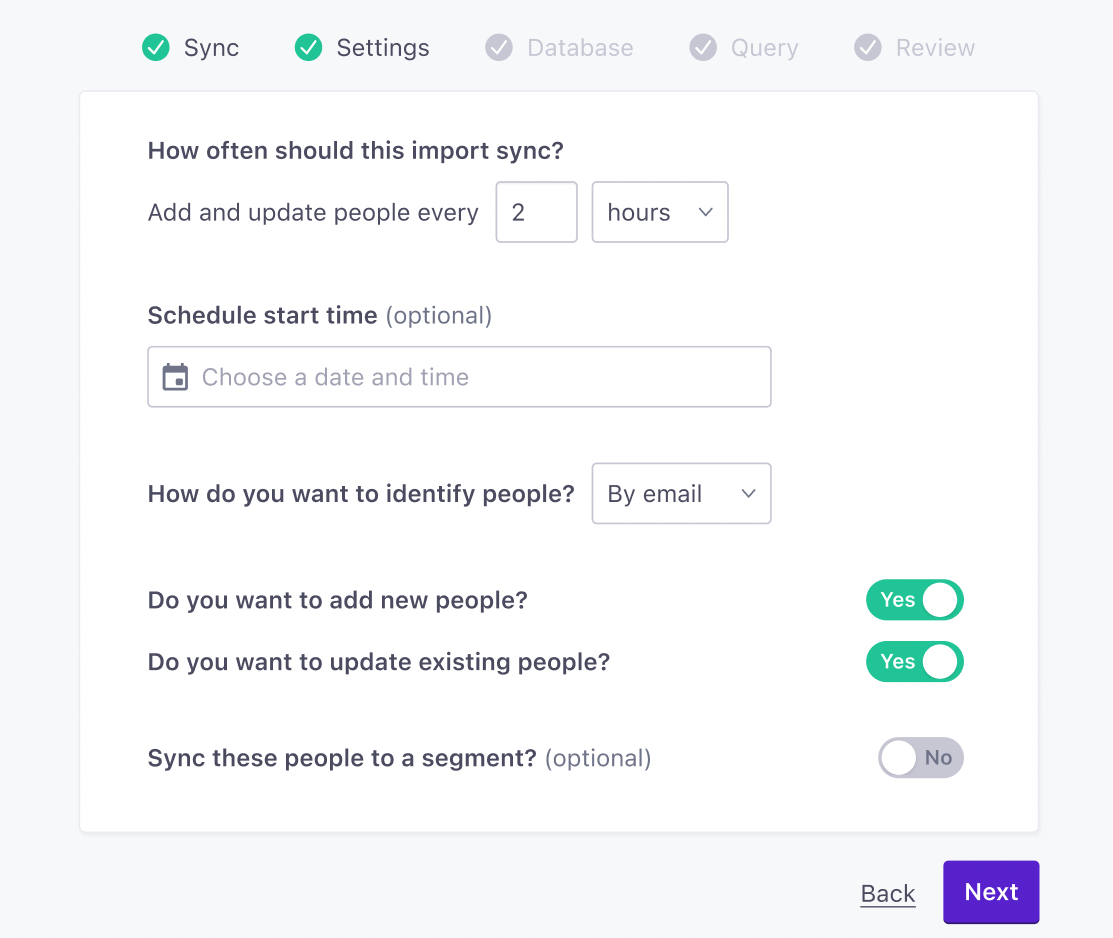
If you've exported Customer.io data to a data warehouse, you might have noticed that while we exported information about people and automations, it might be hard to figure out what automations and messages people received because we exported IDs for those things. We're fixing that problem with new outputs, so you can resolve automations, messages, and object-relationships to the right data with new Automation Metadata and Object exports.
To use these new exports, simply go to your data warehouse integration and turn on the Automation Metadata, Objects, and Object Attributes outputs.
We've updated our React Native SDK, adding CDP features so you can seamlessly integrate with destinations beyond Customer.io—like your analytics platform, CRM, or data warehouse. Customer.io can be your customer data platform (CDP) for free!
Read more →Firebase is a core dependency for many mobile apps and version 11 produced significant changes for Firebase users. Now we support the latest major Firebase release with our iOS-compatible SDKs. To take advantage of Firebase 11 in your Customer.io-integrated app, upgrade to the SDK versions below (or later):
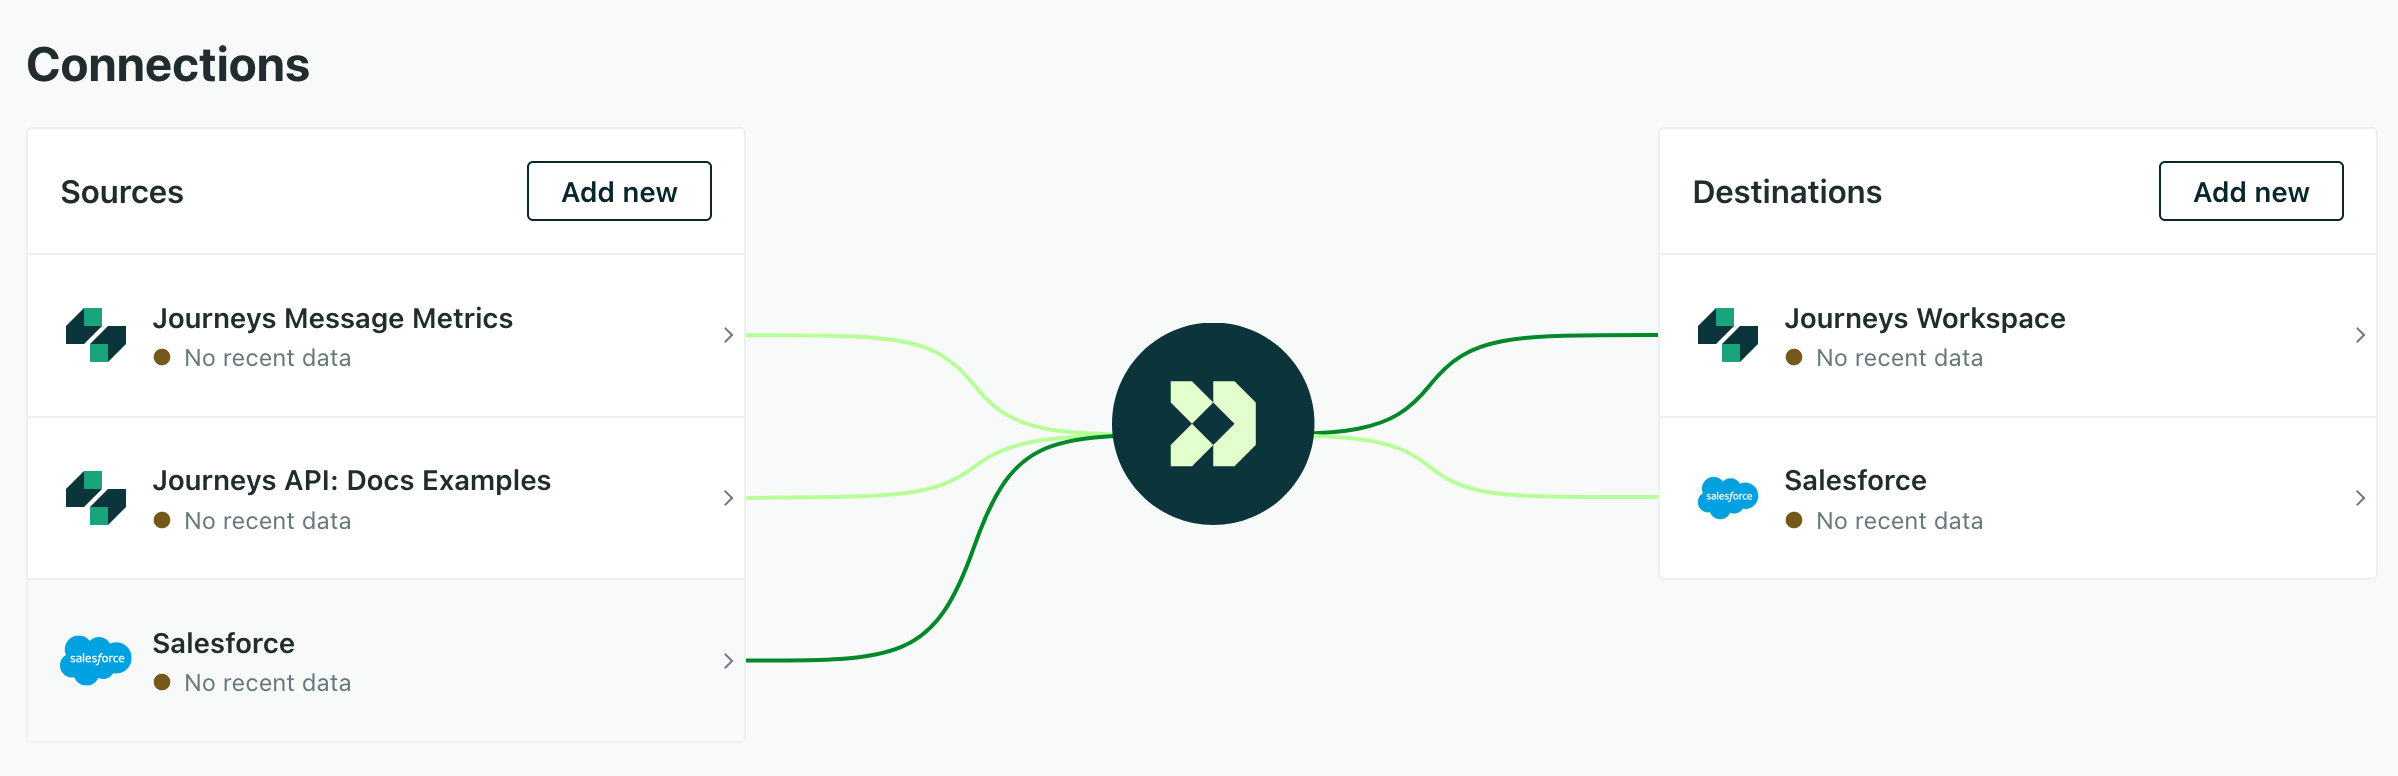
Our Salesforce integrations were available in early access for the past few months while we polished the feature. Now we're excited to announce our Salesforce integration is available to everyone on premium or enterprise plans. By syncing your Salesforce data with Customer.io, you'll be able to nurture leads, keep up with your contacts, and activate all the complex relationships that you normally store in your enterprise CRM.
Read more →
In the past, you not only had to know who you wanted to send your in-app message to, but how you identified them—by email or ID. Now, you can send in-app messages to your audience without needing to know how you identified them. Whenever and however you identify people, they'll get your message.
If you already set them up with the To field, you have nothing to worry about. We’ve taken care of things for you. Your messages will go to the right person, whether you identify them by ID or email address.
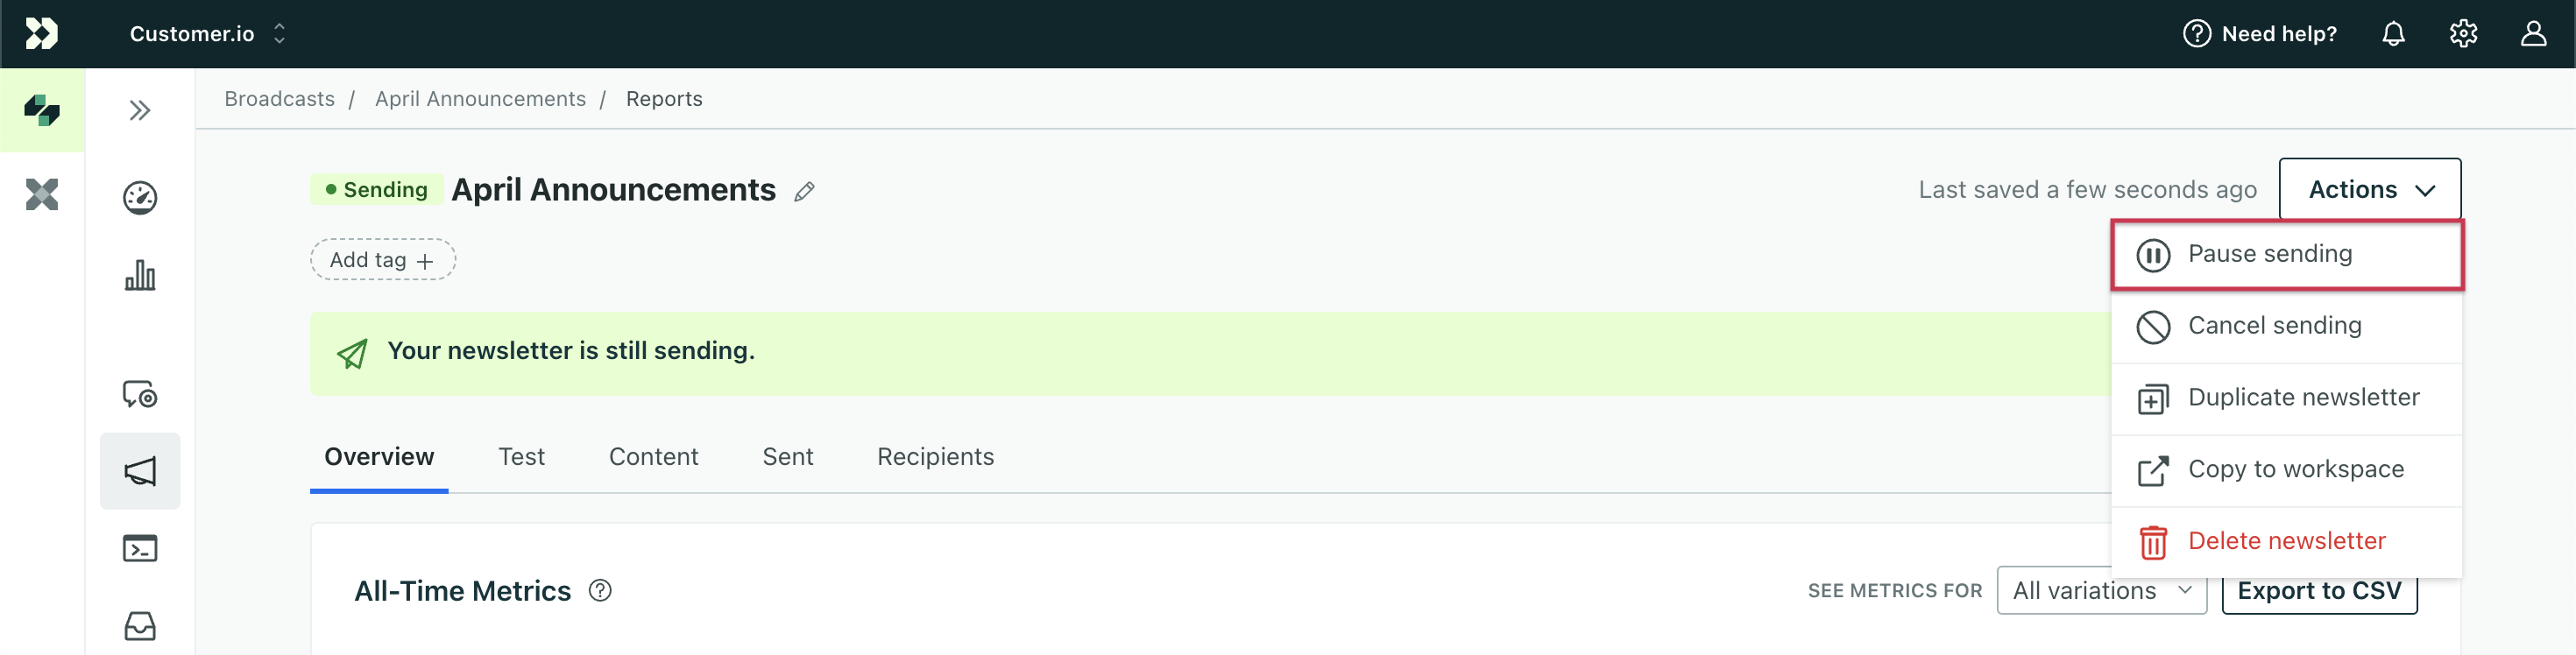
You can now pause a newsletter, fix a typo or other information in your message, then resume sending. You can pause a newsletter using any message channel - email, in-app, etc. You must have Workspace Admin or Author permissions to pause and resume a newsletter.
Go to the docs →
The latest version of our Android SDK is out, helping you support seamless integrations with both Customer.io and your data to downstream destinations—like your analytics platform, CRM, or data warehouse. This release also adds support for anonymous users.
Read more →
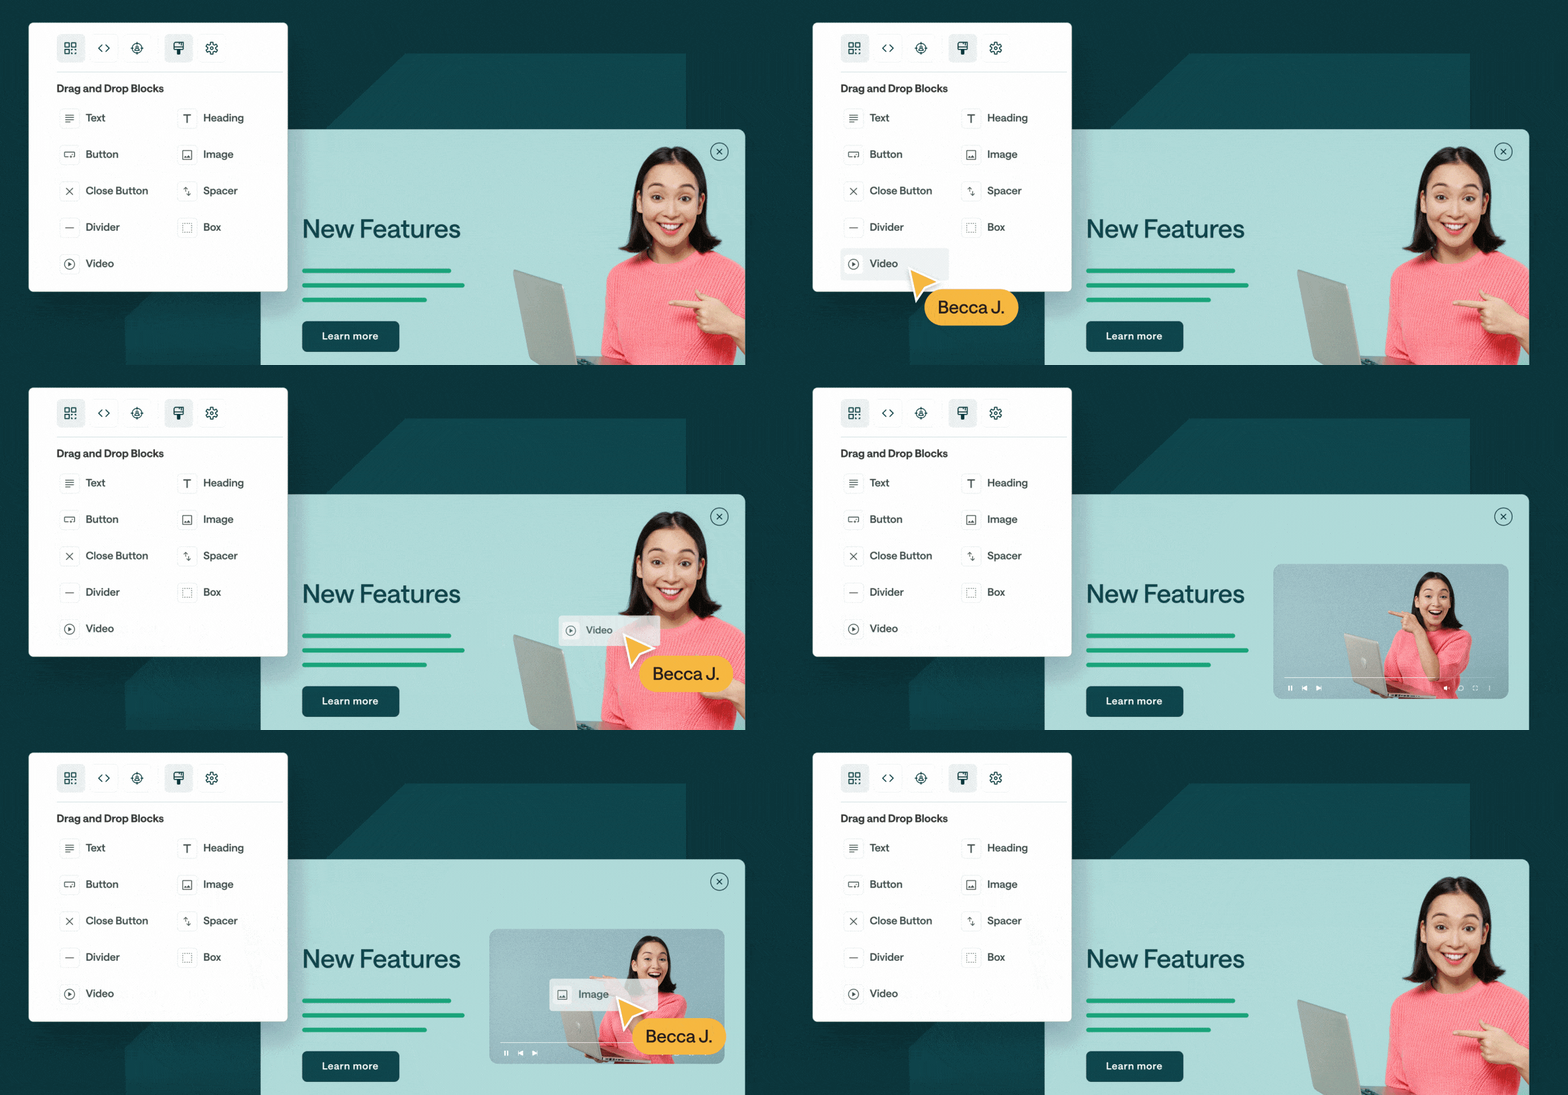
While we've supported in-app messages for a while, we knew that our initial in-app message editor was clunky and hard to use. We've rebuilt it from the ground up, so you can create in-app messages with a drag-and-drop editor. Now you can easily build in-app messages that look and feel like parts of your app or website. With this release, we even added support for video in in-app messages!
Read more →
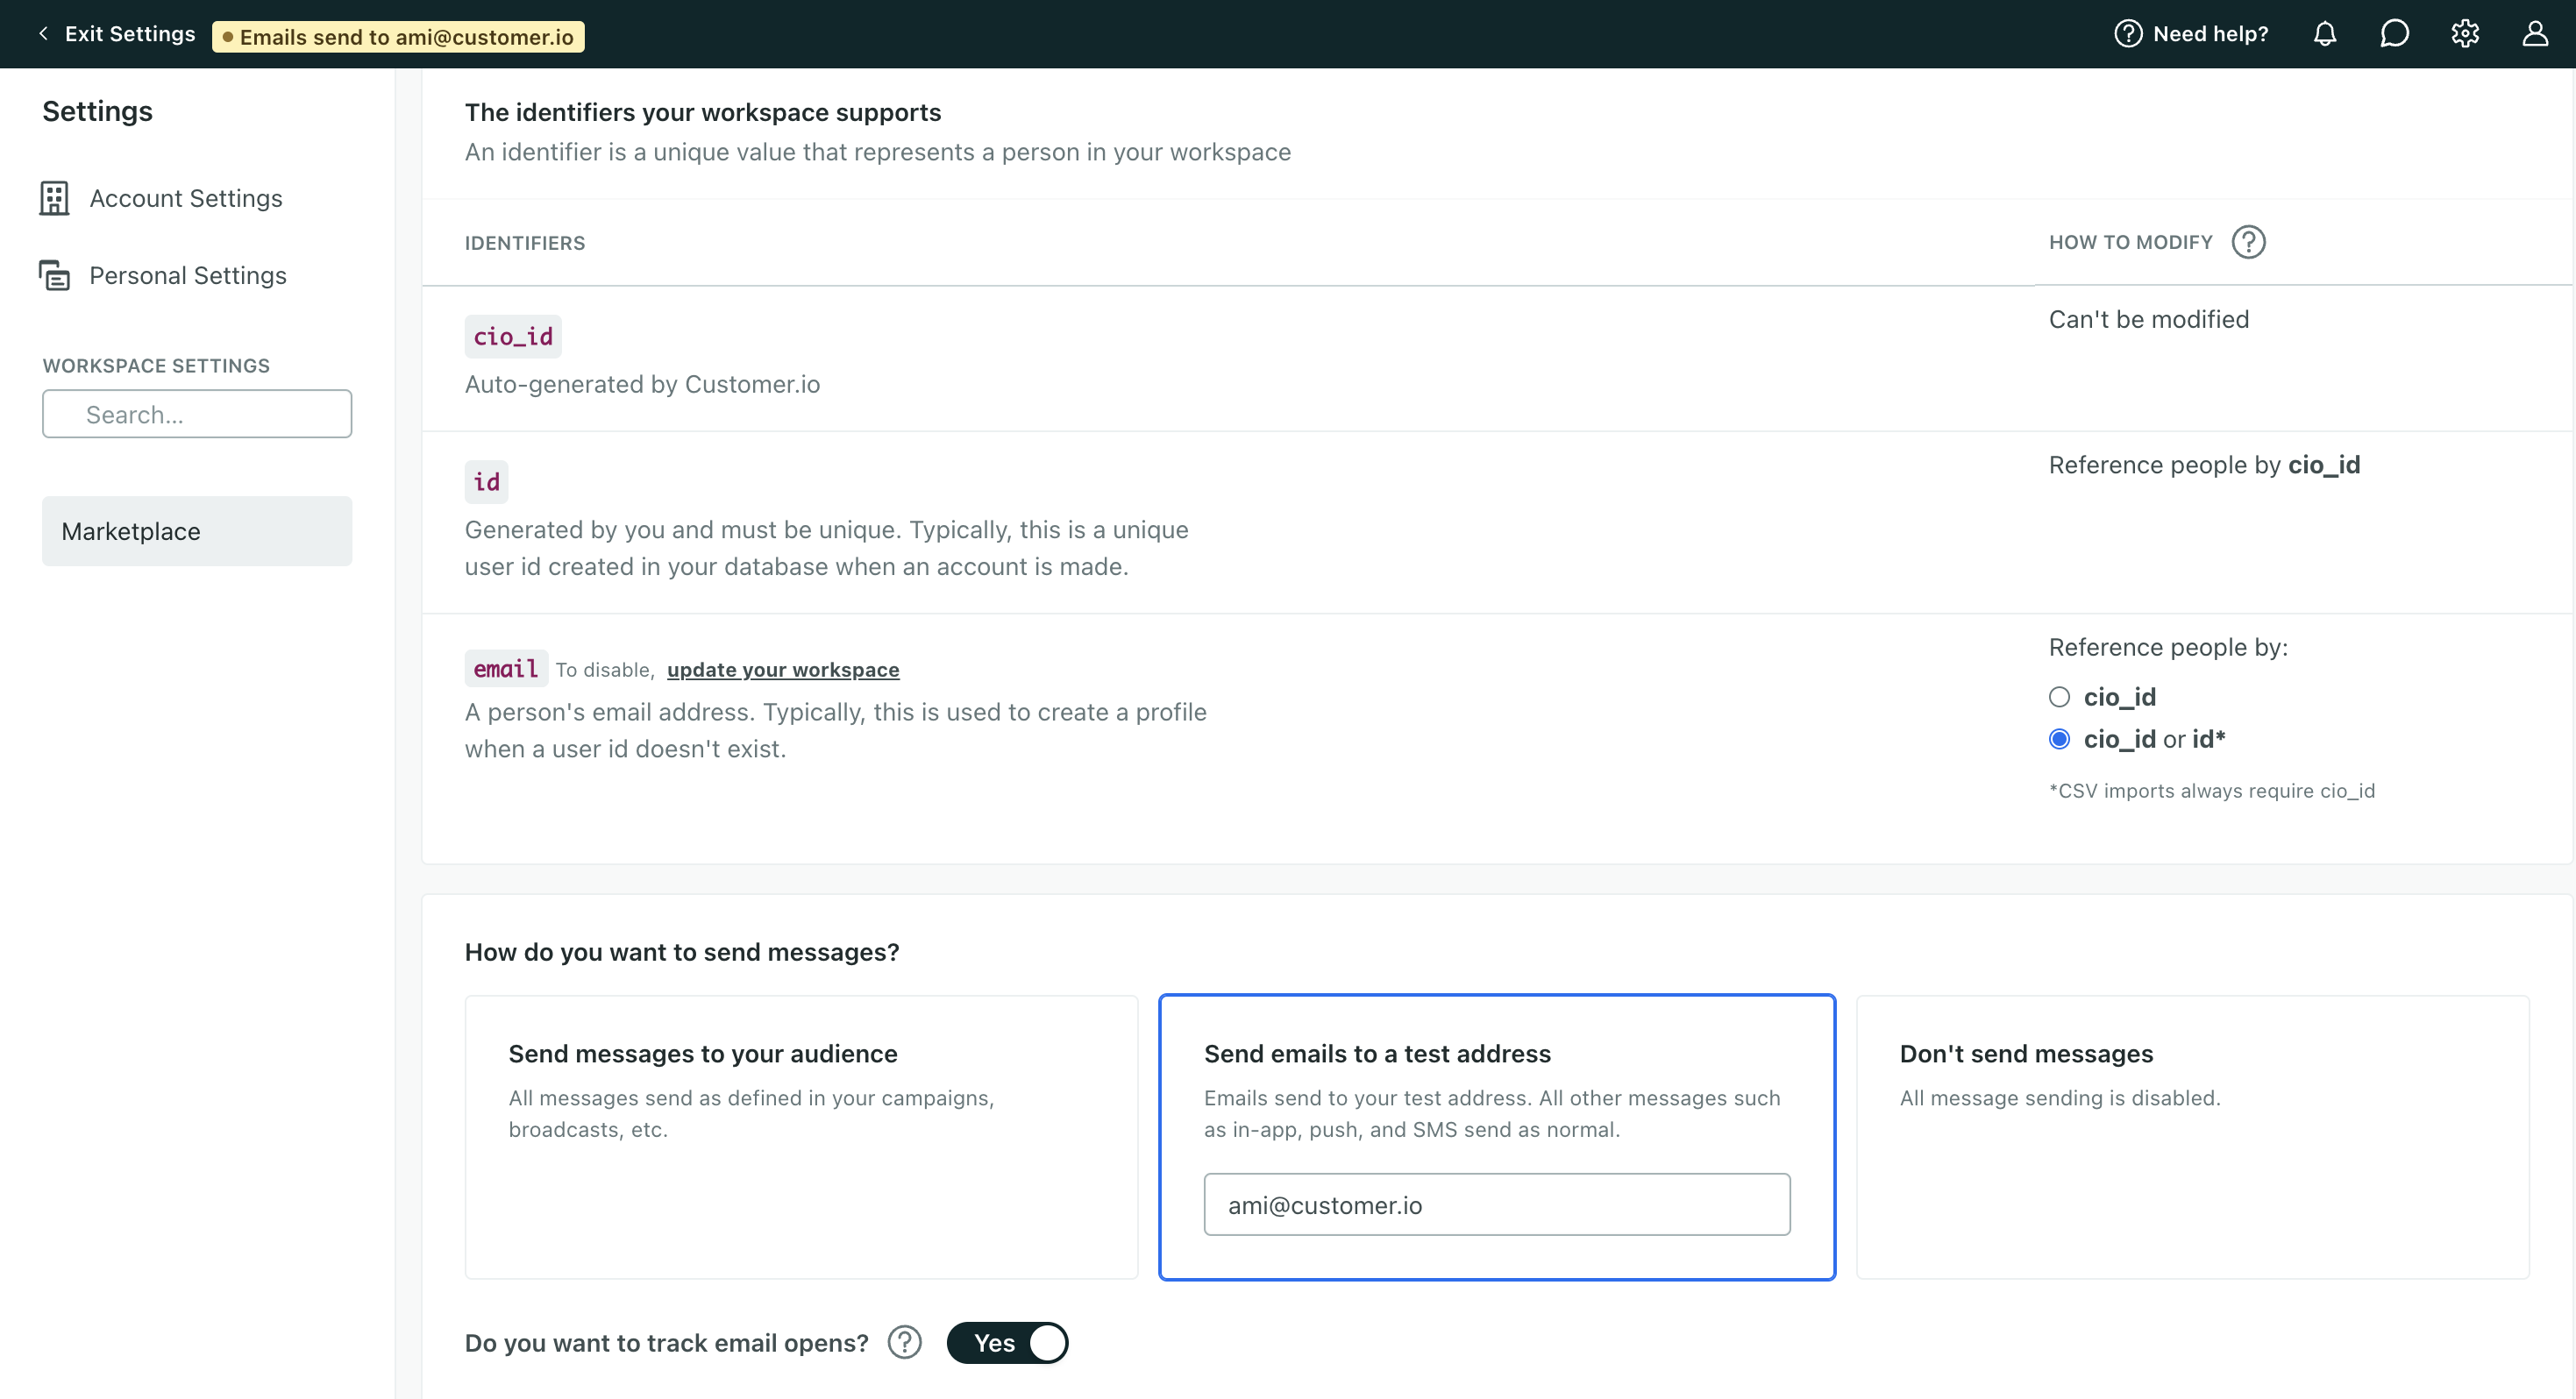
You can now send emails to a team member before verifying your domain so you can test them without delay. Admins and Workspace Admins can manage message sending and who receives test emails from General Workspace Settings.
Go to the docs →
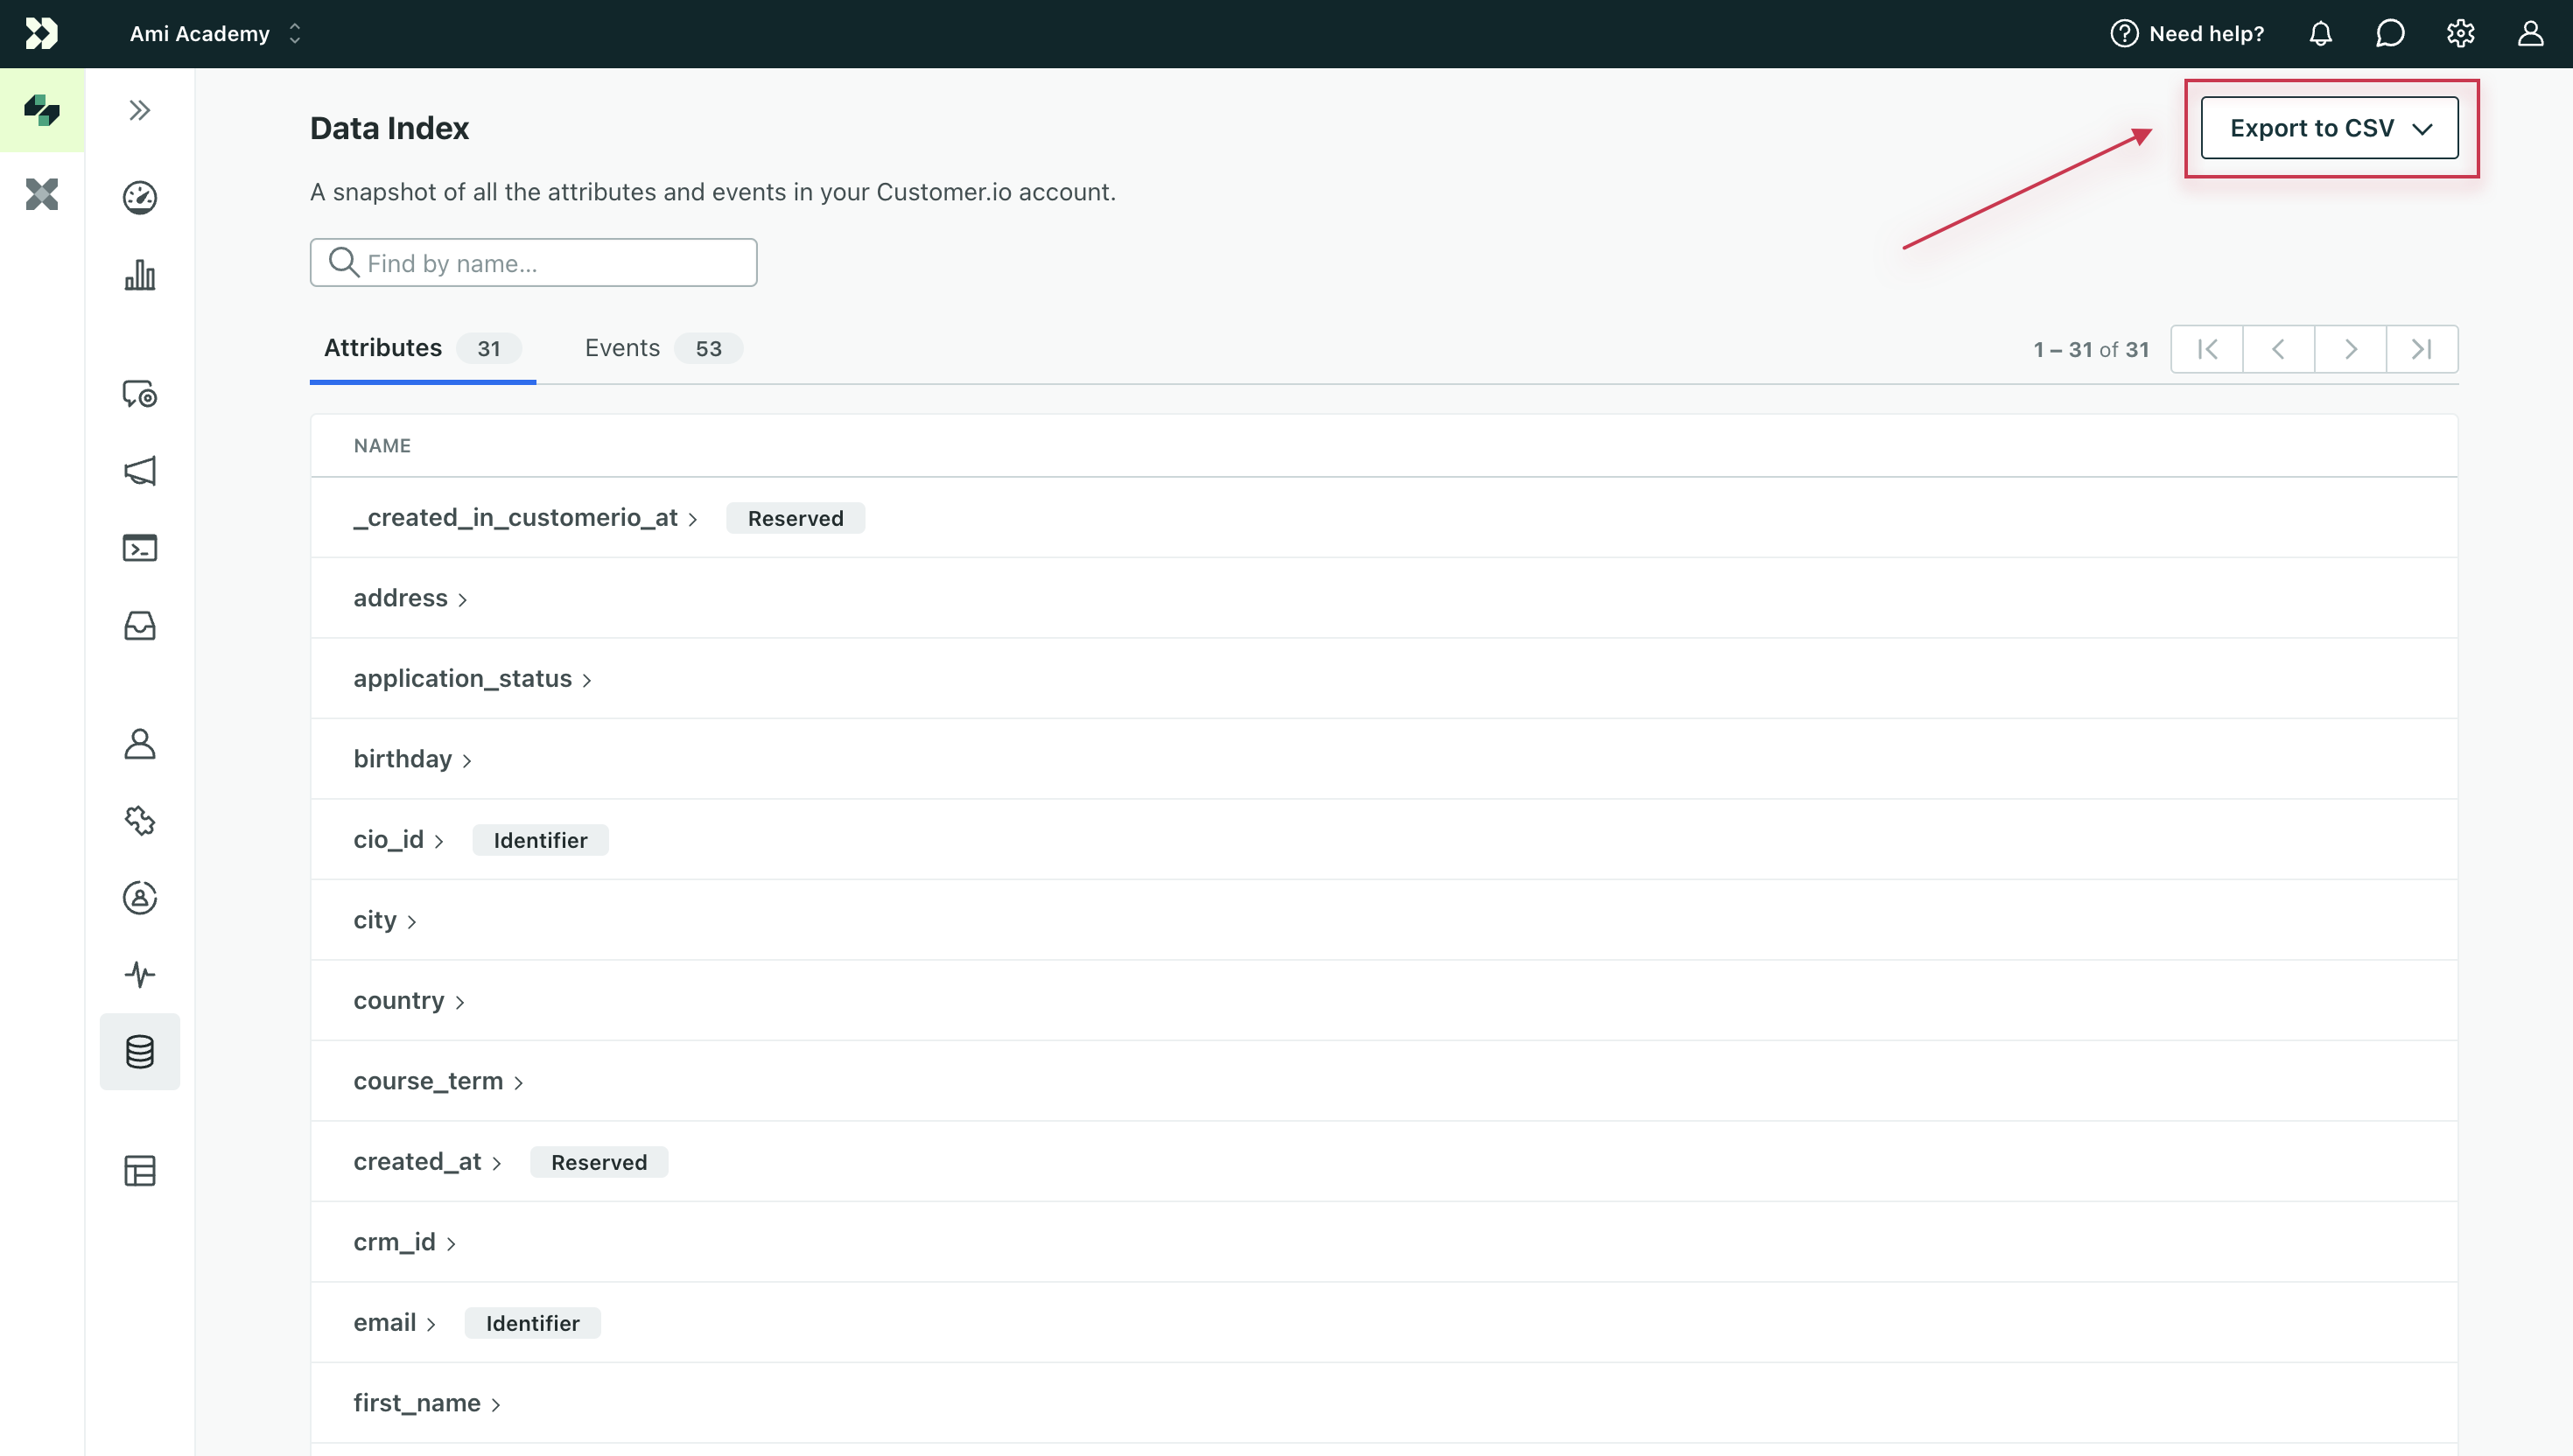
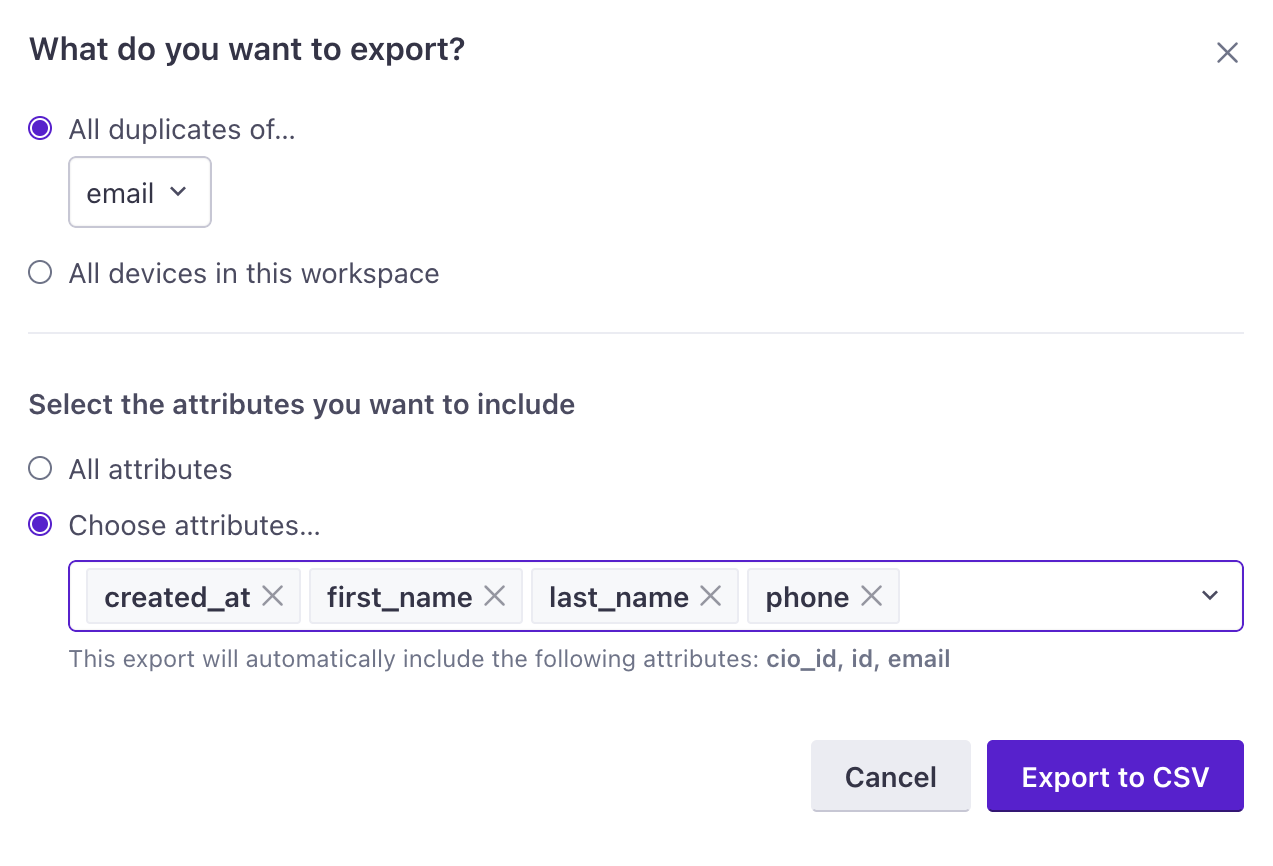
You can now export attribute and event data by going to Data Index in your workspace. You must be a Workspace Admin to export your data index.
Go to the docs →
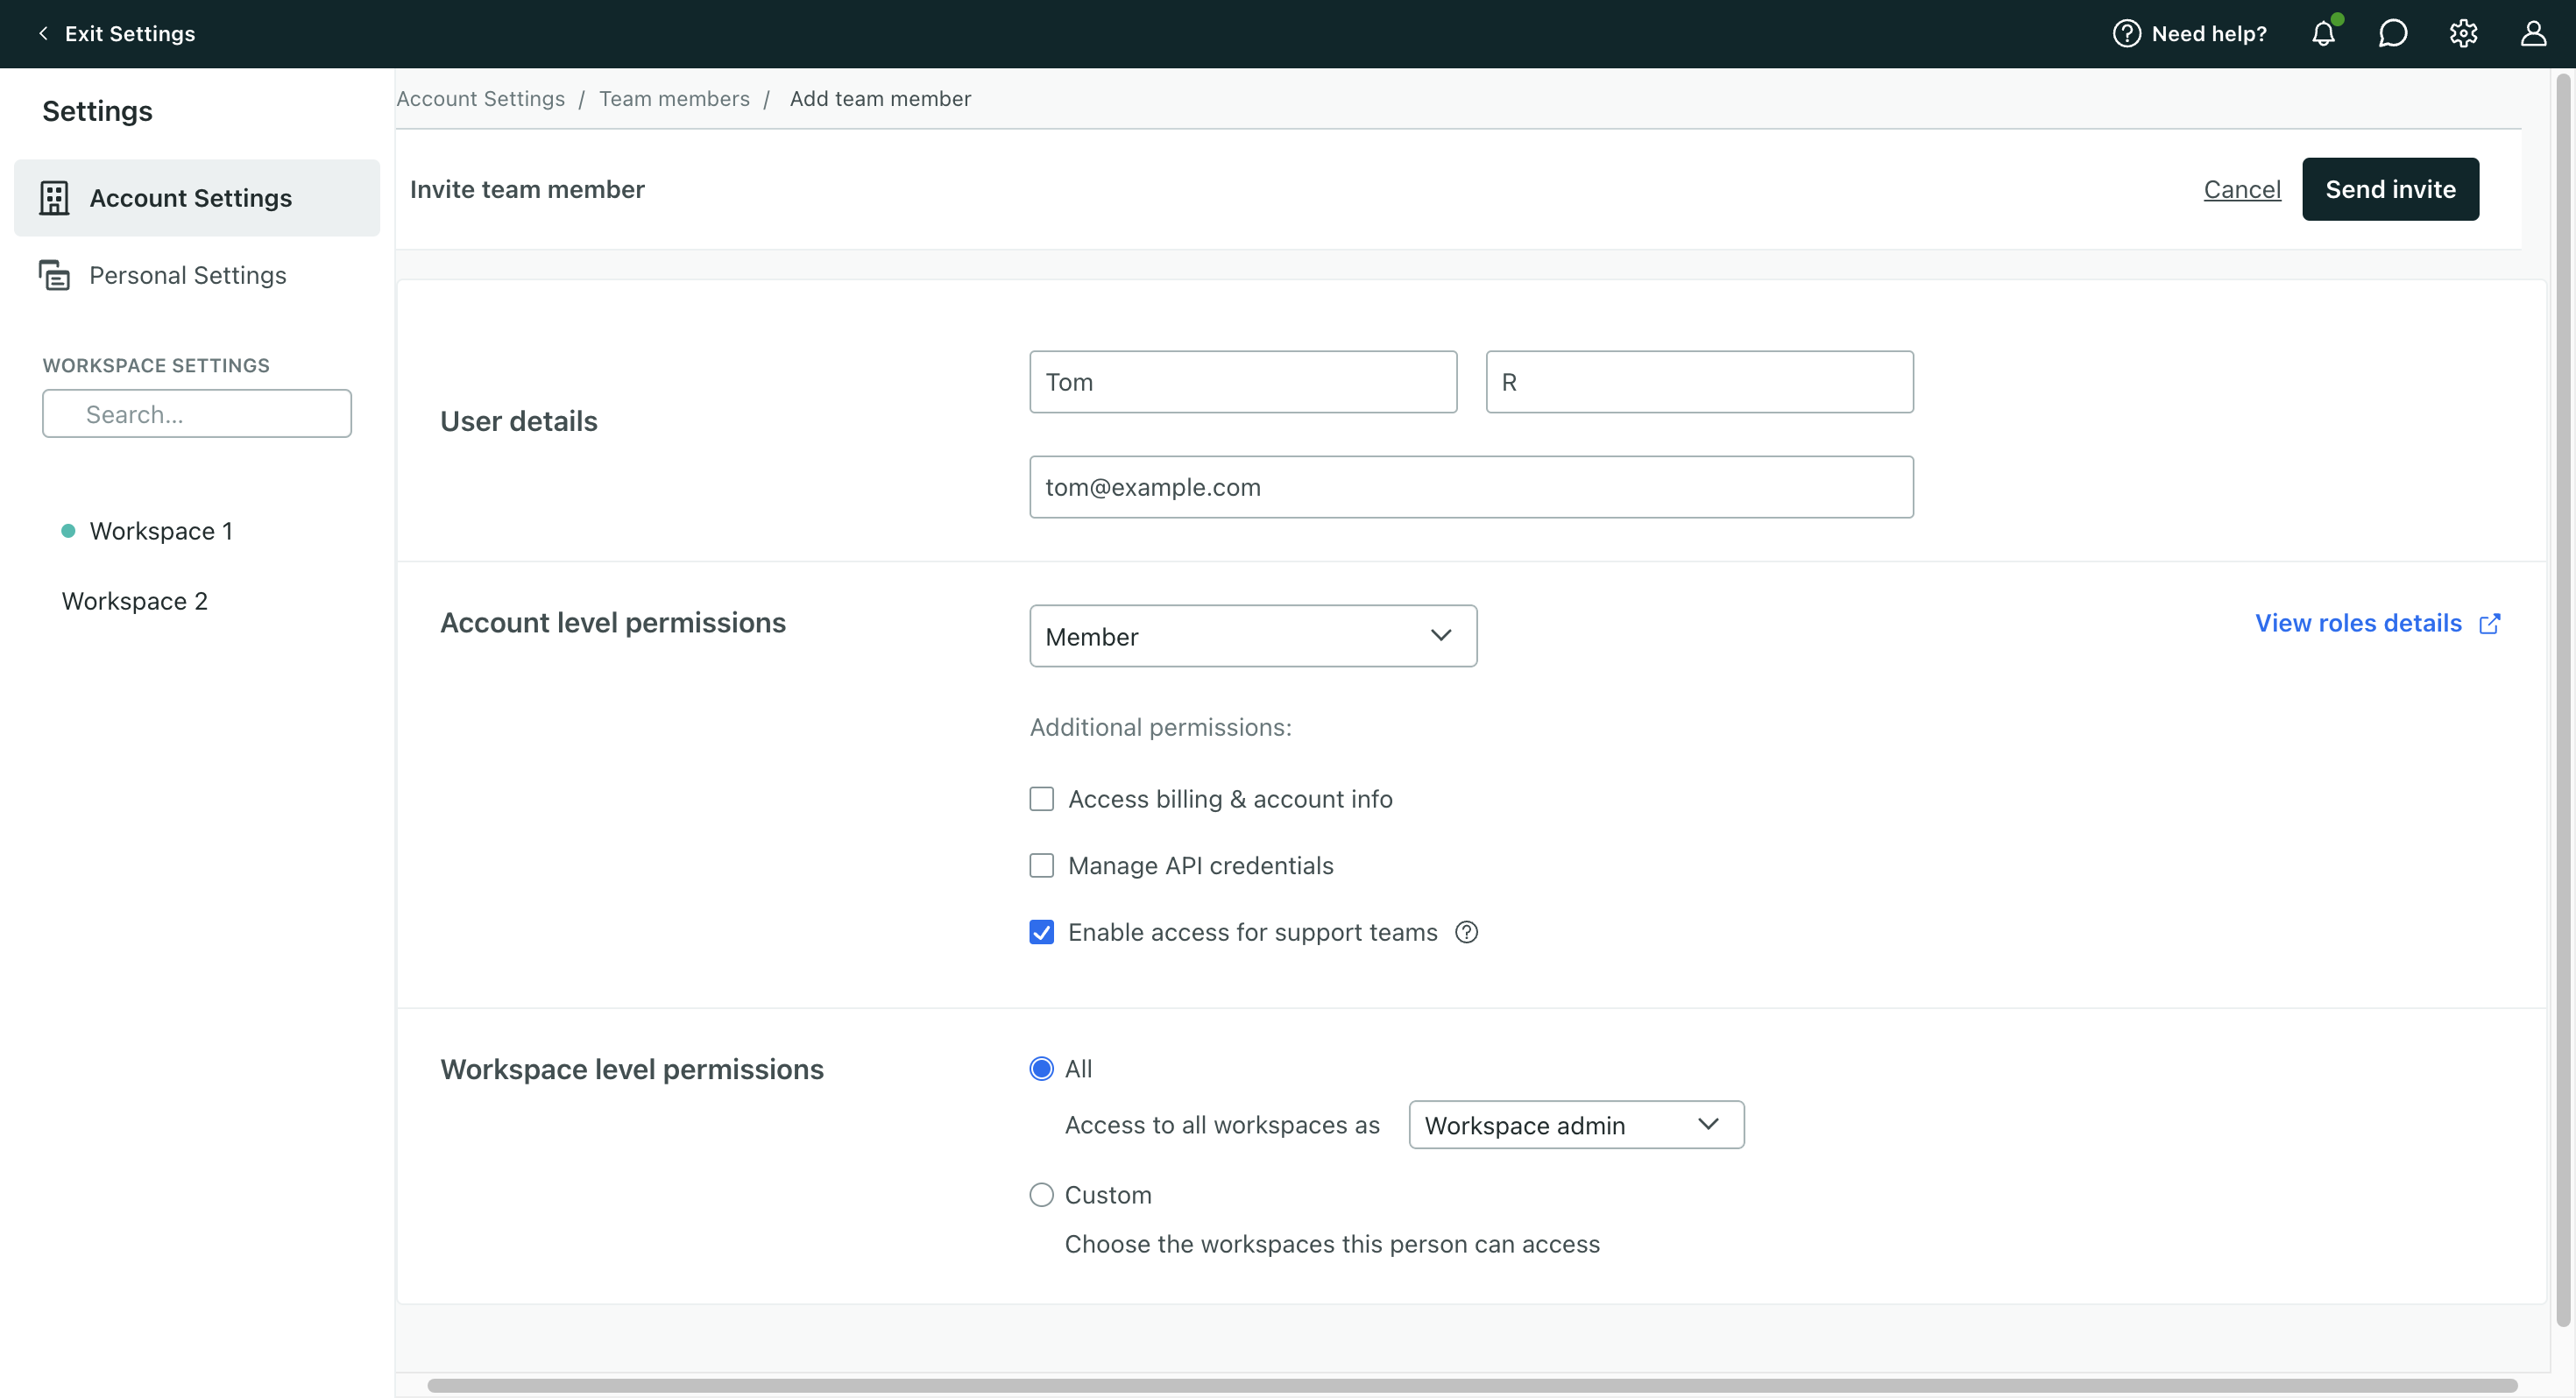
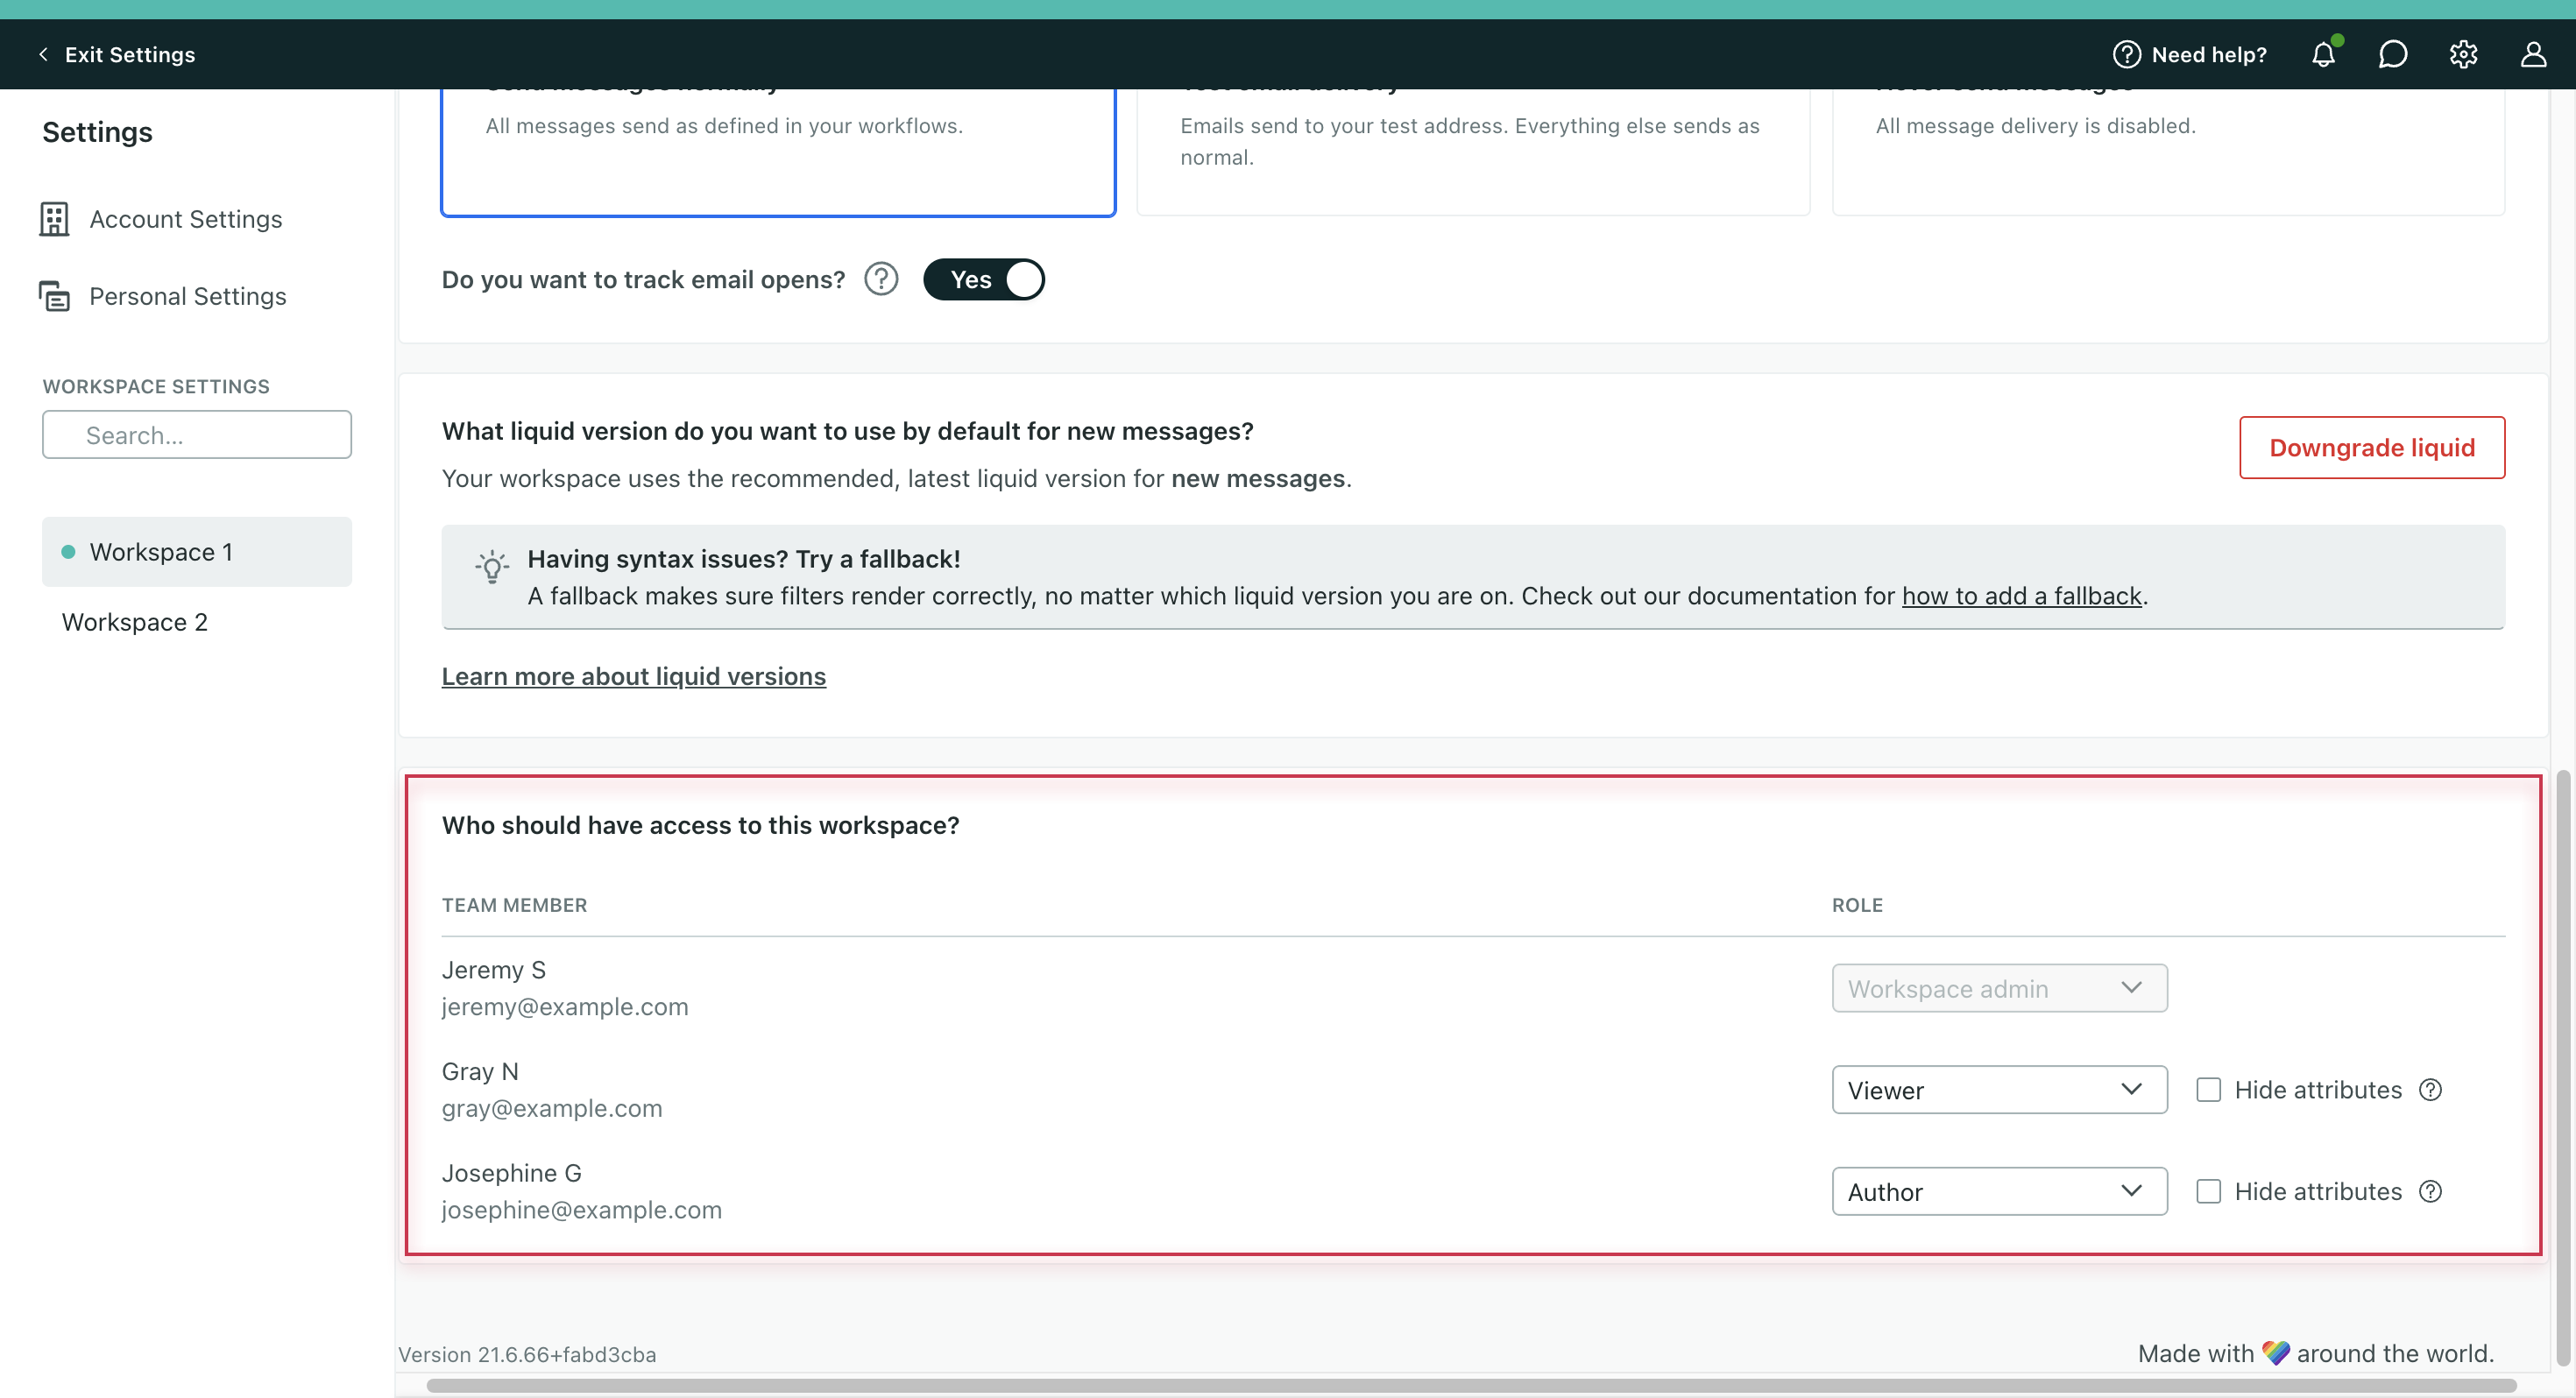
We've added a new account-level role, Member, so you can grant read-only access to account settings. You can also grant Members the ability to manage account info and billing, manage API credentials, or enable access for Customer.io support teams. Everyone who was a Workspace Admin, Author, or Viewer now also has a Member role to reflect the account-level permissions they already had. No one's access to your account has changed. We did not grant or remove permissions from any team member.
In the past, you could only assign a single role to each team member then limit which workspaces they had access to. Now, you can specify a different role for each workspace they have access to. This gives you more control over what your team members can manage across workspaces.
Go to the docs →
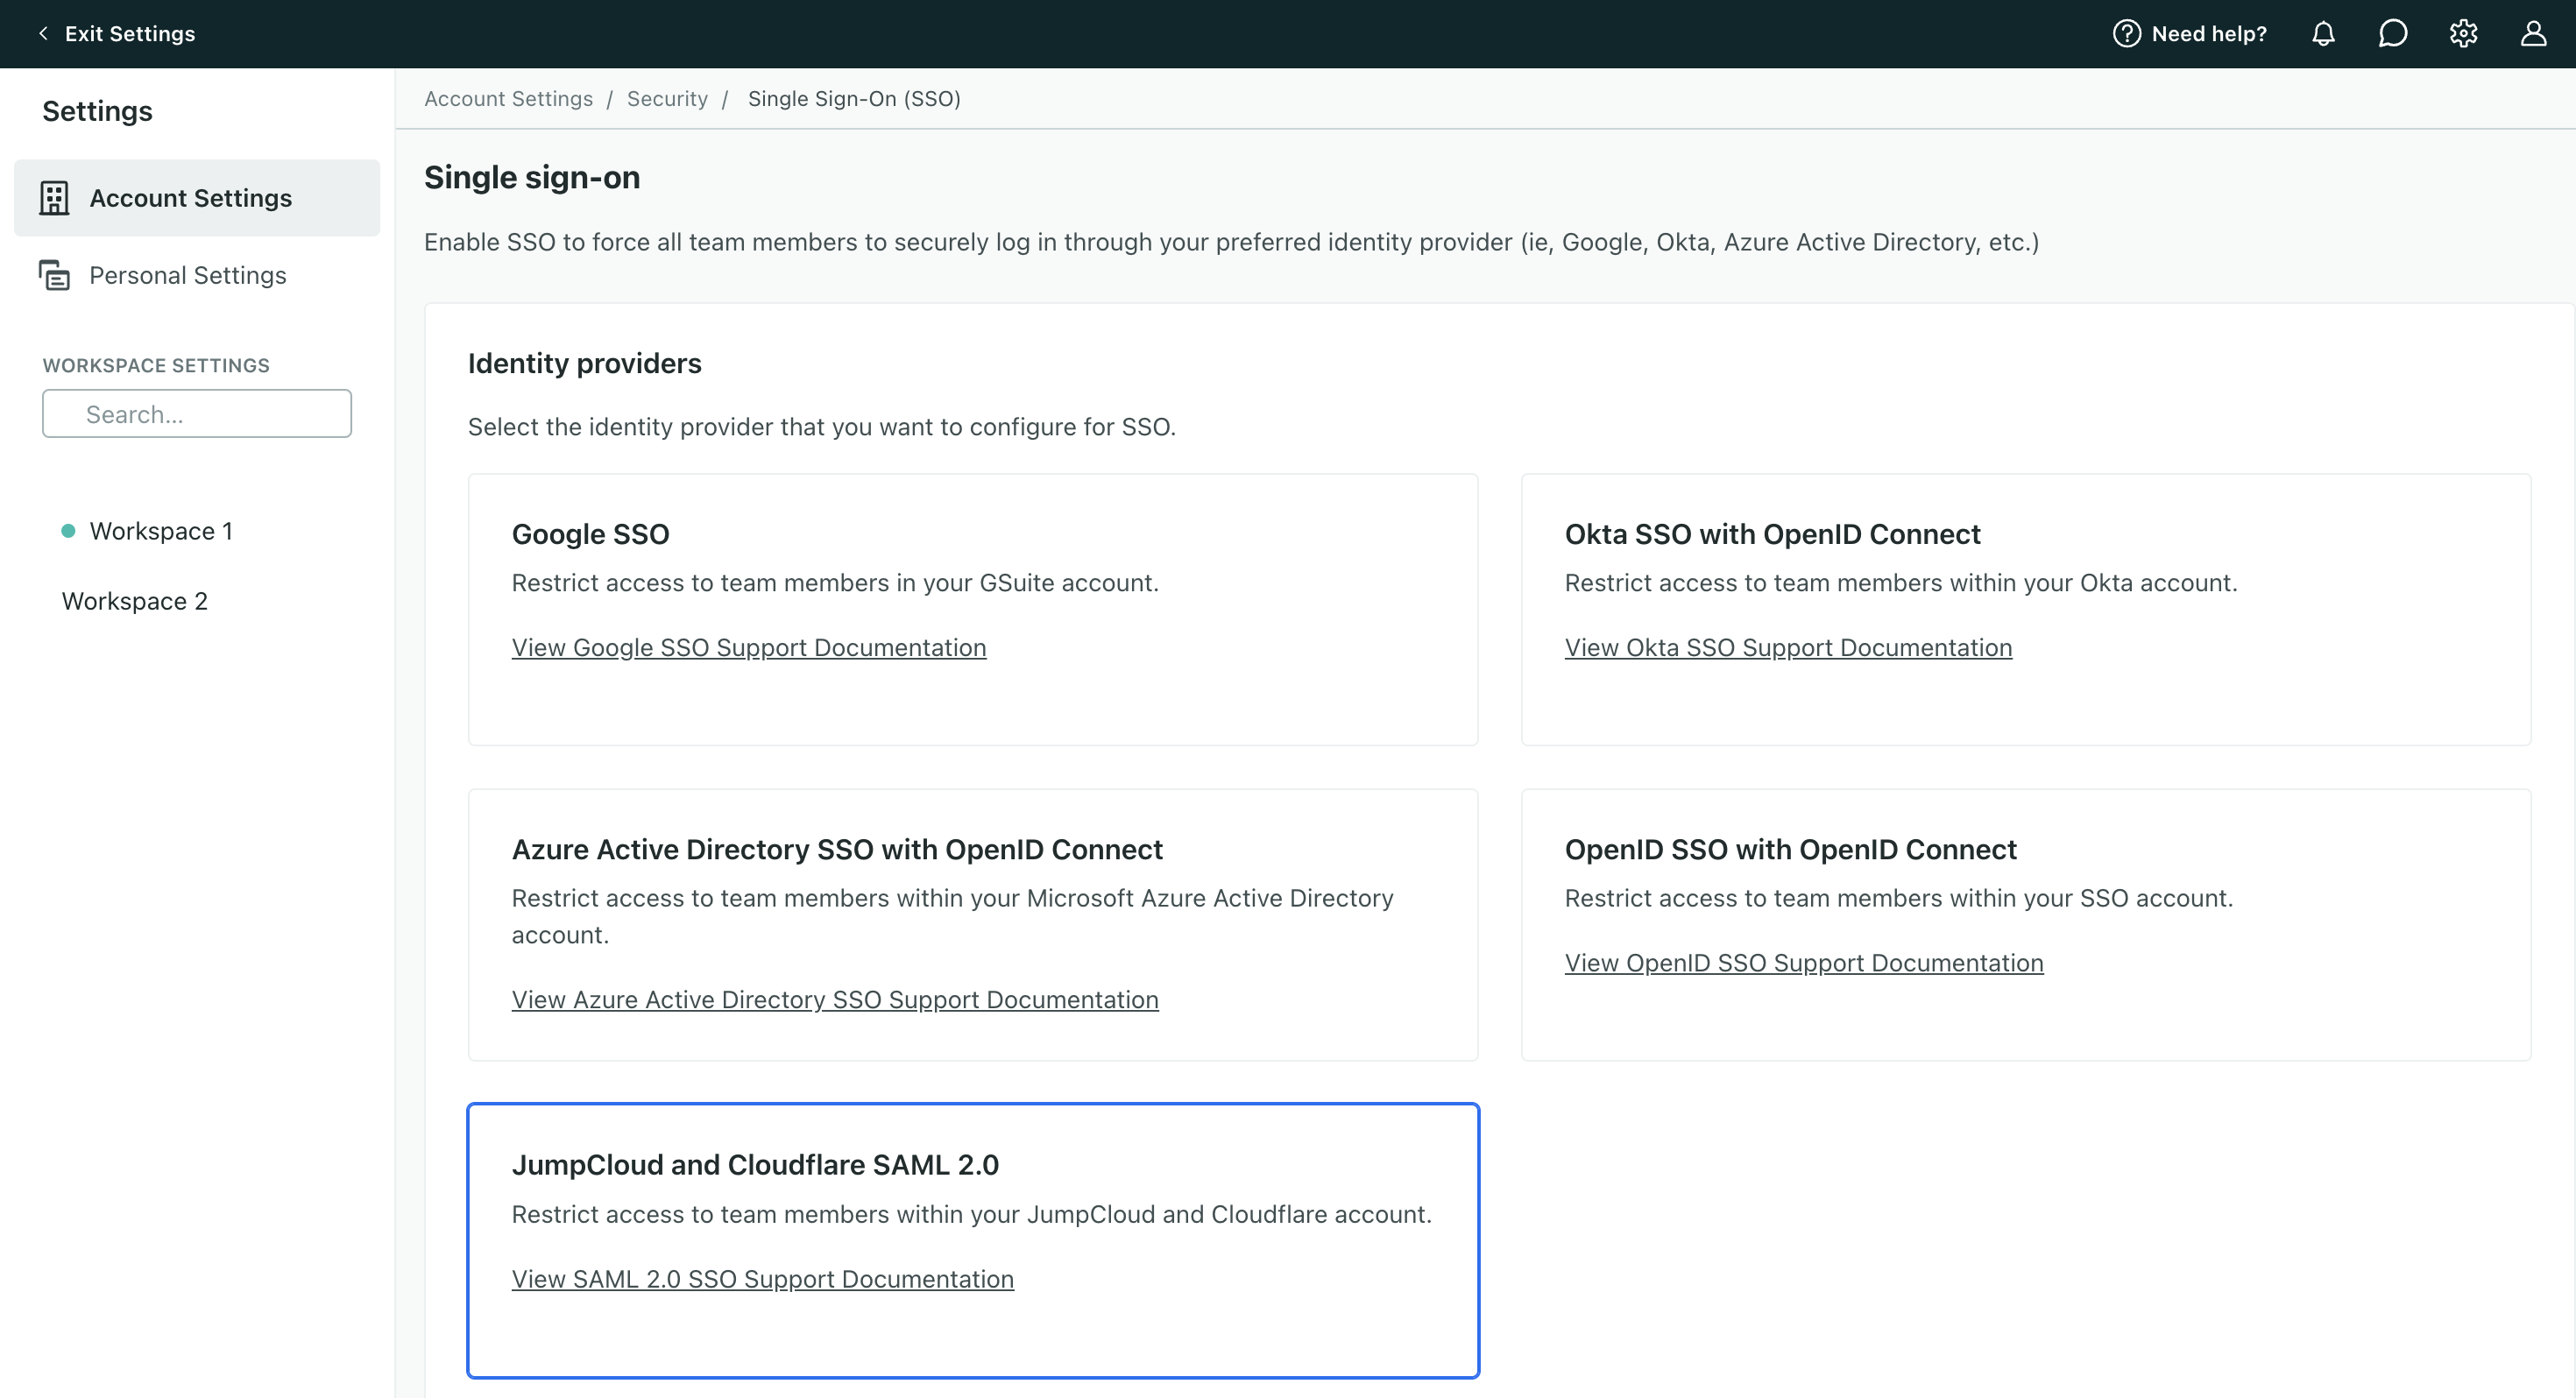
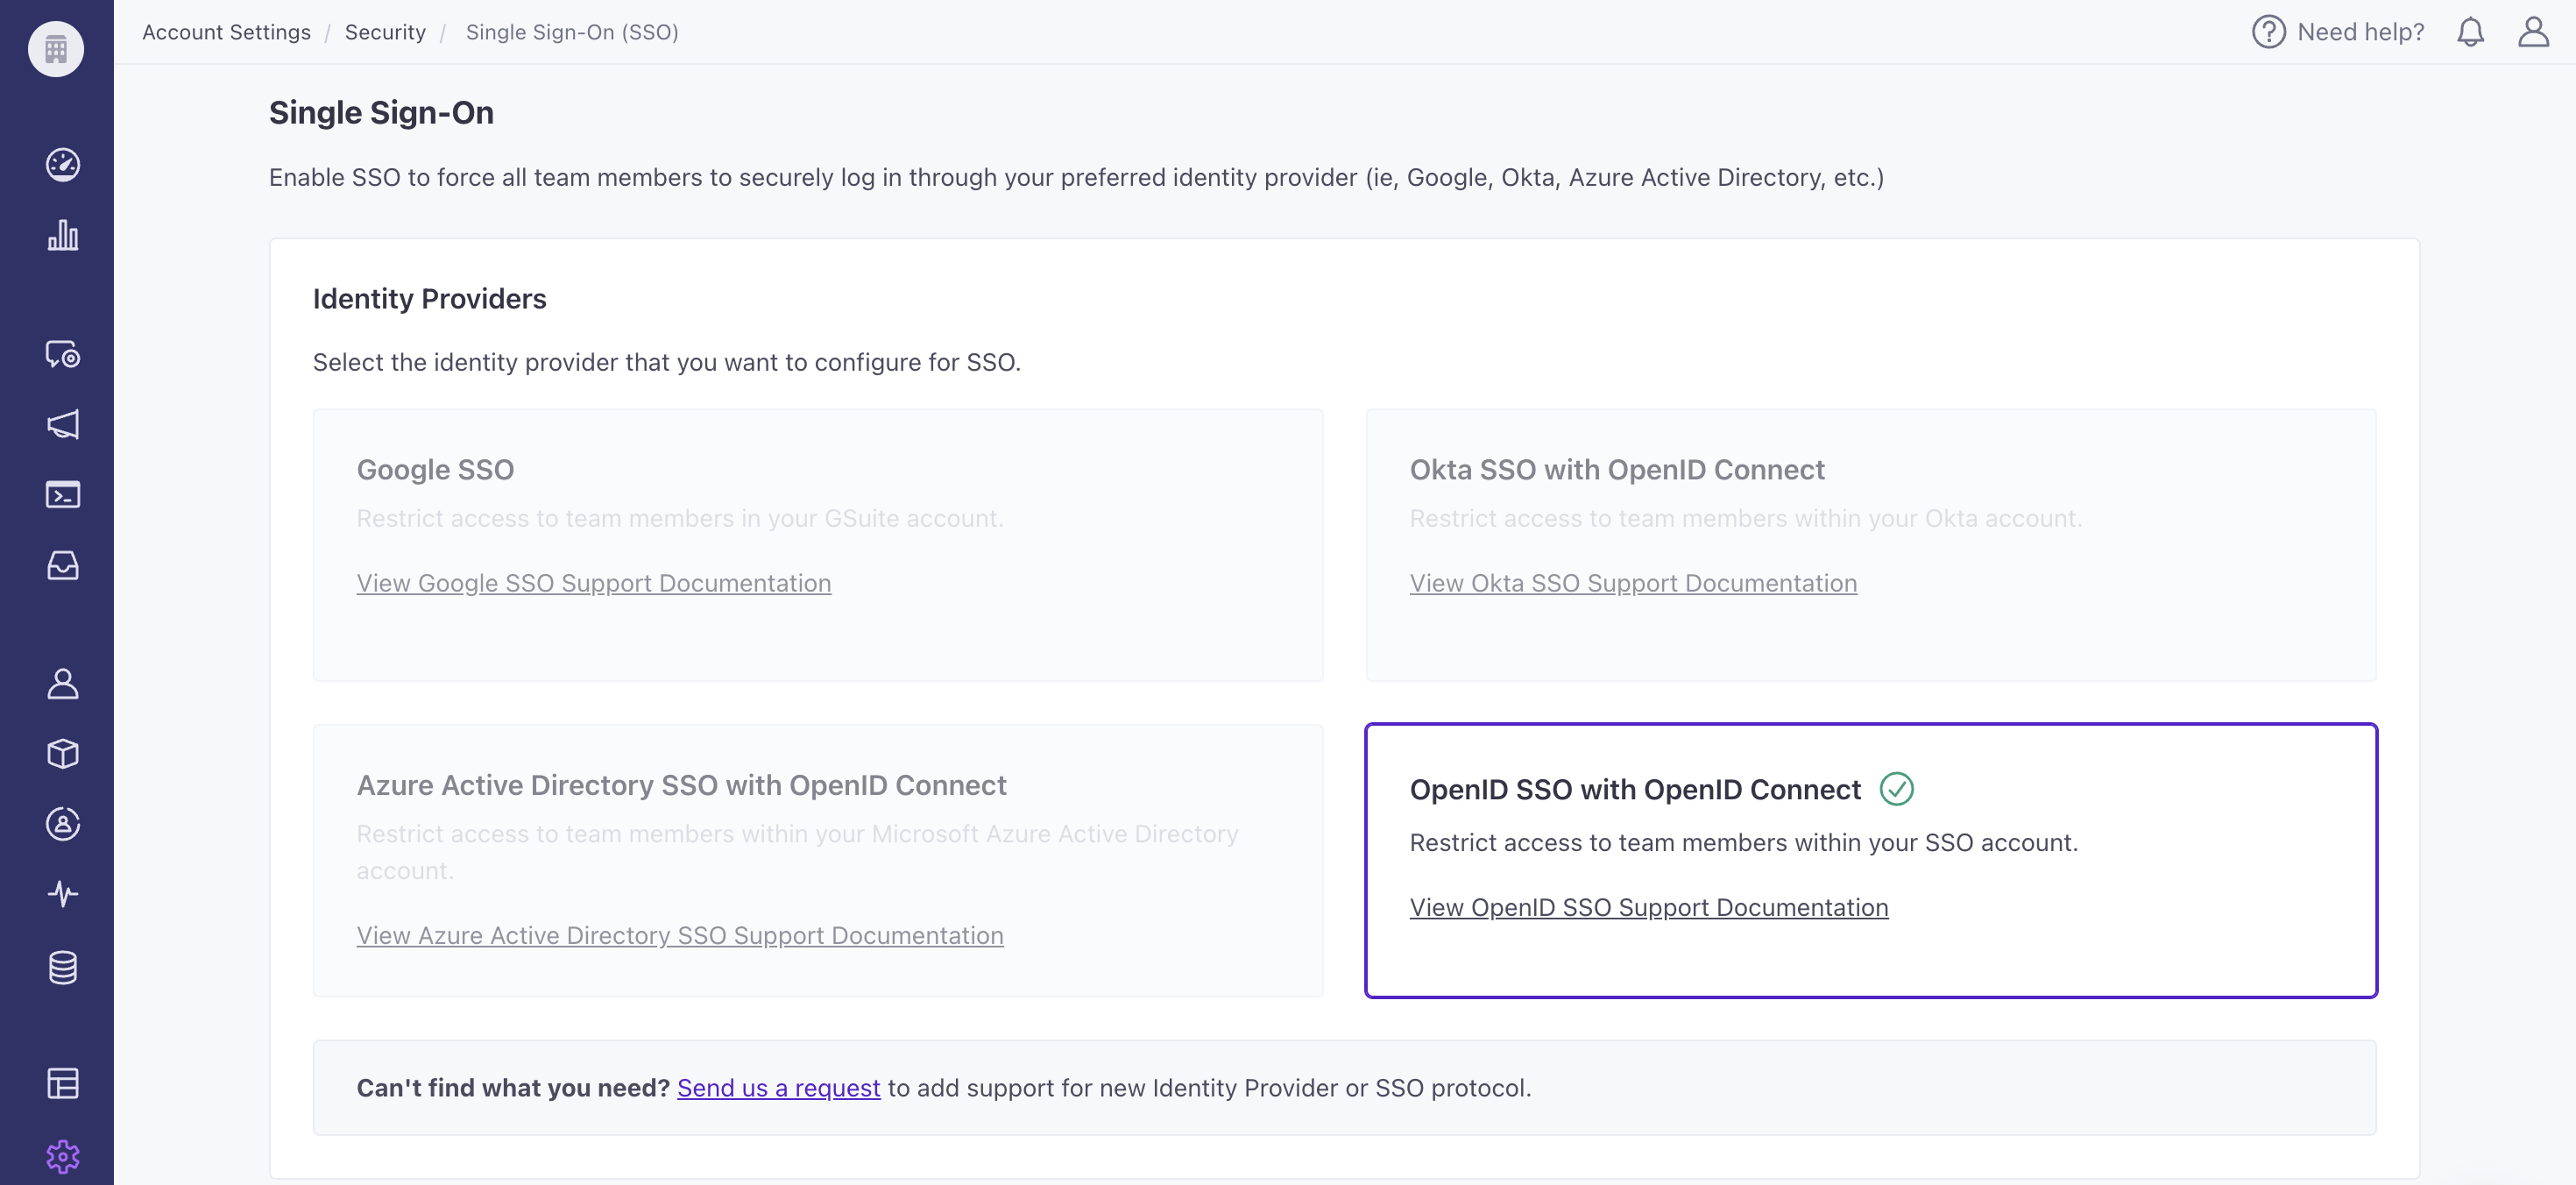
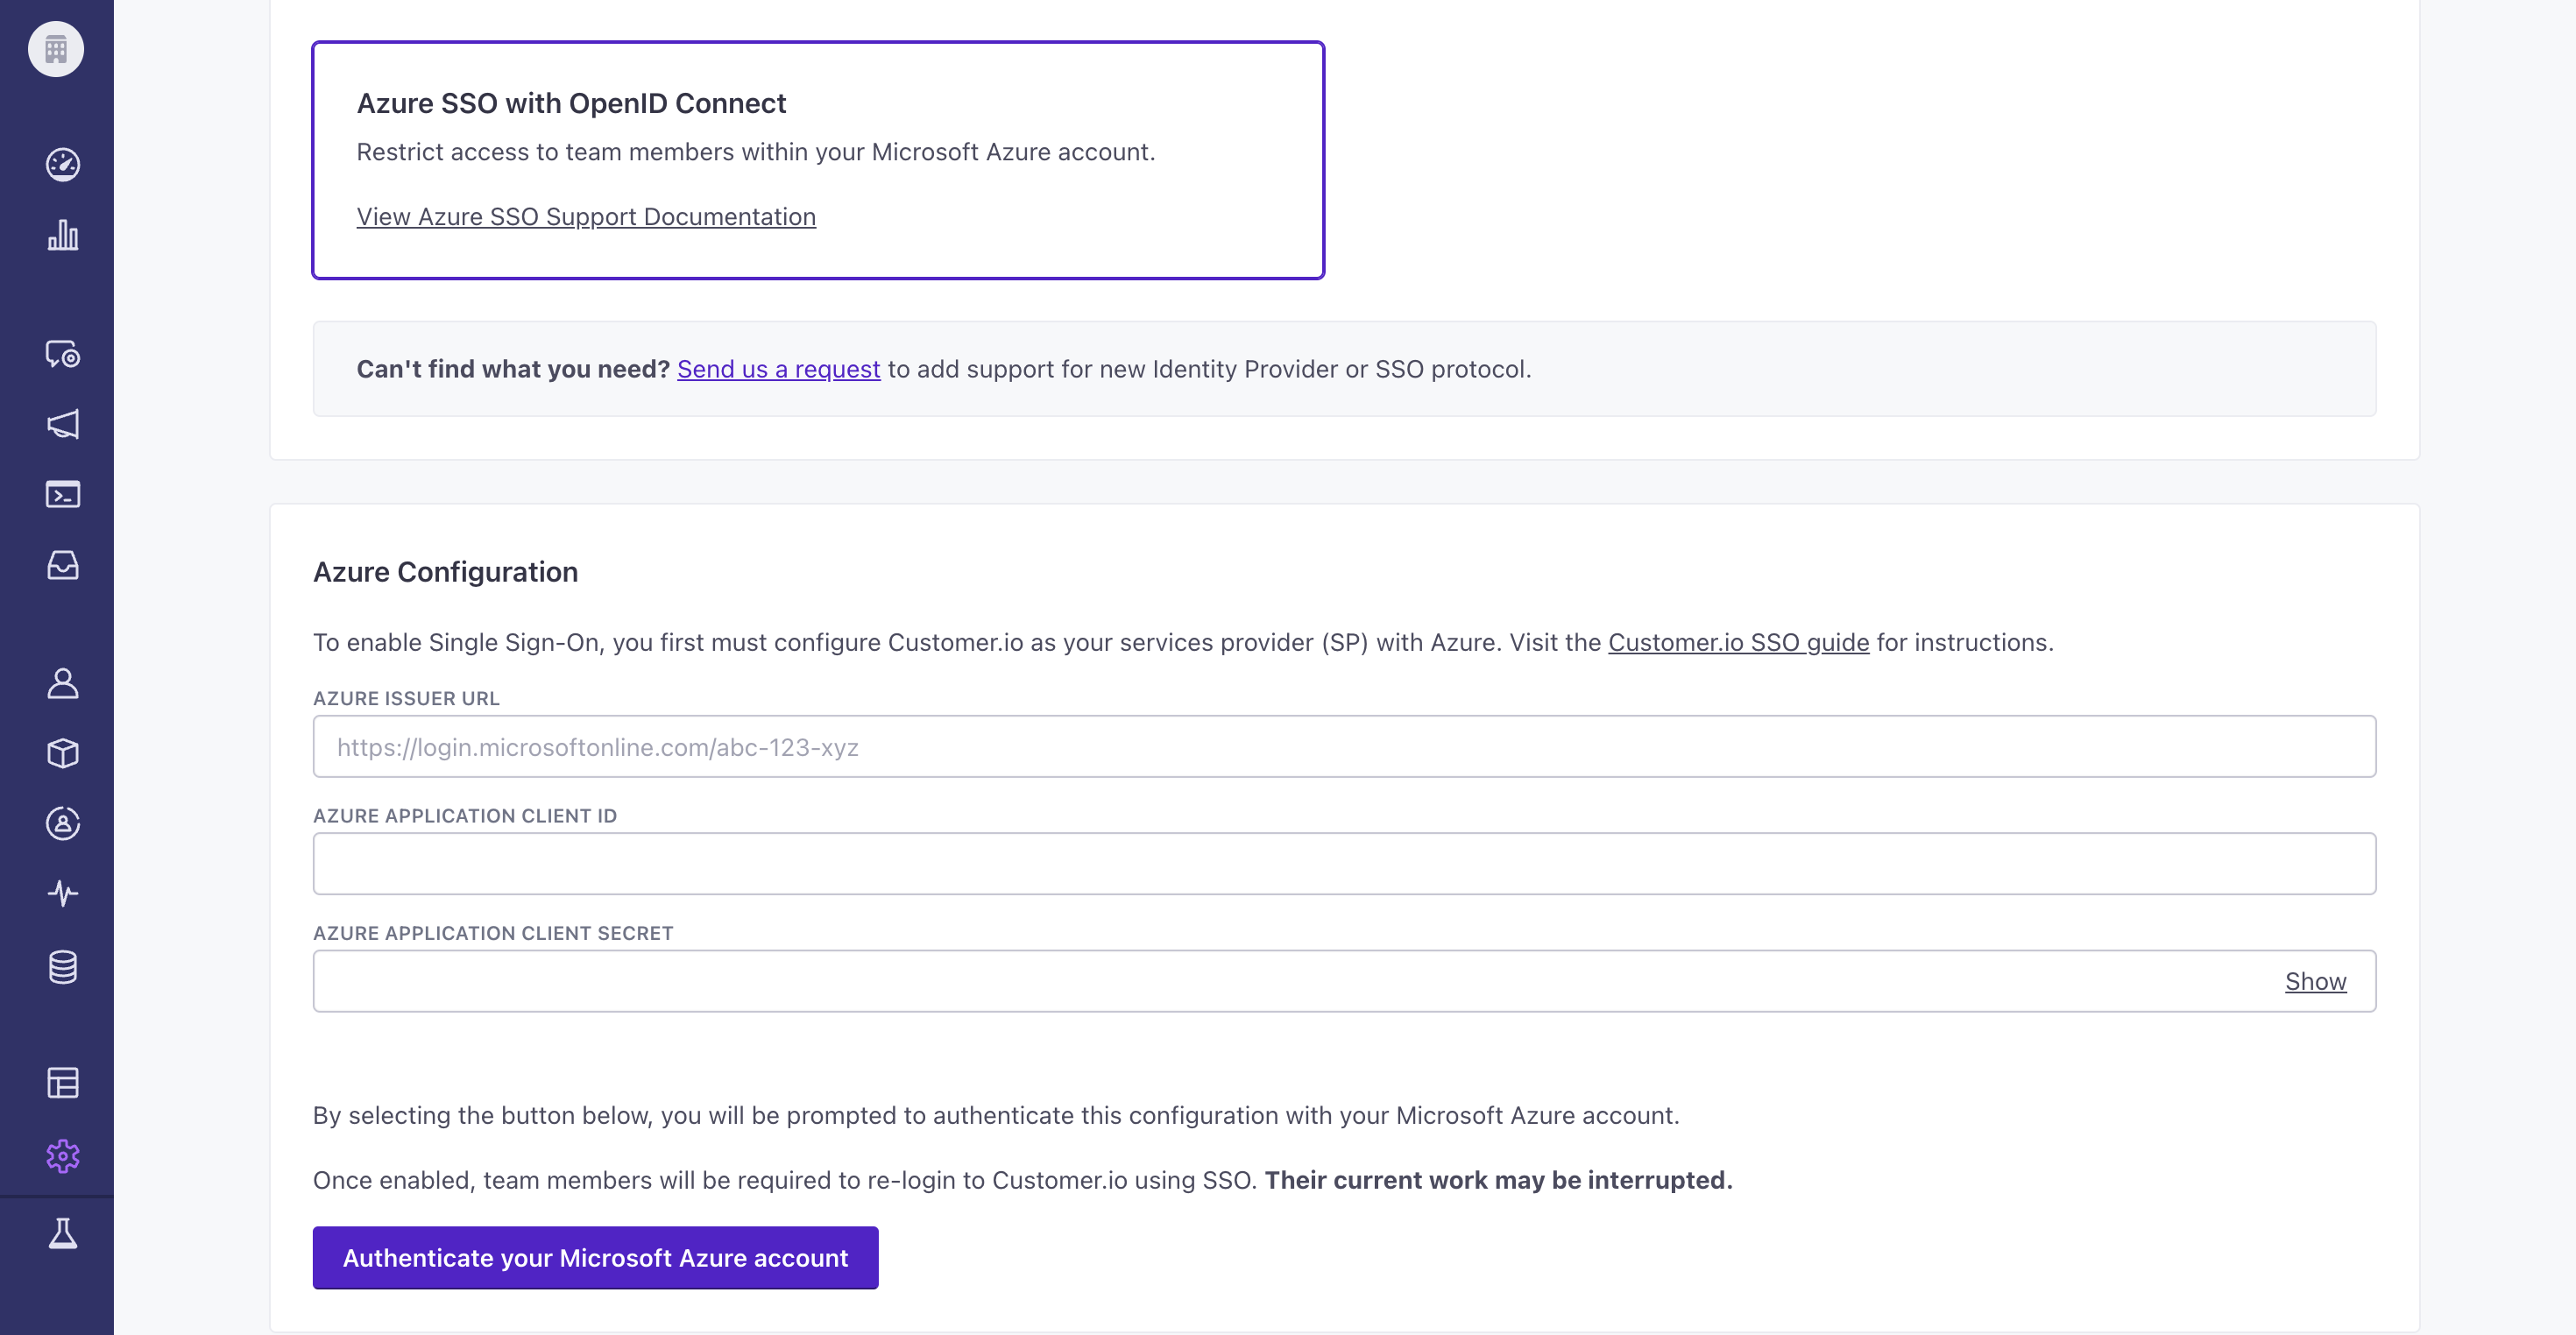
We now support SAML for many single-sign on (SSO) providers, so you can use your identity provider (IdP) with Customer.io—including Cloudflare, Jumpcloud, and more. Go to Account Settings > Security > Enable Single Sign-On (SSO) to get started. You must have the Admin role to configure SSO.
Go to the docs →
Salesforce is great at storing and organizing relationships with your customers. Customer.io is great at activating those relationships. Now, if you're on a premium or enterprise plan, you can use the two together and send your Salesforce data to Customer.io where you'll send messages to your contacts, nurture leads, and more. With this native, two-way integration, you can even send your Salesforce data to other downstream destinations, like your analytics platform or data warehouse.
Read more →
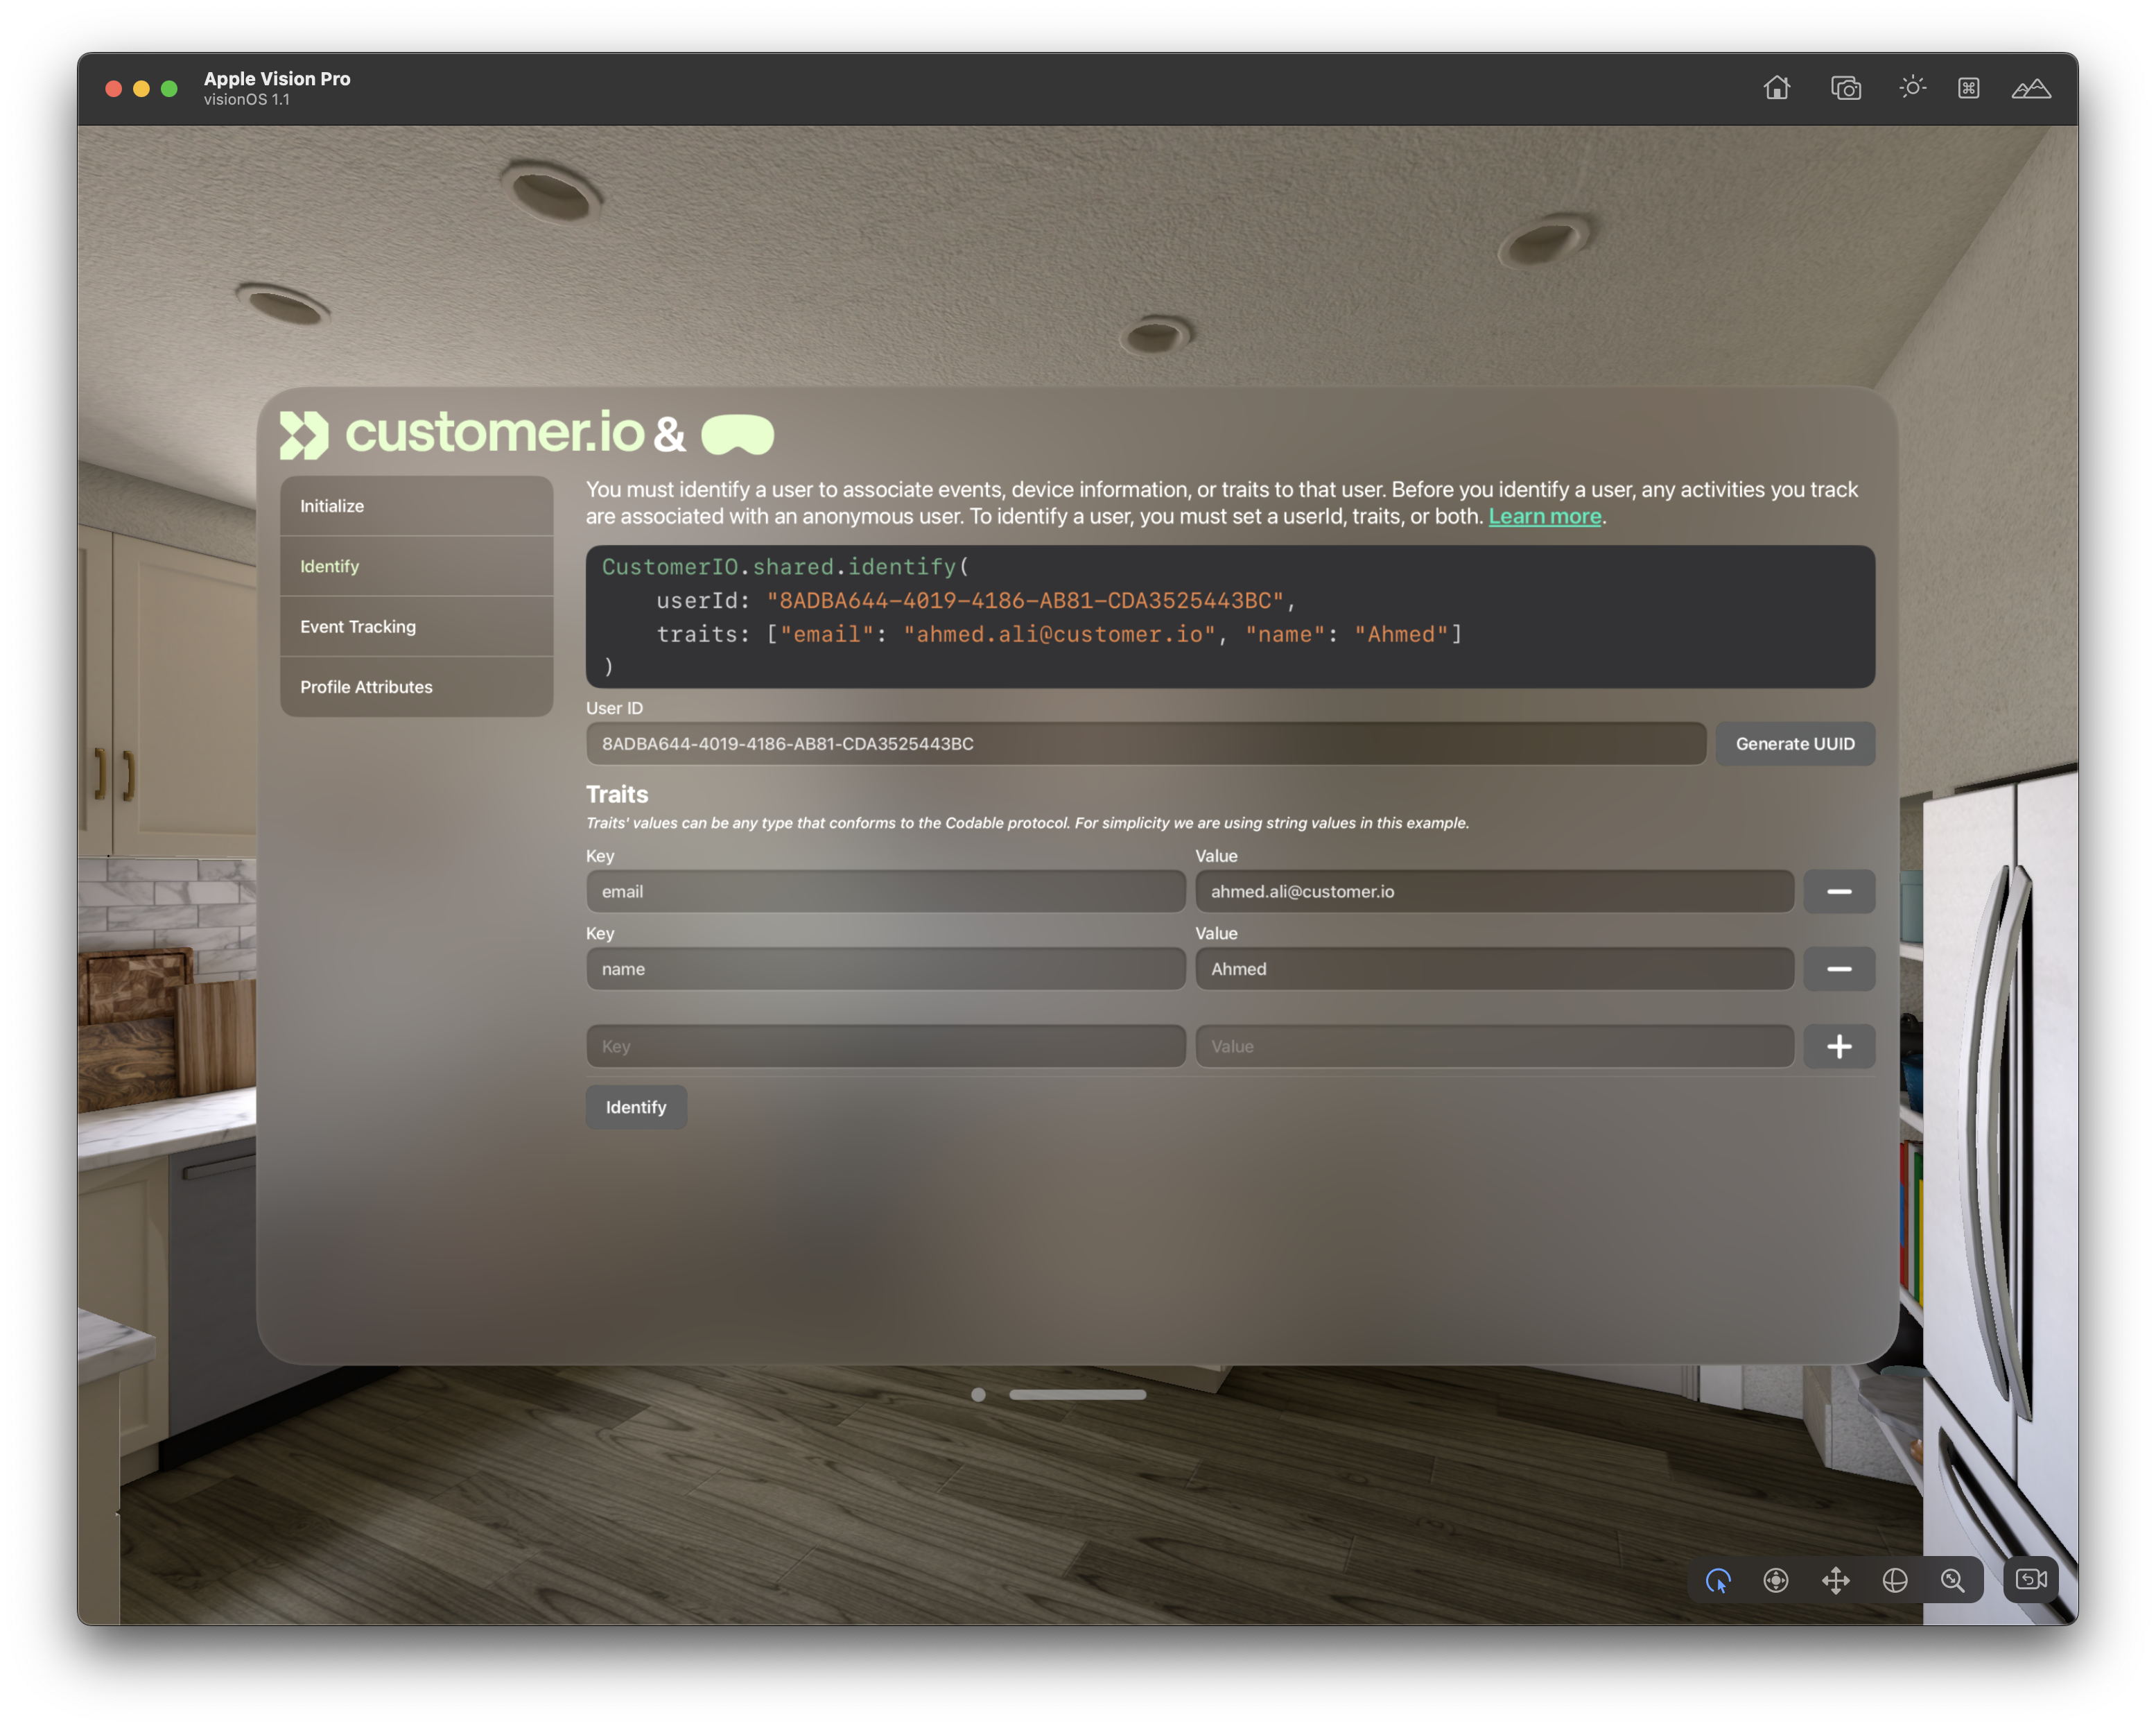
Along with all the other great features in our iOS 3.0 SDK release, we also added support for Apple's visionOS. You're no longer limited to phones and tablets; now you can engage with your Apple Vision Pro users in augmented reality too, sending personalized push notifications and tracking behavioral activity like you would from your mobile apps.
We’ve added a handy sample app ↗ to our iOS SDK, so you can see what Customer.io looks like in VR. But, if you’ve developed an app with our mobile SDK already, our visionOS support should come naturally to you.
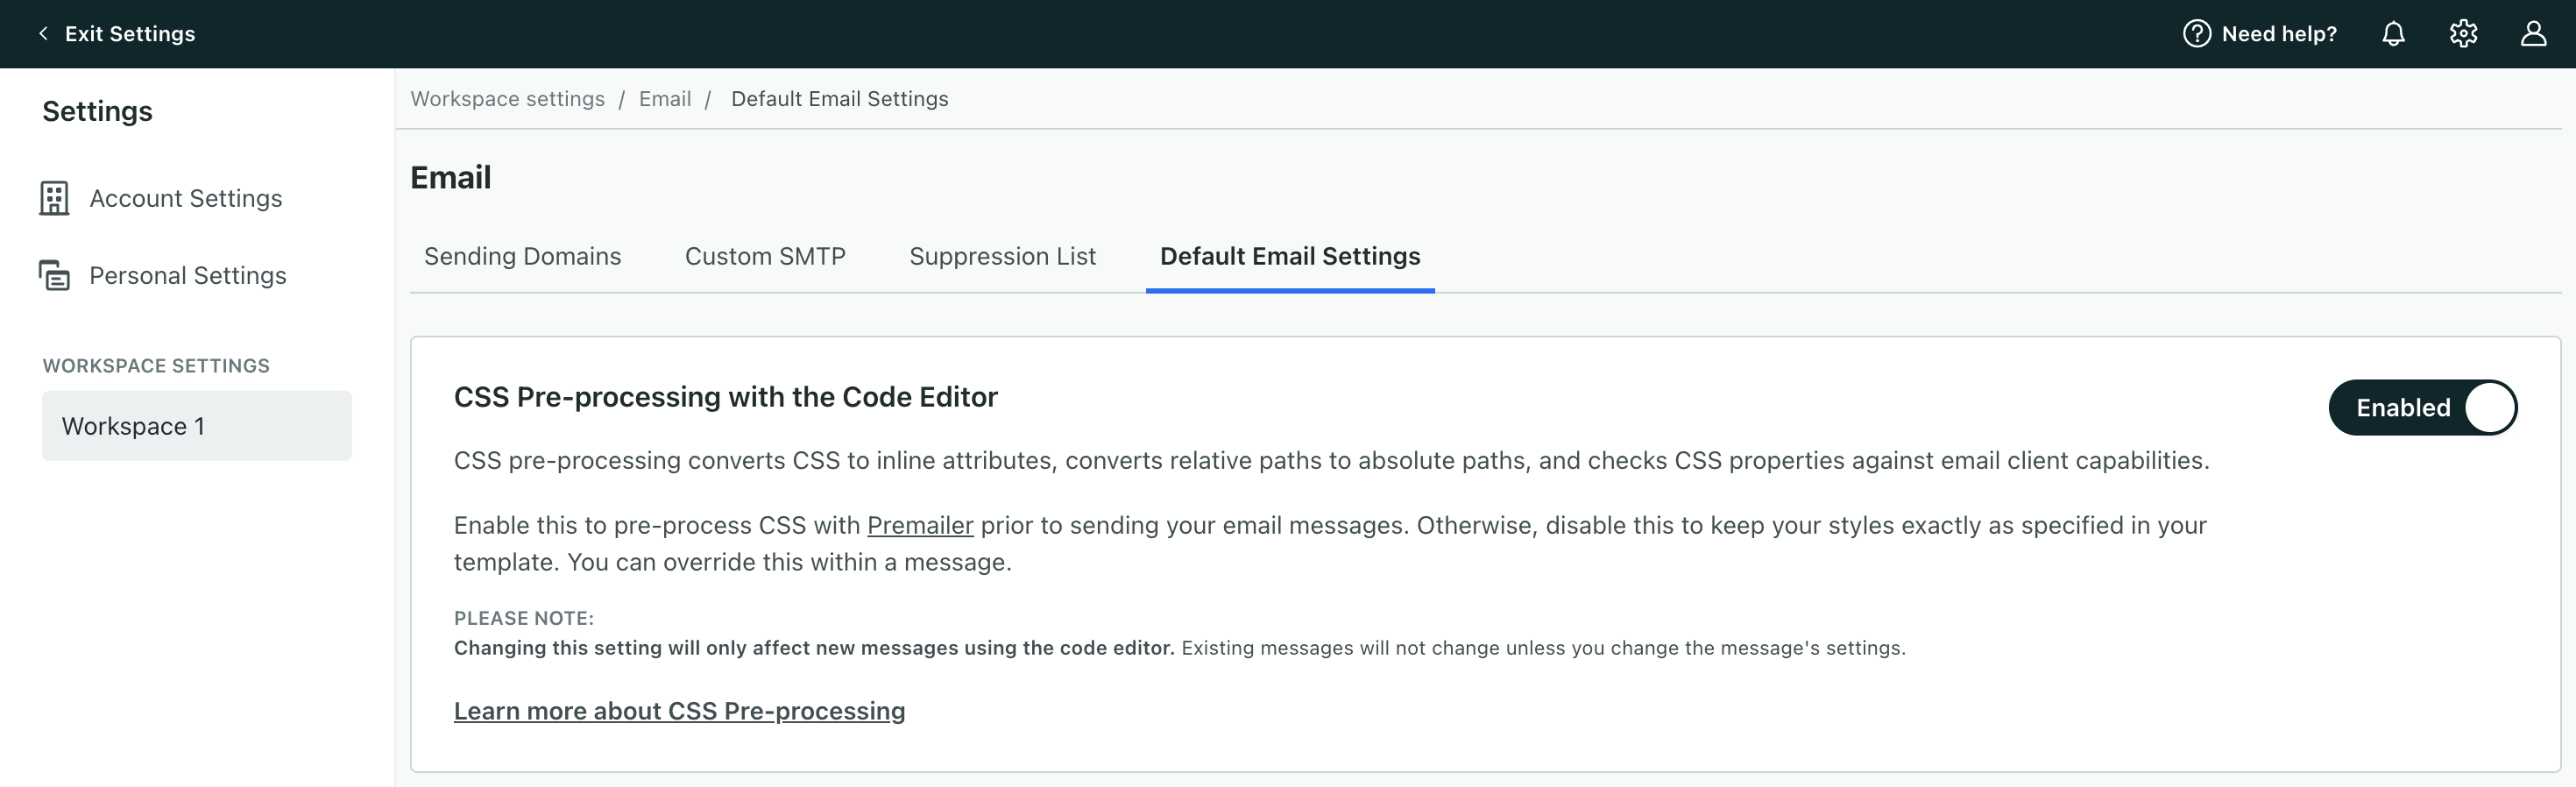
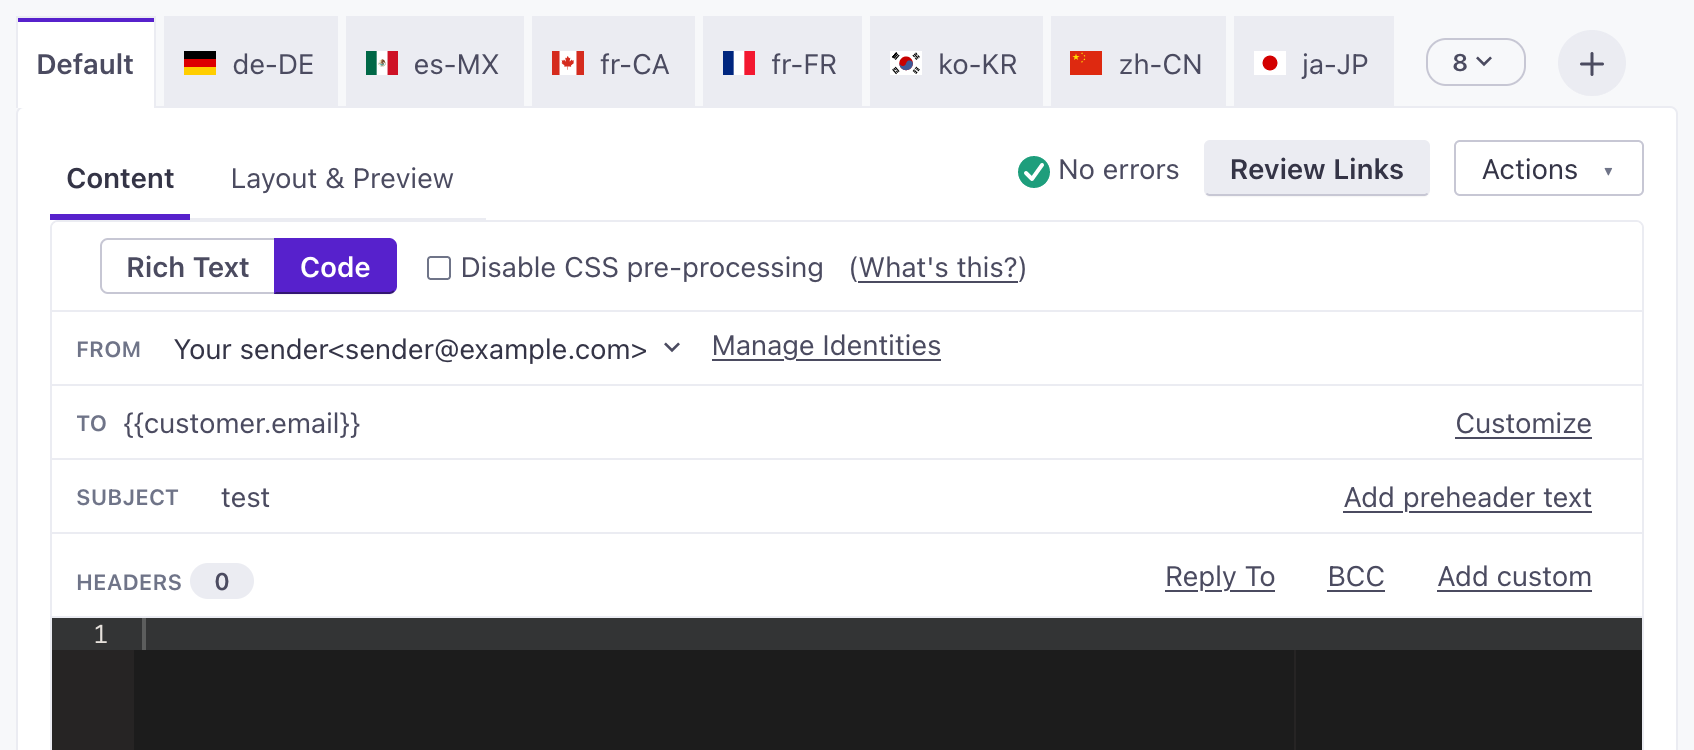
CSS pre-processing converts your CSS styles to inline attributes in your emails. Disabling this means we won’t change the code of your template, ensuring it stays exactly as you designed it. We've added a workspace setting so you can disable CSS pre-processing for emails created in the code editor. In the past, you could only disable this on an email. Now, you can also disable this for all new messages made with the code editor. Go to Workspace Settings then click Email > Default Email Settings to change this setting.
Go to the docs →Beginning May 1, 2024, Apple's App Store requires mobile apps and the SDKs you use to build your app to include privacy manifests. This includes Customer.io's SDKs. We've updated our SDKs to include privacy manifests. Update your app to one of the versions listed below (or later) before May 1st, 2024 to ensure that your apps meet Apple's requirements and aren't rejected from the App Store.
expo prebuild --clean.
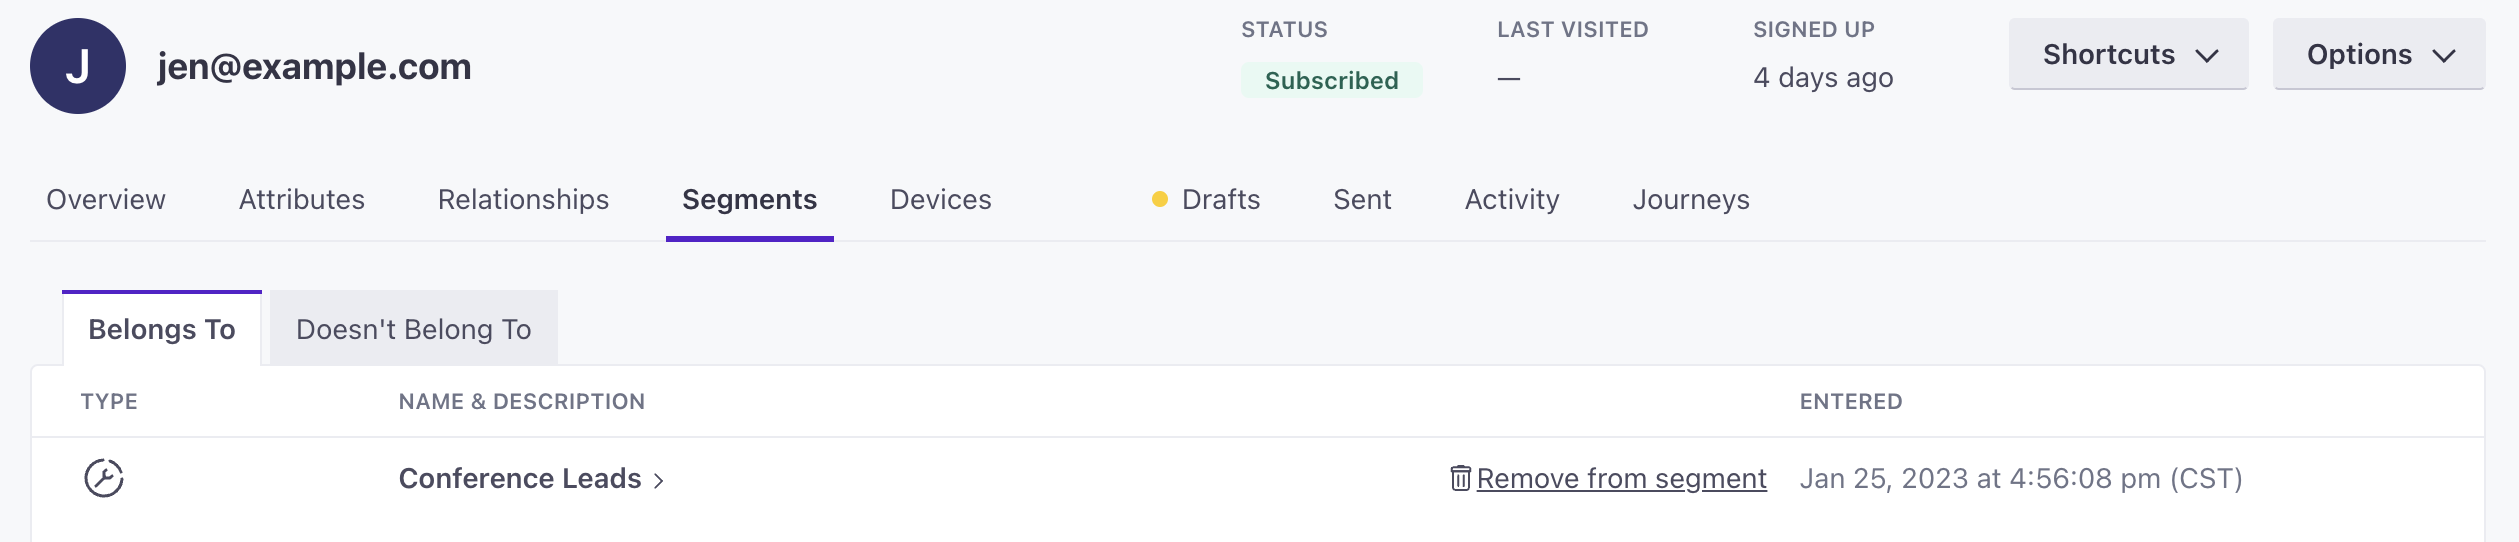
You can now add a person to or remove them from a manual segment through their profile page. Go to a person's profile then click the Segments tab. Go to the tab Doesn't Belong To then click Add to segment beside any manual segment so they join it. Or, under Belongs To, click Remove from segment so they leave it. Keep in mind, after you remove people from or add them to manual segments, they may trigger automations.
Go to the docs →
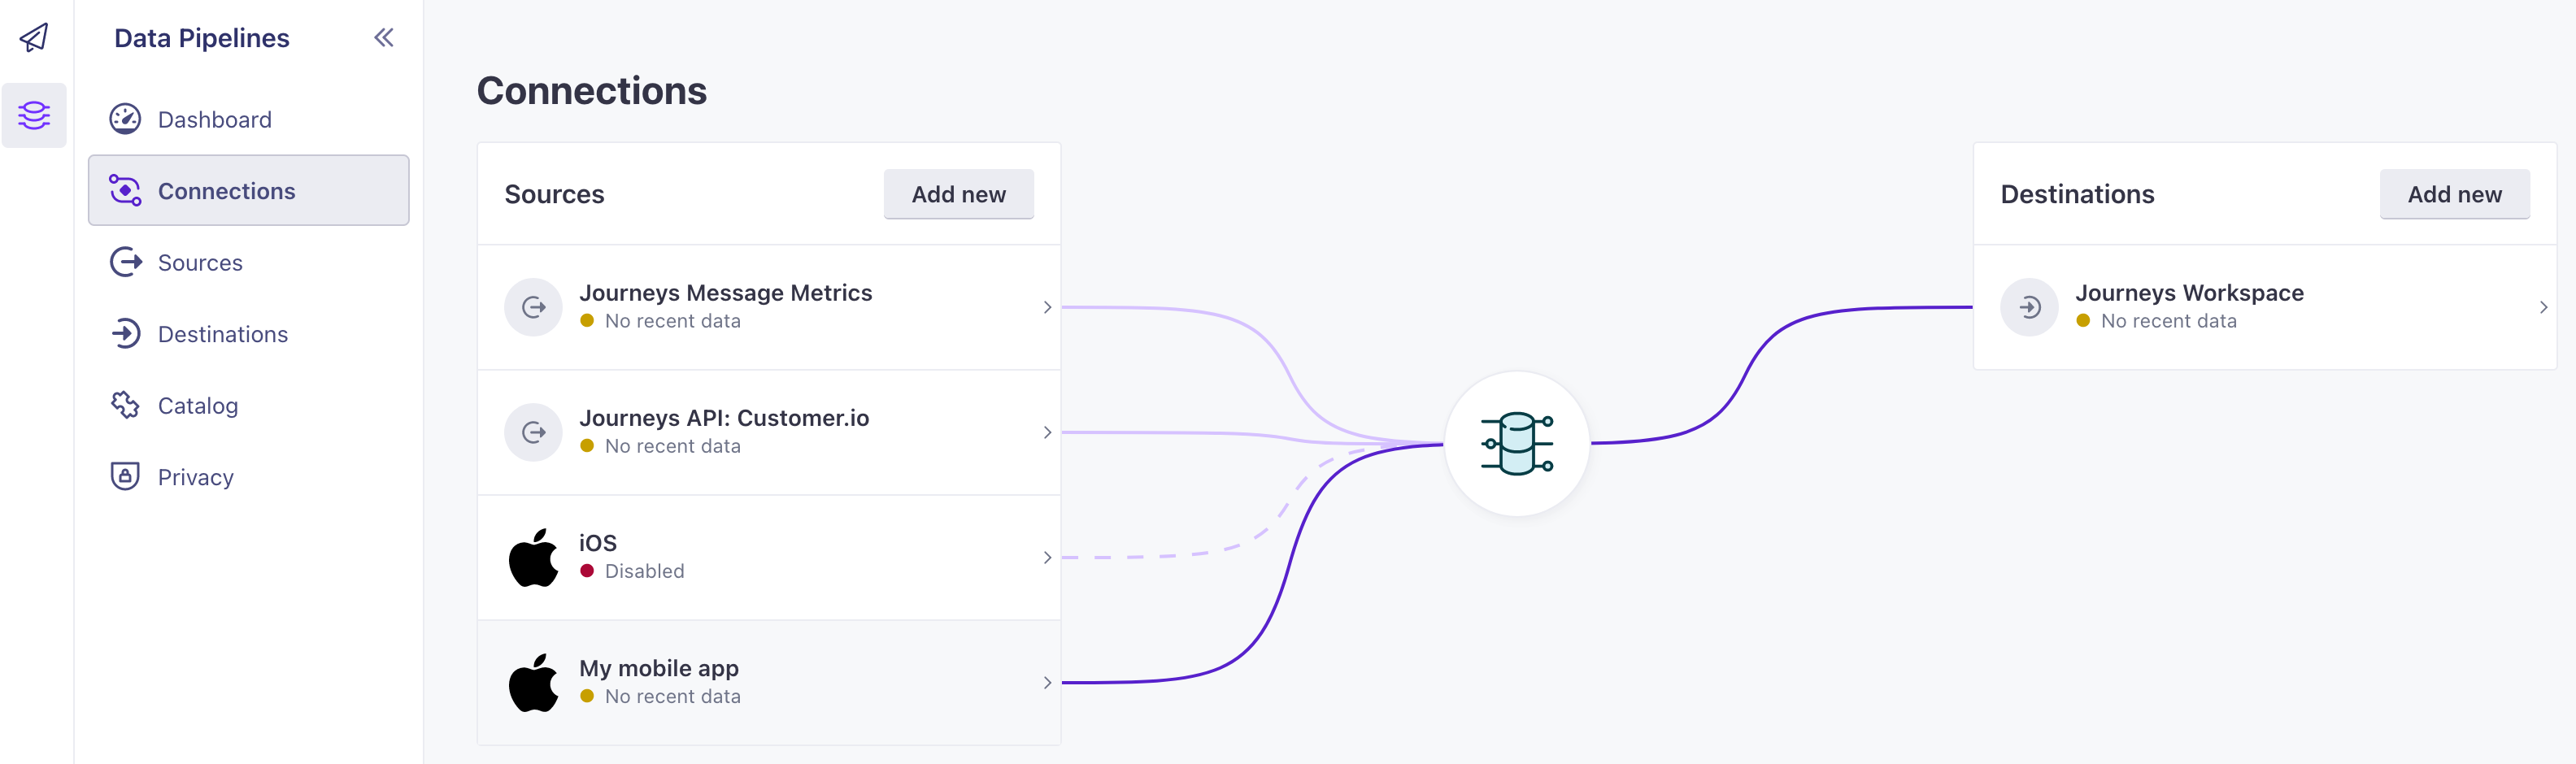
The latest version of our iOS SDK is out, providing a seamless integration with Customer.io Data Pipelines. This update makes it easier to support both Customer.io and your data to downstream destinations—like your analytics platform, CRM, or data warehouse—and lets you track anonymous users.
Read more →
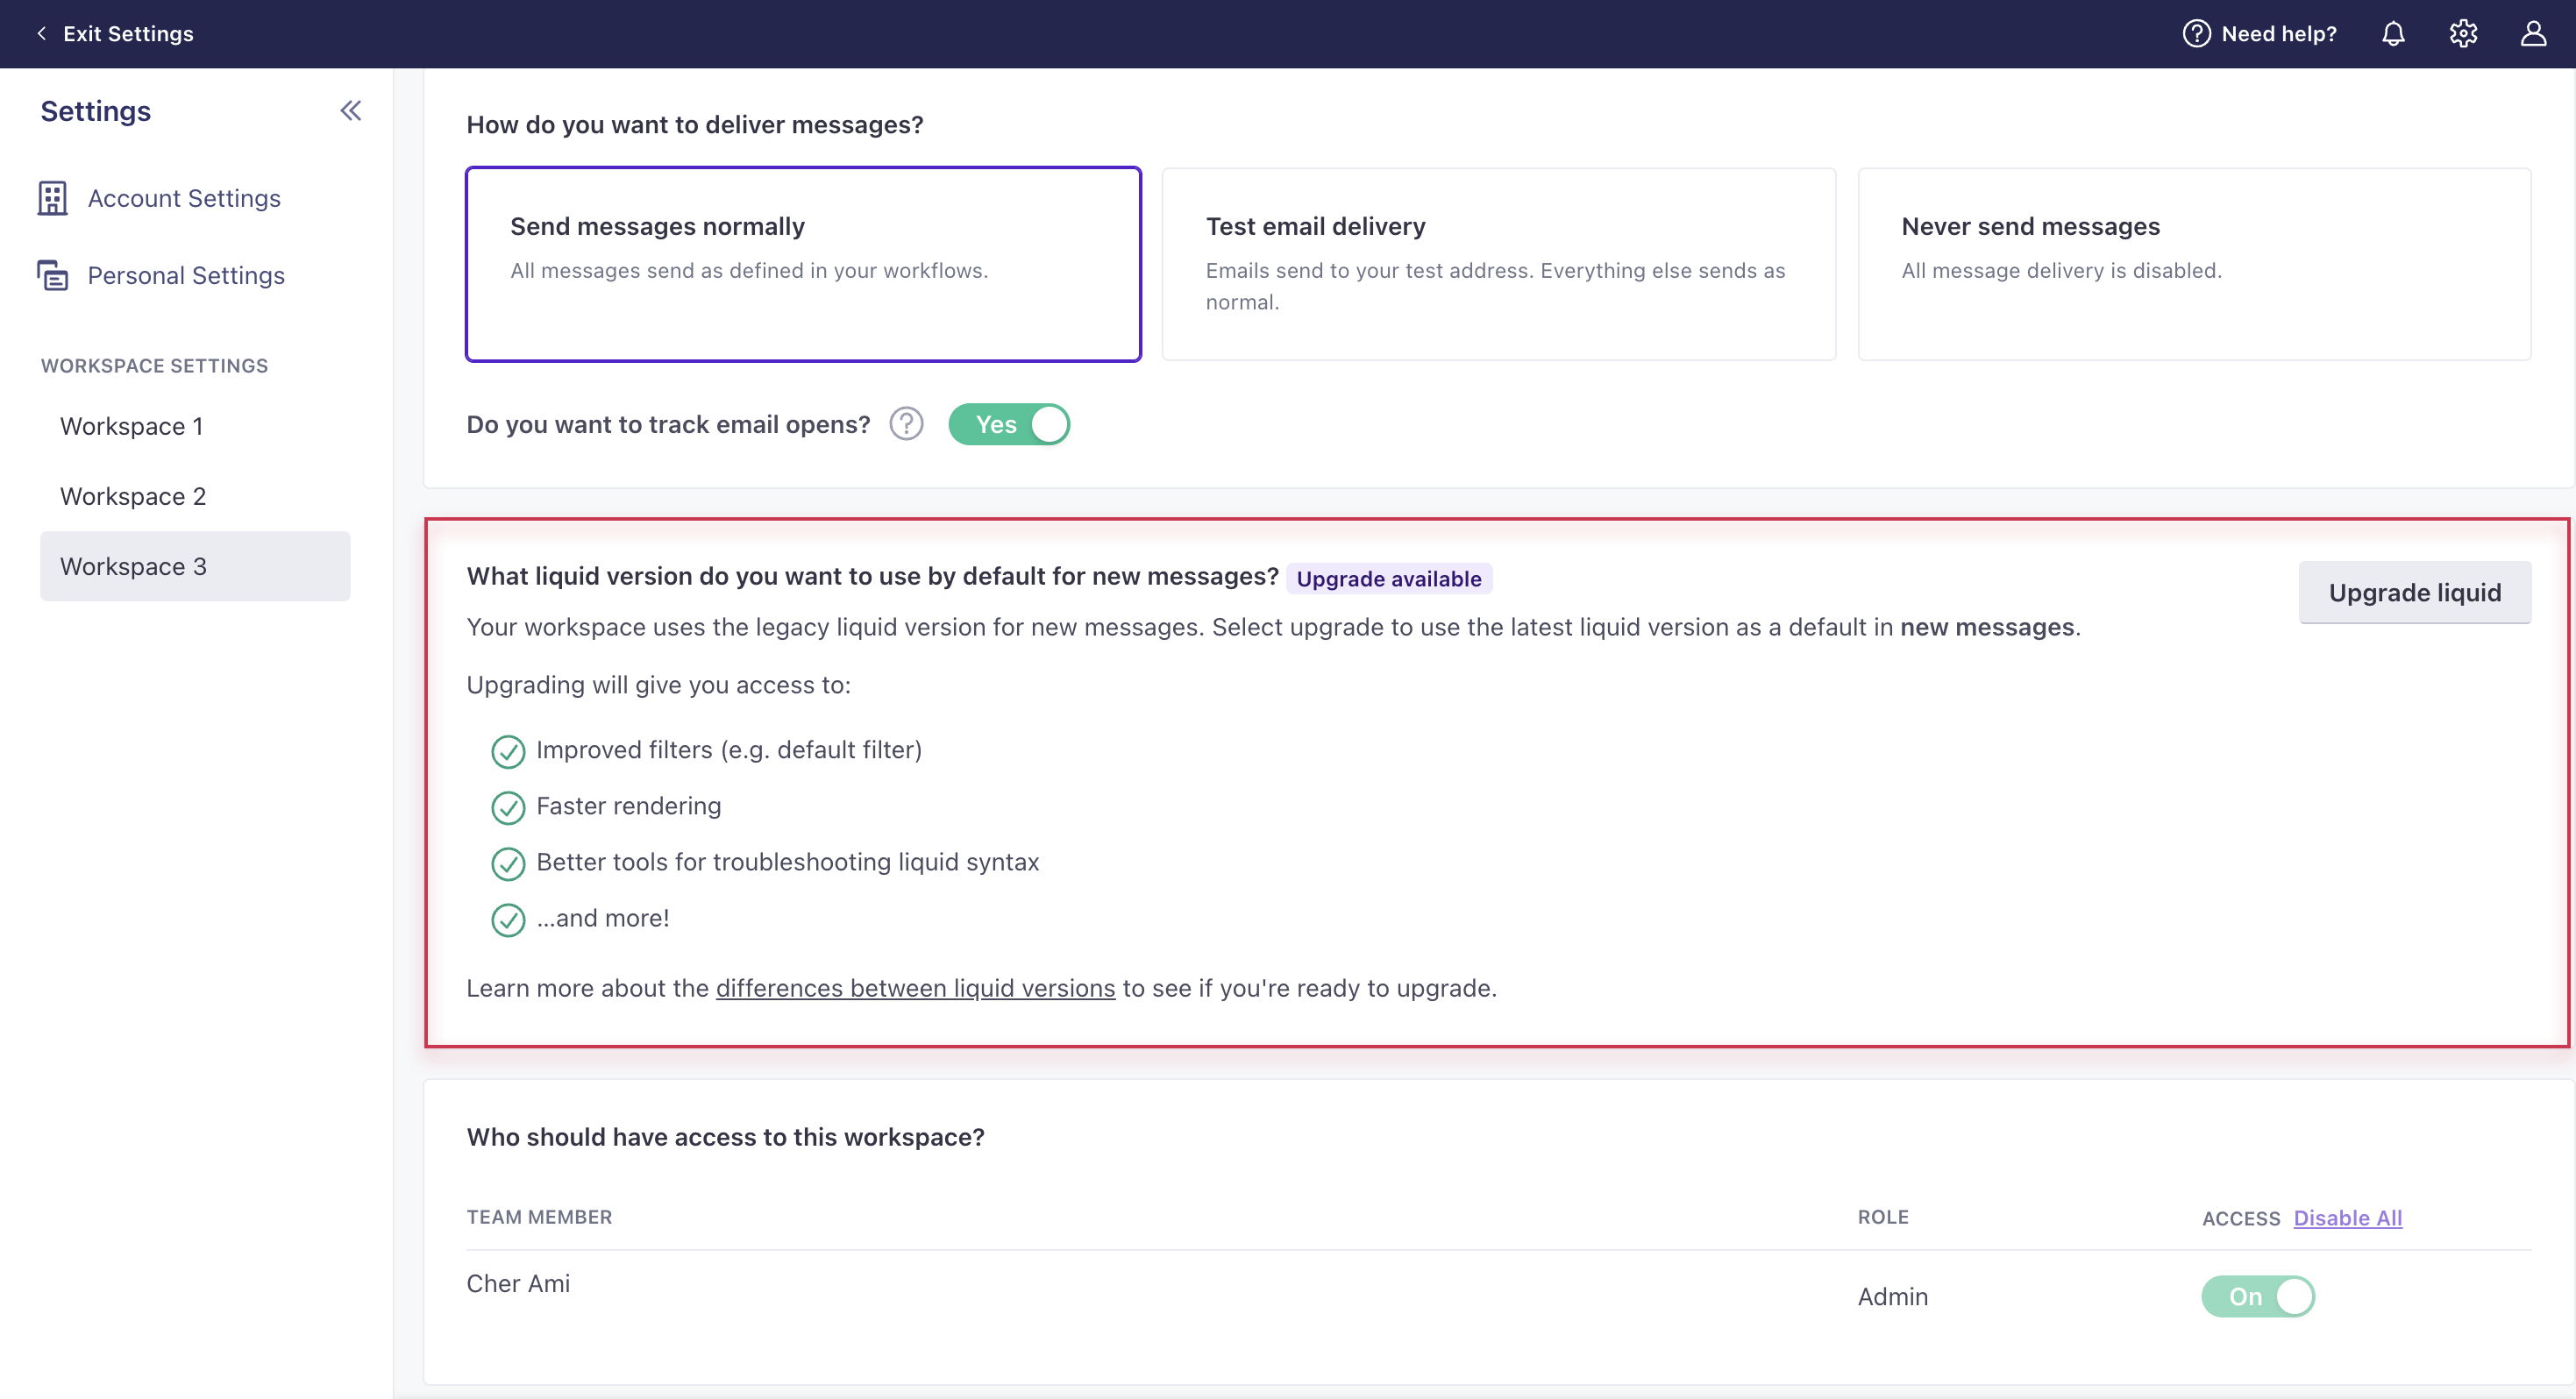
This applies to accounts created before Nov 28, 2023; all other accounts use our latest liquid version. You can now upgrade your workspace so that all new messages moving forward use our latest liquid version. The latest liquid version offers improved filters (e.g. default filter), faster rendering, and better tools for troubleshooting liquid syntax. Take a look at the differences between our latest and legacy versions of liquid to see if you're ready to make the switch. Then go to General Workspace Settings to upgrade. Keep in mind, you will still have to manually upgrade existing messages. If you run into unexpected syntax issues with the latest liquid, use our fallback logic.
As an Admin, you can now download your billing invoice from Account Settings > Plans & Billing > Billing History. Click Download invoice beside any billing period for a PDF.
Go to the docs →We now check your DMARC policy when verifying your email sending domains to enforce Gmail and Yahoo's new sending requirements. Visit your Workspace Settings and click Show Records to check the state of your DMARC policy and whether we recommend you update it. These requirements are designed to help prevent email spoofing and phishing attacks.
Go to the docs →
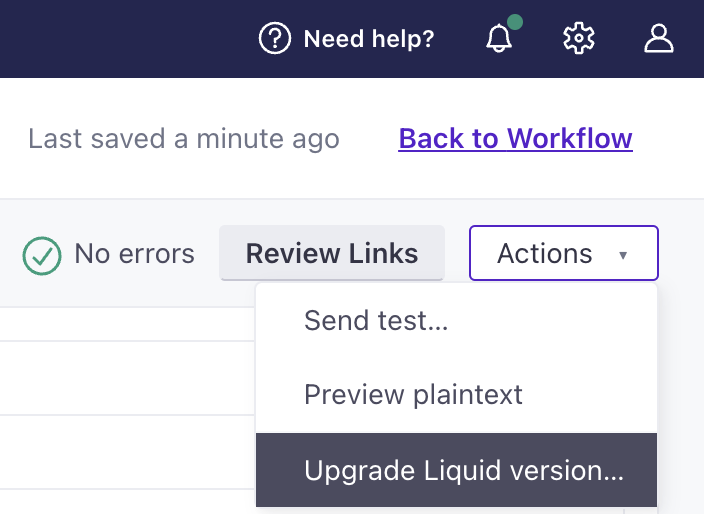
If your account was created before Nov 28, 2023, you now have the ability to upgrade to our latest liquid version, which provides faster rendering and new functionality. Check out what's new and deprecated with the latest version. You can update a message through the Actions dropdown while editing.
Go to the docs →A couple of weeks ago, we changed the file size limit from 3MB to 1MB to scale our file storage and follow best practices for email. But after considerable feedback, we're changing it back to 3MB to better support your needs. We'll continue looking for solutions to storage and deliverability optimization.
We appreciate your feedback and are always looking for ways to improve our product—whether by adding new features or fixing recent changes! If you have feedback on this or any other feature, please let us know.
We've released updates for our iOS-supporting SDKs, so they'll automatically register device tokens and capture opened metrics for push notifications. Now that we handle these things, you can remove some code, simplifying your integration and improving reliability when you update our SDKs in the future.
This release updates the platforms below. We’ve linked to upgrade documentation for each SDK, highlighting the code you can remove from your app when you upgrade:
1.0.0-beta.14 and run expo prebuild --clean.We've made two updates to enhance your reverse ETL integrations. First, we added a setting that allows you to decide how imports handle suppressed profiles. Second, we updated our import logic such that all reverse ETL imports start at a predictable time based on when your imports first started and your interval setting. For more information and examples, go to your database's documentation. For more on our suppressed profile setting, go to Add a sync > Step 4. For more on interval calculation, go to Sync intervals and skipped syncs.
Go to the docs →We changed the limit for image uploads from 3MB to 1MB. This helps us control the scale of file storage and follows best practices for image sizes in emails.
Go to the docs →
We revamped our automation creation experience so that it is easier for you to find and refine the triggers you need. Go to Automations in the left hand navigation and click Create Automation in the top right to get started.
Go to the docs →
Your toolbox in Customer.io just expanded! You can now trigger automations based on an update to an object, an update to a relationship, or the addition of a relationship to an object. This is helpful when, for instance, you want to send a person through a journey when an account object they're a manager of is updated or when their role at the account has changed. Go to Automations in the left hand navigation and click Create Automation in the top right to get started.
Go to the docs →
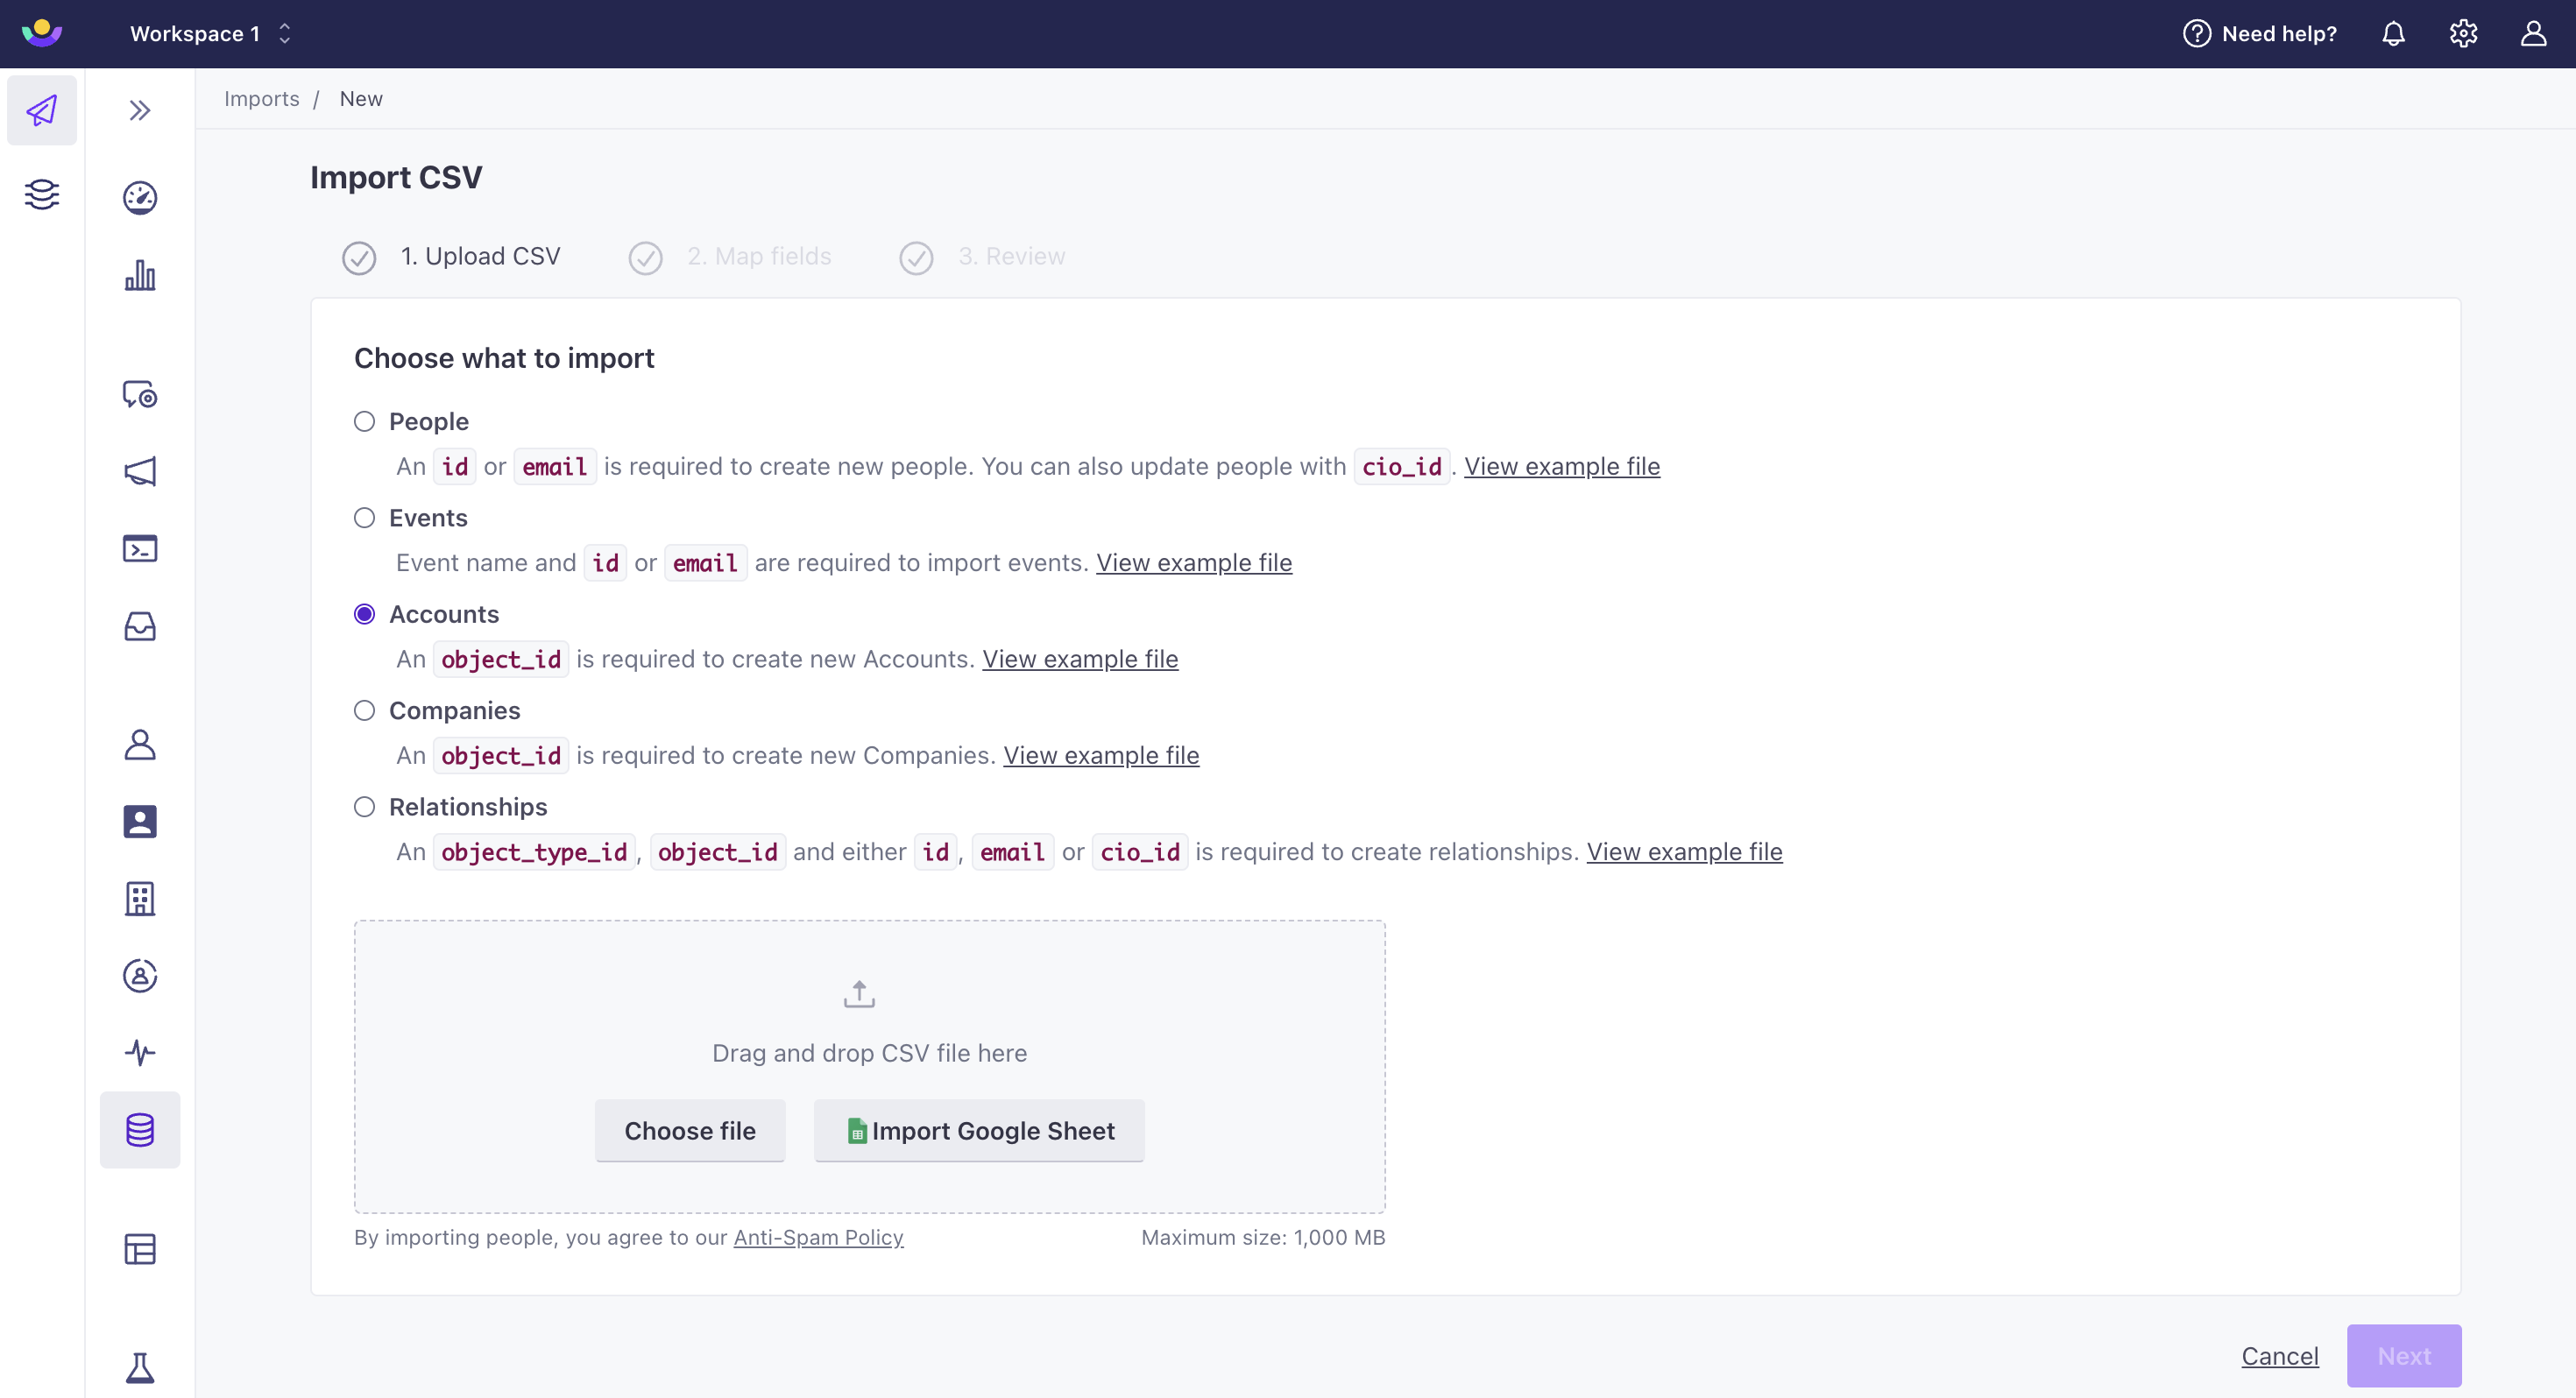
You can now import a CSV of objects or relationships through our UI or API. This is helpful if the data is not available through an integration or you are just getting started and need to quickly backfill data. To import objects or relationships through our UI, under Configure data, click More > Imports. To import them through our API, use our import endpoint. Note: the people and objects referenced in your relationship CSV must already exist in your workspace for the import to succeed. Also, keep in mind that importing objects and relationships can trigger automations! Check that your CSV is correct before initiating import.
Go to the docs →You can now retrieve and update translations of messages using our App API. This includes automations, newsletters, API-triggered broadcasts, and transactional messages.
Go to the docs →You can now export object and relationship data from the people or object summary pages as well as from individual people and object pages. This gives you flexibility to share this data with your colleagues that do not have access to Customer.io.
Go to the docs →
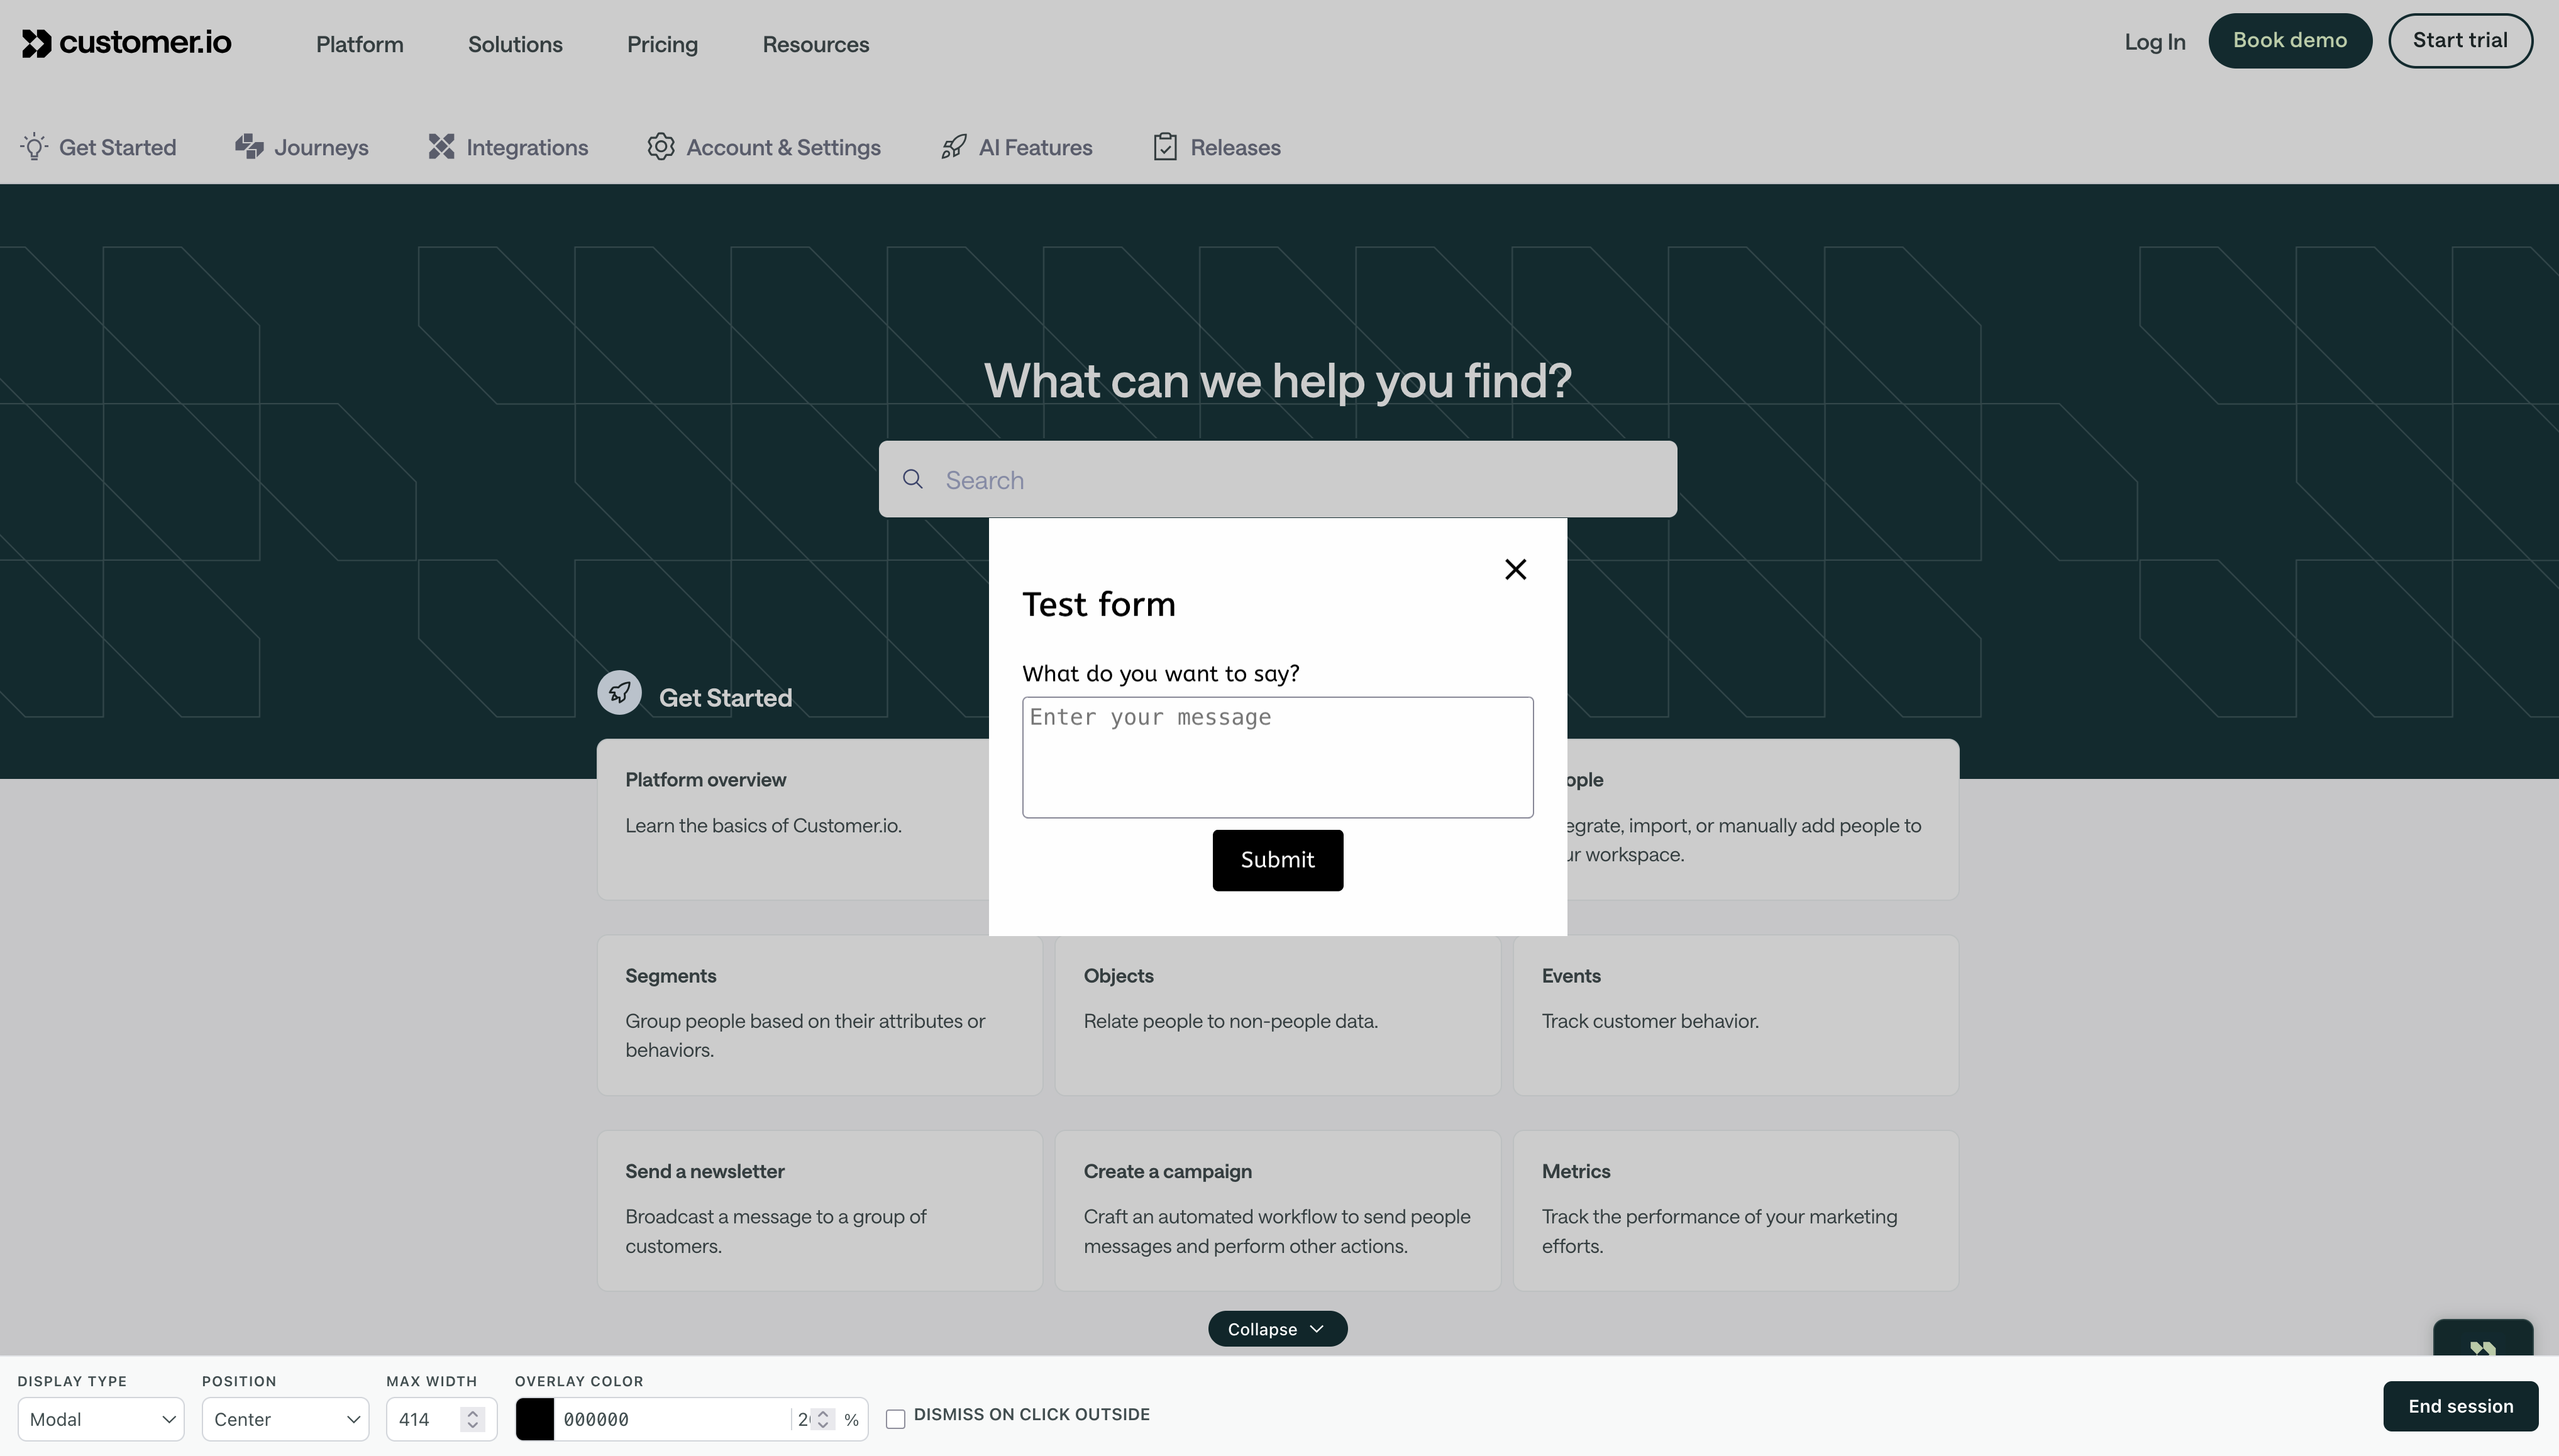
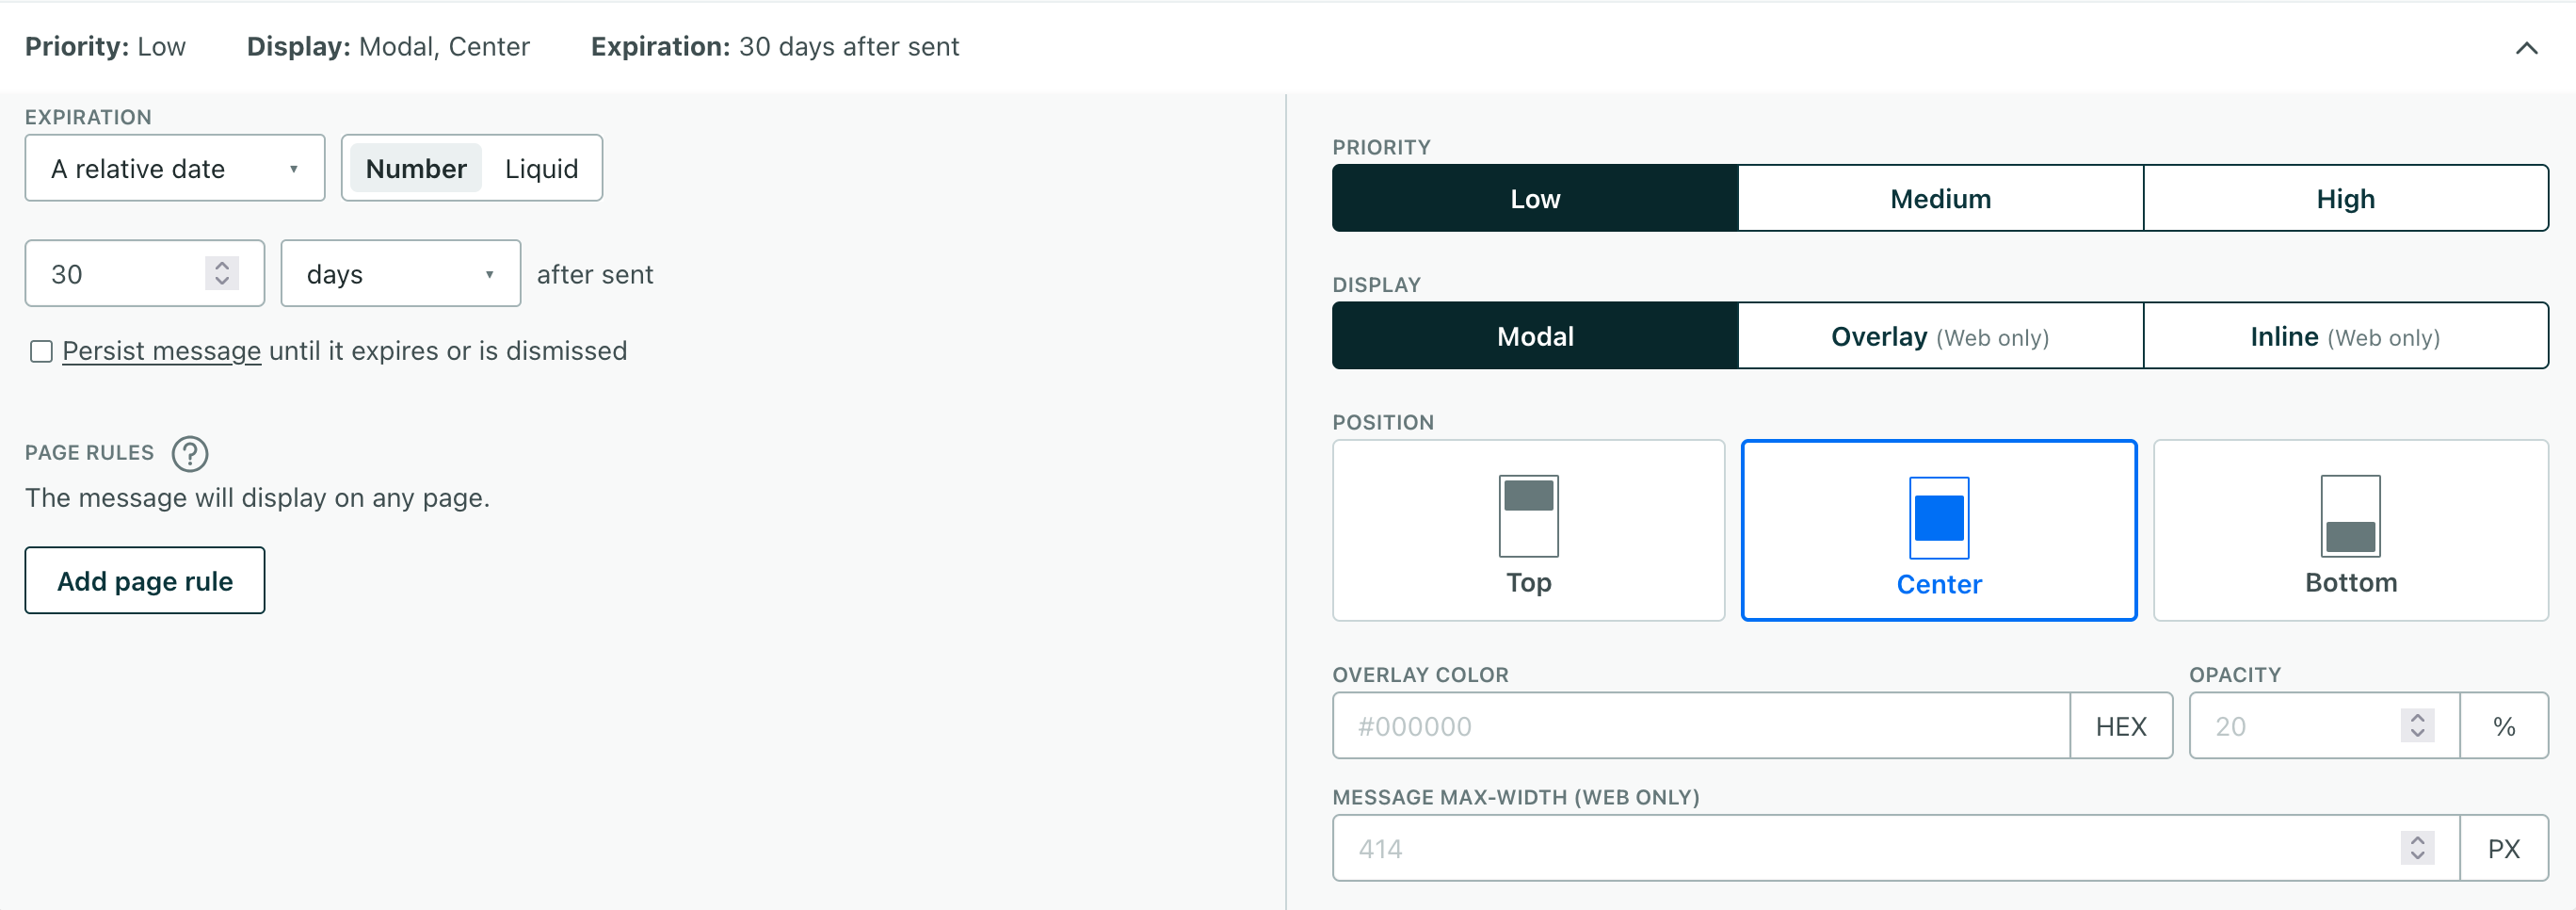
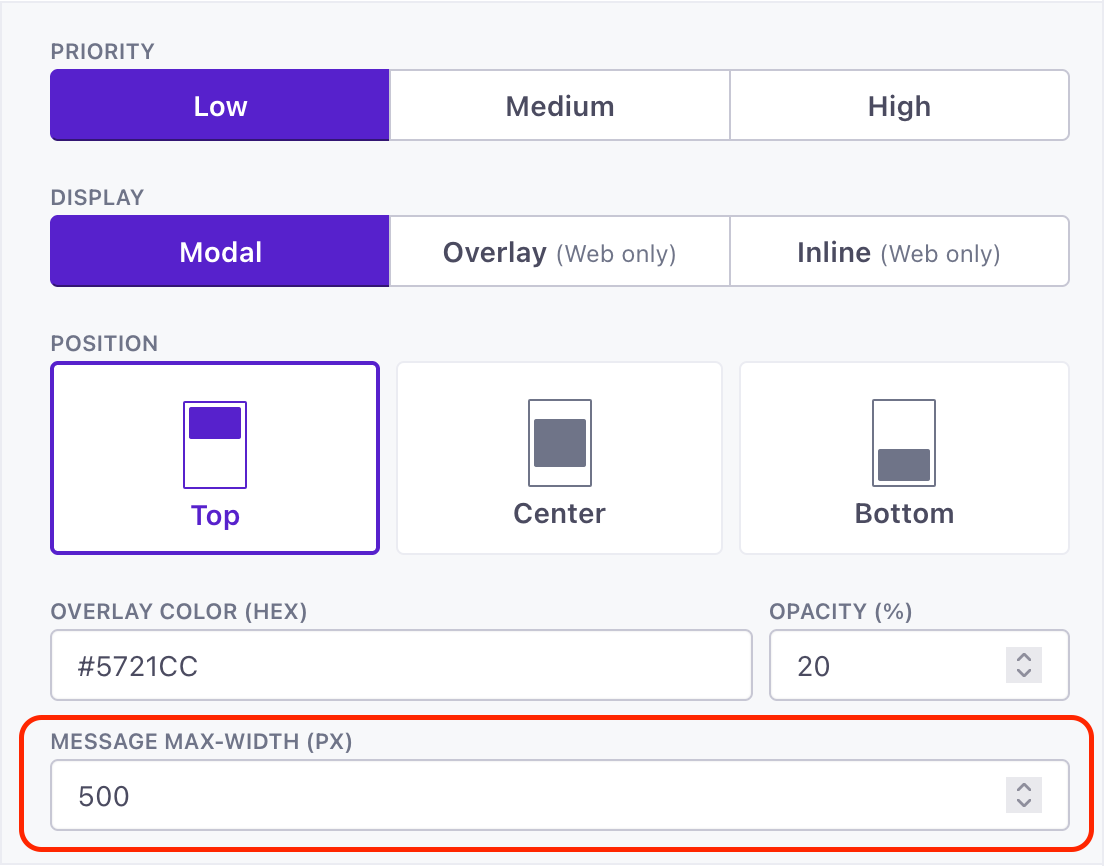
By default, our in-app messages have a maximum width of 414px—a common breakpoint for mobile design. But that might be too narrow for non-mobile mediums, like your desktop website. Now you can set a custom max width for in-app messages, expanding your message on larger screens while still being responsive when your message appears on screens smaller than the max-width value.
Go to the docs →
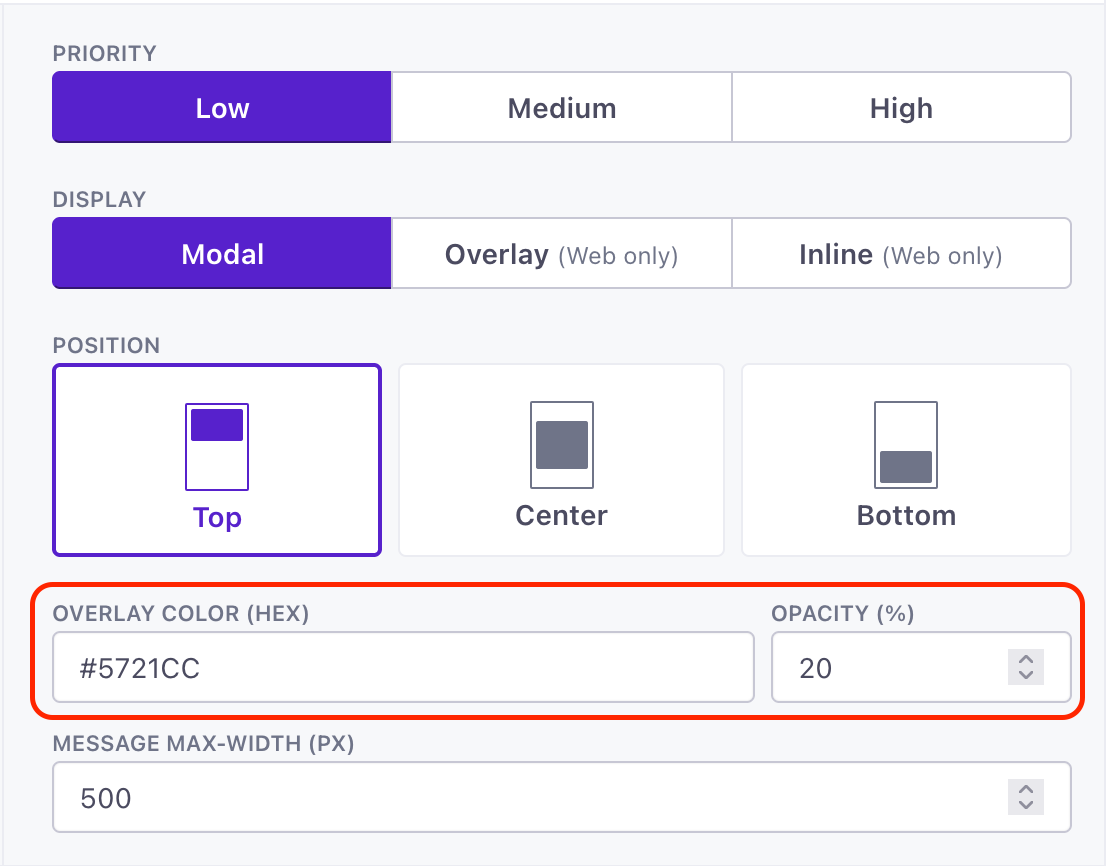
By default, we display modal in-app messages on top of a background overlay colored black with 20% opacity. Now you can customize the modal overlay color and opacity to better fit your brand and ensure that your messages are accessible to all of your users.
Go to the docs →
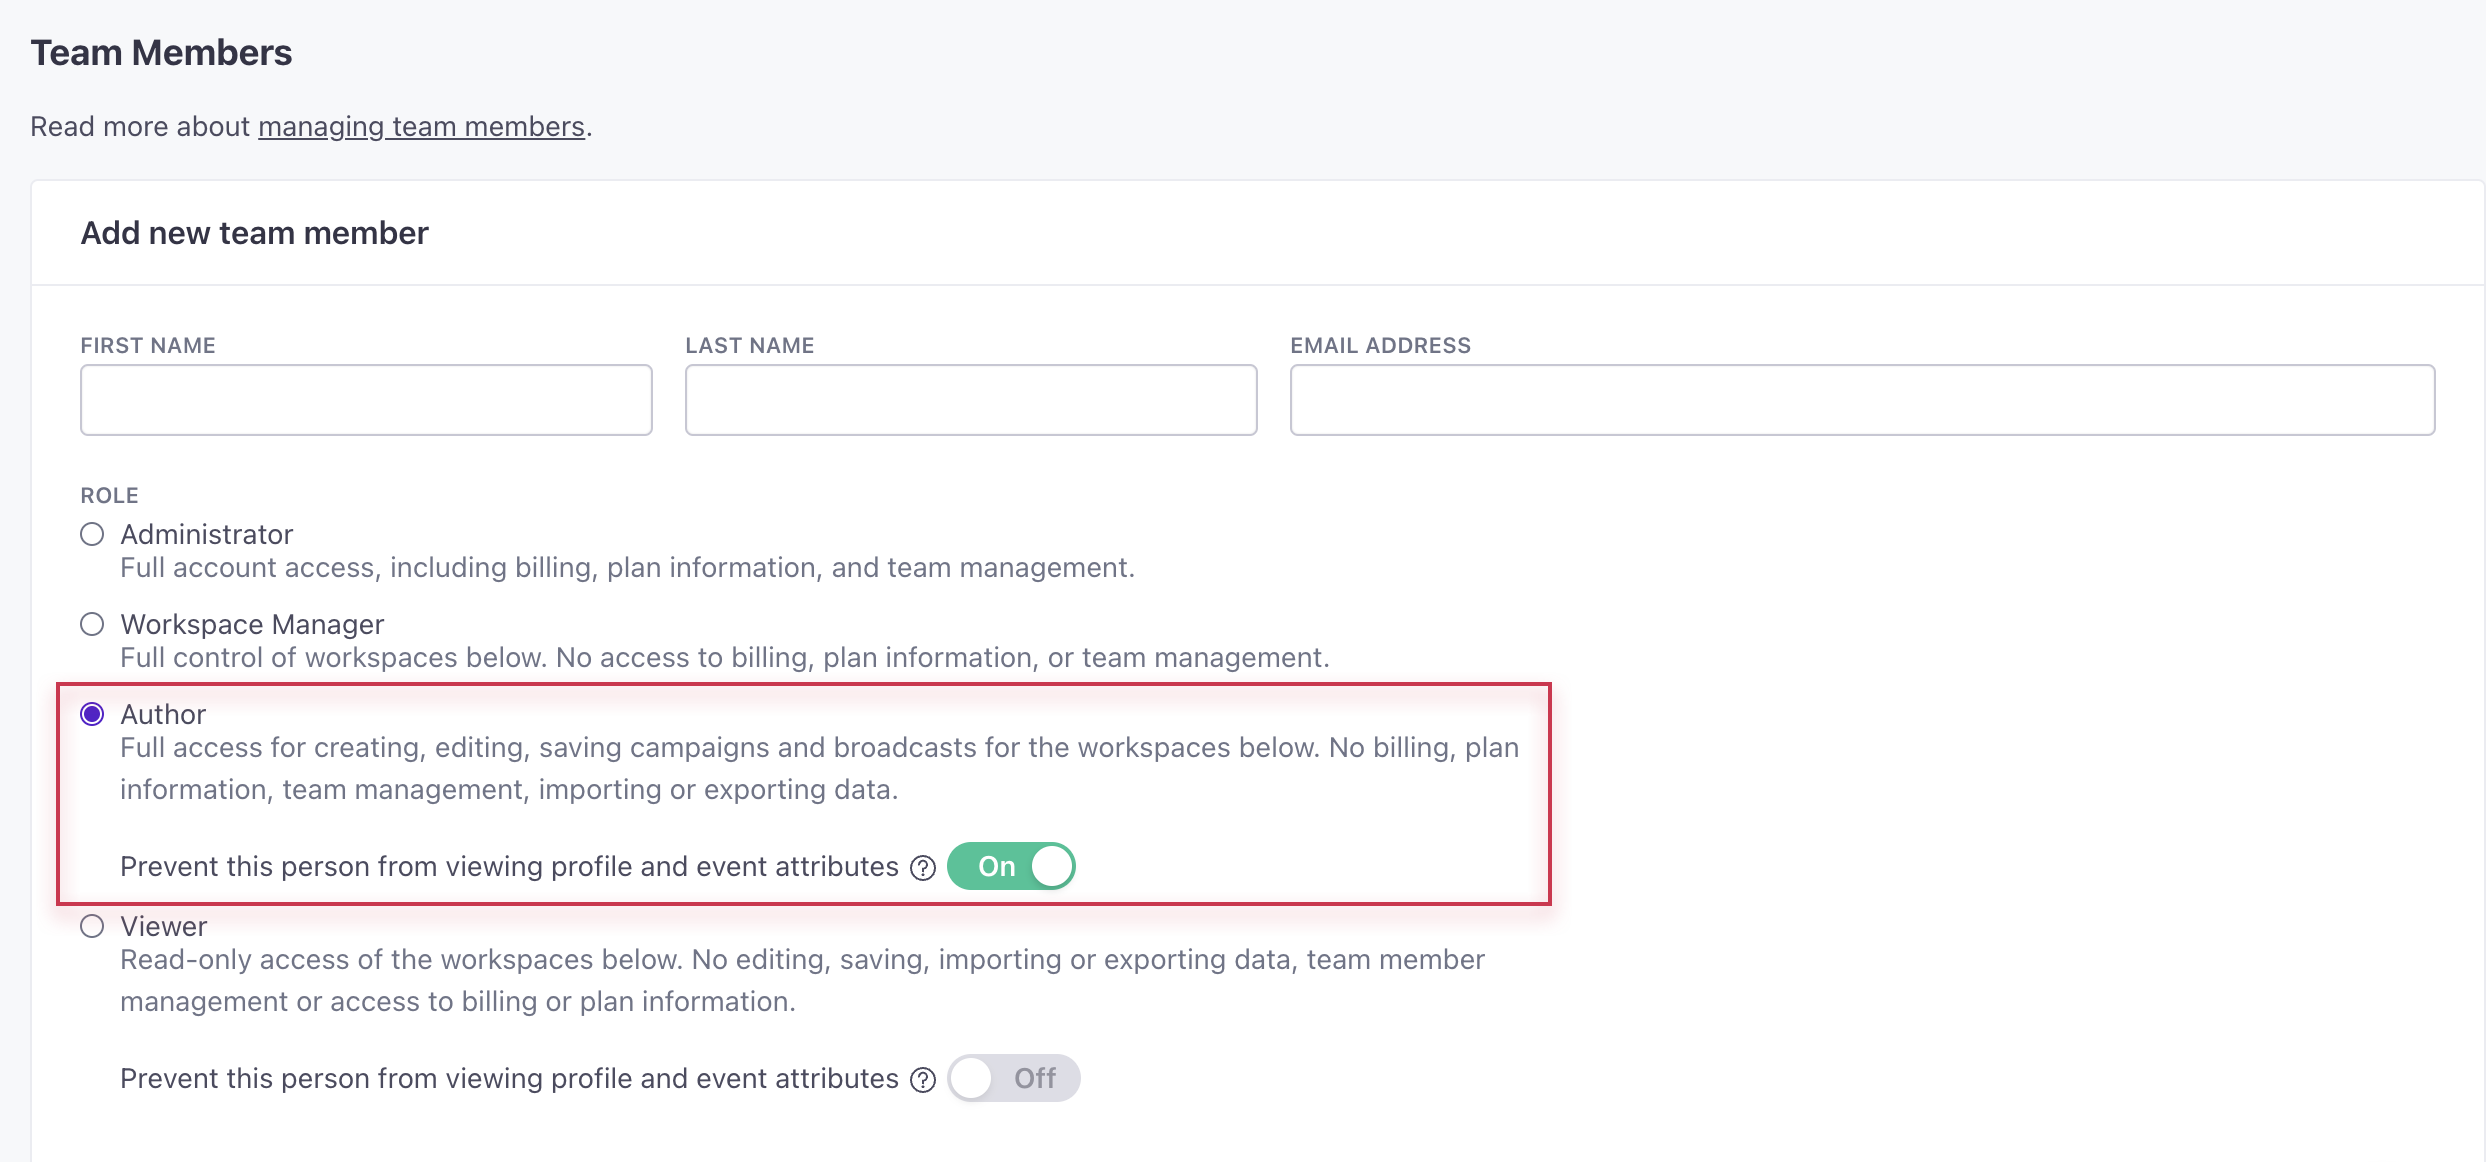
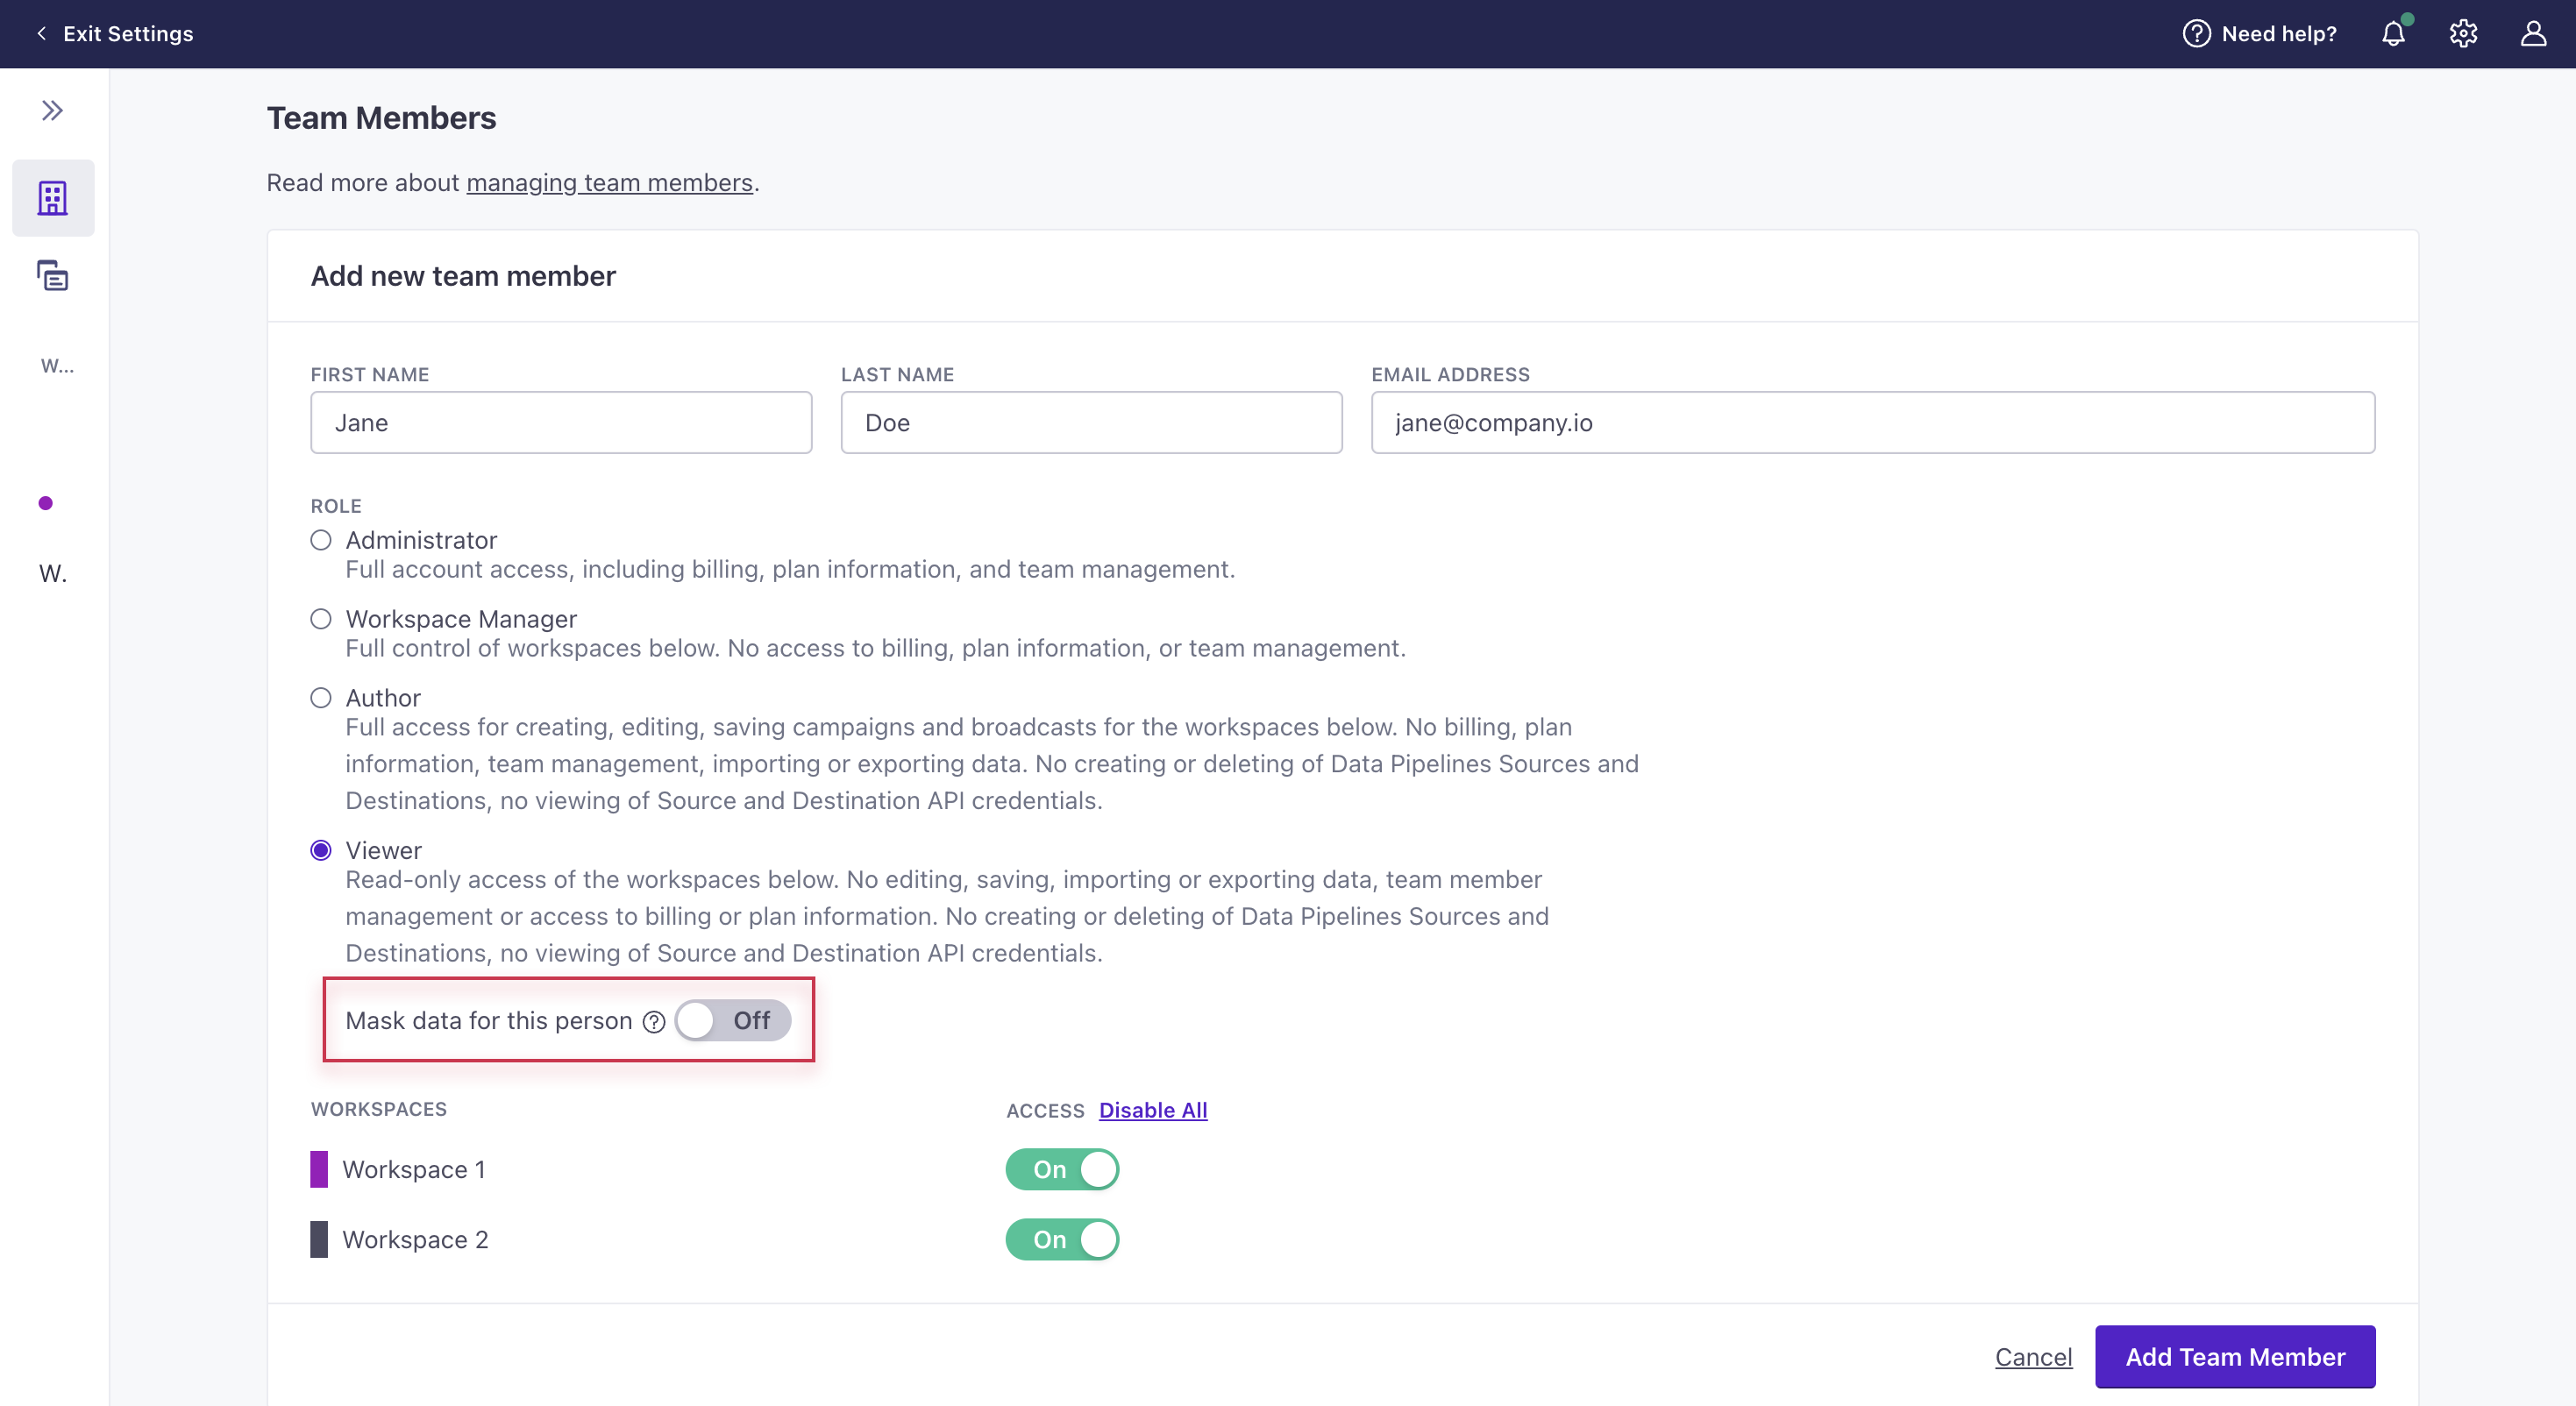
You can now hide profile and event attributes from team members with the Author role to limit who has access to personal information in your workspace. Admins can manage this setting in Account Settings > Team Members. When creating or editing a team member with the Author role, toggle on Prevent this person from viewing profile and event attributes. Authors with reduced access cannot manage segments, objects and relationships, or webhooks. They also cannot edit people or attribute conditions for broadcasts.
Go to the docs →
Now you can set up multiple page rules for an in-app message, making it easy to show your message on any page relevant to your message and audience.
Go to the docs →The Zendesk destination helps you identify your users, so you can keep a record of your users and can easily identify the people and organizations who ask you for help.
Go to the docs →
You can now keep banners and messages on your web or mobile app until a set expiration date. This option is perfect for announcing upcoming conferences, webinars, promotions, and more.
If you use our Web SDK, you can start sending persistent in-app messages today. If you use our Mobile SDKs, you’ll need to update to the latest version to take advantage of this feature. Persistent messages are available starting in:
If you use outgoing webhooks to trigger messages from a third-party provider that is not natively integrated with Customer.io, you can send incoming calls to our Track metrics API to capture metrics in Customer.io. This allows you to see delivery metrics for all of your messages in one place.
Go to the docs →You can now retrieve a list of all workspaces and high-level data, like people and object counts, through our App API. This is useful if you need to track usage outside of Customer.io.
Go to the docs →
You can now hide profile and event attributes from team members with the Viewer role. Admins can manage this setting in Account Settings > Team Members. When creating or editing a team member with the Viewer role, toggle Prevent this person from viewing profile and event attributes to on.
Go to the docs →The Google Tag Manager (GTM) destination helps you take advantage of GTM in Customer.io. You won't have to drop in the GTM snippet or call gtag directly.
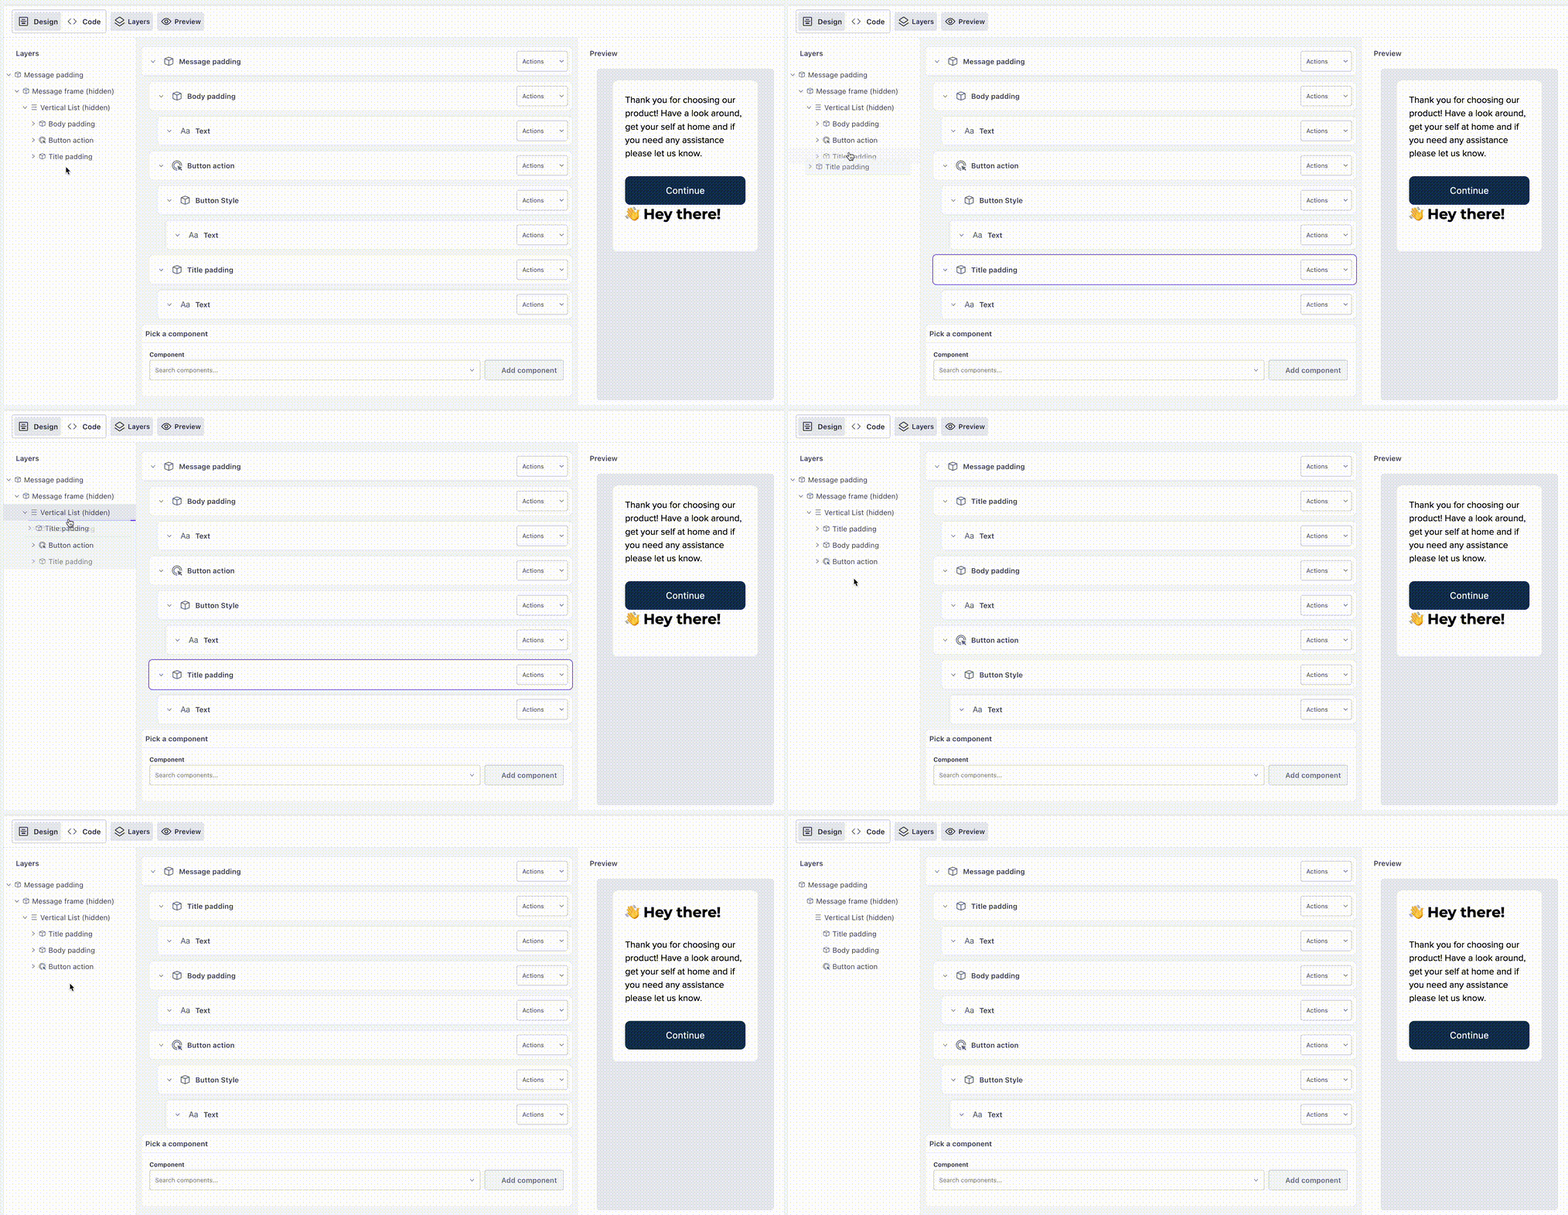
Following our last update, we've made it even easier to build in-app messages. Now you can drag-and-and drop components. This gives you the flexibility to build your message in any order and reorganize it later—you can simply change your layout and move elements to the right places at any time.
Go to the docs →
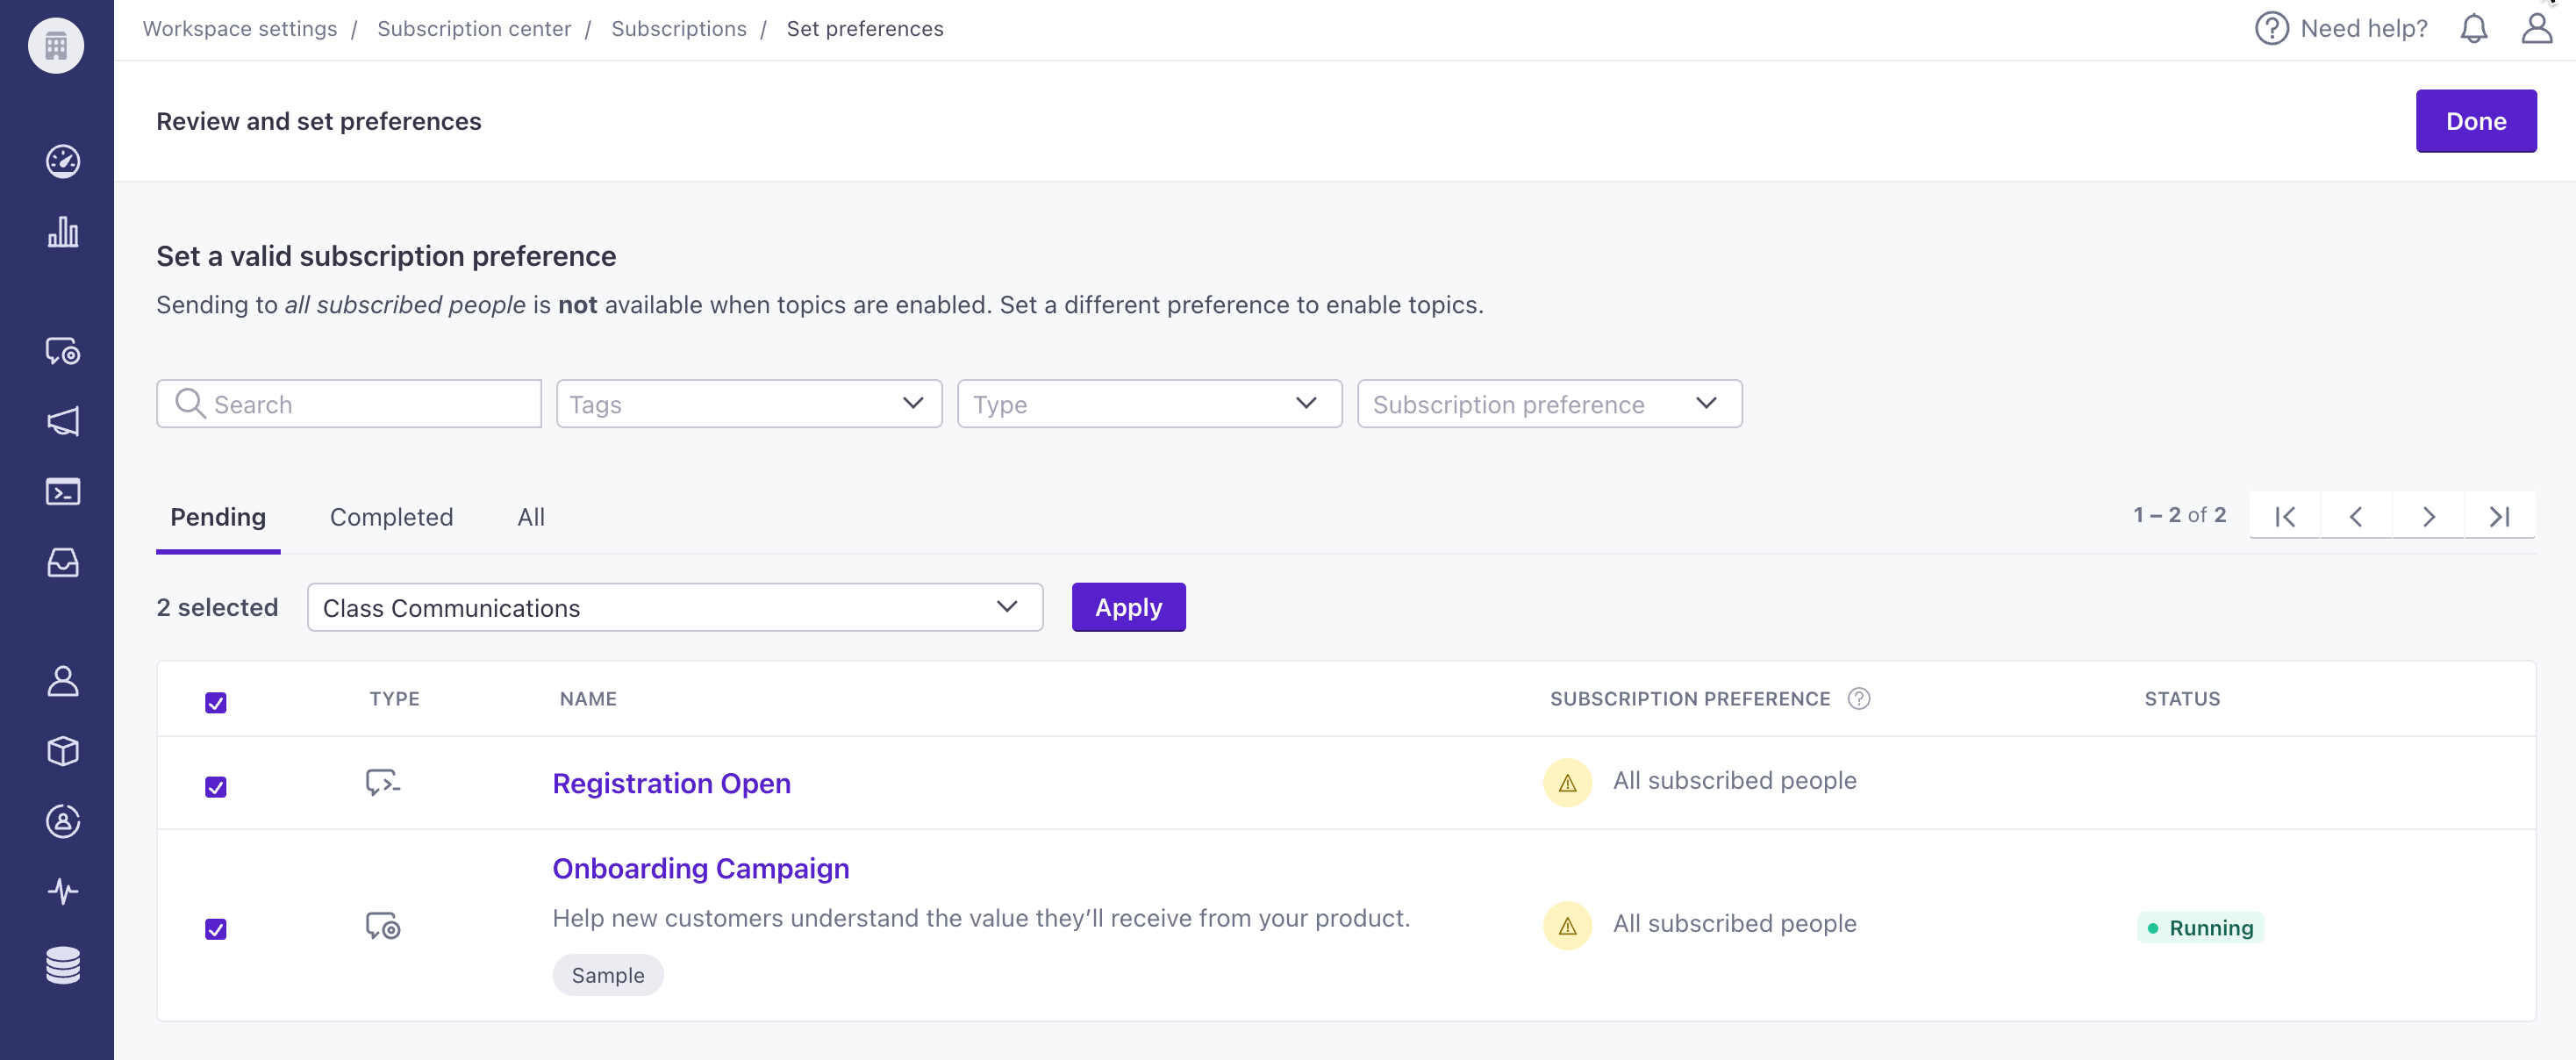
You can now enable your subscription center faster by assigning a topic to multiple automations and broadcasts simultaneously. Note, to enable your subscription center, all your running automations, API-triggered broadcasts, and scheduled newsletters need a topic. To identify which message workflows still need a topic, go to Workspace Settings > Subscription center. Then go to the Topics table and click Review.
Go to the docs →
In-app messages often contain groups of nested components, which can make it hard to find the part of the message you want to edit. That's why we added a new panel to our in-app message creator: to help you easily find and jump to the parts of your message you want to edit.
With the new message navigation panel, you can:
In-app messages are a great way to connect with people who are already engaged with your app, but it hasn't always been easy in Customer.io to build or track in-app messages with multiple choices. With our new Microsurvey components, we've made it easier to send messages with quick, recognizable calls to action. This release also adds the ability to track responses to your in-app messages and surveys.
Read more →
You can now view unsubscribe rates for subscription center topics when viewing Performance & Delivery Metrics or Message Metrics for automations and API-triggered broadcasts within the Metrics tab. For newsletters, go to the Overview tab. You can also compare metrics through your Analysis Dashboard. This data can help you determine subscription topic interest by monitoring unsubscribe rates.
Go to the docs →React Native SDK v3 is live! Automatically update native SDK releases and integrate rich push easier. Follow our migration document (you only need to modify your Podfile) to upgrade, today.
Go to the docs →
You can now add pre-built blocks to your in-app messages to save time constructing message frames, buttons, and rounded images! Select from the component dropdown to get started.
Go to the docs →
You can now override a subscription topic at the message level. Within an automation, select an email then select a different topic from the Subscription Preference dropdown. This way, you can target different audiences within a single automation.
Go to the docs →
We've made a series of improvements to our in-app message editor that make it easier to build and preview your message.
You can now create your own, custom subscription preferences page by fetching preferences from our App API and updating them through our Track APIs. This gives you full control over the branding, formatting, and location of your subscription preferences page.
Go to the docs →
We now support SSO with providers that are compliant with OpenID Connect. This includes but is not limited to OneLogin and Auth0. Go to Account Settings > Security > Enable Single Sign-On (SSO) to get started. You must have the Admin role to configure SSO.
Go to the docs →
You can now change the order of your subscription center topics through Workspace Settings > Subscription center > Edit on the Topics table. This can be useful when you add or remove topics or want to rearrange them to reflect a hierarchy of importance.
Go to the docs →We've added functions to all of our SDKs to manually dismiss in-app messages. This is especially helpful in handling custom actions, so you can dismiss messages after your audience interacts with a custom button or link. You can listen for message interactions and then perform dismissals based on the actions users take in your messages.
Go to the docs →
You can now add and delete relationships between objects and people in the UI, which allows you to explore objects without engineering. You can use relationships to segment users and to personalize messages with object data.
Go to the docs →
You can now translate your subscription center topics and headers for your audience. You can add translations for 29 languages and decide when to make them live to your users. Go to Workspace settings > Subscription center > Settings to get started.
Go to the docs →You can now verify webhook requests sent through our Send and receive data actions using a key that is separate from your reporting webhooks. To find the signing key in your workspace, go to Settings > Workspace Settings > API & webhook credentials and select the Webhook Signing Key tab. Users with the Admin, Manager, and Author roles can view this key. You can continue to find the key for your reporting webhooks in Integrations > Reporting webhooks.
Go to the docs →
We now support single sign-on (SSO) with Azure AD. Go to Account Settings > Security > Enable Single Sign-On (SSO) to get started. You must have the Admin role to configure SSO.
Go to the docs →
You can now create more object types in your workspace! Personalize messages across multiple relationships between your customers and groups they belong to like companies, courses, and events.
Read more →
You can now update the branding of your global unsubscribe page! Go to Settings > Workspace Settings > Subscription Center to add a logo and/or update the background color of your Unsubscribe button. If you have not enabled our Subscription Center, your users will see this page after selecting Unsubscribe.
Go to the docs →
Easily create, personalize, and measure your transactional push notifications with our Transactional Push API. Need to add an image or deep link or send in multiple languages? No problem — make updates to your transactional messages without changing a single line of code.
Go to the docs →To protect accounts on our platform, we've enabled two-factor authentication (2FA) for all accounts that do not use SSO. If you've already enabled 2FA via authenticator app, there will be no change to your sign-in pattern. If you have not enabled 2FA via auth app and do not use SSO, you will now verify your log-in attempt through an email from us here at Customer.io. Just make sure you click the emailed link on the same browser and device on which you attempted to sign-in, and you'll be good to go!
Go to the docs →
You can now use liquid syntax to set the expiration date for an in-app message. Use event properties, profile attributes, snippets, and more. For example, if you want an in-app message to expire based when an online course is scheduled to start, you can use liquid syntax to set the expiration date to {{event.class_start_date}}.
You now have more flexibility when setting preferences for subscription topics. You can update some topic preferences for people, while preserving those set for other topics, using JSON dot notation. This applies to CSV import, our create/update person action, and our Track API.
With this update, you can also import each subscription topic preference as its own attribute via CSV.
Our Flutter SDK has been in beta for the past couple of months. Now that we've smoothed out the rough edges, our 1.0 release is ready for use in your production apps.
Our Flutter SDK supports all the same features as our other SDKs, including in-app messaging, support for images and links (rich push), and the ability to send events from your audience’s devices. As an officially-supported SDK, we’ll continue updating our Flutter library to support both OS updates and new features that we expose in Customer.io.
When you use our SDKs, you can now send push notifications to iOS devices that use the default system sound, alerting your audience when they get a new message. This affects all of our SDKs that support iOS, including React Native, Flutter, and our Expo plugin.
This only adds support for the default system sound. Our SDKs do not yet support custom sounds.
We've added support for AMP components to our email code editor! Validate AMP and send test emails from within your workspace.
AMP ↗ lets your customers complete surveys, RSVP to events, respond to comments, and more within your emails. Visit Amp.dev ↗ to find templates and components for your use case.
Toggle these experimental features on in Account Settings to get started: Advanced Code Editor and AMP for Email.
Now you can sync objects (like companies, accounts, or online classes) and relationships as a part of our Reverse ETL database integrations—MySQL, BigQuery, Snowflake, and so on. Now you can easily add objects and relate them to people on a regular interval based on business logic and data that you store outside of Customer.io.
Go to the docs →We've had our in-app solution in beta for a while now, while we smoothed out some rough edges. Now, it's ready for everybody.
While in beta, we’ve made some major improvements to our in-app solution:
organization_id in integrations, so it’s easier to get started with in-app messages.
We moved in-app message templates and branding settings under the Content menu, so you can get there in fewer clicks. But that's not all. In this release, we also improved the in-app message editor, so that it's easier to craft your messages.
In the improved editor, you can:
We've added the ability to rename messages for their intended purpose as you determine your messaging strategy and find specific uses for different kinds of in-app messages. In the near future, we'll also add the ability to delete in-app message templates!
Go to the docs →
Now you can set your primary brand color and add a logo to your subscription center page, so it looks like a part of your brand and website. Branding your subscription center gives people confidence in their preferences, so they know that they're on a page associated with your brand.
Go to the docs →
We recently released objects—a feature that lets you set relationships between people and groups like accounts, companies, online courses, and so on. As a part of that release, you could create segments based on relationships between objects and people, but you could only use those segments with newsletters. Now you can use these kinds of segments to trigger automations! This makes it easy to onboard new people when they join a company, sign up for a new course, and so on!
We’re committed to supporting one-to-many, and eventually many-to-many, relationships using objects. Stay tuned for updates as we continue working on this new feature!
Message limits help you make sure that you don't over-message and annoy your audience. But, previously, messages that went over the limit—Undeliverable messages—could pile up in your workspace. Now you can set an auto-retry interval for messages that hit the limit, and automatically retry messages up to 24 hours after they hit your message limit. This helps you make sure that time-sensitive messages don't go undelivered!
Go to the docs →
We now support objects—non-people data that you can relate to people, like accounts that people belong to, flights they've booked, online courses they've enrolled in, and so on. This release is only the beginning. Support in this release is limited to a single object type and they're limited to Newsletters, but we're actively working on this feature to add support for more objects, automations, and object-to-object relationships.
Read more →
We've added a subscription center feature that can help you manage your audience's subscription preferences without having to manage a complicated set of preferences on your own. This feature makes it easy to set up your subscription topics, apply those topics to automations or broadcasts, and let your audience decide what topics they want to subscribe to.
Read more →People login and out of mobile apps all the time, causing device tokens for mobile push services to change. Rather than letting those tokens stack up in your workspace, we've started automatically removing 'devices' when they're no longer able to receive push notifications—beginning January 31, 2023.
This helps you maintain a better understanding of your audience’s devices, so you know which devices are relevant and can get a real device count—without having to clean up old devices yourself.
With our original Track API, you're limited to a single request per person, and a host of different endpoints. Today we're releasing our v2 Track API, which lets you send groups of requests for different people, and different kinds of actions, to our /v2/batch/ endpoint. Now you don't have to maintain different calls for different actions; you can just modify your payload to fit different request cases and send requests in batches.
In our quest to support your mobile apps, no matter what platform you build them on, we've released an alpha version of our Flutter SDK! While this is an alpha, the SDK contains all of the features of our other SDKs, including support for rich push and in-app messages. The alpha label simply means that we've been limited to internal testing, and we need your help to make sure that it performs the way you expect it to.
We’re committed to releasing, maintaining, and supporting Flutter. Try out our new SDK and let us know what you think. Your feedback helps us understand your needs, so that we build our SDK(s) and associated features to fit your needs.
We've made page rules for in-app messages easier to use! Before this update, you needed to set up a complicated workaround to limit an in-app message to to your website or mobile app. Now, when you select your web, iOS, and/or Android channels, we'll automatically limit messages to the platforms you select. If you don't select any platforms, your message will appear on whichever platform the person visits first.
Go to the docs →
A holdout test is a type of A/B Test that lets test whether a message is useful or not. In a holdout test, some members of your audience receive a message and some don't—but we still calculate conversions for the message, helping you see whether your message affects your conversion rate.
In the past, we had a complicated recipe to perform holdout tests, but it involved sending real messages to a black hole address, which wasn’t ideal. Now you can set up holdout tests with a simple checkbox!
In the past, you needed to hunt down the ID of a transactional message before you could use it and actually send messages to your audience. Now you can set a friendly, case-insensitive Trigger Name, and use it to send messages. The Trigger Name makes it easier to find the message you want to send. It can also make your integration more human-readable if you use triggers that represent the kinds of messages you send—like password reset or order confirmation
In the past, our database sync integrations ran on an interval plus the time it took to complete an import from your database. So if a minute to sync your database and you set your sync interval to an hour, you effectively had a sync interval of 61 minutes, causing your expected sync interval to drift over time.
Now, we attempt to perform sync operations on your exact interval without regard to the time it takes to complete an import operation; if we’re still importing from your database on a sync interval, we’ll skip it (showing a skipped status in our UI), and try again at the next interval. This adds predictability to your database sync integrations, so you’ll always know when you can expect to see your data in Customer.io.
We've extended multi-language support to our transactional API, so you can easily send transactional messages to your audience in their preferred languages. When you create a transactional message, you can add languages—versions of your email that are localized for different members of your audience. When you send your message, we'll match your audience's language attribute to the languages in your message, and people will receive the localized message that best represents them.
Go to the docs →
You no longer need to upload the same image multiple times to reuse it across messages, nor do you need to host your own images! With our new Asset Library, you can upload images and reuse them across different messages.
Go to the docs →
When you send an in-app message, you can set a page rule determining the page a person needs to visit to see your message. Now you can use the * wildcard in page rules, so you can load a message containing a word or under a set path. This makes it easier to control where your in-app messages appear, so your audience receives your message on any relevant screens or pages.
With this feature, you can use a path beginning with a set of characters (begin*), ending with a set of characters (*end), or in a path (https//example.com/*/billing).
In-app messages support an expiry value, so that you only show messages to your audience when they're relevant. But, in the past, we only allowed you to set expiration values in days. Now you can set messages to expire in hours or minutes, helping you send highly relevant, time-sensitive messages to your audience. It can also make it easier to test your SDK integrations with us!
As a part of this release, we’ve also changed the default expiration period from 365 days to 30 days.
Our first official release of our React Native SDK is now available. With our React Native SDK, you can take advantage of Customer.io in your mobile apps without having to maintain separate native platforms for iOS and Android. Implement our SDK in your React Native app to identify your mobile users, send rich push notifications, and send in-app messages—all without writing your own integration from scratch.
Go to the docs →
When you set up an automation conversion, you can now compare your conversion event to your trigger event. This is a great way to determine the success of your automations based on related events.
For example, imagine that you start an automation when someone begins an educational course; maybe your event is called course_started, and it has a course_id that you use to identify different courses you offer. Your automation’s goal is to help someone finish the exercise, so you need to look for an event called course_completed with the same course_id. That kind of comparison is now possible, and you can use it to your advantage to pinpoint highly-specific conversion criteria!
We've updated our data warehouse integrations to version 4, including a new Delivery Content schema containing message contents—so you can maintain a history of the text and images you sent your audience. When you upgrade to the latest version, you'll be able to export message contents and confirm the bodies and subjects of messages that were rendered and sent to individual users.
See the Delivery Content schema for information about the new table in v4. Go to the documentation link below for help updating to v4.
Upgrade to v4 to use subjects and outputs
We’ve made some minor changes to subjects and outputs a part of our v4 release. If you’re using a previous schema version, we disabled your subjects and outputs on October 31st, 2022. You need to upgrade to schema version 4 or later, to continue syncing outputs and subjects data.
In the past, if you wanted to reuse a newsletter in another workspace, you had to create it from scratch. Now you don't need to do all that work, you can simply copy your newsletters to other workspaces!
Go to the docs →
When you go to create an automation, you'll notice some changes to our automation Trigger page. We've redesigned this step in the automation setup process to make it easier to understand how each trigger works and when you should use them.
Go to the docs →
Have you ever found people with the same email address or phone number in your workspace, and accidentally sent duplicate notifications? Now you can export a list of people who have the same attribute, making it easy to find and deduplicate people or attributes in your workspace.
This feature also adds the ability to export a list of devices. You might export devices to clean up bounced or suppressed devices.
We're updating our push editor, so you can send rich push notifications containing images, links, and even custom key-value pairs without writing complicated custom JSON payloads. With this update, push previews also update to include images, helping you visualize your push notifications.
We’re rolling the new rich push editor out to accounts over the next week. Contact product@customer.io if you want to start using it today.
We recently updated our Wait Until action to support different conditions—including waiting until a person performed an event. Now you can set event properties in wait conditions, helping you wait until a person performs an event matching very specific parameters.
For example, if people enter your automation when they create an appointment, you might send them a reminder before their appointment. You can use an event parameter-based wait condition to make sure that someone hasn’t cancelled their appointment before you send the reminder!
In a previous release, we exposed the ability to use JSON dot notation to access nested attributes and event properties in segments, filters, etc. But what if you're not a developer or familiar with JSON? This update adds some simple options that can help folks traverse nested attributes without needing a deep understanding of JSON and related terms!
Read more →You can now install and use a React Native version of our SDKs—including rich push and in-app features. We're confident in the core features and we don't expect to introduce breaking changes before we officially release it. But, we have a bit more work to do, a few questions to answer, and we need your help to make sure that we build the SDK to fit your needs. Start using it today and send us your feedback!
Go to the docs →This release makes it easier to add people to your workspace without making identify calls for each individual person. Now you can use our App API's new /v1/imports endpoints to import a CSV where each row represents a person, letting you add and update a large number of people with a single operation.
We've added a preview function for messages in your automation and broadcast workflows. You can hover over a message action in your workflow to see a preview, so you can always find the right message without clicking into message after message to find the one you really want.
We've been testing our in-app solution for a few months now in a closed beta, and now it's ready for a wider audience. You can now send in-app messages to mobile apps and web users! Start using it today and send us feedback to help guide our product roadmap.
Read more →
A few weeks ago, we enabled Parcel's code editor for email as an experimental feature. It's been so successful that we've enabled it for everybody. When you write emails using the code editor, you can now preview your output, take advantage of focus and inspect modes, test your message for responsiveness, and more!
Go to the docs →
Now that Customer.io has acquired the best coding platform for email, we've started integrating it into our platform—beginning with our email code editor. Enable the Parcel Editor experimental feature to take advantage of syntax-aware autocomplete, responsive previews, and focus mode that helps you zero-in on the elements you want to edit.
Read more →
A standard SMS text message is limited to 160 characters, but a picture is worth a thousand words. Now you can send images in your SMS messages to increase engagement with your mobile audiences in the United States and Canada.
When you set up an SMS message, you can add the URL of a JPEG, PNG, and GIF image. You can send images up to 1.5MB to people with phone numbers in the United States and Canada. In general, we recommend that you limit images to 1MB or less, so that everybody in your audience can see them regardless of their connection speed.
Earlier this month, we added the ability to track conversions for Automations and Broadcasts when someone in your audience performs an event. Now you can do the same with Newsletters. Setting an event-based goal for your newsletters can help you accurately determine how effective your message is based on your audience's behaviors after they receive your message. You can track conversions over time to improve your messaging strategy.
Go to the docs →
In the past, you weren't able to create segments or use complex JSON attributes (arrays, nested objects, and arrays of objects) in filters, branch conditions, etc. This forced you to flatten your attributes and events to fit the sorts of segments you wanted to create, which could take a lot of effort and planning. Now, you can use complex JSON in conditions, making it easier to use your data and segment your audience without reshaping your data.
Read more →
Now you can upload events your audience performed via CSV. Whether you're just getting started with Customer.io, or just capturing new types of events on your website or in your app, this feature can help you backfill events and segment or send messages to your audience based on events they've already performed.
Go to the docs →
Conversions help you determine the efficacy of your messages and automations by recording when people respond to your call to action. We've simplified the way in which you achieve and set goals by allowing you to base conversion criteria directly on incoming events.
Read more →
Now you can export your workflow as a PNG. This makes it easy to share your automations with people outside of Customer.io.
Click in the upper right of the workflow to export your workflow as an image.
We've updated our Wait until... automation action, so you can hold people until they gain an attribute, perform an event, or wait until a timestamp in the event that triggers your automation. For example, if you send an event when a person signs up for an appointment, you can use a timestamp in the message to hold a person in your automation until it's time to send them follow-up reminders!
Go to the docs →To localize automations or broadcasts in the past, you needed to use liquid or complicate your workflow with multi-split branches. Now, you can use your audience's language attribute to produce multi-language messages in a simple, in-line workflow.
When you write messages in your automation, you’ll set up a default message and click Add language to set up localizations of your message. When people enter your automation, they’ll receive messages matching their language attribute. People who don’t match a language in your newsletter receive the default message.
Localized items in your workflow show the icon.
This makes it easier to localize messages in your automations, and generates unified metrics from localized messages, making it easier for you to tell how your message perform with your audience.
This release adds a processing queue to the SDK and support for device attributes.
A segment is a group of people in your workspace. Use segments to trigger automations, track membership over time, or fine-tune your audience. There are two types of segments: data-driven and manual. Data-driven segments automatically update when people start or stop matching criteria. Manual segments are static.
, helping you target members of your audience.If you use a previous version of our SDK, this release introduces breaking changes. See the our migration documentation for help updating your integration.
We've updated our iOS SDK to add support for device attributes—properties that you can use in segments, filters, etc. The SDK automatically gathers a series of device attributes, helping you automatically capture information about the operating system version, your app version, whether a device has push notifications enabled, etc. You can also set your own custom attributes, helping you track custom properties that are important to you and your push audience.
Go to the docs →
When you use Customer.io as a Segment Source, you're no longer limited to just email events. Now you can pipe event information for all of your message channels a Segment Destination, where you can aggregate customer data. To enable other channels, you just need to remove your integration and then add it again.
Go to the docs →
You can now click the user icon in the upper right corner and go to Experimental Features to try out new features before they're released. This gives you access to some of the things we're working on and presents you the opportunity to tell us how you feel about them. Tell us whether you like a feature or not and what might improve it, so that we build the right features for you!
Go to the docs →
Now you can sync metrics, deliveries, people data, and more to your Microsoft Azure Blob Storage bucket. We sync data up to every 15 minutes to help you keep up with your Customer.io data. Once in your Azure bucket, you can ingest data to your data warehouse and analyze your Customer.io data.
Go to the docs →
If you wanted to see how your automations and messages performed, you used to be limited to custom date ranges within the past 120 days. Now, you can check metrics using any custom date range in the past 12 months, making it easy to see how your automations and messages performed over the specific time periods that you care about.
Go to the docs →
Now you can capture HTML form submissions using your forms' action attribute. This makes it easy to gather form responses from your audience without writing code or installing our JavaScript Forms snippet.
Like other form integrations, this feature also lets you trigger automations when people fill out your form, so you can automatically respond to your audience with information relevant to the forms they submit.
Our new batch update action makes it easy to handle one-to-many relationships, like an account with multiple users or a product update that a group of people are interested in. With a batch update, you can associate a single incoming piece of data with, and even send messages to, a group of people.
Read more →
Want to set up a database source, but not ready to import people just yet? Now you can schedule the start time of your initial database sync integrations, so you can turn your integration on at a date and time that you're comfortable with. The start time represents the beginning of your first sync operation with recurring syncs on an interval after the start time.
You can now set a series of attributes on mobile devices in Customer.io, and use these attributes to segment and filter people in automations, broadcast audiences, etc. If you use our SDKs, we capture some pre-defined device attributes—like operating system version and device model—automatically. For our SDKs, this feature is only currently available in Alpha builds, but we'll roll it out to new releases soon enough.
Read more →
Now, when you click a snippet, you'll see where it's used, helping you understand the impact of changes to your snippets! You can also sort, filter, and search for your snippets, making it easier to find the snippets that you want to use or edit. This update also adds a check that prevents you from deleting snippets that are in use, making sure that you don't inadvertently change a message or automation.
Go to the docs →
Do you need to reshape your trigger data or perform calculations to reformat values? This update lets you manipulate values in Create or Update Person and Create Event actions using JavaScript return statements. If you're already familiar with JavaScript, you may have an easier time using JavaScript to convert and re-shape JSON values than you might with Liquid.
For example, where you might have checked if a variable existed by writing a complicated Liquid if statement, you can now write simple JavaScript instead!
return trigger.plan_name ?? 'free_trial';{% if trigger.plan_name != blank %}
{{ trigger.plan_name }}
{% else %}
free_trial
{% endif %}
You can now create segments, filters, or set automation conditions using the platform, last_used, and last_status attributes attached to your audience's devices. This update lets you use device attributes in the same way that you use people's other attributes, helping you send push notifications to a targeted audience of people with relevant devices.
Our SDKs gather these attributes automatically, but you can also set them when you add and update devices using our API. The last_status attribute is set automatically based on the delivery status of the last message sent to the device—sent, bounced, suppressed, or an empty string if the device hasn’t received a push notification before.
We've updated our Integrations page to better reflect your active integrations and suggest integrations that might be relevant to you. The new page organizes your active integrations into Data in and Data out categories at the top of the page, showing which direction your active integrations flow.
The formerly-known Beta API is officially released! These endpoints are now available under our App API: the endpoints that you used to access with https://beta-api.customer.io/v1/api/, are now available at https://api.customer.io/v1/; if you're in the EU region, former https://beta-api-eu.customer.io/v1/api/ endpoints are now at https://api-eu.customer.io/v1. These endpoints are stable parts of the Customer.io platform and you can use them confidently.
If you’re currently integrated with “beta-api” endpoints, you can continue to use those routes, but we encourage you to update your integration to use the new https://api.customer.io/v1/ paths. Beta API endpoints will continue to work, but we may eventually deprecate and remove them in the future (with advanced notice).
We've replaced our attribute update action with an improved Create or update people action. This new action lets you update multiple attributes for a person with a single action in any automation workflow. You can also update someone other than the person currently in the automation journey—or create a new person if they don't exist. This is particularly useful if you're connecting data and third-party tools using a Data Automation
Go to the docs →
Now you can filter your message library by status—Sent, Drafted, etc.—and type, making it easier to find your messages. This release also lets you exclude messages from archived automations, helping you narrow your scope when you look for a message. Go to Message Library to search through your messages.
Go to the docs →
Our Create Event workflow action used to be limited to Data Automations. Now you can create an event in any automation, regardless of automation trigger, providing a handy way to trigger parallel automations and add people to segments. You can create an event for the person in your current automation, or another related person: anybody whose ID or email that you can access from the trigger event or the current person's attributes.
This release also makes it easier to add properties to your events, letting you click to select the values that you want your event to include so you don’t have to write liquid.
You can now capture form submissions from the Wordpress WPForms plugin without Zapier. To identify and capture responses from people who fill out your forms, simply add the JavaScript forms snippet to pages containing a form.
We developed and tested Wordpress form support with the WPForms plugin ↗. You may be able to capture forms from other form plugins in Wordpress, but we cannot guarantee that they’ll work. Let us know if you use a different plugin and run into compatibility issues. We’ll do our best to support your use case.
If you wanted to send multi-language messages in the past, you needed to write complicated workflow conditions or liquid logic. This release makes it much easier to send people messages in the languages that they prefer.
Read more →If your workspace identifies people by email or id, we added this setting to make it easier to change people's email addresses. Enabling this setting can help cut down on Failed Attribute Change errors and is on by default for all new workspaces.
In workspaces created before today, if you use both email and id to identify people, you needed to use cio_id to change either value—a value that you might not have available to your integration. This setting lets you change email values with id, making it easier to modify your audience without preventing you from identifying people by their email address.
Connect your Redshift data warehouse to Customer.io, and import or update people on a regular interval. This integration helps ensure that your workspace always reflects the latest information about your audience.
When you set up a sync, you provide a query determining the information that you want to reflect as attributes on people in Customer.io. You’ll also set the frequency of import operations from your Redshift instance. On each interval, you’ll import and/or update people in your workspace from your Redshift database!
The first official release of our iOS and Android SDKs is now available. Our SDKs make it easy to identify mobile users, send events from client devices, and send rich push notifications to your mobile audiences—all without writing your own integration from scratch.
Read more →You can connect your Microsoft SQL server to Customer.io, and import or update people on a regular interval. This integration helps ensure that your workspace always reflects the latest information about your audience.
When you set up a sync, you provide a query determining exactly what information you want to reflect as attributes on people in Customer.io. You’ll also set the frequency of import operations from your Microsoft SQL instance, helping you keep your workspace up to date.
You can now capture form submissions directly from Jotform without using Zapier as an intermediary to transform data. To set up a Jotform integration, go to Integrations > Jotform. Copy the personalized webhook URL, add it to your Jotform, and you're all set!
Go to the docs →
You can connect your BigQuery data warehouse to Customer.io, and import or update people on a regular interval. This integration helps ensure that your workspace always reflects the latest information about your audience.
Read more →
Data automations accept data of any shape. But, to take advantage of that data, you need to reshape it and associate it with a person in Customer.io. We've made that process easier with the new Create Event action. Use this new action to send messages and segment people based on data from services external to Customer.io!
Go to the docs →
Now you can segment people by device platform, if you want to start automations or messages based on the device platform(s) your audience uses. You might segment by device platform to let people know when a new feature or version for your app—on Android or iOS, comes out.
Go to the docs →
You can connect your Snowflake data warehouse to Customer.io, and import or update people on a regular interval. This integration helps ensure that your workspace always reflects the latest information about your audience.
Read more →
You can now track and segment your audience by screen views in your mobile apps. Use the API to manually track screen views or integrate our iOS and Android SDKs to automatically track screen views.
Go to the docs →Now you can schedule your transactional messages up to 90 days in the future, rather than having to schedule your transactional requests at the exact moment you want to send someone a message. This feature helps with things like event reminders, or letting your audience know when a product they expressed interest in will become available.
Go to the docs →Our database import feature lets you import and update people from your MySQL or Postgres database. We've recently increased the capacity of imports from 2 million to 10 million rows, making it easier to support large audiences! As a part of this update, we also exposed error files for each sync interval; these files show which rows failed to import, which can help you refine your query or tables and provides a path to import or update people represented by errored rows.
Go to the docs →
Automations, broadcasts, newsletters, and segments now show their creation date and when they were last edited. We hope this change makes it easier to understand when you started using an asset, and helps you track down issues related to segment, automation, and newsletter changes.
This feature lets you trigger an automation with data of any shape, from any HTTPS source outside of Customer.io. You can transform your incoming data, associating it with a person (as an event), updating a person (with an identify call), or even transform it and send it to a third party.
Read more →
You can now capture form submissions directly from Typeform without using Zapier as an intermediary to transform data. To set up a Typeform integration, go to Integrations > Typeform. Copy the personalized webhook URL, add it to your Typeform, and you're all set!
Go to the docs →We added a Skip duplicate email addresses setting to email newsletters in ID only workspaces. If people in your newsletter audience have the same email attribute, prevents you from sending your email newsletter multiple times to the same address.
You can now connect your MySQL or Postgres database to Customer.io over SSL, helping you securely import data to your Customer.io workspace from external sources.
Go to the docs →
You no longer need to explicitly share Customer.io sheets with cio_share@customer.io. Now, before you import your first Google sheet, you'll authorize Customer.io to access specific files in your Google Drive. After you grant access, you can easily pick the sheets you want to share from your Google account—to add people, create segments, and update collections—without having to get individual links for each sheet that you want to share with us.
Go to the docs →
When you query a collection, you can now match against a value in an attribute containing an array of values. For example, if you store your audience's interests as an array in an attribute called interests, you can now query your collection to return data where people's interests include a specific interest—like "cooking" or "football"!
Have you ever wanted to find a Customer.io person in your CRM? Or maybe you need to search for support tickets from a person in your Customer.io workspace. Or maybe you need to call an internal service to activate or deactivate a person's account.
You can now do all of these with our new Shortcut feature.
Read more →
As automation workflows become larger and more complicated, it can become challenging to read automation logic or remember what each branch, split, and message action does. Now you can leave notes for yourself and others, to help explain your workflow at a glance.
Go to the docs →Previously, our Segment Source integration wouldn't send events for people who did not have an ID. Now, if a person has an email but does not have an id, we send events to Segment using the email address as an anonymousId. This lets you map events for leads in Customer.io to another destination.
You can now set your email or ID workspace to automatically merge duplicate profiles based on identify calls that you send to Customer.io. This feature saves you the trouble of having to identify and merge duplicates on your own.
After you start an automation, you can click the automation's Journeys tab to see the most recent journeys that started for that automation. These journeys can help you understand if your automation works the way you expect it to.
You can now segment people based on messages in individual automations. This helps you see which individual people opened a message, or received a specific message in an automation split.
When you create a segment, select the message type under Message Data. Then you can click Any <message type>, and search for the automations or individual messages that you want to segment on by name.
We've added an API endpoint that you can use to merge duplicate people. The payload lets you identify a primary person and a secondary person. The primary person remains after the merge. The secondary person's information is merged into the primary, and then it is deleted.
Go to the docs →
We added a new message library, making it easy to search for messages in your workspace without having to click through your automations and broadcasts to find them. Go to Message Library to search through your messages.
Go to the docs →
You can now merge people together, helping you resolve duplicates and accurately represent members of your audience.
Read more →Set up a newsletter webhook, sending a request for every member of a newsletter audience. This provides a handy way to trigger in-app messages and other external services based on a segment of people in Customer.io!
Go to the docs →
You can connect your workspace to a database, providing a convenient way to import and update people on a regular interval. With this integration, you can ensure that your workspace always reflects the latest information about your audience.
Read more →
Now you can edit, recategorize, and delete rows saved rows in our drag-and-drop editor. This helps you prune saved rows and prevent other members of your team from accidentally reusing stale content! Note that deleting a row does not remove it from existing messages; it only prevents you (and others) from using that row in the future.
Go to the docs →Email clients and providers are beginning to provide their users with privacy settings to block open-tracking pixels, etc. This new setting lets you get ahead of the curve and disable email open tracking in Customer.io, both to respect your audience's privacy and hide potentially unreliable open metrics.
Read more →
Now you can connect forms to your workspace without Zapier, and automatically add or update people who fill out forms on your website. When you connect a form to Customer.io, you map fields on your form to profile attributes, automatically populating information about people who submit your form.
Read more →
We've reorganized and updated the Automation Overview and Metrics tabs to provide you with a better understanding of your automation's performance. Both pages now provide customizable charts, and you can copy links to your personalized charts, making it easy to share your insights with your teammates.
Read more →
You can save rows of content in emails that you create in our drag-and-drop editor. This helps you save reusable content, like headers and footers, so that your messages all have the same look and feel without having to re-create message blocks every time you write an email!
Go to the docs →
In the past, we based all of our metrics on total messages sent. By default, we now base metrics for message statuses that occur after a message is sent (e.g. opened, clicked, etc) on the Delivered metric—the number of messages that actually reach your audience's inboxes. This helps provide you with a more accurate understanding of how your messages perform.
Read more →In Email or ID workspaces, you can now add people from a CSV file by email address. Previously, you could only add people from CSV files by ID.
Go to the docs →Customer.io now automatically identify people when they click tracked links that send them to pages containing the JavaScript snippet. We append your links with a _cio_id URL parameter to identify people who click tracked links. This feature is on by default when you create new workspaces. If you want to turn this feature on in an existing workspace, go to Settings > Workspace Settings > URL Parameters and turn on the Add _cio_id URL parameter setting.
You can log events before people sign up or log into your site, app, or service. Then, when people sign up or log in, you can associate those events with people. Anonymous events help you do things like personalize your onboarding automations based on things people did before they signed up. For example, if a customer viewed a pricing plan before signing up for a trial, your onboarding automation might cover features relevant to the plan they viewed.
Read more →Our JavaScript snippet now automatically captures URL parameters in page view events, helping you retain information about the pages a person views, like filters, search queries, etc.
You can now segment your audience based on URL parameters passed in a page view event. Page view events captured by our JavaScript snippet automatically convert query parameters to event properties you can segment on.
Unsubscribe links generated by Customer.io are now untracked by default. You no longer have to worry about unsubscribe links counting as tracked clicks.
Recently, we added support for workspaces that use both email and id to identify people. Now you can enable both identifiers in your current workspace, saving you the trouble of creating a new workspace to take advantage of this new feature
You can now create workspaces that let you add and identify people by ID and/or email. This lets you incorporate leads and customers in the same workspace, and maintain a history of a person as they graduate from a lead to a customer.
Read more →
When you select a person, you can now go to the attributes tab and search that person's attributes by name. This can help you find specific attributes when you associate people in your workspace with large amounts of data.
You can now count conversions from webhooks, providing a mechanism to track conversions for messages that you trigger with webhooks in services outside of Customer.io. When you set up a webhook in your automations, toggle Allow conversion from this webhook to count conversions from your webhook.
Twilio supports response keywords, letting people opt-out of SMS messages by replying with keywords like STOP or QUIT. We wrote a script you can use and a quick recipe to help you set up a Twilio workflow to send opt-outs back into Customer.io.
Go to the docs →
We added an interface for data warehouse integrations, putting you in control of the types of data you want to export and where you want to export your data.
Read more →
We added the option to disable link tracking in the drag-and-drop editor, so you can exclude unsuccessful click outcomes, like custom unsubscribe clicks, and maintain an accurate click rate. To disable link tracking, just add the untracked class to the button, image, or text link that you don’t want to track.
You can search for team members in your workspace settings, making it easier to determine who has access to your workspace, especially when you have a large team.
You can now send WhatsApp messages via Twilio just like SMS messages. When WhatsApp support is enabled, you can compose WhatsApp messages with customer data, and preview the output directly in our Twilio composer.
To support Twilio WhatsApp messages, you must set up access to the WhatsApp Business API. When you do, contact win@customer.io, and we’ll enable WhatsApp support for your account.
We added three new liquid filters:
currency and format_number take regional parameters, so you can format numbers to suit your audience’s local conventions. For example: {{ 123456.78 | currency: "fr" }} outputs 123 456,78€.where_not condition lets match negative conditions—people who do not match an attribute value or an event where a value isn’t present.
Set up a Facebook Lead Ads integration automatically adds people to your email-based workspace when they fill out Facebook Lead Ad forms. You can also trigger automations whenever people fill out Facebook Lead Ads, automatically sending follow-up messages to nurture conversions.
Go to the docs →We also made it easier to copy entire workflows across automations and workspaces, helping you reuse your most successful messages and workflows. You can copy entire or partial workflows to or from another workflow using the Copy to and Copy from options.
Go to the docs →
We added the ability to select, move, copy, and delete multiple workflow items so that, in just a few clicks, you can copy and move blocks while preserving their structure. The workflow builder supports both hotkeys and click-and-drag functionality, so you can select and modify items using the input method that works best for you.
Go to the docs →Now when you A/B test your newsletters, you can create segments of recipients based on the variation of the newsletter that they received. These segments can help you tailor follow-up messages based on the test variant that each member of your audience received.
You’re probably used to identifying people by ID—a value that represents your audience as customers. Now you can identify people by their email addresses, helping you start conversations with people before they make a purchase, create an account, or subscribe to your service.
Read more →No release notes match the selected categories.