Quick Start Guide
UpdatedThis guide contains the minimum steps you’ll need to follow to install and start using the Customer.io SDK in your iOS app.
Our MCP server can help you get started
Setup process overview
Our SDK lets you build native mobile apps for iOS. When you’re done, you’ll be able to identify people, track their activity, and send both push notifications and in-app messages.
- Install and initialize the SDK
- Identify and Track
- Add push notification support
- Add in-app messaging support
1. Install and initialize the SDK
Add a new iOS connection in Customer.io to get your CDP API key. See Get your CDP API key for details. You’ll use this API key to initialize the SDK.
Install the SDK. We typically recommend that you install the SDK using Swift Package Manager (SPM). But if your app uses CocoaPods, you can install our pods.
Swift Package Manager (SPM)
Follow Apple’s instructions to add
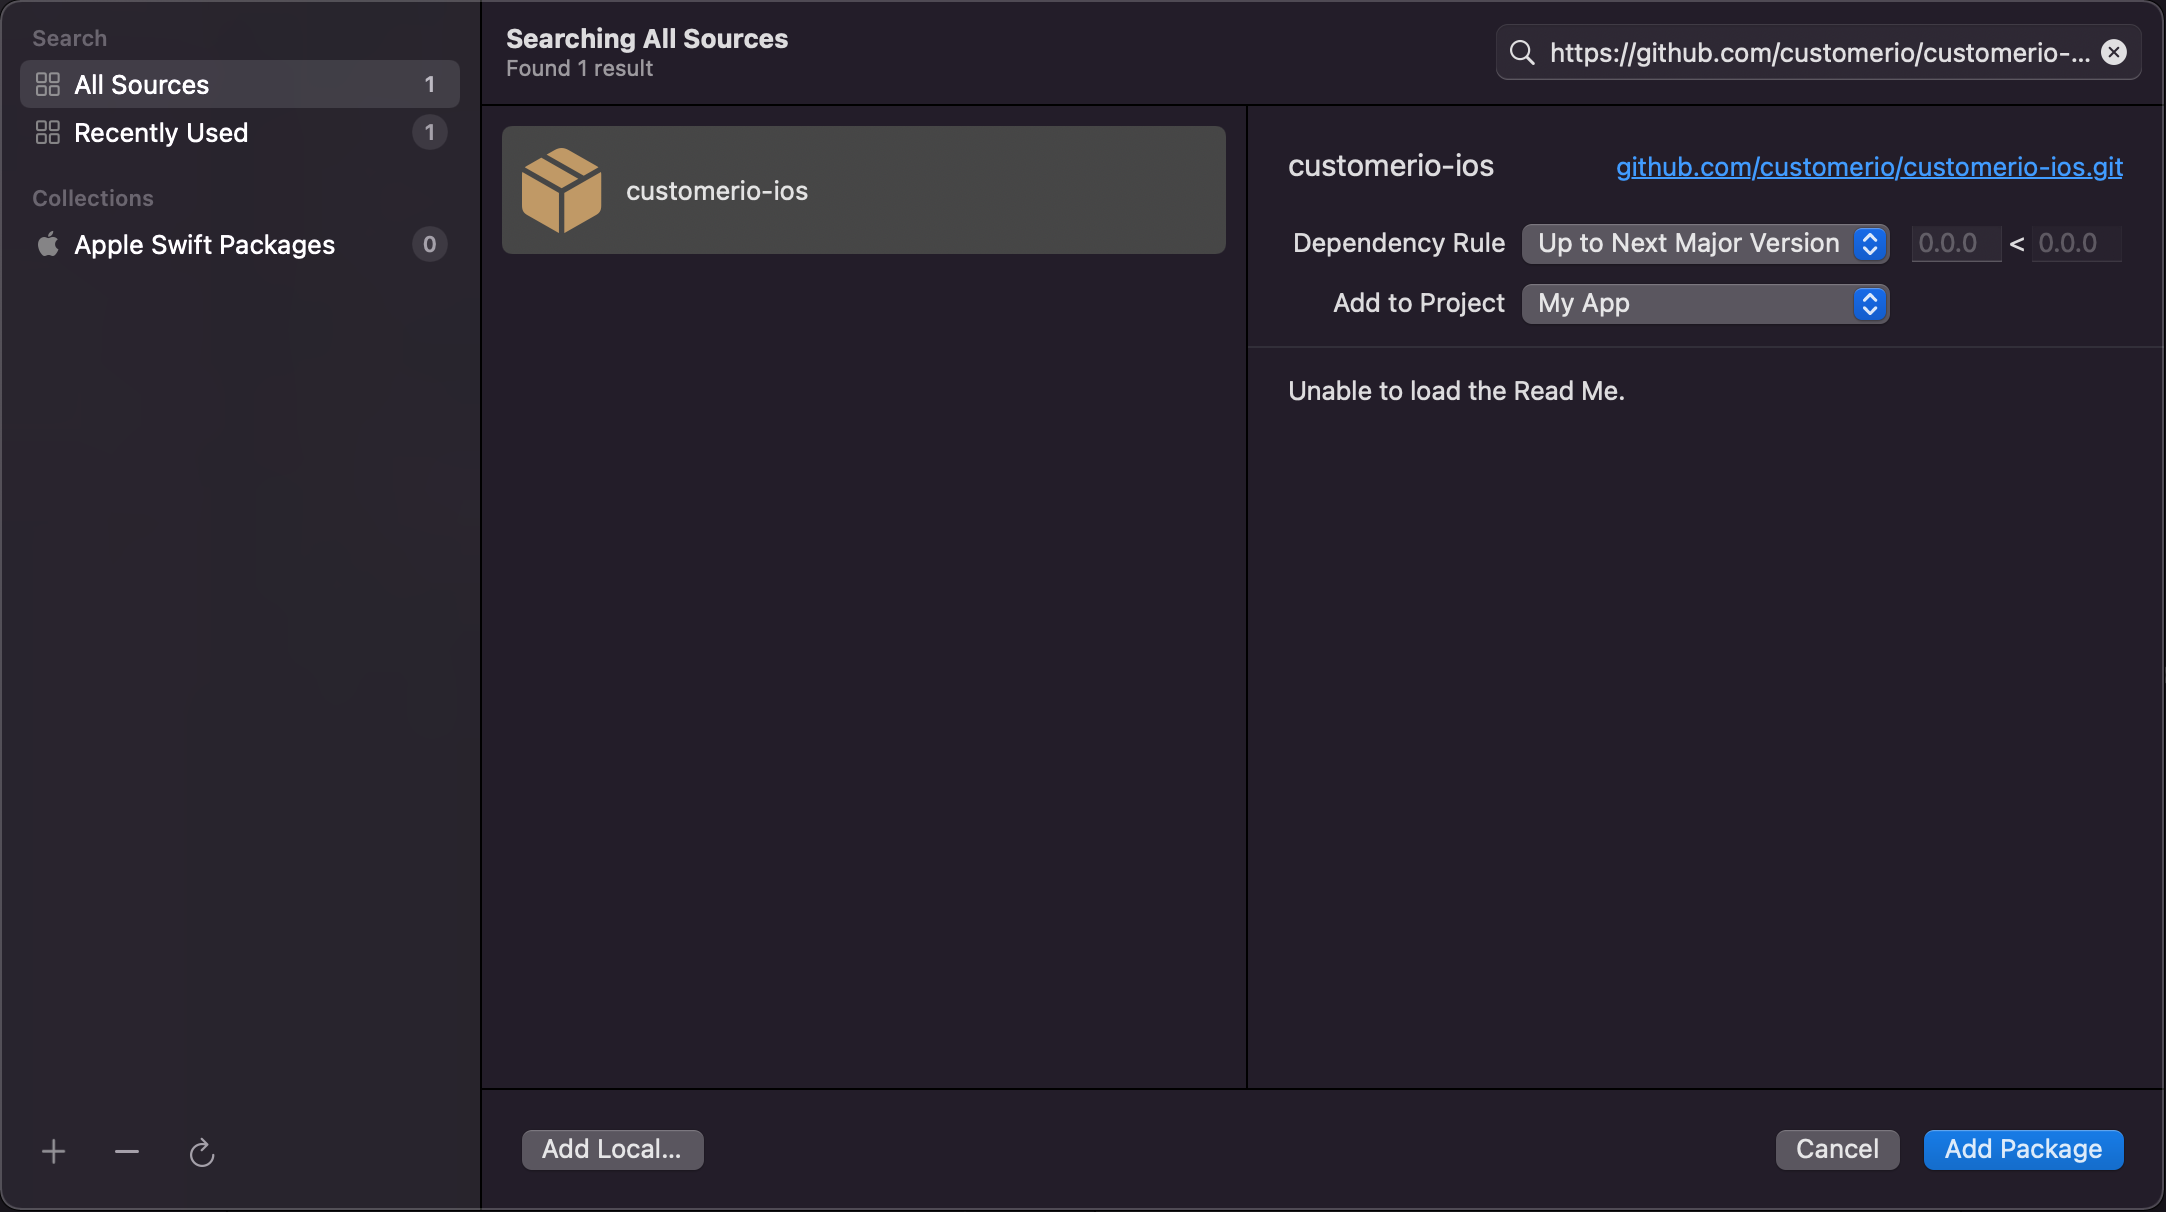
https://github.com/customerio/customerio-ios.gitas a dependency to your project in Xcode and select all the packages you need.If you send push notifications using Firebase Cloud Messaging (FCM), repeat the previous step to add
https://github.com/customerio/customerio-ios-fcm.gitas a second dependency and select theCioFirebaseWrapperpackage. This package is required for FCM push notifications and is published from a separate repository.Set the Dependency Rule to Up to Next Major Version. While we encourage you to keep your app up to date with the latest SDK, major versions can include breaking changes or new features that require your attention.
CocoaPods
Add the pods to your Podfile:
   pod 'CustomerIO/DataPipelines'  # Required
   pod 'CustomerIO/MessagingPushAPN'  # Optional, for APNs
   pod 'CustomerIO/MessagingPushFCM'  # Optional, for FCM
   pod 'CustomerIO/FirebaseWrapper'   # Required for FCM push notifications
   pod 'CustomerIO/MessagingInApp'  # Optional, for in-app messaging
Import the appropriate packages. We’re importing all our packages, but you can modify this list if you don’t intend to use all Customer.io features. If you send notifications using Firebase Cloud Messaging (FCM), import the
CioMessagingPushFCMandCioFirebaseWrapperpackage rather thanCioMessagingPushAPN.Initialize the SDK. You’ll usually do this in the
AppDelegate application(_ application: didFinishLaunchingWithOptions)function, and you’ll use theCioAppDelegateWrapperto handle push notifications and device token registration and initialize the SDK. You also need the CDP API Key that you obtained when you added your iOS integration to your workspace.UIKit with Swift
@main
class AppDelegateWithCioIntegration: CioAppDelegateWrapper<AppDelegate> {}

 class AppDelegate: UIResponder, UIApplicationDelegate {
     func application(_ application: UIApplication, didFinishLaunchingWithOptions launchOptions: [UIApplication.LaunchOptionsKey: Any]?) -> Bool {
         // Override point for customization after application launch.

         // Initialize the Customer.io SDK
         let cdpApiKey = "YOUR_CDP_API_KEY"
         let siteId = "YOUR_SITE_ID"
         let config = SDKConfigBuilder(cdpApiKey: cdpApiKey)
             // If your account is in the EU region, uncomment the next line
             // .region(.EU)
             .migrationSiteId(siteId) // only required if you used version 2.x or earlier
             .autoTrackUIKitScreenViews() // Set auto tracking of UIKit screen views
             .logLevel(CioLogLevel.debug) // Add this to troubleshoot issues - disable debug in production
         CustomerIO.initialize(withConfig: config.build())

         return true
     }
 }
 ```
UIKit with Objective-C
@interface AppDelegate : UIResponder <UIApplicationDelegate>
@property (strong, nonatomic) UIWindow *window;
@end

// AppDelegate.m
#import "AppDelegate.h"

@implementation AppDelegate

- (BOOL)application:(UIApplication *)application didFinishLaunchingWithOptions:(NSDictionary *)launchOptions {
    // Initialize the Customer.io SDK
    NSString *cdpApiKey = @"YOUR_CDP_API_KEY";
    NSString *siteId = @"YOUR_SITE_ID";

    CioSDKConfigBuilder *config = [[CioSDKConfigBuilder alloc] initWithCdpApiKey:cdpApiKey];
    // If your account is in the EU region, uncomment the next line
    // [config region:CioRegionEU];
    [config migrationSiteId:siteId]; // only required if you used version 2.x or earlier
    [config autoTrackUIKitScreenViews]; // Set auto tracking of UIKit screen views
    [config logLevel:CioLogLevelDebug]; // Add this to troubleshoot issues - disable debug in production

    [CustomerIO initializeWithConfig:[config build]];

    return YES;
}

@end
SwiftUI
@main
struct MainApp: App {
    @UIApplicationDelegateAdaptor(CioAppDelegateWrapper<AppDelegate>.self) private var appDelegate

    var body: some Scene {
        WindowGroup {
            ContentView()
        }
    }
}

class AppDelegate: UIResponder, UIApplicationDelegate {
    func application(_ application: UIApplication, didFinishLaunchingWithOptions launchOptions: [UIApplication.LaunchOptionsKey: Any]?) -> Bool {
        // Initialize the Customer.io SDK
        let cdpApiKey = "YOUR_CDP_API_KEY"
        let siteId = "YOUR_SITE_ID"
        let config = SDKConfigBuilder(cdpApiKey: cdpApiKey)
            // If your account is in the EU region, uncomment the next line
            // .region(.EU)
            .migrationSiteId(siteId) // only required for migration
            .autoTrackUIKitScreenViews() // Set auto tracking of UIKit screen views
            .logLevel(CioLogLevel.debug) // Add this to troubleshoot issues - disable debug in production
        CustomerIO.initialize(withConfig: config.build())

        return true
    }
}
2. Identify and Track Users
Identify a user in your app using the CustomerIO.identify method. You must identify a user before you can send push notifications and personalized in-app messages.
Swift
// Identify a user with just a user ID
CustomerIO.shared.identify(userId: "user@example.com")

// Identify a user with additional attributes
CustomerIO.shared.identify(
 userId: "user@example.com",
 traits: [
     "email": "user@example.com",
     "first_name": "John",
     "last_name": "Doe",
     "plan_name": "Premium",
     "device_type": "iOS"
 ]
)

// clear the user identity when they log out
CustomerIO.shared.clearIdentify()
Objective-C
// Identify a user with just a user ID
[CustomerIO identifyUserWithId:@"user@example.com"];

// Identify a user with additional attributes
[CustomerIO identifyUserWithId:@"user@example.com" traits:@{
     @"email": @"user@example.com",
     @"first_name": @"John",
     @"last_name": @"Doe",
     @"plan_name": @"Premium",
     @"device_type": @"iOS"
}];

// clear the user identity when they log out
[CustomerIO clearIdentify];
Track a custom activity using the CustomerIO.track method. Events help you trigger personalized campaigns and record user behavior in your app.
Swift
// Track a simple event without properties
CustomerIO.shared.track(name: "checkout_started")

// Track an event with properties
CustomerIO.shared.track(
     name: "product_viewed",
     properties: [
         "product_id": "SKU-123",
         "product_name": "Premium Widget",
         "price": 99.99,
         "currency": "USD",
         "category": "Electronics"
     ]
)
Objective-C
// Track a simple event without properties
[CustomerIO trackEventWithName:@"checkout_started"];

// Track an event with properties
[CustomerIO trackEventWithName:@"product_viewed" properties:@{
     @"product_id": @"SKU-123",
     @"product_name": @"Premium Widget",
     @"price": @99.99,
     @"currency": @"USD",
     @"category": @"Electronics"
}];
3. Add push notification support
In your AppDelegate, after your CustomerIO.initialize call, add the MessagingPushAPN.initialize call. Our push package has its own settings so you can configure push behaviors.
These instructions are for Apple’s Push Notification service (APNs). If you send push notifications using Firebase Cloud Messaging (FCM), see our push notification instructions.
Swift
    // Initialize the push package
    MessagingPushAPN.initialize(
        withConfig: MessagingPushConfigBuilder()
            .autoFetchDeviceToken(true)    // Automatically fetch device token and upload to CustomerIO
            .autoTrackPushEvents(true)     // Automatically track push metrics
            .showPushAppInForeground(true) // Enable Notifications in the foreground
            .build()
    )

    // Request permission to show notifications
    UNUserNotificationCenter.current().requestAuthorization(options: [.alert, .sound, .badge]) { granted, error in
        // Process user response here
    }
Objective-C
// Initialize the push package
[MessagingPushAPN initializeWithConfig:[[MessagingPushConfigBuilder new]
    autoFetchDeviceToken:YES    // Automatically fetch device token and upload to CustomerIO
    autoTrackPushEvents:YES     // Automatically track push metrics
    showPushAppInForeground:YES // Enable Notifications in the foreground
    build]];

// Request permission to show notifications
[[UNUserNotificationCenter currentNotificationCenter]
    requestAuthorizationWithOptions:(UNAuthorizationOptionAlert | UNAuthorizationOptionSound | UNAuthorizationOptionBadge)
    completionHandler:^(BOOL granted, NSError * _Nullable error) {
        // Process user response here
    }];
4. Add in-app messaging support
In your AppDelegate, after your CustomerIO.initialize call, add the MessagingInApp.initialize call.
Within the call, you’ll need a Site ID, which you can get from your workspace settings. This tells the SDK which workspace your in-app messages come from.

