Typeform
Connect Typeforms to your workspace to automatically add people and trigger automations when they submit your form. Our typeform integration relies on a webhook from Typeform.
How it works
When you set up a Typeform integration, we’ll give you a personalized Webhook URL. You’ll provide this webhook URL to Typeform. Whenever someone submits your form, Typeform sends the form submission data to Customer.io.
The form submission creates a person in your workspace if they do not already exist, or updates them if they do. In both cases, we map form fields to attributes for each person.
We capture the first field on your form with an A key-value pair that you associate with a person or an object—like a person's name, the date they were created in your workspace, or a company's billing date etc. Use attributes to target people and personalize messages.type="email" as the email attribute in Customer.io. For other fields, we convert the label to an attributeform_field attribute. After your first form/webhook submission, you can re-map form fields to attributes in Customer.io.
We sync your form’s fields on every submission, not just the first one. If you add a field to your Typeform, it becomes a new attribute mapping the next time someone submits your form. Attributes you re-mapped keep the names you gave them.
You can also trigger automations when people submit your form. This provides a handy way to automate personalized responses. You can personalize responses with liquid A syntax that supports variables, letting you personalize messages for your audience. For example, if you want to reference a person's first name, you might use the variable {{customer.first_name}}.{{customer.<attribute>}}) or form fields from the form_submit event (in the format {{event.<form_field_id>}})!
Connect Typeform to your workspace
As a part of this process, you’ll add a webhook to your Typeform. After someone submits your webhook-enabled form, it’ll appear in your workspace on the Integrations > Forms page. Then you’ll be able to map form fields to attributes.
-
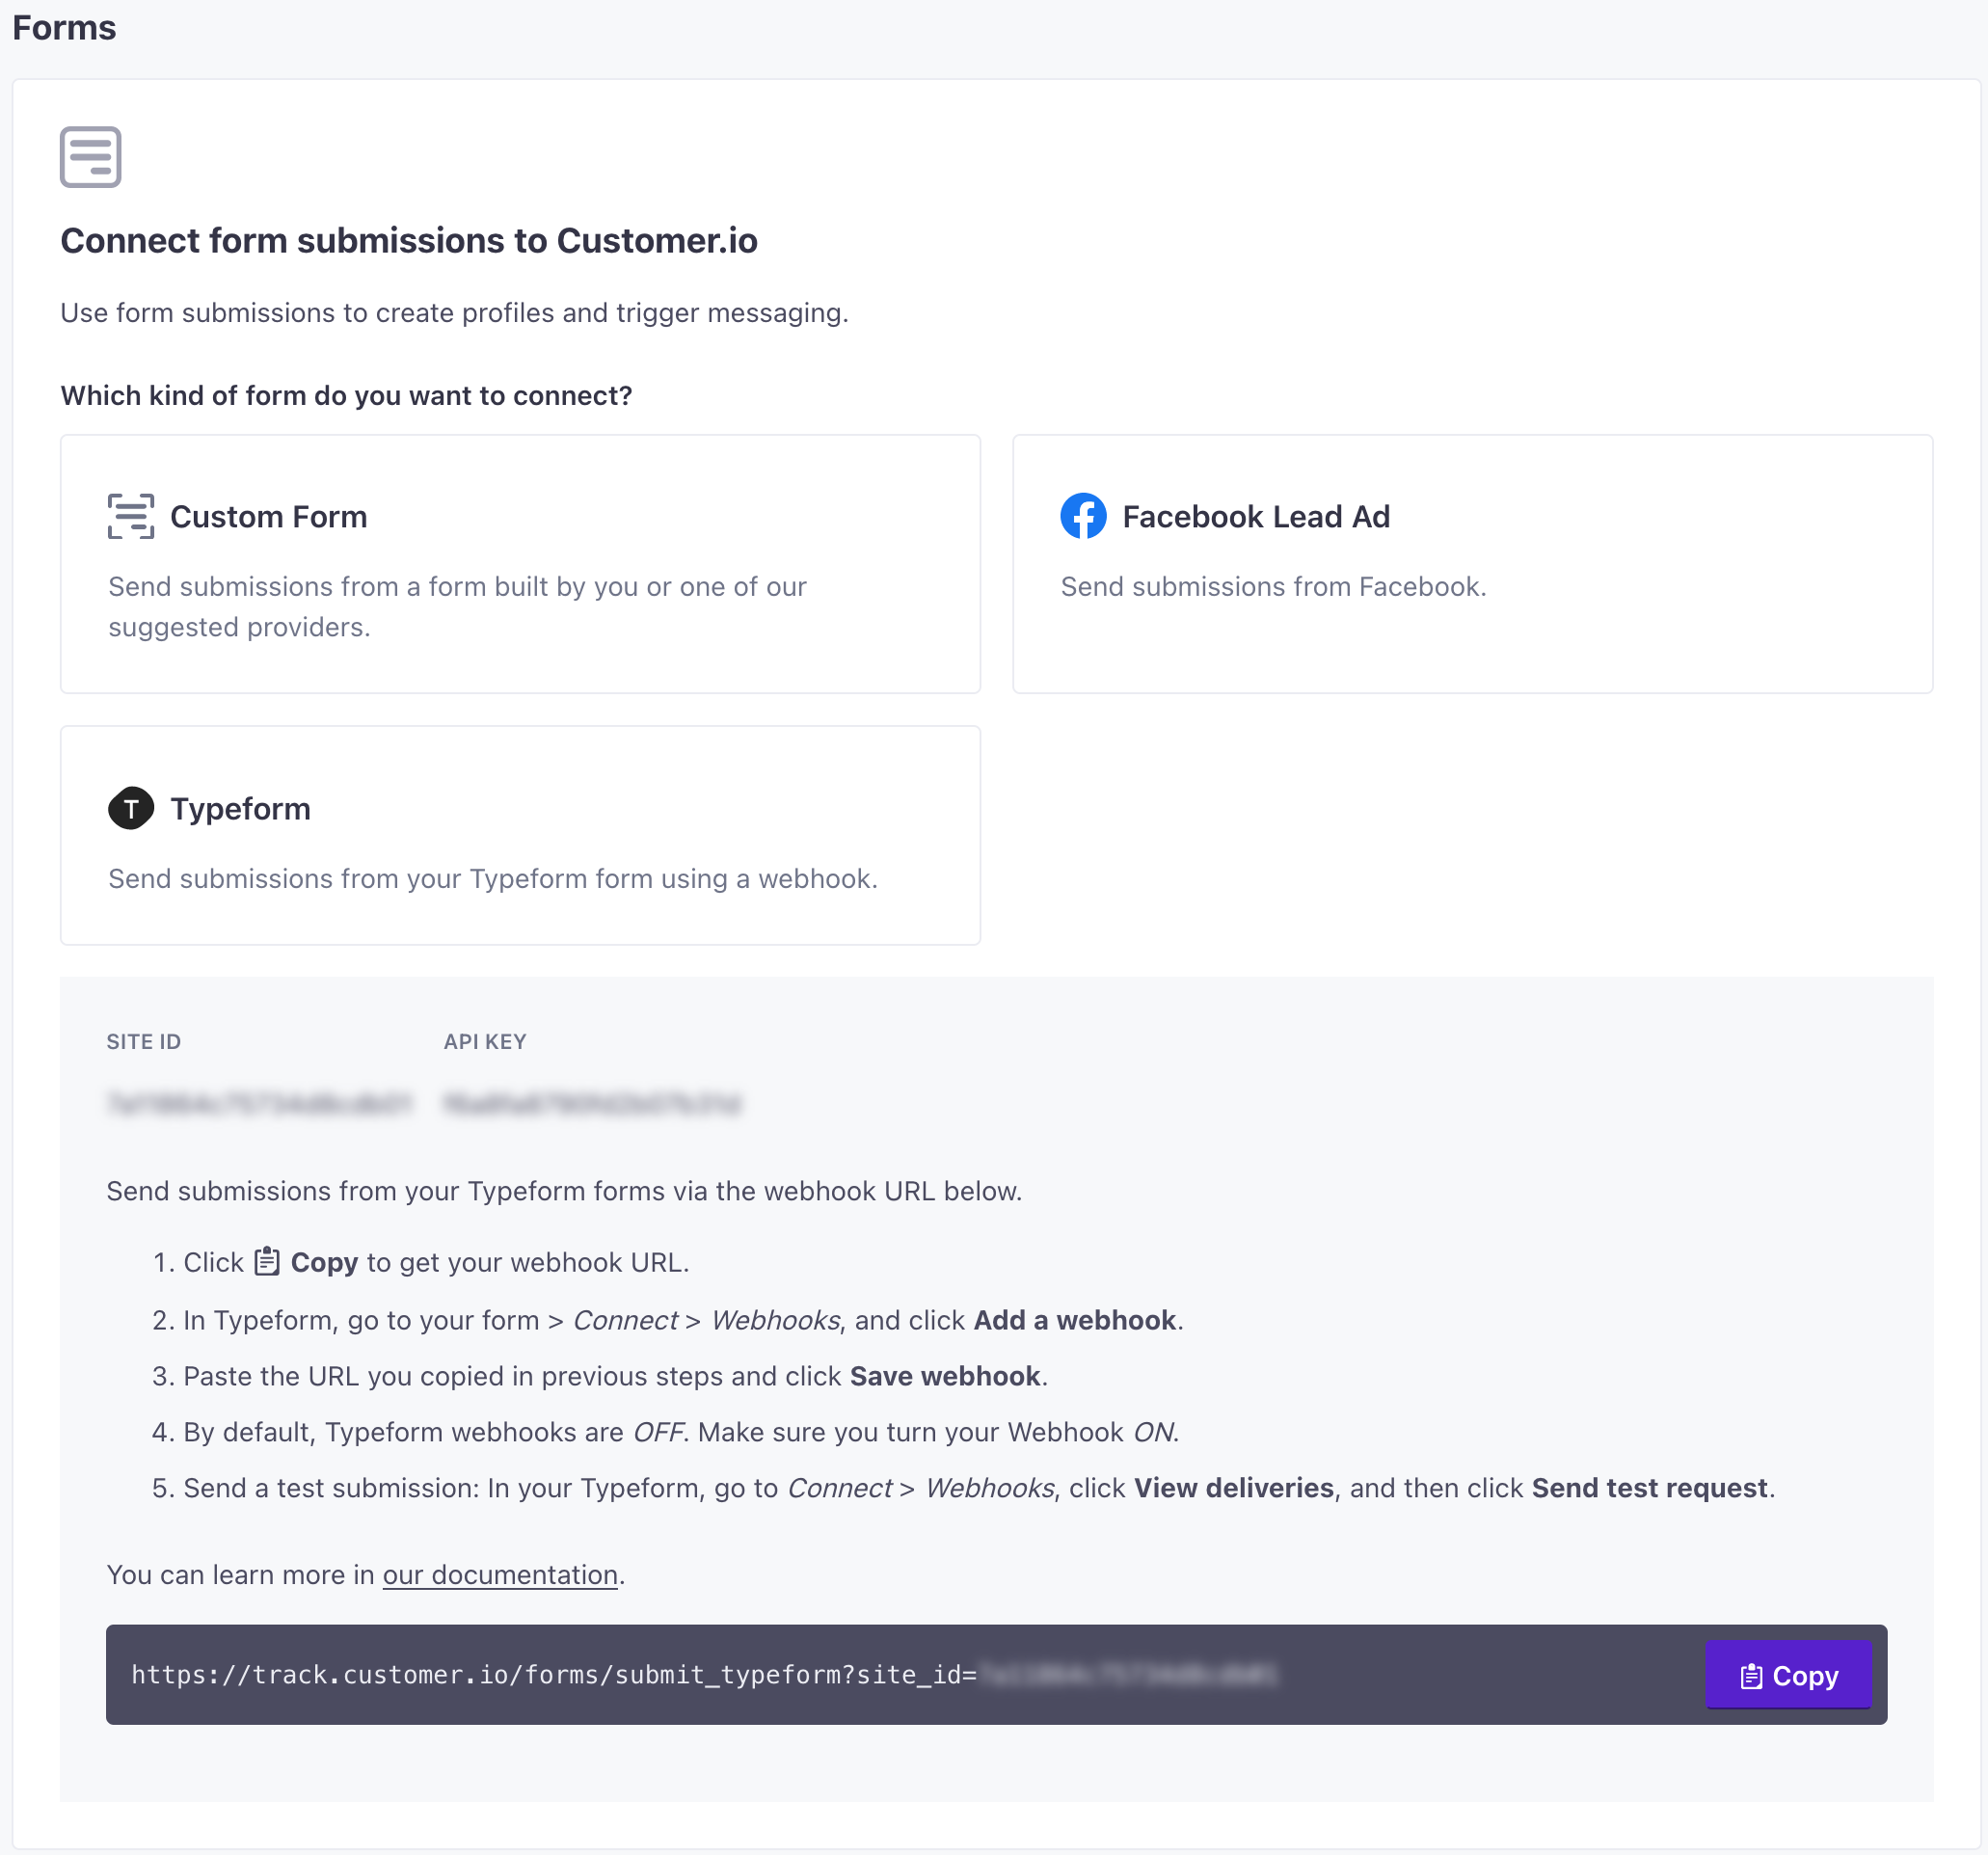
Go to Integrations > Forms. Click Connect form and select Typeform.
-
Click Copy to get your webhook URL.
-
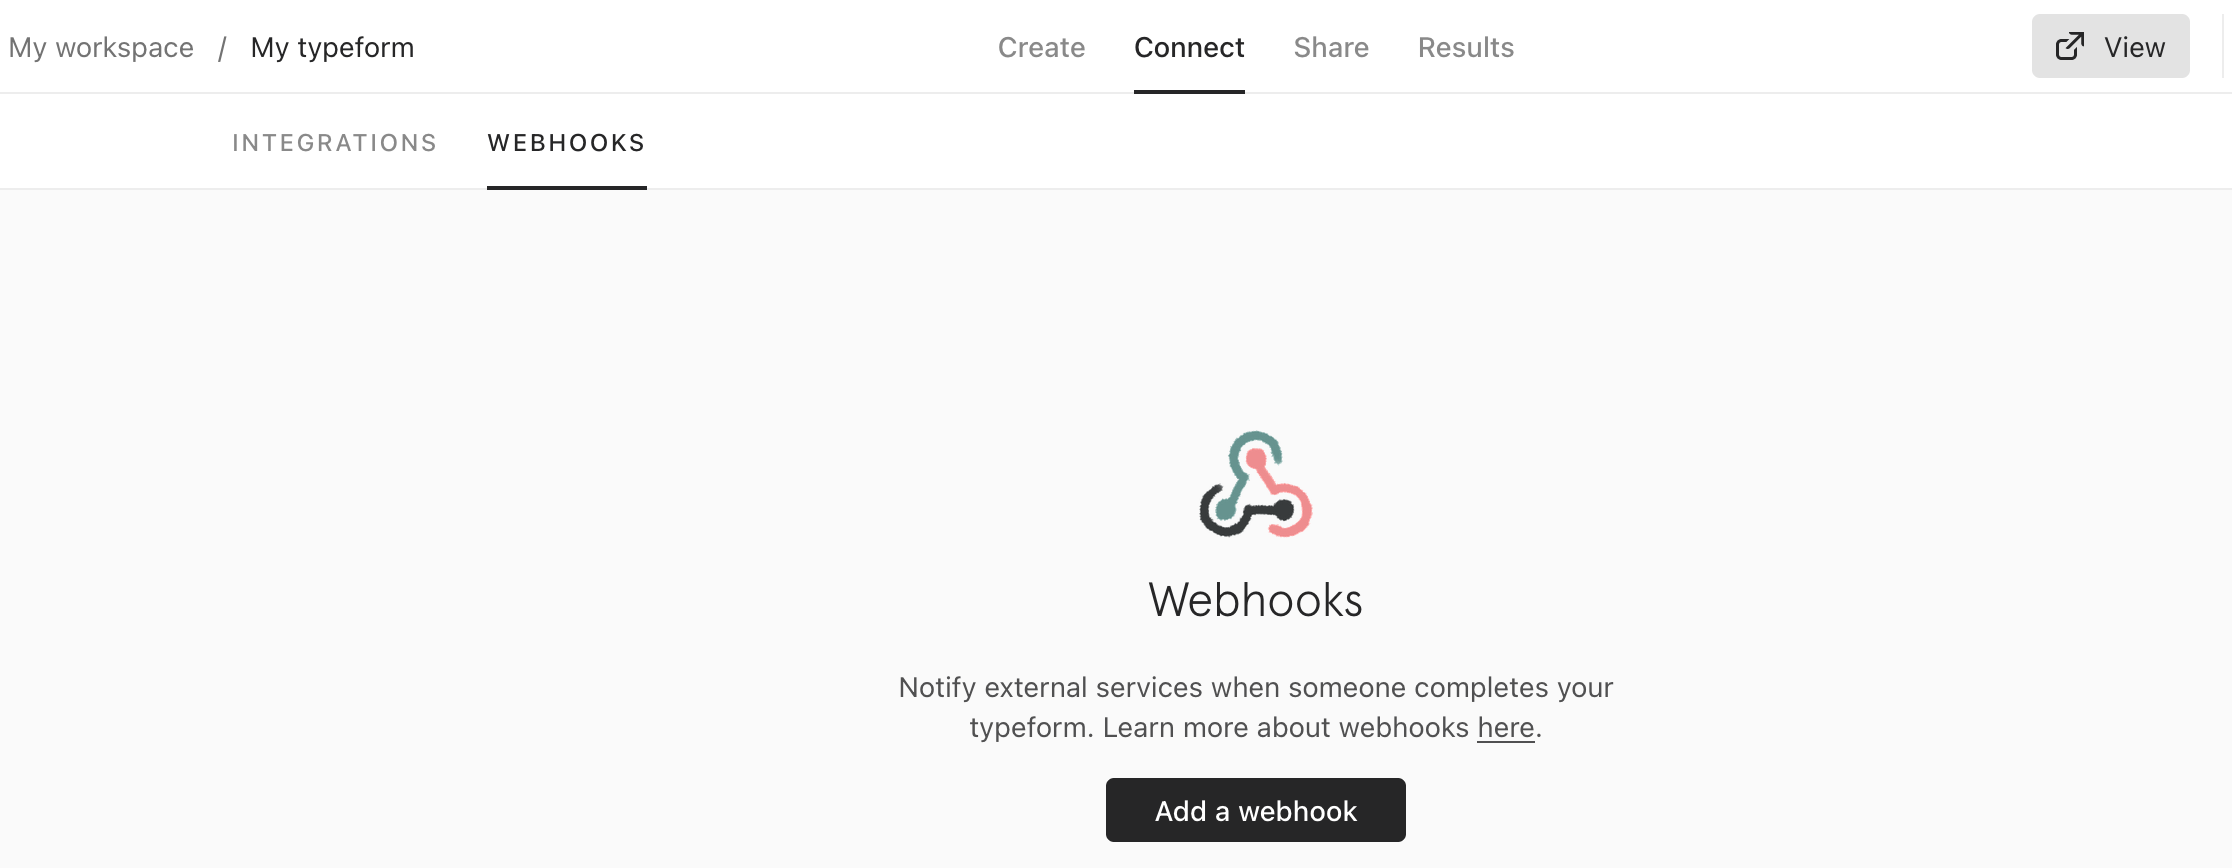
In Typeform, go to your form > Connect > Webhooks, and click Add a webhook.
-
Paste the URL you copied in previous steps and click Save webhook.
-
By default, Typeform webhooks are OFF. Make sure you turn your Webhook ON.

Now, Customer.io is set up to capture submissions from your Typeform. However, we suggest that you perform a test submission so that you can see how your form’s fields are mapped to attributes in Customer.io. This gives you the opportunity to re-map fields to attributes before you deploy your form to a wide audience.
Map form fields to attributes
Whenever someone submits your form, we map any Typeform field we haven’t seen before to an attributes A key-value pair that you associate with a person or an object—like a person's name, the date they were created in your workspace, or a company's billing date etc. Use attributes to target people and personalize messages.what_is_your_name attribute by default.
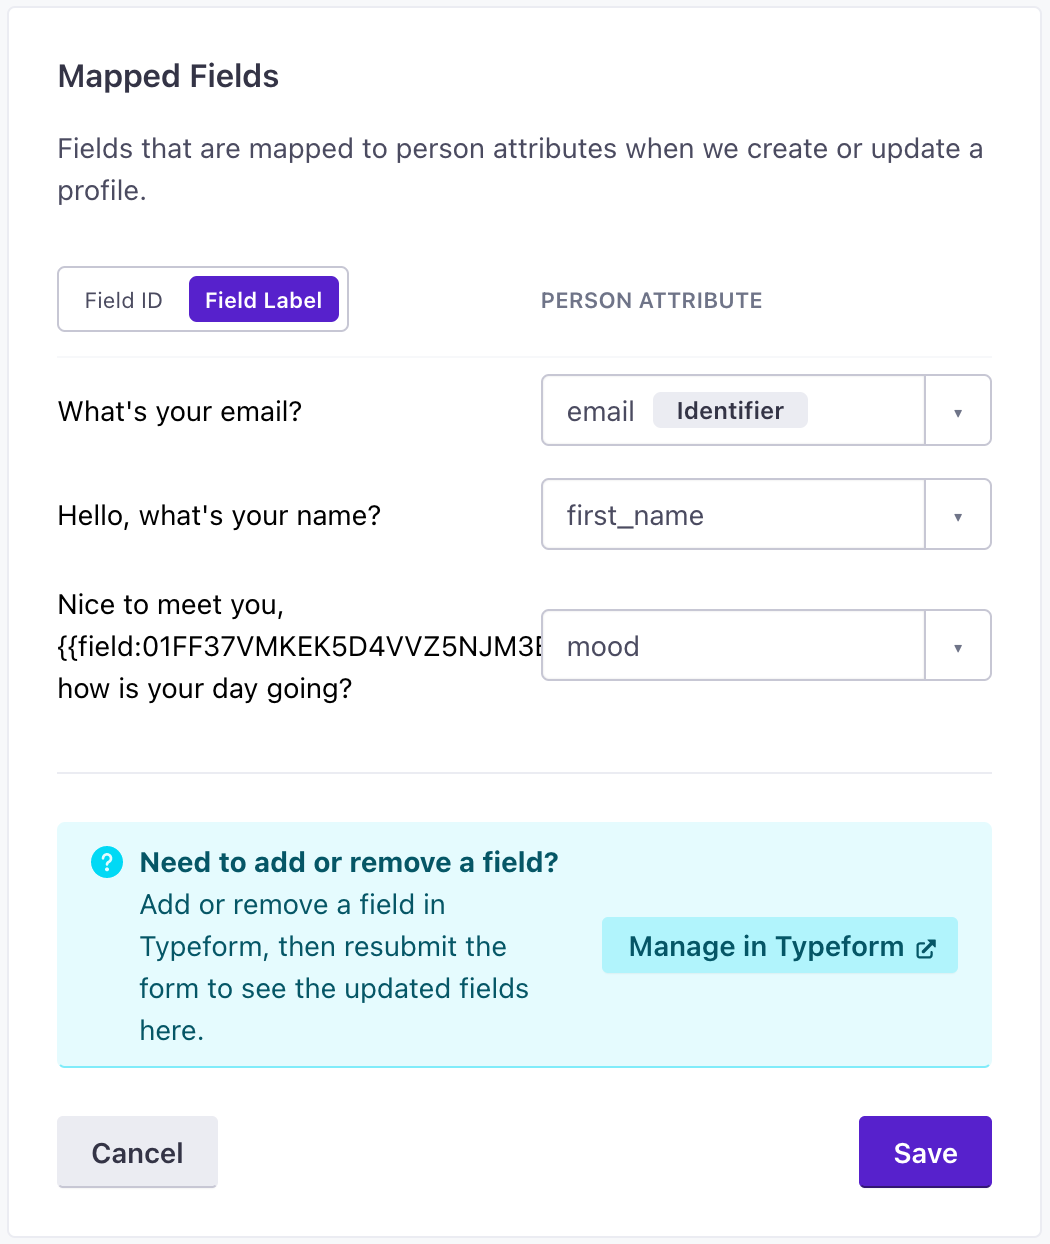
If your fields don’t map appropriately to your attributes, you can re-map them any time after someone submits your form. The attribute names you set persist across later submissions.
-
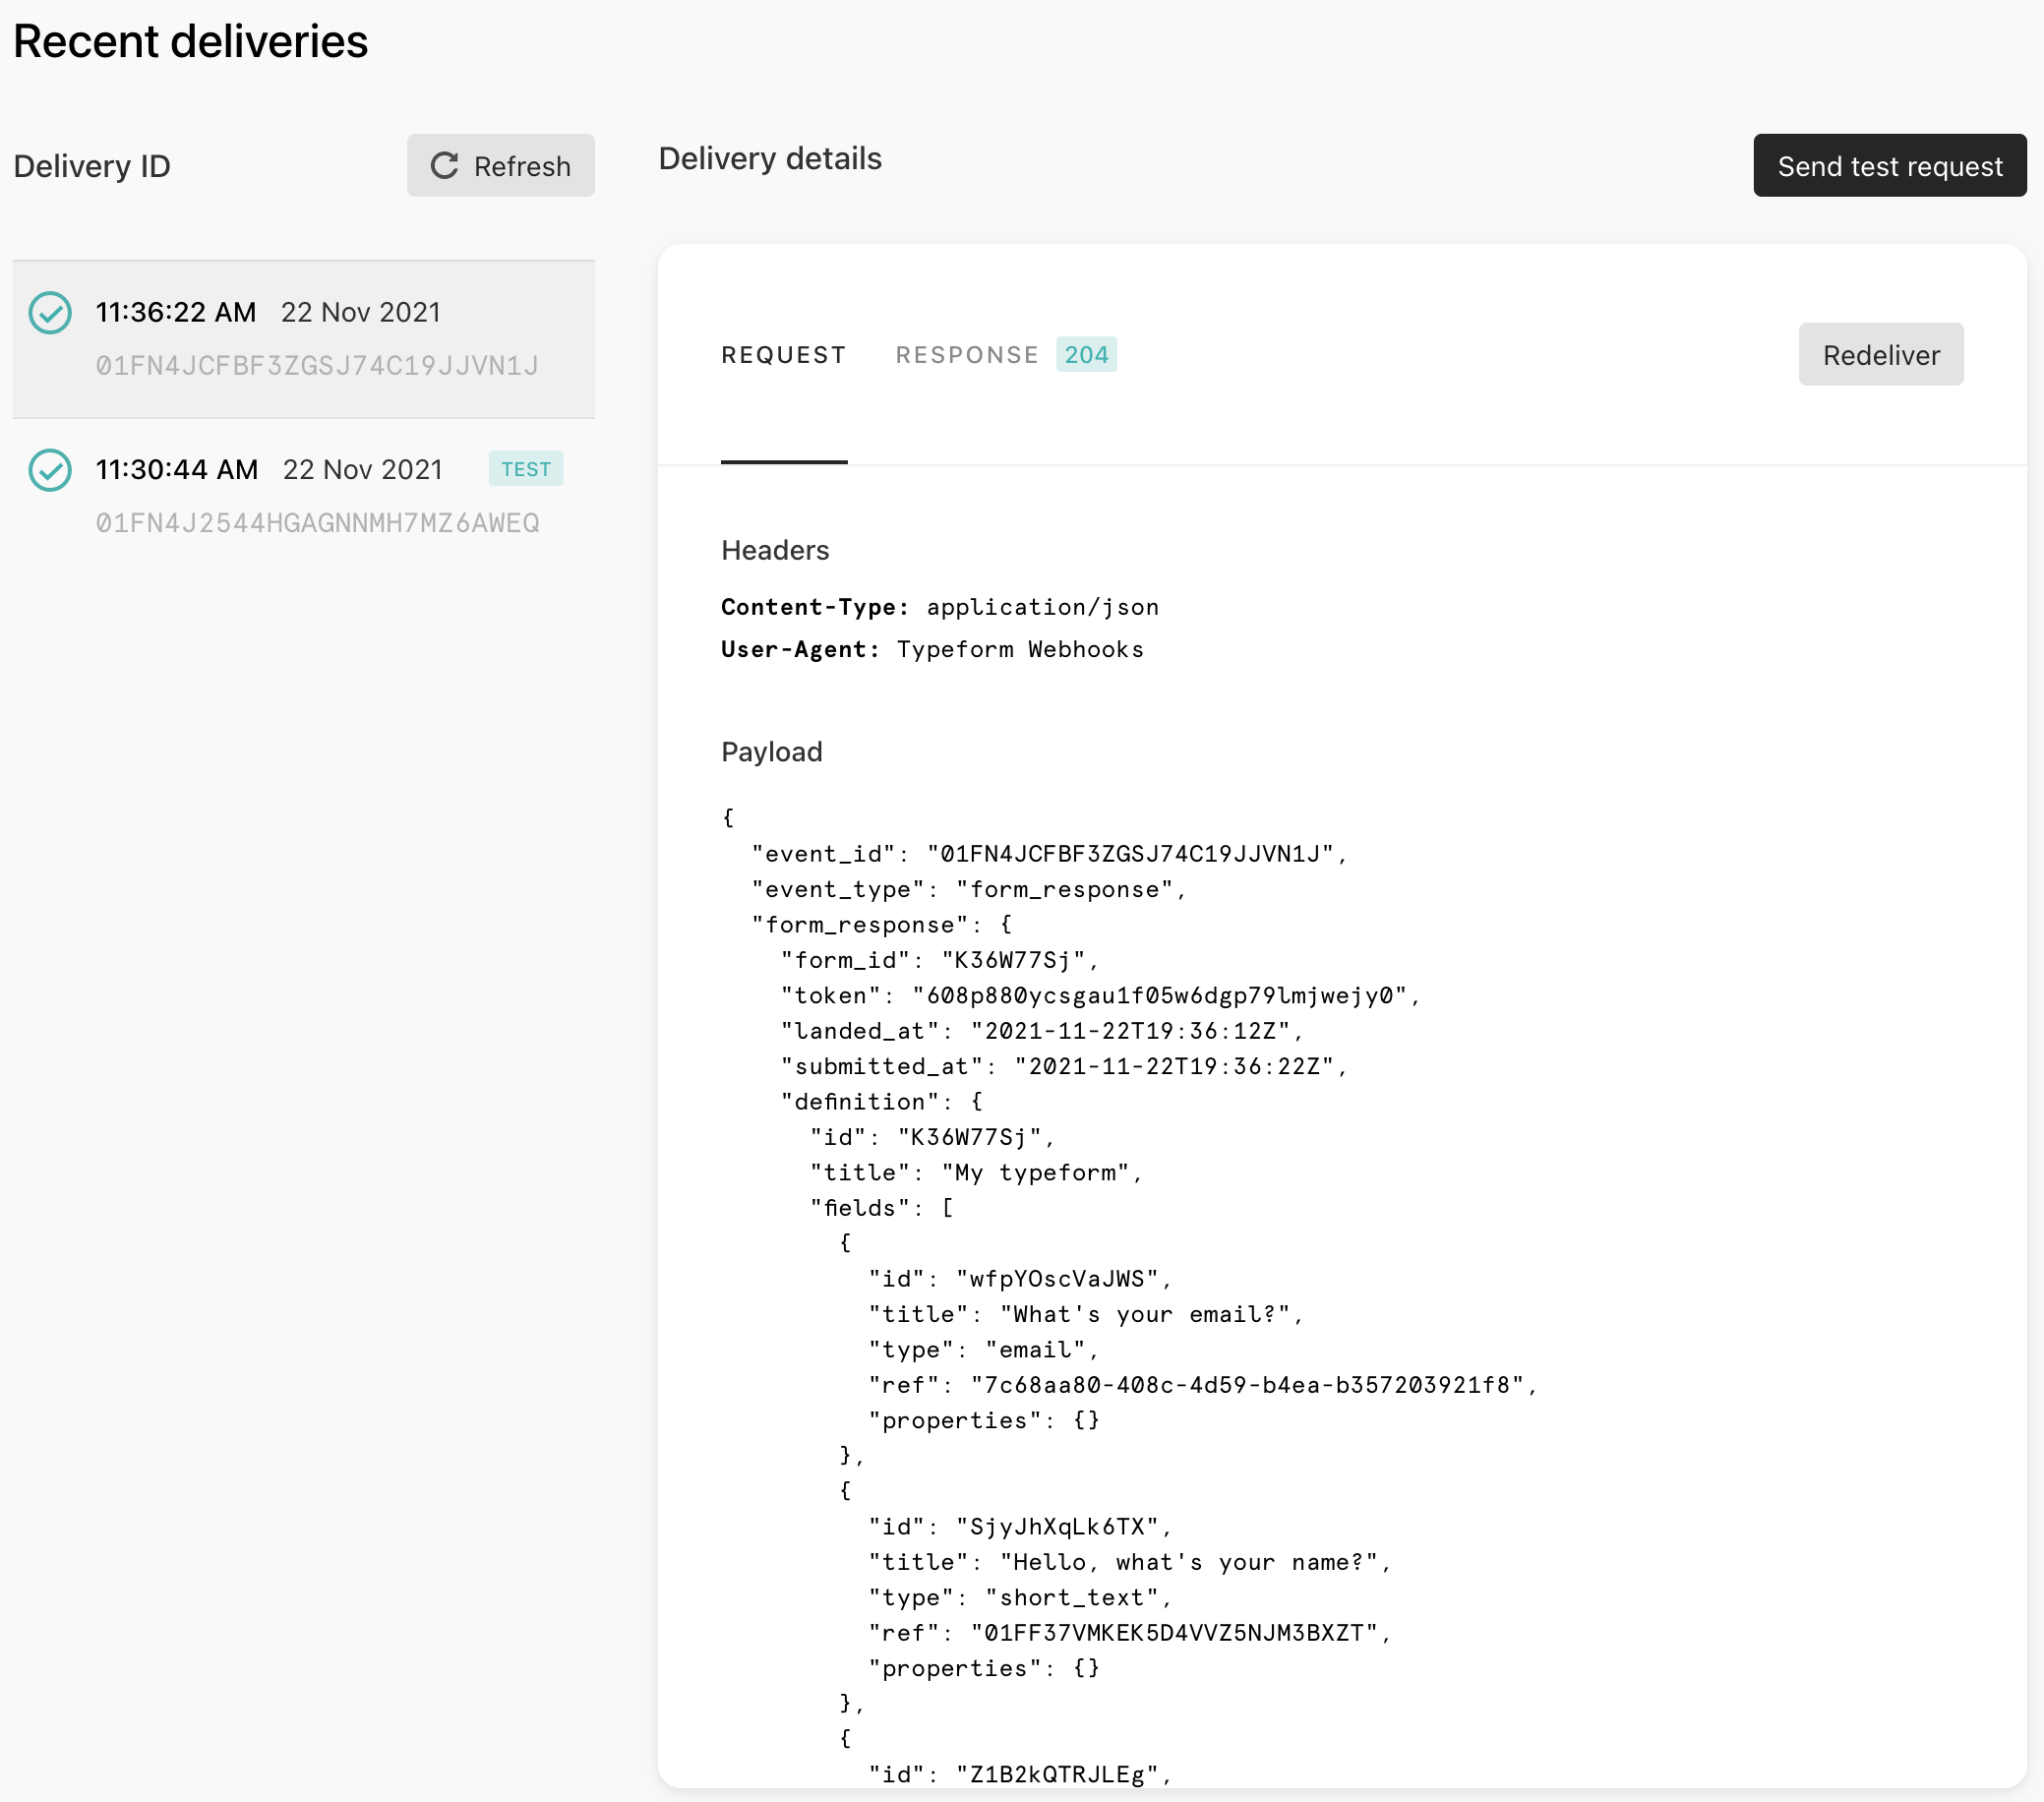
If you haven’t already, perform a test submission. In your Typeform, go to Connect > Webhooks, click View deliveries, and then click Send test request.
-
In Customer.io, go to Integrations > Forms and refresh the page. If your form doesn’t appear, try clearing your browser cache.
-
Click and select Manage Form.
-
Click Edit under Mapped Fields* to set the attributes for each form field. In each field, you can select an existing attribute or type in a new one.
-
Click Save when you’re done.
Now you can take advantage of form submissions to trigger automations, personalize messages, and more. See Use form data in Customer.io for more information.
Find recent Typeform submissions
-
Go to Integrations > Forms.
-
Click and select Manage Form for your Typeform.
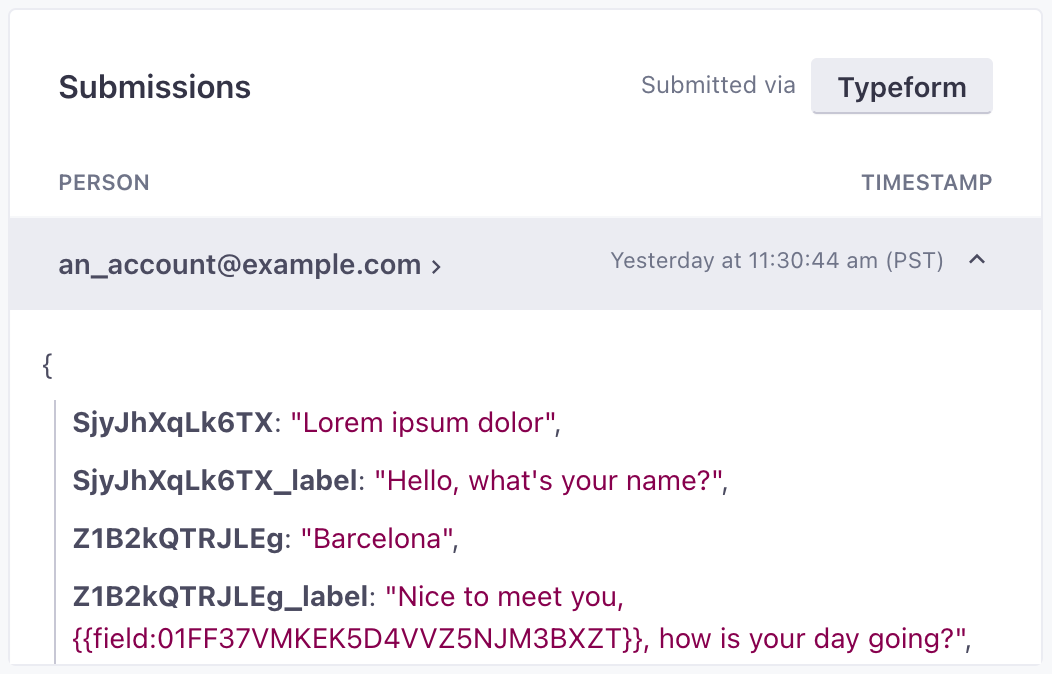
The Submissions card shows recent submissions. Click a submission to see details for that form.