

Connect an email to an automation
While you can create a Design Studio email as a part of your automation, broadcast, or transactional message, you can also create the email first then connect it to an automation later, as described in this article.
Connect your message
How you connect your Design Studio message depends on the type of automation you’re working with.
Automations and API-triggered broadcasts
- Open your automation or API-triggered broadcast.
- Drag an Email block into your workflow.
- Click Add Content in the email block.
- Under Use a Design Studio Email, hover over your email and click Use email. Your messages are displayed in order of how recently you edited them. (If you don’t see this option, click Try it out! in the top right to switch to Design Studio.)
One-time sends and transactional messages
- Open your one-time send and go to the Content step.
- Choose Email as the message channel.
- Click the content block.
- Under Use a Design Studio Email, hover over your email and click Use email. Your messages are displayed in order of how recently you edited them. (If you don’t see this option, click Try it out! in the top right to switch to Design Studio.)
Define the envelope
If you didn’t fill out the envelope (From, To, etc) when creating the email, you can do so after you connect the email too.
Preview your message
Make sure you preview your liquid and test out your email with different accessibility settings:
- Learn more about adding and previewing liquid.
- Learn more about checking responsiveness, dark mode, and accessibility.
- Learn more about validating your code with our Developer Tools (you’ll have to switch to the code editor).
A/B test your Design Studio message
You can A/B test your Design Studio message in a automation or one-time send.
Each variation is a duplicate of the message you connected to your automation. Back in your Design Studio dashboard, all variations are grouped together under the original file name.
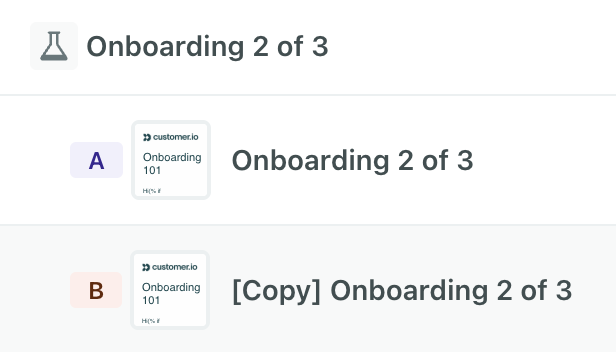
The winning variant will have a trophy icon next to it.