

Rules: display content based on conditions
If you want content to show based on a recipient's language preferences or the device they're using, add rules to your component.
In Design Studio, you can conditionally display content in a few ways:
- Create conditions based on customer data or workflow data like journeys and triggers.
- Loop through and list data.
- Hide content based on screen size.
Conditionally display components
To conditionally show an entire component, follow these steps:
- Click a component on your canvas.
- In the Properties menu, click the Rules tab.
- Click Add rule.
- Define your condition by writing a prompt or by manually adding variables and operators:
- Describe the condition and click Generate. The agent will recommend liquid for you.
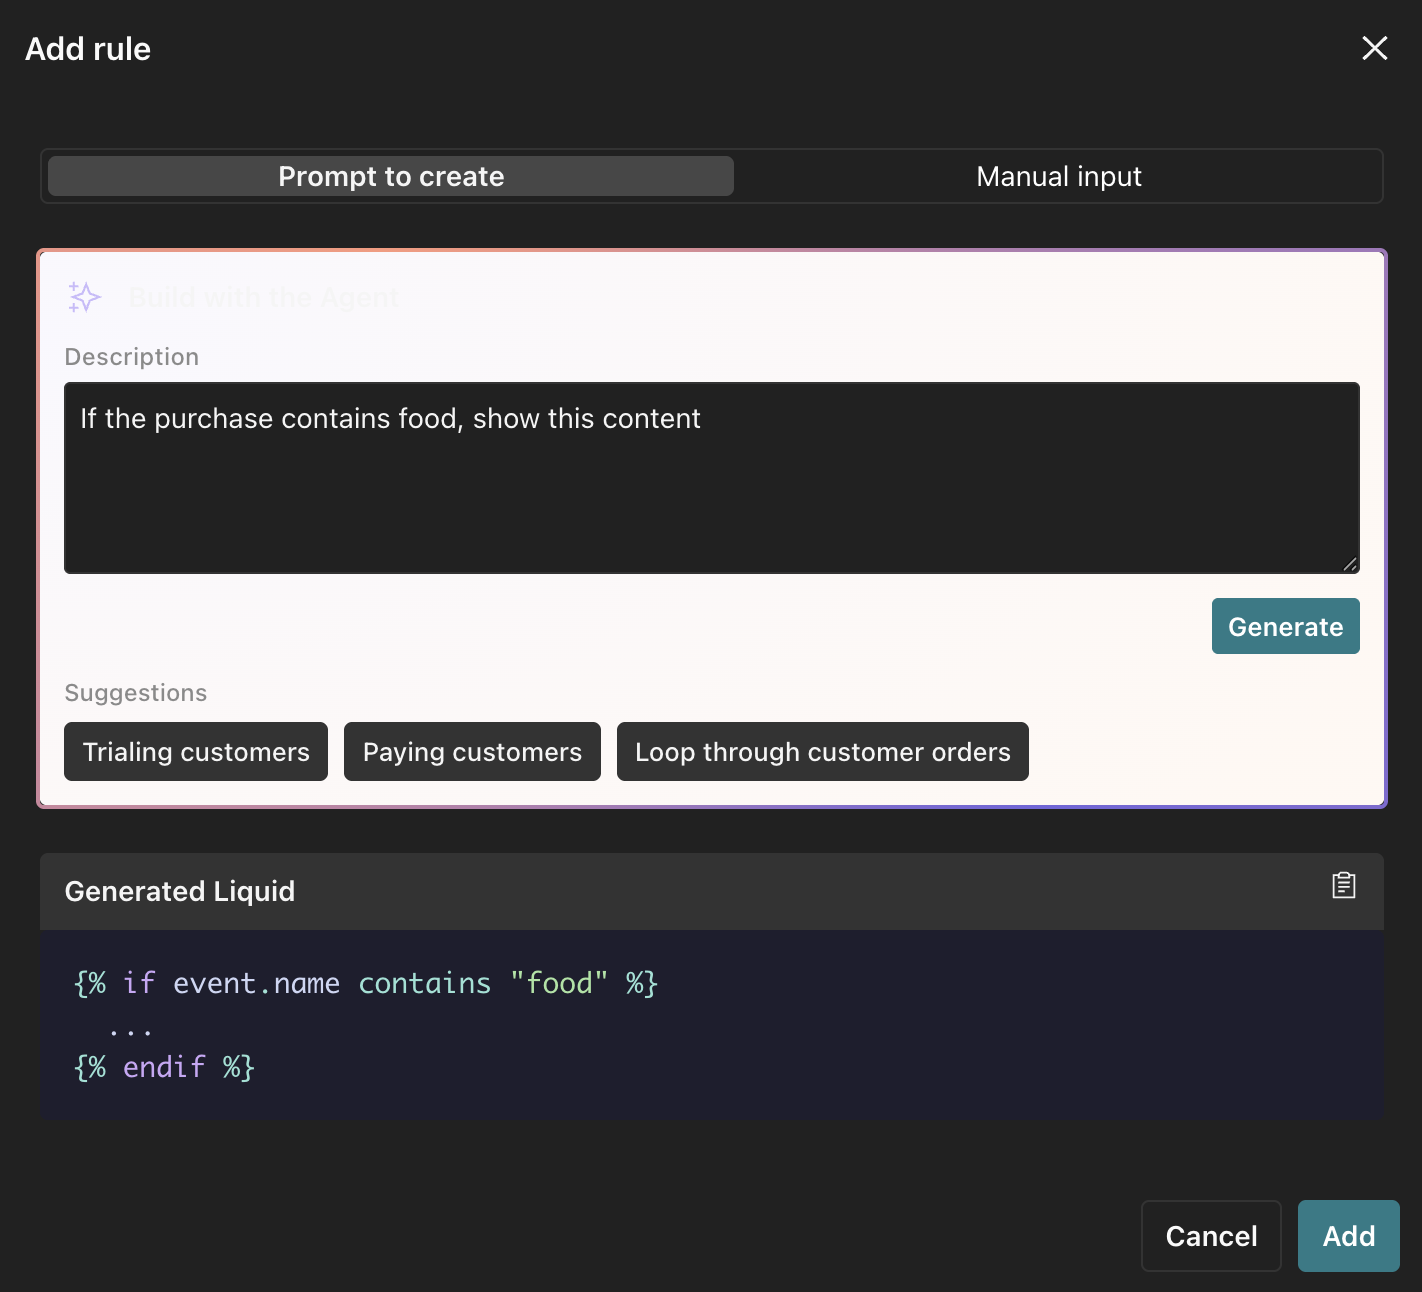
- Or click Manual input and select your conditions from the dropdowns. You can combine conditions with AND/OR by clicking Add condition. Learn more about building conditions manually.
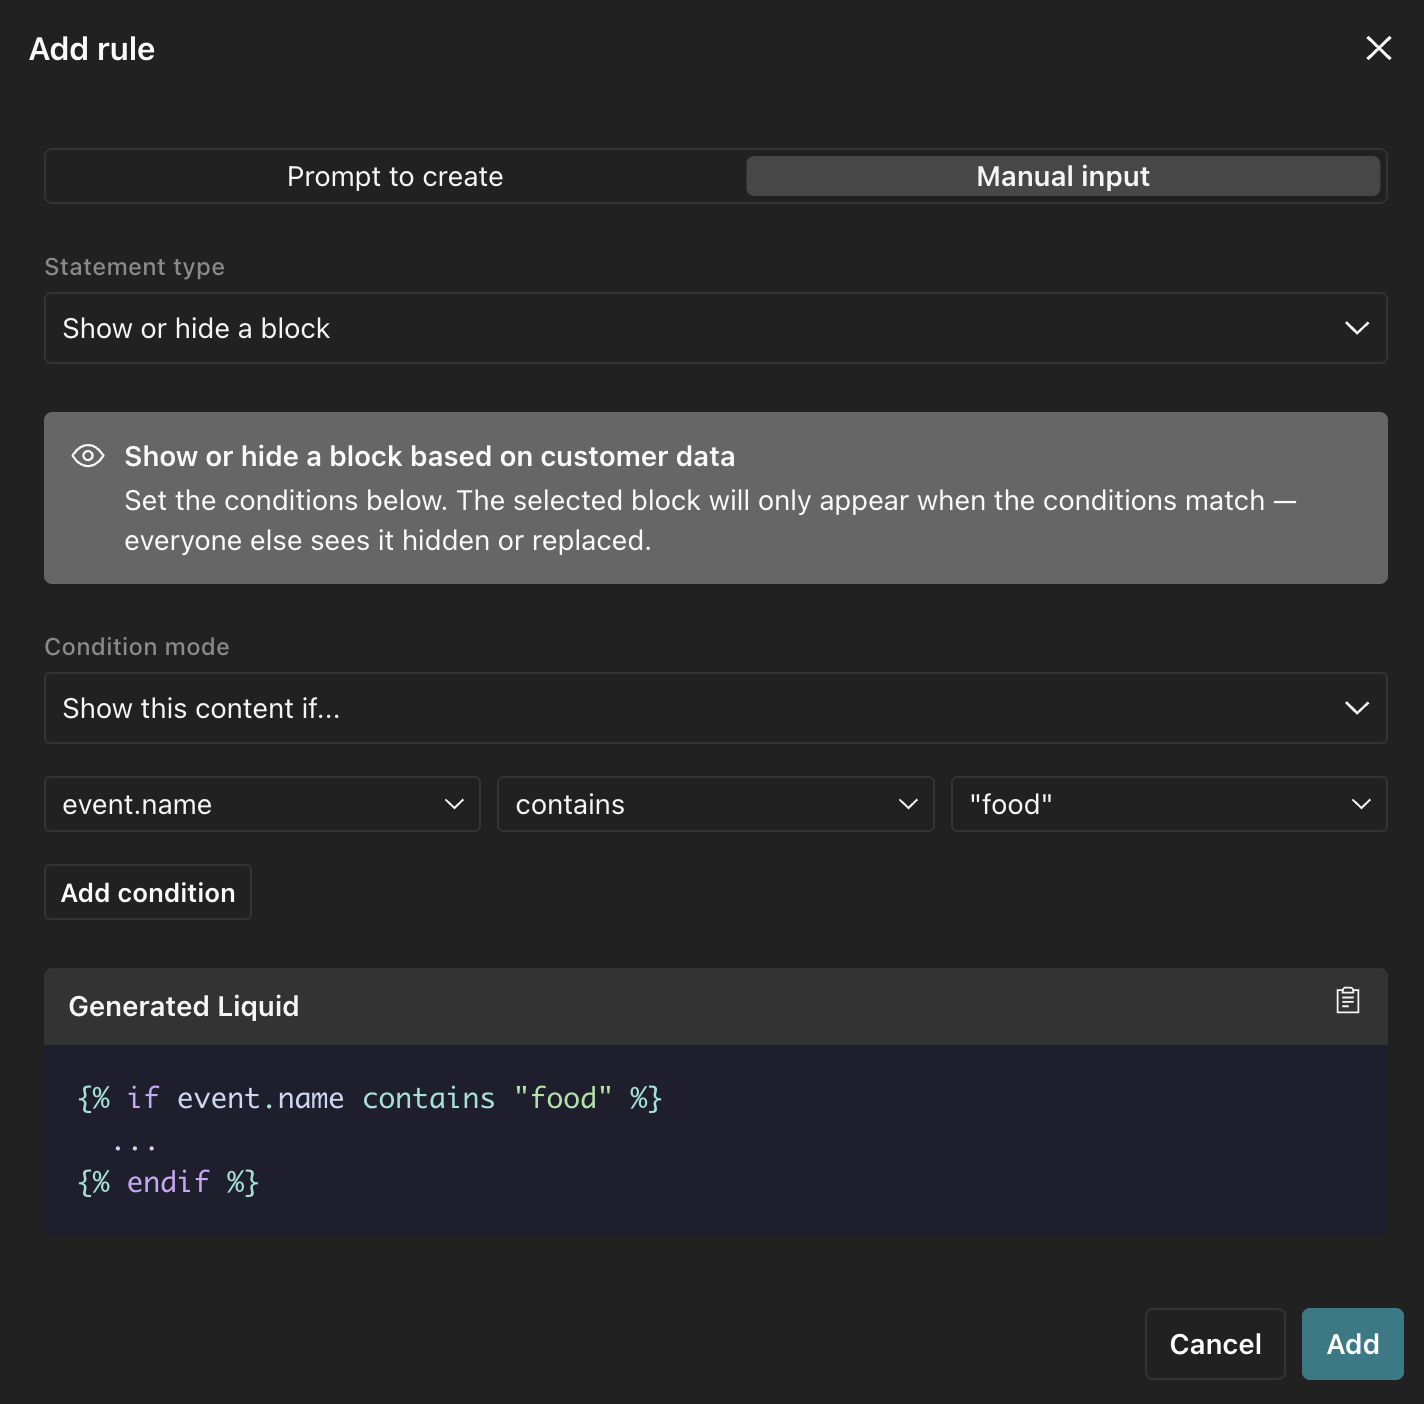
- Click Add.
To check that the email hides and shows the component when you expect, turn on Preview mode.
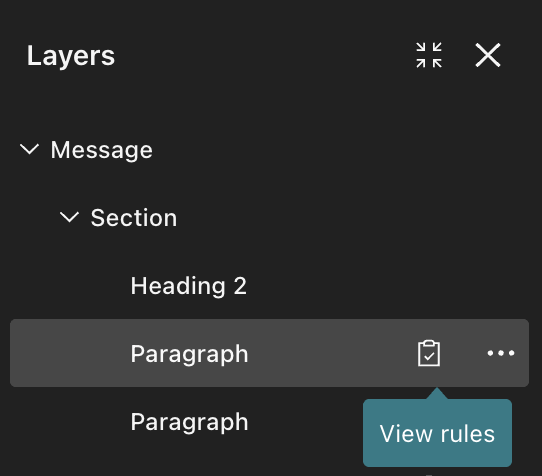
In the layers menu, this icon tells you which components have display rules: .
Loop through and list data
You can also use rules to loop through a list of data, rather than manually typing liquid, and add a component for each item.
- Click a component on your canvas.
- In the Properties menu, click the Rules tab.
- Click Add rule.
- Define your condition by writing a prompt or by manually adding variables and operators:
- Describe the condition and click Generate. The agent will recommend liquid for you.
- Or click Manual input, select Loop through a list under Statement type, and select your conditions from the dropdowns. Learn more about building conditions manually.
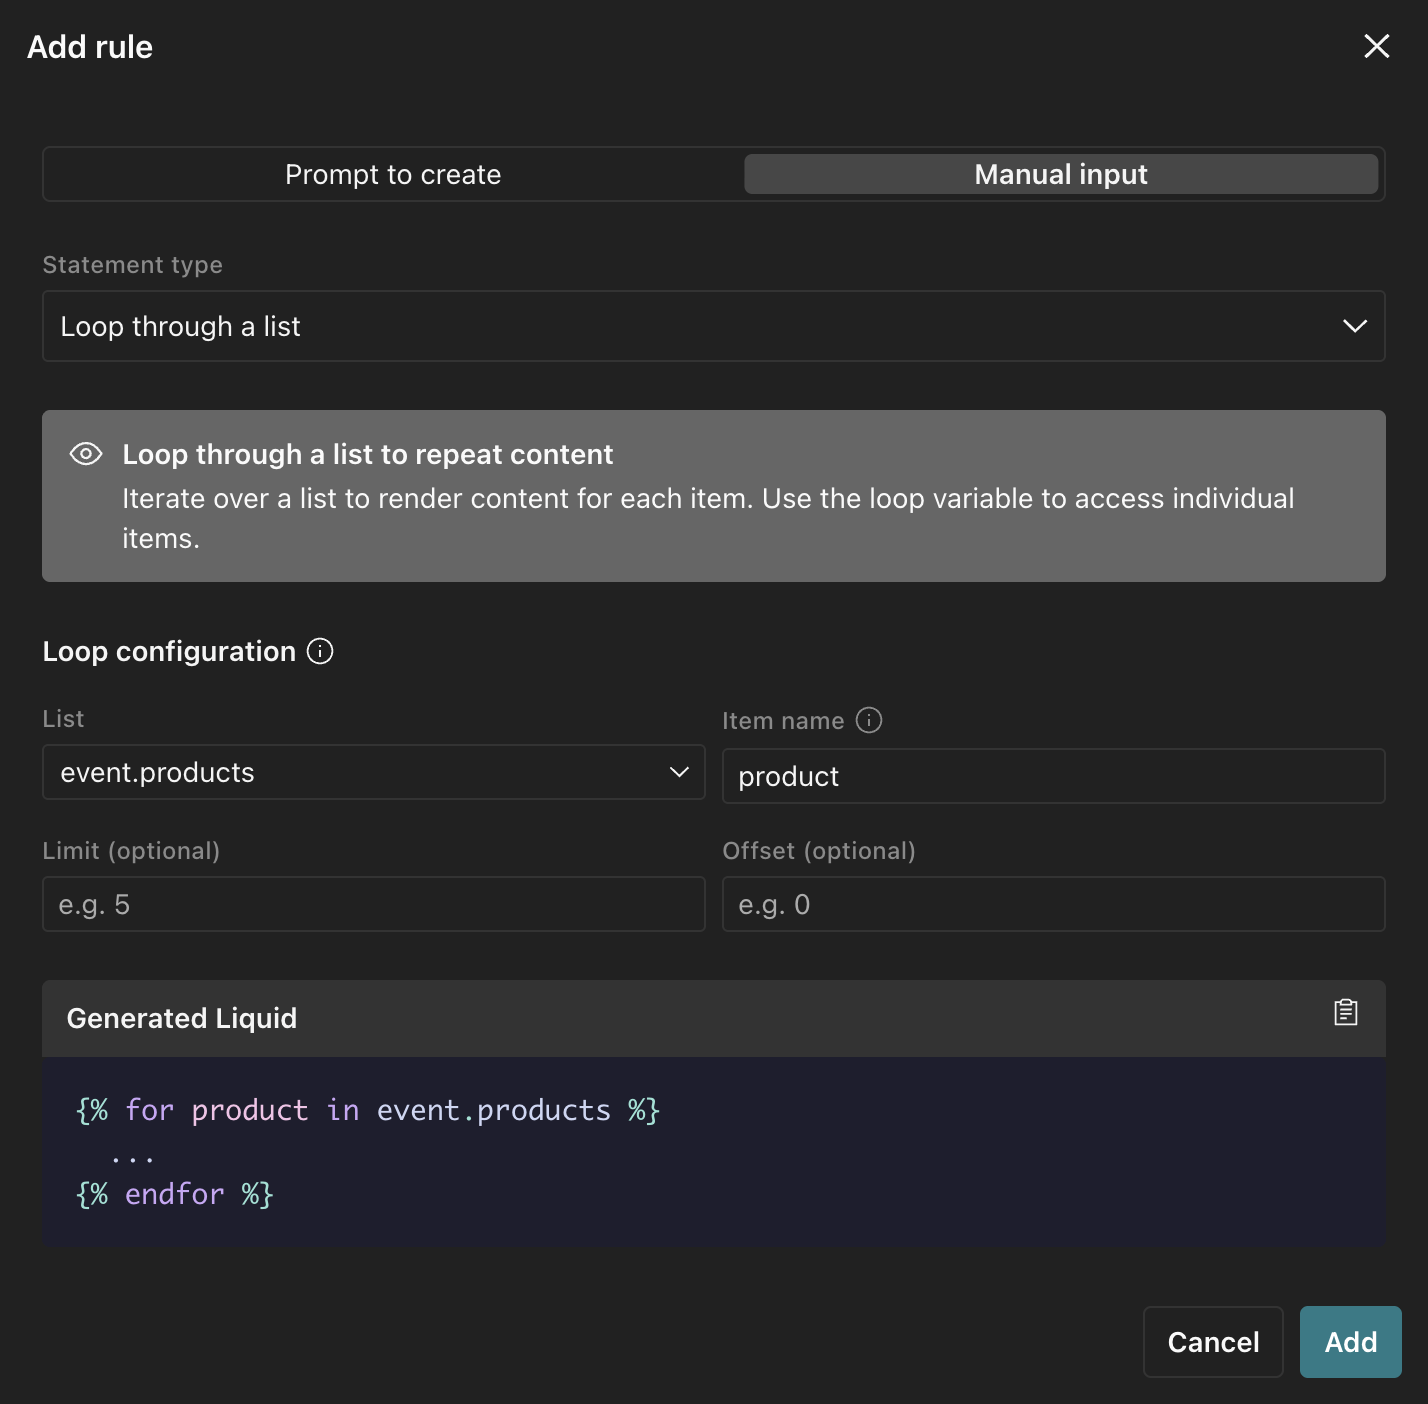
- Click Add.
To check that the email displays your items correctly, turn on Preview mode.
Each item becomes its own component, so if you added a for loop rule to a Paragraph component, and it returns three items for a person, then the email will include three paragraph components (not three paragraphs within one component).
In the layers menu, this icon tells you which components have display rules: .
Build conditions manually
When you build a condition through the Manual Input tab of the rules builder, the variable dropdown lists data available to your workflow (if it’s linked) and the customer you’re previewing.
If you linked the email to a workflow, the dropdown includes customer data and variables unique to your workflow like trigger and journey attributes.
In the example above, the email is part of an event-triggered automation, so you can select attributes associated with the event trigger object.
If you haven’t yet linked the email to a workflow, the dropdown only includes customer and objects data, but you can manually add variables by typing into the field and clicking Create.
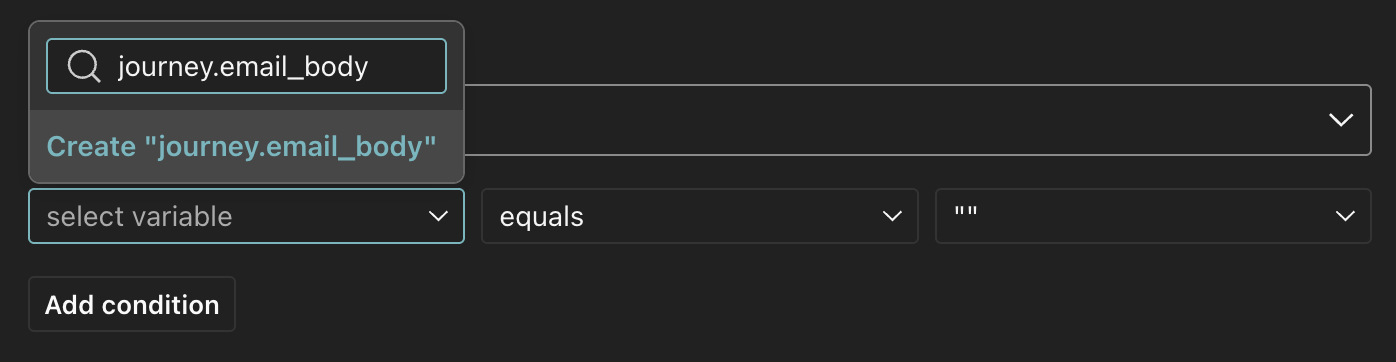
The customer and object attributes change depending on the person you’re previewing. Open the Personalization panel by clicking in the canvas toolbar to filter for different customers.
Rules with objects or relationships
You can use the Rule builder to add conditions related to object and relationship data—both trigger and non-trigger data.
If you’ve based a condition on object or relationship attributes not related to the automation’s trigger, make sure you understand the limitations first (see below) and preview the email with a variety of customers to make sure the liquid renders as you’d expect.
Hide content based on device type
To conditionally show a component based on the device a customer is using:
- Click a component on your canvas.
- In the Properties menu, click the Rules tab.
- Under Device rules, click or to hide the content accordingly.
- Select to hide the component on screens less than or equal to 600px wide.
- Select to hide the component on screens greater than 600px wide.
By default, the preview hides the content you’ve specified. Click to show the content. The hidden content is more opaque when previewing the screen size it should be hidden from:
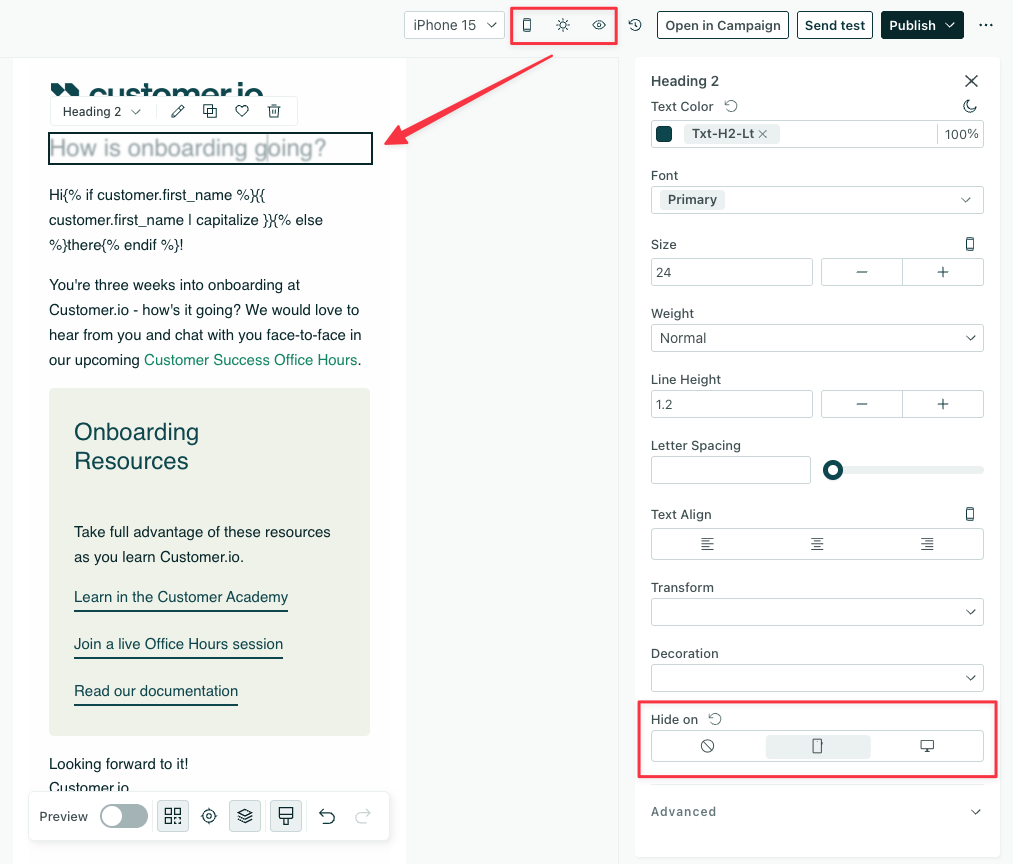
In the layers menu, this icon tells you which components have device rules: .
To remove visibility rules, click the counter-clockwise arrow icon, or select .
Email client support
The Hide on property works for all email clients that support @media queries, in addition to Thunderbird.
For email clients that don’t support @media queries except Outlook, your emails will fall back to what you defined should be hidden on mobile. In the case of Outlook, your emails will fall back to the desktop version.
Conditionally display content within a component
If you only want part of a paragraph or other text-based component to display based on conditions, you can add liquid logic within the text field.
You can type liquid directly into a text-based component on your canvas or ask the agent to generate the liquid for you.
To check that the email hides and shows the component when you expect, turn on Preview mode.