Create or update person action
This action lets you update a person. You can update the person currently in your automation workflow, or you can update a related person. If this related person doesn't exist, this action creates a new person!
How it works
You can use the Create or update person action in any automation workflow. When you update the person currently in your automation, you can set attributes from static values, the event that triggered your automation, other profile An instance of a person. Profiles start journeys through automations, join segments, and more. You reference a person's profile attributes in messaging using the liquid key A syntax that supports variables, letting you personalize messages for your audience. For example, if you want to reference a person's first name, you might use the variable customer, like {{customer.email}}.{{customer.first_name}}.
If you want to update another person—or you use the action in a webhook-triggered automation An automation triggered by an incoming webhook, in which the data is the subject of the automation instead of a person. Webhook-triggered automations help you integrate with external APIs without writing your own code or using a middleware product like Zapier. From a webhook-triggered automation, you can manipulate your incoming data to create people, update people, and trigger events. The attributes you use to add, modify, and target people. Each unique identifier value represents an individual person in your workspace.
You might use this action to:
- Update a person’s subscription date for “account anniversary” automations.
- Calculate a customer’s lifetime value (with a
total_purchase_valueattribute, for example). - Create a person based on an incoming webhook.
- Set a customer’s next appointment time.
Create or update a person
In the Workflow step of your automation:
-
Drag the Create or update person block into your workflow.
-
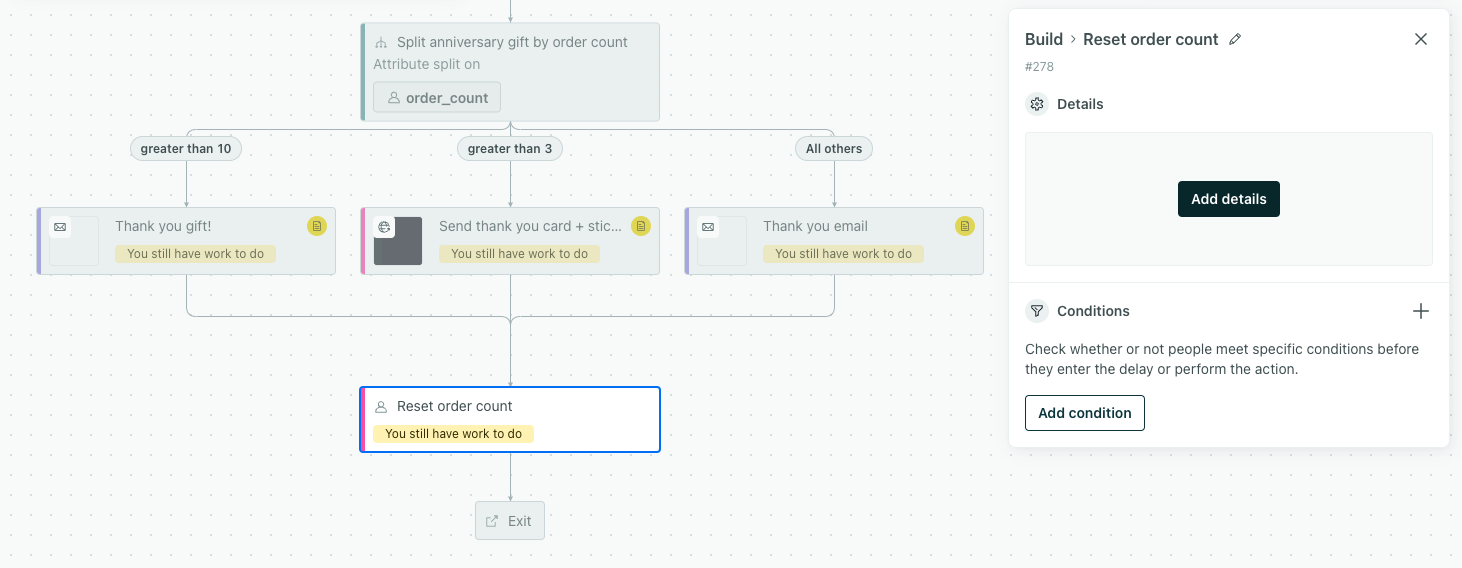
Give the action a Name and click Add details. You can also set Action Conditions if you don’t want everybody in your workflow to trigger this action.
-
Select whether you want to update The person in the workflow or Someone else. If you select Someone else, you’ll need a value to use as an identifier
The attributes you use to add, modify, and target people. Each unique identifier value represents an individual person in your workspace.
for that person.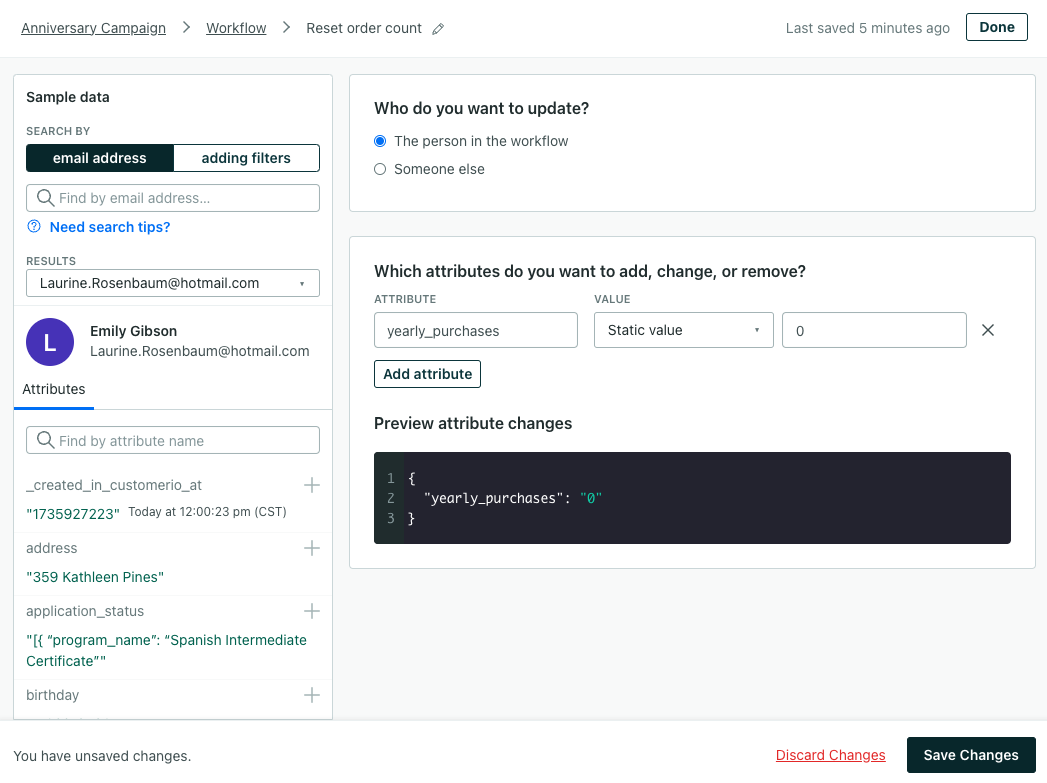
-
Click Add attribute and set attribute values for the person.
- Attribute represents the name of the attribute you want to set.
- Value is the type of value you want to populate your attribute with. For example, if you want to use an event property as the person’s attribute value, select Event attribute. Then in the field to the right, choose the event attribute.
-
Click Save changes when you’re done.
Webhook-triggered automations or the Someone Else option
When you use Create or update person in a webhook-triggered automation An automation triggered by an incoming webhook, in which the data is the subject of the automation instead of a person. Webhook-triggered automations help you integrate with external APIs without writing your own code or using a middleware product like Zapier. From a webhook-triggered automation, you can manipulate your incoming data to create people, update people, and trigger events. The attributes you use to add, modify, and target people. Each unique identifier value represents an individual person in your workspace.
In general, this means that either the incoming data or the current person in your workflow must have a value representing another person.
Set attributes
In most automations, you can set an attribute to one of these data types:
- Profile attribute
- Journey attribute
- Static value
- Liquid
- JavaScript
In automations triggered by events, form submissions, objects, or relationships, you can also set an attribute equal to trigger data.
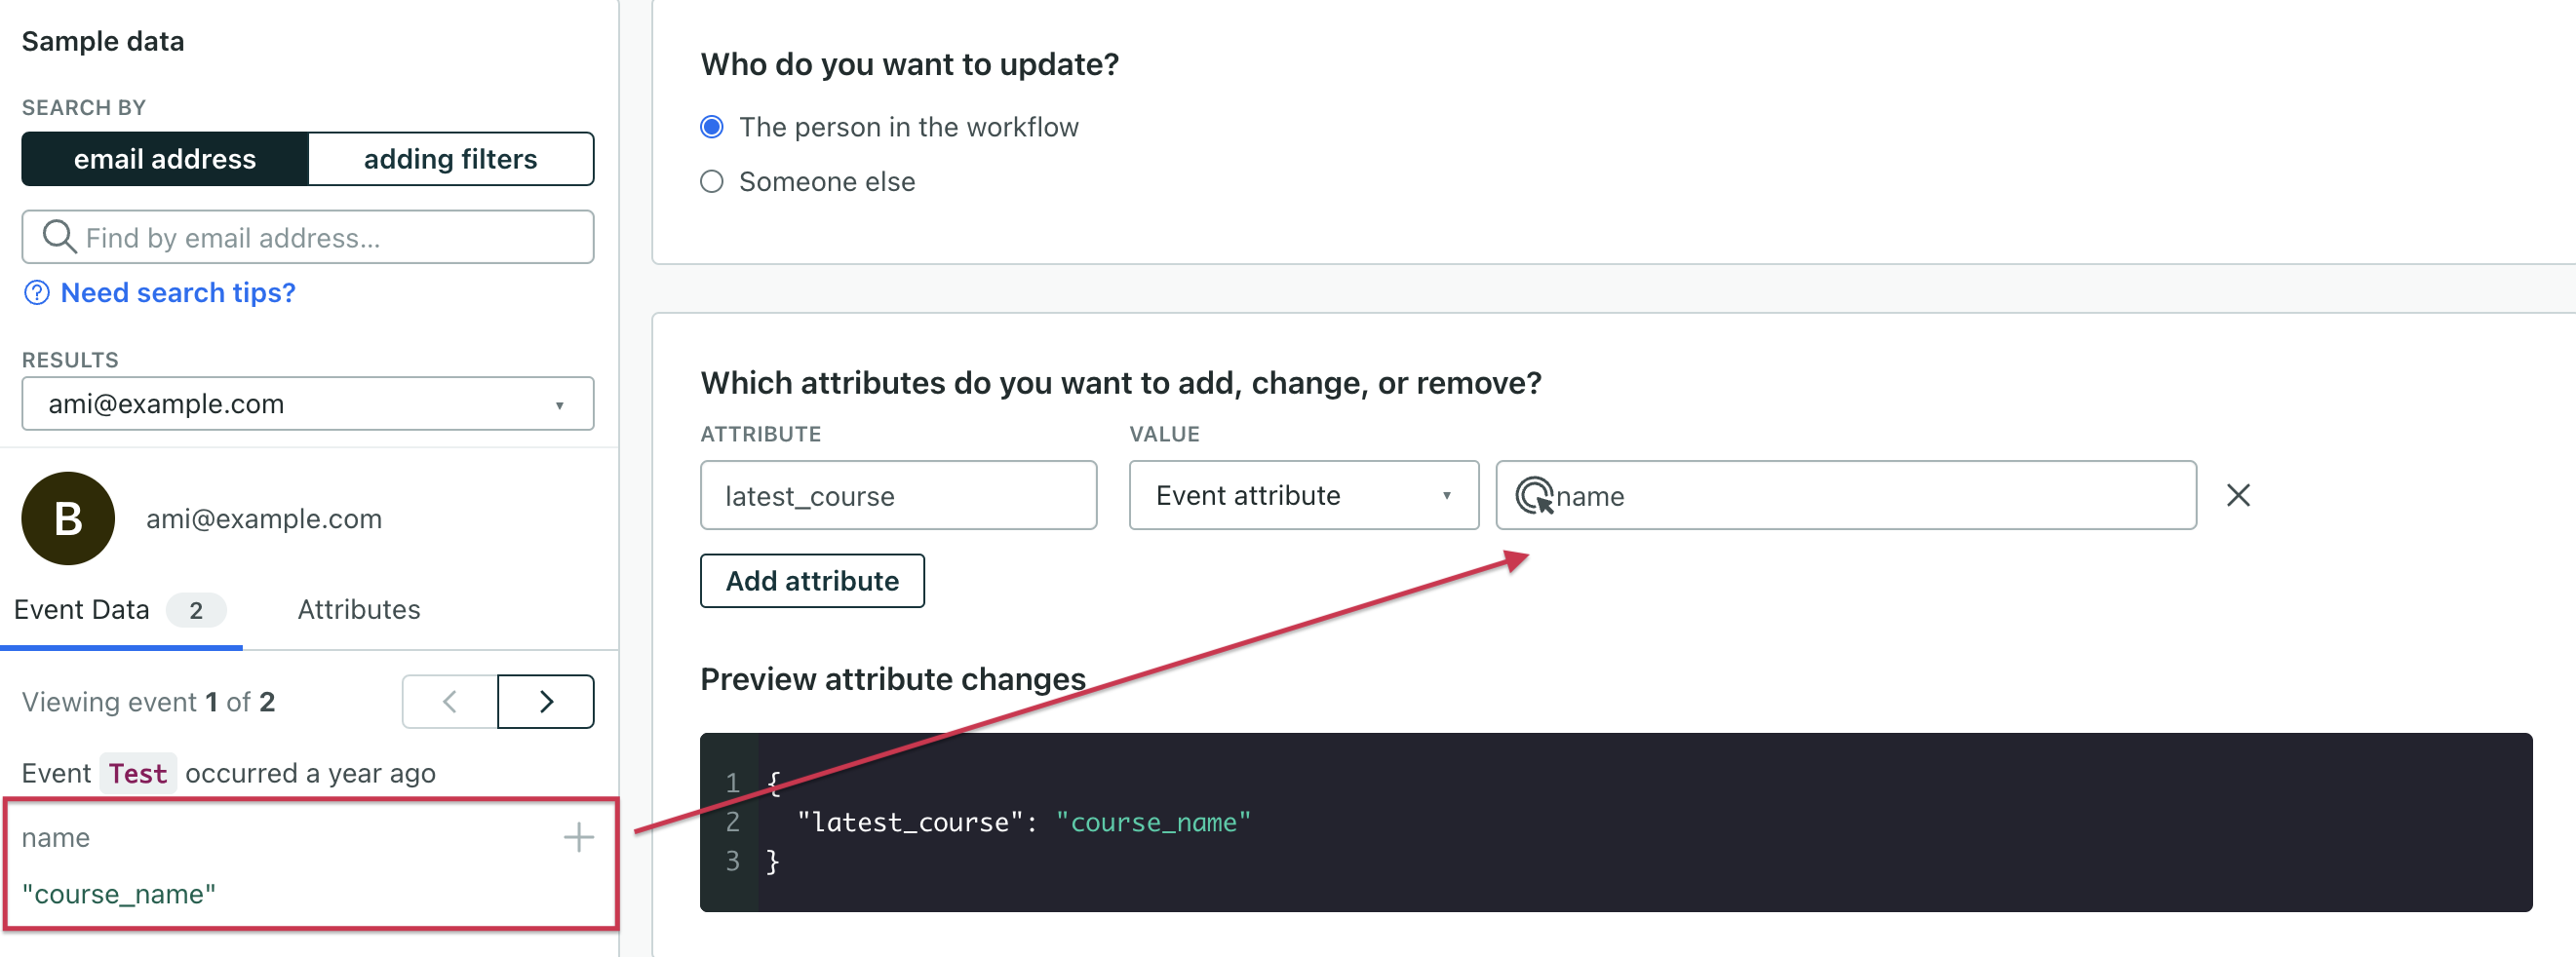
- For event or form-triggered automations, you’ll choose “Event attribute” from the dropdown then click beside an event attribute from the left-hand panel of sample data.
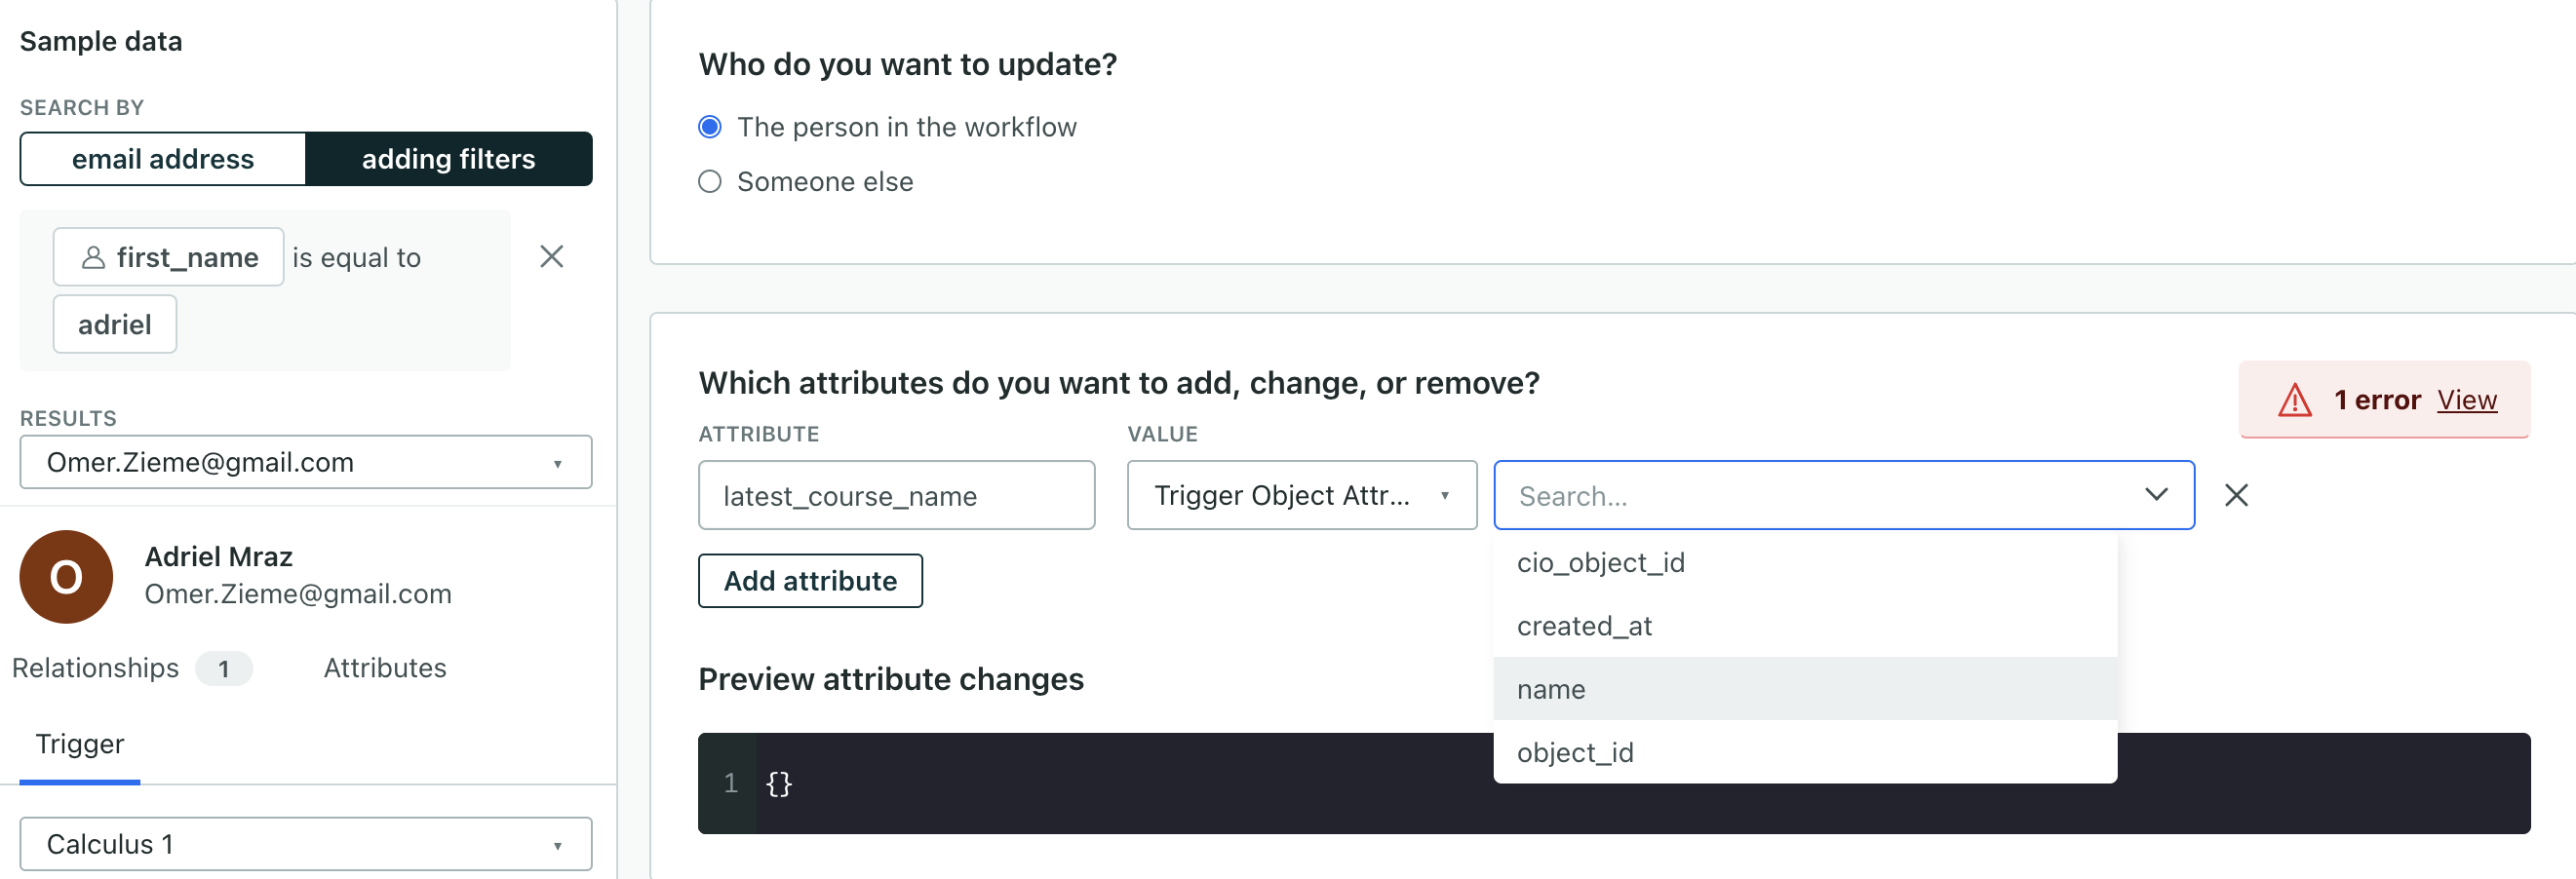
- For object or relationship-triggered automations, you’ll choose “Trigger object attribute” or “Trigger relationship attribute” from the dropdown. Then choose an attribute from the list of available values. To see a preview of the payload, make sure you select a person from the sample data on the left who has a relationship to the object.
Using liquid in attribute updates
You might use liquid to manipulate the values you set as attributes—if you need to convert timestamps, append values, or access a specific set of values from an array, etc. See the liquid tag list for a list of ways you can transform data.
An attribute can contain JSON. However, when you reference an array or object, you’ll need use | to_json. By default, liquid maps objects and arrays to strings (or integers, where applicable). Use this tag, like {{event.object | to_json}} when you reference an object or array to avoid errors and maintain the original shape of your data!
Use JavaScript in attribute updates
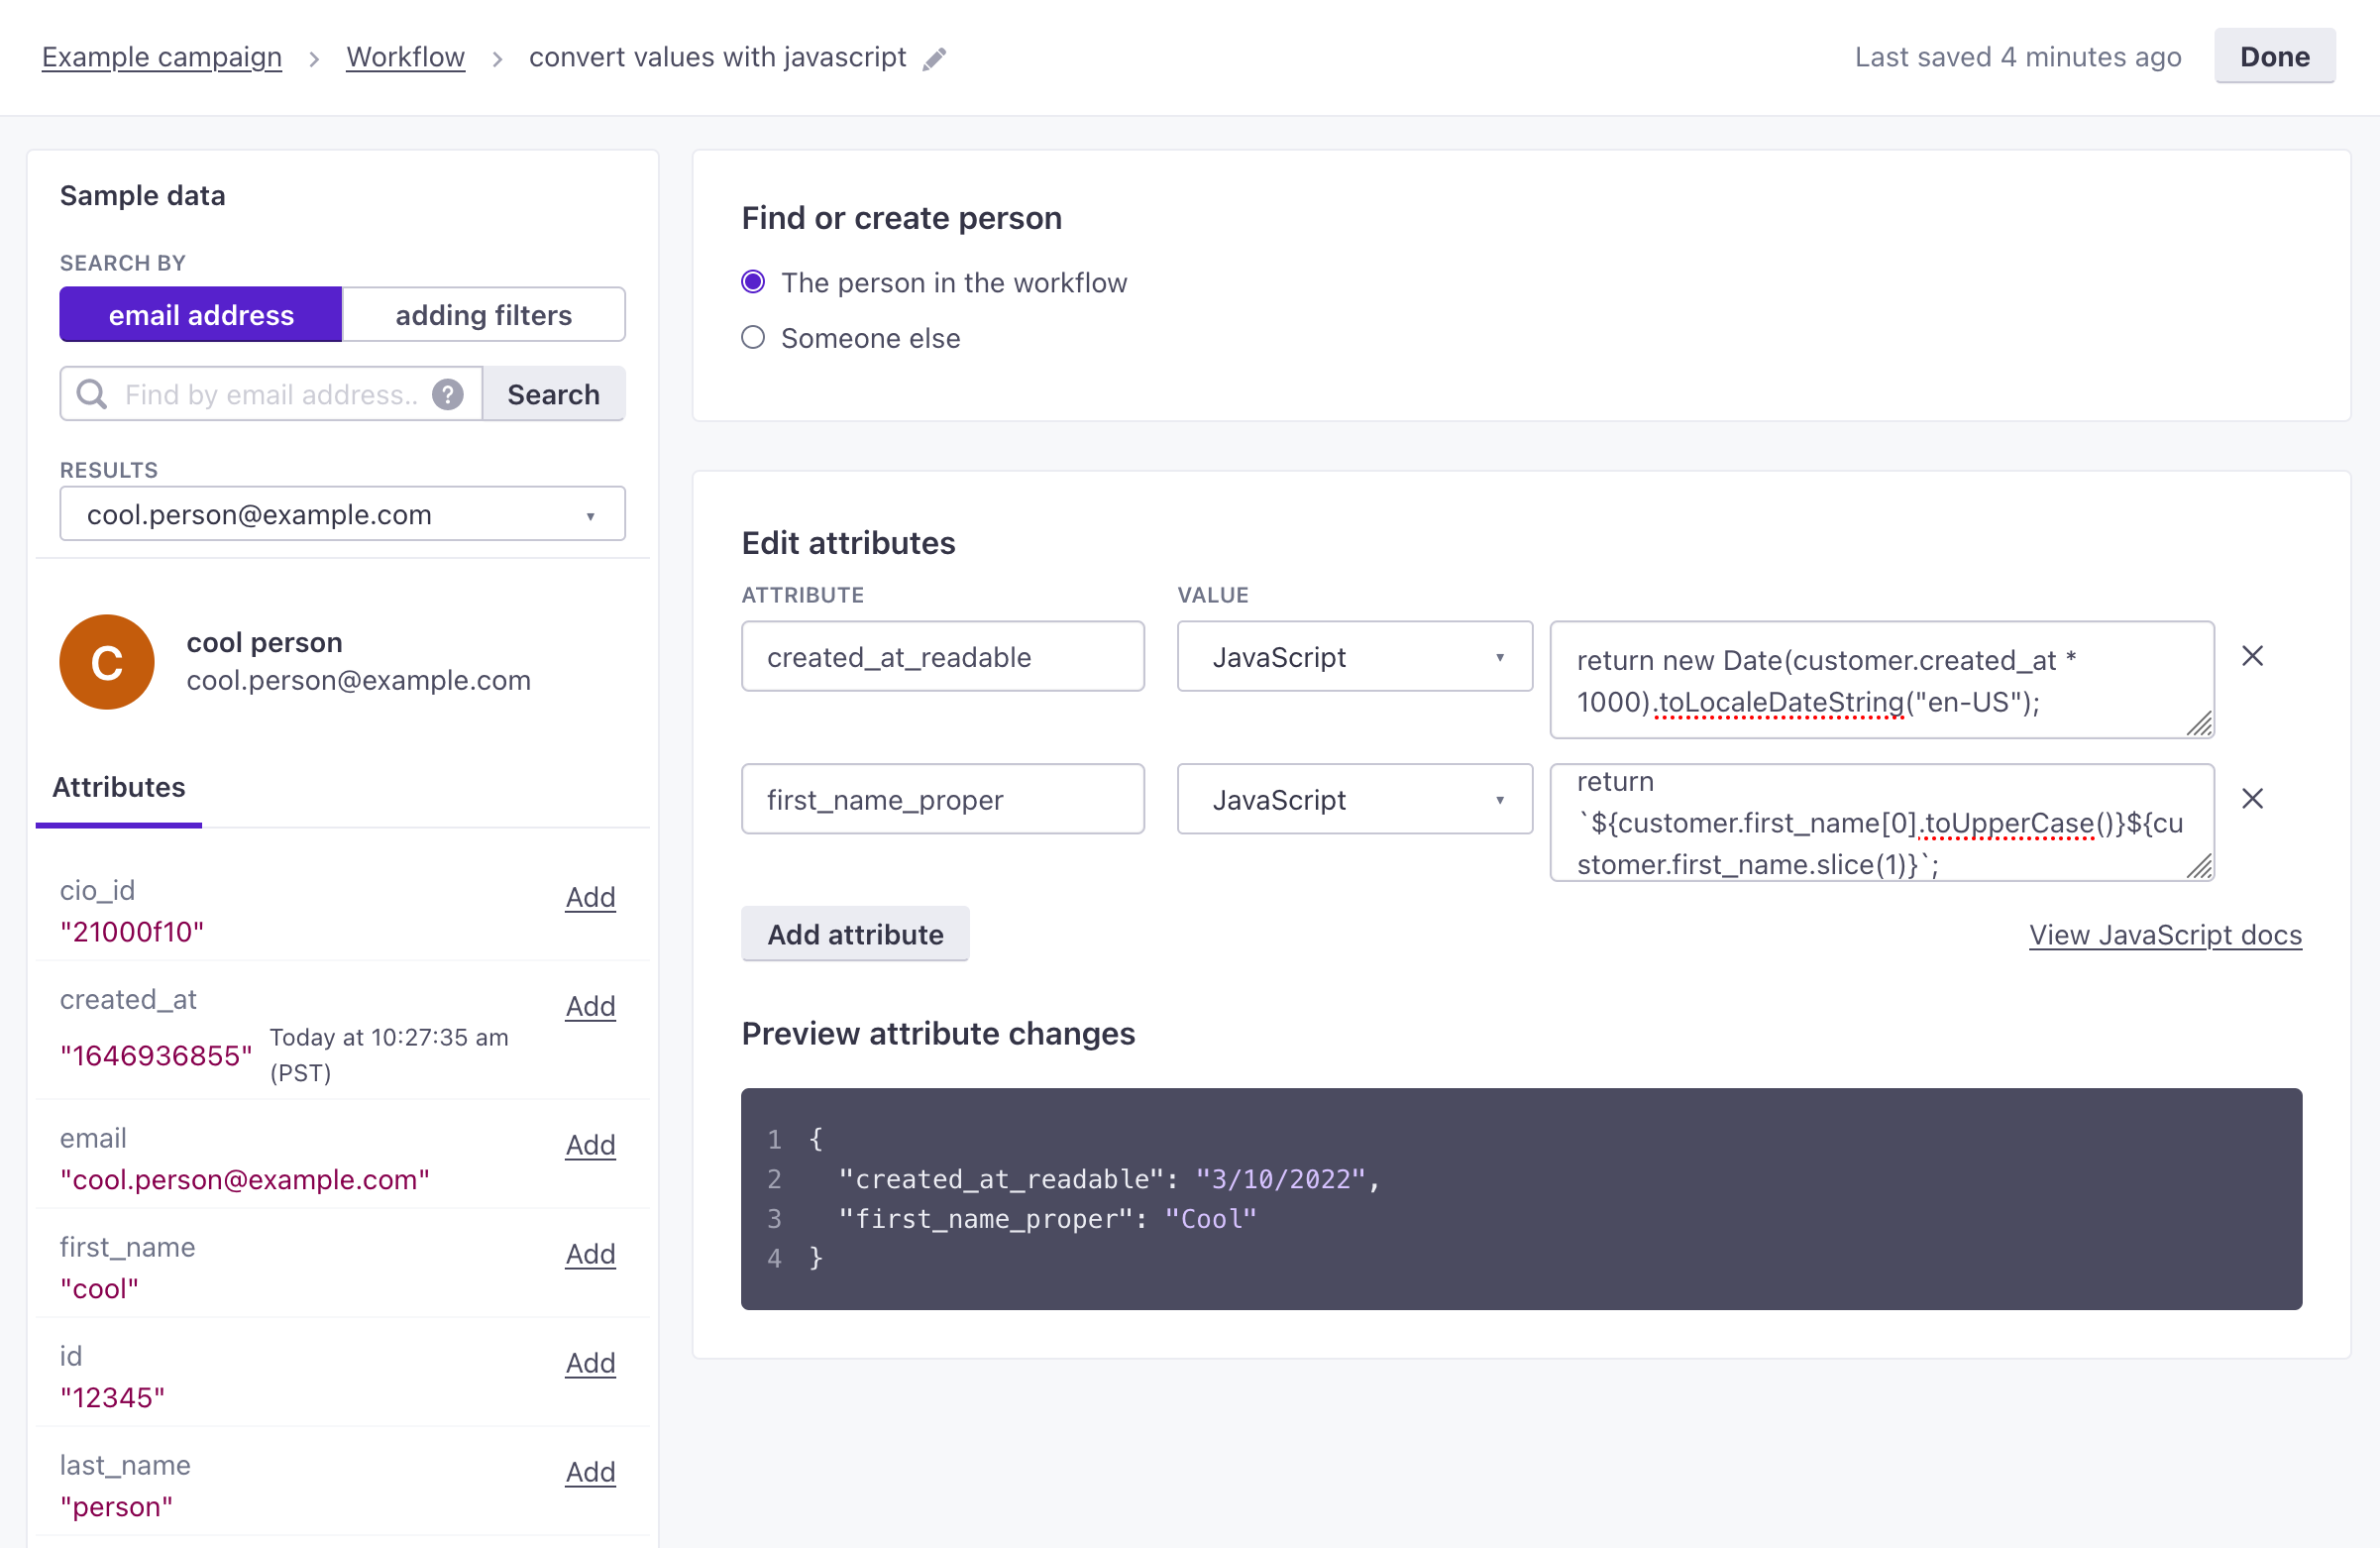
You can manipulate attribute values with JavaScript. When using JavaScript, you’ll write a A key-value pair that you associate with a person or an object—like a person's name, the date they were created in your workspace, or a company's billing date etc. Use attributes to target people and personalize messages. Reusable content, like a company address, that you can reference with a liquid key across your messages.return statement for each attribute value you want to set. You can set properties from any source available in your automation—trigger data, attributes
For example, if you wanted to access a person’s id from within the identifers object in your automation’s trigger, you would write return triggers.identifiers.id;.
See our JavaScript quick reference guide for more examples to help you take advantage of JavaScript in your workflow.