Create a sign-up form
Build your sign-up form, choose where it appears and how often visitors see it and launch it.
Before you start, make sure your workspace has a JavaScript source and a tracking API credential. See Before you begin for more information.
To create a sign-up form, you’ll:
- Build your form: This includes your form’s formats, which decide whether you show your form in your app, on any web page, or on a page that Customer.io hosts for you.
- Choose your settings: This includes things like the goal for your form, the pages where it appears, and how often it appears.
- Review and launch your form: This includes a preview of your form and a summary of settings.
1. Build your form
-
Go to Sign-up forms and click Create form.
-
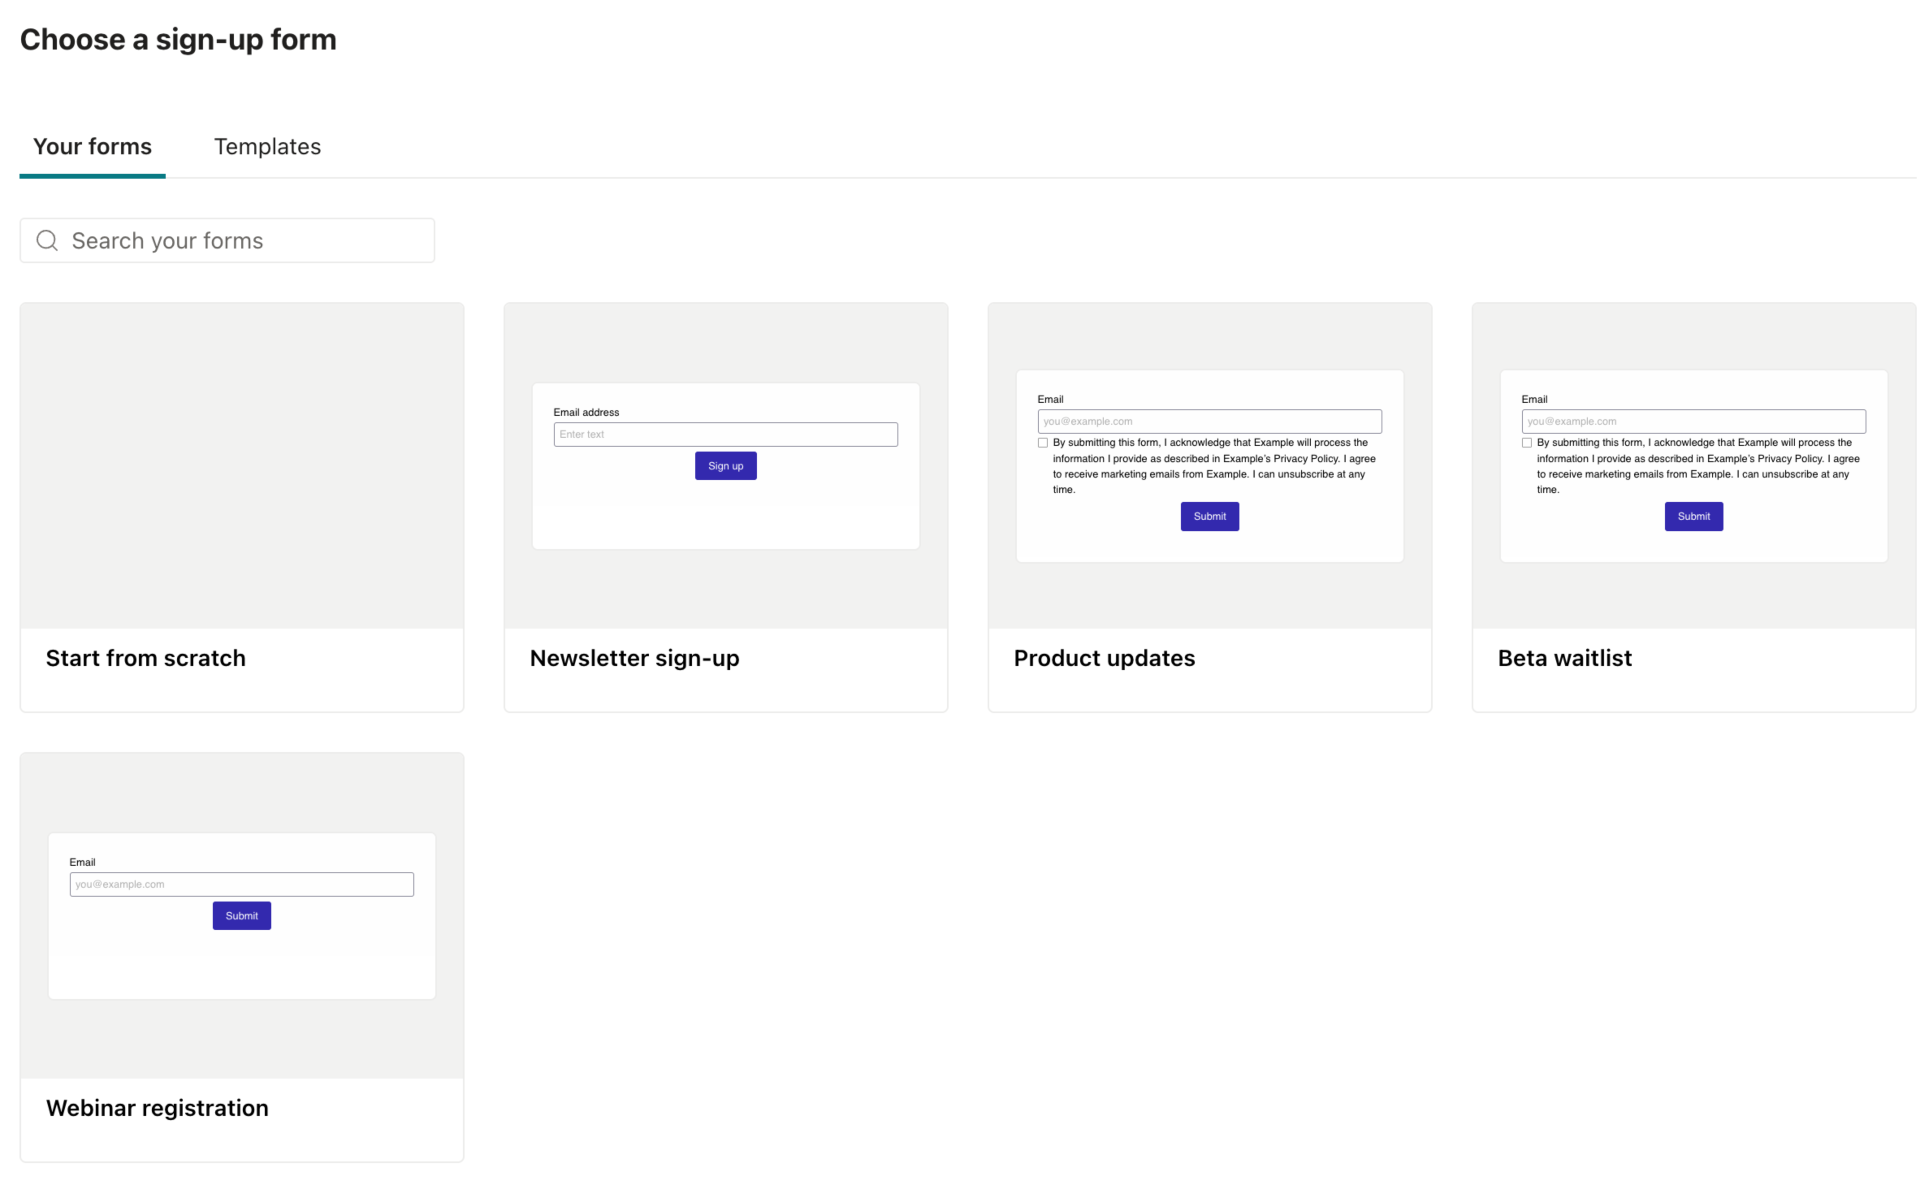
Under Your forms, click Start from scratch for a blank form, or pick one of your existing forms to start with. (Starting from an existing form creates a copy; it doesn’t change the original form.)
-
Create your form. You can drag components into your form, like Short text, Long text, Single choice, Email consent, and Submit button. Your form must have a field for an email address or a phone number and a submit button.
You should also add an Email consent checkbox so people can agree to receive messages from you.
-
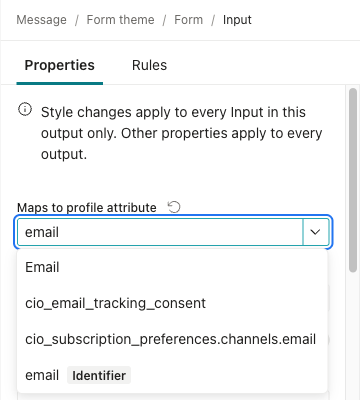
Select each form field, except Email consent, to map it to a profile attribute:
- Maps to profile attribute: the attribute
A key-value pair that you associate with a person or an object—like a person's name, the date they were created in your workspace, or a company's billing date etc. Use attributes to target people and personalize messages.
that Customer.io stores the value in. Map your email or phone field toemailorphonerespectively. - Required: a field that people must fill in.
- Type: the kind of input, like
email, to validate inputs before people submit your form. - Name: the key for the field’s value in the
form_submitevent. If you don’t set one, Customer.io creates it from the field’s label in lowercase, with underscores instead of spaces. For example, a field labeled First name sends its value asfirst_name.
- Maps to profile attribute: the attribute
-
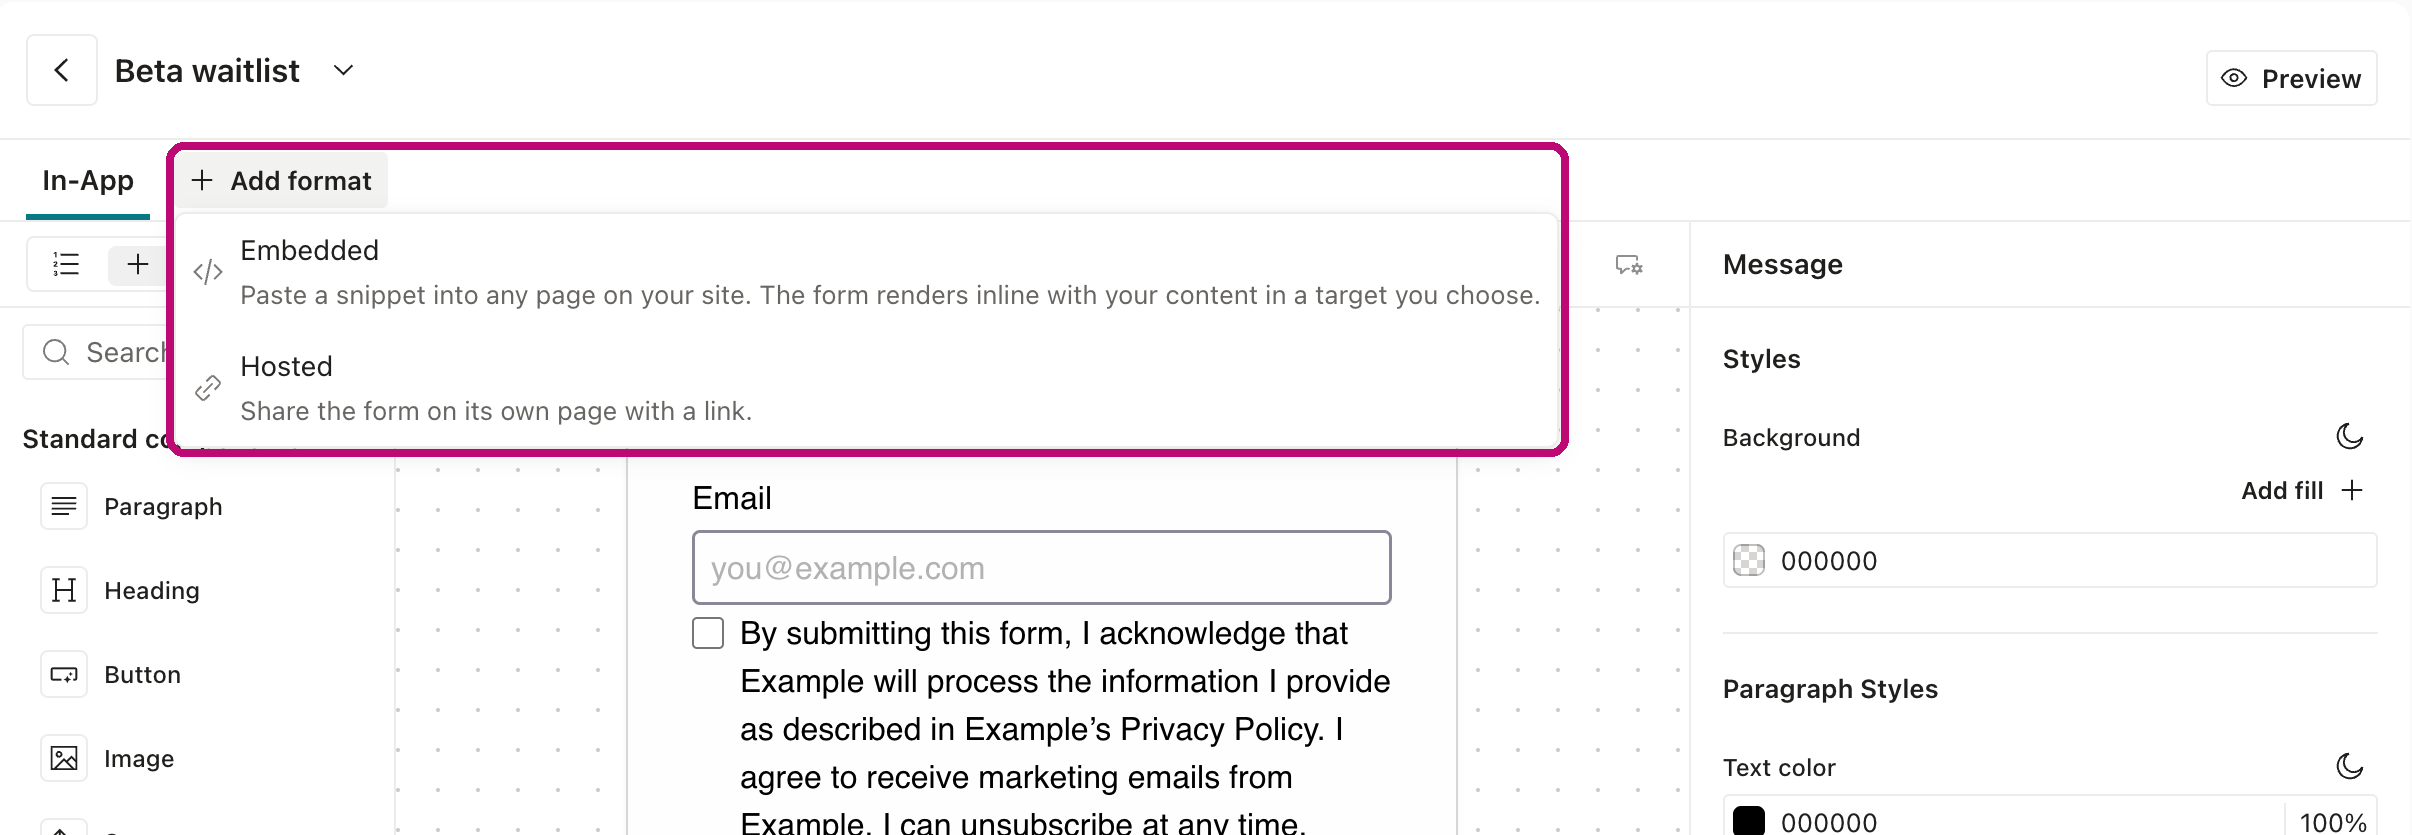
Set the formats you want. Your form starts with an In-App format. Click Add format and choose Embedded or Hosted to show the same form in other places. Each format has its own tab in the editor. Style changes apply only to the format you’re editing, and other changes apply to every format. To remove a format, click the × on its tab. See Choose a format to learn how each format works.
-
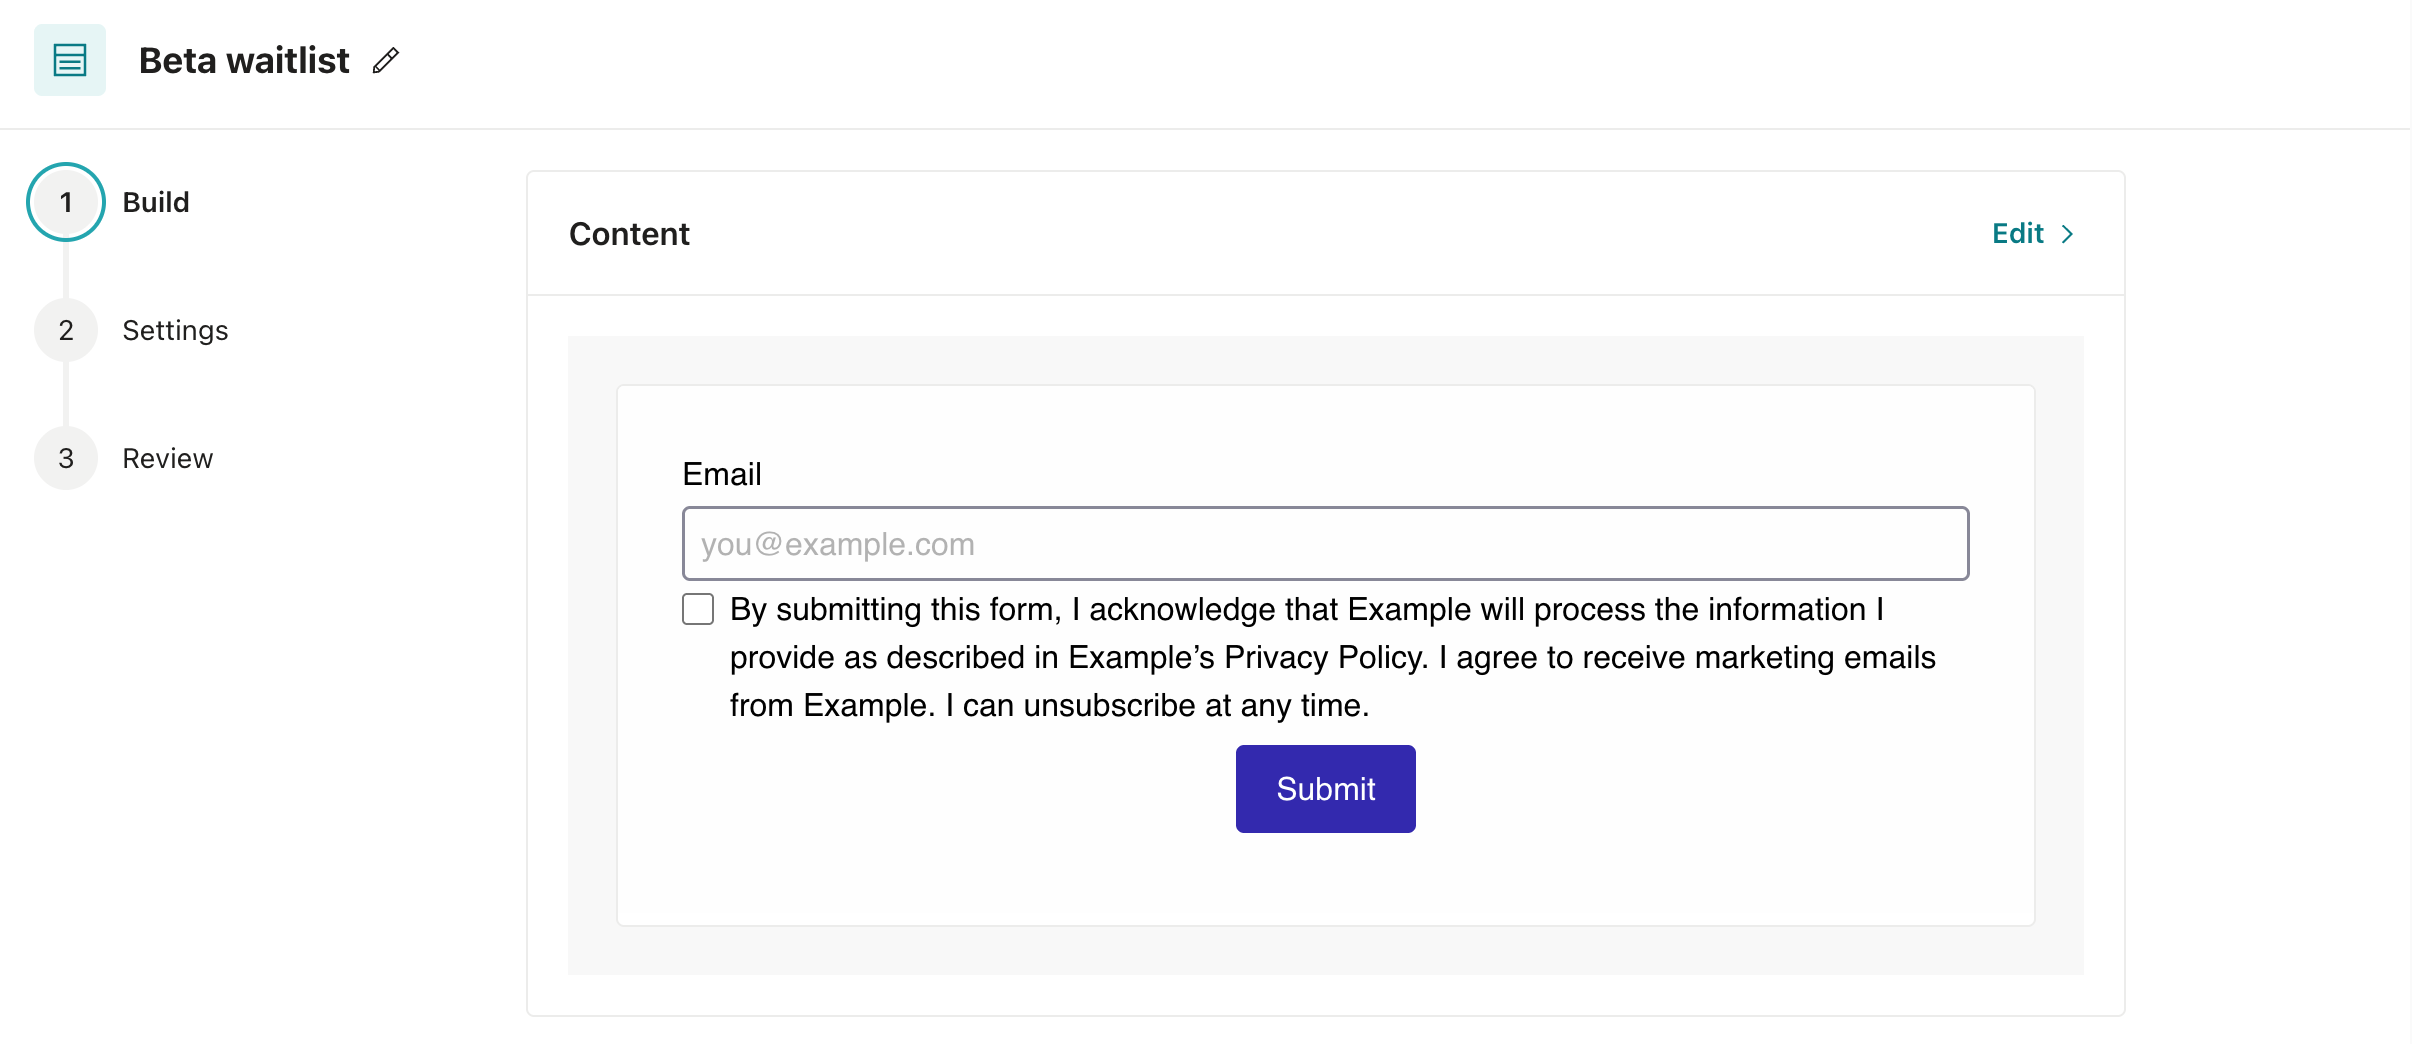
Click to go back to your form’s page. The Build step’s Content panel shows a preview of your form.
When you’re done building your form, click to go back to your form’s page. The Build step’s Content panel shows a preview of your form. Now you’re ready for your form’s Settings.
Ask for email consent
Add an Email consent checkbox so people can agree to receive messages from you. This field sets the person’s subscription preferences instead of an attribute. Select the field and choose what it controls under Maps to subscription topic:
- All topics (the default) sets the person’s email channel preference. It covers all of your email and leaves SMS, push, and your other channels alone.
- A specific topic sets the person’s preference for that topic. A topic isn’t tied to one channel, so the preference applies to every message you assign to the topic, whichever channel you send it through.
The checkbox works like this:
- When the person checks the box, Customer.io subscribes them to the preference.
- When the person doesn’t check the box and they’re a new user, Customer.io unsubscribes them from the preference. If the person already exists, we don’t change their preferences.
The field never changes the person’s A key-value pair that you associate with a person or an object—like a person's name, the date they were created in your workspace, or a company's billing date etc. Use attributes to target people and personalize messages.unsubscribed attribute, which is the global subscription attribute
2. Choose your settings
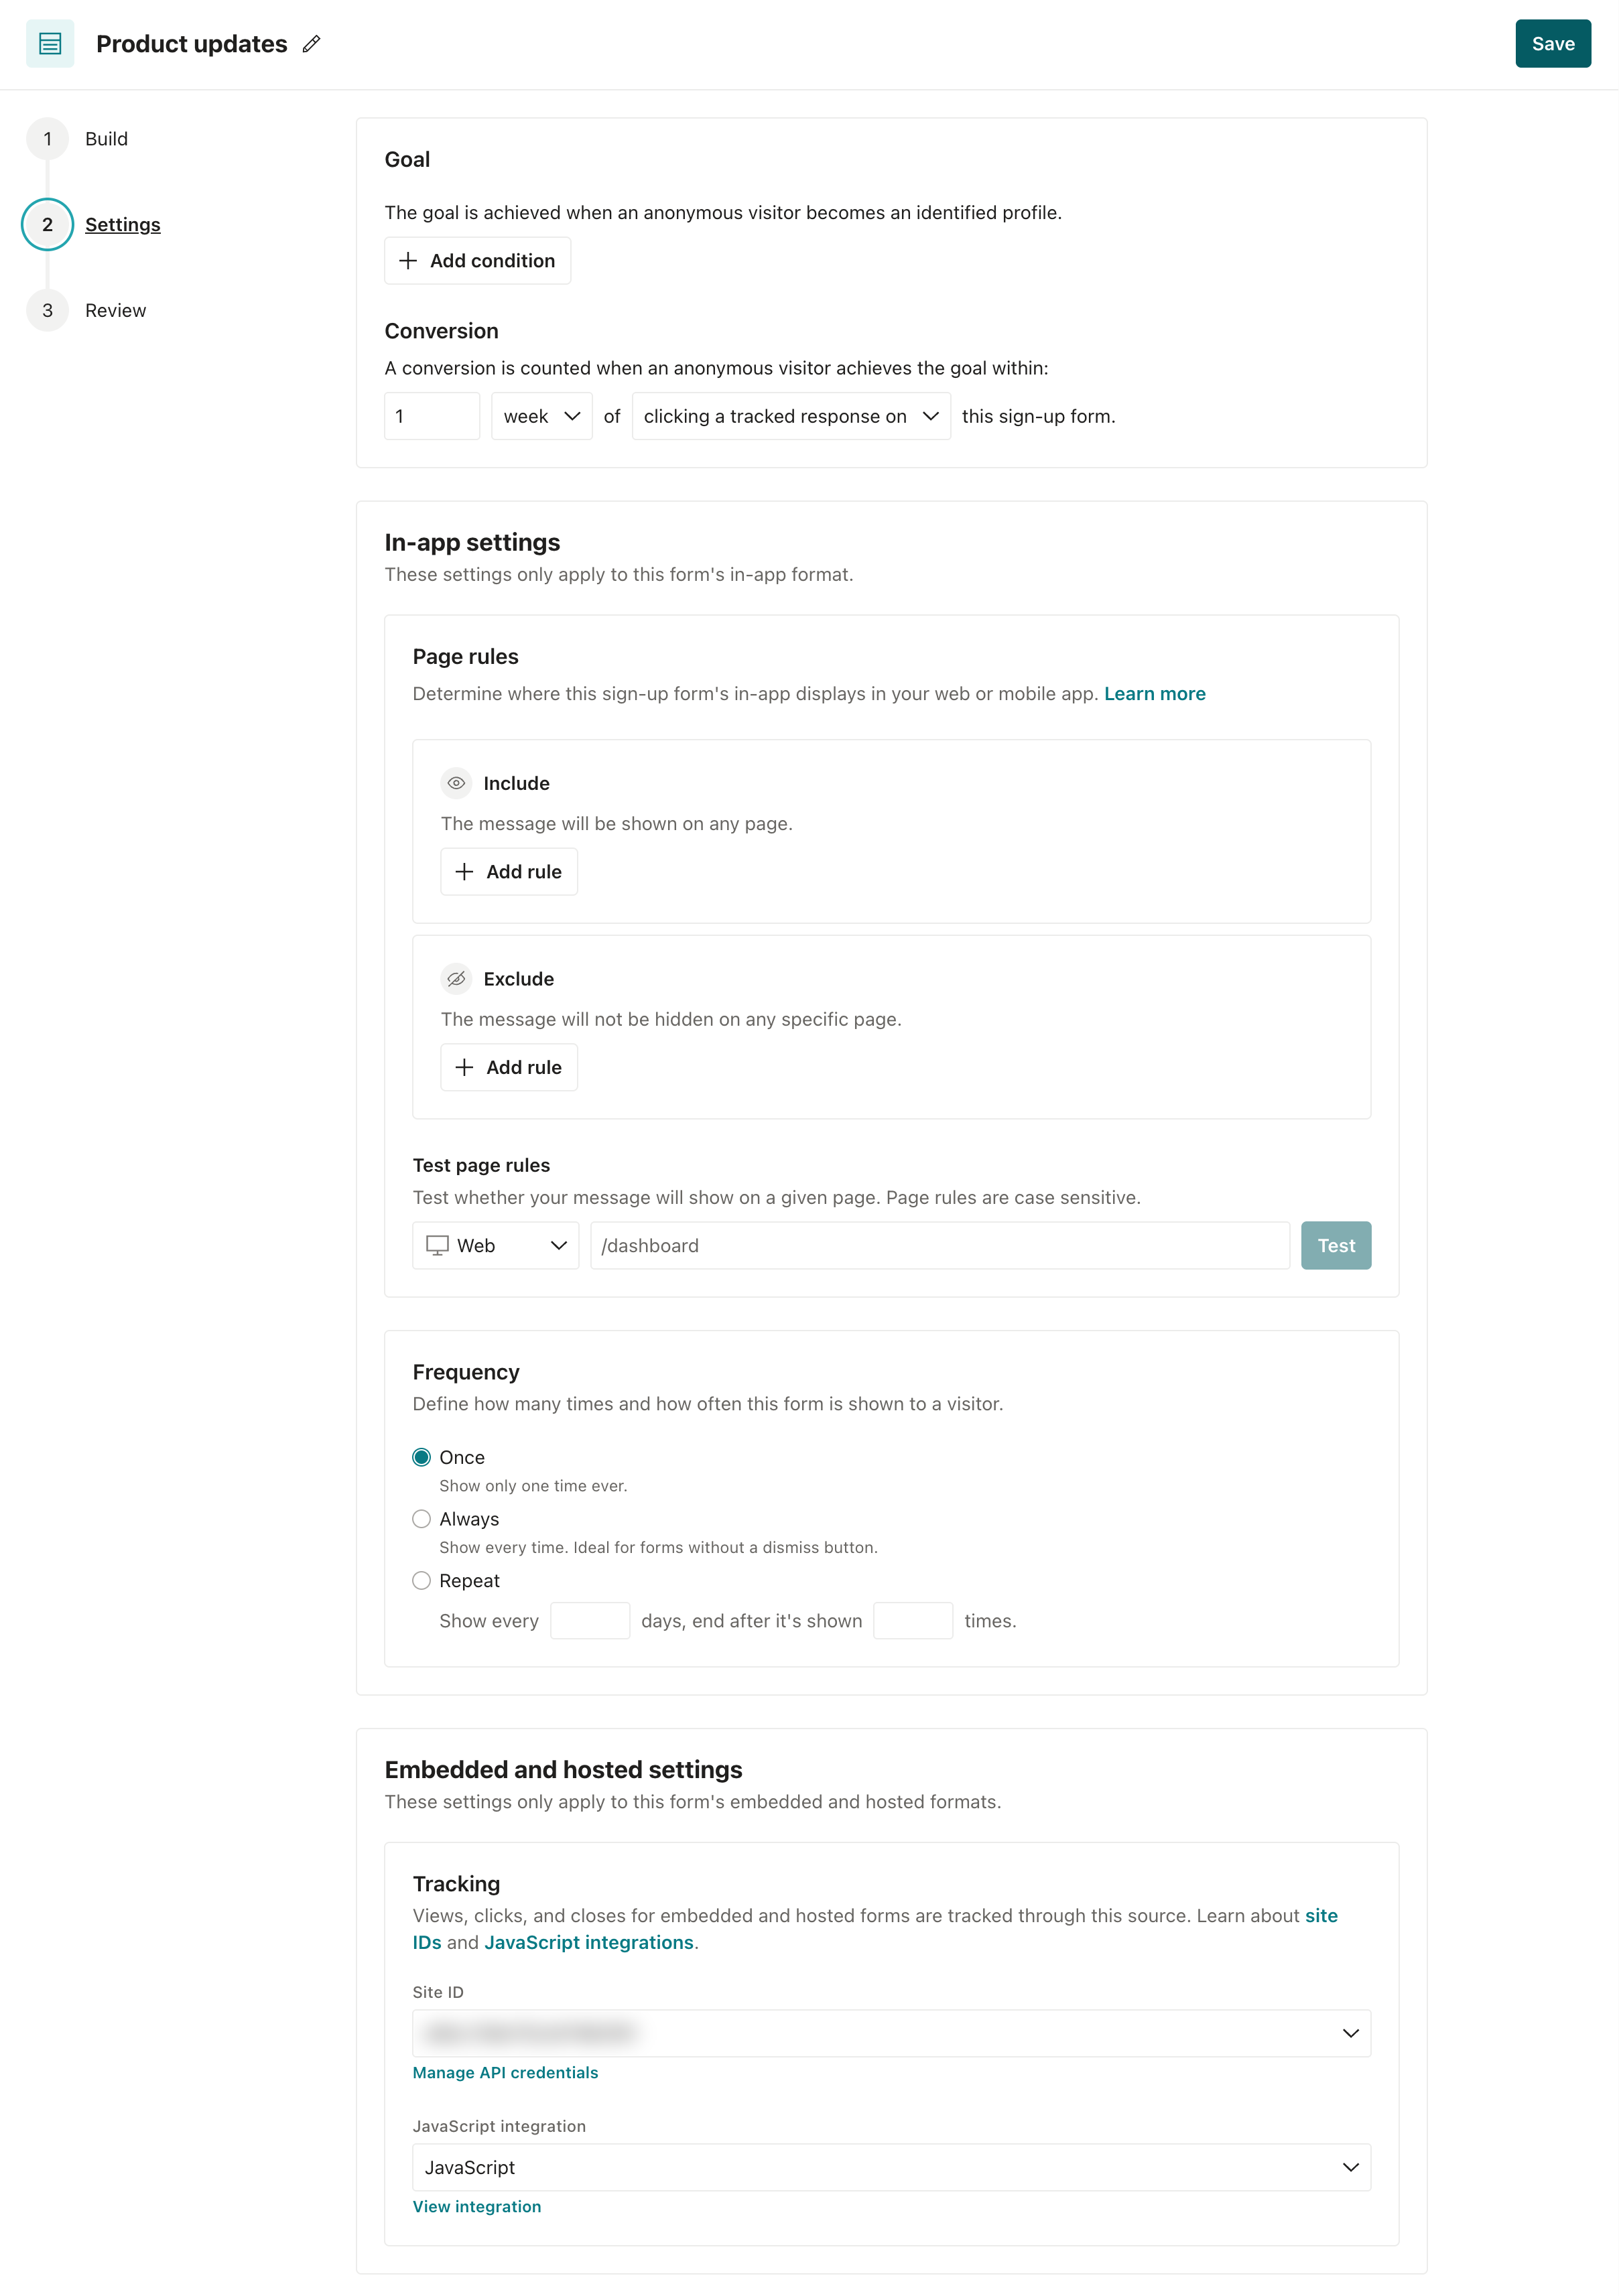
Click Settings to choose your form’s goal and other settings.
Goal
Your form’s goal determines what counts as a conversion. You don’t have to set a goal. If you don’t, Customer.io counts a conversion when a visitor becomes identified within one week of clicking a tracked response in your form.
Becoming identified is the base rule for every goal, but it doesn’t tell you much on its own. It happens when your website or app calls identify in the browser where the visitor saw your form, which you often do when people sign up or log in. A submission alone doesn’t identify the visitor’s browser. See Identify people after they submit your form. To measure what your form achieves, like a first purchase or joining your community, click Add condition and choose an event that the person performs, or a segment that they enter or leave.
Under Conversion, you can also choose how long a visitor has to achieve the goal after they view your form or click a tracked response. A tracked response is a button or link that you add to your form, like a Submit button.
Where your form appears
These settings are under In-app settings, and they control the pages on your website or mobile app where your form’s In-App format appears.
Use Page rules to choose the pages or screens where your form appears. By default, the form appears on every page. For each rule, you choose a platform (Web, iOS, or Android), whether to Include or Exclude matching pages, and whether the page name or URL is equal to or contains your value. You can try your rules under Test page rules before you save them. Page rules are case sensitive.
If you add rules for some of your platforms, add rules for every platform where you want your form to appear. Customer.io doesn’t show your form on a platform that has no rules when other platforms do.
Frequency
Under In-app settings, choose how often a visitor sees your form’s In-App format:
- Once (default): Customer.io shows the form one time ever.
- Always: Customer.io shows the form every time. This works best for forms that don’t have a dismiss button.
- Repeat: Customer.io shows the form again every number of days you set, until it has shown the form the number of times you set. You can also stop showing the form to visitors who dismiss it.
Embedded and hosted settings: Tracking
Every form needs a site ID and a JavaScript integration before you can launch it, even if your form only has an In-App format. Under Embedded and hosted settings, choose the Site ID and JavaScript integration that your form uses. If your form has an Embedded or Hosted format, Customer.io uses this integration to report when people view, click, or close your form.
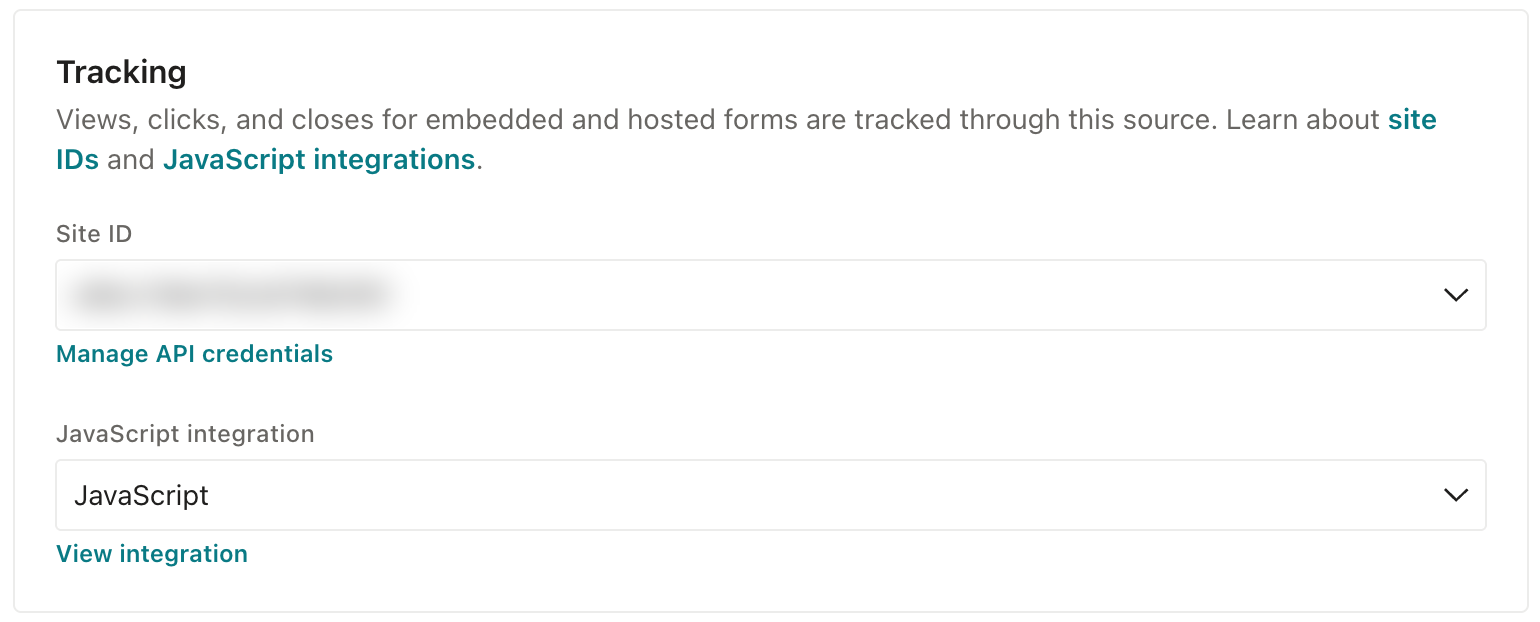
If you don’t choose an integration, Customer.io uses the JavaScript integration that your workspace used most recently. If you delete or disable the site ID or integration that a draft form uses, choose another one before you launch the form.
If your workspace doesn’t have a JavaScript integration yet, you need to create one before you can launch your form. Click Create JavaScript integration to add one without leaving your form.
3. Review and launch your form
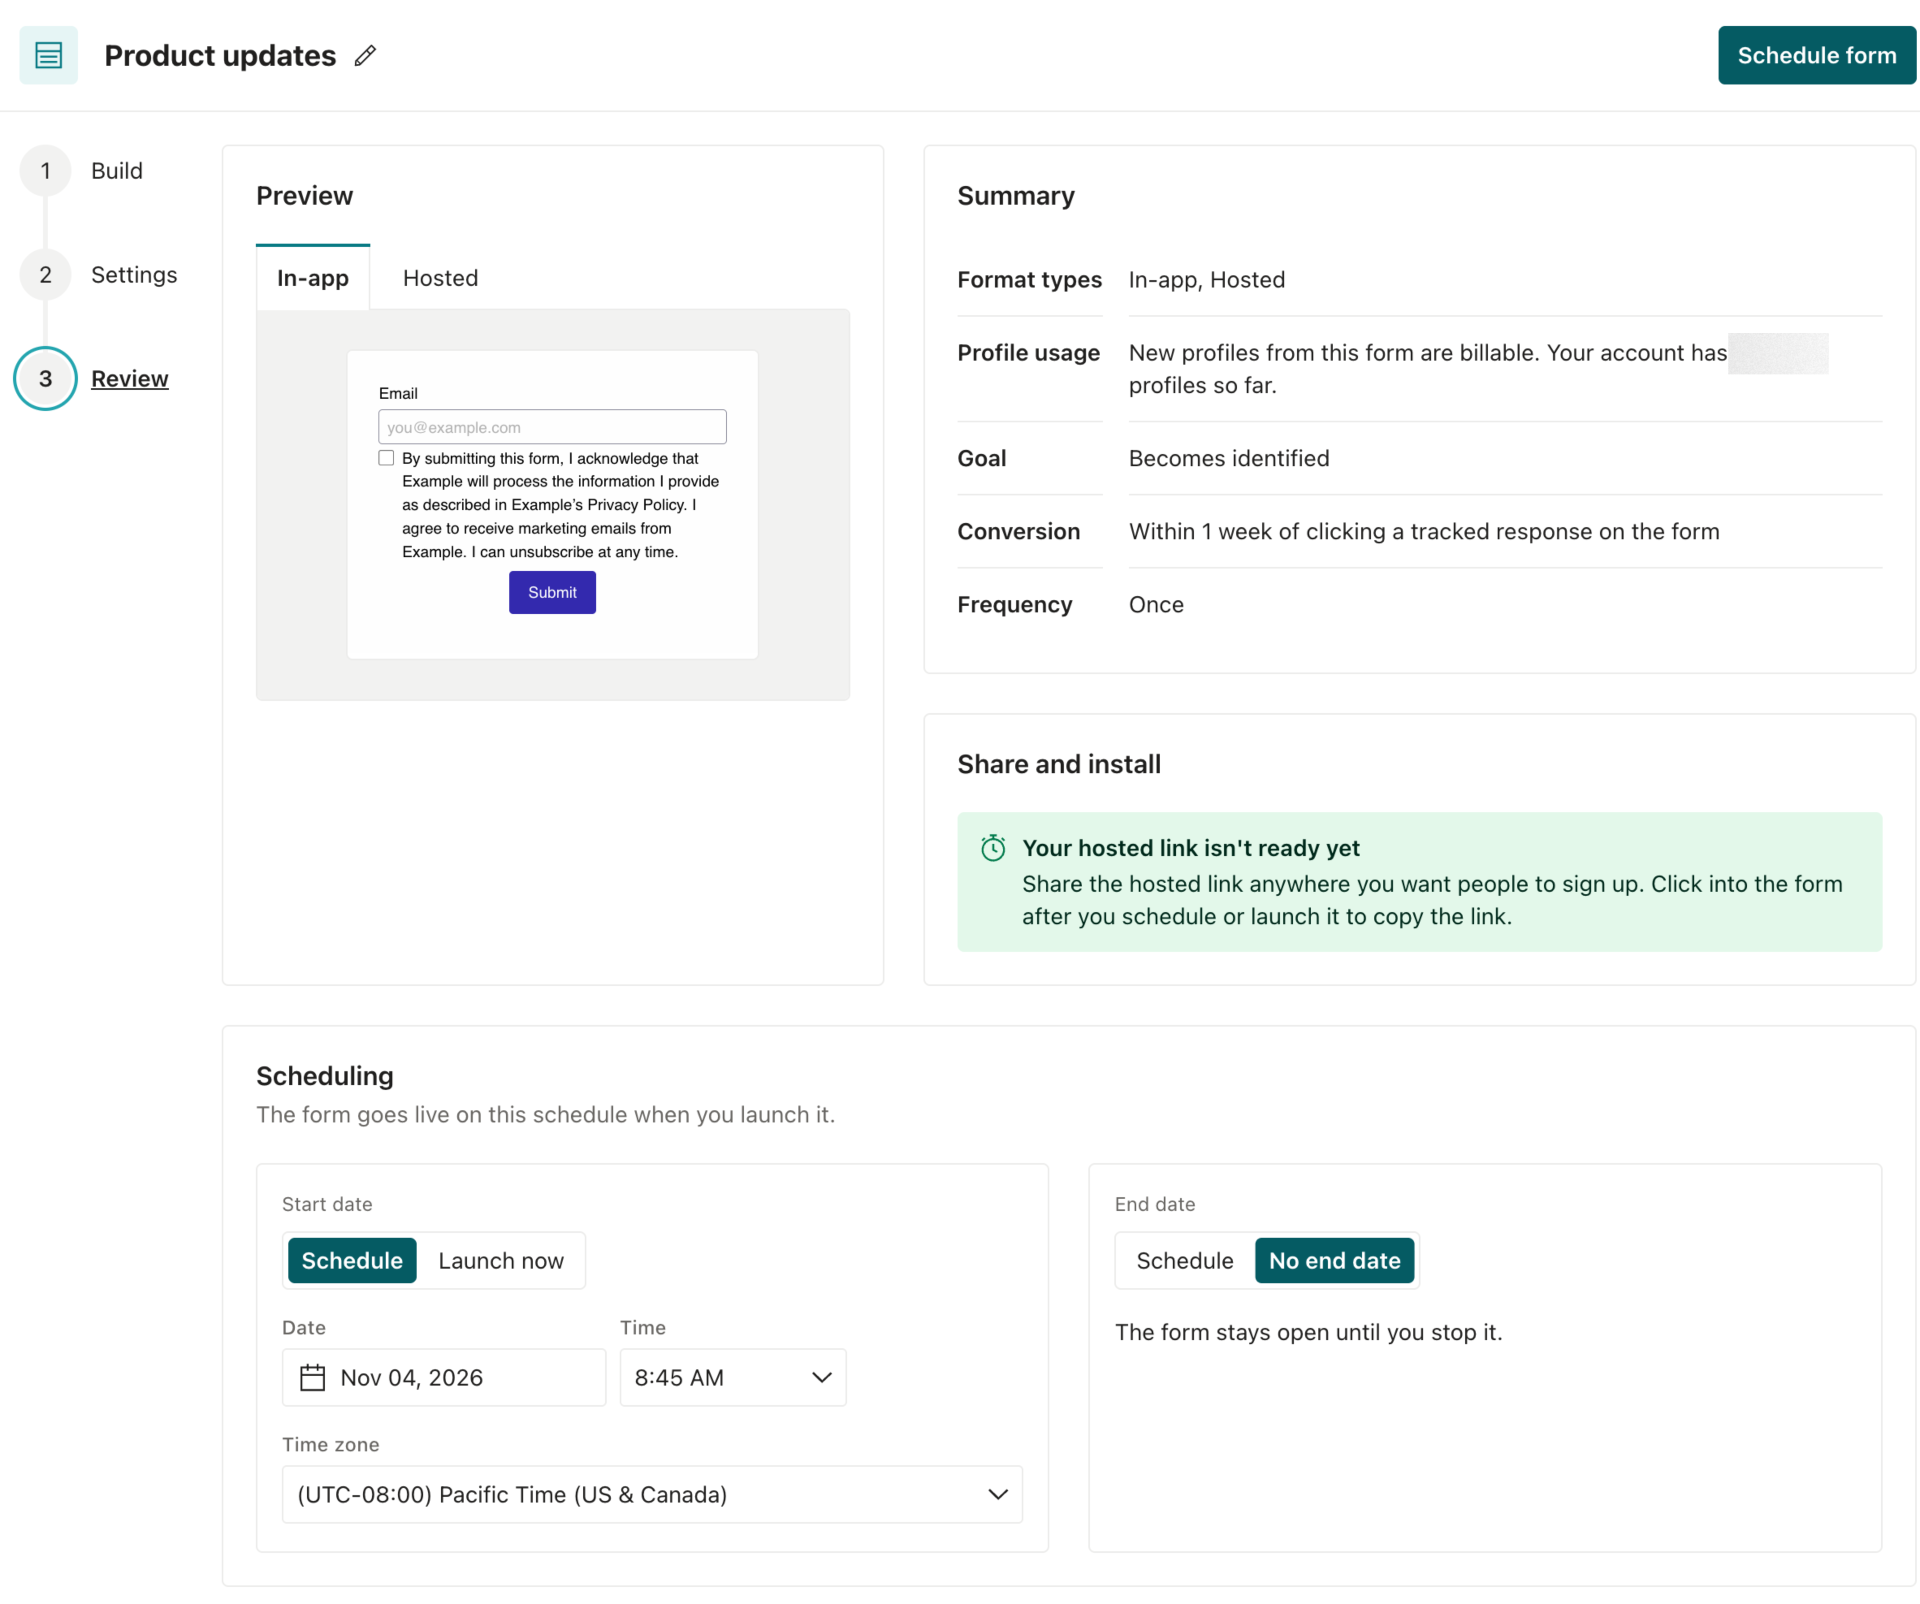
The Review step shows previews of your form and a summary of settings. If you can view your account’s billing, the summary also shows your Profile usage: each new person that your form creates counts toward the profiles you’re billed for.
If your form has an Embedded or Hosted format, the Share and install card tells you that your embed code or hosted link isn’t ready yet. After you schedule or launch your form, you can copy them from the form’s Responses tab. See Embedded format and Hosted format to learn how to use them.
Schedule your form
Scheduling your form lets you control when it appears and how long it appears for.
Until the start time, the hosted page shows a Coming soon message, and the embed script doesn’t show anything. At the start time, Customer.io replaces them with your real form.
- Under Scheduling, choose a Start date. Select Launch now to launch right away, or Schedule to pick a date, time, and time zone.
- Choose an End date. By default, your form has No end date. Select Schedule to take it down on a specific date.
- Click Launch form, or Schedule form if you picked a start date, and confirm. When your form launches, it goes live in all of its formats.
If your form has errors, Customer.io won’t launch it. Go back to the Build step to fix the errors and try again.
Edit a live form
You can edit a form after you schedule or launch it. Customer.io saves a draft form as you edit, but your changes to a scheduled or live form don’t take effect until you click Save and republish.
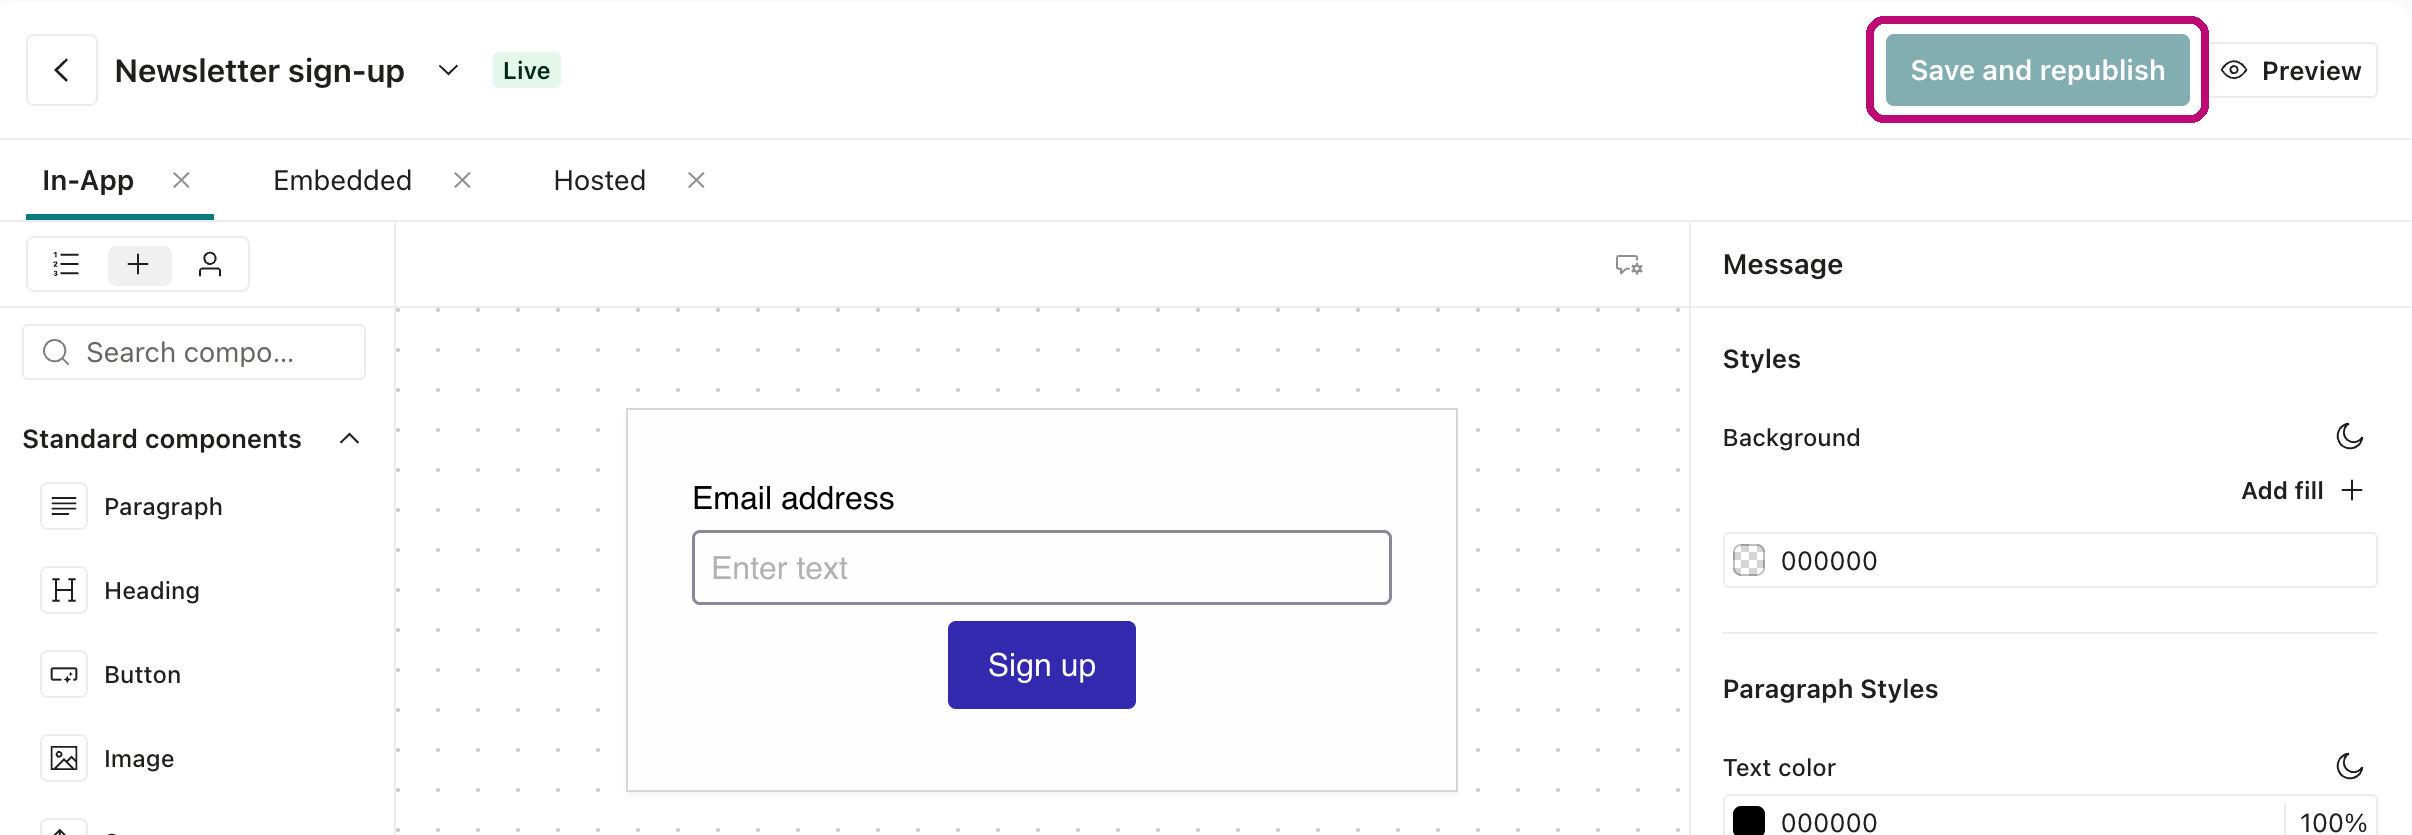
When you save a live form, Customer.io updates its hosted page, embed script, and in-app message right away. When you save a scheduled form, Customer.io applies your changes at the start time.
Stop or unschedule a form
You can go to a form and click Stop form to take it down. To cancel a scheduled form, click Unschedule on the form’s page. When you unschedule a form, it goes back to being a draft, so you can change its settings and launch it again.
When you stop, unschedule, or delete a form, or when it reaches its end date, Customer.io takes down its hosted page and embed script, and stops showing the form in your app. People who visit the hosted link see an error, and pages with the embed script don’t show anything. You don’t have to remove the script from your pages right away, but you should clean it up when you can.
Relaunch a stopped form
A stopped form keeps its content, settings, and responses. To put it back on all its formats, click Relaunch form on the form’s page, or click Relaunch in the form’s menu in the Sign-up forms list, and confirm. Customer.io relaunches the form right away. The form keeps its hosted link and embed snippet, so pages that still have the snippet show the form again.
If your form’s end date is still ahead, the form keeps it. If the end date has passed, the form relaunches without an end date.
You can’t relaunch a form that reached its end date on its own, or a form whose site ID or JavaScript integration you deleted or disabled. To launch one of these forms again, duplicate it and launch the copy.
Duplicate or delete a form
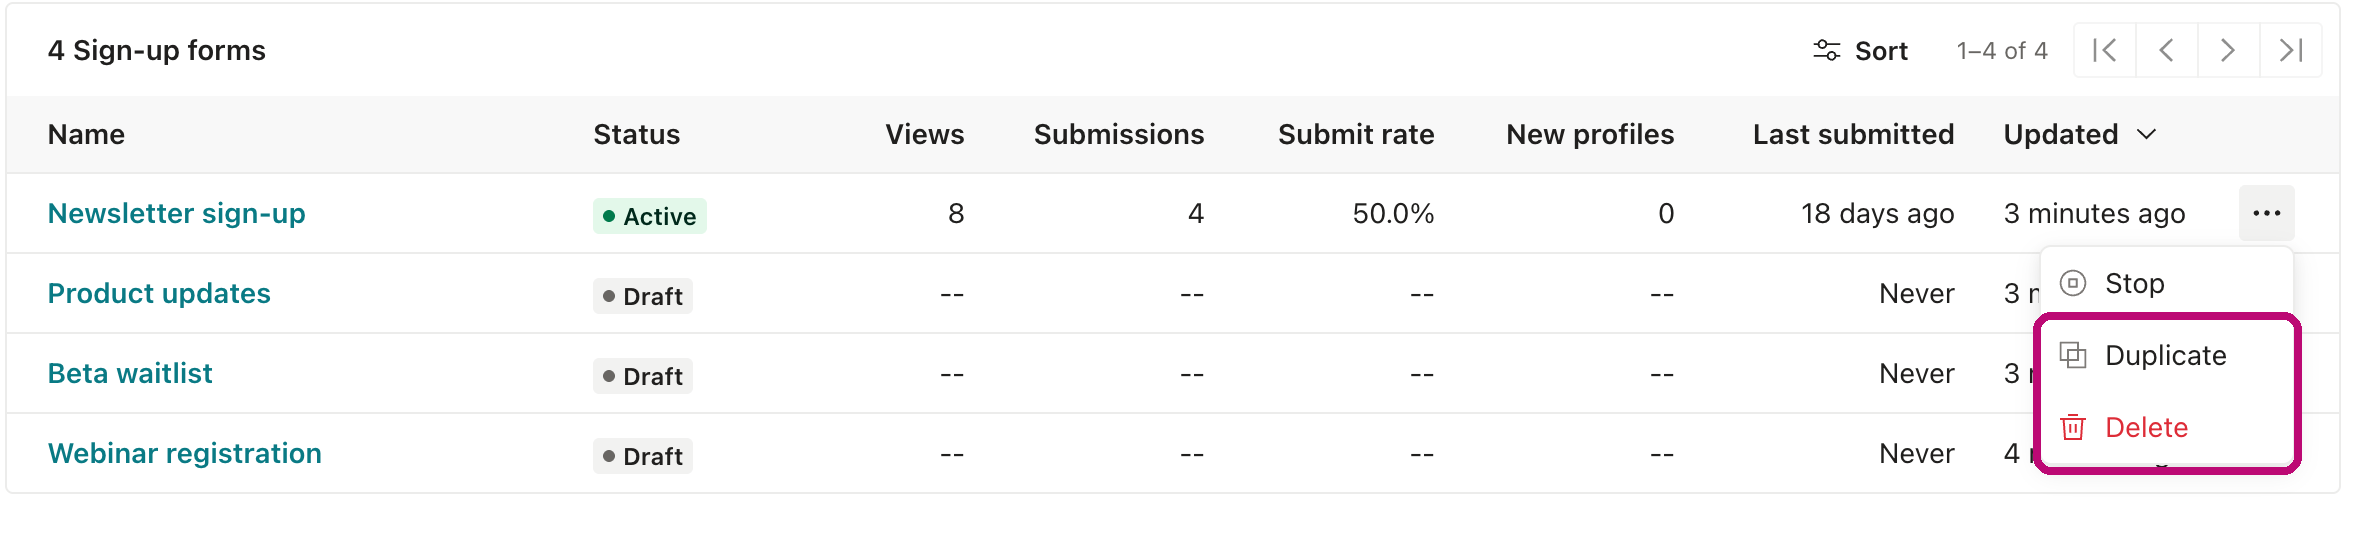
In the Sign-up forms list, open a form’s menu and click Duplicate to create a copy of it, or click Delete to remove it.
- Duplicate creates a draft copy of the form, named
[Copy]followed by the original name. The copy has all of the original’s formats, and it gets its own hosted link and embed snippet when you launch it. - Delete removes the form’s content, settings, and report data. If the form is live, Customer.io takes it down from all its formats. You can’t undo this.