

Assets library: store files
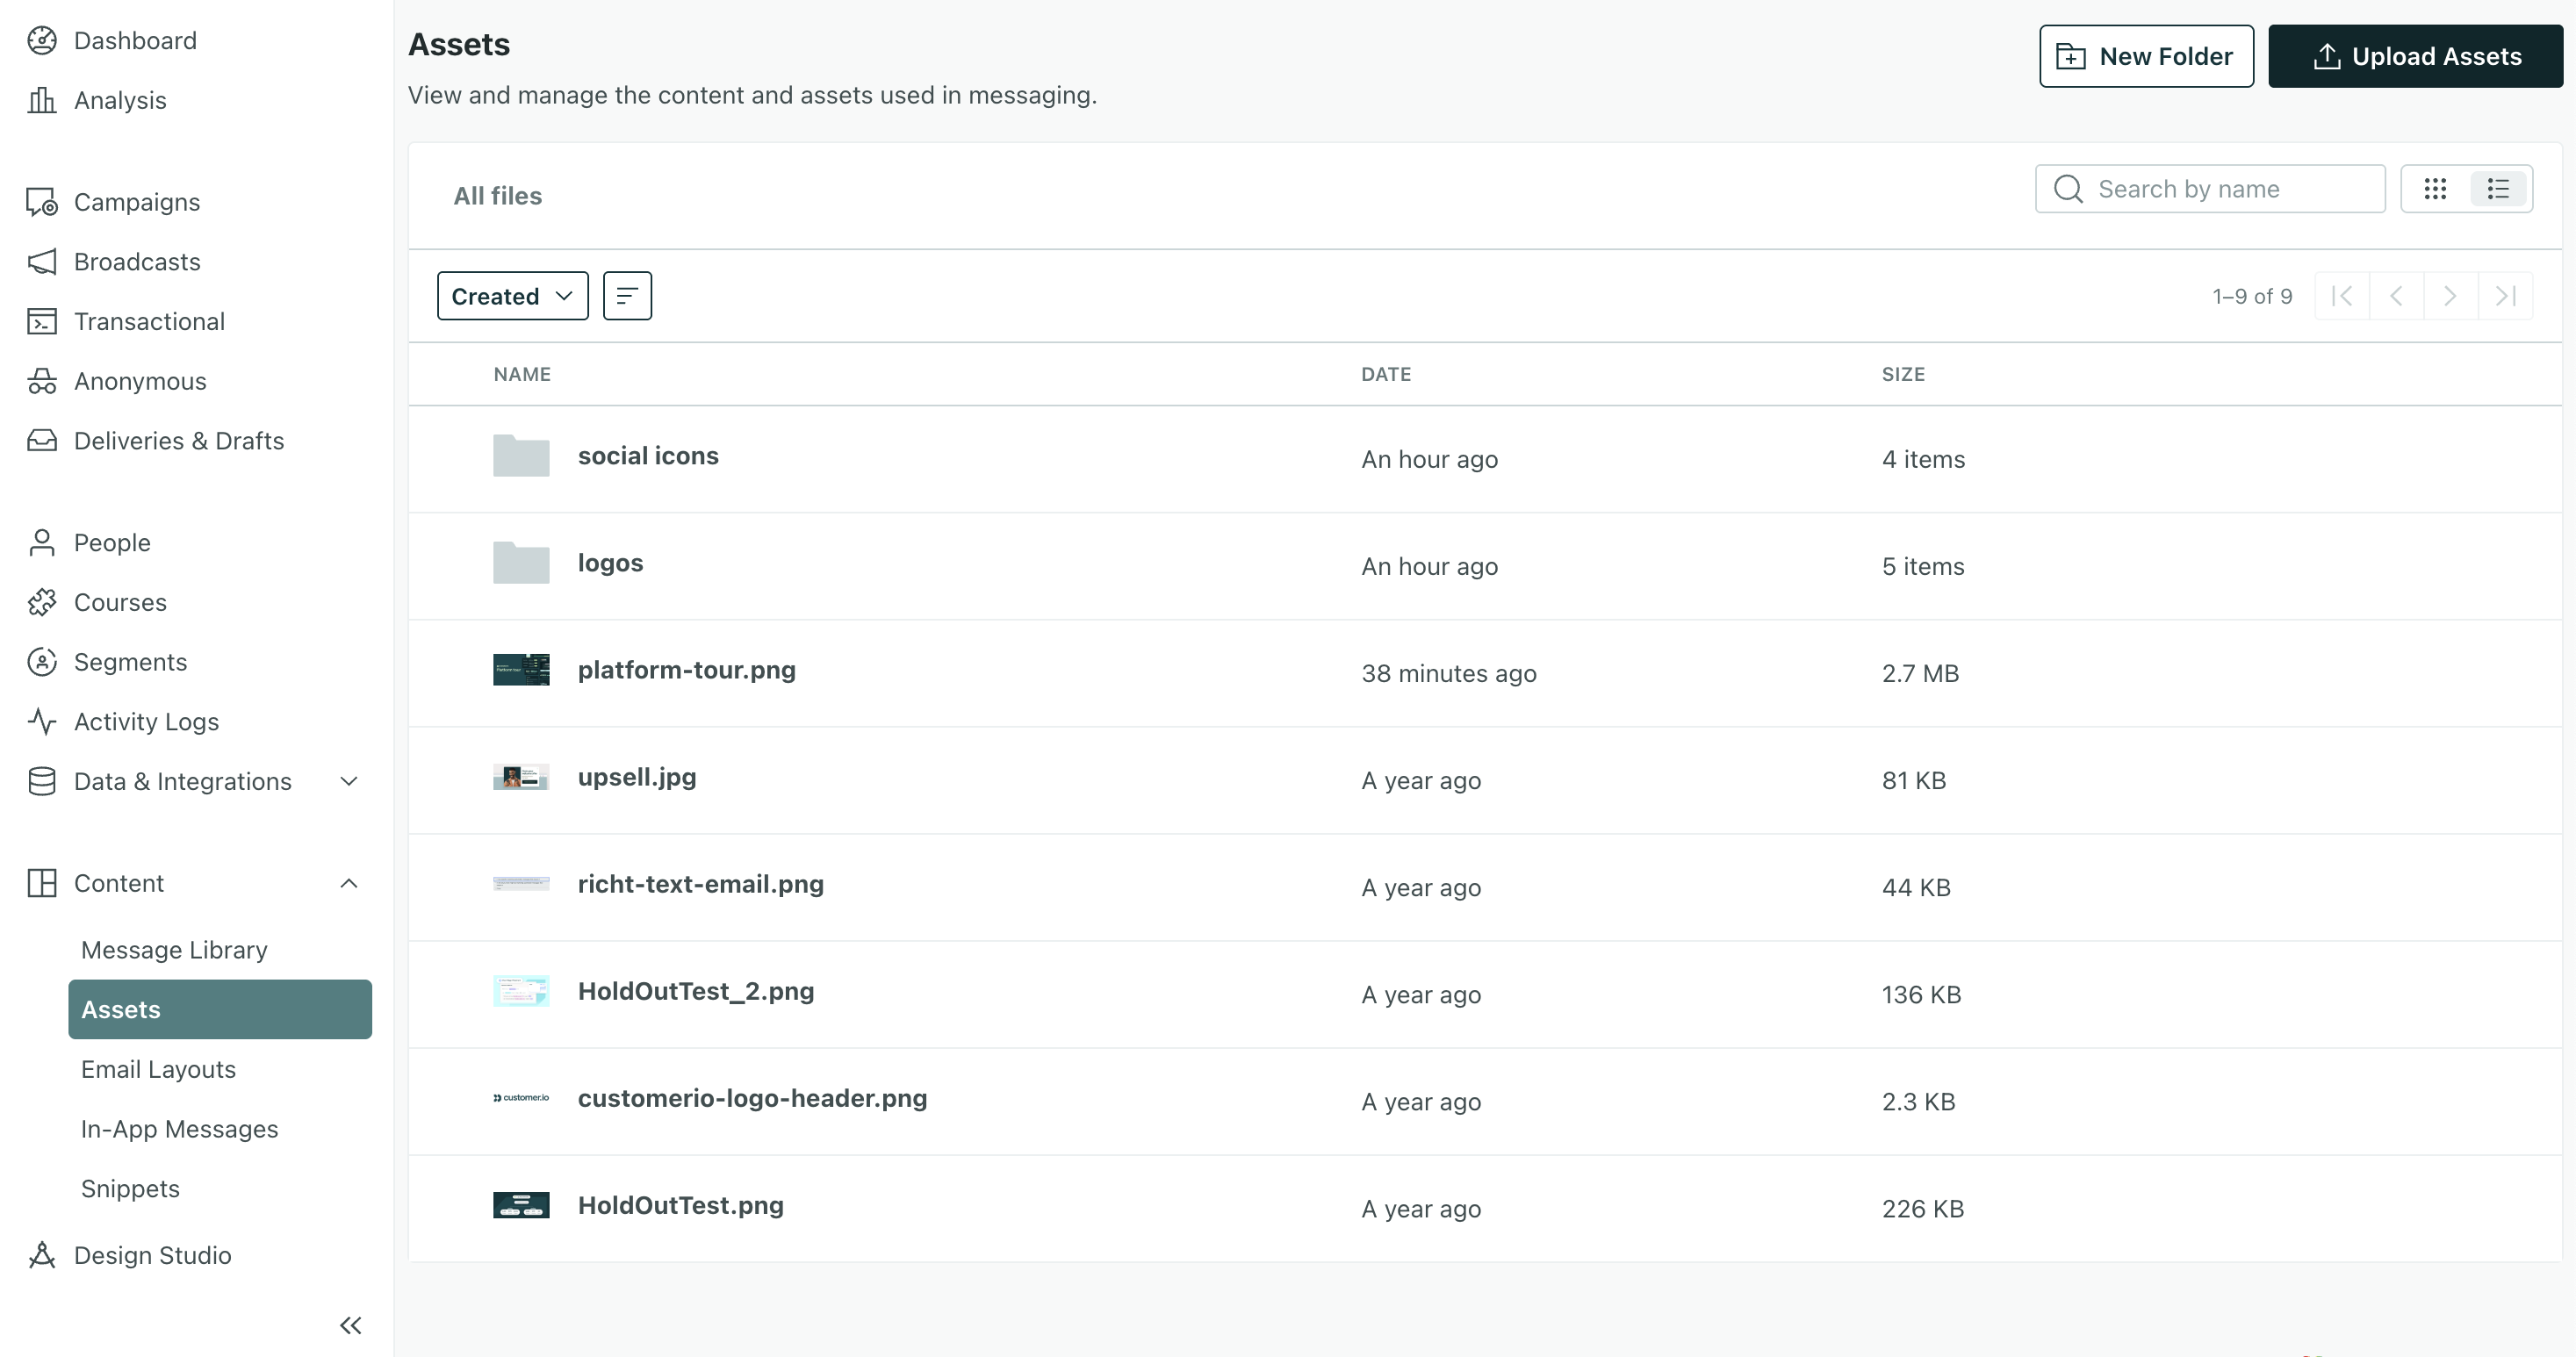
Your workspace has an Assets library where you can store images and PDFs for reuse across messages (email, in-app, etc.).
How it works
Any images you upload are stored in your Assets page.
- You can upload images in
bmp,jpeg,png, andgifformats. - You can store PDFs that you then link to from a message.
File size limits
You can upload images and PDFs to your Assets library, but limits apply:
- Maximum image width and height: 4096 px
- Files must be smaller than 2 MB.
- For optimal loading times, we recommend that you upload images smaller than 1 MB.
Add files
To add a file to Assets, you can go to Content > Assets or upload an image while creating a message.
From Assets, click Upload Assets to get started.
Insert an image
Learn more about adding images through our editors:
- Email
- Design Studio
- Drag-and-drop
- Rich text: Click in the toolbar.
- Code: Click in the toolbar.
- In-app: Click an image-based component and choose your file.
- Push
- SMS/MMS
- Slack
Link to an image (push and SMS)
For push notifications and SMS/MMS, you’ll need to upload your images to Assets first then copy the link and paste it into your message.
- Go to Content > Assets, and find the image you want to copy.
- Hover over the image, and click .
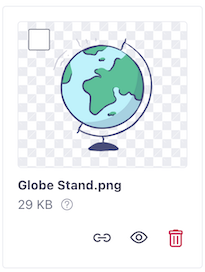
- Go to your message and paste the URL where you need to use your image.
Learn more about adding links to push and SMS.
Link to a PDF
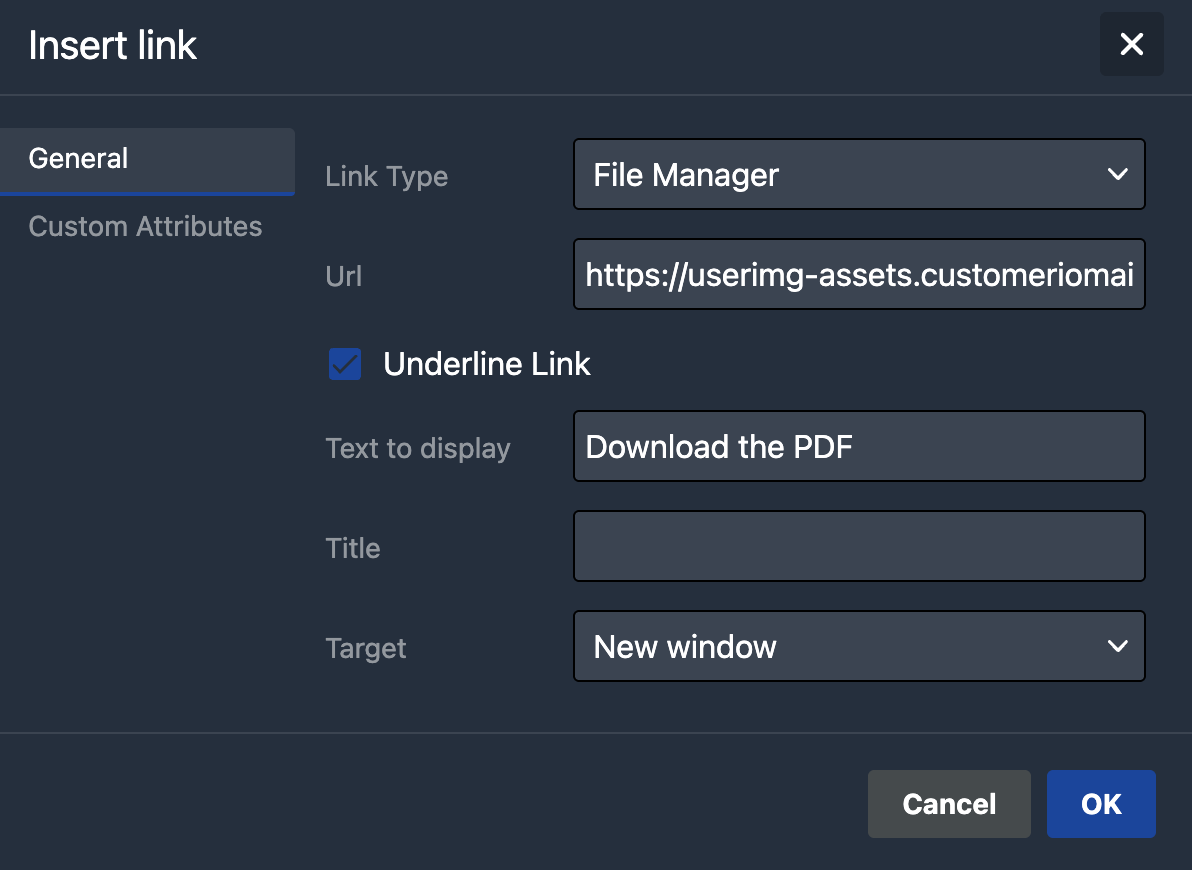
If you want to include a PDF for your customers, you’ll upload it to Assets first, and copy the link. Then you’ll hyperlink text in your message to the PDF. The way you link to a PDF depends on the type of editor you use.
Learn more about email attachments and transactional messages.
Design Studio
In Design Studio, you can link to PDFs in text-based components.
- Go to Assets, and click to copy the PDF link.
- Go to your email, highlight some text, and click from the bubble menu.
- Leave “URL” as the type, and paste in your PDF link.
Drag-and-drop email editor
In the drag-and-drop editor, you can link to PDFs in text blocks. Click , change the Link Type to “File Manager,” and select your PDF.
Code email editor
In the code editor, click Insert, and select your PDF to insert a link to the file. We automatically hyperlink the word “PDF”, so remember to change that text to something that suits your message.
Rich text email editor
- Click Insert, and click to copy the link to your PDF.
- Highlight the text, click , and paste the link you copied.
Optimize images
You can optimize images directly from the Assets page to reduce file size. This is useful for images that are already in your library.
- Go to Create content > Assets and find the image you want to optimize.
- Hover over the image and click .
- Adjust the settings:
- Use View type to compare the original image against the optimized version.
- Use Compression type to balance file size vs. visual fidelity.
- Use Retina mode to manage pixel density for high-resolution screens.
- Click Save optimized image.
The optimized image does not replace the original in your Assets library; it creates a new version.
Organize your files
You can organize your images and PDFs into folders and move your files around through drag-and-drop.
- From Assets, click New Folder, and enter the name of your new folder.
- Then move your files:
- Click and hold to drag files into the folder or
- Hover over files, check the boxes, then click and hold to drag them into folders.
Sort and filter assets
By default, the Assets page sorts images by creation date in descending order; the most recent images are at the top. You can change the sort value and order to find your files.
- Use the dropdown to change the sort value between Created, Name, or Size.
- Select or to change the sort order.
- Click to display your images in a list and to show large thumbnails.
Delete assets
Hover over a file, and click to delete it.
To delete multiple items, hover over files, check the boxes, and then click Delete.
Deleting a file in use does not impact messages; you must remove or replace the file within a message editor to change the image.